- Type
- Skins & Decals (PDF, AI, SVN, etc.)
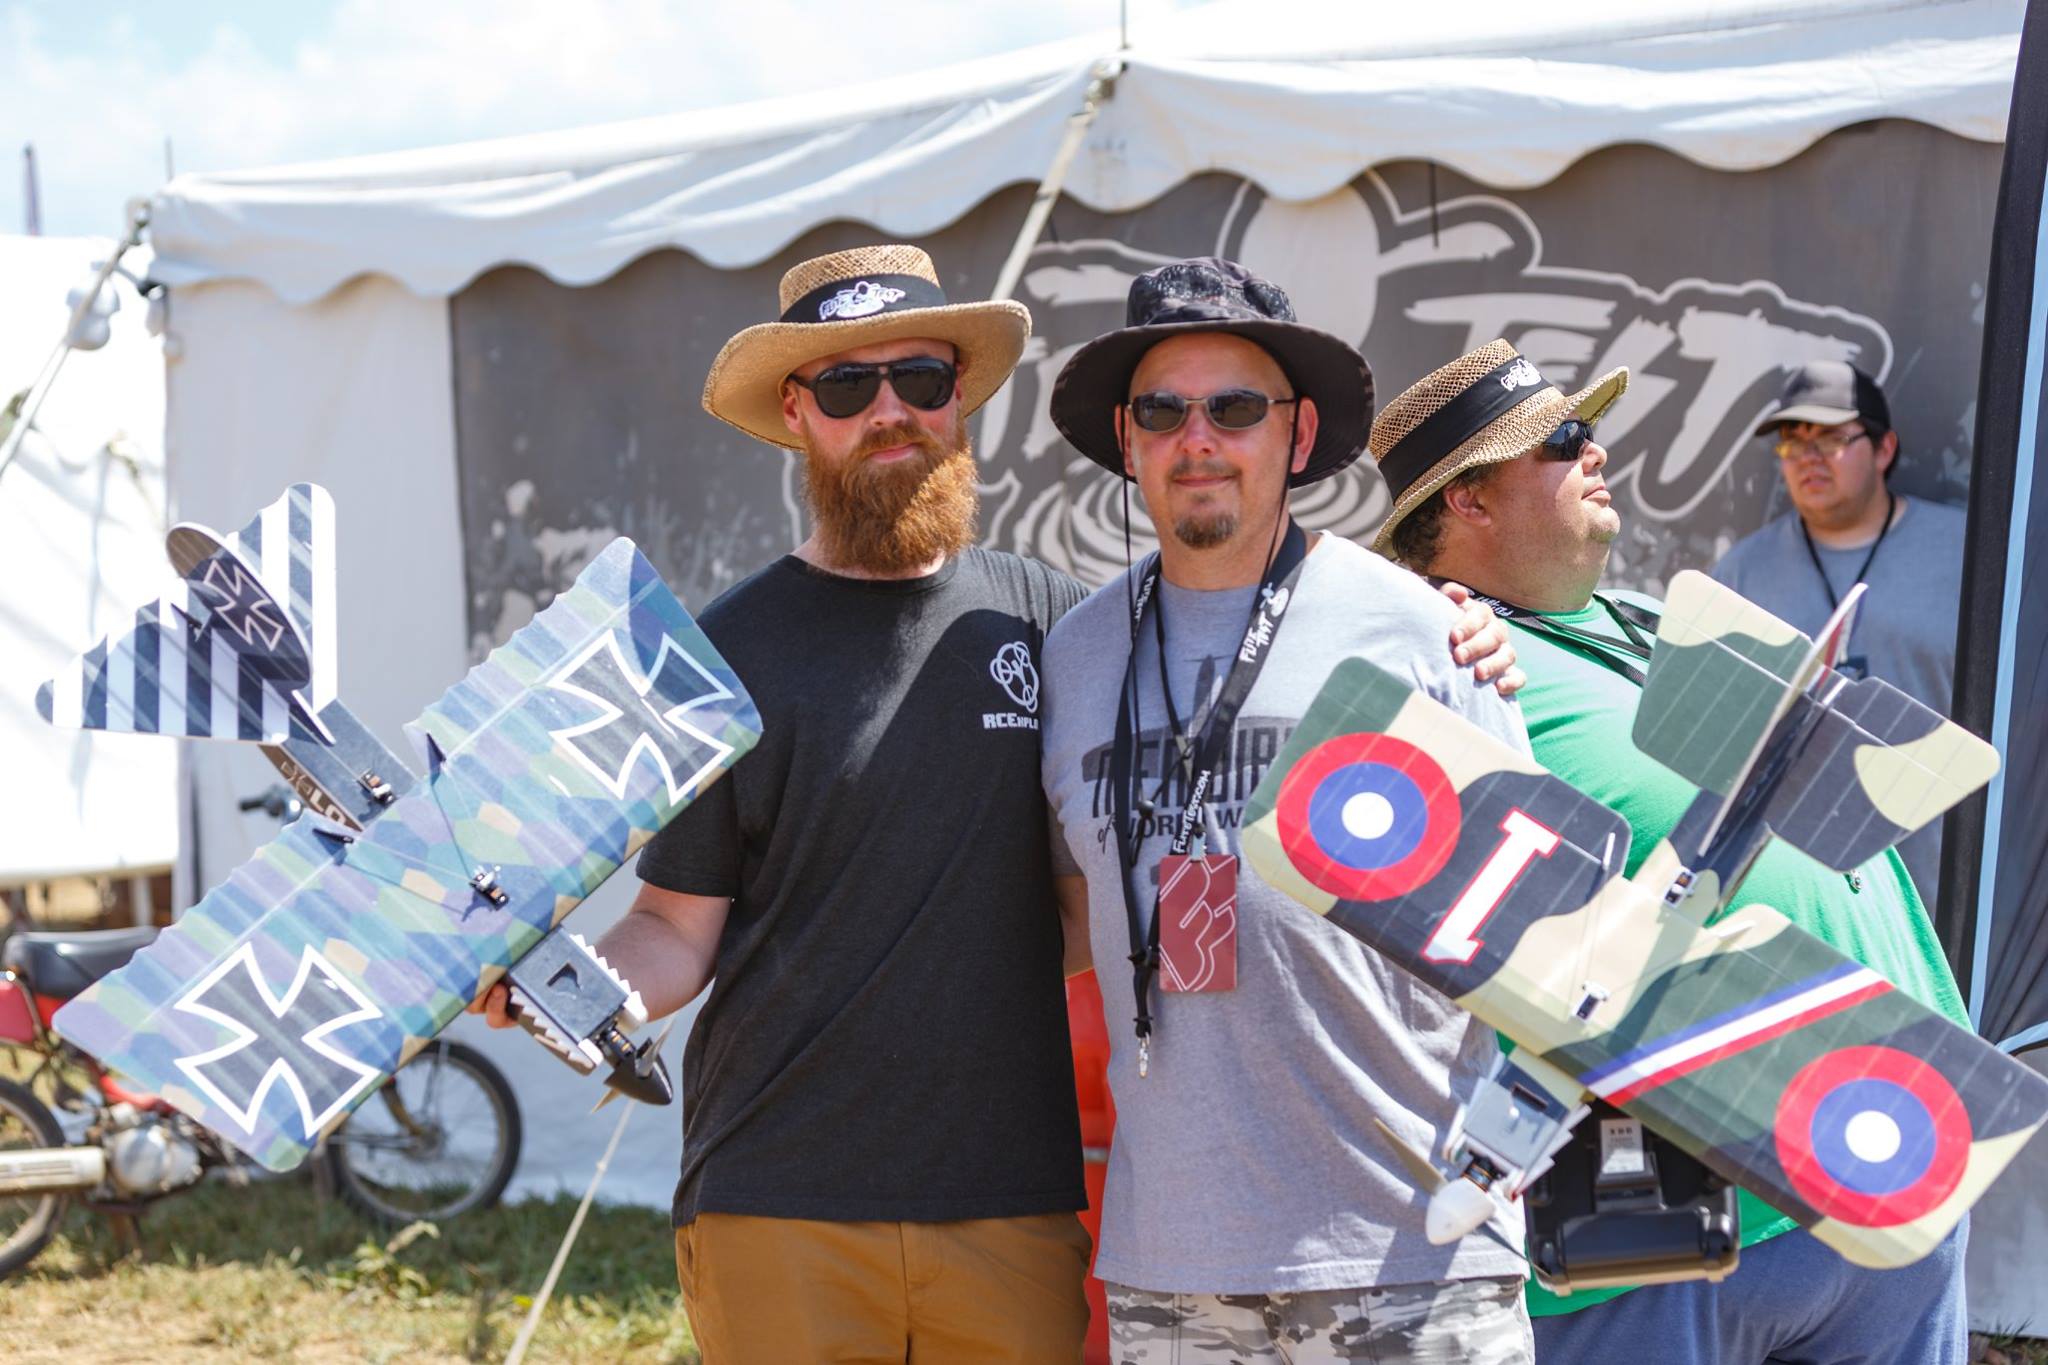
Skins for Sp0nz Bloody Baron. Based on Ernst Udet WWI Black Albatross. Page size 22X34
Seen at FFO 2018 with his Eddie Rickenbacker SPAD skin for the Bloody Brit.
Download and print the skins yourself or get full sized printed skins and plans (No tiling needed!) right to your door!
Go to www.Fliteskins.com.

This skin was based on Erst Udet's black Albetross


"The Swede" with "The Baron" and "The Sp0nz" with "The Brit"
**Please read the Hints and Tips at the bottom before printing and building! These are not for recommended for beginners!**
You must be comfortable with the flite Test build method before attempting skinning a plane. It is highly encouraged and recommended you build and fly a version of the plane you want to skin before hand.
Hints and Tips
Seen at FFO 2018 with his Eddie Rickenbacker SPAD skin for the Bloody Brit.
Download and print the skins yourself or get full sized printed skins and plans (No tiling needed!) right to your door!
Go to www.Fliteskins.com.
This skin was based on Erst Udet's black Albetross
"The Swede" with "The Baron" and "The Sp0nz" with "The Brit"
**Please read the Hints and Tips at the bottom before printing and building! These are not for recommended for beginners!**
You must be comfortable with the flite Test build method before attempting skinning a plane. It is highly encouraged and recommended you build and fly a version of the plane you want to skin before hand.
Hints and Tips
- Printing - Please check your Print Dialog box and make sure that under "Page Size & Handling" that the "Actual size" button is checked and NOT the "Fit" button. If "Fit" was chosen it can result in smaller sized prints even when the correct paper size is selected. So far this one tip, if not done, has wasted more time and money than anything else!
- Again this is not a beginner build! You must be comfortable with the flite Test build method.
- It is advisable that you download the full plans and have them available for viewing before beginning your build. You will need them for reference as score lines are not on the skin kits.
- The horizontal stab - Do not completely cut through the slots on the horizontal satbalizer that receive the tabs on the fuselage. It is unnecessary and will detract from the look.
- The Wing - I opted to just remove all the paper and only use the skins. I think after the spar is in it will be more than sufficiently strong.
- The fuselage - Peel off the paper from just one side of the foam.
- When a piece has two sides covered with skins:
- Rough cut one side of the skins from the paper
- Take an appropriate sized section of foam and peal the paper from both sides
- Glue the rough cut part to the foam and let dry
- Now trim the foam to the skin (art)
- Trim the other side of the skin from the paper
- Carefully align and glue the second side skin to the foam
- Sheeting - To keep the color between pieces the same I printed out everything on the same paper - 24lbs bond although 20lbs bond would work as well and save a little weight. For parts that require card stock, (if applicable) I just glue the printed paper skin to a black sheet of the same paper then cut the piece out.
- Sharpie Touch Ups - Use an appropriate color Sharpie for touch ups.
- You can also cover the skins with a clear shelf liner. Sp0nz did this on his Bloody Brit and Baron as well as on all the Blue Angle A4’s You can also see this on his Ber Harber F16 Thunderbird.
- Belly Landings - Protect you “Bloody B” using packing tape (or shf liner mentioned above) on the undersides of the fuselage. Doing so keeps it looking awesome!