1/4 Scale Bud Nosen Designed Citabria

Joker 53150

Mmmmmmm, balsa.
Mentor
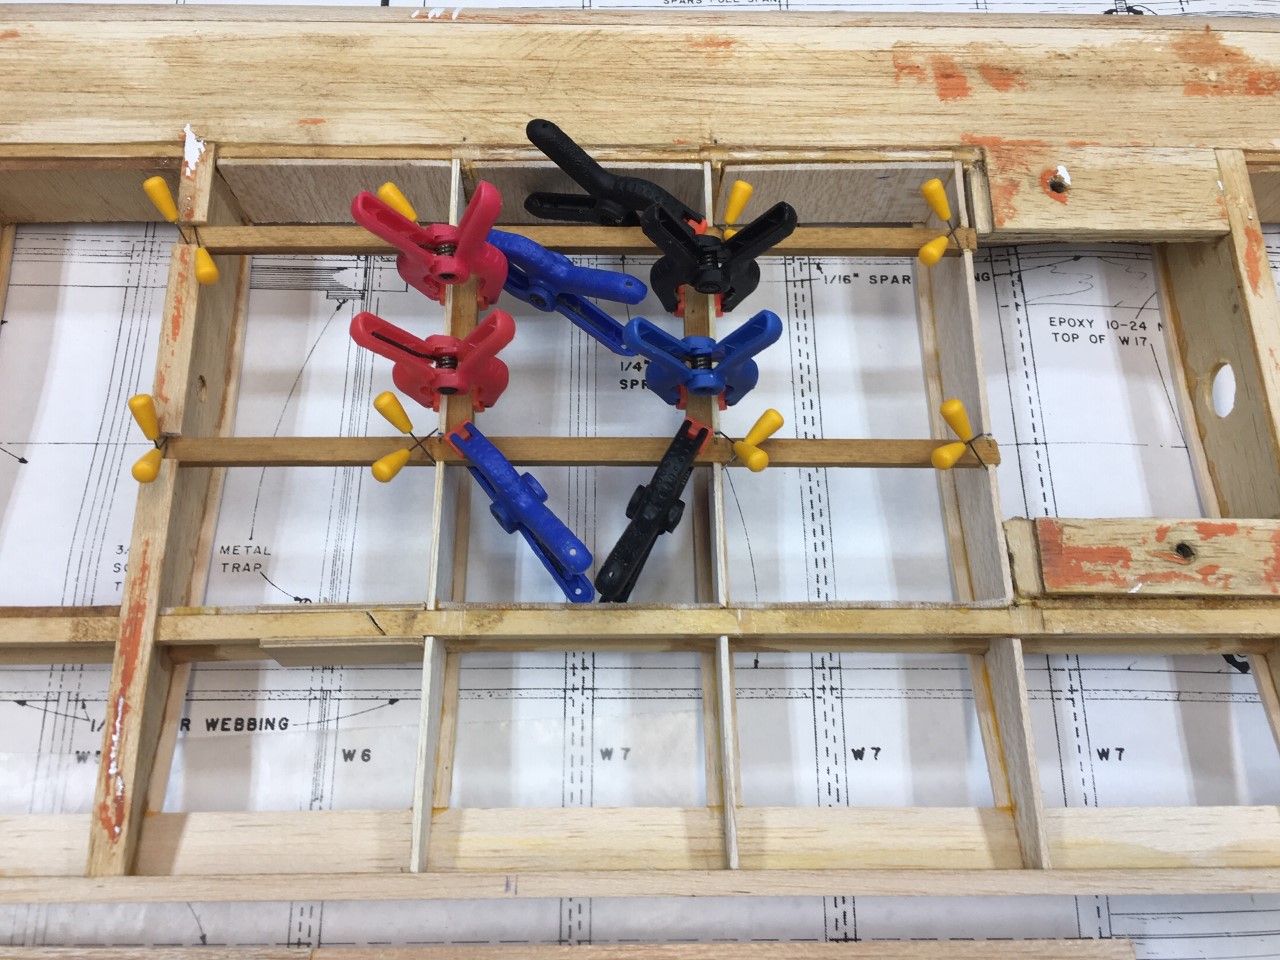
The caps aren't perfect, but they're much better and more even than before. I guess I didn't notice how "off" they were when I was flying the plane, so they won't be too noticeable when my work is done. The aileron is hinged (still a bit rough), and the flap construction is underway.

thumbnail_IMG_1666.jpg
 

Joker 53150

Mmmmmmm, balsa.
Mentor
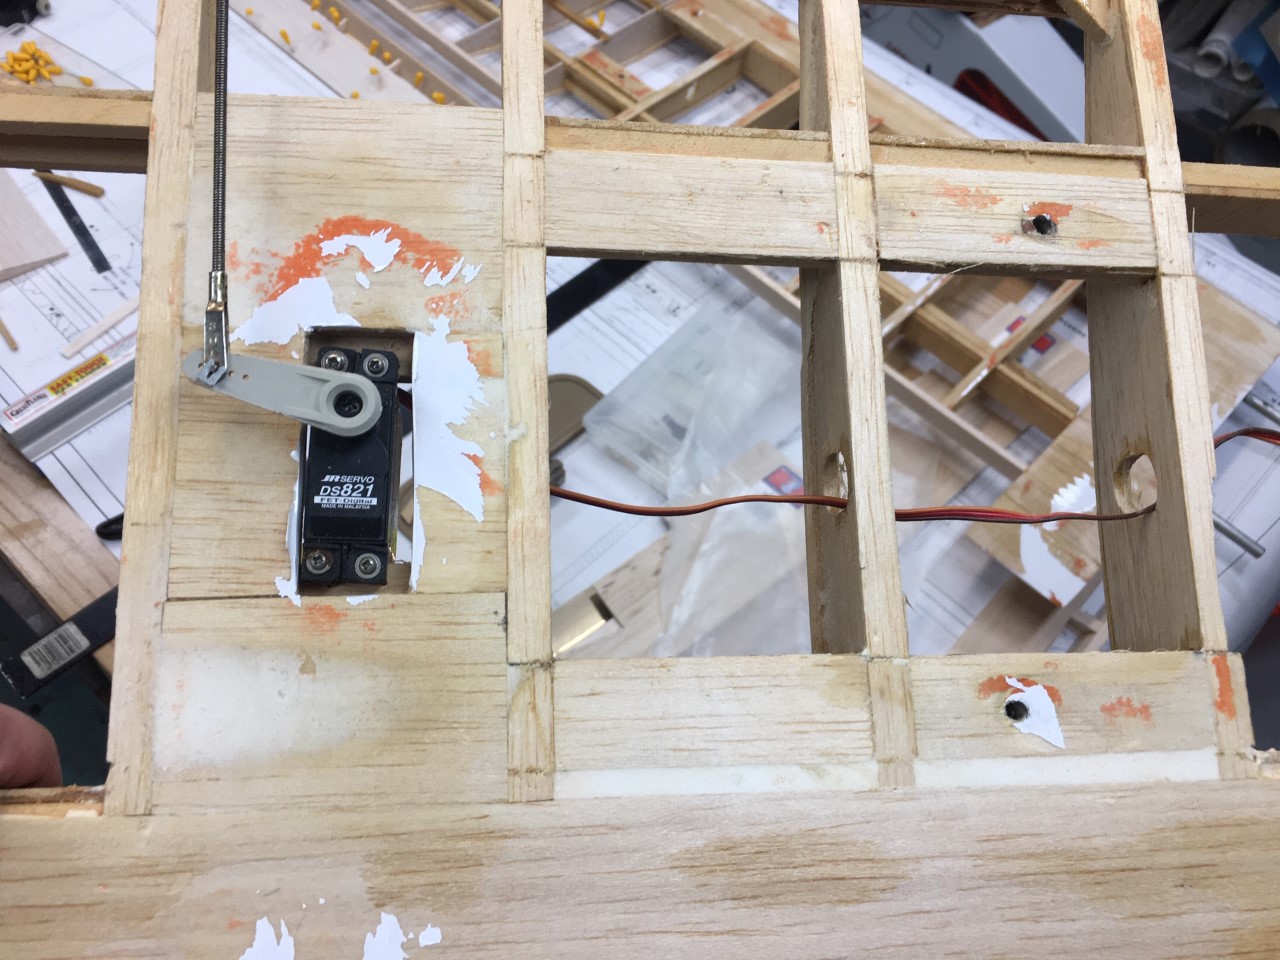
A quick flash-back to how the aileron servos were installed. The servos were smaller than the holes made for them, and the entire top of the servo was exposed. It worked, but was pretty rough.

thumbnail_IMG_1668.jpg


To change this, I'm going to mount the servo to a "hatch" which will be mounted to these hardwood rails. The rails extend into the surrounding ribs for strength, and a few small gussets will be added inside. Instead of seeing the entire top of the servo you'll only see the servo arm and pushrod. The flap servos will be set up the same way.

thumbnail_IMG_1669.jpg
 

Joker 53150

Mmmmmmm, balsa.
Mentor
The previous pictures may have been a bit confusing with my plan for a servo hatch, but this one may shed some light on it. All of the rib caps are installed and even (or at least better than they were), and the servo is sitting on top of the hatch. It will eventually be attached to the inside of the hatch and only the servo arm will stick through, along with the pushrod. Four screws will hold the hatch down to the hardwood inner pieces. Note I also added some rib cap material to completely surround the hatch. This is so I have something to attach the covering to. The covering will only be stuck to the rib caps, as the other braces are recessed and won't be visible. The flap servo comes next.

thumbnail_IMG_1672.jpg
 

Joker 53150

Mmmmmmm, balsa.
Mentor
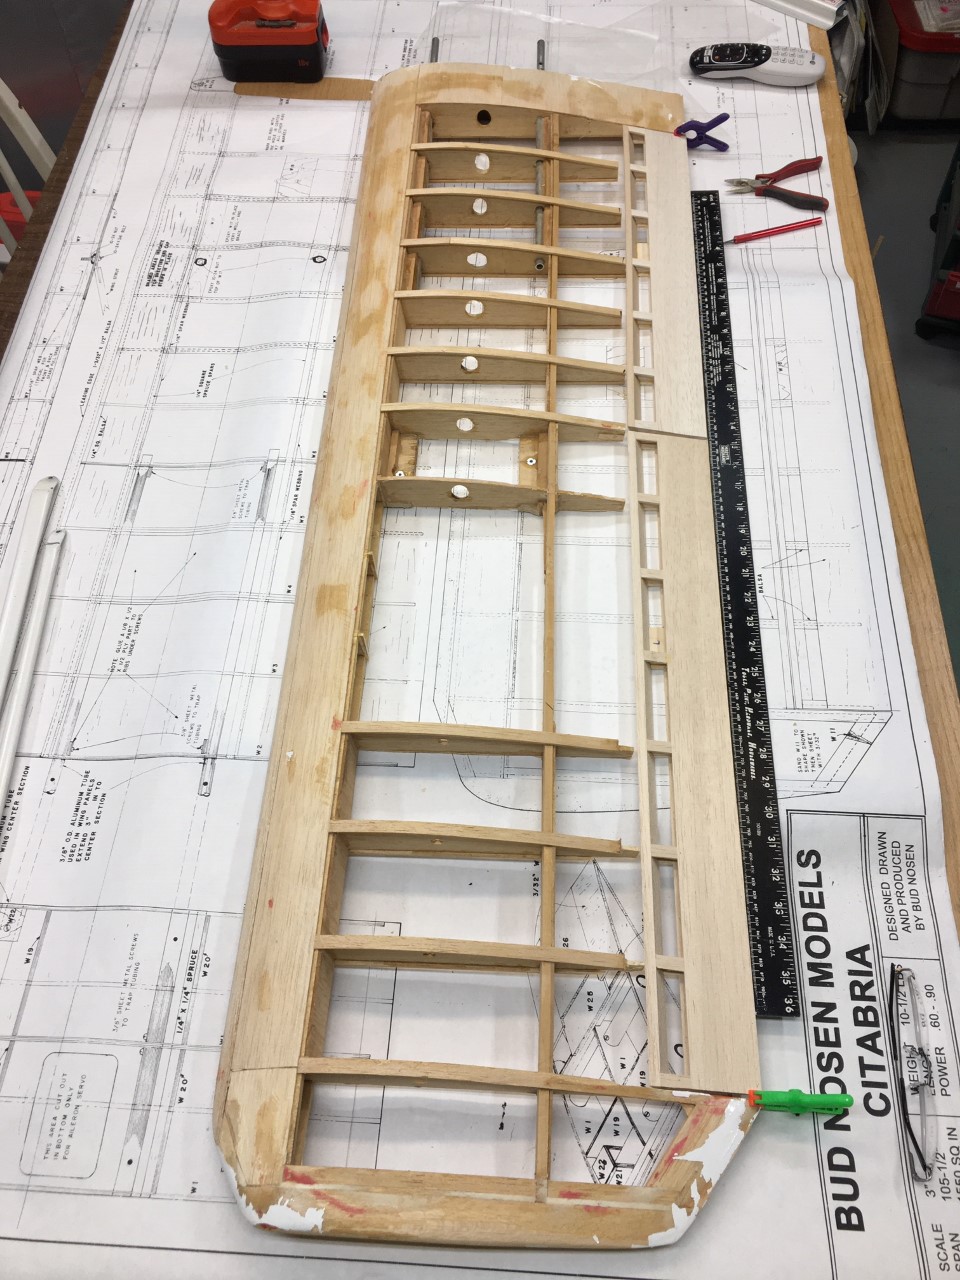
Moving on to the other wing, work is progressing fairly quickly as I have the first wing to use as a deconstruction template. With this one it appears I can get away with removing only two original ribs which saves a bit of work. More of the rib caps appear usable at this time, although some may need additional caps to get them even. The aileron and flap are both built and the only hang-up right now is that I'm out of the right thickness of sheet to build the aileron pocket, so tomorrow will see a run to the hobby store.

thumbnail_IMG_1679.jpg


I also made some progress on the elevator pushrods and pull-pull cables for the rudder. It appears that everything will now fit without any rubbing. To make that happen I had to get creative and will also need to rely on my transmitter programming to give even throws. I'll get some pictures to better explain that tomorrow.
 

Joker 53150

Mmmmmmm, balsa.
Mentor
The aileron pocket is coming along on wing #2. Wing #1 mainly needs finish sanding to even out the new and old construction. This would all have been much easier if I was building the wing from scratch, but where's the fun in that? :p By tomorrow I'd like to have most of the work on #2 done, but we'll see how that goes. Test fitting the wings to the center section (that sits above the fuselage) I found that there is an uneven gap between the wings and center section. I'll add some material to either the sides of the center section or the inner rib on each wing to help take care of this.

thumbnail_IMG_1680.jpg


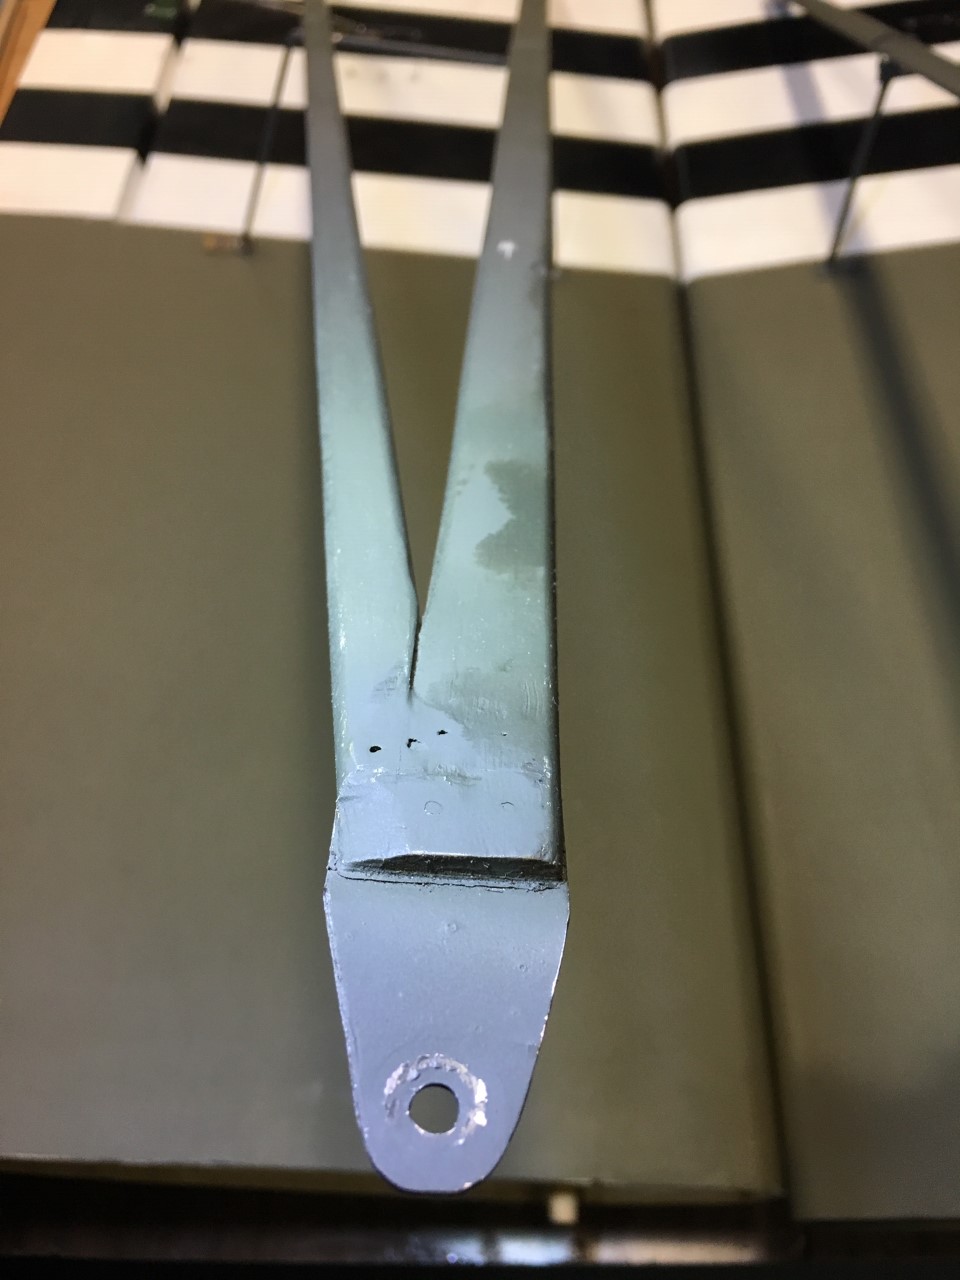
I also finally got around to ordering the hardware to make the new wing struts. The original pieces are the same style as I had on my 1/4 scale Balsa USA Cub (just different color). Simple hardwood pieces, rounded edges and metal tabs at each end. Since I'm going through all this other work to rebuild the Citabria I may as well update these as well.

thumbnail_IMG_8897.jpg


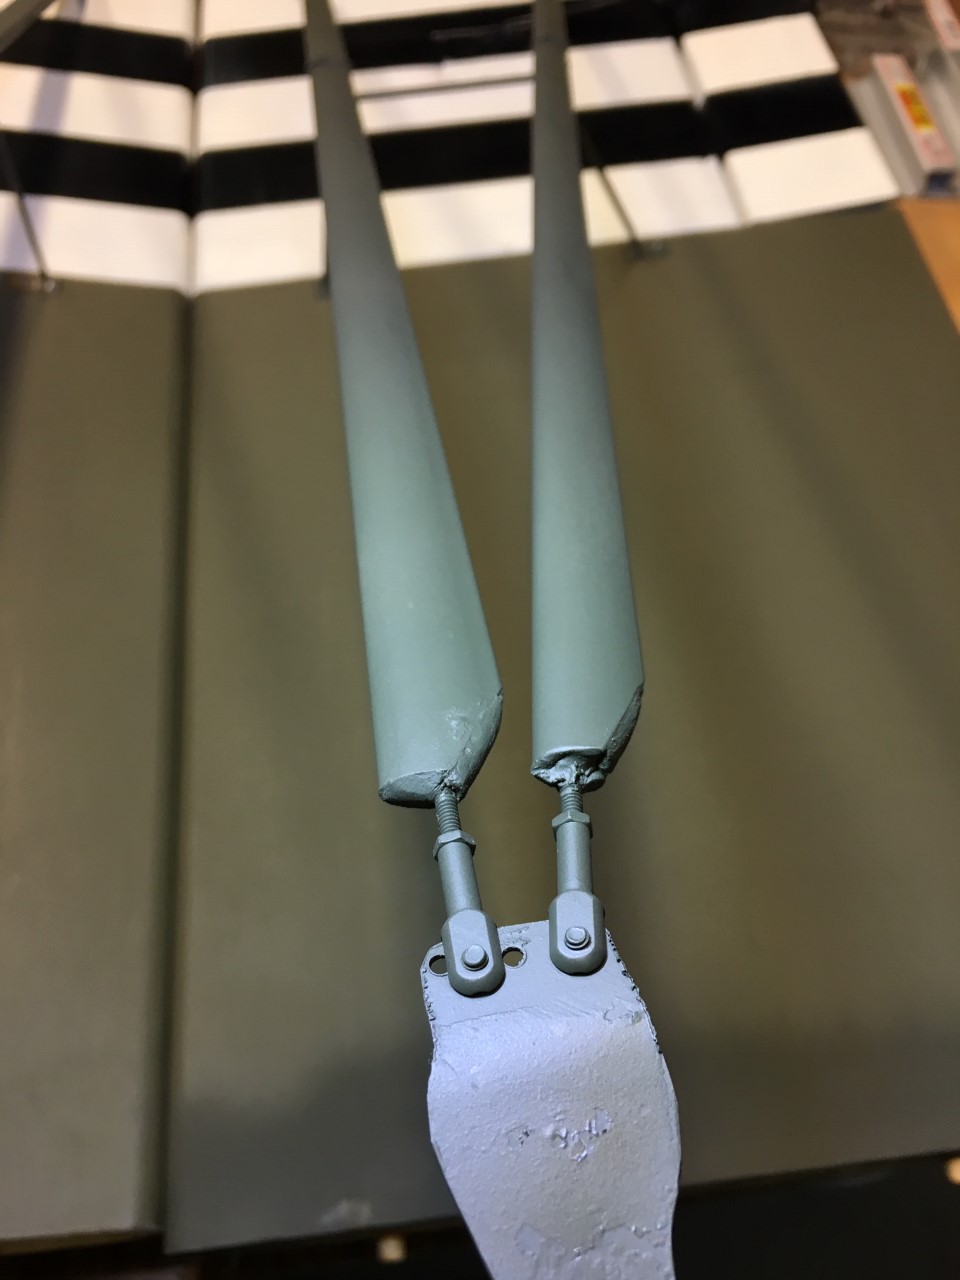
These are the "after" pics of the struts on the Cub. They're made from airfoil shaped aluminum tube and have all kinds of excess hardware to help give them a scale look. The bottom edges on these are still a bit ugly and need some filler and paint to fix, but otherwise have worked flawlessly and look MUCH better than the original pieces.

thumbnail_IMG_8898.jpg
 

Willy Nillies

Elite member
Really looking nice! I always wanted one of these when I was a kid.... remember seeing the adds for all the Bud Nosen planes in the RC modeler magazine.

Just to big for me though!

Sincerely,
Doug (and Becky)
WillyNillies.com
 

Joker 53150

Mmmmmmm, balsa.
Mentor
Thanks, it's a ton of work, but I enjoy taking planes and rebuilding them to new-ish condition. I also have a soft-spot for the classic manufacturers - Pica, Balsa USA, Sig, Bud Nosen, Hostetler, etc. and I tend to horde these planes regardless of how much space they're taking up!

With that said, I'm looking forward seeing the new kits you're releasing and have been holding off on purchasing my kit for the build-along. My BADD (Balsa ADD) has me itching to build a quick kit! :)
 

Joker 53150

Mmmmmmm, balsa.
Mentor
Test fitting the wings tells me a couple things. First, the double wing spars are very strong, and there is no deflection when installed without the struts. Second, the fit is very sloppy, something I noticed previous to all this work. The top left of the pic is the forward end of the left wing, and you can see a nice even gap between the wing and the center section that extends about 5" back. At that point, the gap starts to widen by about 2.5mm. The right wing is worse as the gap is too big across the entire length, plus it tapers a bit from the top to the bottom.

To fix both sides I'm going to add sheet material to the center section where I've marked it on the tape. I'm going to leave about 1.5mm gap total, which should be enough for the thickness of the covering. The goal is to have a very tiny and even gap once covered, which will allow for some expansion room on hot & humid summer days.

thumbnail_IMG_1689.jpg
 

Joker 53150

Mmmmmmm, balsa.
Mentor
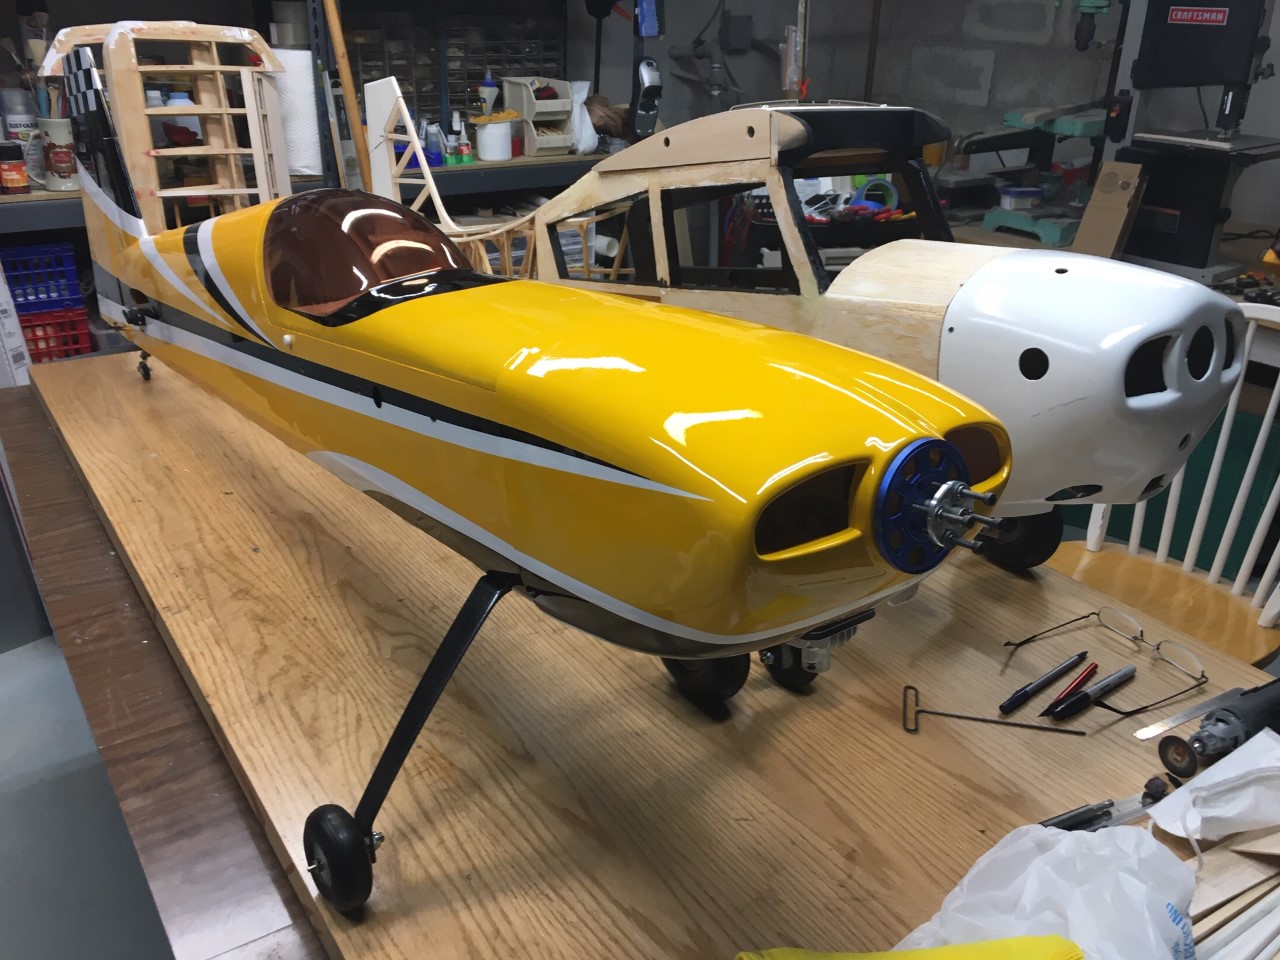
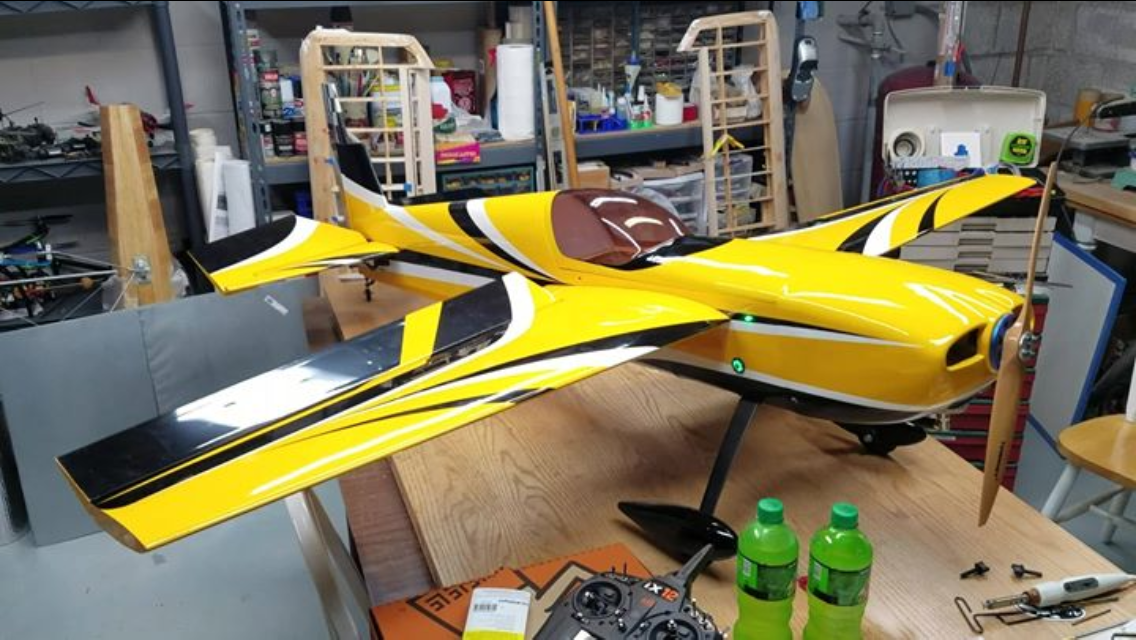
Delays, delays, delays. First, before anybody wonders why I've got yet another plane (that I don't need), the yellow plane is NOT mine! It belongs to my buddy Mike, and he requested some assistance setting it up. Let's just say the instructions leave a little to the imagination... Mike loves flying, but he likes a second set of eyes when it comes to building the big birds. This plane is a Slick 540 with a 74" wingspan, very close in size to the 1/4 scale Citabria. It's an ARF, designed for a DLE 30 or 35cc gasser, although you could make other engines fit fairly easily. He just happened to have a DLE 30 looking for a home, so I drilled holes in the firewall where it was laser-etched specifically for the DLE 30 and it bolted right up.

thumbnail_IMG_1693.jpg


This is where I was amazed - with the cowl bolted in place the spinner's mounting plate is PERFECTLY centered with a nice even gap all the way around! I was fully expecting to fight it a bit, but somebody did their homework on this one. Stock motor mounts, stock bolts, no spacers, no screwing around, it just worked. This kind of thing is ALMOST enough to make me POSSIBLY think about MAYBE buying an ARF some day. Just not today... :) And yes, the spinner backplate is blue and looks weird, it's from the plane the DLE 30 was previously mounted on. We've ordered a new black one for this plane.

thumbnail_IMG_1690.jpg
 

OliverW

Legendary member
Delays, delays, delays. First, before anybody wonders why I've got yet another plane (that I don't need), the yellow plane is NOT mine! It belongs to my buddy Mike, and he requested some assistance setting it up. Let's just say the instructions leave a little to the imagination... Mike loves flying, but he likes a second set of eyes when it comes to building the big birds. This plane is a Slick 540 with a 74" wingspan, very close in size to the 1/4 scale Citabria. It's an ARF, designed for a DLE 30 or 35cc gasser, although you could make other engines fit fairly easily. He just happened to have a DLE 30 looking for a home, so I drilled holes in the firewall where it was laser-etched specifically for the DLE 30 and it bolted right up.

View attachment 149570


This is where I was amazed - with the cowl bolted in place the spinner's mounting plate is PERFECTLY centered with a nice even gap all the way around! I was fully expecting to fight it a bit, but somebody did their homework on this one. Stock motor mounts, stock bolts, no spacers, no screwing around, it just worked. This kind of thing is ALMOST enough to make me POSSIBLY think about MAYBE buying an ARF some day. Just not today... :) And yes, the spinner backplate is blue and looks weird, it's from the plane the DLE 30 was previously mounted on. We've ordered a new black one for this plane.

View attachment 149571
Is that an aztech slick?
 

Joker 53150

Mmmmmmm, balsa.
Mentor
Well dang, looks like I'm on board to finish building Mike's Slick for him now. He made me an offer I couldn't refuse - I finish the build for him and he gives me a new Evolution 8cc gas engine. He got the engine a while ago and it's too small for him (he got bit by the same Giant Scale Bug that bit me). Fortunately, I've got a couple planes it will work in. For size reference, an 8cc gas engine is comparable to a .40 size glow. The Goldberg Eagle 2 I recently finished has a 9cc gasser, which is similar to a .46 glow.

My plan (for now) is to install the Evolution engine into a 40 sized Telemaster. But not just any Telemaster, this is an "Electro Telemaster" I got recently. The Electro Telemaster was marketed as an easier option compared to modifying a stock Telemaster designed for a glow engine over to electric power. To make it more fun, somebody before me had already converted the Electro Telemaster back to glow, and I'll be converting it further to gas! :) Unfortunately there are some modifications that I'll have to un-do as part of the project, but it should be fairly easy.

Back to the Citabria, the second wing is still coming together nicely, but will still take a bit more work to finish up. The first wing needs a little filler and sanding for it to be ready for covering.
 

Joker 53150

Mmmmmmm, balsa.
Mentor
It seemed like it took a lot longer, but just over a week later Mike's Slick is done. Well, he needs to program it with his new Spektrum I12 (?) transmitter and I'm waiting for a new black spinner to arrive, but MY work is complete! :) As mentioned previously, it's a pretty decent kit although the instructions are the weak-link. Mike installed the elevator servos in the tail where a rudder servo would normally go, but I was able to move them forward of the horizontal stab and cover the holes in the covering nicely. You can also see a couple green lights near the nose. The top one is the ignition light - on is a live ignition and off is ignition killed, all from the transmitter. Nice and visible, important when trying to start a gas engine...! :) Under that is a bigger green light, which is actually a light around the power flag/pin. Pull the flag/pin off the plane and the electronics go live (except for the ignition if that is turned off at the transmitter).
thumbnail_IMG_1732.png


The ignition kill switch and power switch used in Mike's plane are the same as I've started installing in my Rascal 110. I like them enough so far that I'm also going to install them in the Citabria, so here it all is laid out to show how it all goes together. Two batteries plug in to the "Dualsky VR Pro Duo" regulator on the right. These feed into a voltage regulator (5v, 6v, or 7v) which also has a kill switch for the entire system (red flag/pin to the right). Pull the pin and the entire system goes live. Both batteries work together to power all electronics, but if one battery dies, the other takes over to power it all. The green light by the flag/pin starts flashing to notify you of a battery problem. Lights on the regulator also tell you if the battery is good, getting low, or low (green, yellow, and red lights). Notice my receiver is plugged into the regulator for channels 1-4, and that there are 4 spots on the regulator marked for servos. On a simple 4-channel plane all servos will be powered by the regulator instead of getting power through the receiver. In theory this should help avoid issues from powering 8+ standard servos through the receiver. Not sure how big of an issue that really is, but it sounds legit! :) So that takes care of the throttle, ailerons (on a Y-harness), elevators, and rudder, but what about flaps, landing gear, or other servos? The easy answer is I'll just run the remainder through the receiver. In my case it'll just be two flap servos and one of the elevator servos plus the ignition kill module shown to the left, so power draw through the receiver will be fairly low.

Confusing? Yeah, it took me a while to get it all sorted out in my head, but after setting it up on a couple planes so far I'm liking it more and more. I'd like it more if it handled 6 or 8 channels, but can live with 4.

thumbnail_IMG_1733.jpg
 

Joker 53150

Mmmmmmm, balsa.
Mentor
With both my Willy Nillies J3 Cub done and my buddy Mike's Slick all buttoned up I can get back to the Citabria work.

thumbnail_IMG_1767.jpg


That pic reminds me of an old picture of Shaq and his girlfriend.

test2.jpg


Back when I stripped the covering I found a lot of excess heavy-ish balsa back around the tail. It was probably to give support to the pushrods, but was still built heavier than it needed to be. Here's my updated version, some simple 1/16" sheet cut to size. Some lightening holes will be added after the glue cures. The red tube is an elevator pushrod guide which will be epoxied into place, while the rudder's pull-pull cables use small clear-ish tubes for the wires. These will also be epoxied and extend into the fuselage far enough to shield the pull-pull cable from chafing on each other where they cross.

thumbnail_IMG_1768.jpg
 

Joker 53150

Mmmmmmm, balsa.
Mentor
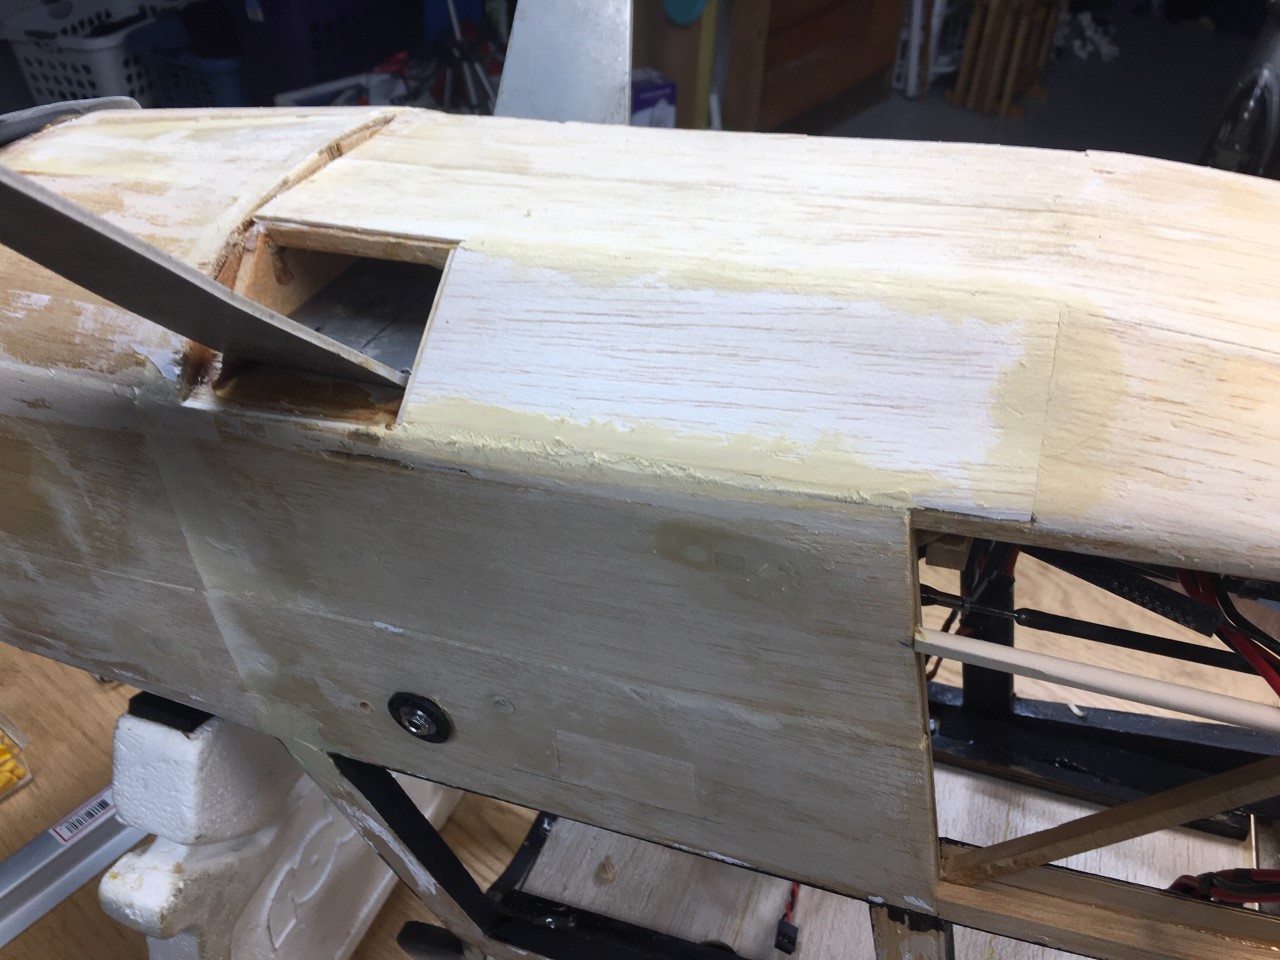
There isn't too much work left on the fuselage before I can start looking at covering. The biggest work/fabrication/cobbling that needs to be done is around the landing gear. The original pieces were pretty beat up with thin balsa, and got further wrecked when I removed the landing gear to re-bend it. When the model was built the structure was permanently built around the gear so there was no way to remove the gear without cutting the structure up. I wanted to change that, just in case more gear work is needed in the future.

thumbnail_IMG_1769.jpg


My design replaces most of the stuff I cut out, but will use smaller blocks around the gear itself that can be more easily removed to let me pull the landing gear. So far one side is mostly fabricated and filled with balsa filler.

thumbnail_IMG_1772.jpg