1:9 Scale B-17G - 'Sweet Pea'

wilmracer

I build things that fly (sometimes)
Mentor
Just pokin fun at ya mate been gone a while and seeing the progress made on a screen I can actually SEE makes it that much more impressive.

6 inch cell phone screen is Ohh thats cool... 47 inch tv the wow factor rises exponentially.


Lol... no worries.

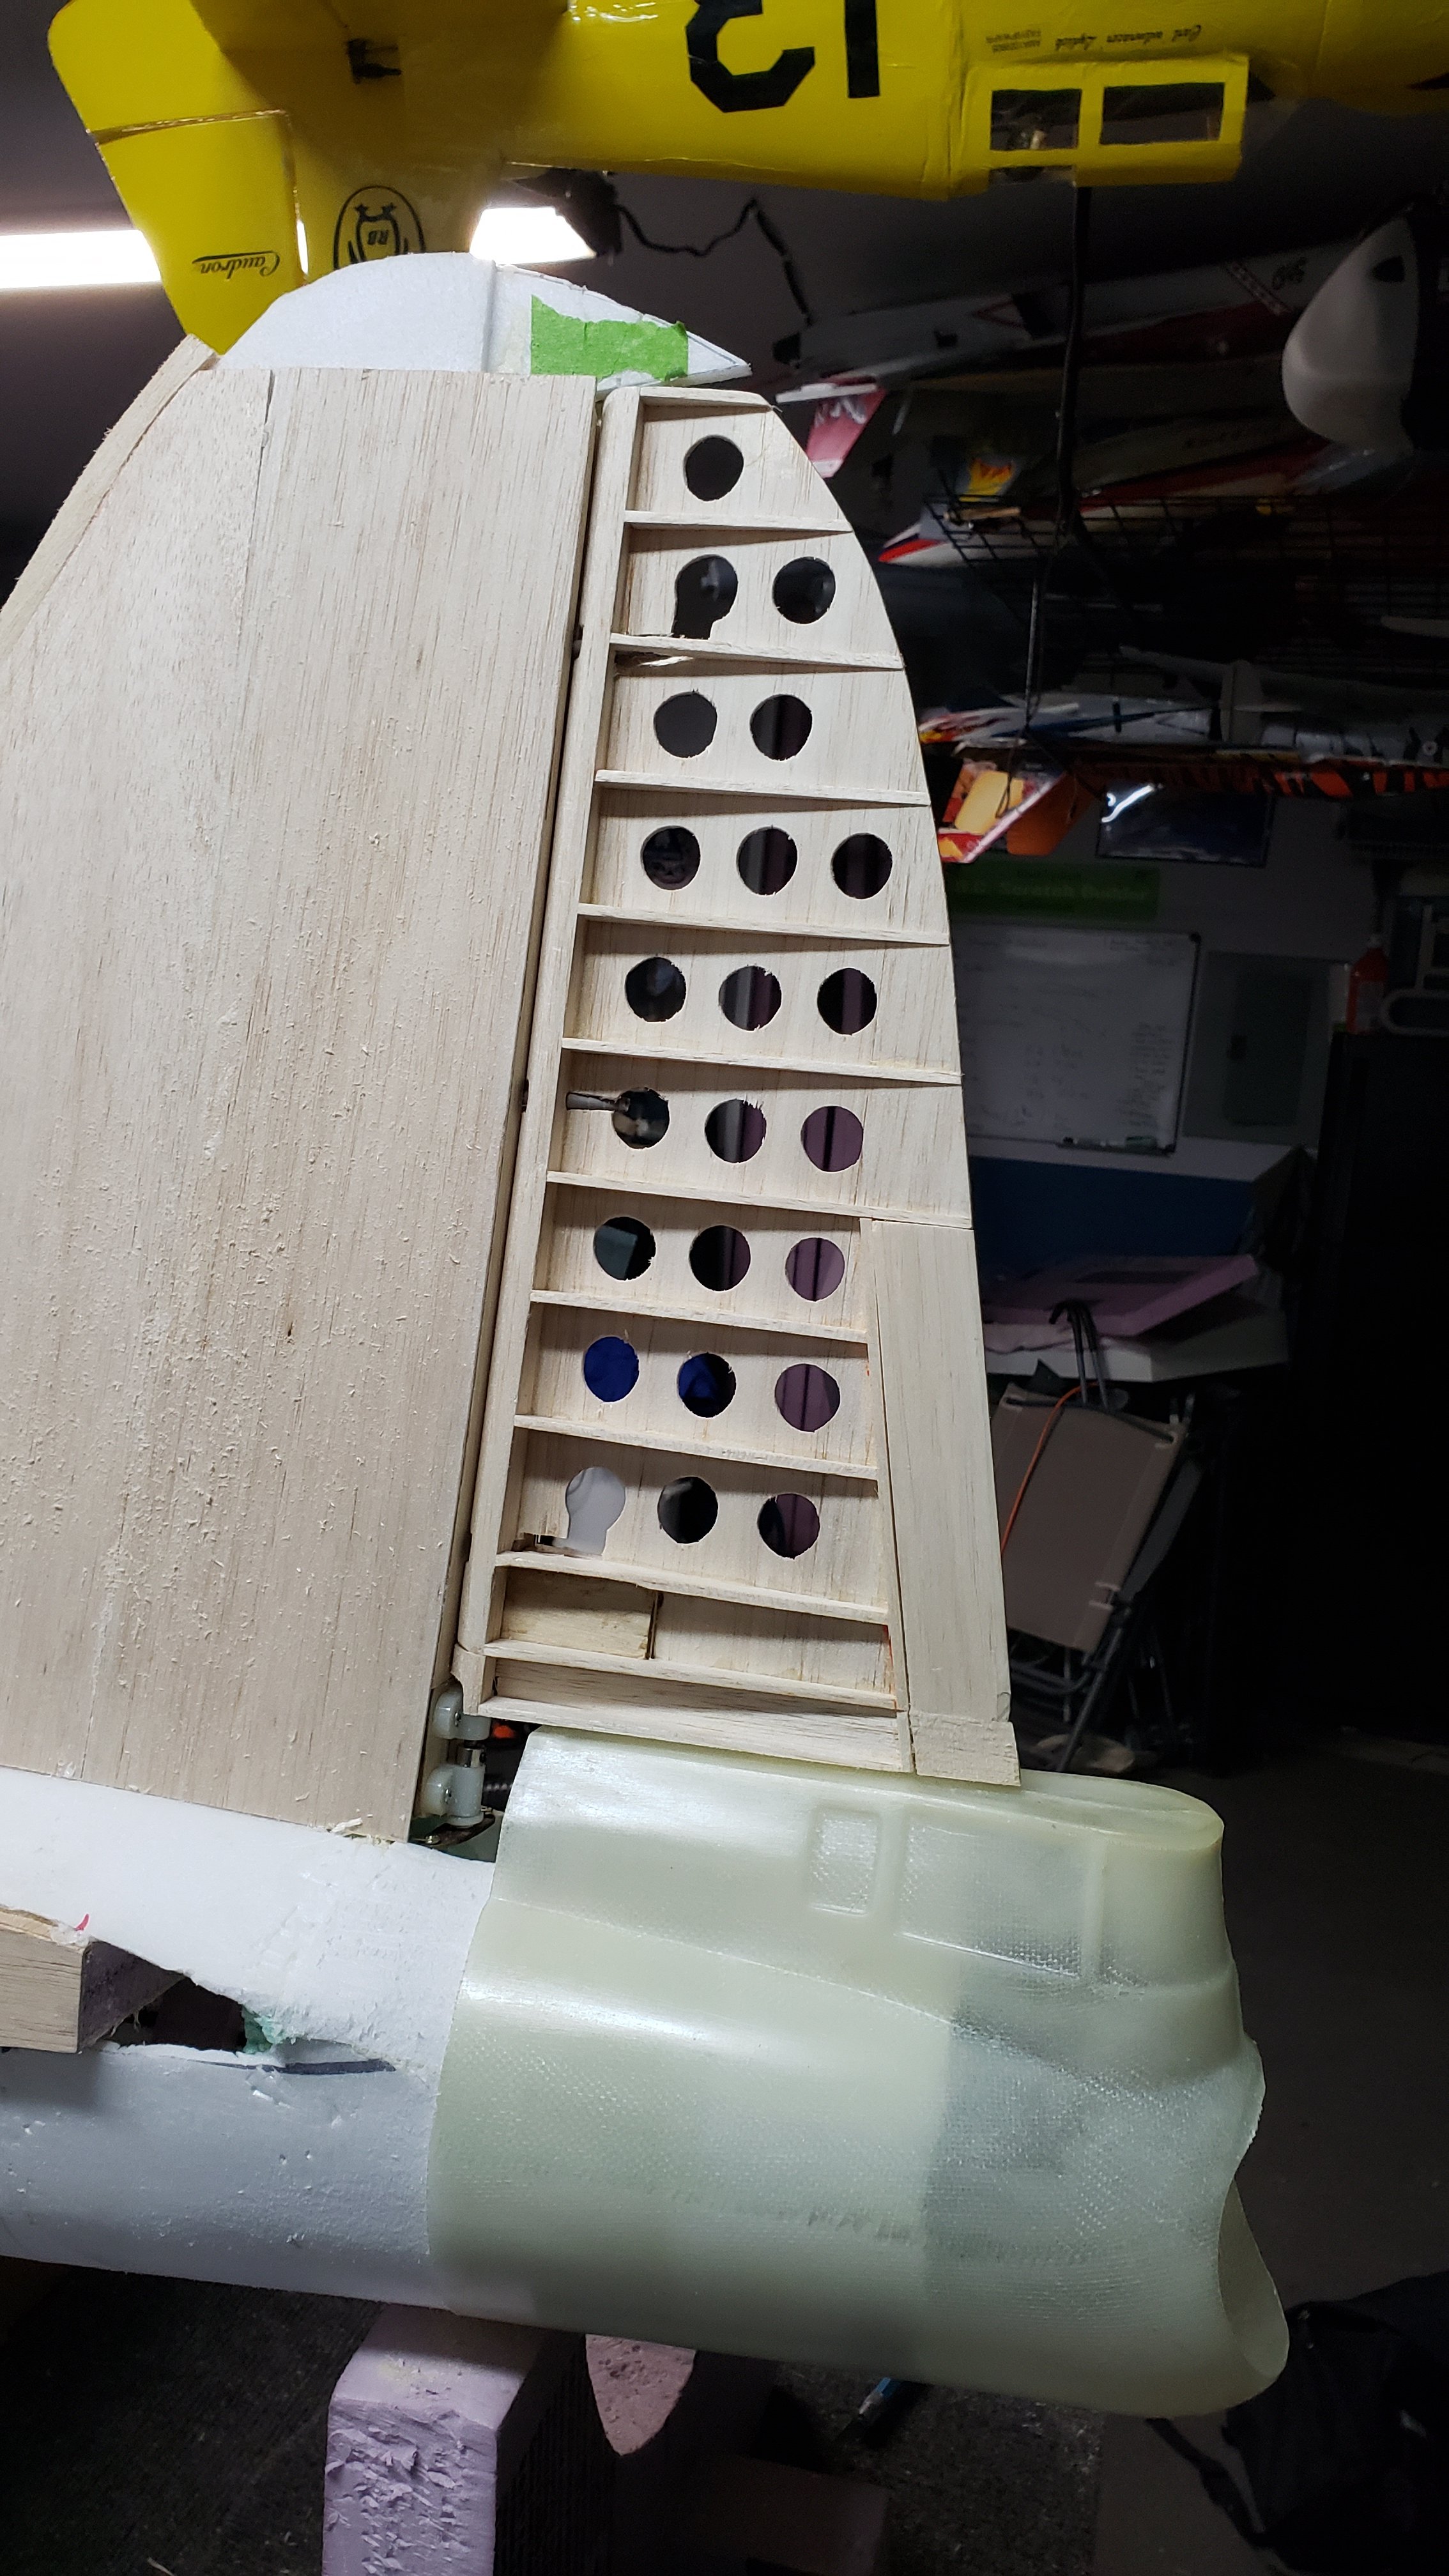
I did just get an email from the Wingspan Models folks that the detail kit is ready to ship. I'm excited to see how they look! They're sending me:

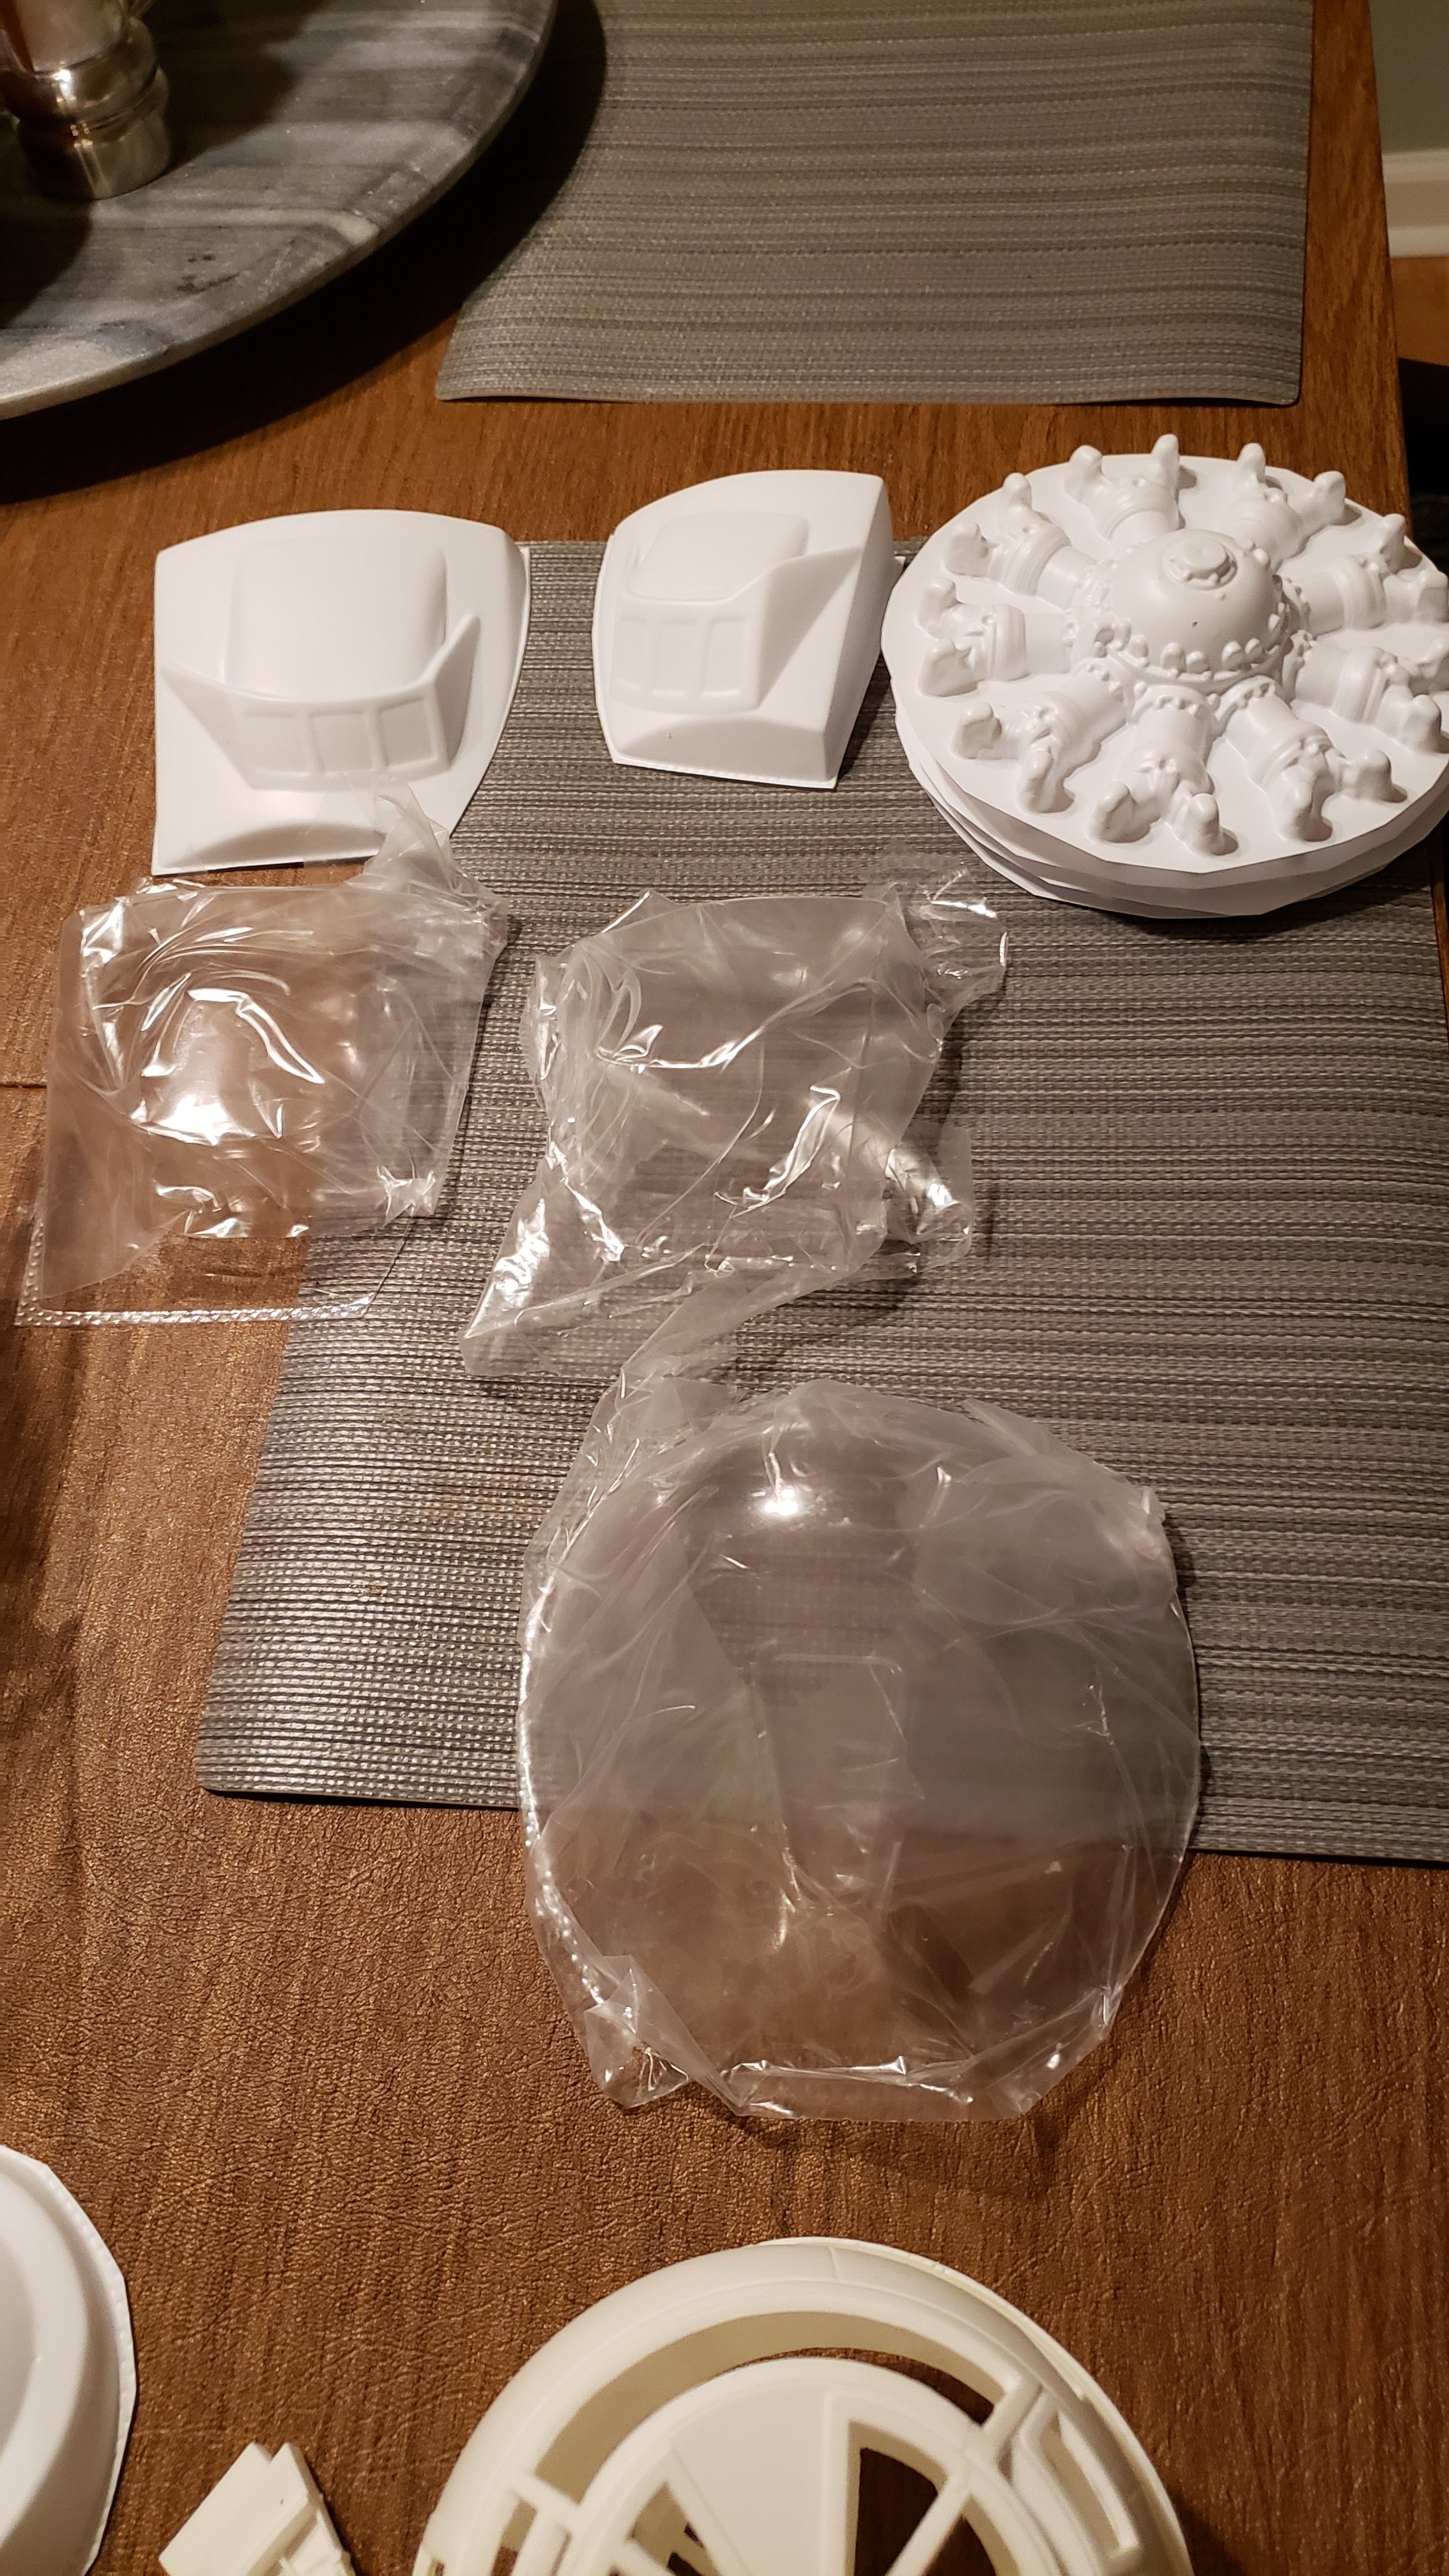
  • Dummy Radials (Set of 4) - Likely won't be used as I am about 50% done with design of printable engines, but we'll see...
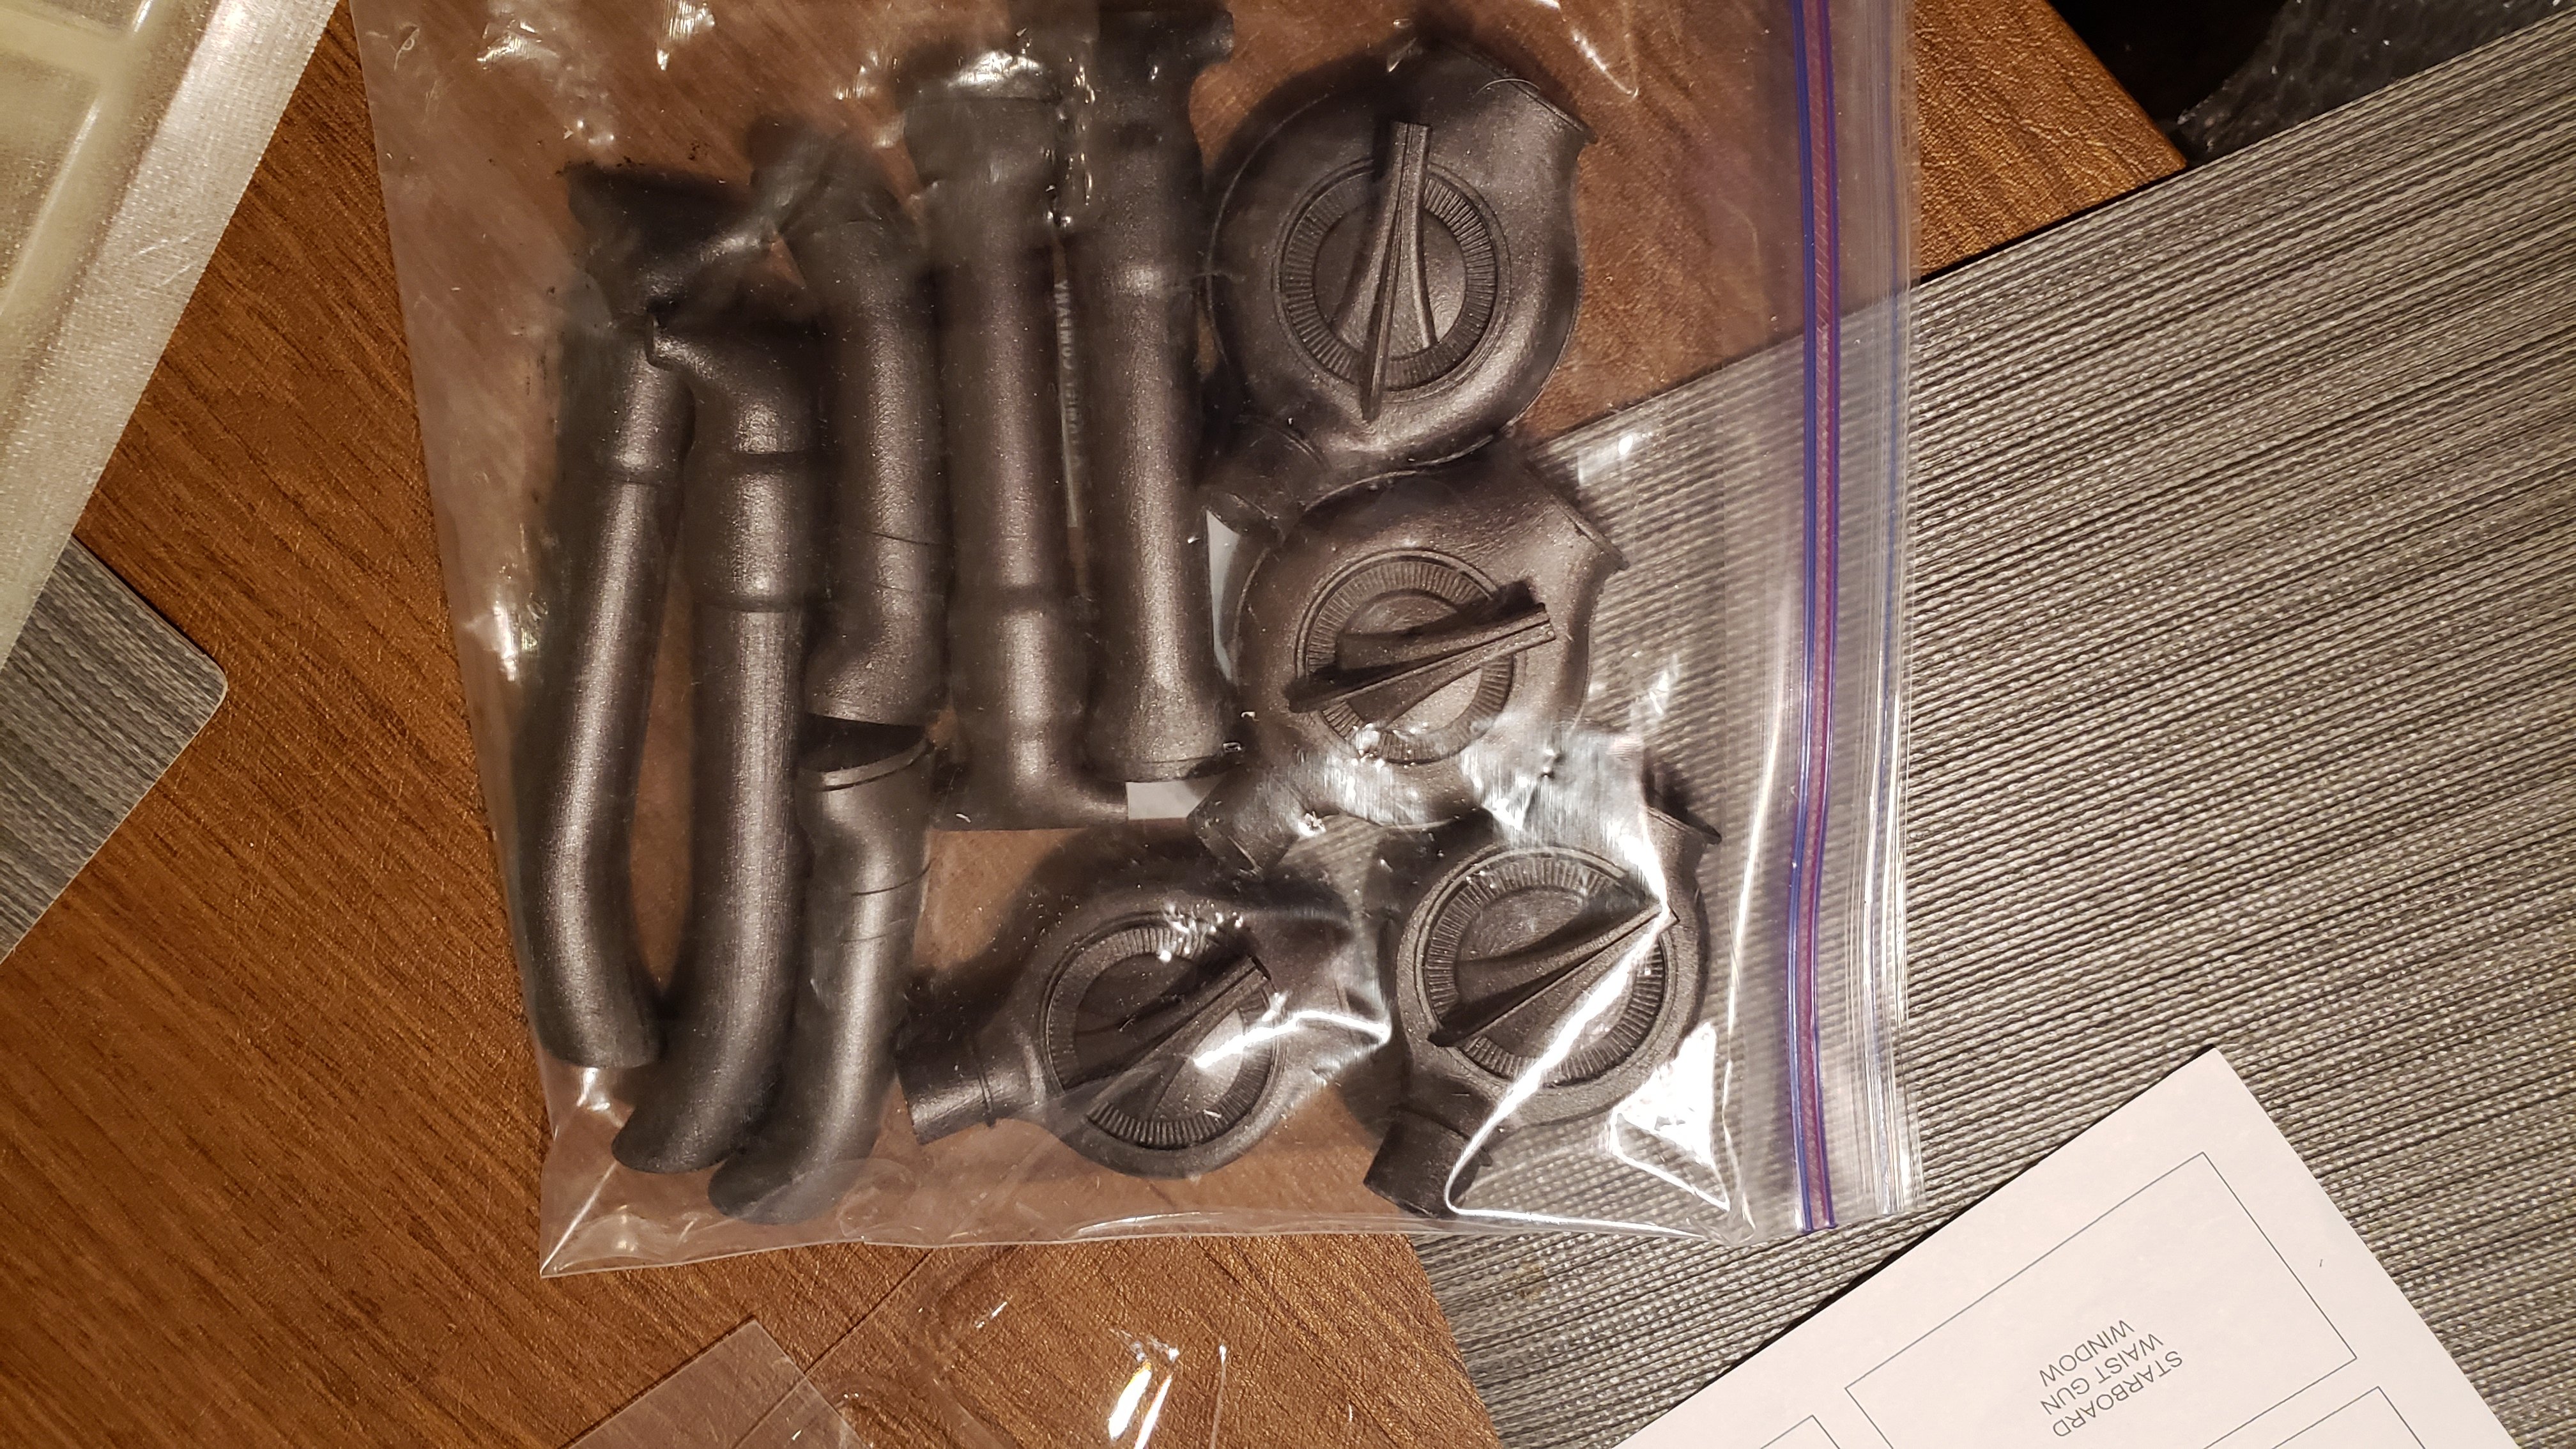
  • Superchargers (Set of 4)
  • Cheek Blisters (Left and Right)
  • Top Turret Frame w/ Glass - (expect to use my own guns and details. Need to automate as well :)
  • Ball Turret armor w/ glass - (again use my own guns and details. Probably look to automate too)
  • Nose Cone - (this will save SO much time)
  • Windows sheet
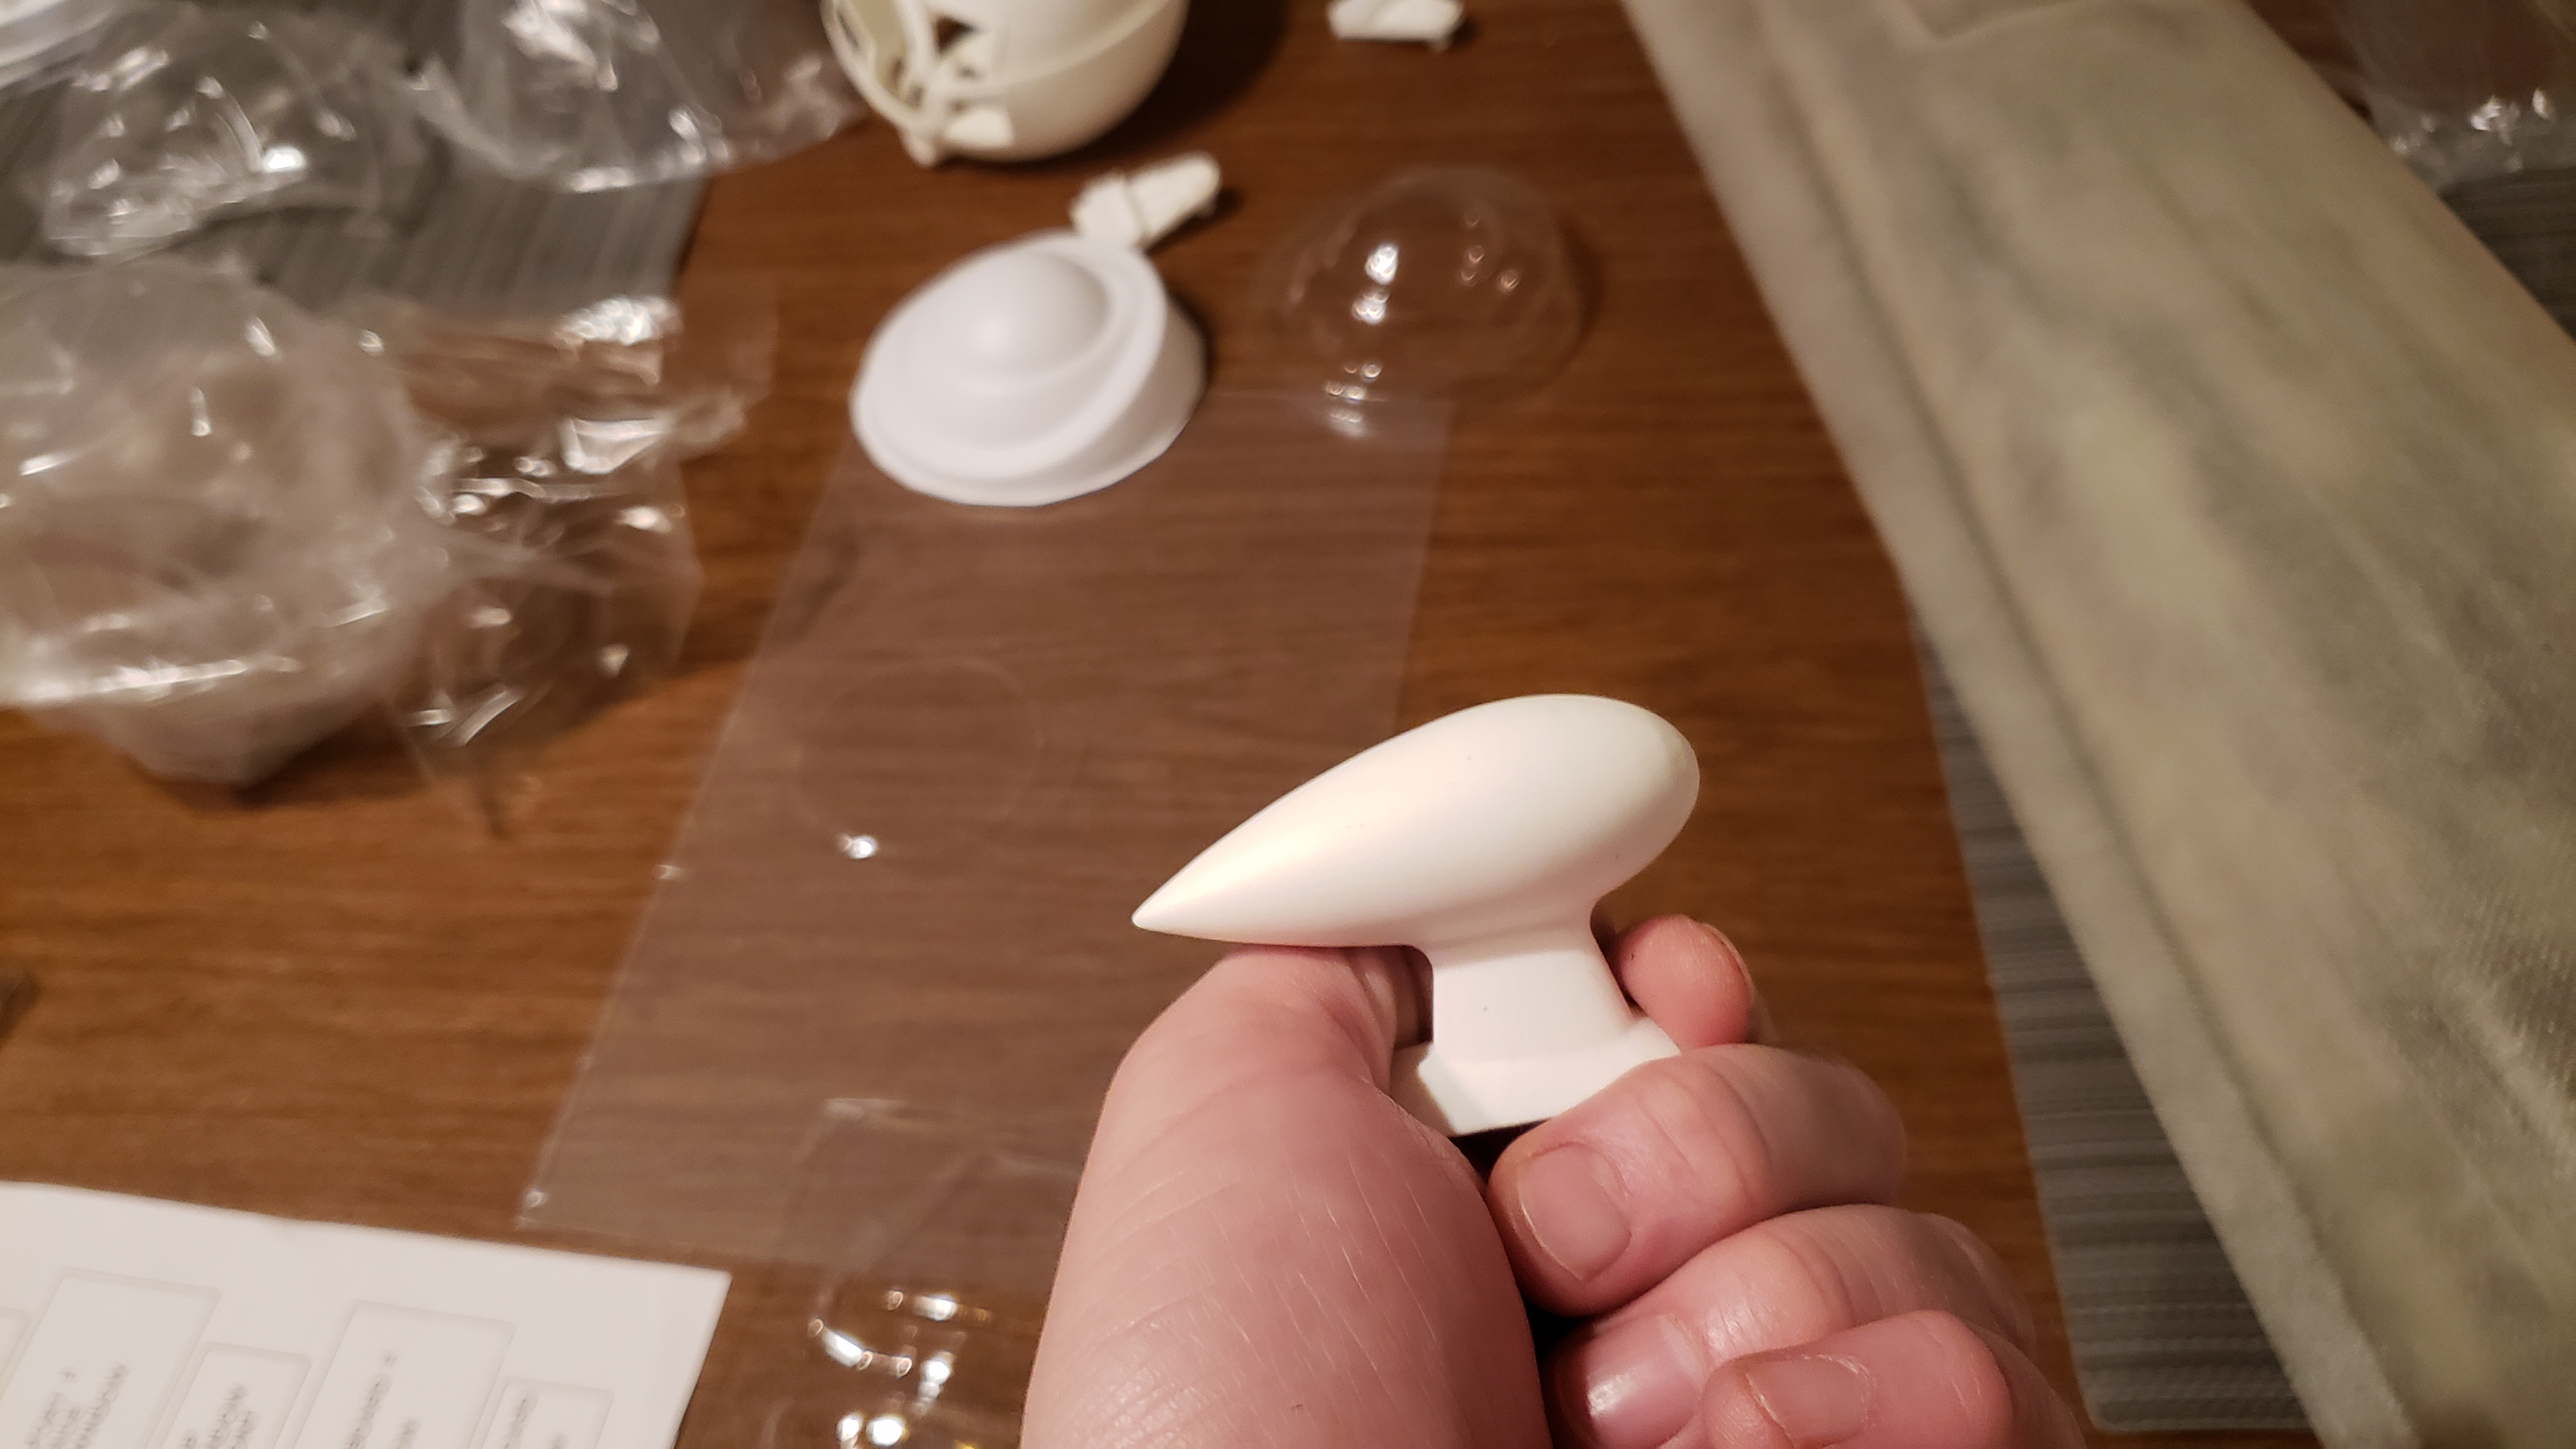
  • Cast Football antenna

Add to that the fact that I have their full fiberglass parts kit and I can honestly say I'm leaning VERY heavily on the Wingspan models kit even though I didn't build with their plans/kit and didn't buy their landing gear. They have been very cool about it, and even said another customer mentioned my cockpit CAD files. I'll be excited to get this fuse to the point I can start laying out and installing the cockpit. That is going to be a lot of fun :)
 

wilmracer

I build things that fly (sometimes)
Mentor
Parts came in from Wingspan Models. I want to tip my hat to Michael and whoever else is on his team there. DAYUM these are nice. I mean, REALLY nice. The big bling items are the ball turret and turbo/exhaust pieces, but everything look awesome. Every part has pre-formed plastic glass/windows that will save me SO many headaches. I'm not going to pull the protective plastic off of any of the glass yet, but the nose cone looks to be a perfect fit (once the fuse is sheeted).

When folks ask about the model I'll still call it a scratch build, but I will definitely mention wingspan models every time someone asks about her. Their parts are top-notch quality and worth the $$$. I'll be honest, to personally fabricate all of these parts would have added probably a solid 100-150 hours of work, and they may not have been as good in the end. Worth it.

The dummy radials look really nice too, but I'll still be using the ones I've been working on.

Might get to do some actual flying this weekend. Fingers crossed!
 

Attachments

  • 20191107_205748.jpg
    20191107_205748.jpg
    3.2 MB · Views: 0
  • 20191107_205702.jpg
    20191107_205702.jpg
    2.3 MB · Views: 0
  • 20191107_205605.jpg
    20191107_205605.jpg
    2.3 MB · Views: 0
  • 20191107_205548.jpg
    20191107_205548.jpg
    1.8 MB · Views: 0
  • 20191107_205541.jpg
    20191107_205541.jpg
    2.7 MB · Views: 0
  • 20191107_205535.jpg
    20191107_205535.jpg
    2.8 MB · Views: 0
  • 20191107_205526.jpg
    20191107_205526.jpg
    1.3 MB · Views: 0
  • 20191107_205428.jpg
    20191107_205428.jpg
    1.6 MB · Views: 0
  • 20191107_205417.jpg
    20191107_205417.jpg
    1.6 MB · Views: 0

wilmracer

I build things that fly (sometimes)
Mentor
After WAY too many months I've finally started the shaping and balsa sheeting. Starting with the vertical stab. Once both sides are sheeted I'll cut off the leading edge, cap with balsa, and sand to shape.
 

Attachments

  • 20191118_221526.jpg
    20191118_221526.jpg
    2.8 MB · Views: 0
  • 20191118_221511.jpg
    20191118_221511.jpg
    2.7 MB · Views: 0

PoorManRC

Master member
So awesome!! Still can't get over the mix of Foam and Balsa. This thing will be a work of Flying Art!! 👍👍😉
👋👋👋👋👋👋👋👋👋
 

wilmracer

I build things that fly (sometimes)
Mentor
Bit more work done on the tail sections. This weekend I'll be starting the finer shaping and sheeting on the fuse around the tail section and I wanted to get the Cheyenne tail gun fiberglass part test fit to make sure everything lines up just right. Had to make a few tweaks but everything is working smooth now. I'll be working out a method for attachment that allows for removal for detailing, repair, and maintenance of the ruder linkage.

With the horizontal stabs and elevators attached she is really starting to look the part, at least from the backside ;-)
 

Attachments

  • 20191127_231528.jpg
    20191127_231528.jpg
    2.6 MB · Views: 0
  • 20191127_230728.jpg
    20191127_230728.jpg
    1.2 MB · Views: 0
  • 20191127_231745.jpg
    20191127_231745.jpg
    899.2 KB · Views: 0

wilmracer

I build things that fly (sometimes)
Mentor
Knocked out a mount for the Cheyenne tail gun section. I'll add more lightening holes and get it mounted up. The fiberglass portion will be removable via a few small screws so I can get in and access the rudder mechanism and any details I want to add in the tail gunner area. Initially it will be pretty sparce in there to keep weight down.

I cut out one of the windows. Did this one with an exacto but the rest will be done with a dremel. That FG is solid.
 

Attachments

  • 20191217_222539.jpg
    20191217_222539.jpg
    2.3 MB · Views: 0
  • 20191217_222534.jpg
    20191217_222534.jpg
    1.6 MB · Views: 0
  • 20191217_222501.jpg
    20191217_222501.jpg
    3.4 MB · Views: 0

willsonman

Builder Extraordinare
Mentor
I have found that you can also cut fiberglass with a razor saw. Using the front tip of the blade you can drag it in a straight line (use masking tape as a guide) and make several passes. It makes a far cleaner line than a dremel and the blade wanders less for a straighter cut.
 

wilmracer

I build things that fly (sometimes)
Mentor
I have found that you can also cut fiberglass with a razor saw. Using the front tip of the blade you can drag it in a straight line (use masking tape as a guide) and make several passes. It makes a far cleaner line than a dremel and the blade wanders less for a straighter cut.

I'll have to give that a shot. I'd like to minimize cleanup (and prevent any screwups that need repair). Maybe I can use a few small pieces of aluminum and tape/clamps to make some guilds that keep the cuts consistent. In any case it is going to take a while to cut all the windows.

I am excited though to actually do some interior work on it. I'll need to settle on the paint I'll be using for visible interior areas.

Lots to do, but I'm going to try to keep the baby steps heading in the right direction.
 

wilmracer

I build things that fly (sometimes)
Mentor
That looks like a solid chunk o material in them pics. Just that one piece is almost as big as some of the foamie builds here on the forums.

It is definitely a monster. Believe it or not I feel like I'm getting used to the size and it is starting to feel "normal". Same thing happened with the P-40. I think the first time I see her with the full wing frames attached the size will hit me again.
 

willsonman

Builder Extraordinare
Mentor
It is definitely a monster. Believe it or not I feel like I'm getting used to the size and it is starting to feel "normal". Same thing happened with the P-40. I think the first time I see her with the full wing frames attached the size will hit me again.
And for your spouse!
 

wilmracer

I build things that fly (sometimes)
Mentor
Baby steps here tonight, but at least it is something. I got the Tail gunner windows rough cut. The glass is REALLY thick in some areas, but that is good because I'll be able to sand it down and it will still be strong, especially once the windows are it. I also rough cut the slots for the Browning .50s, taped the cover in place, and grabbed a few shots. That white foam piece under the rudder won't be there once this is permanently mounted. It kind of messes up the shot.

I'll admit, I did end up pulling the dremel out after much work with the xacto and razor saw. I was pretty careful to cut well within the frame and then sand out. More to come soon.
 

Attachments

  • 20191219_220908.jpg
    20191219_220908.jpg
    2.6 MB · Views: 0
  • 20191219_220837.jpg
    20191219_220837.jpg
    2.3 MB · Views: 0
  • 20191219_220935.jpg
    20191219_220935.jpg
    2.4 MB · Views: 0

PoorManRC

Master member
This looks SO FREAKING AWESOME...
When Overstreet finally releases his Master Series Kit, it's going to pale by comparison!! 😜😊😄

Seriously, this shows dedication, hard work and Art. 👋👋👋👋👋👋
Merry Christmas🎄🎅