125ish% FT Commuter build thread

BoredGuy

Active member
@Mid7night
I guess so, but the “fit” part seems a tad hard. My fuse is 120% and I’m having a hard time getting the 2200 mah to fit in.
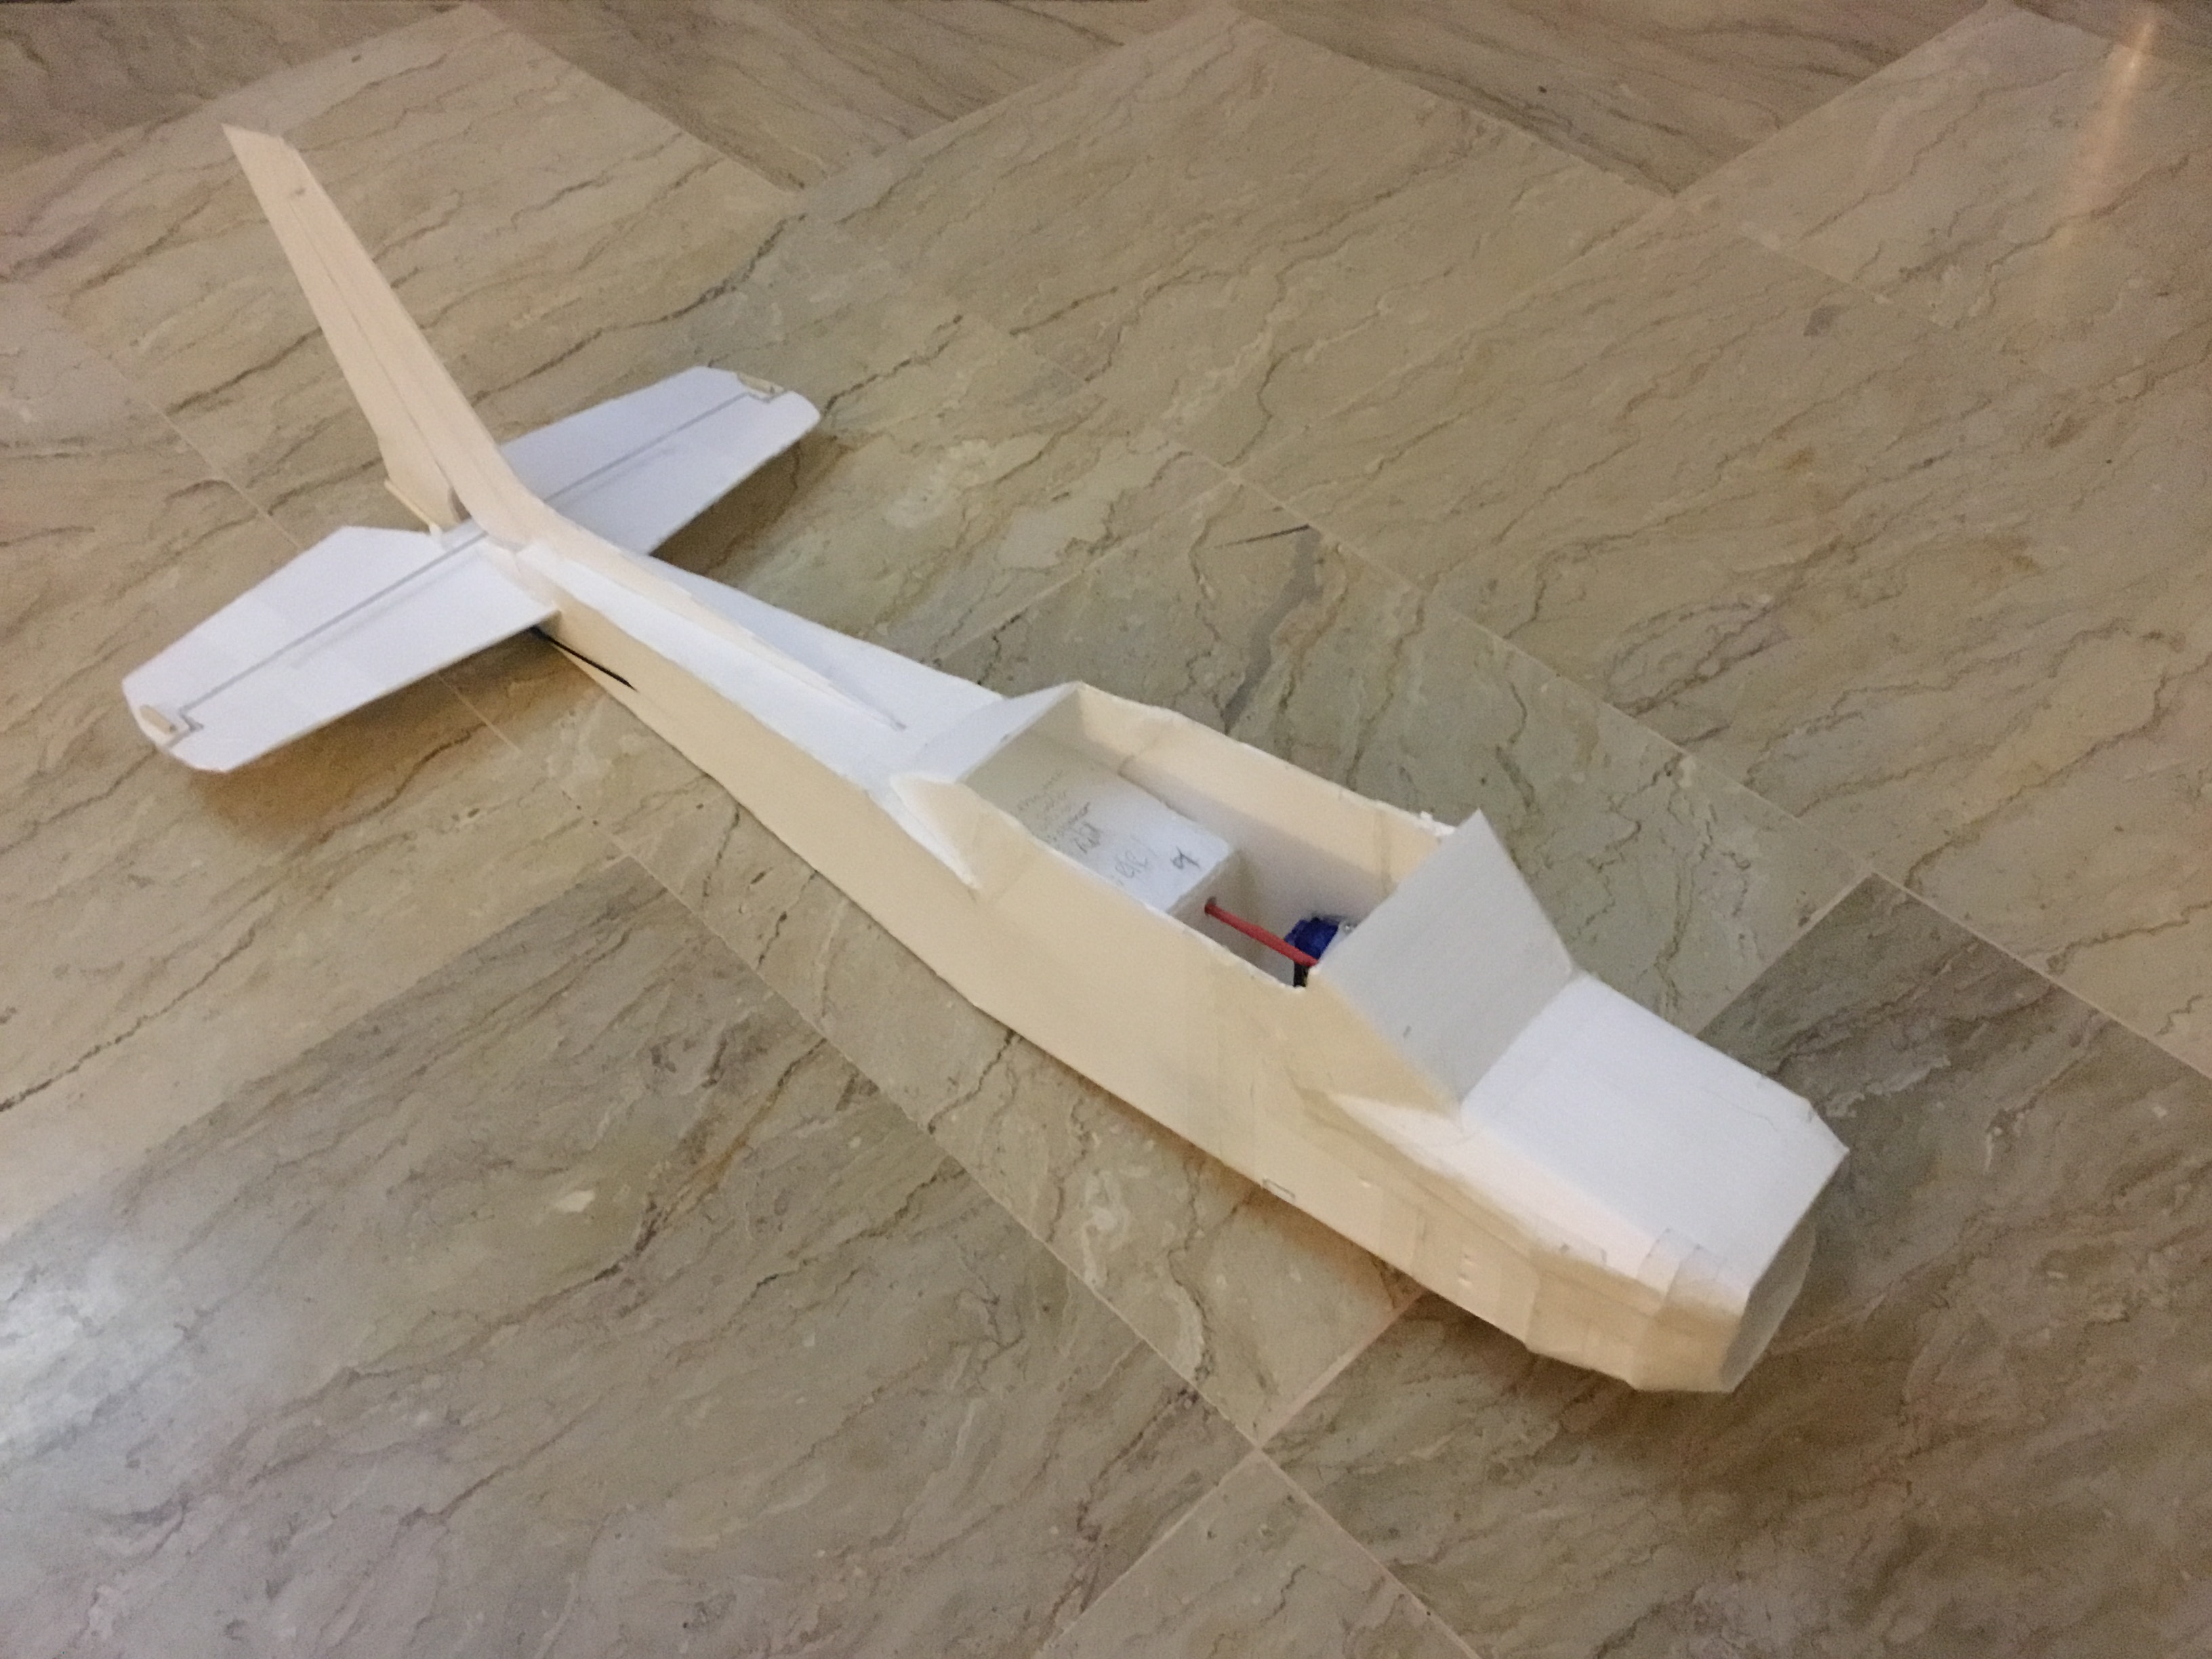
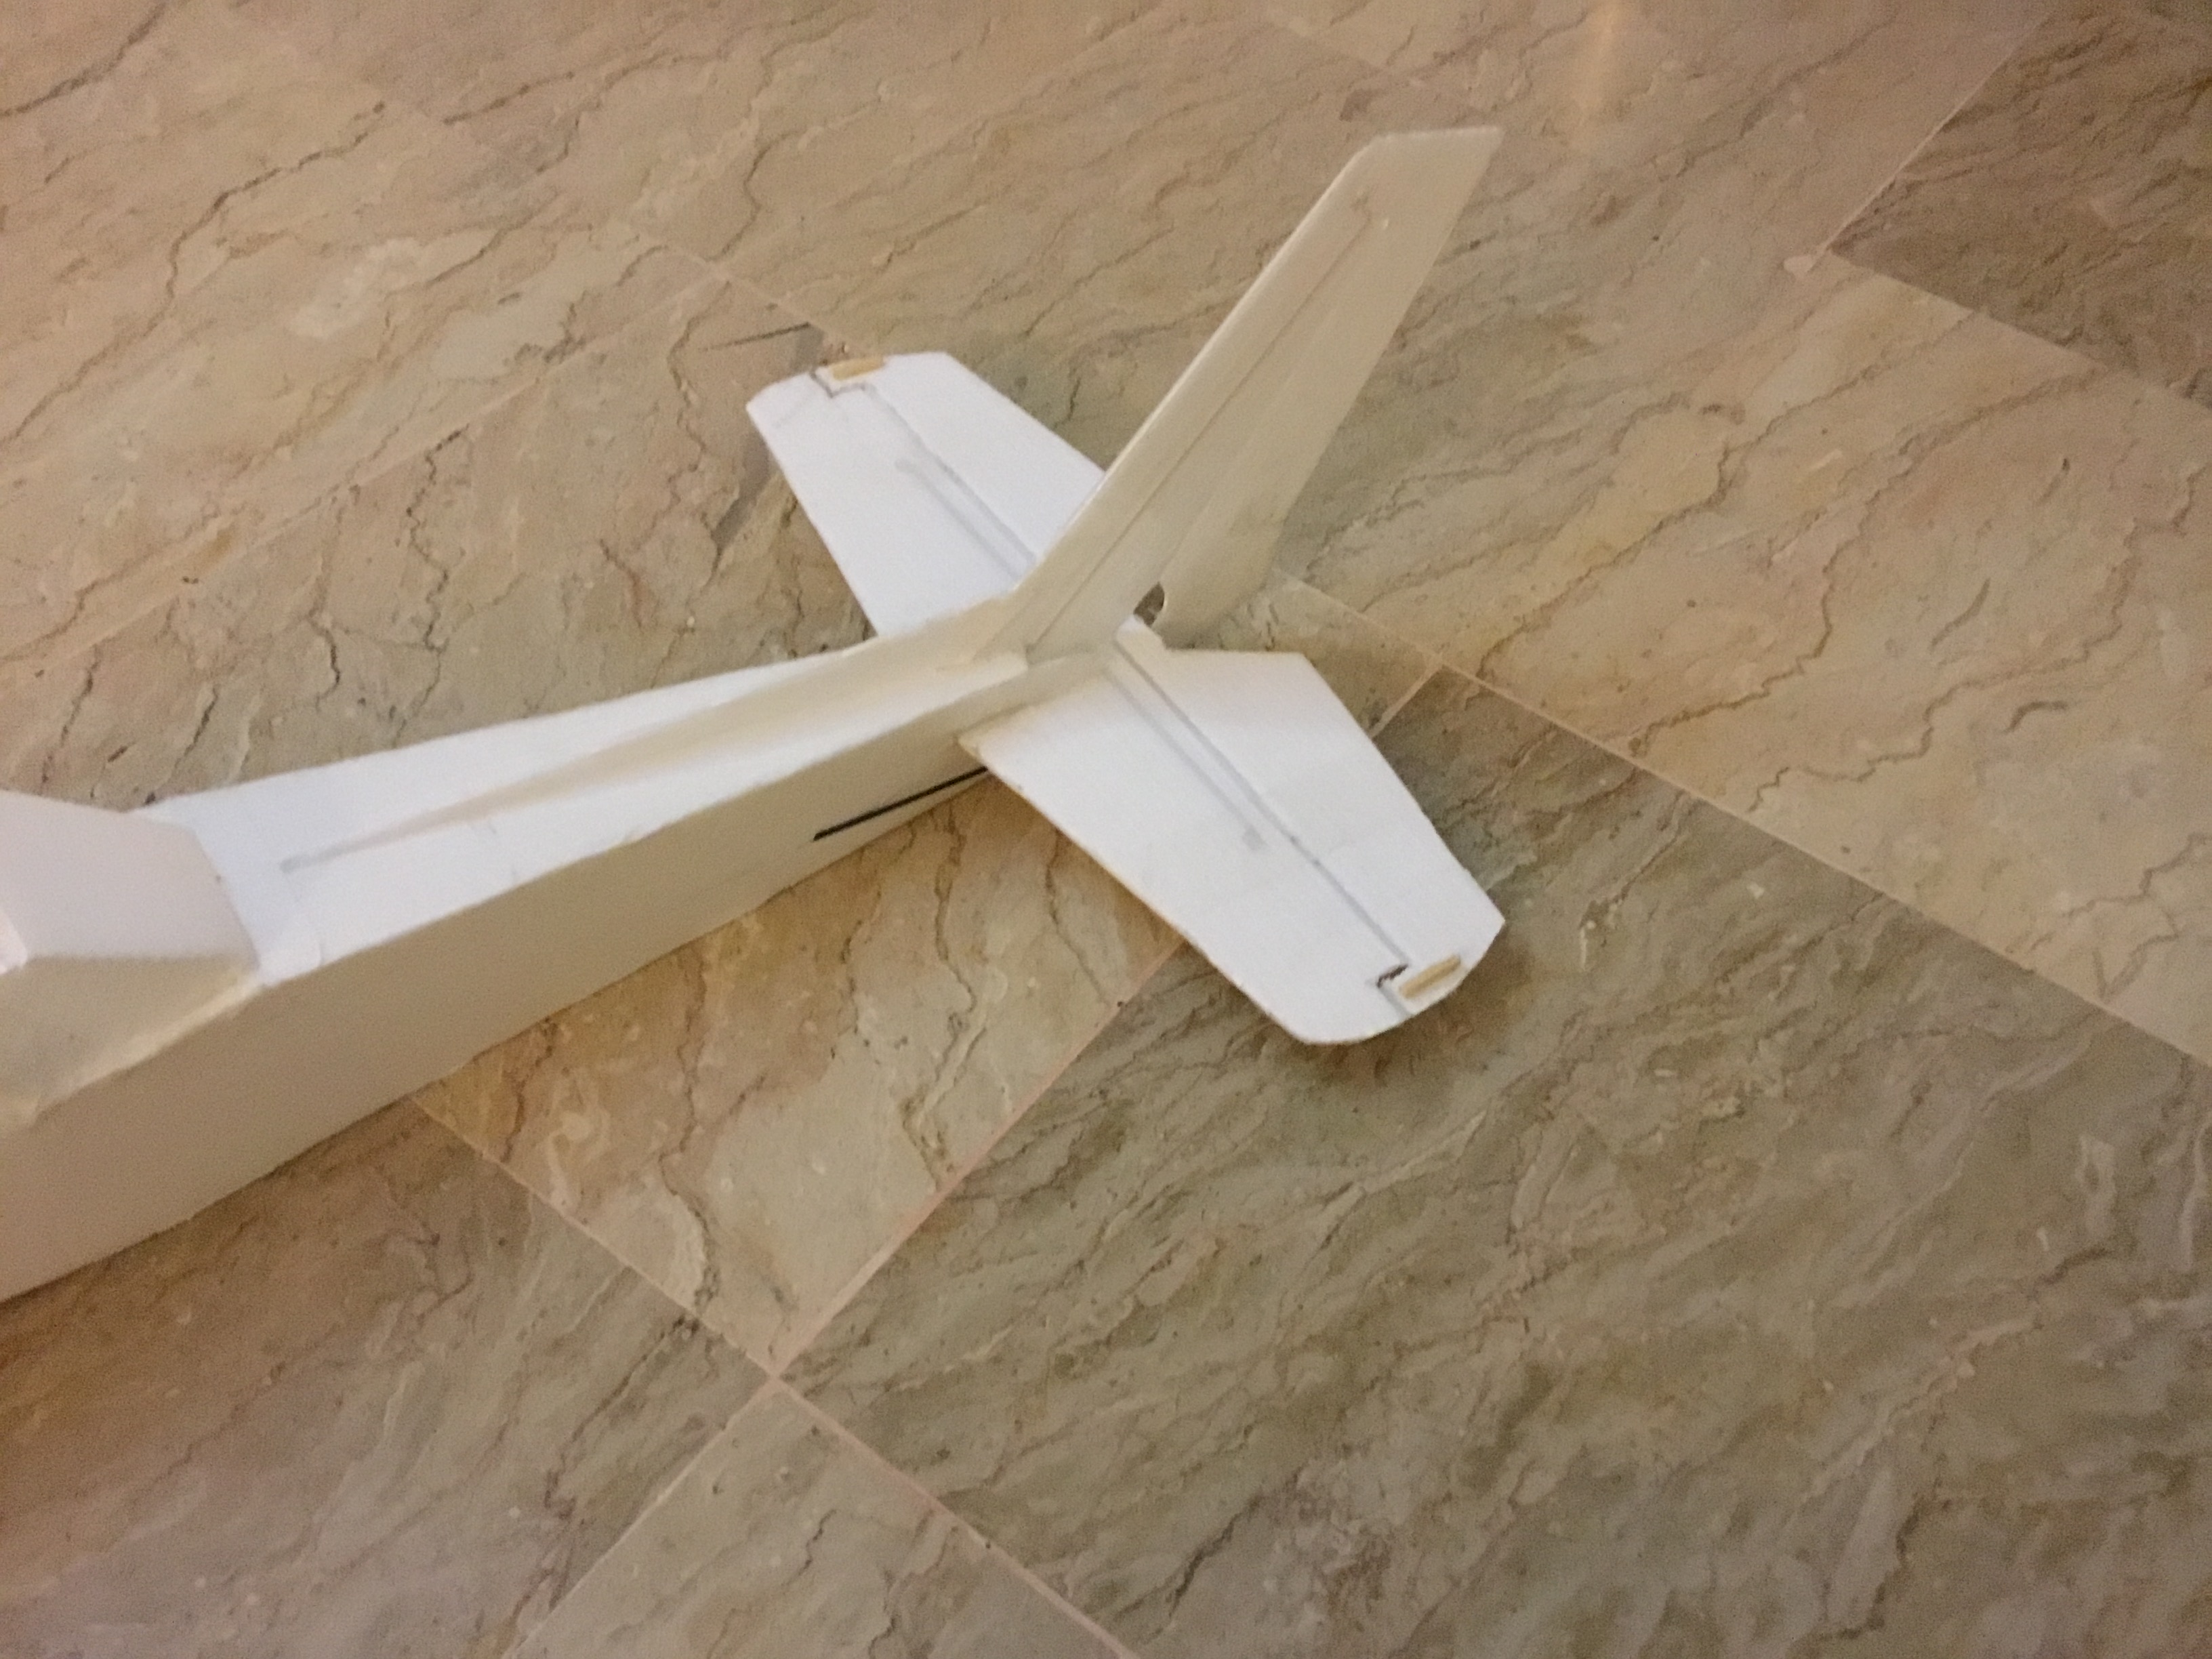
On another note, I got the rudder and elevator pushrods finished. The center sections are carbon fiber rods, with normal metal pushrods at the end. The joints are CA glue with heat shrink tubing around them. Made progress on the fuselage too. I’m one slow builder.
C9BD0D1C-6CD9-4938-9592-4EB50BC2BEAF.jpeg
 

BoredGuy

Active member
Fuse finally looks like a real plane, yay! Some pics:
DF788617-C24E-4E01-AC52-5F9656EF5DAD.jpeg
9DF55354-FC35-4977-A07B-DB174380420D.jpeg
4535C4DD-98C5-491C-B2E0-98096981B596.jpeg
Some isssues, though: as you can see, the joints on the nose are kinda unneat. The tape hides it a bit, but it still looks pretty bad IMO. I think I’ll cover the nose, tips of the wings, and the rudder with packing tape for a paint job, to help orientation, and to cover the joints a bit better. Another thing: the original power pod was 3mm off in each direction because I forgot to account for the reduced thickness of the power pod support, so I had to design a new one:
651AECD5-D8C7-4788-97AE-C628A2790640.jpeg
It turned out fine, but I’m still using only two dowels to secure it against the plane. Should that be enough, or should I add a third one?
 
Last edited:

BoredGuy

Active member
The fuselage is finally done, along with the tail too. The rudder has a dowel hotglued to the lower side to counteract flex, and there is a cf tube going through the horizontal stabiliser. Servos are in too, but the rudder and elevator channels need to be reversed. Build is going really well.
 

Attachments

  • 237F5F67-F906-4615-9FF1-3AA8386F5E72.jpeg
    237F5F67-F906-4615-9FF1-3AA8386F5E72.jpeg
    1.2 MB · Views: 0
  • D81D764D-B656-48FF-ADDF-4E400754754B.jpeg
    D81D764D-B656-48FF-ADDF-4E400754754B.jpeg
    1.2 MB · Views: 0
  • 0DD7B474-B134-4C82-93D5-E570216F3280.jpeg
    0DD7B474-B134-4C82-93D5-E570216F3280.jpeg
    1.2 MB · Views: 0

BoredGuy

Active member
I didn’t have a servo Y plug, so I made one out of some jumper cables I had lying around. The joints are covered with heat shrink, and there is electrical tape around wires in the same section to keep it neat. Let’s hope it doesn’t fail in mid-flight or even on the ground-the solder joints are seriously iffy, even though it worked right now when I tested it.
On another note, only 3 of the 5 mg90 servos I’m ordered are working. Is this normal?
 

Attachments

  • 23784898-5703-4B75-84EF-B2B8B92E6E19.jpeg
    23784898-5703-4B75-84EF-B2B8B92E6E19.jpeg
    1.1 MB · Views: 0

Matthewdupreez

Legendary member
I didn’t have a servo Y plug, so I made one out of some jumper cables I had lying around. The joints are covered with heat shrink, and there is electrical tape around wires in the same section to keep it neat. Let’s hope it doesn’t fail in mid-flight or even on the ground-the solder joints are seriously iffy, even though it worked right now when I tested it.
On another note, only 3 of the 5 mg90 servos I’m ordered are working. Is this normal?
no it's not normal i say send them back and get a replacement or refund
 

Matthewdupreez

Legendary member
I didn’t have a servo Y plug, so I made one out of some jumper cables I had lying around. The joints are covered with heat shrink, and there is electrical tape around wires in the same section to keep it neat. Let’s hope it doesn’t fail in mid-flight or even on the ground-the solder joints are seriously iffy, even though it worked right now when I tested it.
On another note, only 3 of the 5 mg90 servos I’m ordered are working. Is this normal?
yea those wires in those cables are super thin....
 

Matthewdupreez

Legendary member
Fuse finally looks like a real plane, yay! Some pics:
View attachment 183828 View attachment 183829 View attachment 183830 Some isssues, though: as you can see, the joints on the nose are kinda unneat. The tape hides it a bit, but it still looks pretty bad IMO. I think I’ll cover the nose, tips of the wings, and the rudder with packing tape for a paint job, to help orientation, and to cover the joints a bit better. Another thing: the original power pod was 3mm off in each direction because I forgot to account for the reduced thickness of the power pod support, so I had to design a new one:
View attachment 183831 It turned out fine, but I’m still using only two dowels to secure it against the plane. Should that be enough, or should I add a third one?
get a piece of sand paper and sand those edges and joins nice and smooth it looks really good that way
 

BoredGuy

Active member
On another note, the fuselage weighs 100-110g with 2 servos in it and the full tail structure, 300g with battery. Is this heavy or light, and does it seem reasonable?
 

BoredGuy

Active member
Haven’t had much time to build last week, but here’s a progress update:
The landing gear is done, and I covered the bare wires (from a laundry hanger-the laundromat guy did a double take when I walked into the shop and asked him for only one wire hanger) with coroplast to give it a slightly scale look.
The wing is also done, the box spars went inside great, although I think the airfoil is more cambered than in the standard ft build. Well, that should give more lift and lower top speed, hopefully ideal for this trainer-type plane. Had to reverse one servo, so I had to resolder 4 rather small wires, but it worked.
On another note, the pic isn’t included here, but the wing looks pretty big relative to the body. Hopefully it’ll glide well.
The wing will be removable, the mechanism is kinda based off of the one in the big Commuter mid7night built. I’ll try to post more photos of that for future reference.
 

Attachments

  • 1FE01D06-2E1B-4233-B515-D78433ACD857.jpeg
    1FE01D06-2E1B-4233-B515-D78433ACD857.jpeg
    1.2 MB · Views: 0
  • 37842428-3DEC-4F66-A00E-29321FBA36C5.jpeg
    37842428-3DEC-4F66-A00E-29321FBA36C5.jpeg
    1.1 MB · Views: 0
  • CE70F3CD-17F7-4057-96E2-96FD0ECFE883.jpeg
    CE70F3CD-17F7-4057-96E2-96FD0ECFE883.jpeg
    1,010 KB · Views: 0
  • 662744DB-C597-47C5-BE2B-A0AA5D4E0B80.jpeg
    662744DB-C597-47C5-BE2B-A0AA5D4E0B80.jpeg
    854 KB · Views: 0

Battery800

Elite member
Ok. I’m using 2 inch wheels partly because I don’t want to nose over and partly because I didn’t know truly how big 2 in wheels are!