3D Printed Quadcopter V 1.0

Andrea

Member
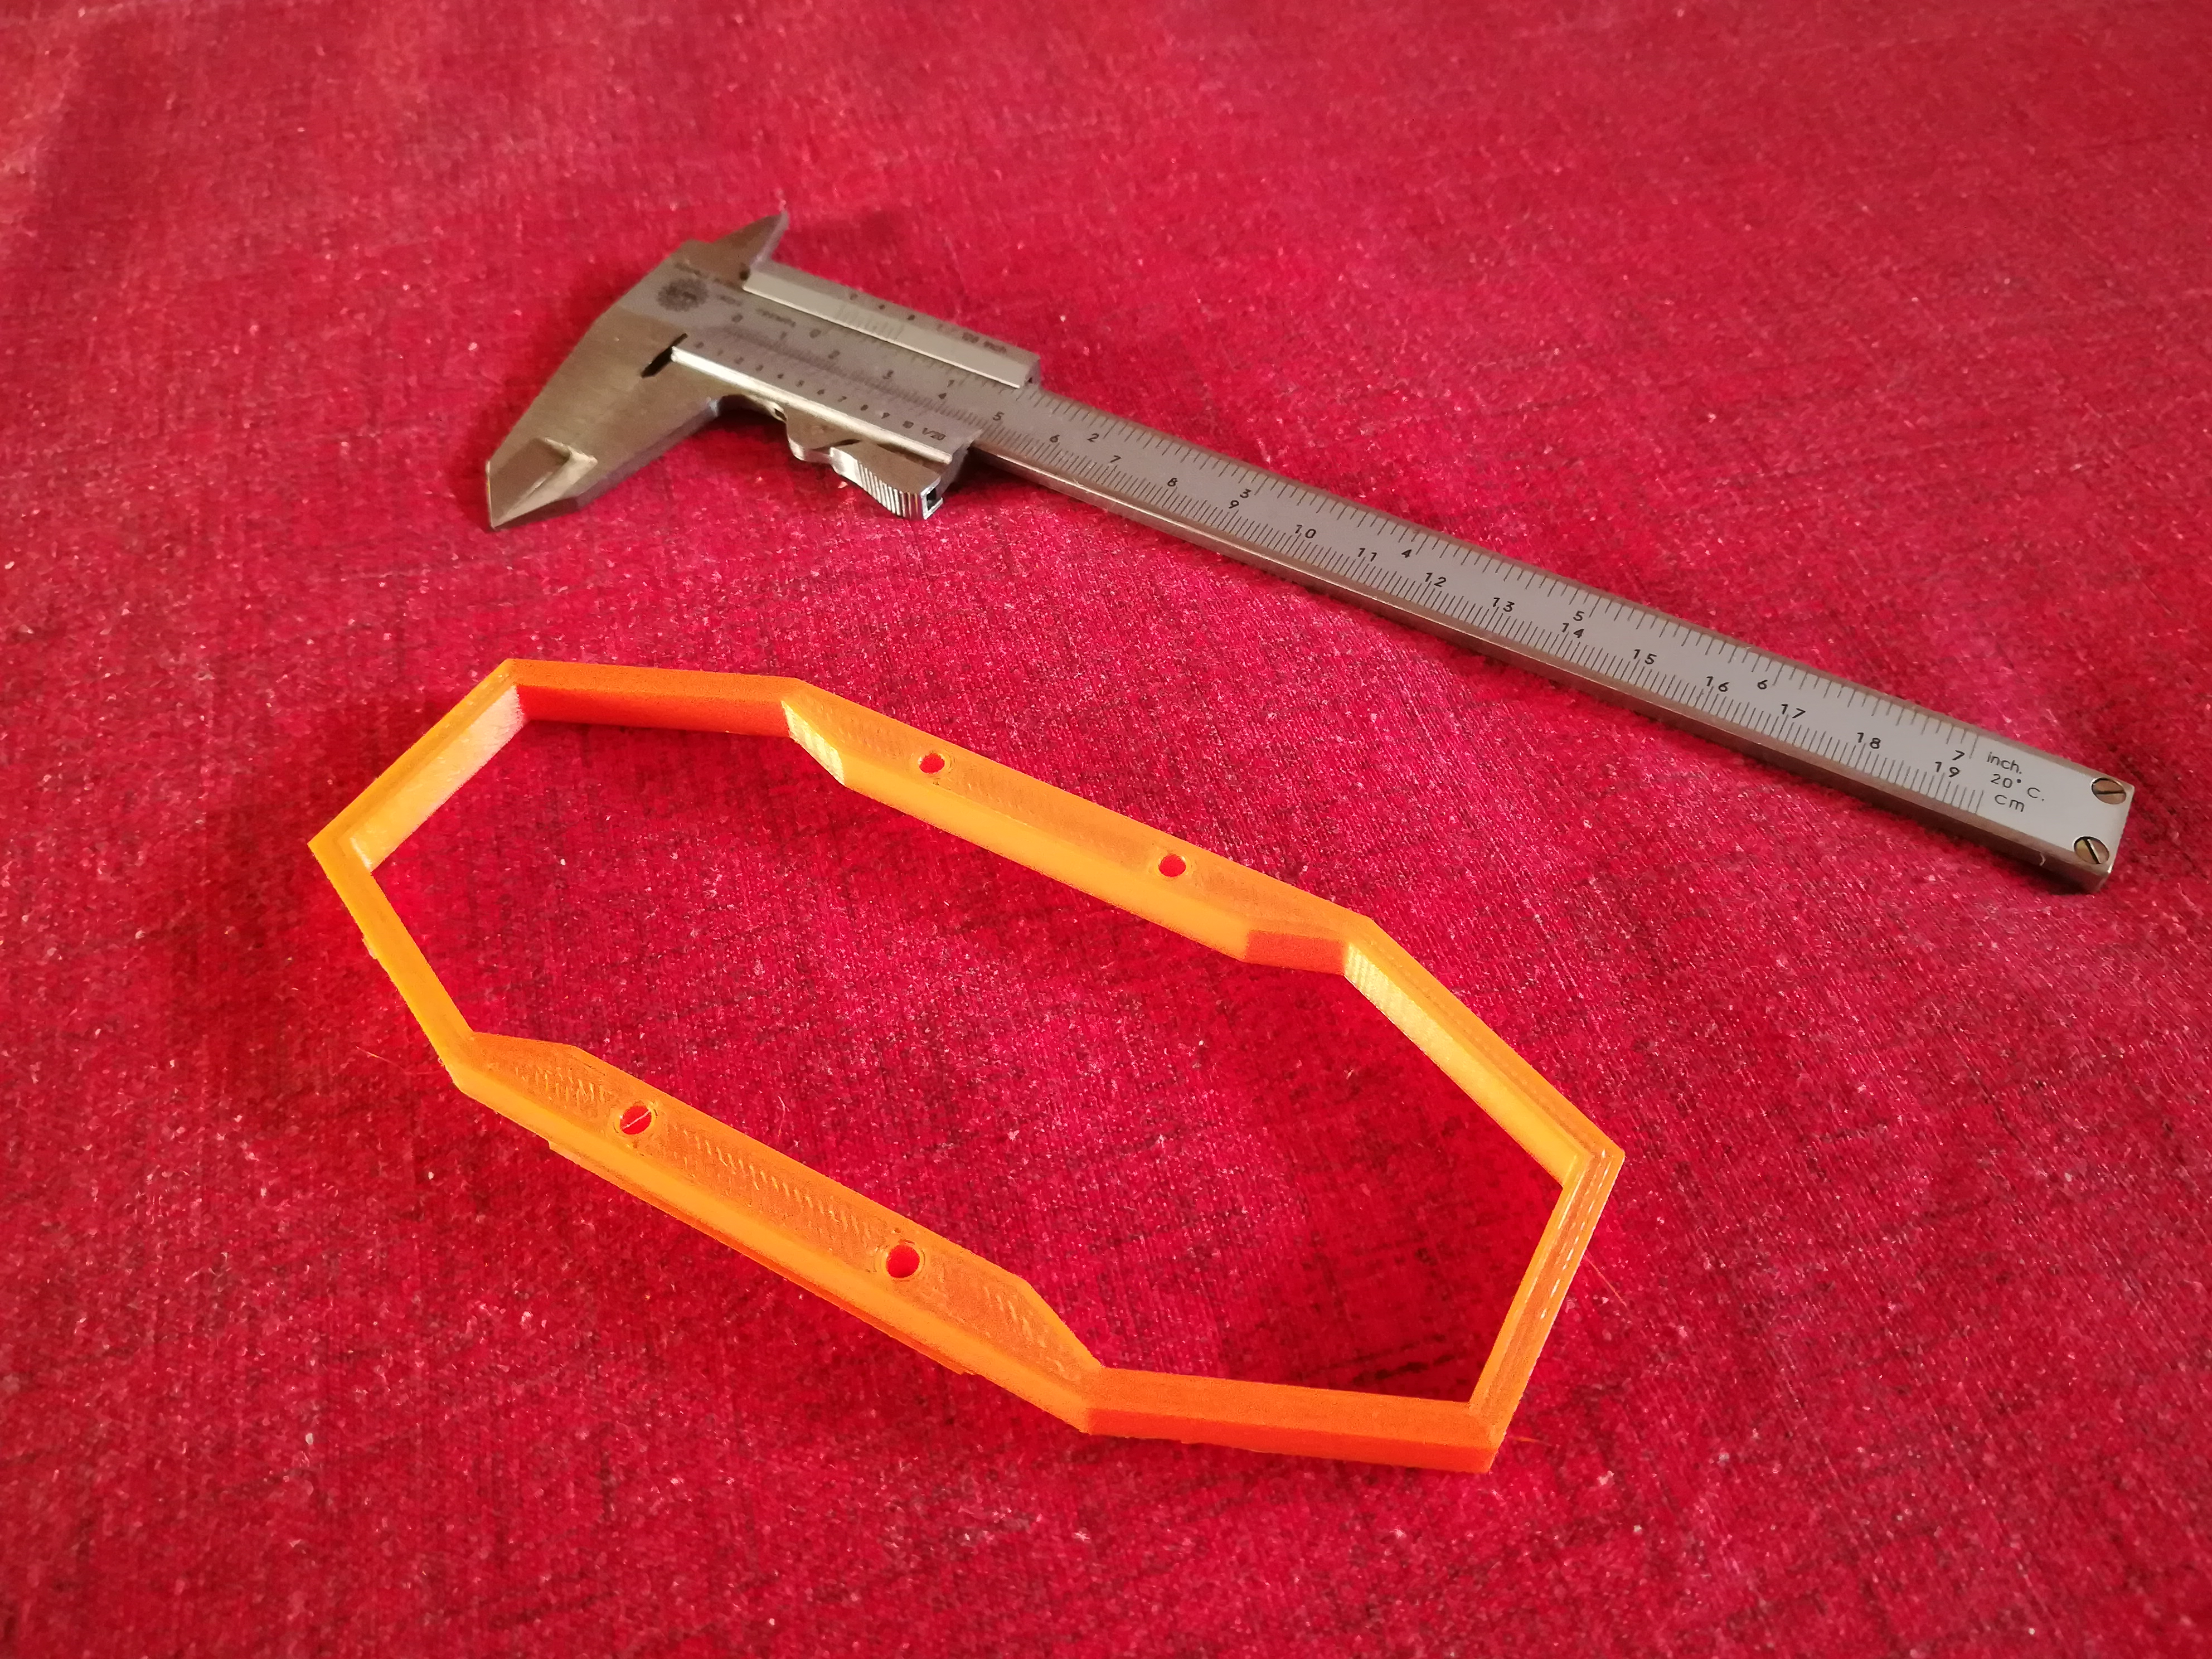
Hi, I'm printing my first quadcopter, I drawn all the stuff and now is under printing process, I choose orange for my first try:
This is the render that i've made:
Render Arancio-Nero.jpg

I 'll keep this post updated as soon i finish to print some parts.
I'm now looking for the Esc because there is not so much room inside it.
 
Last edited:

French

Construire Voler S'écraser Répéter
What size motors are you planning on using? Hopefully they aren’t too powerful to sheer the arms.

Good luck.
 

Andrea

Member
Well, my first goal for this project is to make it fly at least :p, so it will be for general flying
 

PsyBorg

Wake up! Time to fly!
I think them Avans will be too aggressive for them motors kiddo. They were designed for the 2306 emax motors which have a substantially higher amount of torque to drive them. Stick with the standard HQ 5x4x3 or Dal 5x4.5x3 Cyclones for a more durable prop to start.
 

PsyBorg

Wake up! Time to fly!
I am not familiar with that particular brand but yes. Look up your tube reviews and read the comments to find out things like if they are brittle and break super easy or maybe come poorly balanced and such so you are not wasting money. Bad props can totally kill the performance and enjoy ability of flying specially if the quality is poor and inconsistent making you chase your tuning.

Just stay around the 4 to 4.5 pitch range till you know how your quad behaves with bi blades or tri blades.
 

PsyBorg

Wake up! Time to fly!
Them are great motors. They are on a lot of quads and have serious power. Make sure you look at the spec's for thrust and adjust your arms to support that kind of force. Like French said in post #2. 3d printing quad copter frames is doable but still new and most of us are not fully schooled engineers to understand the many aspects of material stresses and forces and all that mathy type stuff that goes into real aircraft design.
 

Andrea

Member
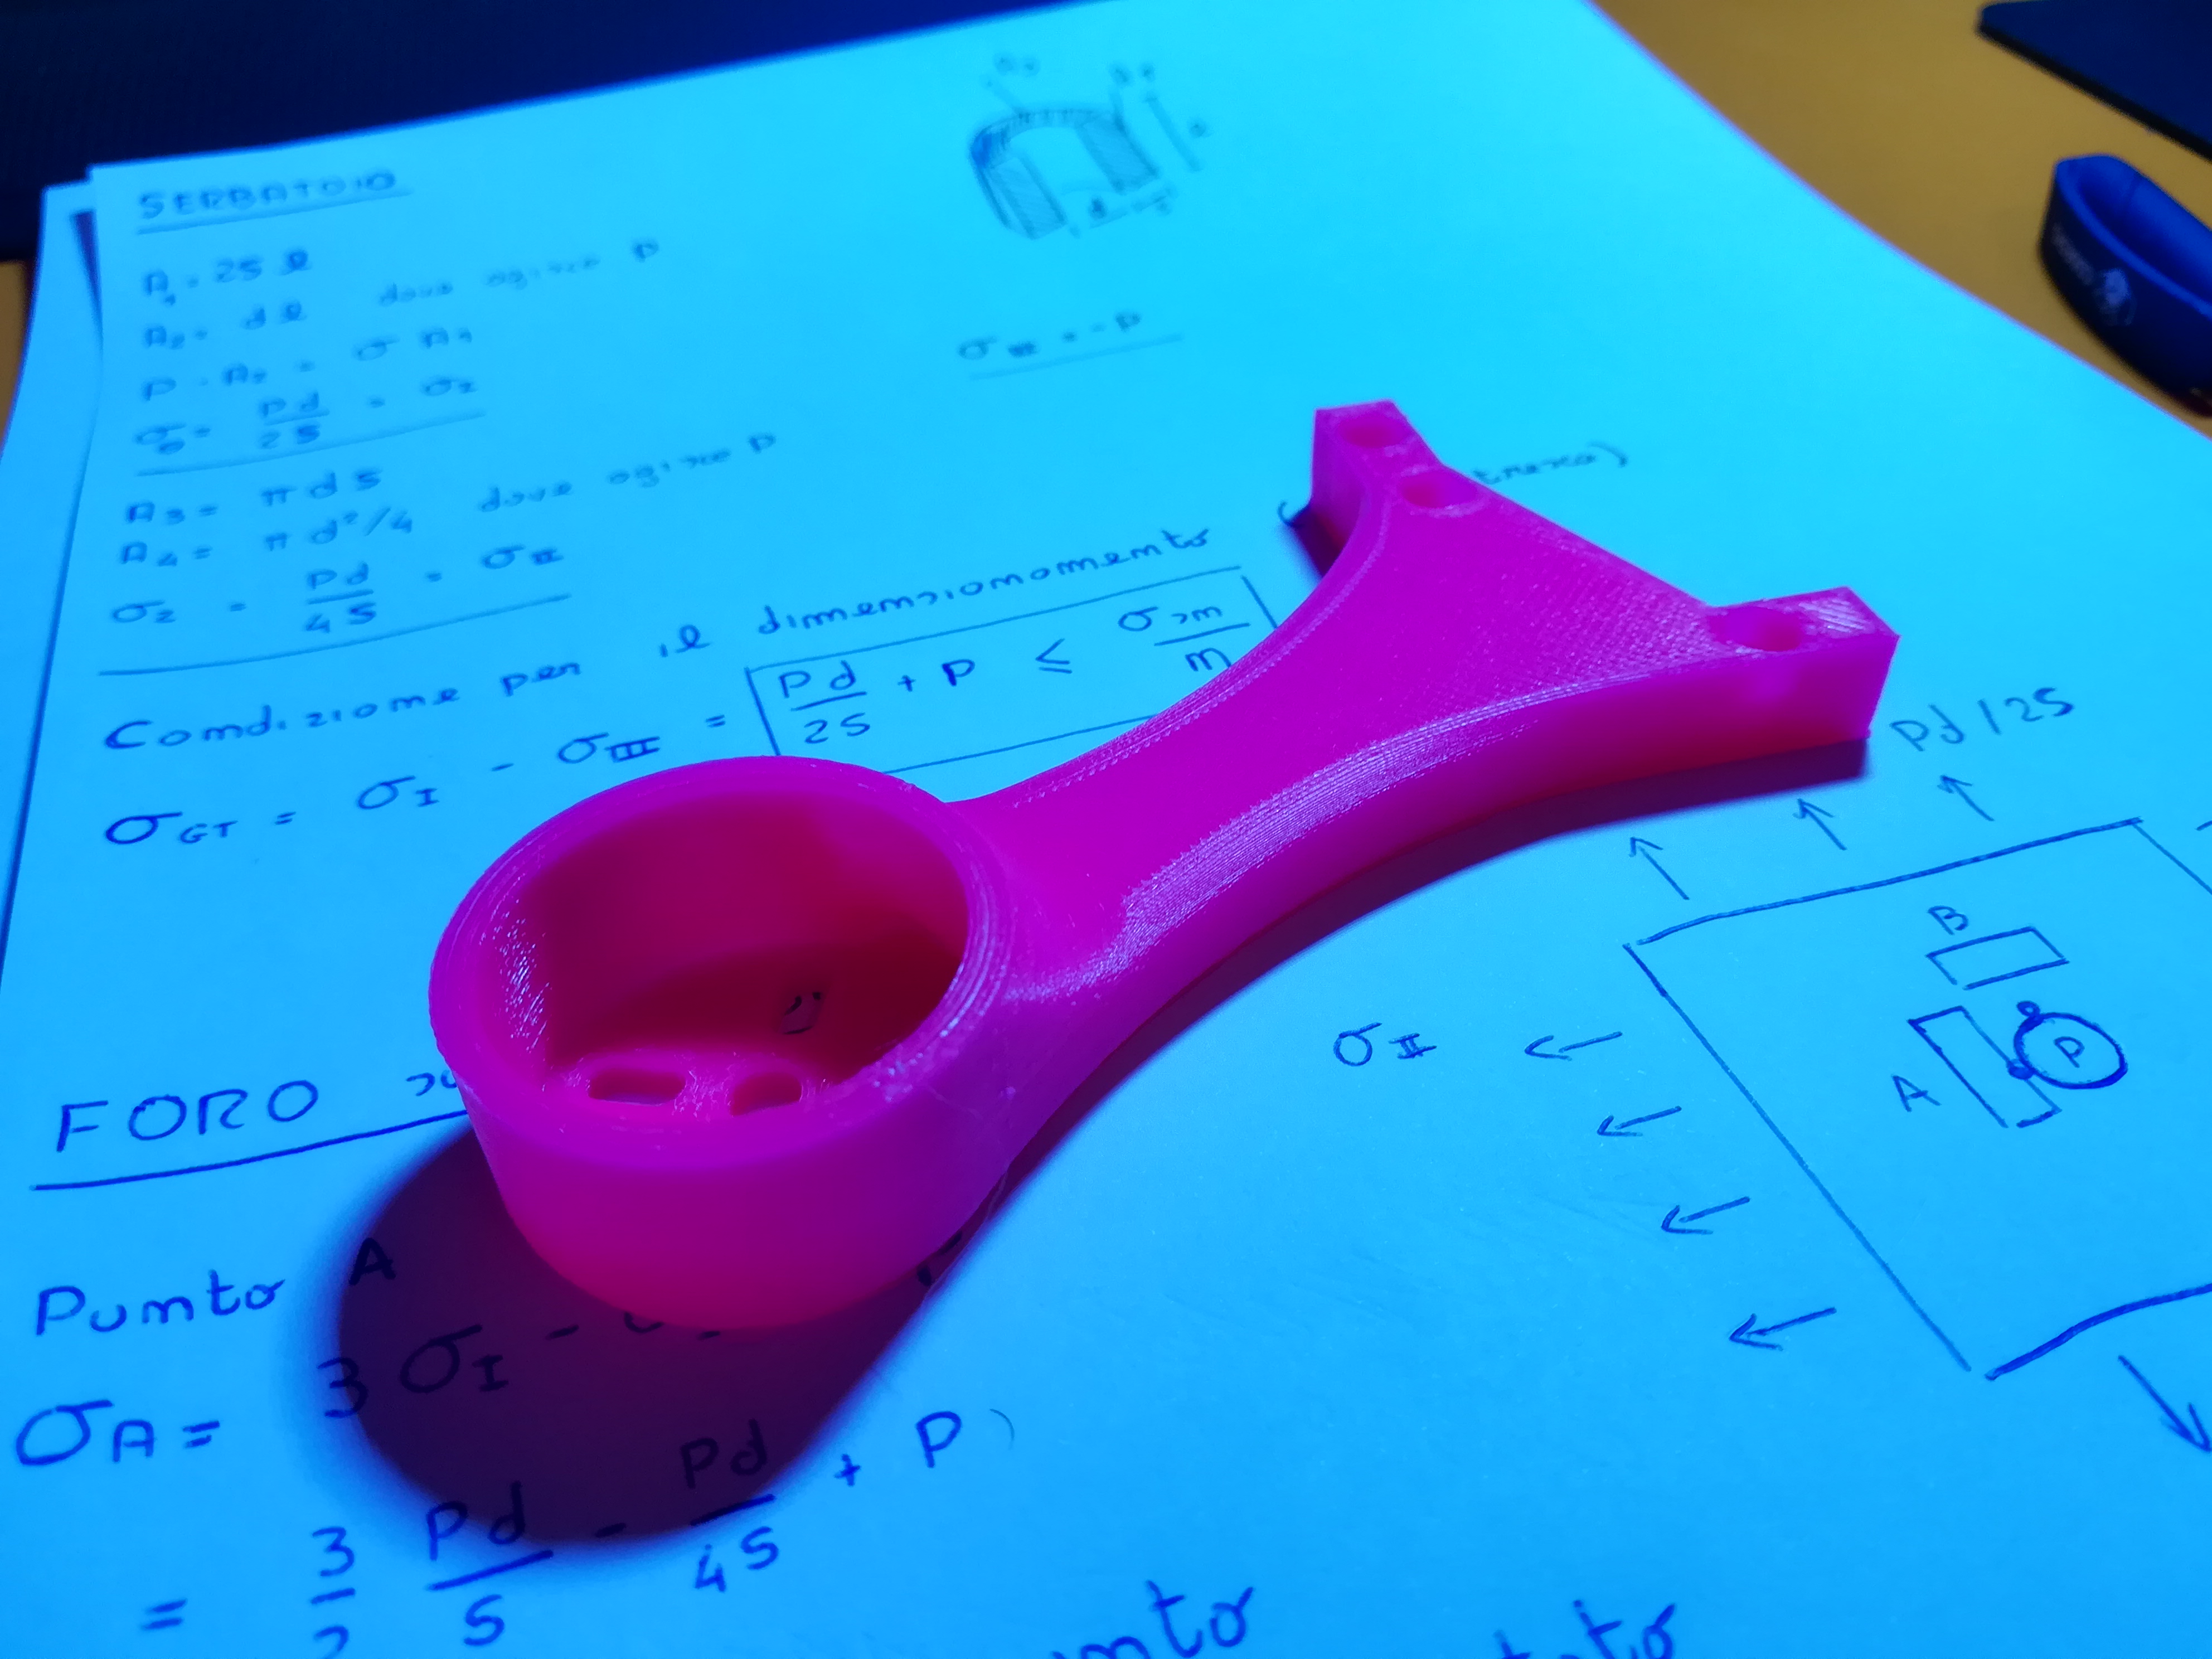
Well, at least i've done a statical test, i've loaded the arm with 1 kg of flour and see if it breaks where should be boltet and it passed the test.
Next will be done when the bottom frame is printed, in order to see if the bolted connection last properly.
I canno't do a fatigue test because I don't have the machine..but i can try to build one with stepper motors and arduino....mmmmm

another pic :D
IMG_20180606_224042.jpg
 

Andrea

Member
That book should have the right math , if we speak about lift and drag coefficents
 

Attachments

  • IMG_20180607_202838.jpg
    IMG_20180607_202838.jpg
    2.2 MB · Views: 0

Chuppster

Well-known member
That book should have the right math , if we speak about lift and drag coefficents
How wonderfully nerdy! Hey, question, do you think it would be stronger if you rolled the part 90 degrees (print it on its side)? that way, when you punch it, the layers won't be as tempted to de-bond?
 

Andrea

Member
Well I don't know how the fibers at 0 degree will handle the bending, I also don't know how the fibers at 90 degree will handle the shear, I choose 0 because I thought that fibers against traction and compression will work better than shear... Plus I don't have data about the printed material... With steel and carbon fiber is easier get data and result
 

Attachments

  • 15284041841761034886696.jpg
    15284041841761034886696.jpg
    2.8 MB · Views: 0

LitterBug

Techno Nut
Moderator
MMMmmmmm. Mathz.... All those can be right, but if your layer adhesion isn't good, bad things can happen. I do really like what I'm seeing here though! Keep up the great work! Can't wait to see flight vids!

Cheers!
LitterBug