60" DTF 3D Sailplane (Freestyle Scratch Build)

Elvis

Member
What's up fellow glider guiders, scratch build enthusiasts, bums, presidents, addicts, aliens, and proudfoots

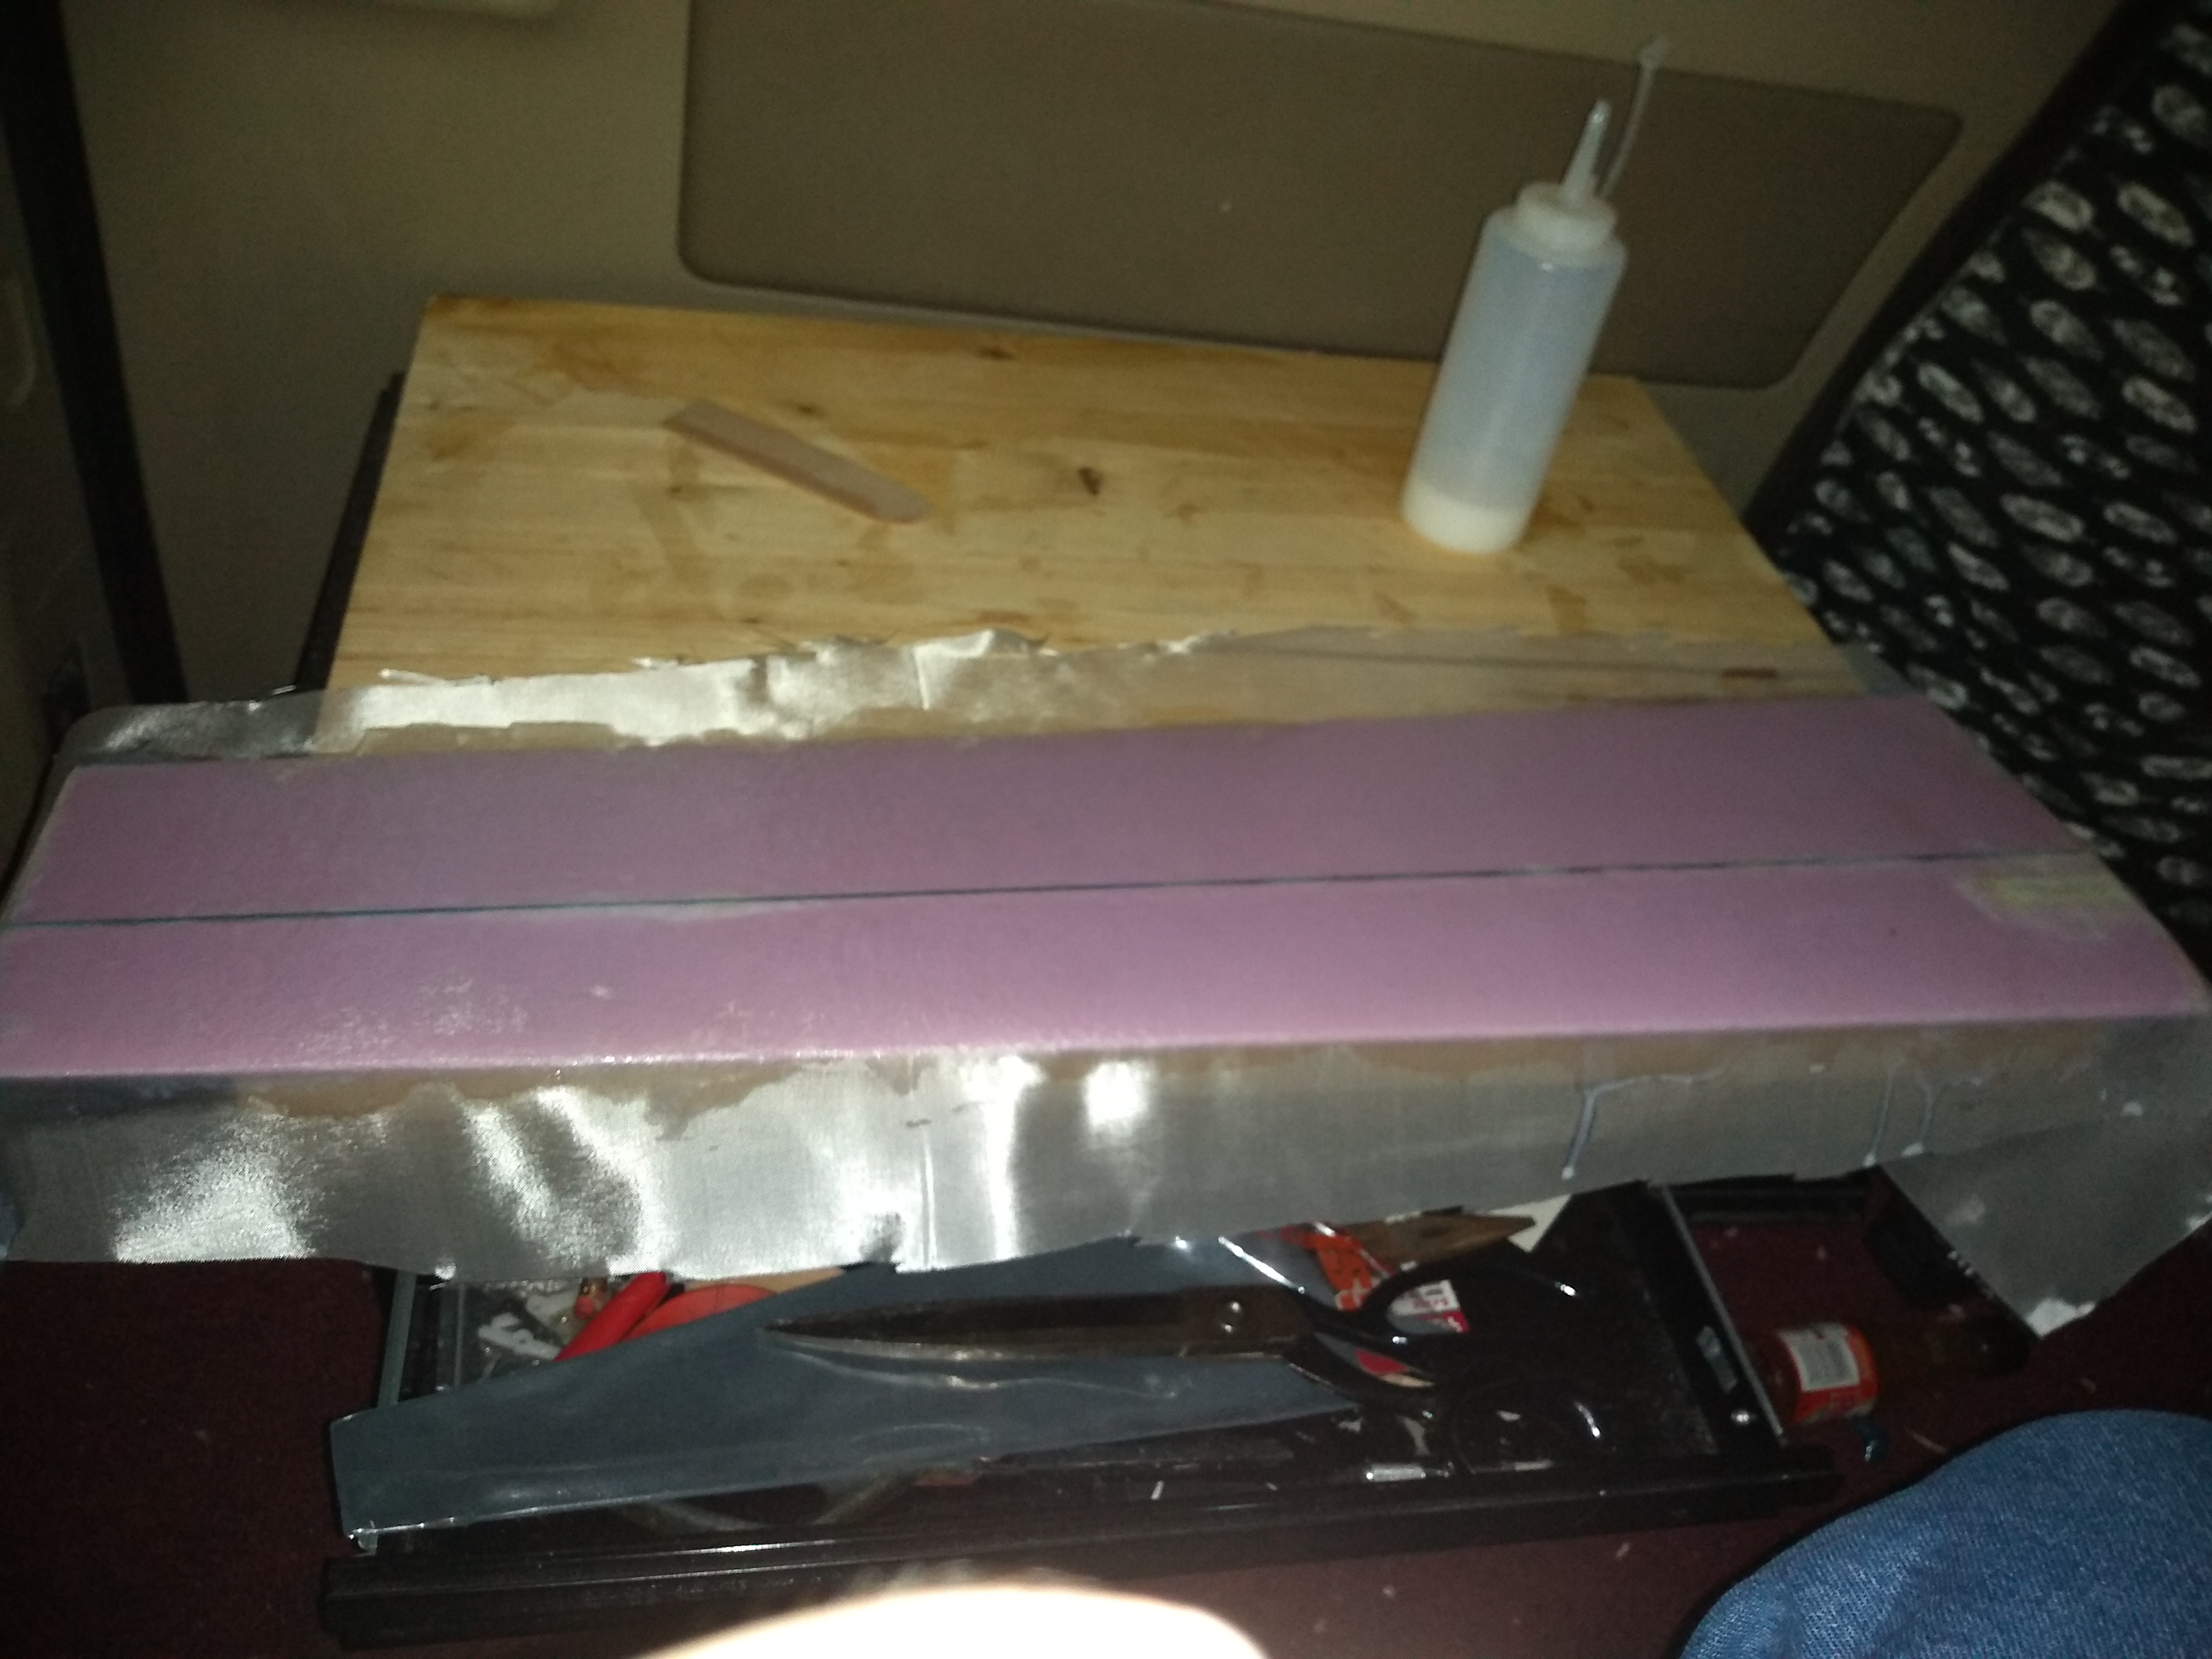
Today I went to Walmart where I work and bought a table about the perfect size to go where the passenger seat used to be in the minivan.

Then, I stared at it for a while and thought about a bunch of stuff that doesn't matter, started drooling a little, wiped the drool on my pants, and pulled out a sheet of foam board.
IMG_20200108_153614153.jpg


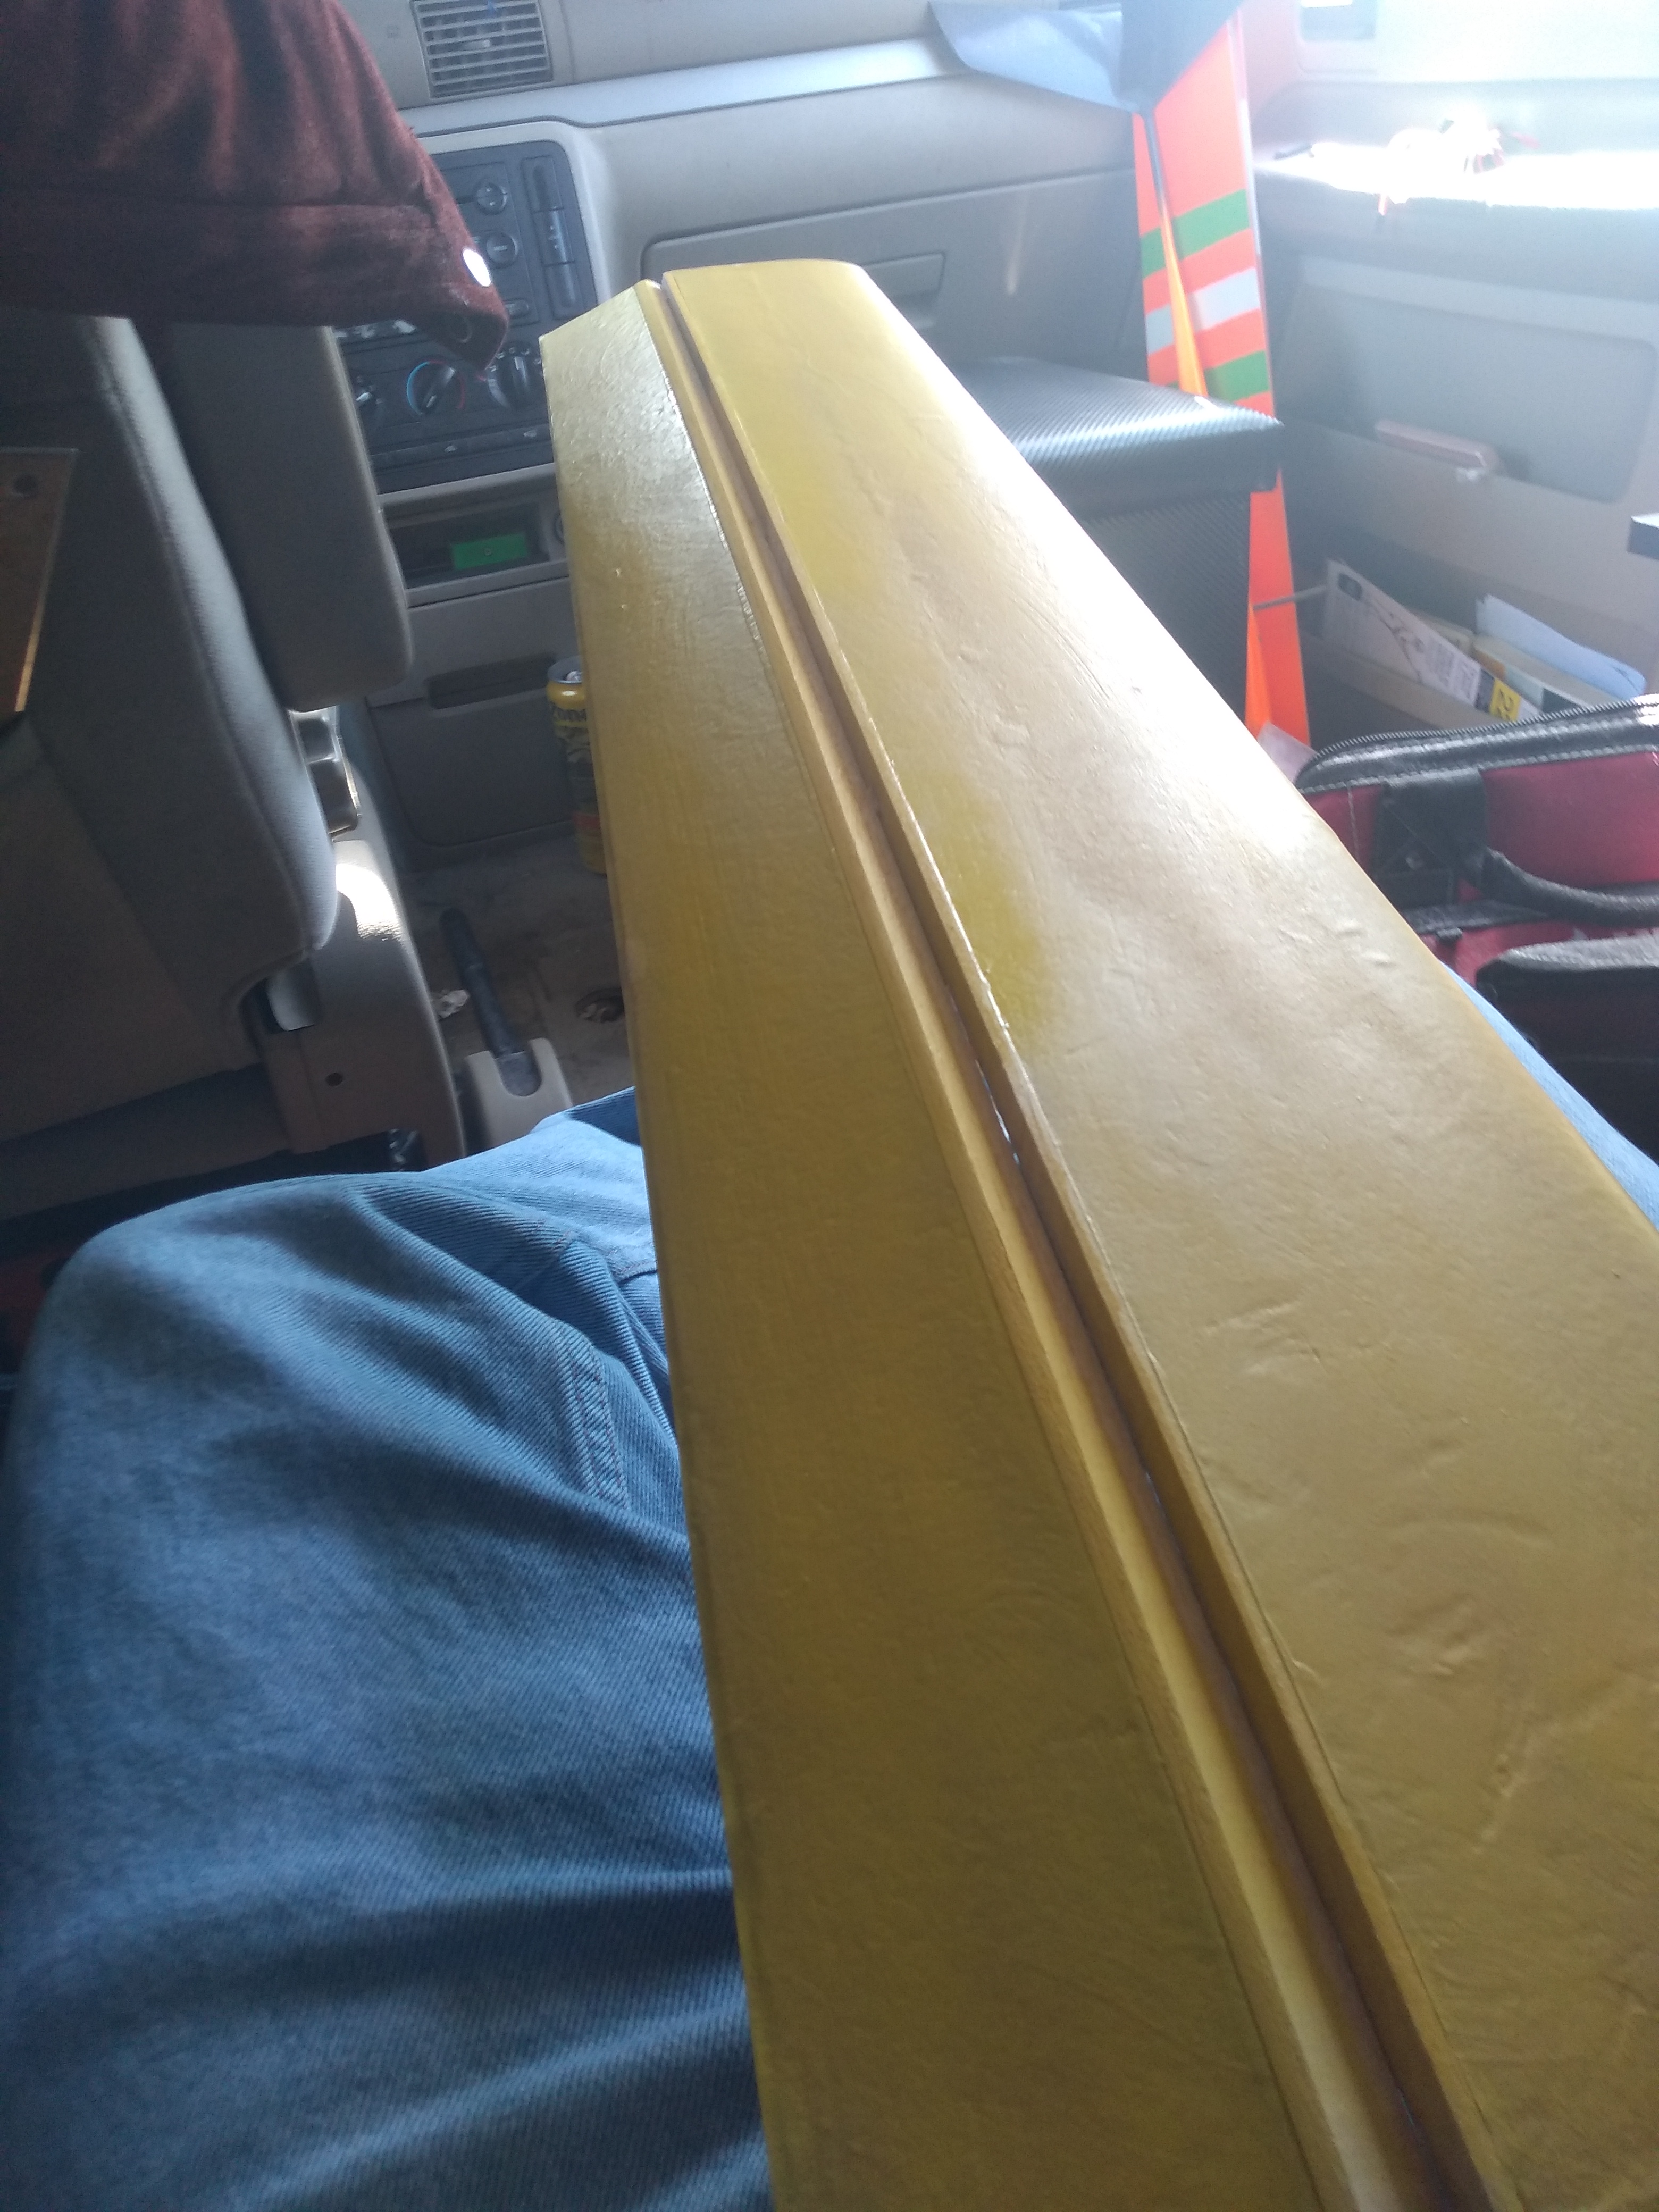
Right now I got these spars and I glued some tubes to them, wrapped the glue mess around several times with strong plastic tape and I think they'll stay put after they're encased in the wing roots... then again, maybe they won't. Thats alright.

15785282749454010638237324845659.jpg


I cut a bunch of tapered foam pieces. I'm going to glue them to the flat carbon piece. They're tapered because the airfoil is going to be thicker at the root than at the tip. The root is 3/4" high and the tip is 1/2"
IMG_20200108_154849576.jpg
 
Last edited:

Elvis

Member
What is it going to look like?

I don't know!

I have a basic idea of what I want it to do, and some experience with other builds I tried first.

So we can come up with some goals. My last airplane was a lot of fun, but it needs improvements.

IMG_20191216_163851601.jpg


Here are some problems

•too much drag
So we remove some meat

•too big to have anywhere, one piece
So we make the wings removable, and maybe the tail.

•Fuselage broke in a nose-in crash
This may have prevented other failures, but we will not know unless it is reinforced and crashed again

•The paper needs to be replaced or covered
I'll either remove the paper and glass it, or use packing tape or laminating film over the paper.

•The ailerons and other surfaces were not tapered or had no airfoils
I'll see what I can do..

•The servos were visible, leading to a less than pleasing appearance
Make everything internal and install a switch jack

•The control horns were set in bare foam, the area around the horn needs reinforcement.
Reinforce that area with a piece of wood or carbon
 

Attachments

  • IMG_20191216_163851601.jpg
    IMG_20191216_163851601.jpg
    3.7 MB · Views: 0

Elvis

Member
Well it's the end of my lunch break

I figured I'd try to draw the fuse profile. I don't know if I like it but I'm going to run with it cause you just never know until it's done

BTW Sprzout,
Your whipit misses you

IMG_20200109_085331207.jpg
 
Last edited:

Elvis

Member
I ordered some 1.6oz fiberglass from Thayercraft. Steve was super communicative and prompt, and the price was right. I'm thinking I will use it on this project which leaves me some other options when it comes to building this "thing," whatever it's going to be..

I've seen the Corsair, P-38, and other FT planes with the rolled fuselages but that's not quite what I'm after.
 
Last edited:

Elvis

Member
I picked my nose and pulled this stuff out.

IMG_20200110_155501921.jpg


The lights have been in my tool box too long. It's not often we get the right kind of wind at night but when we do I always wish I had a light up plane.
 

Elvis

Member
I bought some unusually large popsicle sticks from Walmart and made a mock-up of the gear installation.

IMG_20200110_162606616.jpg


Does anyone know of a small device I can use to power the lights separately? Could I route the lights via a y-harness through the servo channels?
 

Elvis

Member
Just don’t make it tail heavy. You have no motor to pull you out.

So I bailed on this project. I can't seem to get the thinner airfoil I'd like out of the foam board.

The good news is I started on basically the same project only I'm using a 1 lb density purple foam.

The glass was applied with Elmer's spray glue to tack it down, then I brushed on one coat of minwax polycrilic. As it dries you can brush it and tighten up the corners and leading edges. If you try to wrap the glass around without letting the minwax tack up a little first you will run into problems.

When the glass was down I mixed up minwax and baby powder until I had a pancake-like mixture. You can go thinner or thicker depending on what needs to be filled. You can use this mixture to fill the weave in the glass, or voids in bare foam and soft wood.

I poured some of that pancake batter down onto the glass and spread it with an improvised squeegee. A Bondo spreader works best.

When it was dry I sanded the wing smooth, wiped off the dust, and hit it with spray paint.
 

Attachments

  • IMG_20200304_194752284.jpg
    IMG_20200304_194752284.jpg
    2.2 MB · Views: 0
  • IMG_20200225_182537361.jpg
    IMG_20200225_182537361.jpg
    2.7 MB · Views: 0
  • IMG_20200226_174128012.jpg
    IMG_20200226_174128012.jpg
    3.1 MB · Views: 0
  • IMG_20200304_115619997.jpg
    IMG_20200304_115619997.jpg
    2.7 MB · Views: 0
  • IMG_20200303_174123280.jpg
    IMG_20200303_174123280.jpg
    3 MB · Views: 0
Last edited: