This is a project I've wanted/needed to do for a while now, and with decent weather it's time to get it done. As I get older, I'm finding it harder and harder to tune or work on planes while they're sitting on the ground. Taking planes to the flying field is better, as I've got access to the flight stands. However, this doesn't work for my bigger planes, like the 1/3 scale Cessna 152, where the landing gear are too wide for the stand. With a stand more tuning can be done (in comfort) at home so more time can be spent flying at the field. 
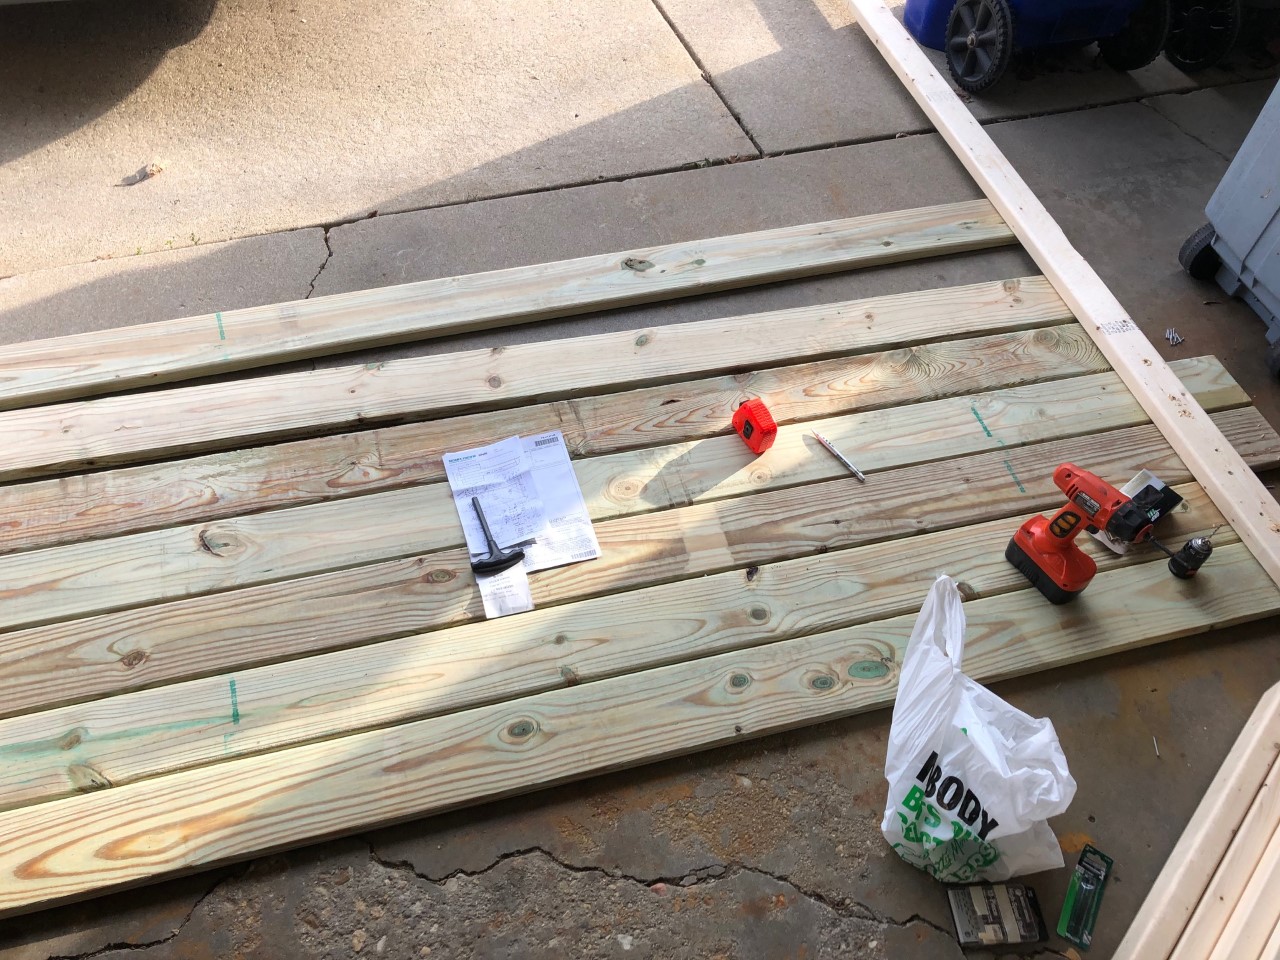
Step 1, is laying out some 5/4 x 6 x 96" deckboards. The two center ones will be left 6" longer than the rest to give me a little more room for tricycle/nose gear. The overall width is around 34", wide enough for any plane I own (for now?). 2x4s are added across the deckboards to hold them all together. I put a small nail between each deckboard - the gap will allow fuel or other liquids to spill off the top while it's in use.

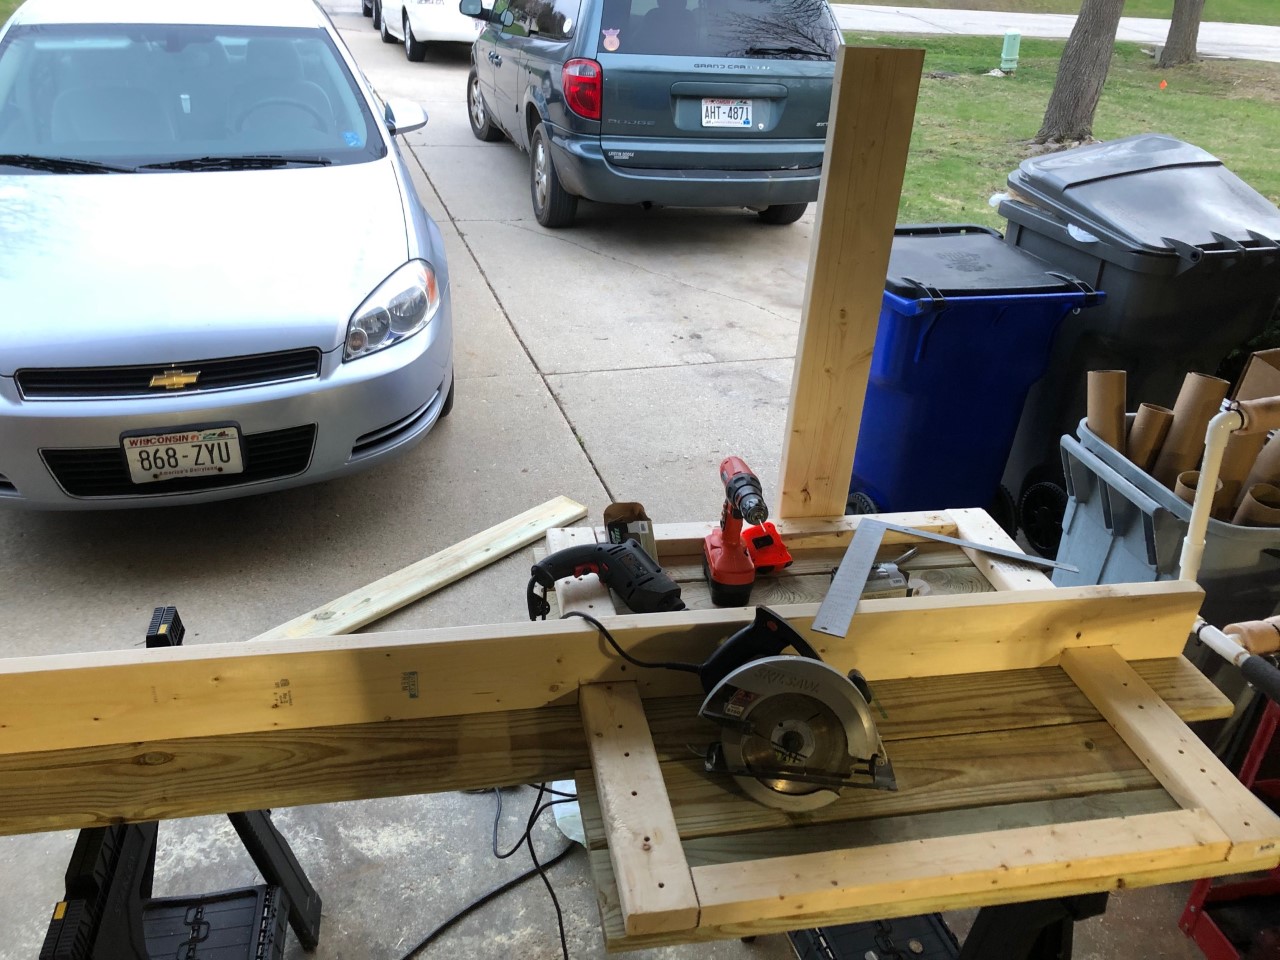
The "backbone" is a 2x6, which is plenty strong (overkill, actually). Moving it around is getting very difficult as the 5/4" deckboards are very wet & heavy.

Legs will be about 36" long which will make this stand a bit taller than any other stand I've used. I'm 6'3", so the extra height of the stand is a welcome change. The legs are about 30" taller than the work surface, which again is designed to handle my biggest planes.

A couple hours into the project and I'm done for the day. The legs are braced and it's just about ready to flip over so I can do the rear leg. I'm *really* not looking forward to flipping it over, and will probably need my son to come out and give me a hand. Some wheels will be added to the front legs so I can move this beast around the garage more easily.

Step 1, is laying out some 5/4 x 6 x 96" deckboards. The two center ones will be left 6" longer than the rest to give me a little more room for tricycle/nose gear. The overall width is around 34", wide enough for any plane I own (for now?). 2x4s are added across the deckboards to hold them all together. I put a small nail between each deckboard - the gap will allow fuel or other liquids to spill off the top while it's in use.

The "backbone" is a 2x6, which is plenty strong (overkill, actually). Moving it around is getting very difficult as the 5/4" deckboards are very wet & heavy.

Legs will be about 36" long which will make this stand a bit taller than any other stand I've used. I'm 6'3", so the extra height of the stand is a welcome change. The legs are about 30" taller than the work surface, which again is designed to handle my biggest planes.

A couple hours into the project and I'm done for the day. The legs are braced and it's just about ready to flip over so I can do the rear leg. I'm *really* not looking forward to flipping it over, and will probably need my son to come out and give me a hand. Some wheels will be added to the front legs so I can move this beast around the garage more easily.


