Airtronics Olympic II electric sailplane build

GliderFlyer

Elite member
I just recently was given a set of plans for a Borne Free 130" and have had a set for a Sinbad 78 around for a while. But I'm conflicted on which to build first. :p
They both look great. Your J3 cub can be used to tow them, that would be a fun thing to do with a friend.
 

GliderFlyer

Elite member
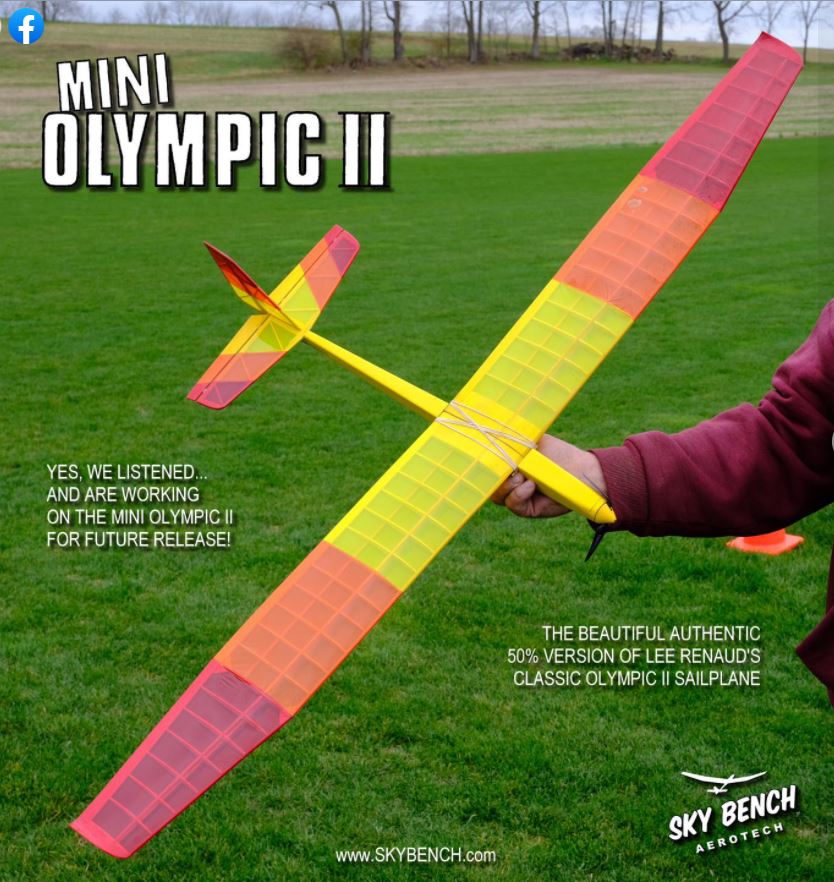
GUYS, HAVE YOU SEEN THIS!!!
MiniOLY.JPG
 

GliderFlyer

Elite member
Its been a while, but I've been working on the fuse and its ready to put together.
Here are the servos I am using. they are 20gram metal gear, and were given to me for free by a kind club member.
servos.jpg

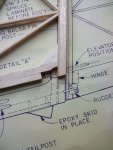
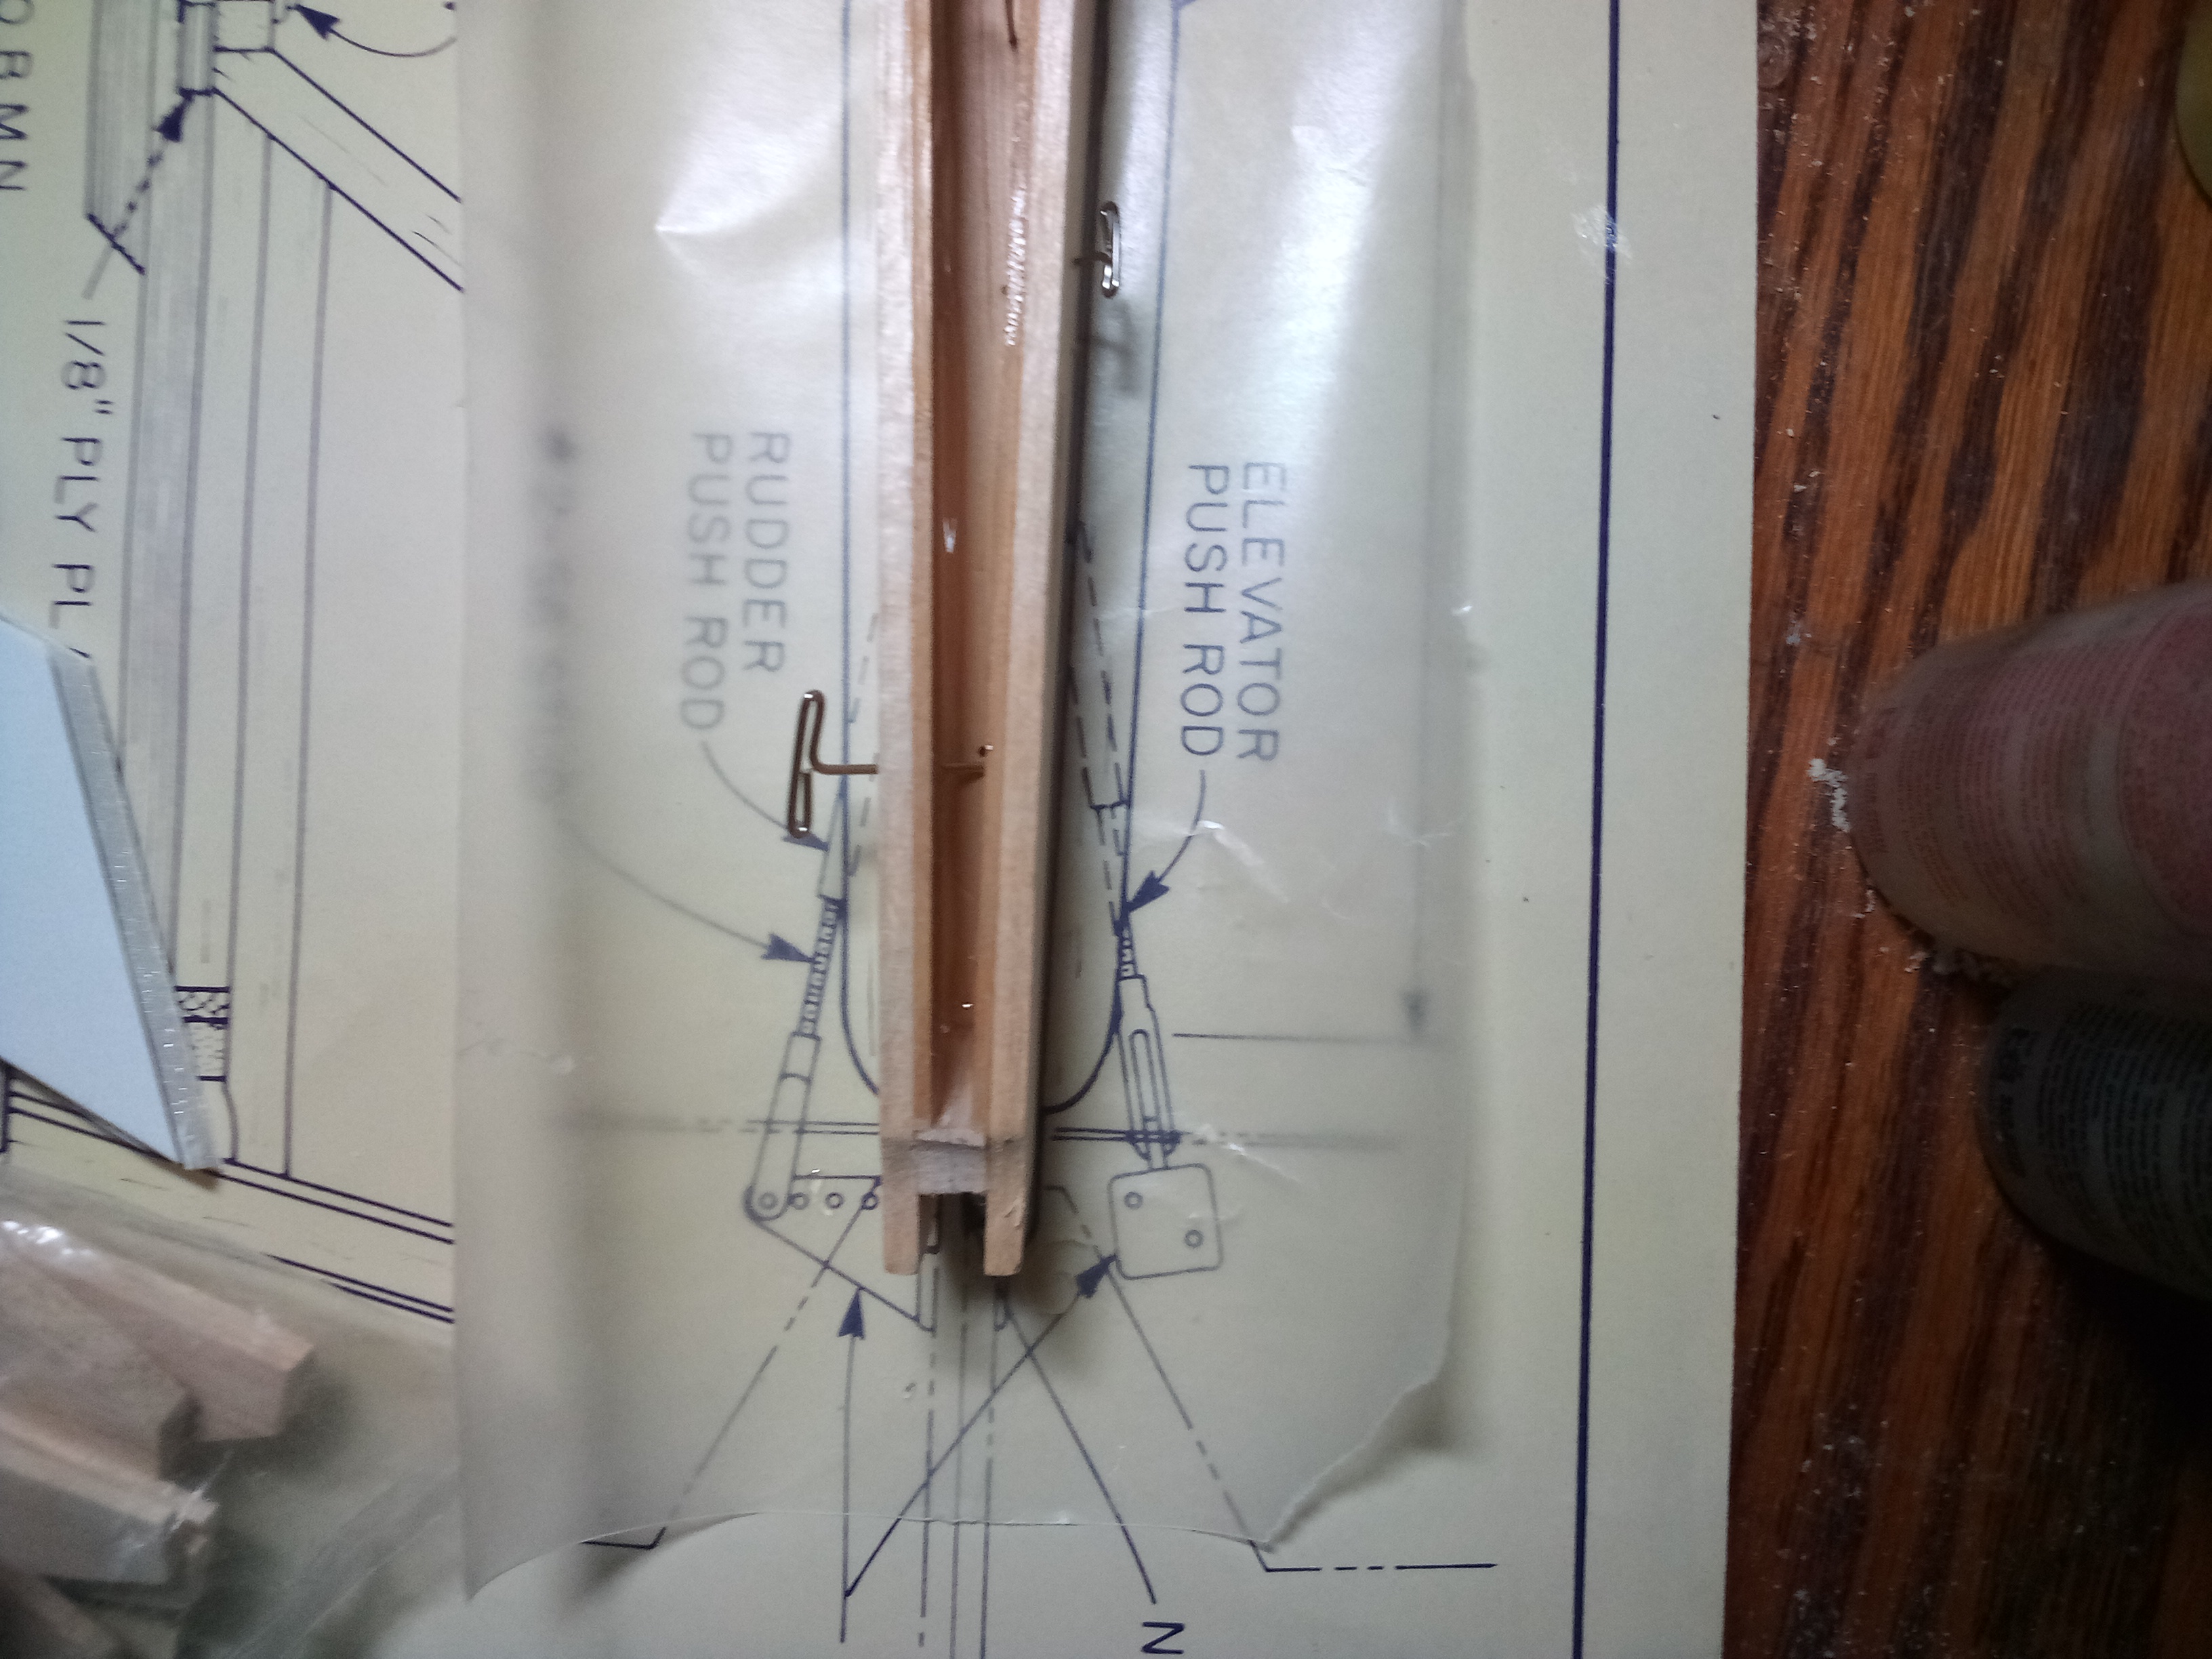
I discovered a mistake a yesterday, the vertical stabilizer post was supposed to extend all the way to the bottom of the fuselage, but I cut it at the top:eek:
Not a big deal, I think that to fix it, I will cut a grafting-style joint or something.
tail section.jpg
Gosh, now that I look at it, I must not have been paying attention. The hinge is meant to go in below where I cut it off. I got to pay more attention in the future.
 

Mr.Grinch

Well-known member
I’m waiting for the mini Oly as well so I can order both the full size at the same time as the mini. I just got my DJ Aerotech e-chrysalis and e-monarch this week, so I have those to keep me busy for a while.
 

Piotrsko

Master member
Just to let you know, the fullsize rudder used to break on wingtip touch landings, so I would just patch it and not pin the bottom hinge
 

GliderFlyer

Elite member
I've been doing a lot of thinking...

If I round the nose to match the spinner, then the nose block will have to be circular as well. My main goals for this build is for it to fly well, and to look good. But then how do I make it a hybrid glider? I can think of two options

Option 1:
Instead of a removable nose block, go with an entire removable nose. A similar setup like what you can see with flite test and their swappables, only make it look neater, of course. It would probably not be simple, or as strong as a one piece fuselage, but it would stick to the original plan.
Option 2:
Have no removable nose block, but just fly it off the winch without a propeller, letting the spinner be the "nose block". This is a lot simpler, and stronger perhaps, and easier. In other words, a pretty much not-hybrid glider. It would not stick to the original plan, but my intent is to build a well-flying thermal machine.

I am undecided yet, but am starting to lean more towards option two. I may have seen this coming when I started this build, thinking that a Hybrid Electric Sailplane may be a little unnecessary. It seemed a good idea at the time. Maybe my building skills were not as advanced as I thought they were, and complexity may affect performance.
In the trade-off between performance and versatility, I would choose performance.

Just as I was typing this, I thought up another possible downside, if I never (or even rarely) fly using the winch, then all the complexity of option 1 would be for naught.
That may have tipped the scale, I think I know what I will go with.
 

rockyboy

Skill Collector
Mentor
Yeah, it sounds like Option 2 might be a cleaner way to go for this project - build to fly and enjoy on this project. Custom design for advanced features on the next :)
 

GliderFlyer

Elite member
A new option has come up, and it is to build 2 fuses!
Thats a good plan, only it would take a while and I don't know if I have more covering. So for now, I will build electric, and maybe in the future, there will be another fuse built.
Anyways, I finally got started with actually constructing the fuselage. I glued in the formers with 5 minute epoxy, as recommended by the plans, and kept them perpendicular with my sanding block collection.

It seemed like a good idea at the time, and I don't have a collection of building squares, and this is what I usually use for working with foamboard too.

Of course, some of them stuck to the glue because they had to be close, so then I realized that this was a bad idea. I should have made squares before mixing the epoxy
Its not that bad, they probably only needed a pin or two anyways to keep them straight. I got the sanding blocks out with little trouble.
After it dried, I got to see what it looks like put together. I put in some more corner reinforcements so that I can sand the nose down a lot. I made the pieces from 1" square balsa.

I will put another set on the top too once I get the sides glued on. It will also need some carving on the inside to fit the motor and the wires.
 

GliderFlyer

Elite member
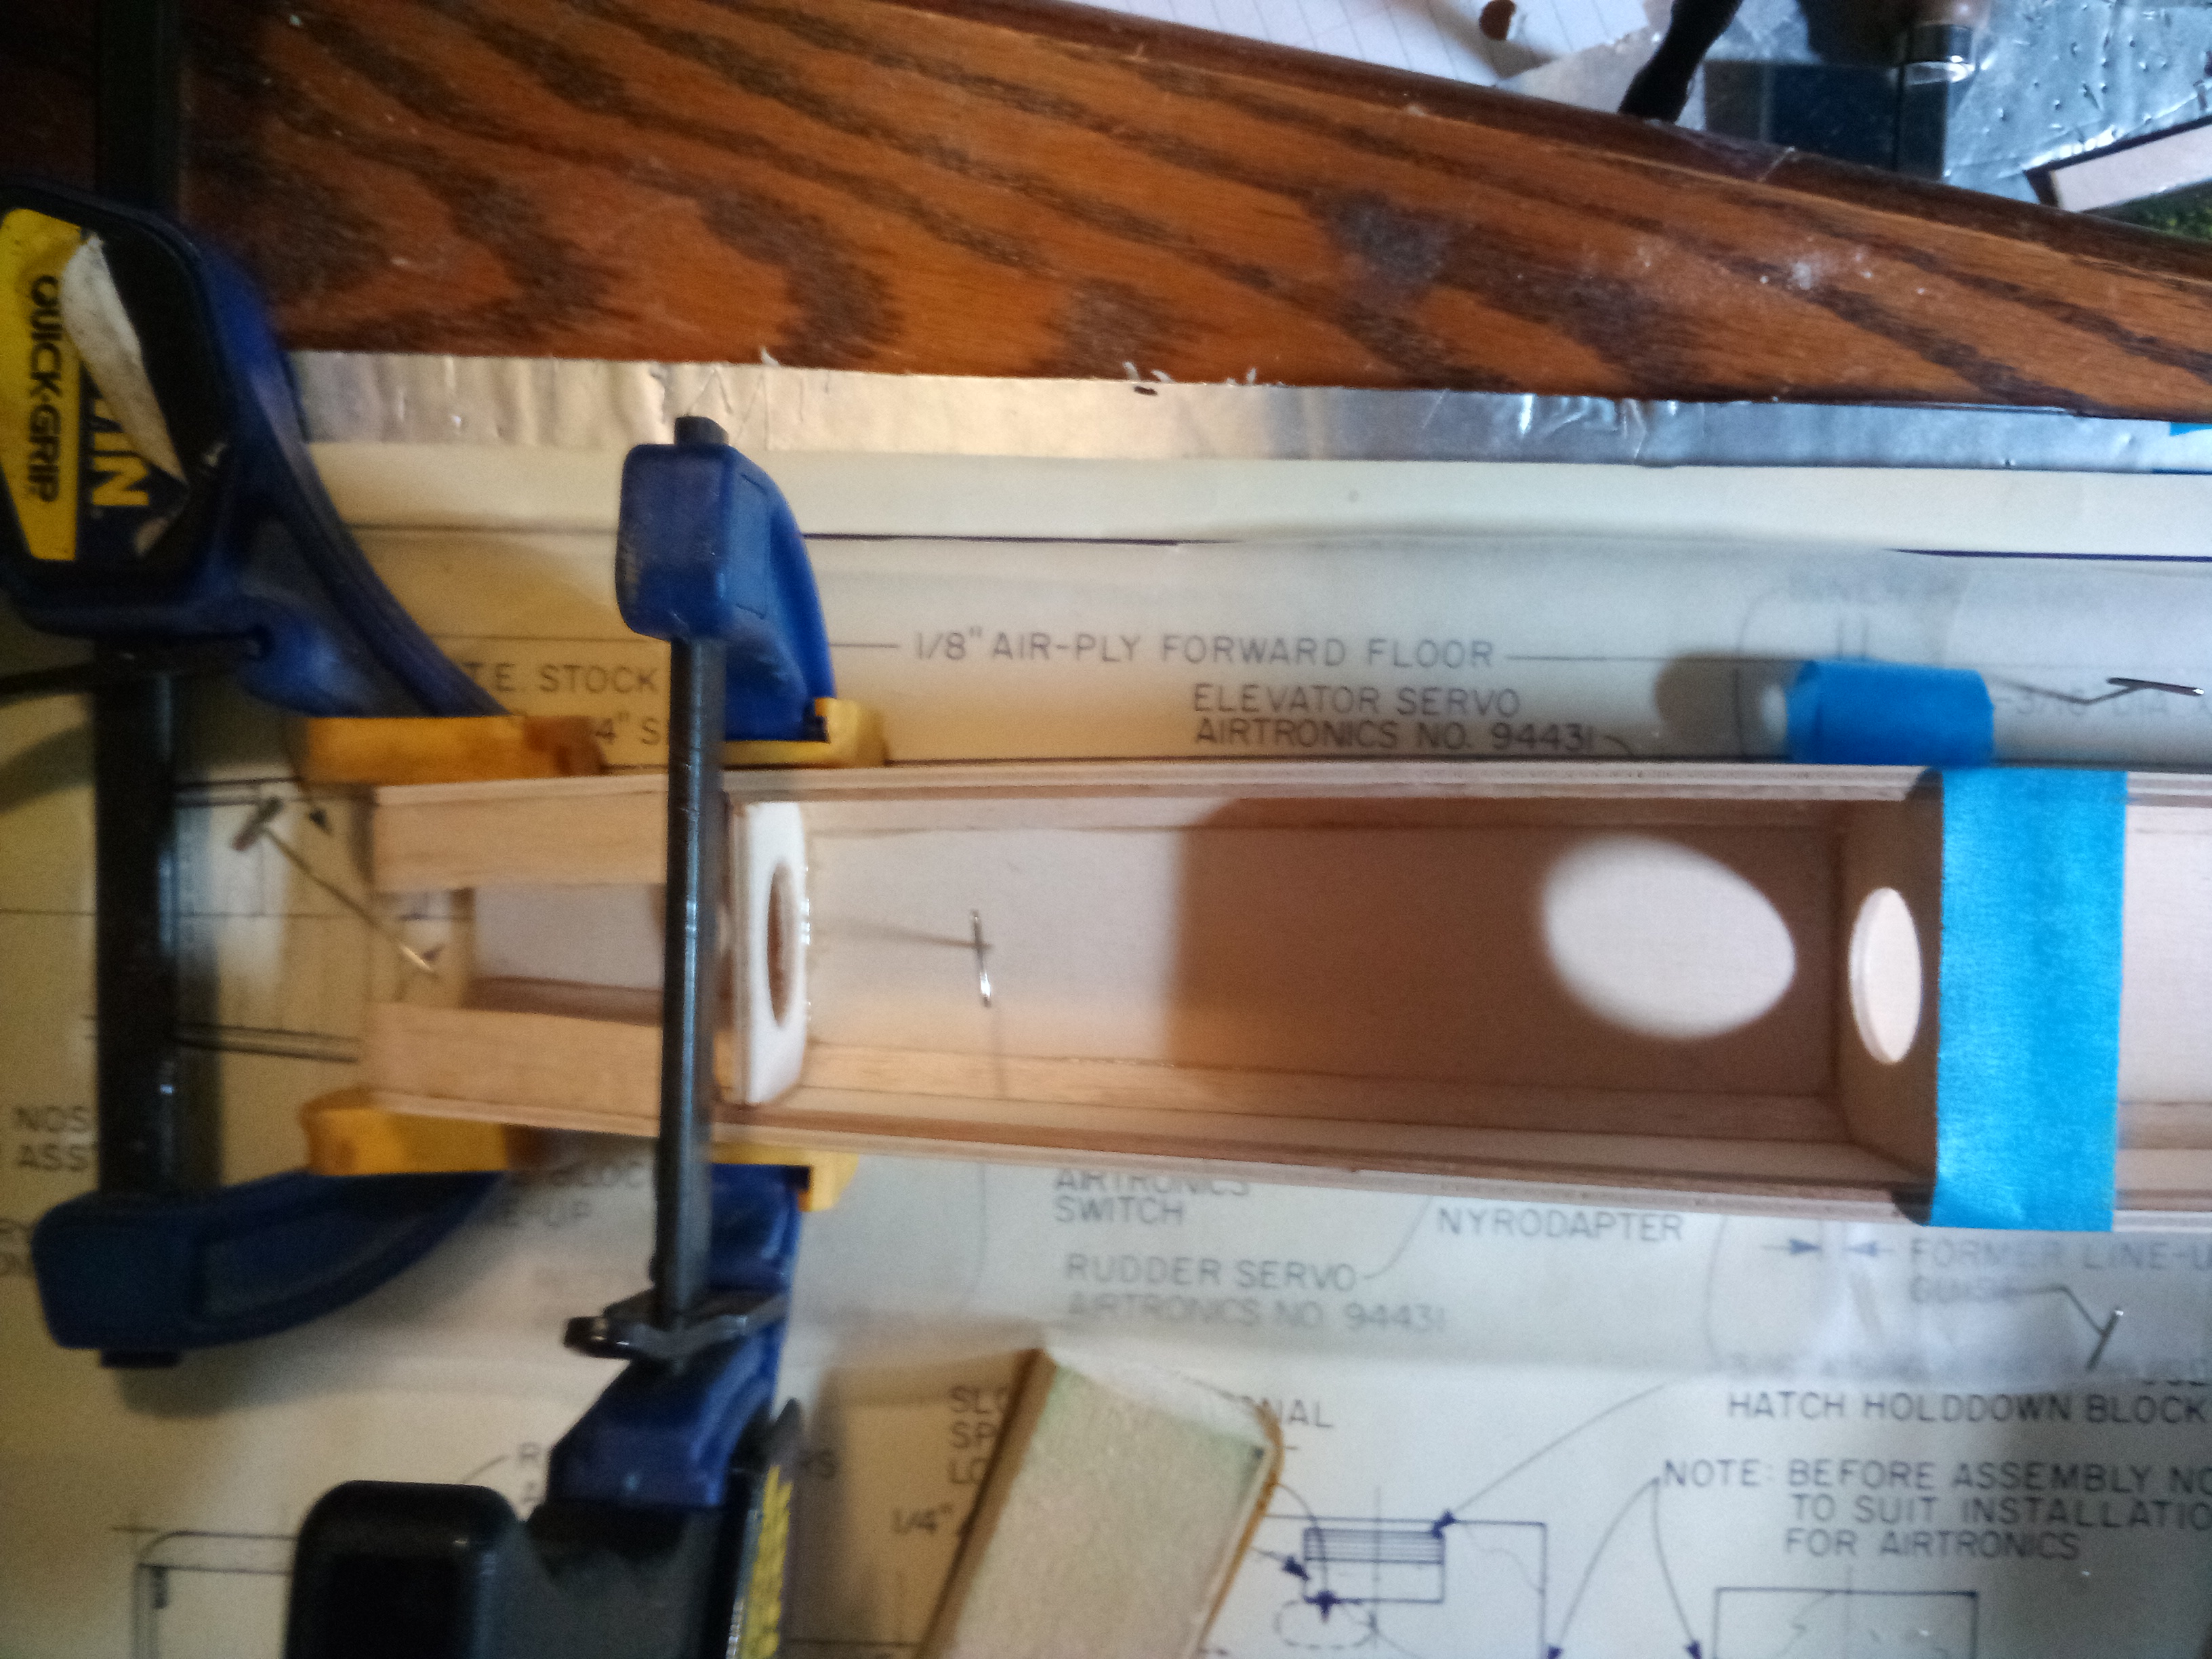
I just finished gluing the fuse sides to the bottom. I underestimated how much epoxy I would need and had to mix some more three times! good thing it was 30 minute epoxy. I will not move it until tomorrow. Applying the epoxy to the bottom 1/8" of the sides was difficult to do with a popsicle stick, especially because it kept dripping to the top ( I had it turned upside down). It all dripped back to the bottom when I turned it over again to put on the fuse bottom. I pinned it and clamped it at the formers to ensure there were no gaps. I did not do as good of a job as I wanted to because I felt rushed. It will hold together though. Here are some pictures:
IMG_20210128_172410.jpg
IMG_20210128_172356.jpg
IMG_20210128_172338.jpg
IMG_20210128_172326.jpg
It didn't even occur to me to use wood glue. I guess I was not paying attention. Again.
 

rockyboy

Skill Collector
Mentor
That's going to be super strong! And yeah, wood glue would have been easier :) WeldBond, Titebond, or Superphatic are my go-to's for this kind of joint. With the clamping and letting it sit overnight it's going to be just fine though
 

Bricks

Master member
That's going to be super strong! And yeah, wood glue would have been easier :) WeldBond, Titebond, or Superphatic are my go-to's for this kind of joint. With the clamping and letting it sit overnight it's going to be just fine though


That is exactly what I was going to mention not only that but lighter.