
You are using an out of date browser. It may not display this or other websites correctly.
You should upgrade or use an alternative browser.
You should upgrade or use an alternative browser.
Anybody else scratch building tonight?
- Thread starter K3V0
- Start date

Sheriff
Active member
Nice work !
To help the pilot look downward, the Greenhouse cockpit is wider that the fuselage, as you can see.
I will keep you posted if/when I create the modd for the Storch.
Happy building!
To help the pilot look downward, the Greenhouse cockpit is wider that the fuselage, as you can see.
I will keep you posted if/when I create the modd for the Storch.
Happy building!
Attachments


Sheriff
Active member
..and to answer the original question; I WAS building this week-end !
This is my Mighty-mini Dragon Rapid. It is probably the 4th time building it, but this time, I am takings tons of pictures, hopefully to share my plans with detailled building instructions.
This is my Mighty-mini Dragon Rapid. It is probably the 4th time building it, but this time, I am takings tons of pictures, hopefully to share my plans with detailled building instructions.
Attachments

K3V0
Elite member
Ok yeah, I see it. Thanks for dropping some knowledge on me! I think I’ll prolly save some scale details for the second fuselage. I know I’m gonna fly the first one into a wood chipper or something.Nice work !
To help the pilot look downward, the Greenhouse cockpit is wider that the fuselage, as you can see.
I will keep you posted if/when I create the modd for the Storch.
Happy building!
buzzbomb
I know nothing!
SWEET landing!Well I just finished and maidened my 135% bravo. It went well!
Last edited:
Thanks!SWEET landing!


K3V0
Elite member
Lol, I know! I chose the color then I was laughing that the masking was like a negative of the end result!I like the color. I was gonna make a joke after the first couple of pics and say "I like the color" then I realized its the masking tape, then I realized it was the same color anyway
BATTLEAXE
Legendary member
Where are you getting plans for this micro?I am building a 15" Micro of Horseman's P-38. (tired of waiting for the FT Kit/Plans.) I plan to power it with some 0720s I think.
buzzbomb
I know nothing!
Looking good! If she flies as good as she looks, you've got a winner!Got some work done on the storch this morning! View attachment 146171 View attachment 146172 View attachment 146173 View attachment 146174 View attachment 146175
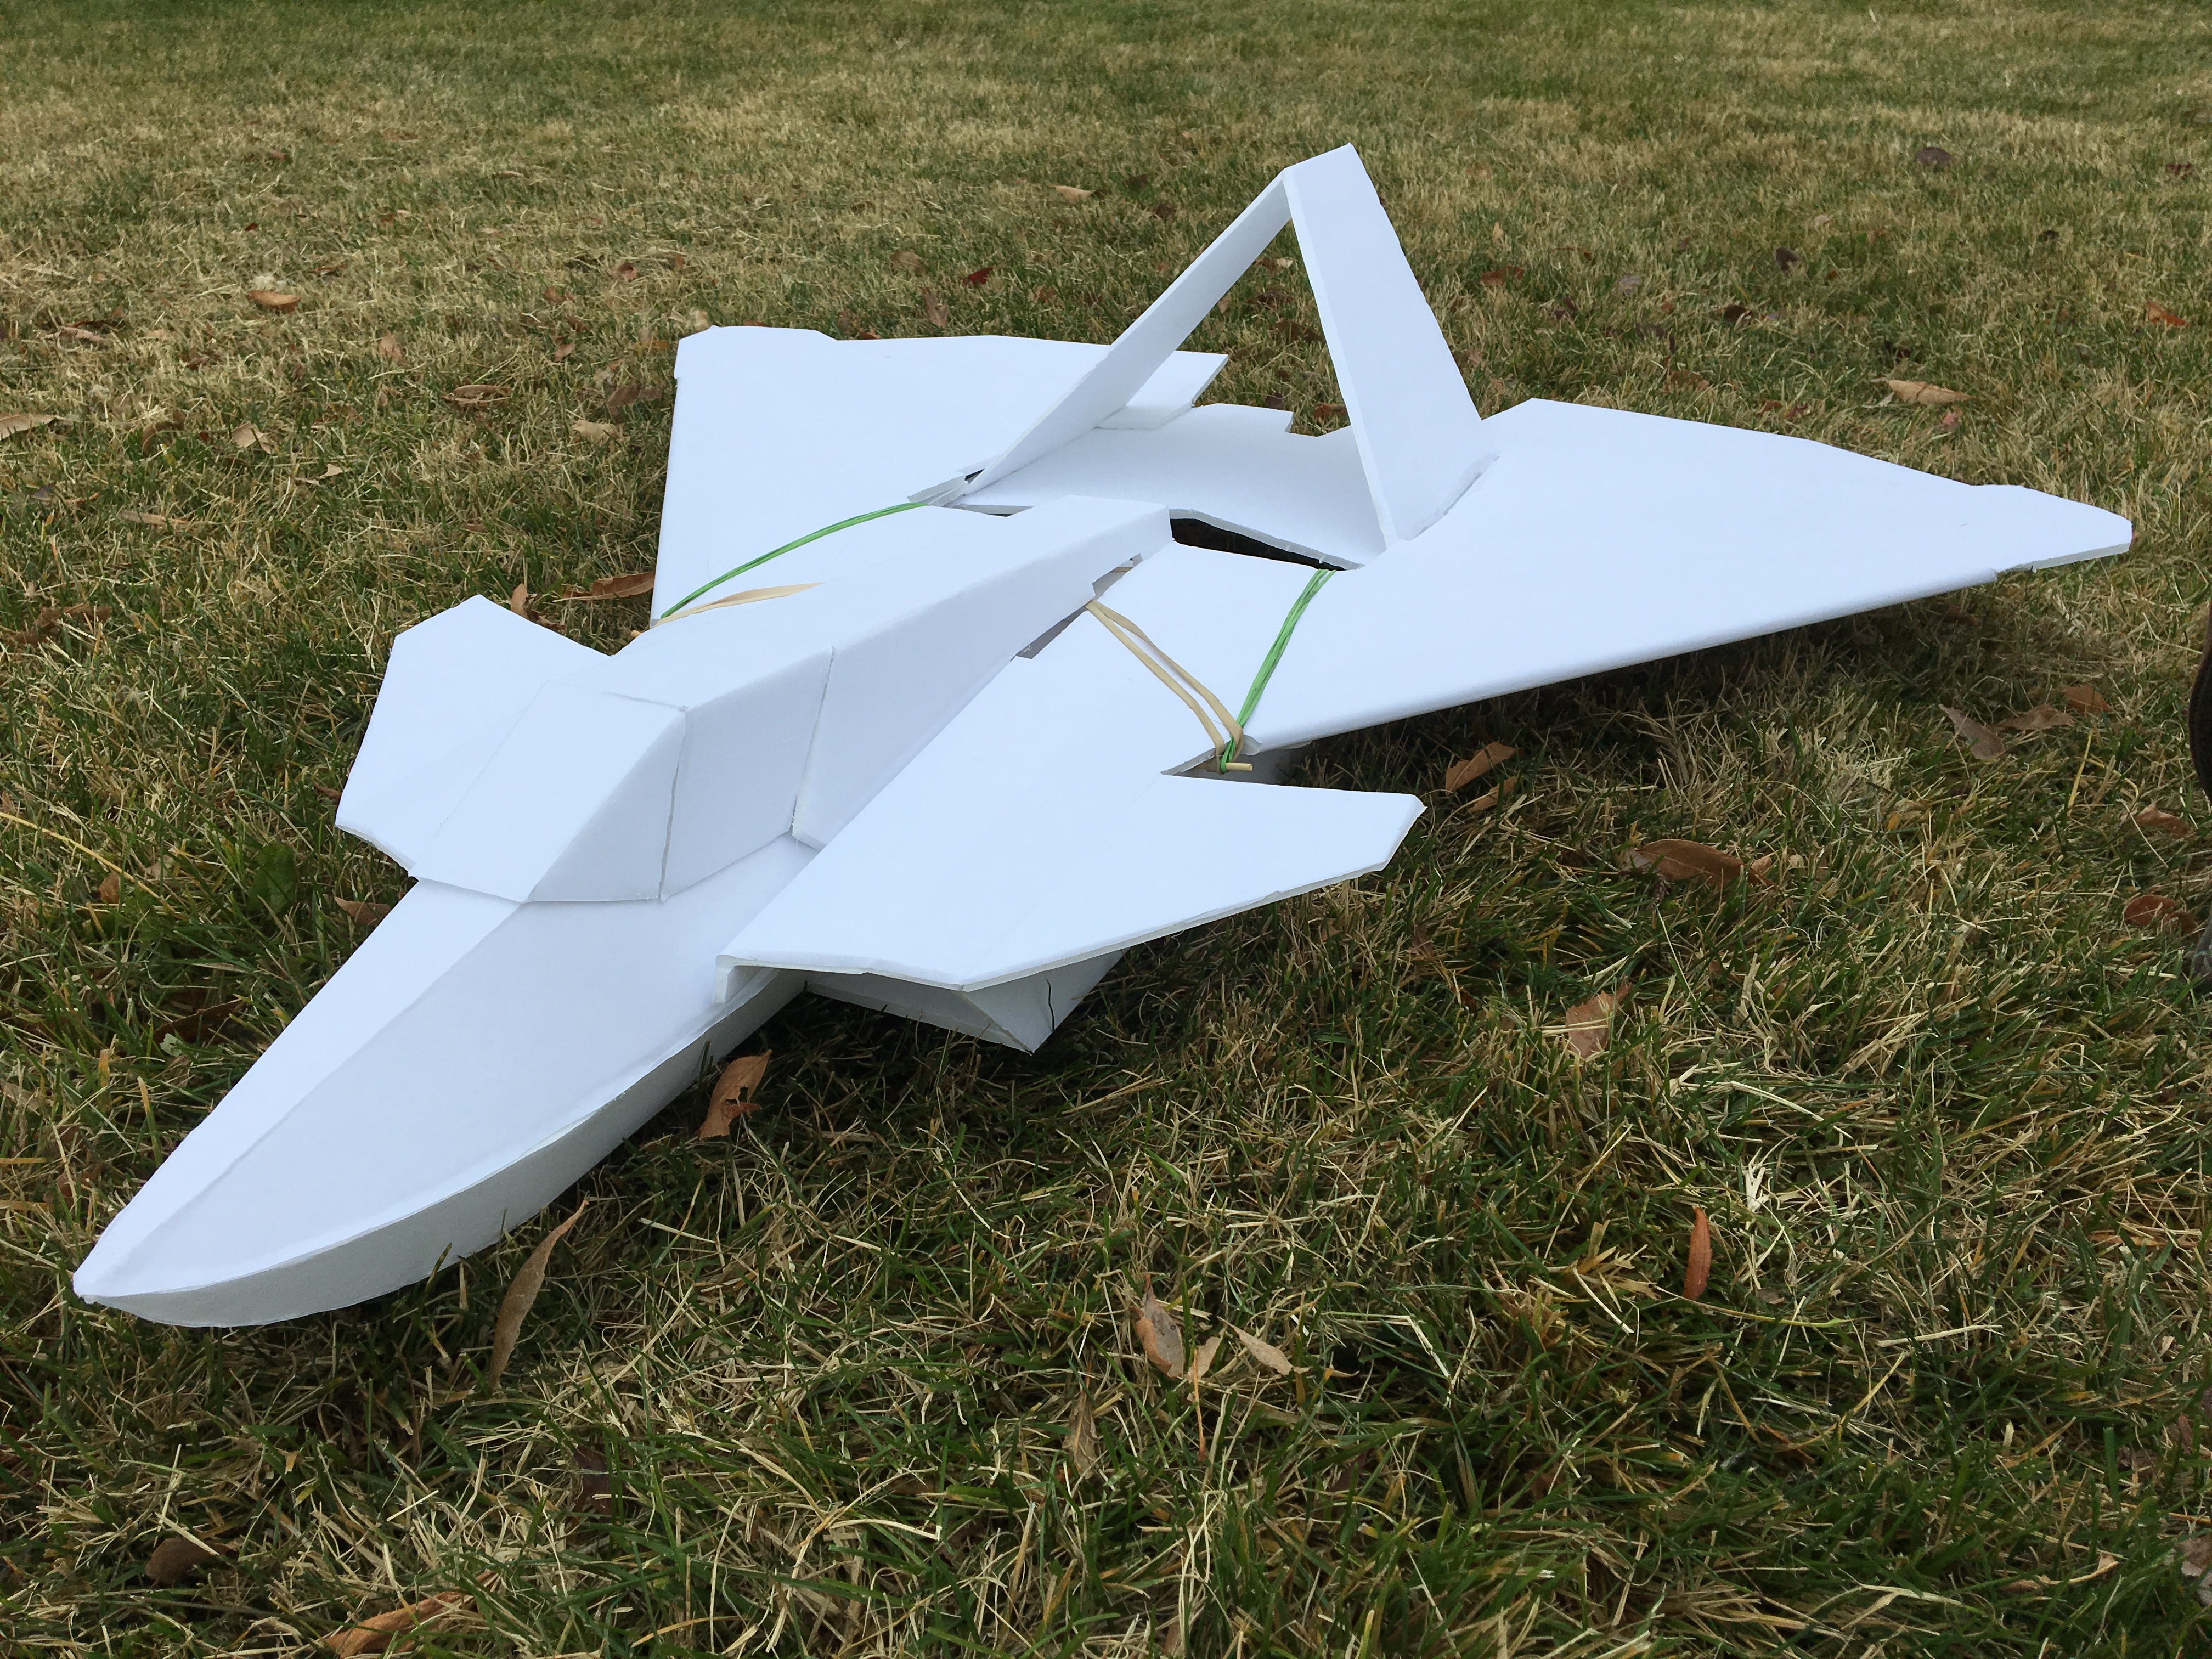
I took these plans by @Horseman3381 and printed them 8.5x11" letter sized paper. The goal was to get another plane for the PowerUp system, or some place to put in micro guys.

This uses paper plates for the foam. This makes it light and easy/cheap to purchase.


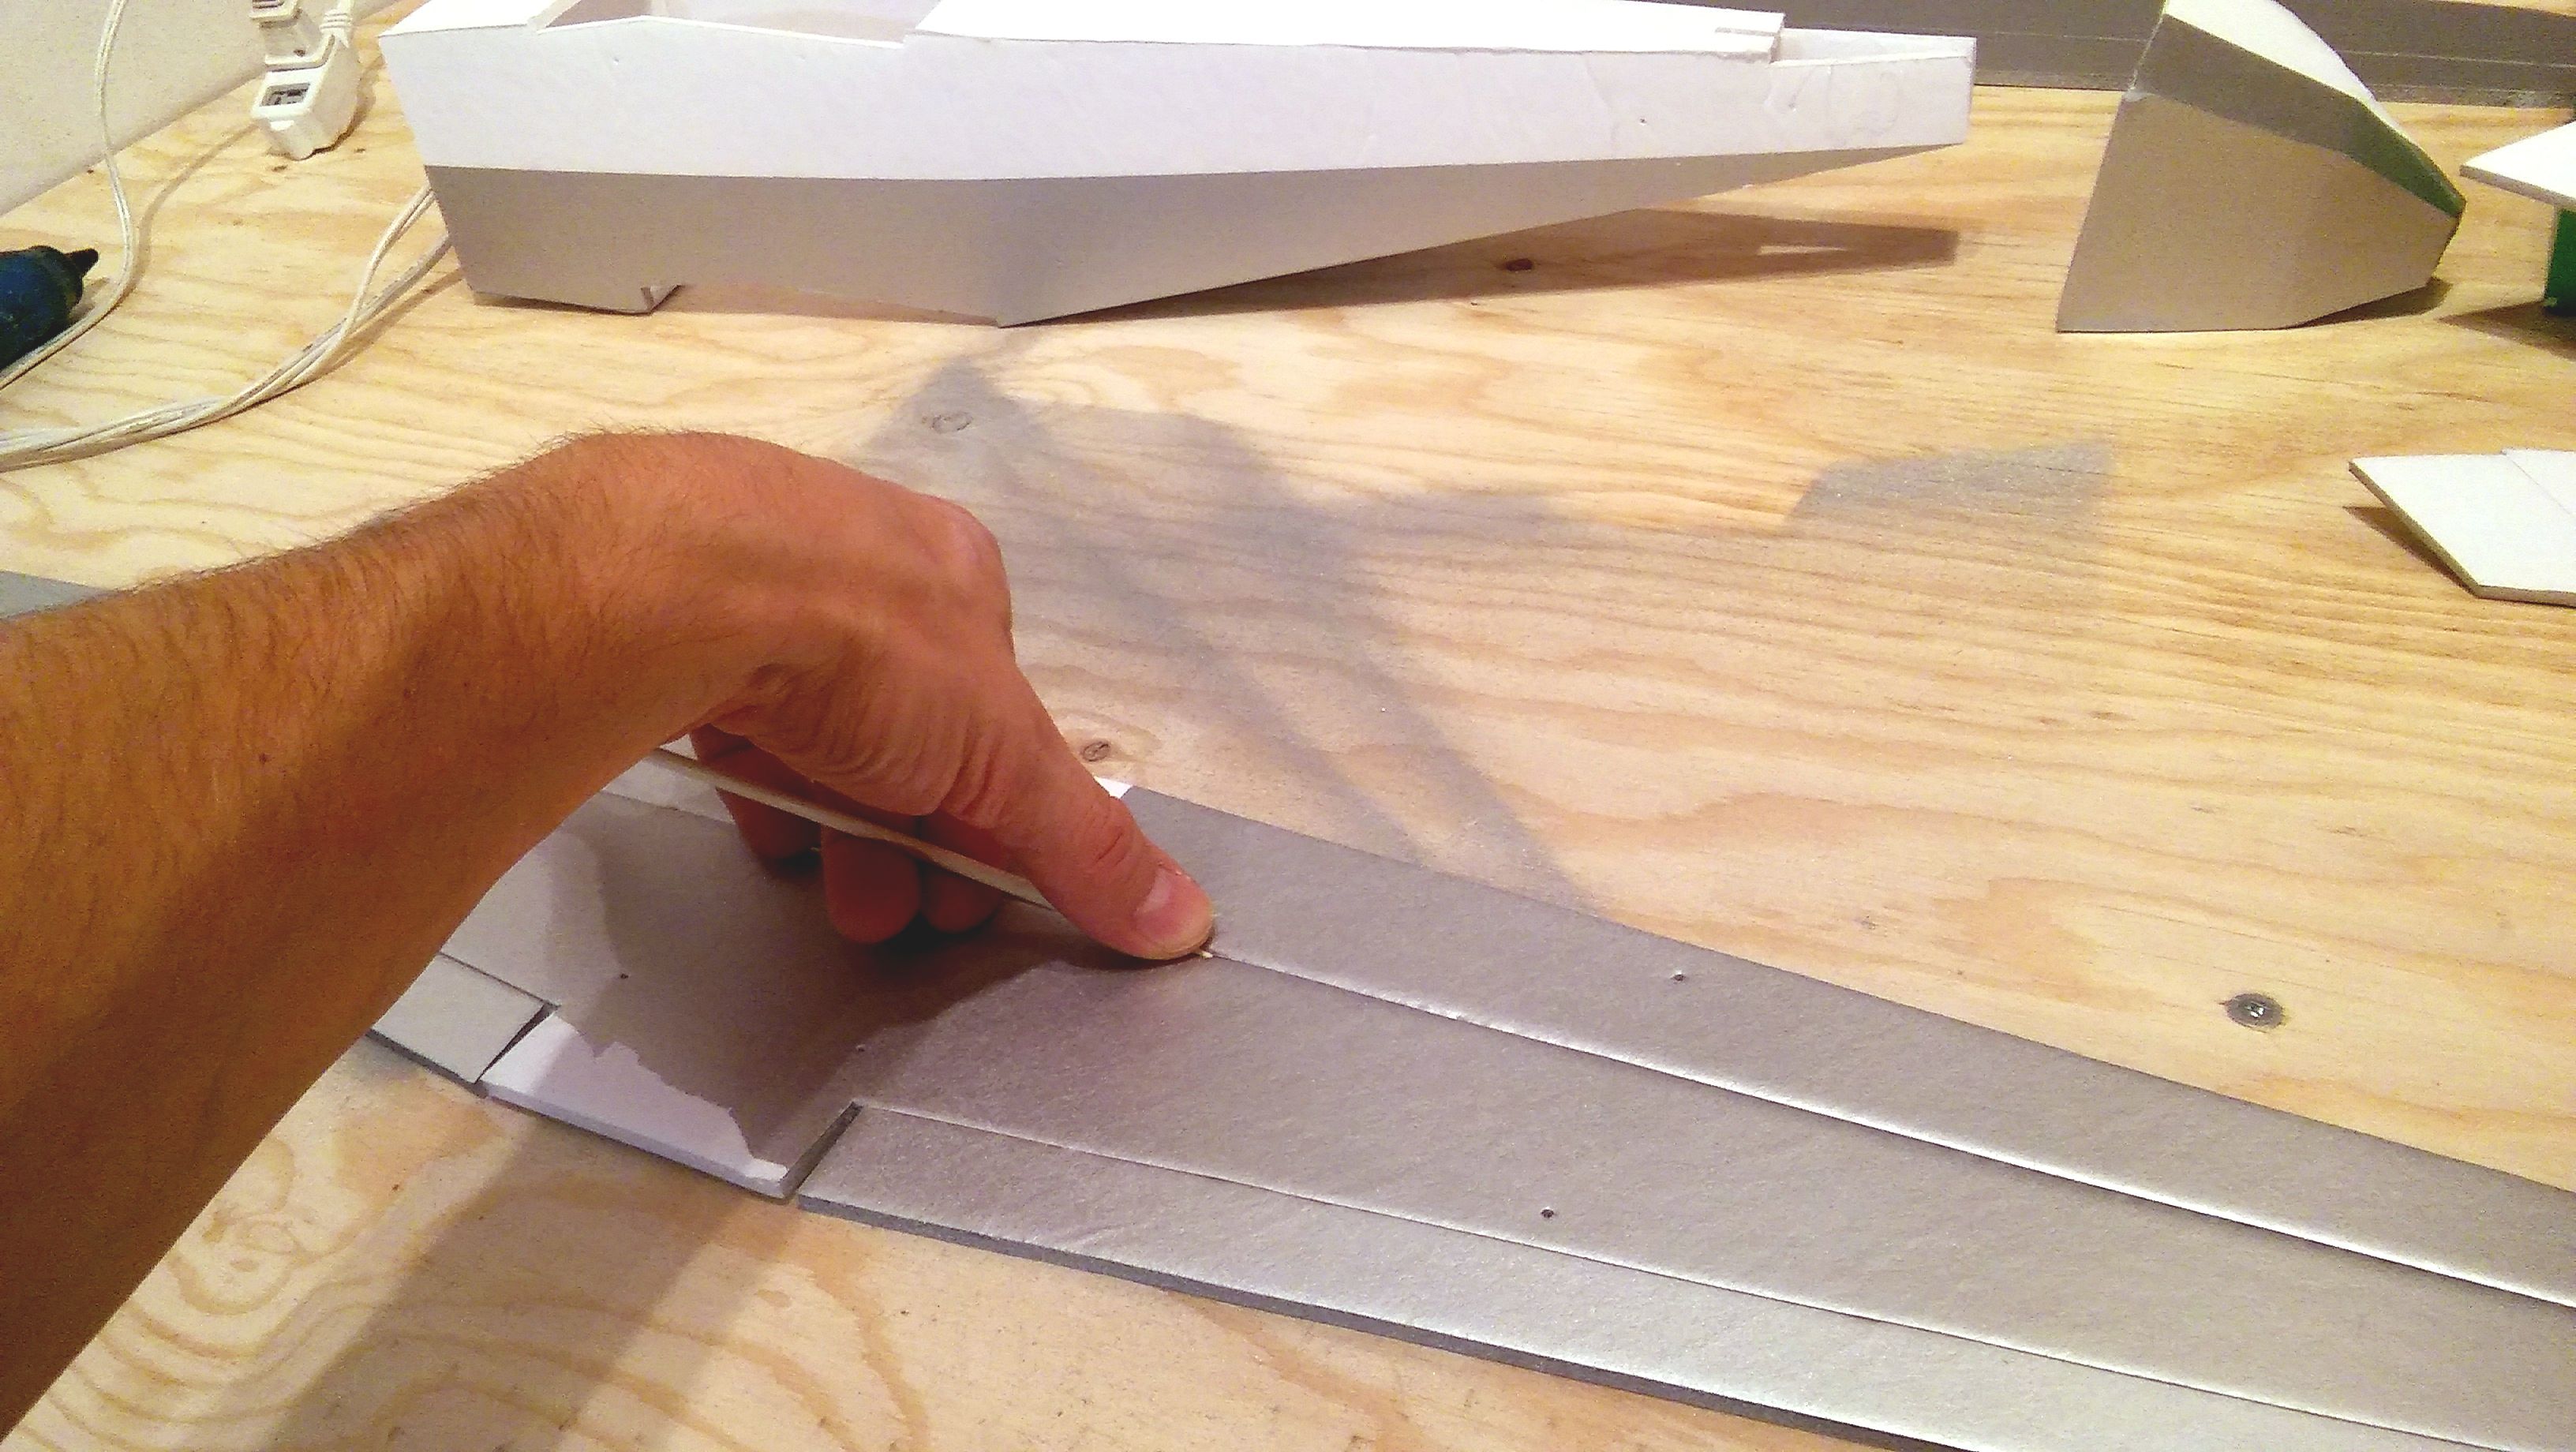
I used a bread tie to crease where the board was to be remove. A little glue and we are all good


 getting there now.
I little more work and it time to check the weight of it.

I would love for this to roll into the skylies, time for gear.
I made mine from three sized foam circles. A drinking straw box juice.


To balance, I needed 1 penny where each motor goes. And only a nickel in the cockpit.
Time to install the gear on the belly.

Looks great as finished and ready to fly.


This uses paper plates for the foam. This makes it light and easy/cheap to purchase.


I used a bread tie to crease where the board was to be remove. A little glue and we are all good


 getting there now.
I little more work and it time to check the weight of it.
I would love for this to roll into the skylies, time for gear.
I made mine from three sized foam circles. A drinking straw box juice.


To balance, I needed 1 penny where each motor goes. And only a nickel in the cockpit.
Time to install the gear on the belly.

Looks great as finished and ready to fly.

buzzbomb
I know nothing!
Oh, heck yeah! You came through all the way! Darn, but if that isn't a beautiful little P38! You, sir, totally rocked it! Congratulations and well done!I took these plans by @Horseman3381 and printed them 8.5x11" letter sized paper. The goal was to get another plane for the PowerUp system, or some place to put in micro guys.
View attachment 146256
This uses paper plates for the foam. This makes it light and easy/cheap to purchase.
View attachment 146257 View attachment 146258 View attachment 146259
I used a bread tie to crease where the board was to be remove. A little glue and we are all good
View attachment 146260 View attachment 146261
View attachment 146262 getting there now.
I little more work and it time to check the weight of it.
View attachment 146263
I would love for this to roll into the skylies, time for gear.
I made mine from three sized foam circles. A drinking straw box juice.
View attachment 146264 View attachment 146265 View attachment 146266
To balance, I needed 1 penny where each motor goes. And only a nickel in the cockpit.
Time to install the gear on the belly.
View attachment 146267
Looks great as finished and ready to fly.
View attachment 146268 View attachment 146269
K3V0
Elite member
Nice work! So much hard work! And I love the details like the bread ties and pennies to give it a good sense of the micro you’ve constructed!I took these plans by @Horseman3381 and printed them 8.5x11" letter sized paper. The goal was to get another plane for the PowerUp system, or some place to put in micro guys.
View attachment 146256
This uses paper plates for the foam. This makes it light and easy/cheap to purchase.
View attachment 146257 View attachment 146258 View attachment 146259
I used a bread tie to crease where the board was to be remove. A little glue and we are all good
View attachment 146260 View attachment 146261
View attachment 146262 getting there now.
I little more work and it time to check the weight of it.
View attachment 146263
I would love for this to roll into the skylies, time for gear.
I made mine from three sized foam circles. A drinking straw box juice.
View attachment 146264 View attachment 146265 View attachment 146266
To balance, I needed 1 penny where each motor goes. And only a nickel in the cockpit.
Time to install the gear on the belly.
View attachment 146267
Looks great as finished and ready to fly.
View attachment 146268 View attachment 146269
M
MCNC
Guest

Sheriff
Active member
Just some slow progress on the mini scout, refuse to paint until I can keep one in the air more than 30 seconds...
Climb a few feet above the ground (like on a picnic table) and throw your completed model a few times without power, just to see how it glides and ajust the trims as much as possible BEFORE commiting to your maiden flight.
If trimmed correctly (and with the C.G. in the right place) it should glide with no control inputs. If not, ajust some more.
The first flight is often so much harder than the 3th or 4th would be, simply because the trims are usually totally off.
That's why the best way (when possible) is having an experienced pilot for the maiden, who than passes you the remote.
Good luck! Keep us posted.
Similar threads
- Replies
- 0
- Views
- 588
- Replies
- 33
- Views
- 3K
- Replies
- 16
- Views
- 1K