I got everything sliced up on the laser this weekend, and will start on assembly this week.
")
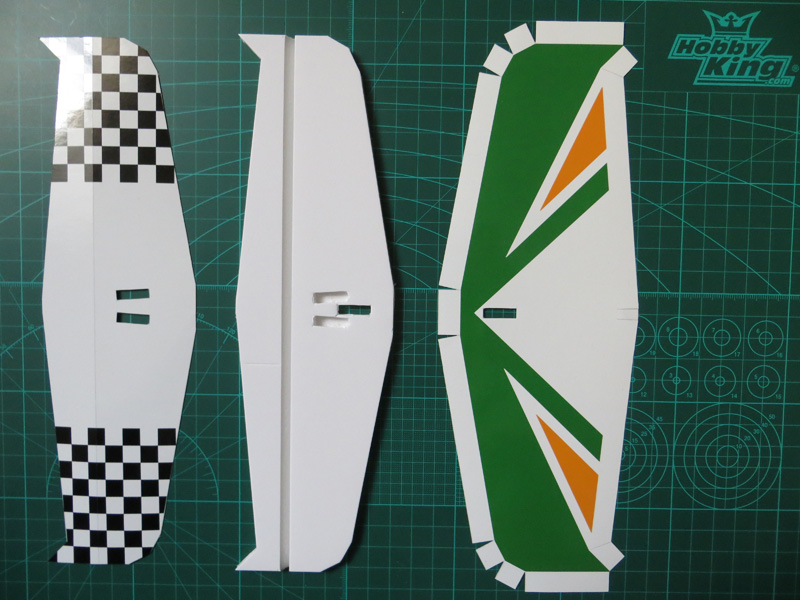
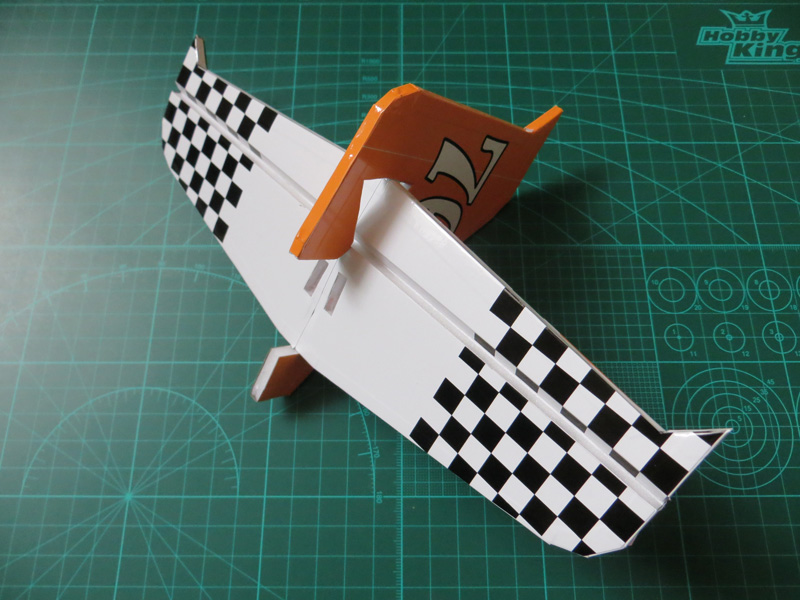
Question about the decals from a process perspective - do you typically pull the DTFB paper off, glue on the decal, and then fold and glue the plane up? Or do you like to add them at the end over the existing paper? I've seen people do both ways, and I usually do the first, but curious how you've been making these particular models.
Thanks,