Baa Baa Black Sheep, Have you any wool? Yes Sir, Yes Sir three Planes full!

Berekiah

Well-known member
@JVos - Your build looked great. Sorry to see it in pieces, but I hope it can get back together without too much trouble.

With the long weekend I got started on the main body of my Corsair.

IMG_0630[1].JPG

I made some progress even with everything else going on. I did have a bit of trouble when i covered the inside of the main body with balsa. I went all the way to the edges which didn't leave much room for the formers. Next time I'll cut the balsa shorter. It has come together ok, but not as clean as I would have liked. Hopefully the thrust angle isn't too off. Just a few more hours work I hope :)

IMG_0631[1].JPG
 

mayan

Legendary member
@JVos - Your build looked great. Sorry to see it in pieces, but I hope it can get back together without too much trouble.

With the long weekend I got started on the main body of my Corsair.

View attachment 141427

I made some progress even with everything else going on. I did have a bit of trouble when i covered the inside of the main body with balsa. I went all the way to the edges which didn't leave much room for the formers. Next time I'll cut the balsa shorter. It has come together ok, but not as clean as I would have liked. Hopefully the thrust angle isn't too off. Just a few more hours work I hope :)

View attachment 141428
Looking good to me :).
 

Berekiah

Well-known member
With a bit of wire, hobby grade plywood, stir straw, spare foam board, steering arm, and dubro 60 size tail wheel kit we have a steerable rear wheel. Took a bit of work to fine tune this setup, but it should be strong enough to handle the job. Just need to attach it to the rudder servo.

IMG_0632[1].JPG
 

buzzbomb

I know nothing!
With a bit of wire, hobby grade plywood, stir straw, spare foam board, steering arm, and dubro 60 size tail wheel kit we have a steerable rear wheel. Took a bit of work to fine tune this setup, but it should be strong enough to handle the job. Just need to attach it to the rudder servo.

View attachment 141511
That's pretty inventive! Looks like trying to build a ship in a bottle. Good work! :)
 

Berekiah

Well-known member
That's pretty inventive! Looks like trying to build a ship in a bottle. Good work! :)

You are correct that was like building a ship in a bottle as the whole mount I build first, fit it in, glued it while passing the rear wheel axel through the mount. Then I added the steering arm after and had just enough room with allen wrenches to tighten down the steering arm and collar. I didn't really know the width of the body before creating that part especially as it tapers down. I determined the size of the plywood by using a foam piece that I could shave down till it fit snugly. You can actually see the foam piece I shaped and wood outline in my second picture of the post #241.
 

Berekiah

Well-known member
Well I got a bit more done last night putting the fuselage together and creating a cockpit. It actually came together just as the video's said it would. It is amazing when these pieces just fit together so well and it takes shape.
IMG_0633[1].JPG

Thought this was a pretty cool image looking through where the engine will be. The new cockpit will be a nice mounting location for the elevator, rudder, and tail wheel servos instead of mounting to the side walls.
IMG_0634[1].JPG

This is turning out to look just like I imagined. So looking forward to getting it all painted.
IMG_0635[1].JPG

A final pic of the cockpit interior with pilot. Foamboard makes it so easy to model to fit.
IMG_0636[1].JPG
 

BATTLEAXE

Legendary member
Well I got a bit more done last night putting the fuselage together and creating a cockpit. It actually came together just as the video's said it would. It is amazing when these pieces just fit together so well and it takes shape.
View attachment 141709

Thought this was a pretty cool image looking through where the engine will be. The new cockpit will be a nice mounting location for the elevator, rudder, and tail wheel servos instead of mounting to the side walls.
View attachment 141710

This is turning out to look just like I imagined. So looking forward to getting it all painted.
View attachment 141711

A final pic of the cockpit interior with pilot. Foamboard makes it so easy to model to fit.
View attachment 141712
Looking sweet, Donald is the perfect pilot... Angry Duck lol
 

basslord1124

Master member
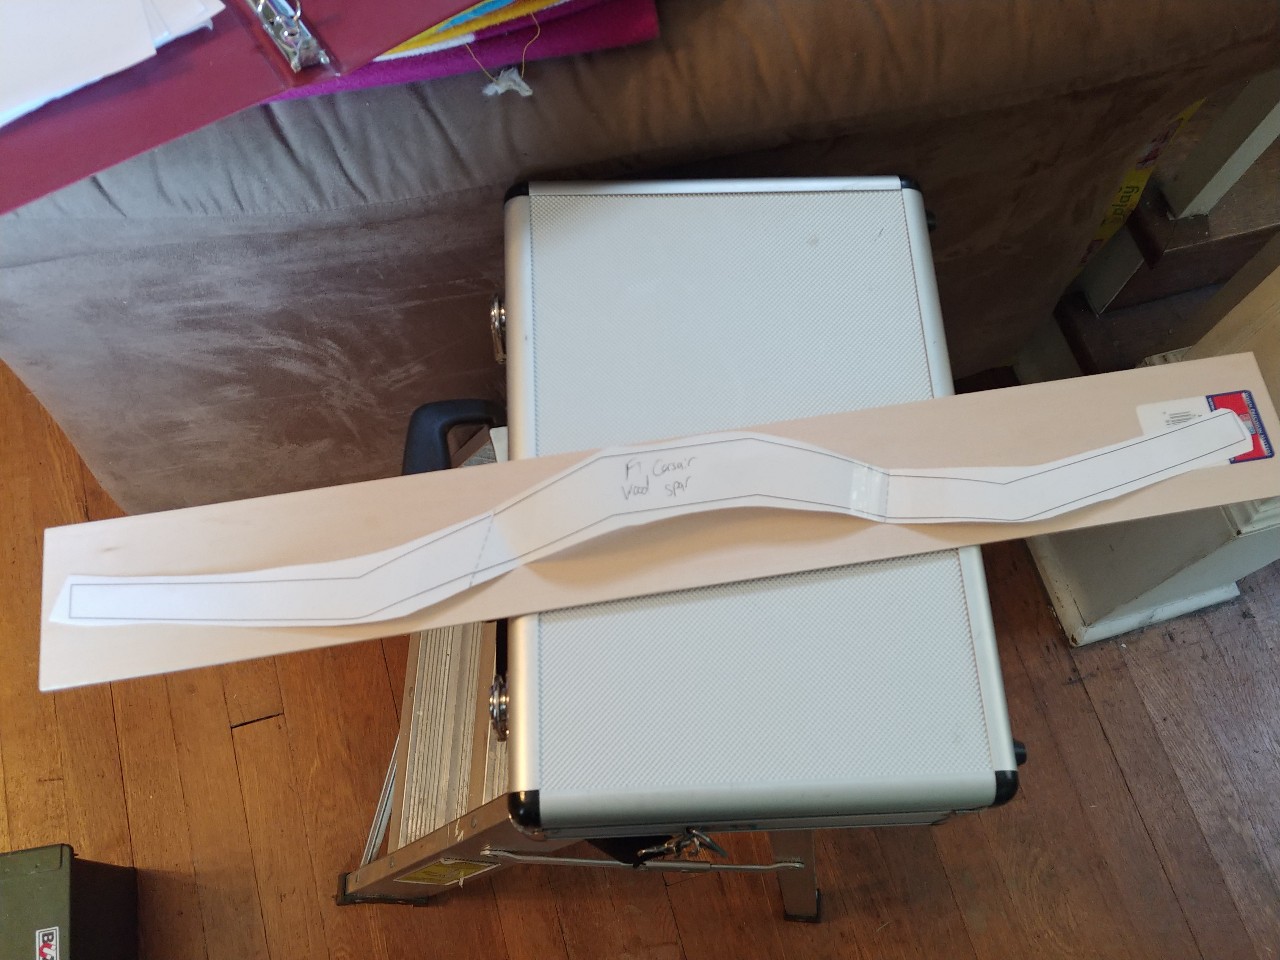
Well good news, found some plywood that will work for those plywood spars. I only bought 1 for now just to see if it will work. Well, looks like I may need to buy a 2nd one for the other spar.

corsair-plywood.jpg


I dunno if I said this here yet or not, but I've almost thought of making the Corsair a "build over the winter months" project.
 

Wildthing

Legendary member
Well good news, found some plywood that will work for those plywood spars. I only bought 1 for now just to see if it will work. Well, looks like I may need to buy a 2nd one for the other spar.

View attachment 141743

I dunno if I said this here yet or not, but I've almost thought of making the Corsair a "build over the winter months" project.

On my Corsair I used 1/64" plywood, cut 2 out and lamenated them inbetween 3 foam spars and seems plenty strong. Nice thing about the 1/64" plywood is you can cut it with normal scissors :) .
 

Dallard

New member
It's getting around that time to join the party over here. I love what ya'll have done so far and look to incorporate some of those improvements you have been finding to make it all better. I figured I might as well send where I'm starting from, but I think I have enough to start as soon as I have the time :) Looking forward to all the rest you accomplish and share in this build. Good Luck.

View attachment 136861
Where did you pick up the landing gear?
 

Berekiah

Well-known member
Where did you pick up the landing gear?

If you look back at my post #218 in this thread you will see my links to the landing gear I am using. I picked up mine from MotionRC, but I know they are currently no longer in stock. I have seen them a few other places like banggood and ebay, but it appears they are much more difficult to find now. Let us know if you do find them still available anywhere. Thanks.
 

Berekiah

Well-known member
The progress on my corsair stalled for a while as life gets busy. I did squeeze in some time on my build and I am nearly finished with the build. Below is a pic of how I setup my servo's for my control surfaces last night. It appears to be working really well in this configuration and I am looking forward to getting to the painting very soon.

IMG_0637[1].JPG
 

Wildthing

Legendary member
The progress on my corsair stalled for a while as life gets busy. I did squeeze in some time on my build and I am nearly finished with the build. Below is a pic of how I setup my servo's for my control surfaces last night. It appears to be working really well in this configuration and I am looking forward to getting to the painting very soon.

View attachment 142552

The servo on the right where you have 2 pushrods looks like you have them mounted on 2 different areas on the servo arm, if it is you will have 2 different throws on your control surfaces. I gather this is for the split elevator?

How I would have done it is before I did the Z bend on the one rod (your top one) slide on the linkage stopper and the other control rod bend it so that it is parallel with the other one and then slide the stopper over it and lock the 2 together.
 

mayan

Legendary member
The servo on the right where you have 2 pushrods looks like you have them mounted on 2 different areas on the servo arm, if it is you will have 2 different throws on your control surfaces. I gather this is for the split elevator?

How I would have done it is before I did the Z bend on the one rod (your top one) slide on the linkage stopper and the other control rod bend it so that it is parallel with the other one and then slide the stopper over it and lock the 2 together.
The one with the linkage stopper is for a back steerable wheel :). That's why it's setup that way, which I think is great because I would think that the wheel doesn't need the same deflection as the rudder itself does.
 

Wildthing

Legendary member
The one with the linkage stopper is for a back steerable wheel :). That's why it's setup that way, which I think is great because I would think that the wheel doesn't need the same deflection as the rudder itself does.

Cool, that makes sense. Just making sure it didn't do a quick dirt nap is all.
 

Dallard

New member
If you look back at my post #218 in this thread you will see my links to the landing gear I am using. I picked up mine from MotionRC, but I know they are currently no longer in stock. I have seen them a few other places like banggood and ebay, but it appears they are much more difficult to find now. Let us know if you do find them still available anywhere. Thanks.
I will keep you all posted if I find them. The build looks great! I will be starting min when it arrives next week and I can't wait to get started.
 

Berekiah

Well-known member
The one with the linkage stopper is for a back steerable wheel :). That's why it's setup that way, which I think is great because I would think that the wheel doesn't need the same deflection as the rudder itself does.

Mayan,

You are exactly right that the linkage stopper is for the back steerable wheel and it doesn't need as much deflection as the rudder. In testing if I had the same deflection the wheel would almost be 90 degrees at full throw. While it would work having the less deflection on the rear wheel seems like it will work better. I guess I'll have to see how the ground handling goes.

Wildthing,

Thank you so much for the suggestion. I should have said what the second control rod was for, but you definitely came up with a good solution if I did have split flaps.

Y'all are the best!
 

Wildthing

Legendary member
Mayan,

You are exactly right that the linkage stopper is for the back steerable wheel and it doesn't need as much deflection as the rudder. In testing if I had the same deflection the wheel would almost be 90 degrees at full throw. While it would work having the less deflection on the rear wheel seems like it will work better. I guess I'll have to see how the ground handling goes.

Wildthing,

Thank you so much for the suggestion. I should have said what the second control rod was for, but you definitely came up with a good solution if I did have split flaps.

Y'all are the best!

No problem, just didn't want to see you destroy your nice build.