Balsa EDF jet build!

ThomasMartino

Elite member
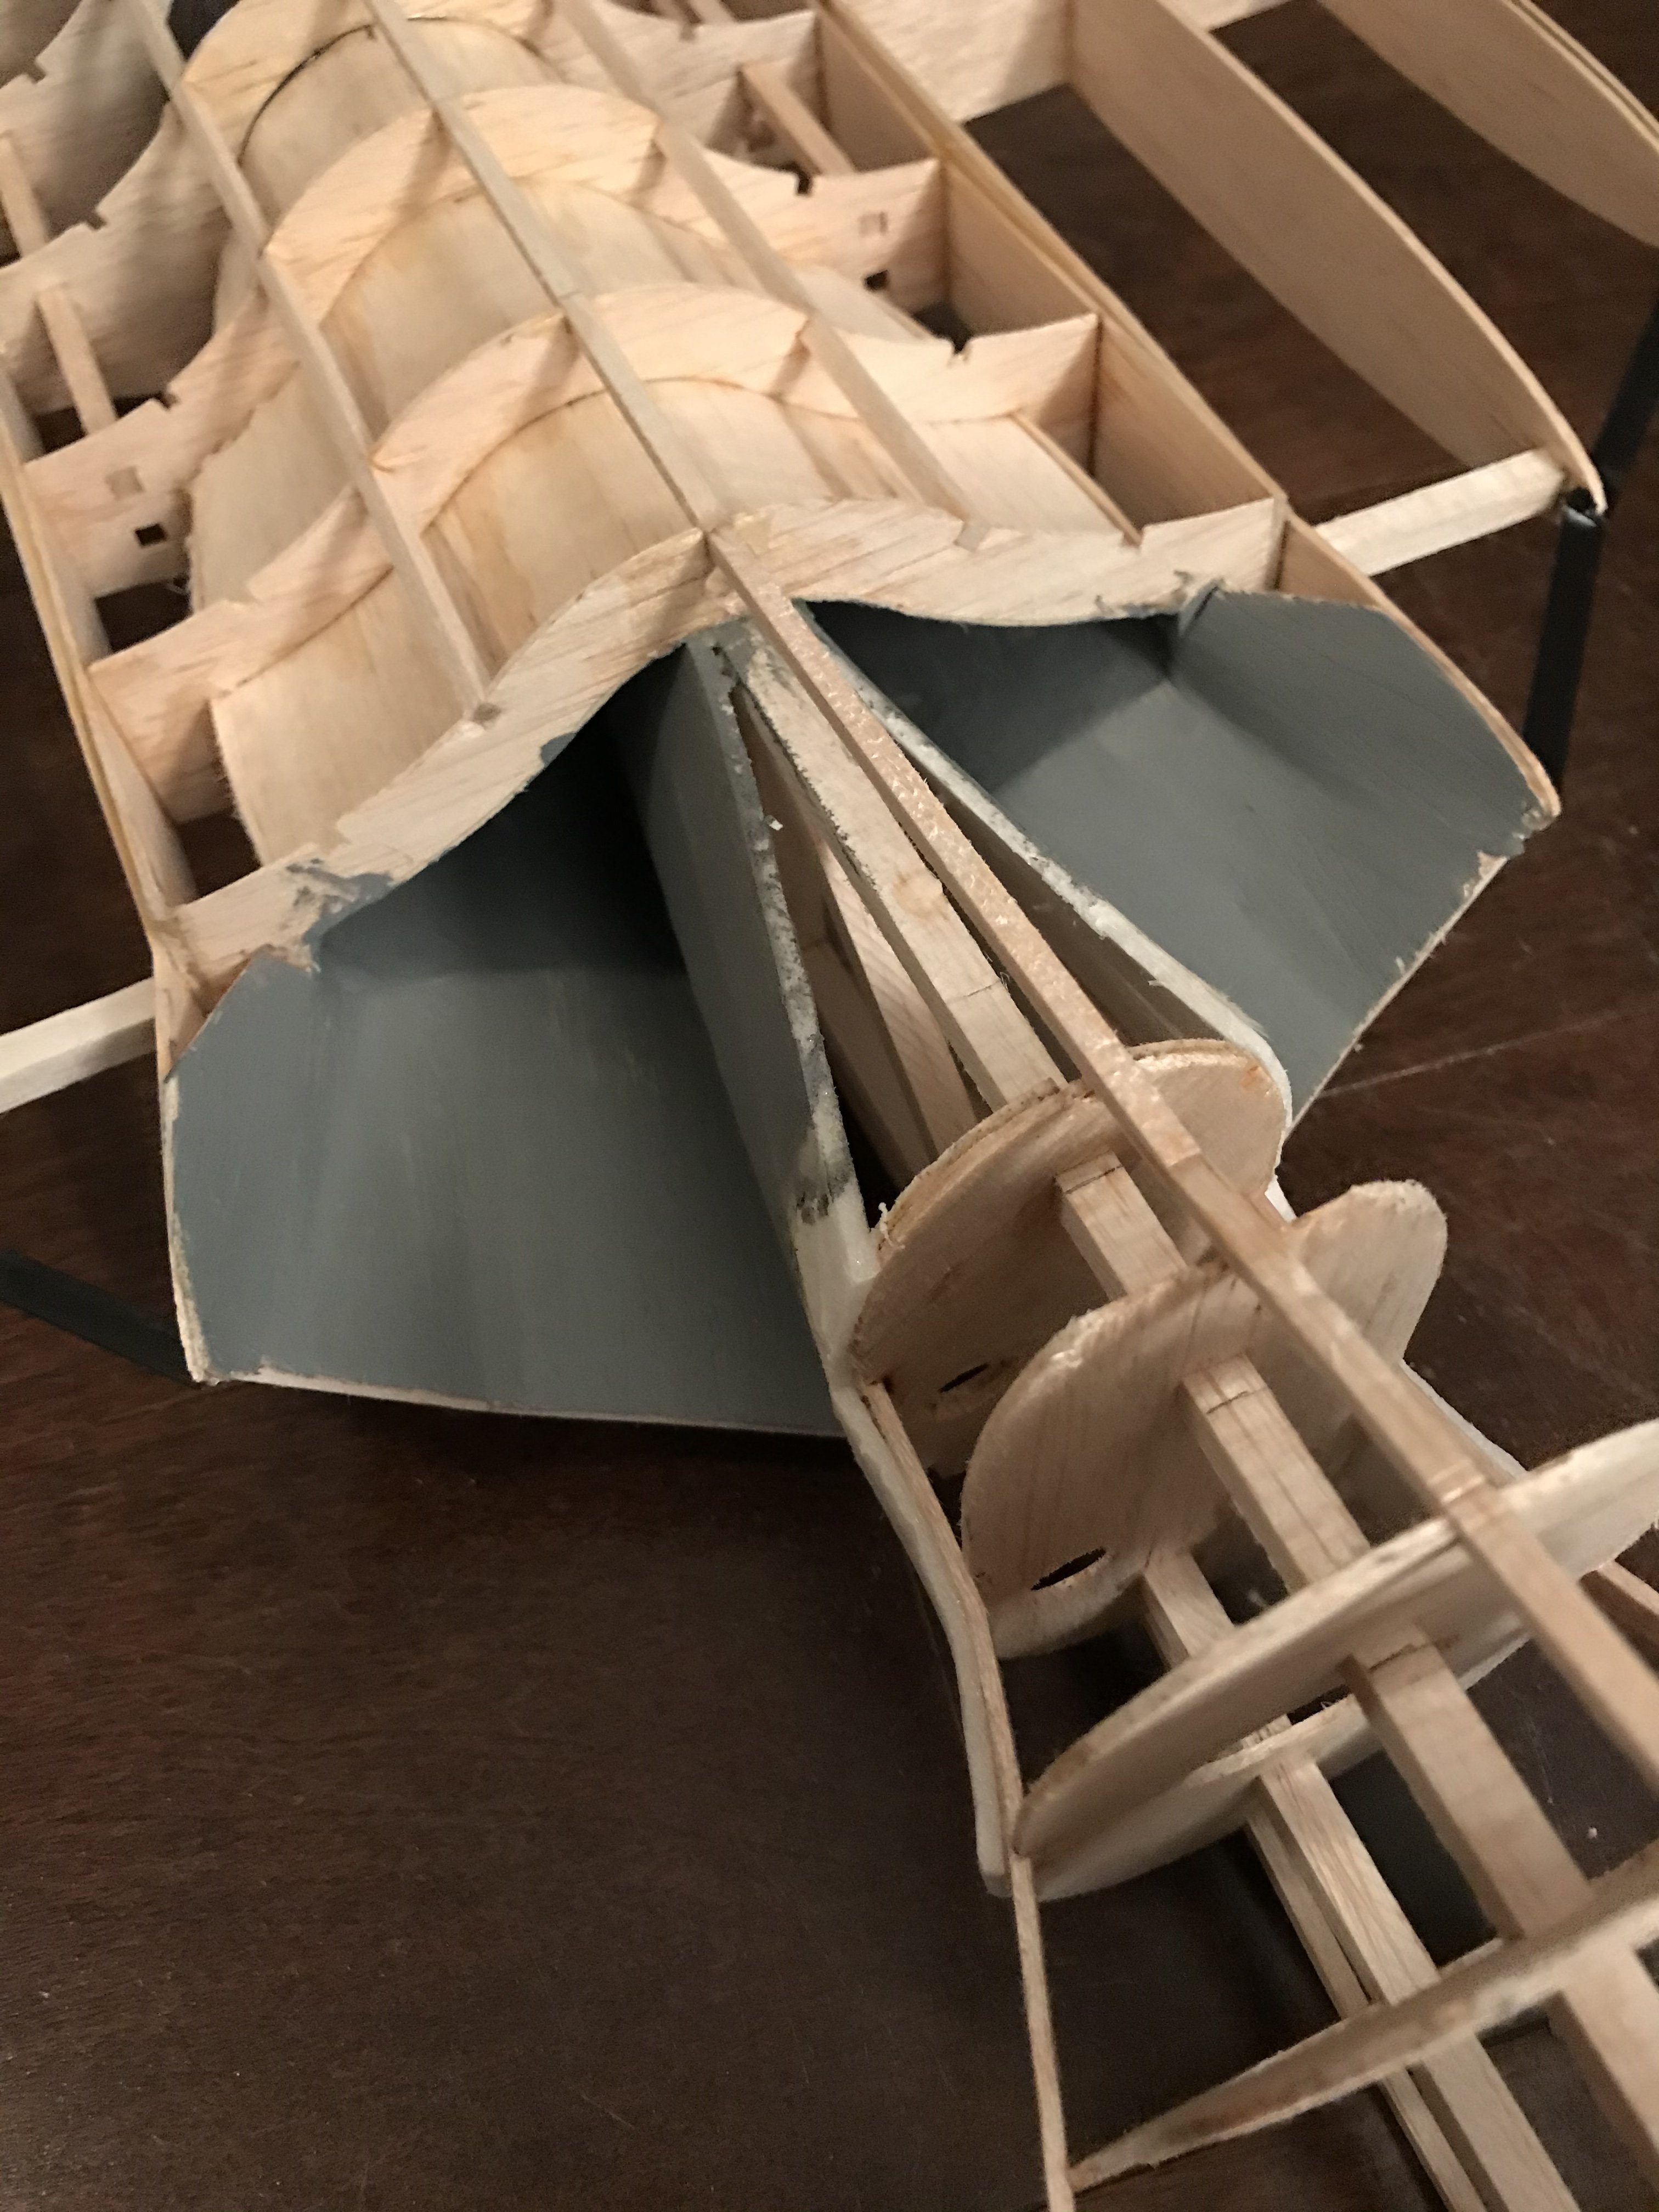
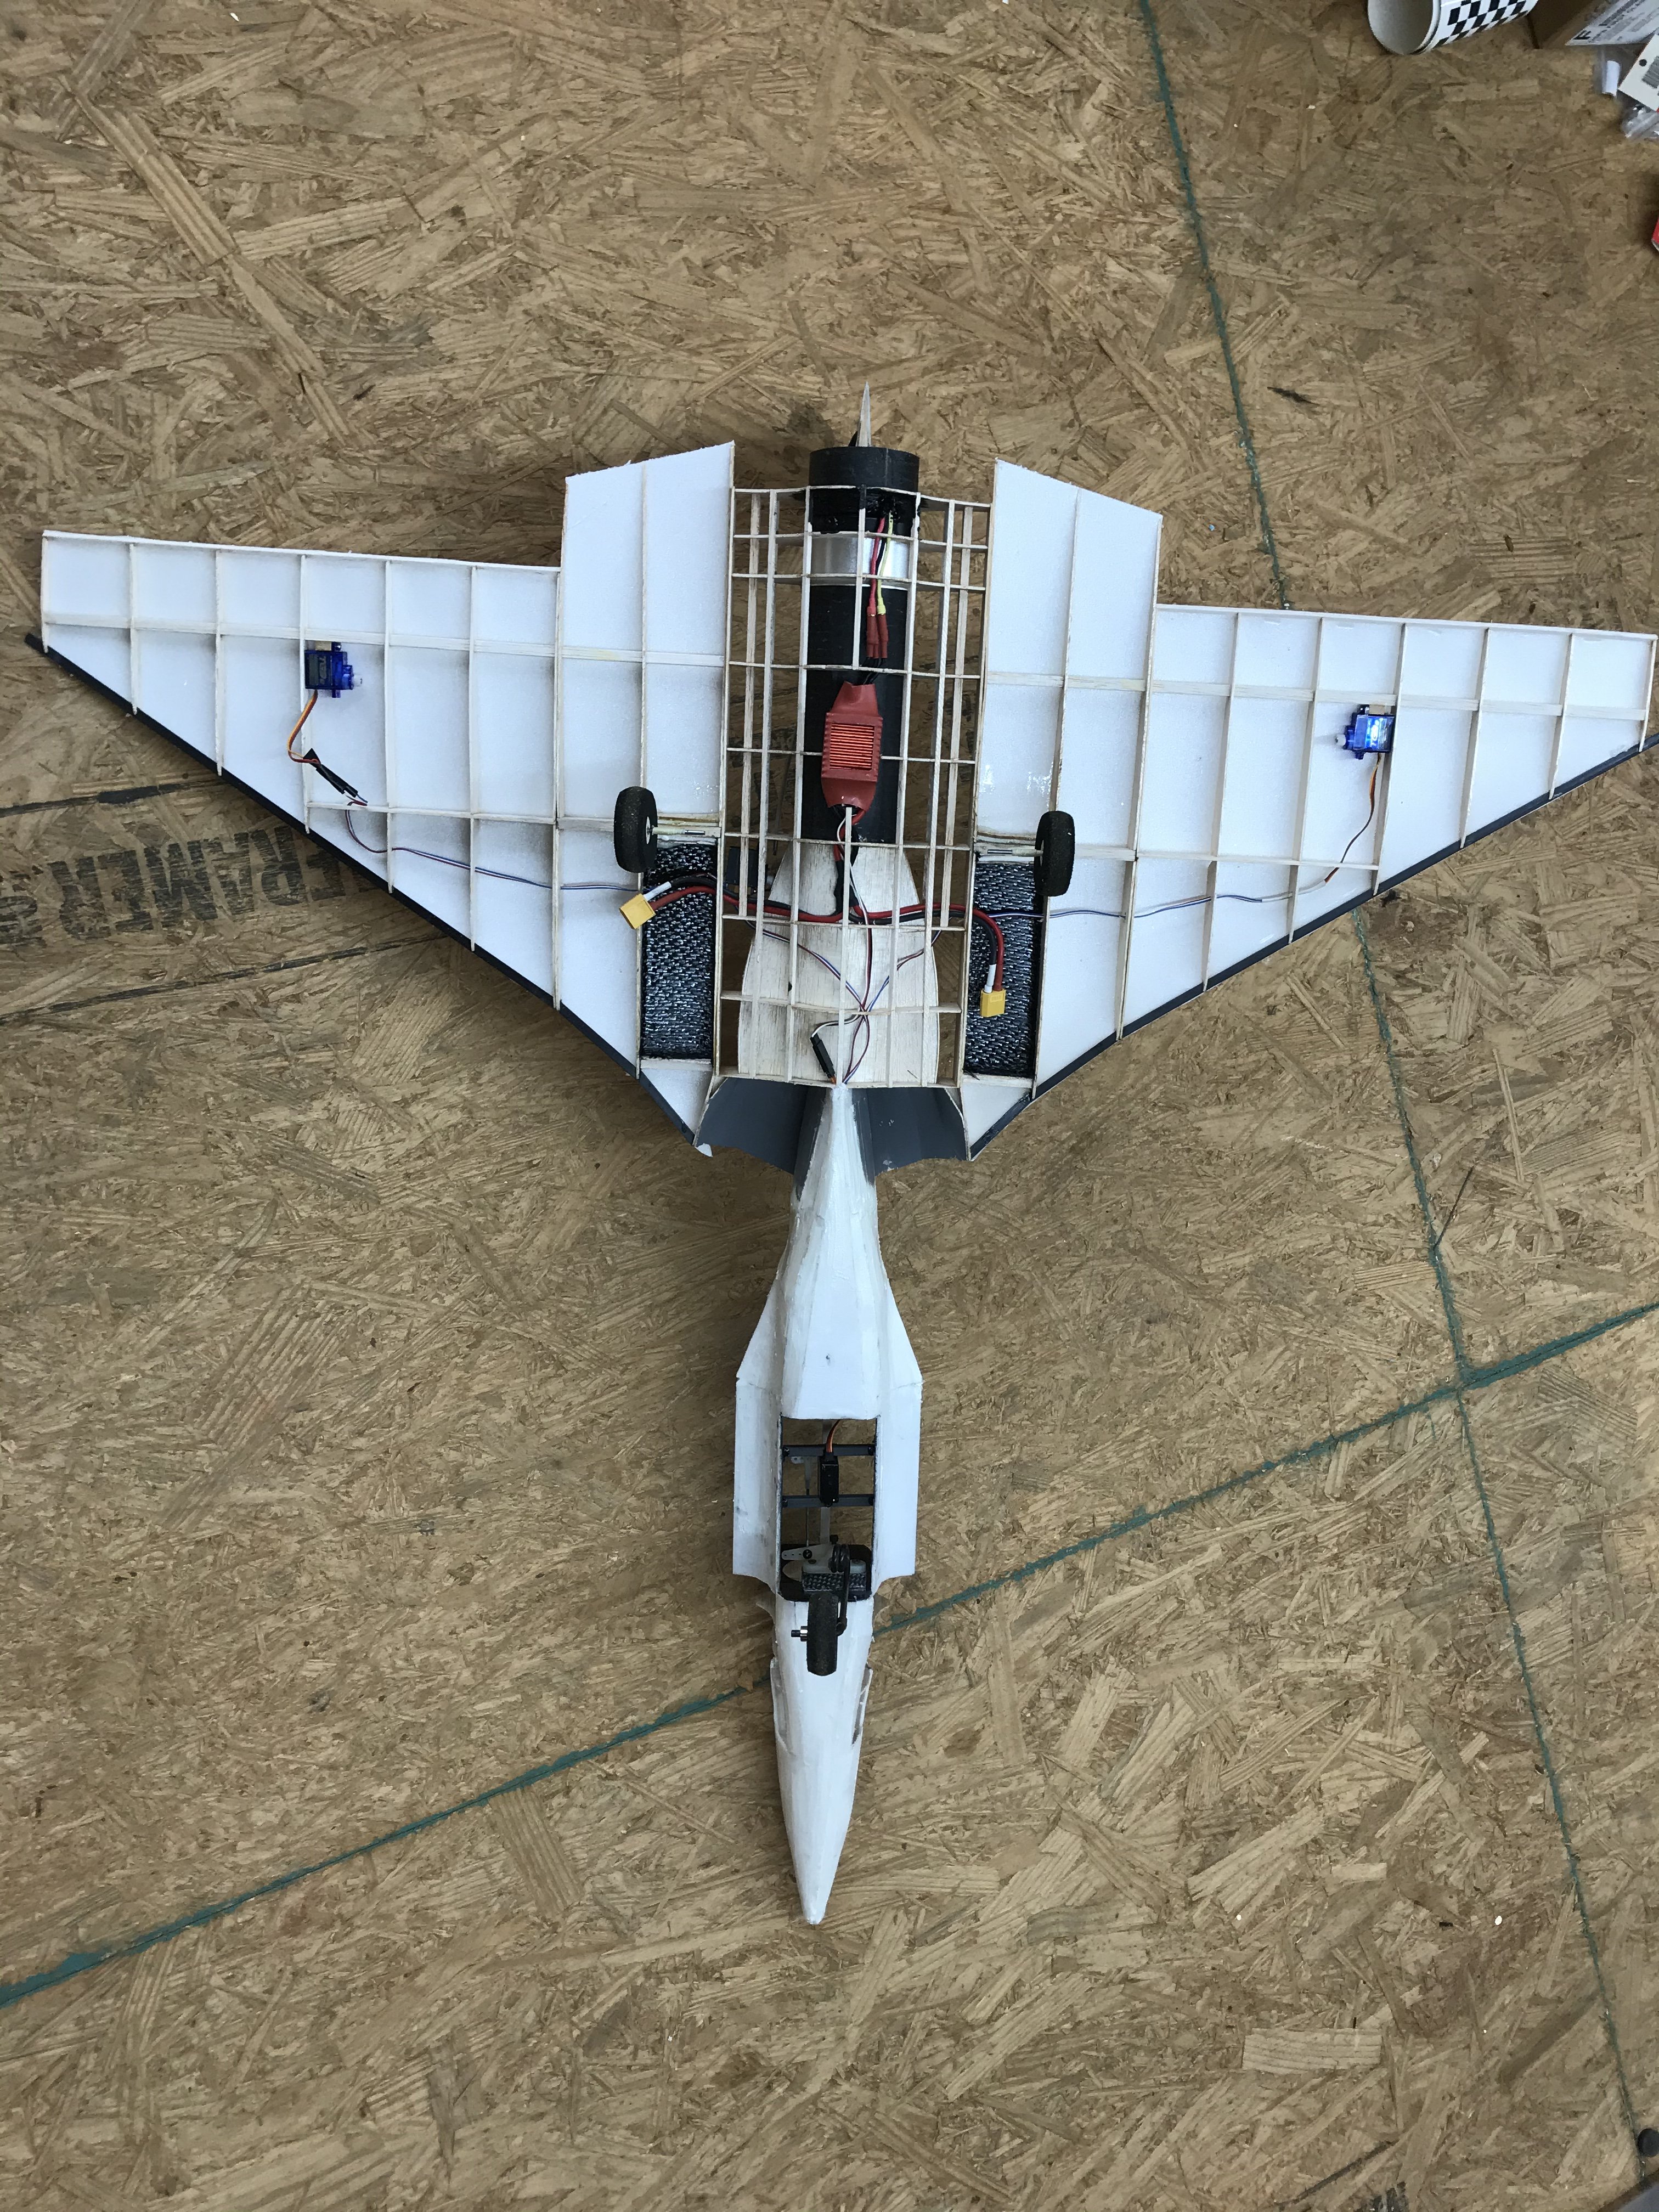
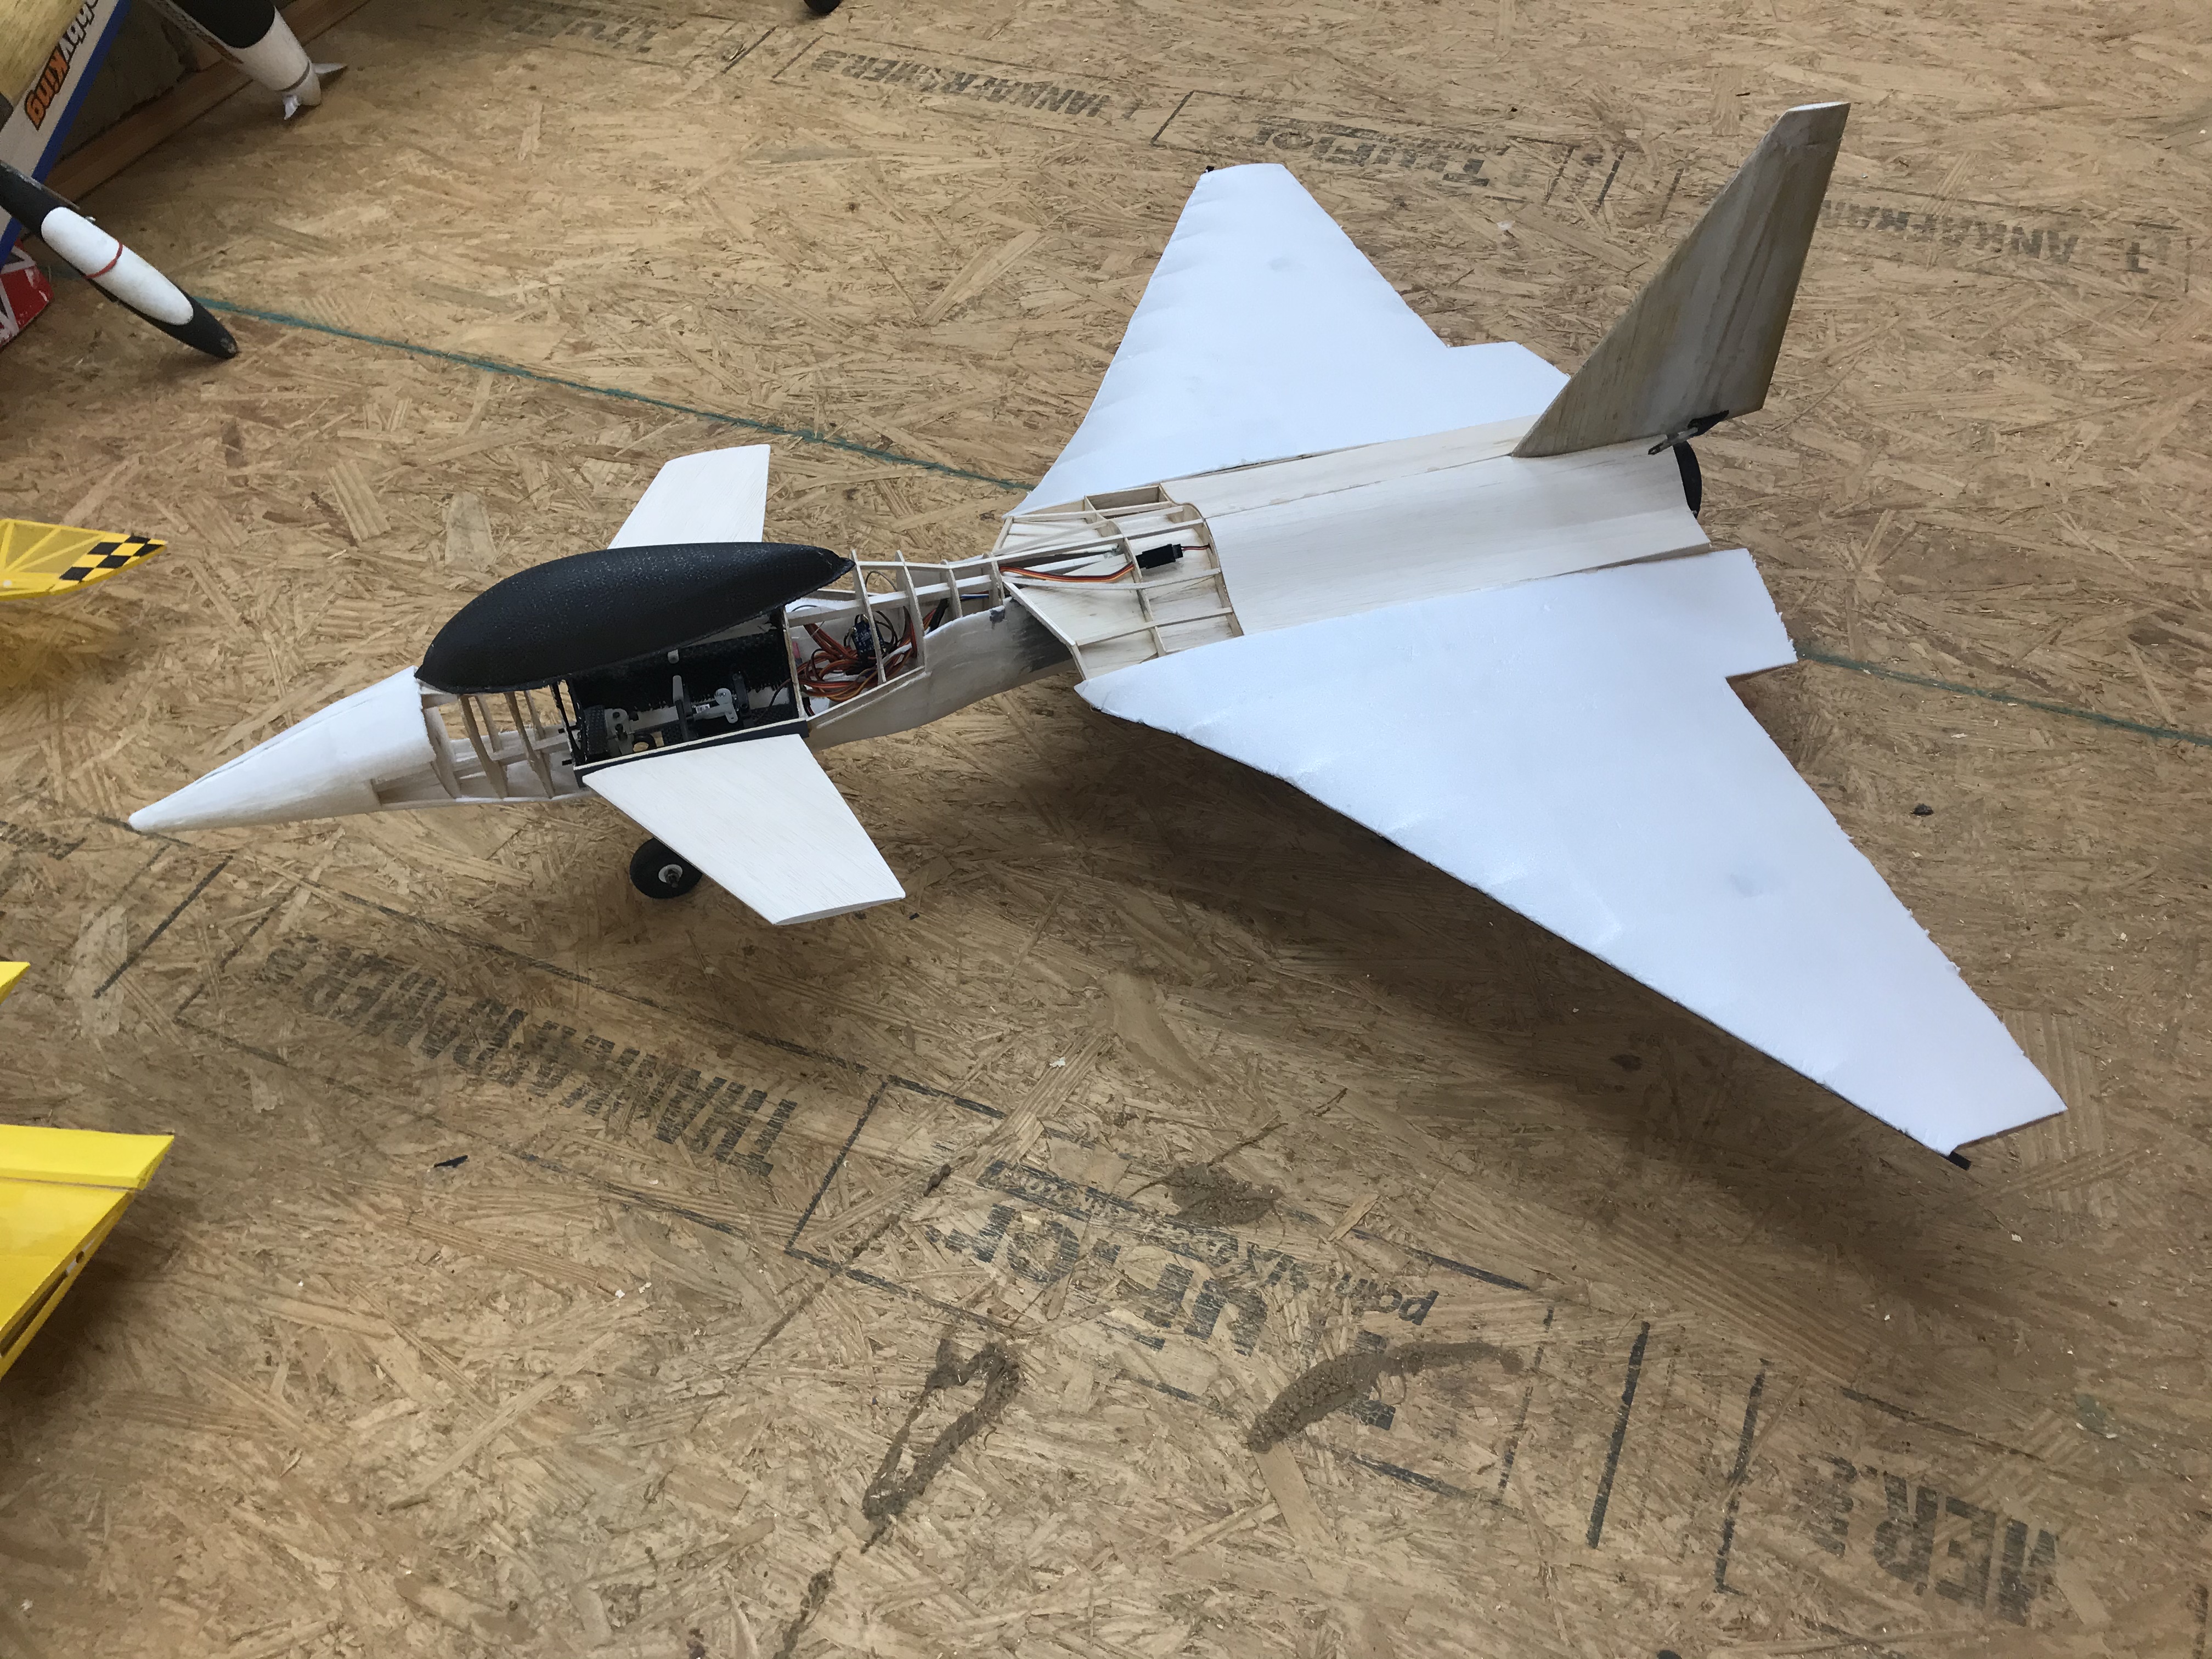
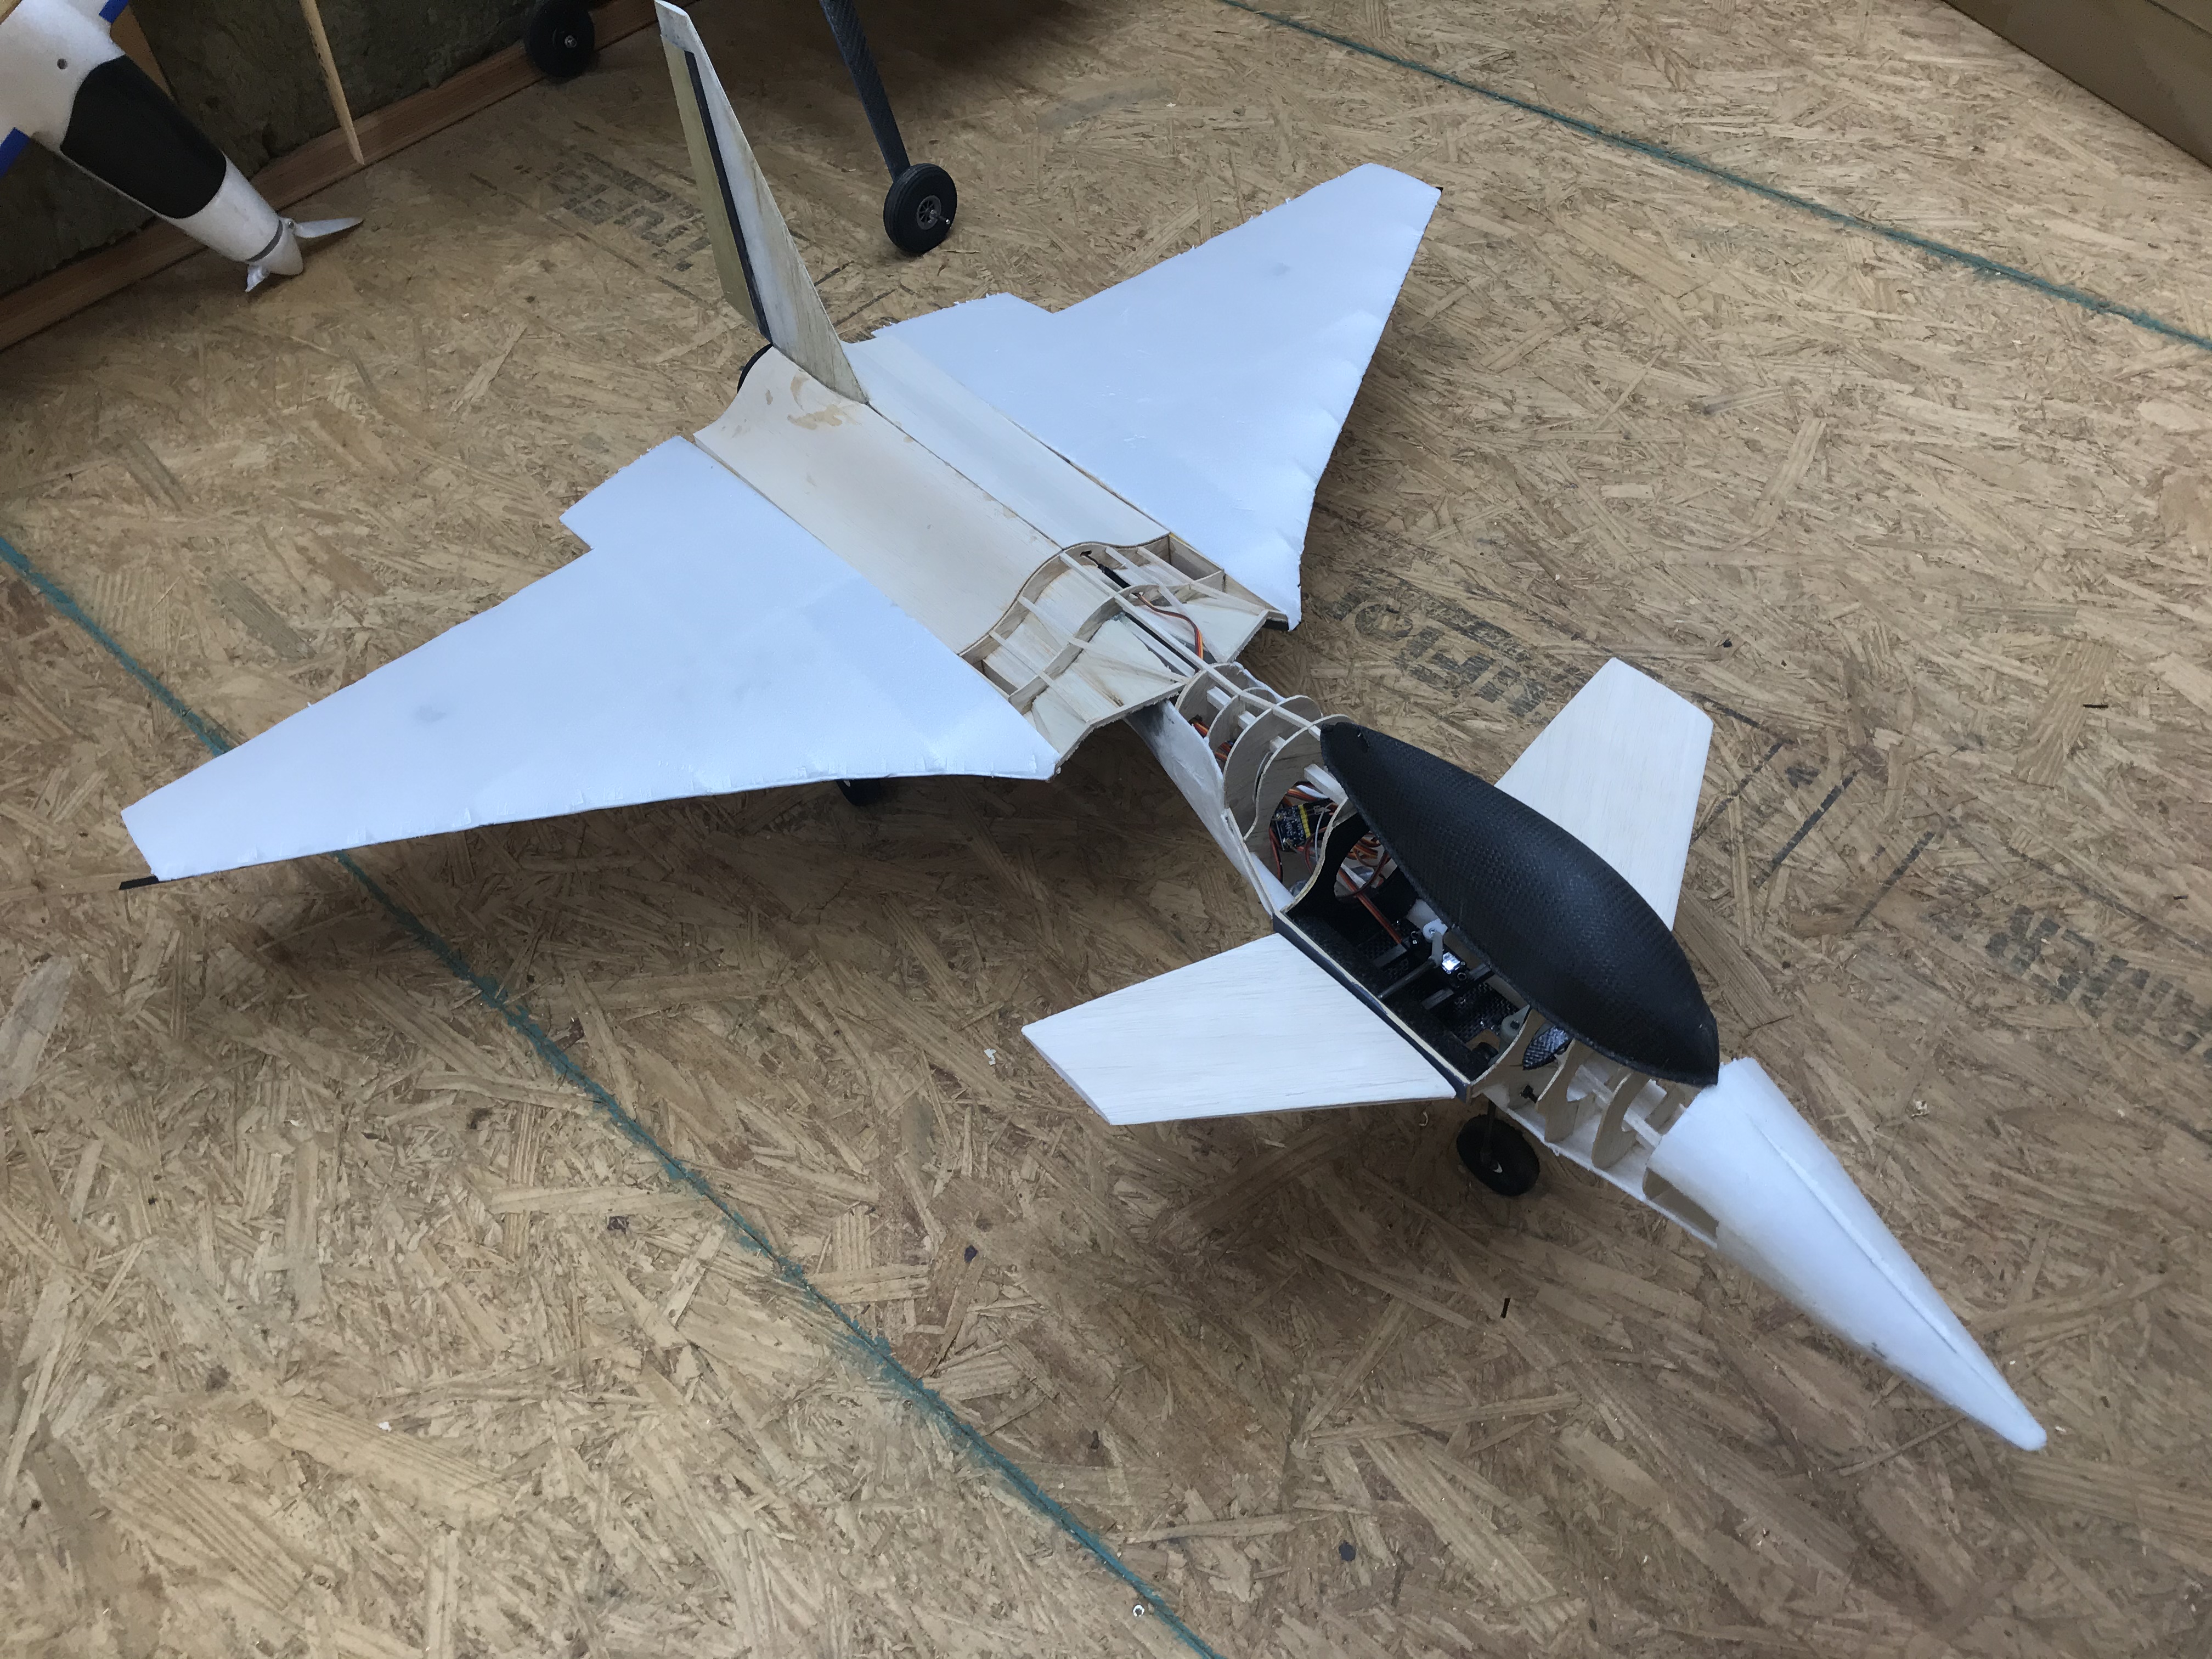
I’m five days into this project and I’m very happy with it, so I decided to make a build thread to share the process and get opinions from the community. This is my first EDF so advice is appreciated. The frame is balsa. It will be sheeted in balsa and 3mm foam then fiberglassed. I’m vacuum bagging as many of the composite parts as possible to keep the weight down and strength up. It will have elevons, full moving canards, and rudder. I decided I’ll make a fixed landing gear instead of retracts, so the top speed may suffer, but since I’m new to EDFs I’m more concerned with keeping the wing loading down so slow speed performance isn’t terrible.

Wingspan: 39 inches
Length: 39 inches
Powerplant: 64mm EDF, 800 Watts
Battery: two 4S 1,300mAh in parallel
Estimated AUW: 40 ounces
21CA7C0A-4364-477D-B1E2-D54CCEA8CB82.jpeg
297D0F4F-65F9-4938-8323-CEC49D249F2B.jpeg
D88D26DB-9E47-4B04-8BA3-2BFA258377DD.jpeg
1FFA72E7-AE7C-47F0-BBEB-5D77599D50C7.jpeg
D0FC5218-7094-472F-BEBA-8A934415453D.jpeg
 

leaded50

Legendary member
hard to see yet, if opening can be enough for air to the edf. Also wonder if possible edf comes to far back... hard to say at this stage of build from pictures, also the front could gasin good enough force to maintain cg point anyway.
 

ThomasMartino

Elite member
I didn’t have much time to work on the jet tonight, but I was able to finish the top side of the air intakes and install the last few pieces of carbon fiber for the leading edge of the wing.

I don’t think the EDF is starved for air because it’s still producing two pounds of static thrust (the same as before I installed it in the plane). Once the plane is moving and air is forced into the intakes the thrust should be even greater. I think I can achieve a flying weight of 2.5lbs, so the thrust to weight ratio will be fine.

The next steps will be rounding the bottom half of the inlets and sheeting the top of the wing so I can start installing electronics and the landing gear. Once that is done I’ll continue sheeting the fuselage and glue on the vertical stab
3D57A837-97FD-4751-86CE-96467CCCFB16.jpeg
E97BE6D7-C351-4488-A375-68DE5333FBF6.jpeg
92F9FEFA-5C97-4288-A0CC-3D5B39B7ACE9.jpeg
 

BATTLEAXE

Legendary member
I didn’t have much time to work on the jet tonight, but I was able to finish the top side of the air intakes and install the last few pieces of carbon fiber for the leading edge of the wing.

I don’t think the EDF is starved for air because it’s still producing two pounds of static thrust (the same as before I installed it in the plane). Once the plane is moving and air is forced into the intakes the thrust should be even greater. I think I can achieve a flying weight of 2.5lbs, so the thrust to weight ratio will be fine.

The next steps will be rounding the bottom half of the inlets and sheeting the top of the wing so I can start installing electronics and the landing gear. Once that is done I’ll continue sheeting the fuselage and glue on the vertical stab View attachment 173521 View attachment 173522 View attachment 173523
This looks relly cool man you have my attention
 

ThomasMartino

Elite member
I’ve been flying a lot over the last couple days so I don’t have much to show on the jet, but the top wing skins are on and the ESC is installed. My original plan was to use two 1,300mAh 4s batteries in parallel, but I think I’m going to order some 1,500 packs so I’ll have an even 3,000mAh to work with. The batteries will go in the root rib bay as far forward as possible. This plane has a long nose and there is still a lot of gear to be installed up there for the canards, so hopefully the CG will be fine
CE8836A9-2DBE-4787-A908-6B5E9C525E16.jpeg
 

Flyingshark

Master member
I’ve been flying a lot over the last couple days so I don’t have much to show on the jet, but the top wing skins are on and the ESC is installed. My original plan was to use two 1,300mAh 4s batteries in parallel, but I think I’m going to order some 1,500 packs so I’ll have an even 3,000mAh to work with. The batteries will go in the root rib bay as far forward as possible. This plane has a long nose and there is still a lot of gear to be installed up there for the canards, so hopefully the CG will be fine
Looks great!

I assume since you mention needing lots of gear for the canards that you're going to use them as some sort of control surface. Are you planning to use the canards for both pitch and roll (I think a few planes do this), or set them up to control just the pitch?
 
Last edited:

ThomasMartino

Elite member
Looks great!

I assume since you mention needing lots of gear for the canards that you're going to use them as some sort of control surface. Are you planning to use the canards for both pitch and roll (I think a few planes do this, even though it's less efficient), or set them up to control just the pitch?
They will operate independently of each other, for pitch and roll. It will be more complicated, but I think the added cool factor is worth it
 

ThomasMartino

Elite member
Here are some shots of the vertical stabIlizer and rudder. The hinge is Kevlar. It worked great, then I did something stupid and had to cut the rudder off and redo it. Luckily the repairs worked out fine and I was able to blend in the new layer of Kevlar using micro balloons. The black gap seal was made out of Kevlar and carbon tow. I vacuum bagged everything in an attempt to reduce weight. The finished weight is 35 grams
FECA37C7-87FB-441C-8E57-7B60420CFF3A.jpeg AC8FCEDC-61D9-474C-B73C-1F3DE251CA90.jpeg A11529FF-12B4-4985-B628-98B25A7471D6.jpeg 16C6669A-9374-4B2E-9B02-2A5EA2DA0307.jpeg
 

ThomasMartino

Elite member
The next step was making the canopy. My previous attempts at making clear plastic canopies have been awful, so I decided to make a carbon fiber one instead. I feel like this will look cool, and also I don’t see any need for a clear canopy since the cockpit will be full of servos and linkages rather than scale details.

The first step was making a form out of foam. This was pretty straightforward and took about half an hour. Next I cut out three pieces of carbon fiber cloth a little bit larger than necessary and weighed them. Normally I mix up an identical weight of epoxy for a 50/50 resin to reinforcement ratio, but this time I went a little over to ensure the carbon was saturated. The extra resin will be extracted during the vacuum bagging process. I set the pieces of carbon on a plastic sheet and wet them out individually, then lay them onto the form one by one. I cut the carbon so the weave runs at an angle relative to the length of the form. This helps the cloth conform to the compound curves without wrinkles. After all three layers of carbon were smoothed down I added a single layer of Dacron fabric peel ply. Next I added two layers of cotton bleeder ply. This absorbs excess resin that soaks through the peel ply and allows a path for air to escape when vacuum is applied. The final step was taping a stretchy vacuum bagging film over the layup, inserting the vacuum connector, and taping down to perimeter for an airtight seal. I sucked the air out using a vacuum pump and put a heating pad over the part to accelerate the cure time. As you can see in the final photo this is a great way to create strong and lightweight composite parts. All I need to do now and is trim it, sand it, and apply clear coat.
3DBA144B-E761-420F-94F5-0435D4A0EB79.jpeg 649A5056-8530-4B00-8B52-51B28ADF8AA1.jpeg ADC79997-A7D2-458F-A118-DF60182785B4.jpeg E28FEFFD-73B1-4E58-8FC2-2B2DB18434D8.jpeg CABD75E4-A492-4423-B4B6-2A1564109FF3.jpeg FFD720D8-9E80-488B-91A3-4913ED3B81E8.jpeg 7E587E73-70E3-4953-BAE2-6CA5EFDE5AE6.jpeg BC9033A9-B9BF-44C3-9464-CCB9F77F29F3.jpeg 11DDADEC-E74B-420D-8B4F-A5896D34B74D.jpeg
 

ThomasMartino

Elite member
The final update for today shows the trimmed canopy and the new canards. I didn’t like the original foam/carbon canards I built, so I shaped new ones out of balsa. They use a NACA 0009 airfoil and are slightly larger than the originals. The next step will be installing servos for them. That will be the last complicated task, then all I have to do is make the elevons, finish sheeting the airframe with foam and balsa, sand it, fiberglass it, sand it a million more times, and paint.
1854316C-2088-4F18-9897-FAFF04D98D26.jpeg
905458C5-A1A5-459F-9FD4-BE1839B75D41.jpeg