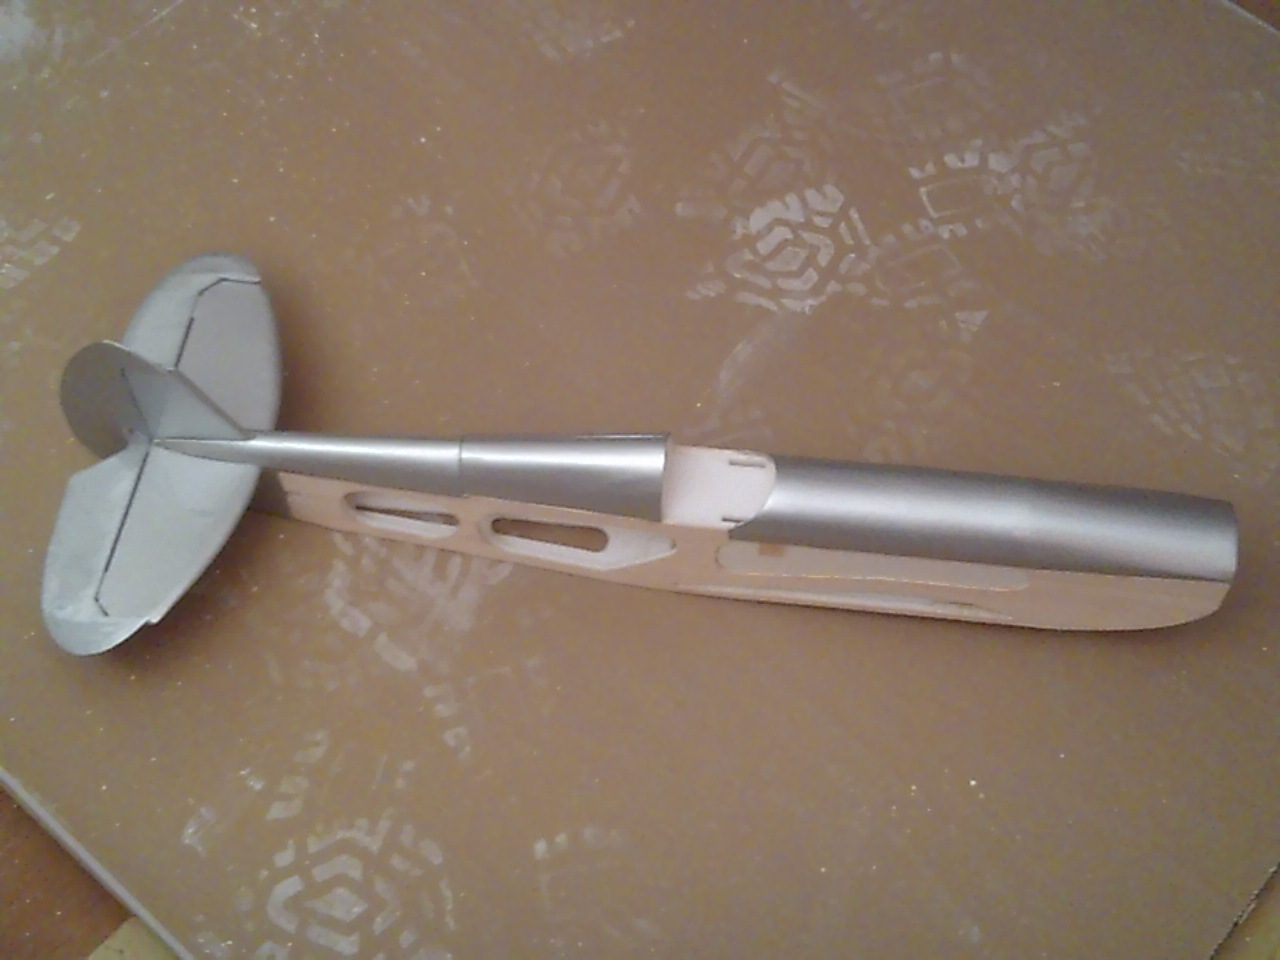
Balsa-Foamboard test build - FT Spitfire

Rokcrln

New member
Yes I did find the righty is greatly increased with even just the single sided balsa. I agree the 1/32" on both sides would be a great improvement over what I currently have and I'll need to source some for the next round for sure, thank you for that. I did receive my circle cutter yesterday after the fuss was done so I played with it on the wing a bit and it really saves a lot of time.

Your plane looks great, can't wait for a maiden video!
 

Hai-Lee

Old and Bold RC PILOT
For those who would say it is far too expensive an exercise the real expense was in the time it took but then it was an experimental exercise and so there was a lot of measuring, cutting and adjusting that would not occur on a build done to an existing plan.

Dollar cost? In AUD, (Aussie Pesos), the exercise has cost about $10 in FB and glue and an additional $25 for 100mm wide balsa sheets.

Is it strong enough? The wing in the original had 3 strong points in the wing, (spars and spar like effects) they are the leading edge, wing spar, and the rear wing panel joint. The wing as per this post has 4 spar like areas and a further half spar effect area. They are the LE spar, the 2 wing spars, (smaller but reinforced and stronger), the rear wing panel joint, (extended to the wing tip), and finally the wing TE half spar like area.

Will the return justify the expense? This is open to debate but from my son's experience I will not lose this Spitfire due to moisture ingress over time nor will I need to replace tail members or other parts due to minor hangar rash incidents. My son's new spitfire is his second and the first one was repaired 3 times before it succumb to serious weakening due to moisture, (over an eighteen month period). If I can avoid turning the plane into a lawn dart it should last a very long time.

Does this approach allow me to use my FB model with IC engines? YES! As long as you sheet all areas exposed to the Exhaust residue and fuel as you would with a balsa model it will be fine. The use of covering film does fuel proof the main body of the plane and other coatings are readily available for exposed wooden surfaces.

Is it repairable? I believe so. it maybe a different technique with a slightly more involved process but the structure should be more of a "Patchable" design than standard balsa designs or even bare FB. At worst just cut out the damage and rebuild the effected or now missing area. Hidden broken glue joints the bane of balsa designs should never occur as the foam and glue should retain the damage to the local area of impact for most repairs. (This is yet to be confirmed of course).

Finally a little money saving idea I hope. You can buy a circle cutter but you do not need one really if you can rummage around and find one of those cheap and nasty compasses that seem to be everywhere. The ones that are meant to hold a pencil using a screw. Remove the pencil and install a hobby knife with a sharp blade, (No 11 I believe), and you are able to cut circles with a little patience and practice.

 

Rokcrln

New member
Looking forward to the finished Spit! Will you be including the FT jigs in this thread or a separate thread somewhere else? I think these will aid several members in their build quality.
 

Hai-Lee

Old and Bold RC PILOT
I will definitely finish this build and at least do a maiden, (crash?).

As for the Jigs I will be posting them on the tools thread when I get time.

Funnily enough I started the Spit build when I had little to do and suddenly I have barely enough time to scratch myself.

Still haven't ordered the spit parts I may try to budget time today to place the order.

Never realised how little time people have when starting a business!
 

Hai-Lee

Old and Bold RC PILOT
Parts ordered!

It took about 3 hours, such is the issue with a slow internet connection and tons of ADs which must load before the links on a page function. So much for user friendly on line shopping!:mad:
 

JimCR120

Got Lobstah?
Site Moderator
Hai-Lee, you are an artist and scientist. Wow this is an informative build while being a pleasure to watch. Thank you for keeping us posted with such detail.
—Jim
 

Hai-Lee

Old and Bold RC PILOT
Jim,

We all have knowledge and if we share our knowledge to benefit and help others it is I believe a noble action. When I started into RC, (over a few lifetimes ago), the sport/hobby was just for the rich elite and they were generally rather snobbish in their interactions with others. Their actions and attitudes drove me away for a generation or two.

As with others of my generation, I taught myself to fly, build, design, and repair RC models out of a wide range of materials available locally. Knowing what was involved in what I have endured I feel compelled to help others avoid the pain and time expense involved in my path to RC.

I do not ever claim to know all of the answers because we only ever stop learning when we die but I do have a driving need to understand the whole gambit of Aerodynamics and structures.

There is another reason I post like this and that is others can find things I have overlooked or long forgotten.:eek:

Thank you for your feedback!
 

Hai-Lee

Old and Bold RC PILOT
Just a headsup! The parts have arrived to the distribution centre and now I will just to have to wait for the local delivery.:rolleyes:

I am running out of serviceable batteries and planes I want to fly! The Spit might be ready for a mid week test flight if all goes well. I ordered a 3S and a 4S battery to suit the Spit I want to see and experience difference in power and flight envelop.

Later!
 

PsyBorg

Wake up! Time to fly!
If the power difference is anywhere near what is was like for my quad your in for an adrenaline rush. I was used to 3s punch outs and when I got my first graphene 4s and punched it me and my friend were both like.. where did it go?!! We were both looking around where it would have been on 3s. I am glad I didn't hold the throttle long.

Assume your takes offs just got a whole lot shorter and your vertical climb has become infinite.
 

Hai-Lee

Old and Bold RC PILOT
Thanks for the confidence shoot down. I am getting nervous enough already with the plane being lighter on the original Motor and voltage by the boost has me extremely worried. But then again it is in the crashes that the structure is truly tested I suppose.:(
 

Hai-Lee

Old and Bold RC PILOT
4 and a half hours later the courier finally arrived.:applause: A full 12 hours from arriving in brisbane to being delivered, lucky I went for the faster delivery.:rolleyes:

Looks like the scheduled Maiden might be next weekend If everything works. Lost a full day waiting for the parts.:mad:

First step is to cover the fuselage after doing a rough CG estimate. The pics will be in the next progress post. Later today or tomorrow.

Later!
 

Hai-Lee

Old and Bold RC PILOT
I made a little progress today. Also found that the spinner I ordered is too big to suit the motor shaft:rolleyes:

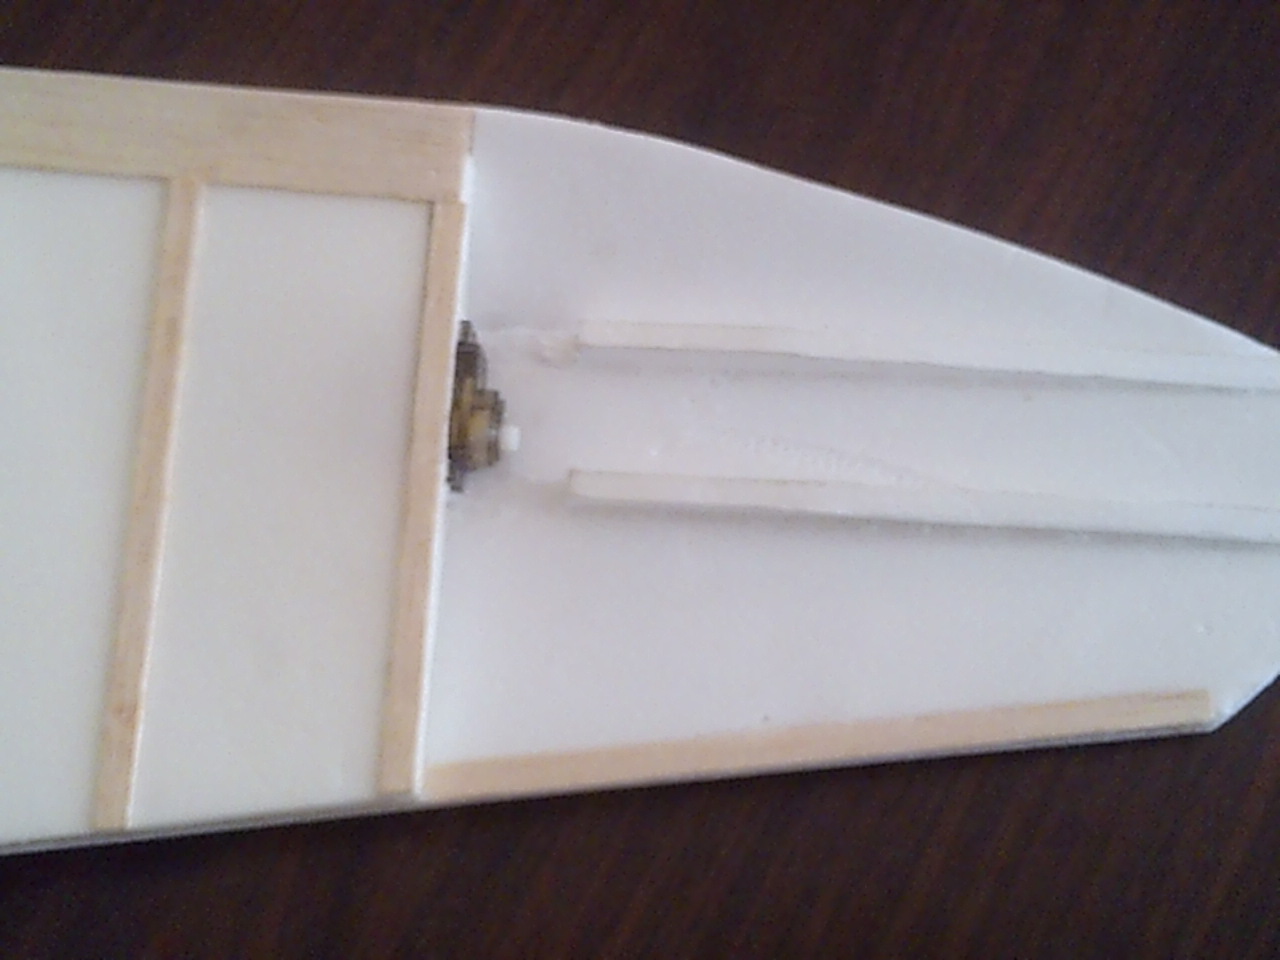
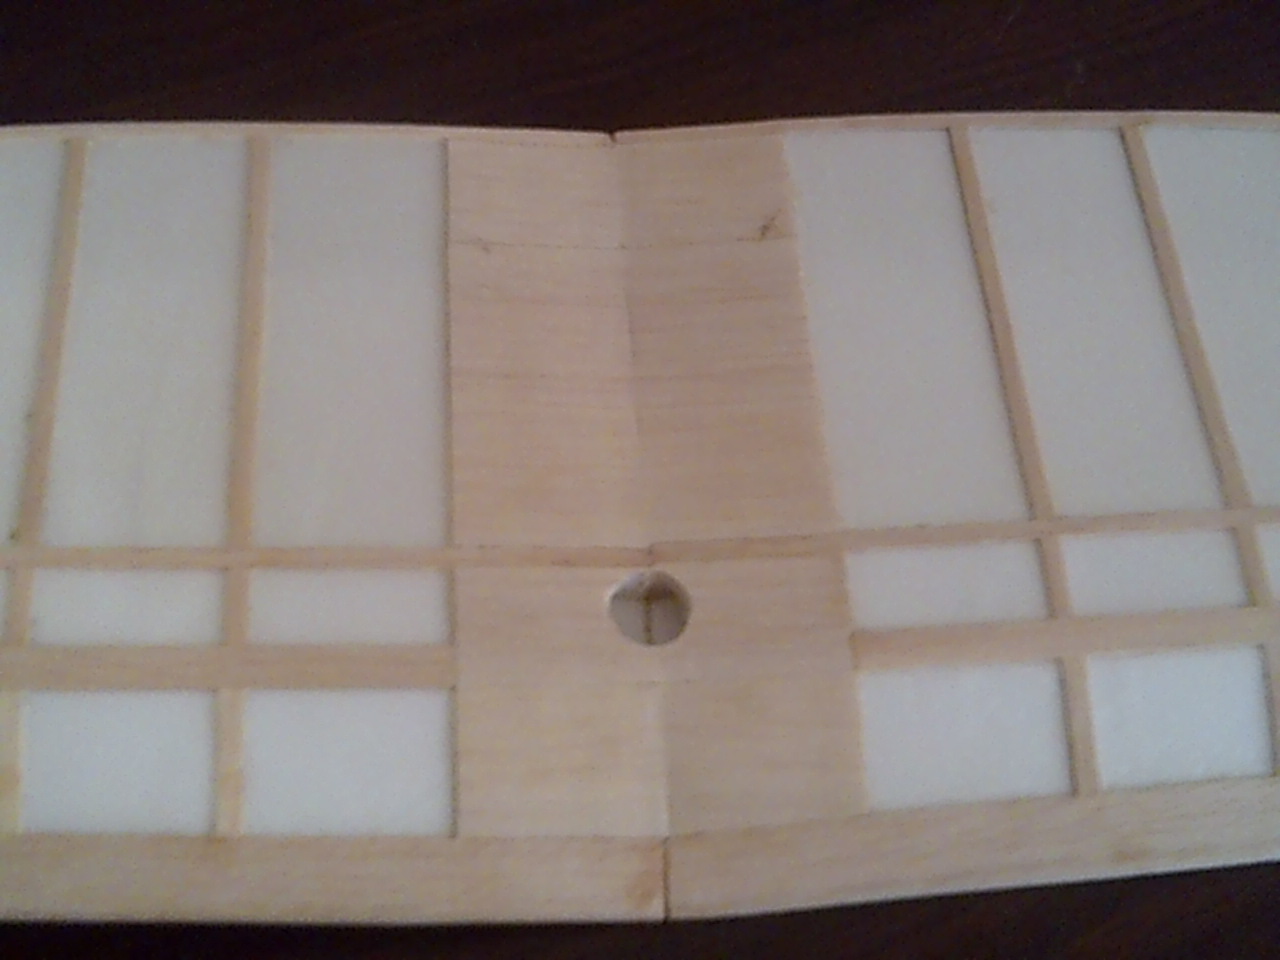
Also it seems that i did not make a power pod or any aileron servo mounting holes in the spars or even an hole in the wing centre for the "Y" harness to access the Rx, so that all soaked up some time.

Anyway here are a few pics of today's work.

Locating and fitting the servos

1SUNP0001.JPG

Hole cut in wing centre

2SUNP0002.JPG

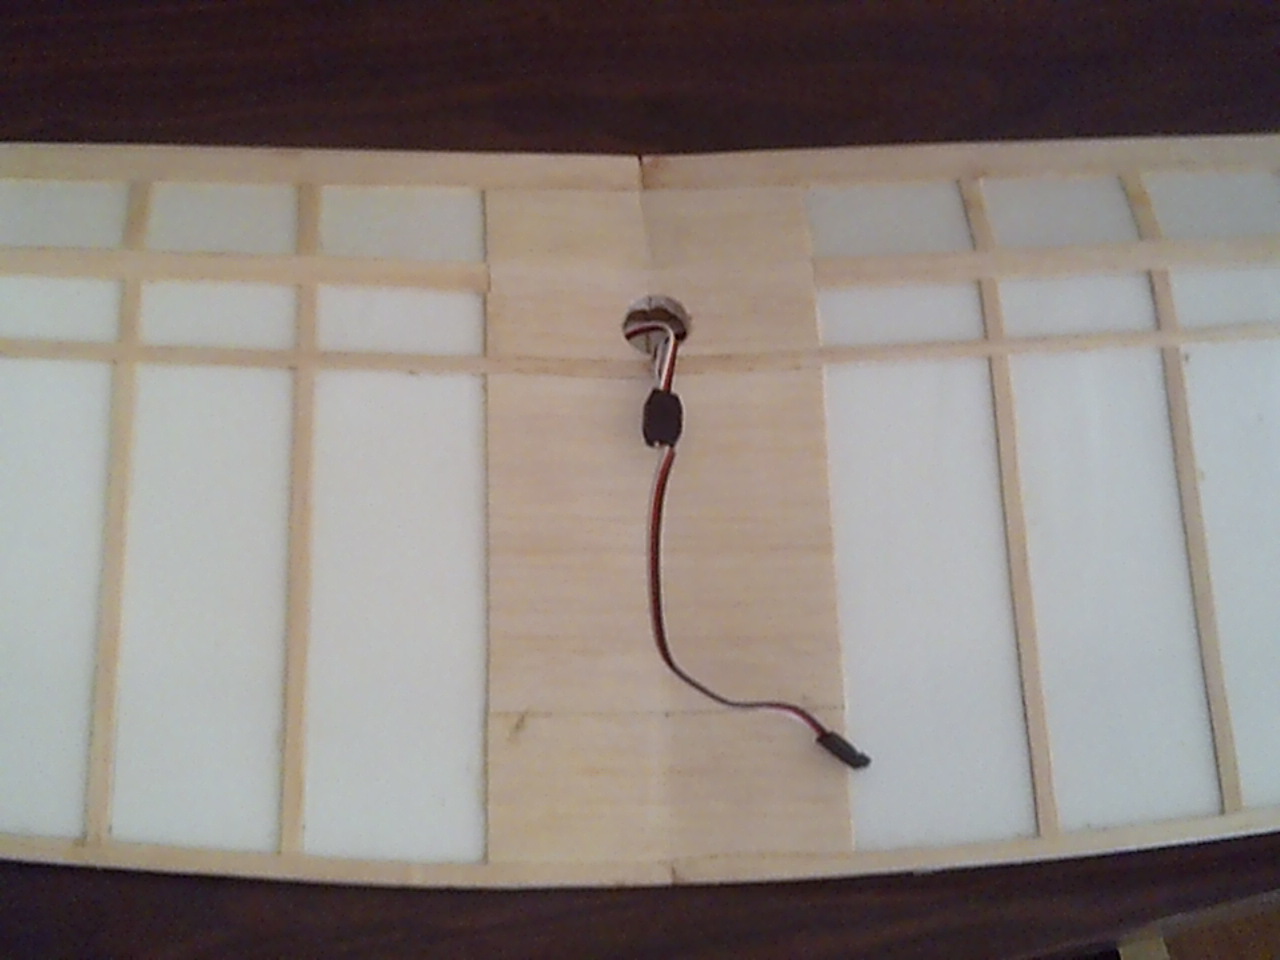
Y Harness fitted

3SUNP0003.JPG

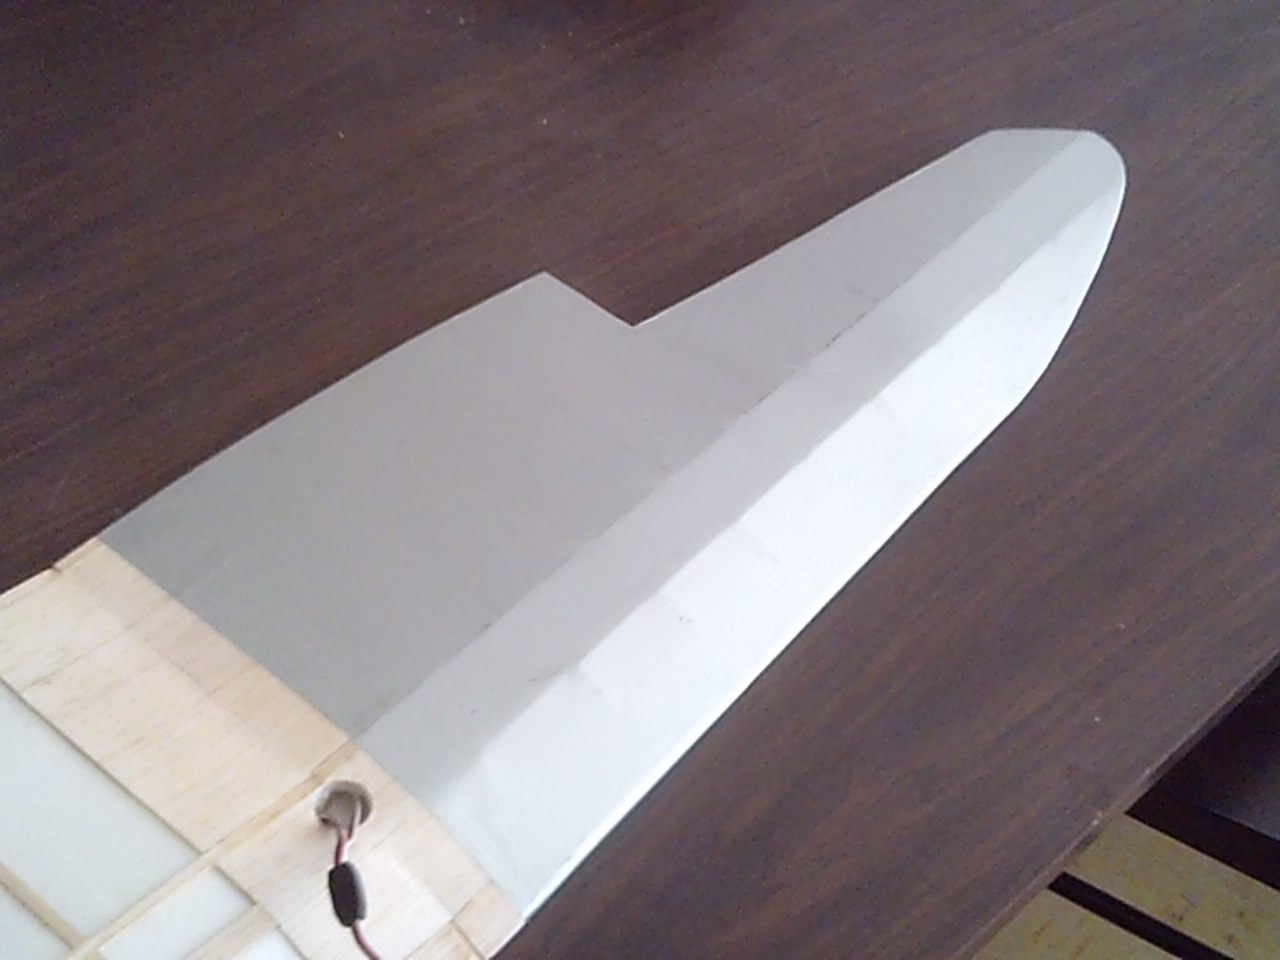
First wing top panel covered

4SUNP0006.JPG

Second Wing panel top covered, Both panels covered)

5SUNP0007.JPG

Access Hatch covered

6SUNP0004.JPG

Access Hatch opened

7SUNP0005.JPG

Rear decking done

8SUNP0008.JPG

Forward decking covered

9SUNP0009.JPG

Tomorrow, or tonight if I can't sleep I will tackle the fitting of the Electrics Etc and the fuselage bottom covering.

Getting closer, (at last)!:applause:

Later
 
Last edited:

Crazy Goats

Active member
Been away from the forum for a bit, it's nice to see an interesting project like this when I come back. It looks like it's progressing nicely!