Userofmuchtape&glue
Posted a thousand or more times
Bixler 1.1 Restoration
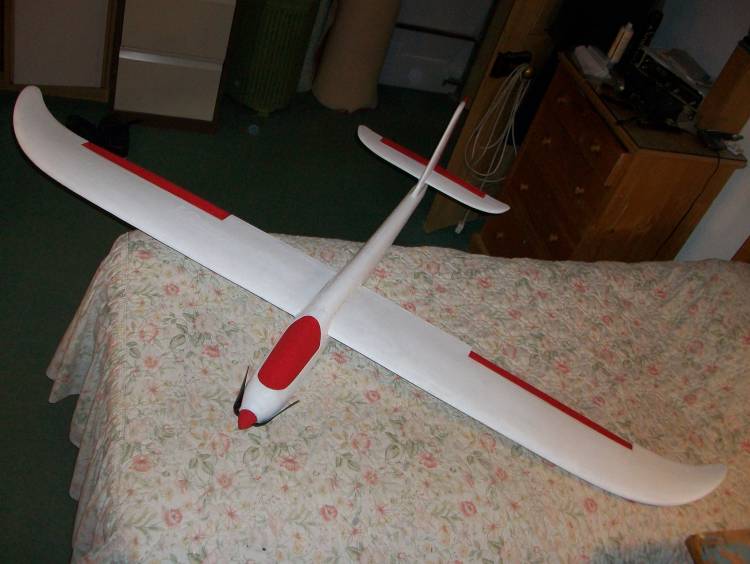
This is a repair log for my Bixler 1.1. First of, I learned to fly on a Hobbyzone Duet, then bought my first ARF, The venerable Hobbyking Bixler 1.1 for the majestic sum of $98.56. (The price was lowed for 3 days, so I bought speedily!)
Also I bought a DSM2 orange receiver, (I had an eflite 5ch transmitter,) a 30A ESC, 2200mah 3S, charger and some other hobby items.
3 days after it arrived in the nearest town, the clock showing 6:30 and on a still cloudy morning the Bixler took of on its maiden voyage.
Later the same day I was using an iPod to record flight footage and Dad seeding oats.
Fast forward 3 weeks and I was flying inverted stall turns and generally wishing for more. So I dusted of an old 30” brushed Mustang given to me by a friend and searched through pages of brushless motors, ESC’s and battery options.
After many frustrating nose dives, I finally got a successful flight with 3 AA batteries taped to the nose to counter the tail heaviness created by replacing the old heavy motor with a new light SK3.
Even after flying this, I still went back to the Bixler for a nice relaxing flight after the heart pounding speed and inertia of the Mustang.
By this stage I had 3 new planes, a Parkzone T-28 and a Dynam PBY Catalina (both very kindly given to me, the Catalina in almost immaculate condition!!) plus a 32” depron Yak 54 that I made learnt 3D of sorts on!
I had put a set of Hobbyzone floats on the Bixler for water flying, and with the front mount still glued in the fuselage I had the idea to take the front wire strut from my floats and add some 50mm wheels to it.
And, I cut some flaps into the wings controlled by two 9g servos and a Y harness. As my radio was not a computer programmable one I had to orientate both the servos facing the same direction to stop them working as ailerons on my ch5 pot!
So, in essence I had a camera carrying STOL Bixler, and it was great fun!
I also upped my no-flap gliding record to 4.37 minuets.
After a few more months and 5 new scratch built planes, the Bixler had had the flaps removed (I needed the servos!) and a nose mounted park 480 outrunner. Also, during one particular knife edge stall the right wing tip snapped of at the outer edge of the aileron. So, I hacked the other one of and kept flying! (It was going to happen sooner or later, a short wing sport Bixler.)
But after a while, I glued the wing tips back on and made a new motor mount for the original location. I was half way through a FPV bomber conversion when my plans were forced to change.
Some were along the way I lost the original wing spar and I had been flying for 3 weeks with an aluminium crossbow shaft taped to the bottom of both wings. During a high risk ground attack mission, just after dropping the ordinance and diving on a tank convoy the left wing ripped of at the roots. Investigation revealed that it was a combination of the high wind speed at the time and the damage sustained during an earlier raid.
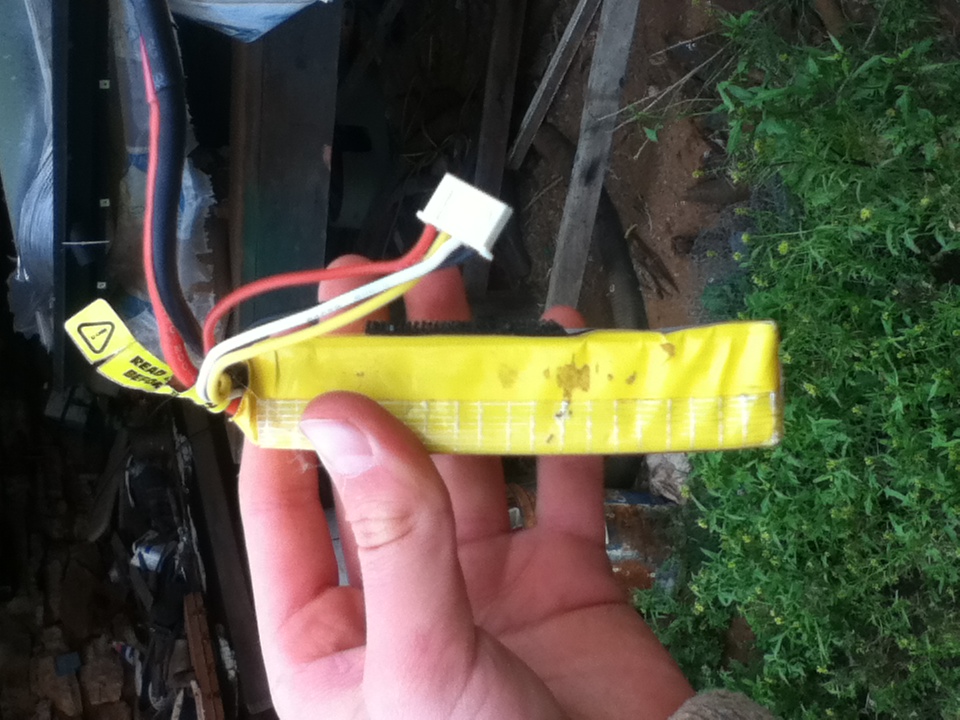
The left wing fluttered down like a scrap of paper while the rest of the aircraft spun viciously 400’ into the ground. After recovering the wreckage I discovered that it hit hard enough to slightly crush the battery! The fuselage was broken into 6 or 7 pieces and the wing roots were damaged but the tail was largely intact.
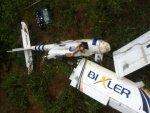
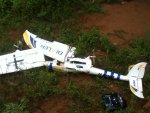
The fuselage was being held together by the stickers and 4 layers of tape.
So I striped everything, and decided to do a complete restoration.
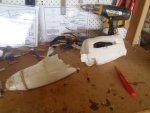
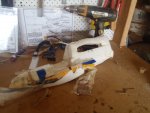
The fuselage and tail were coated in months of repair and protection tape.
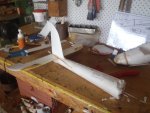
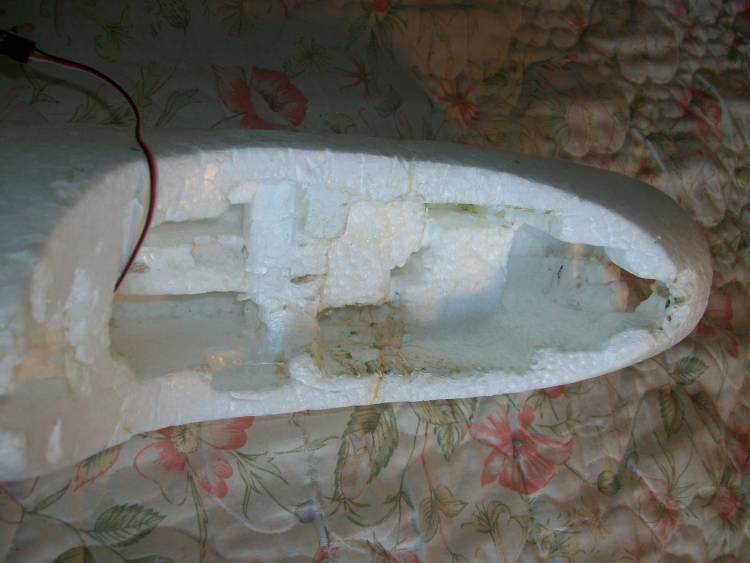
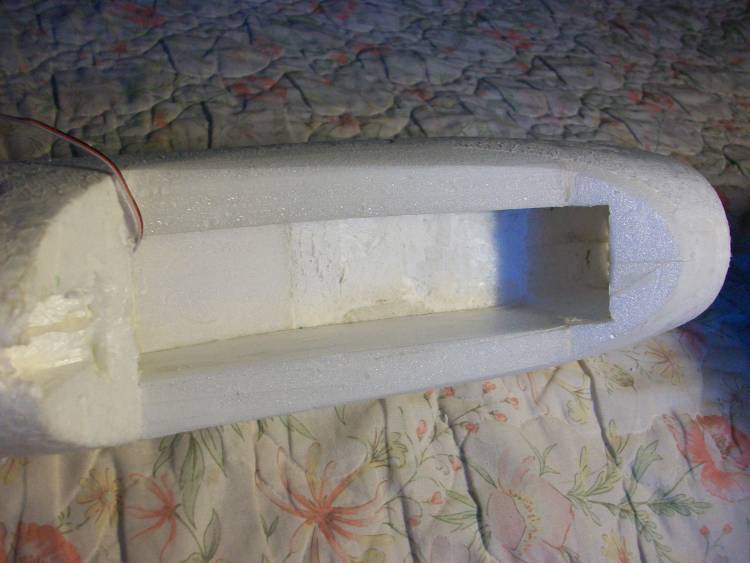
The nose was badly crushed and compressed from many many crashes.
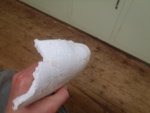
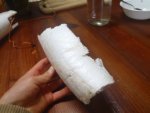
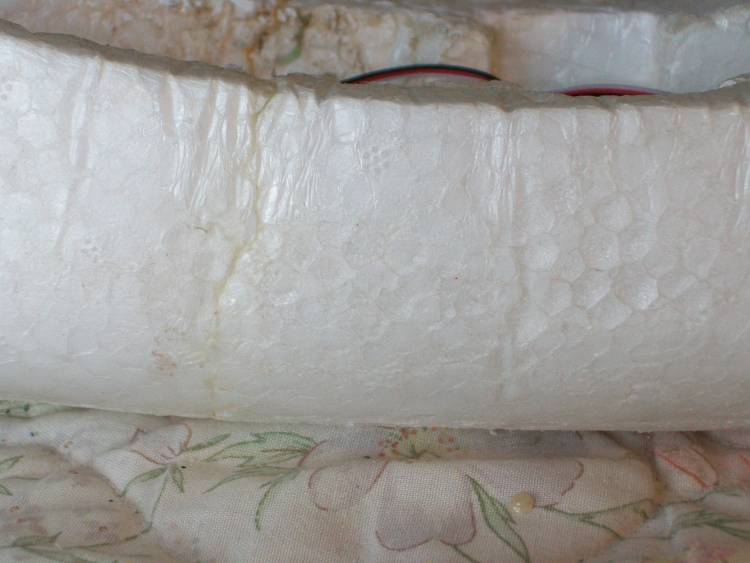
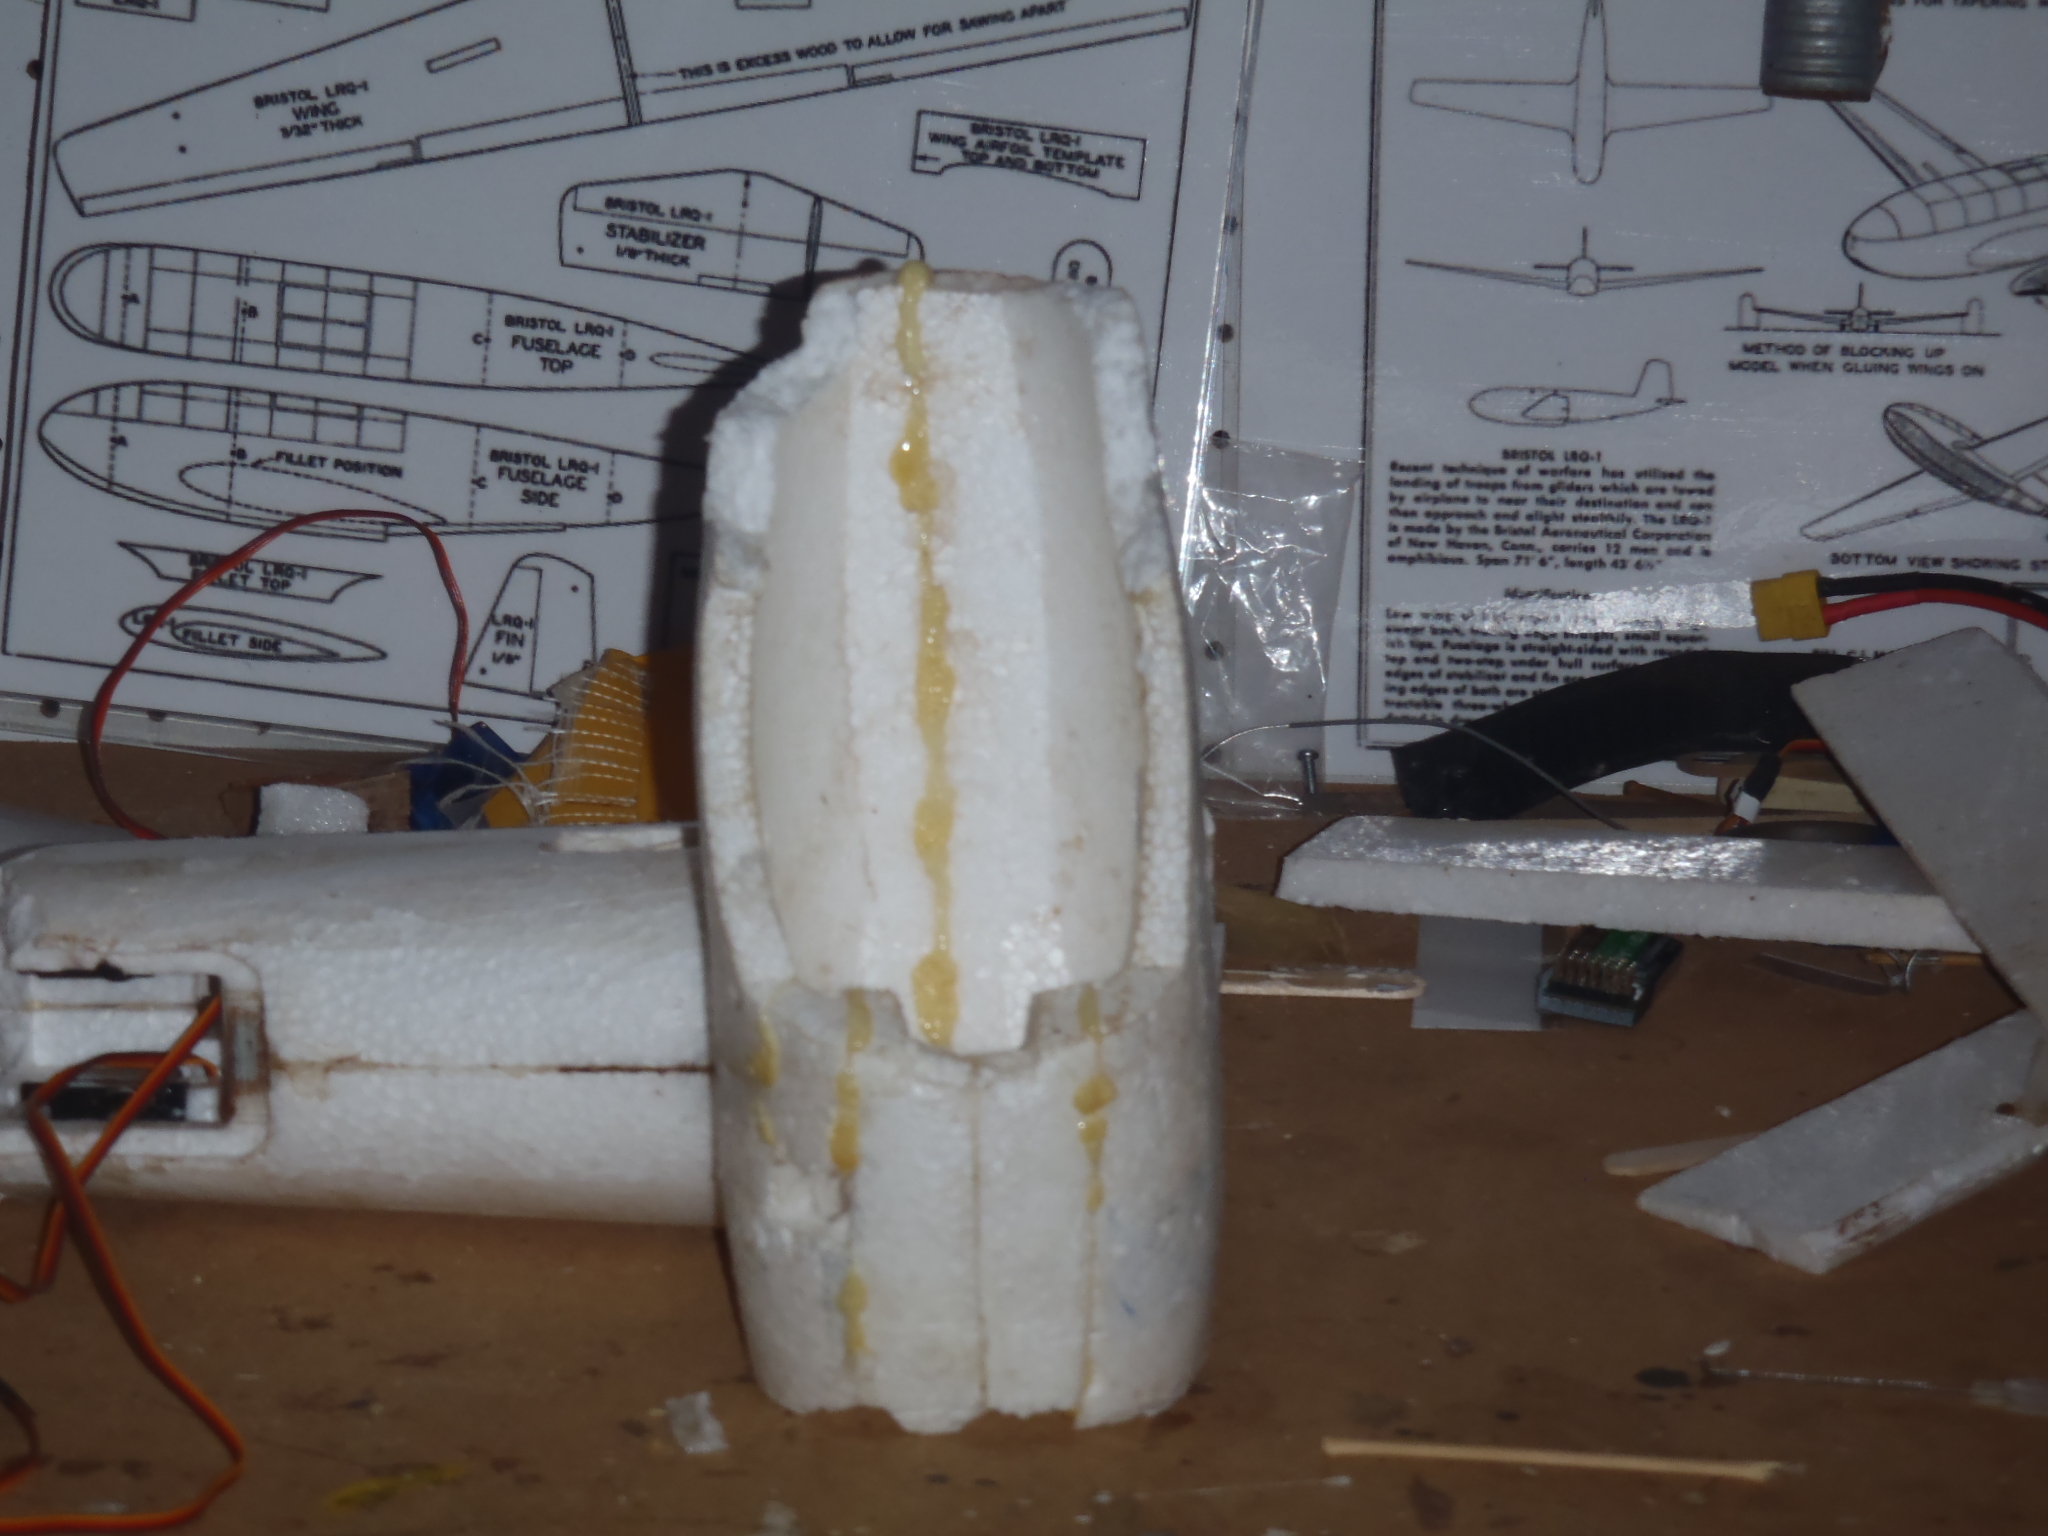
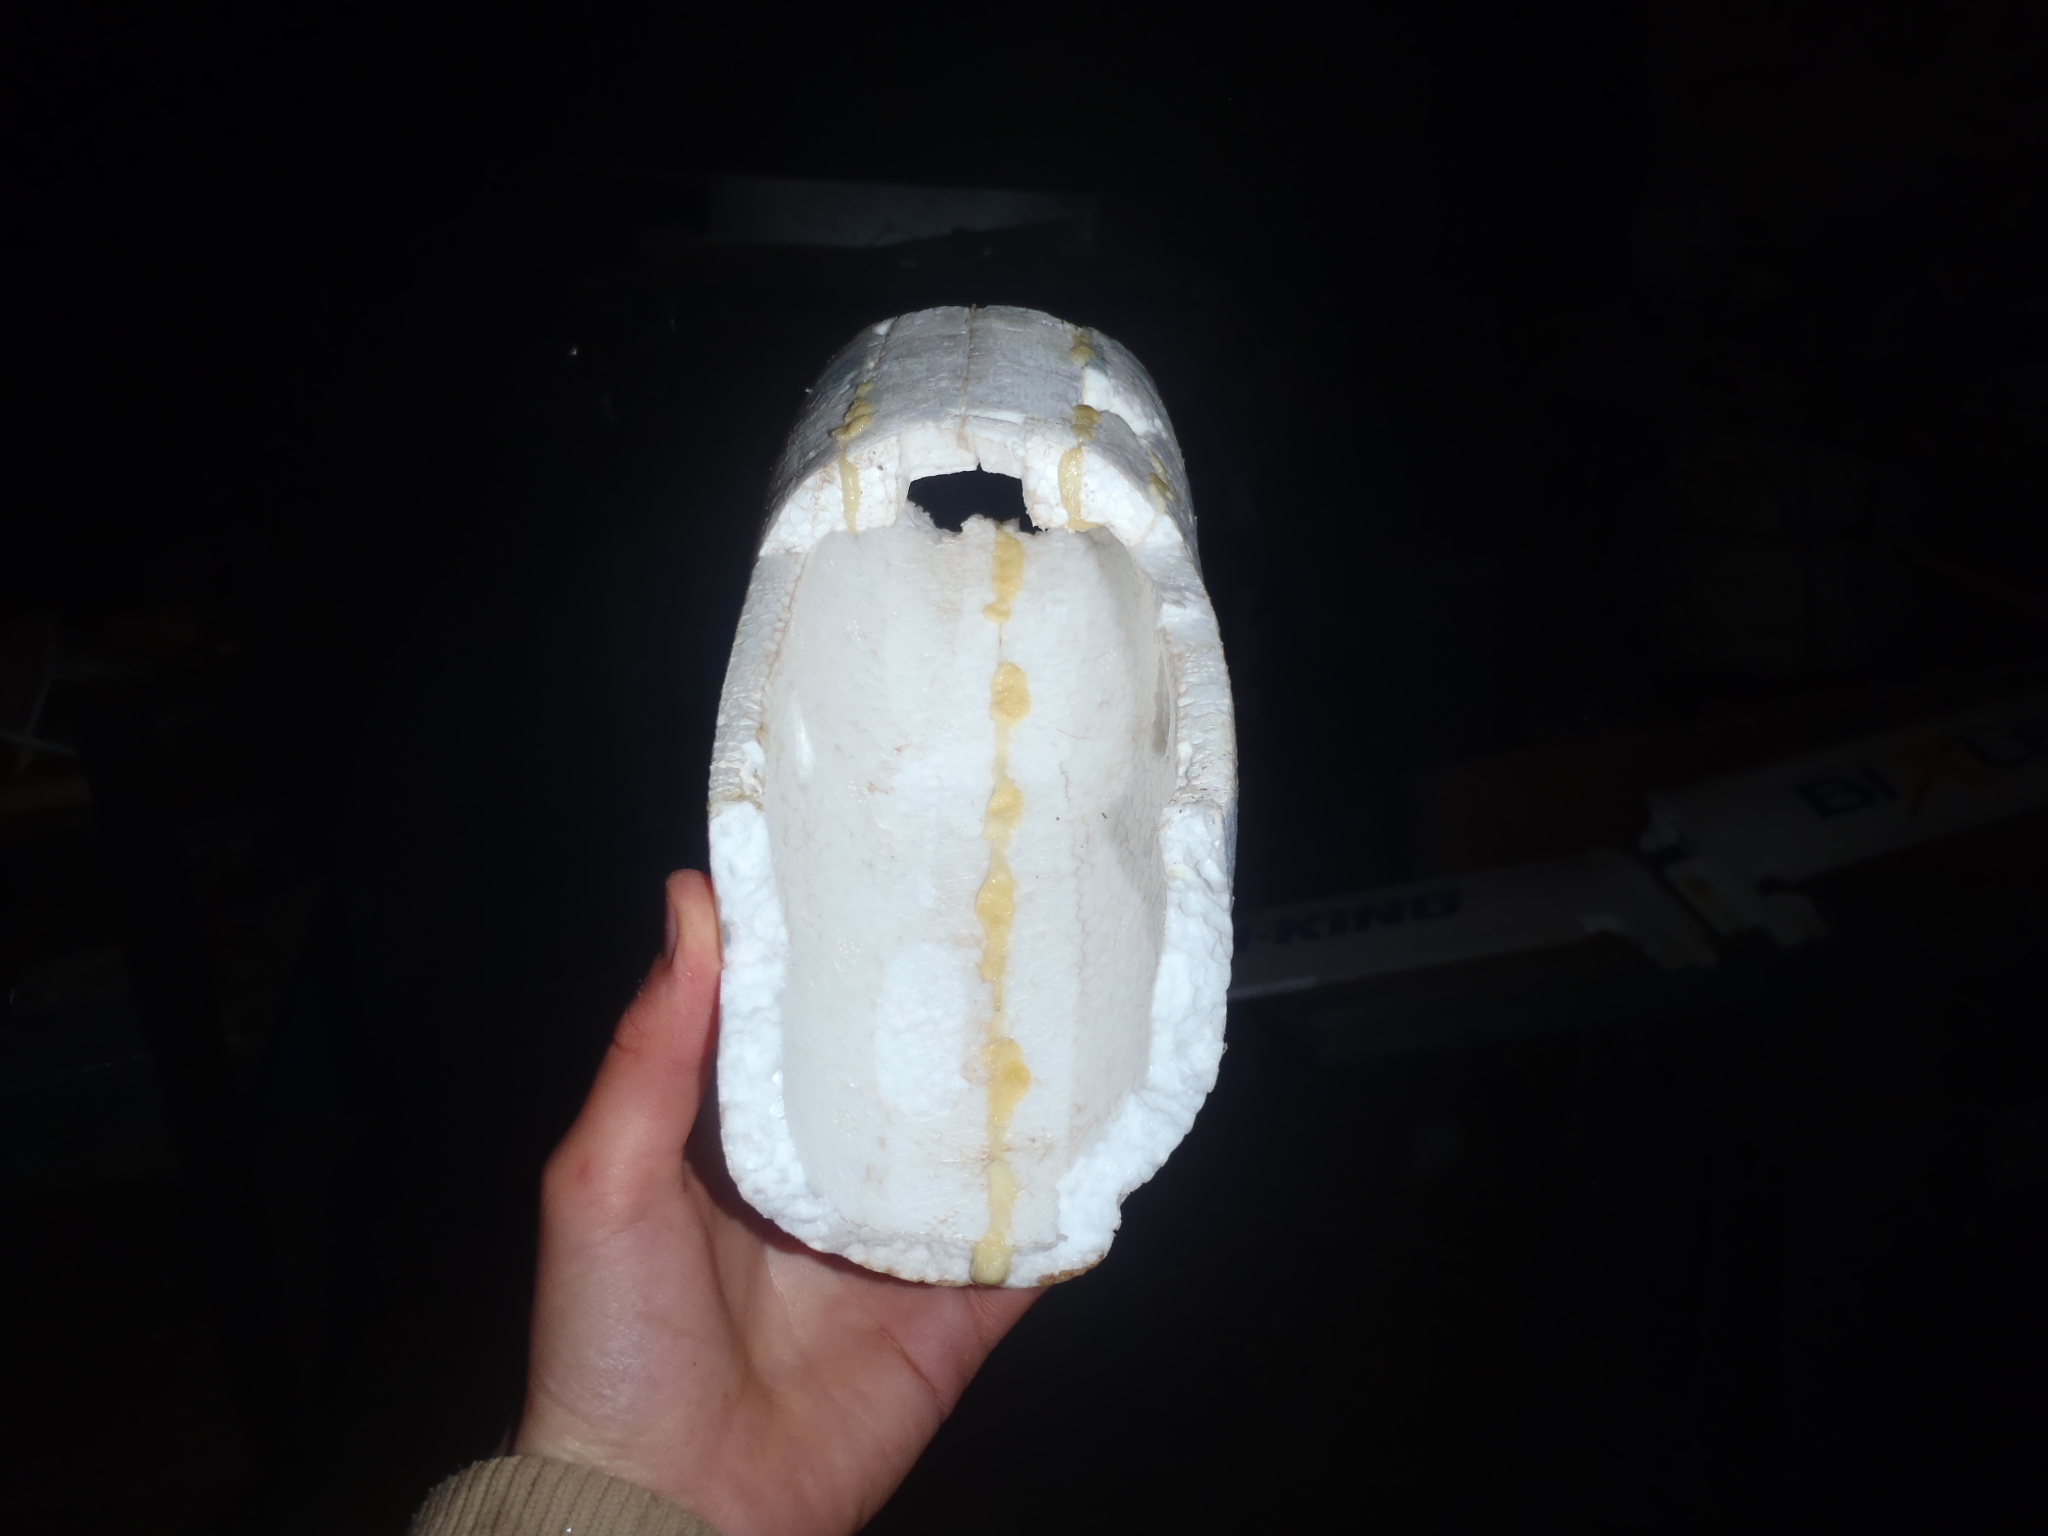
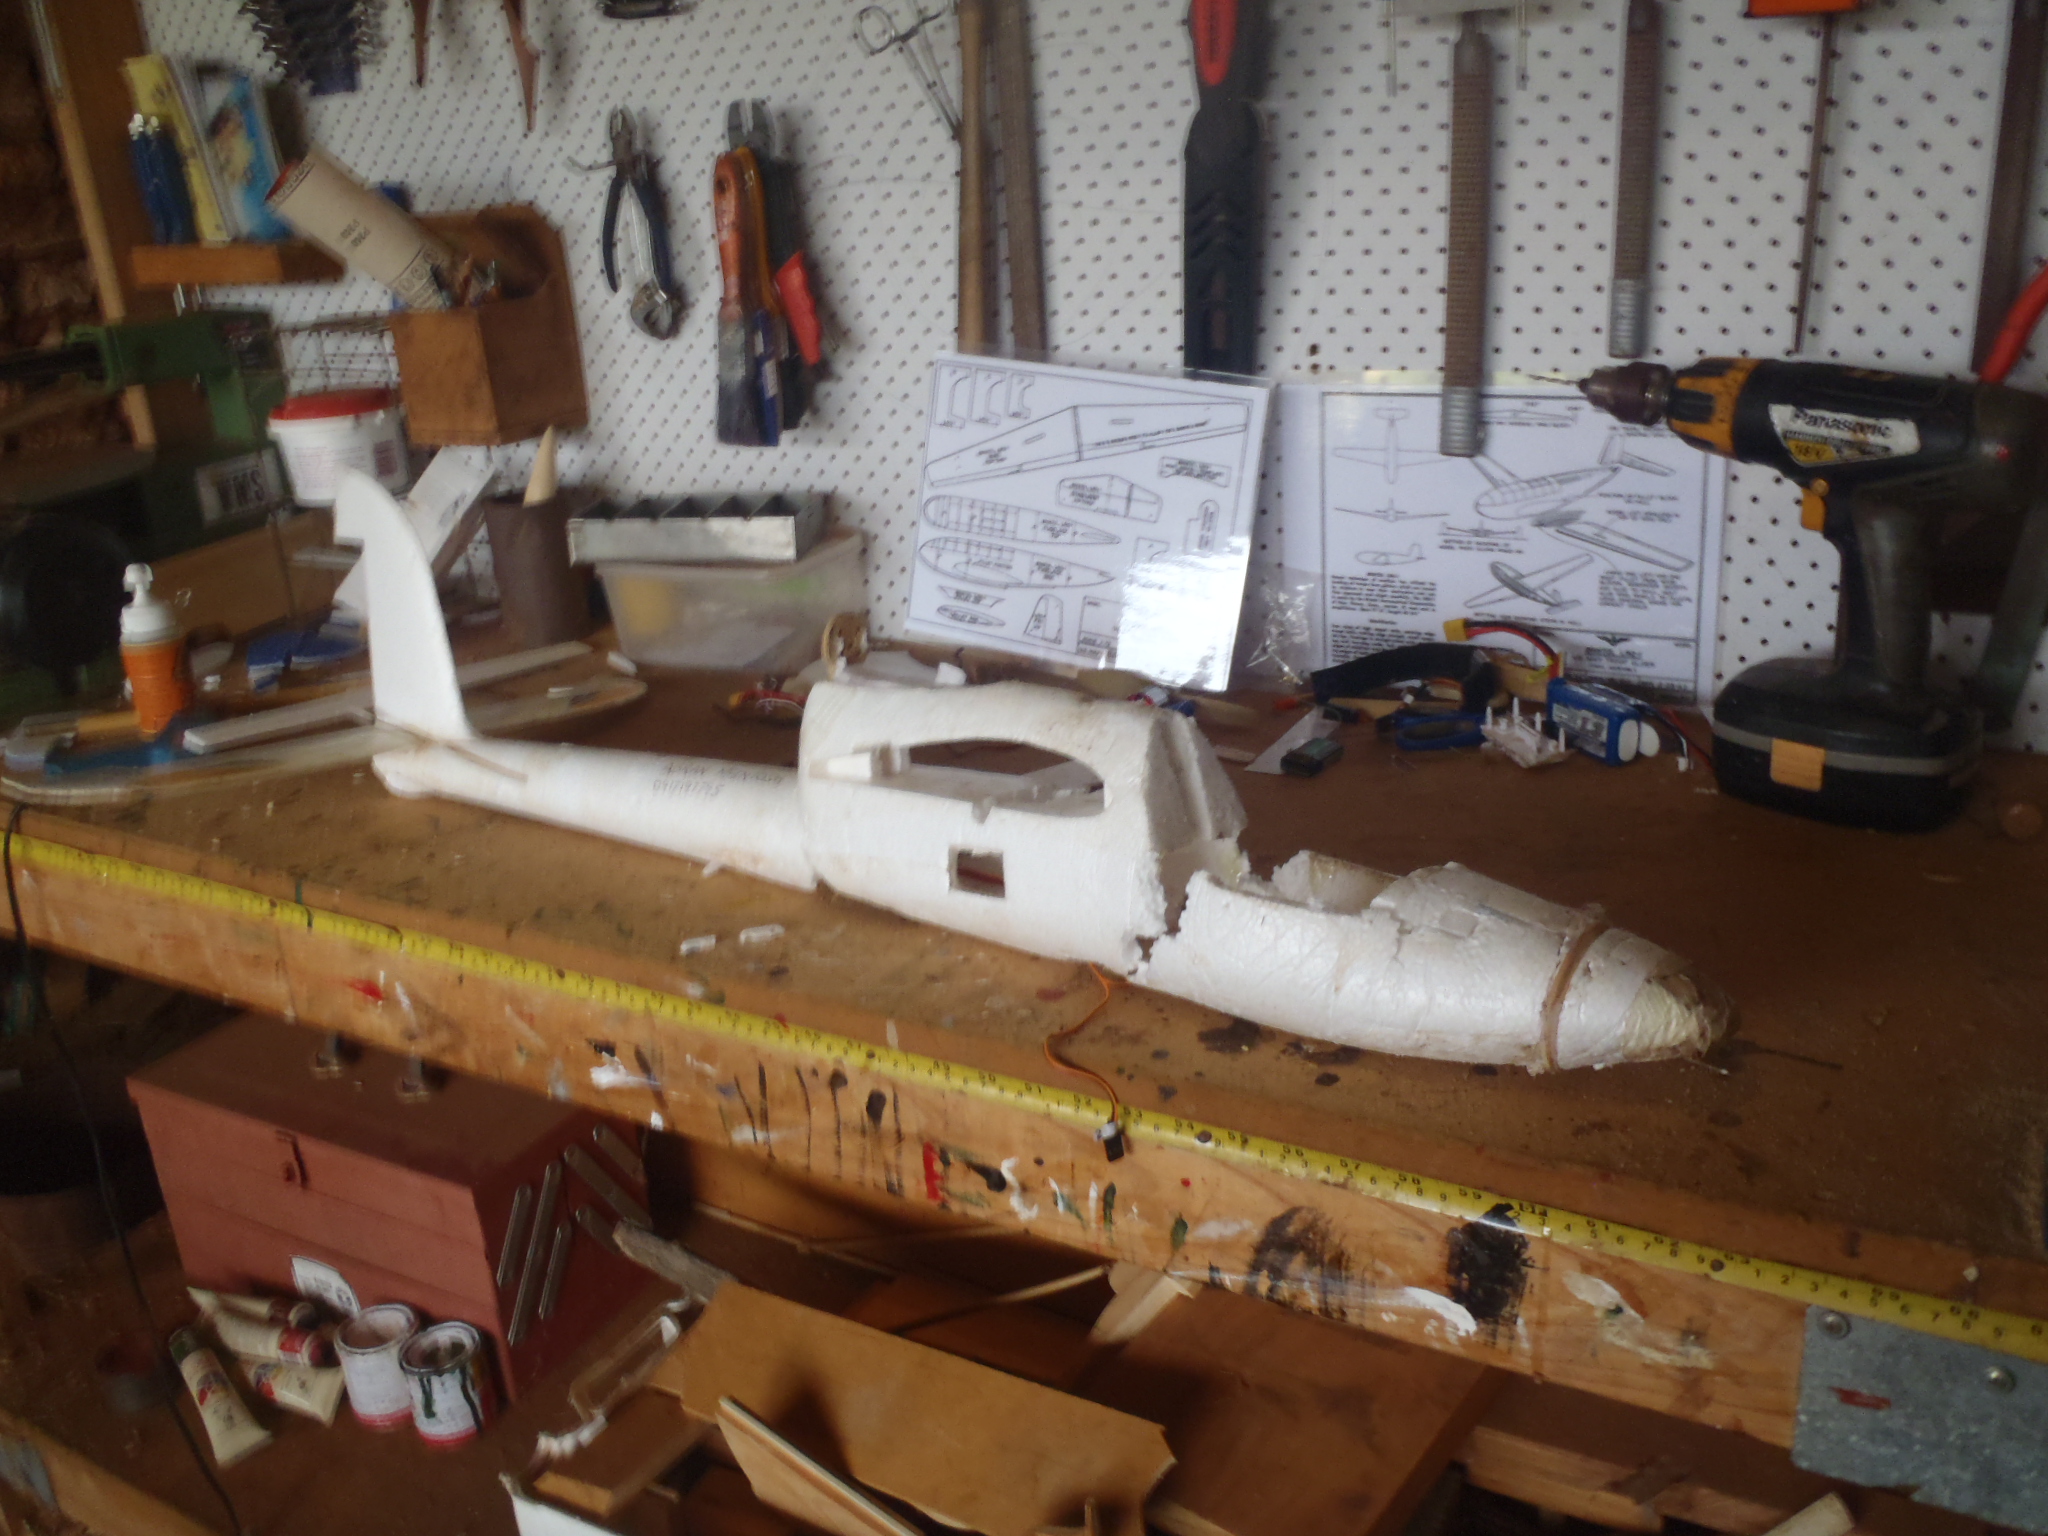
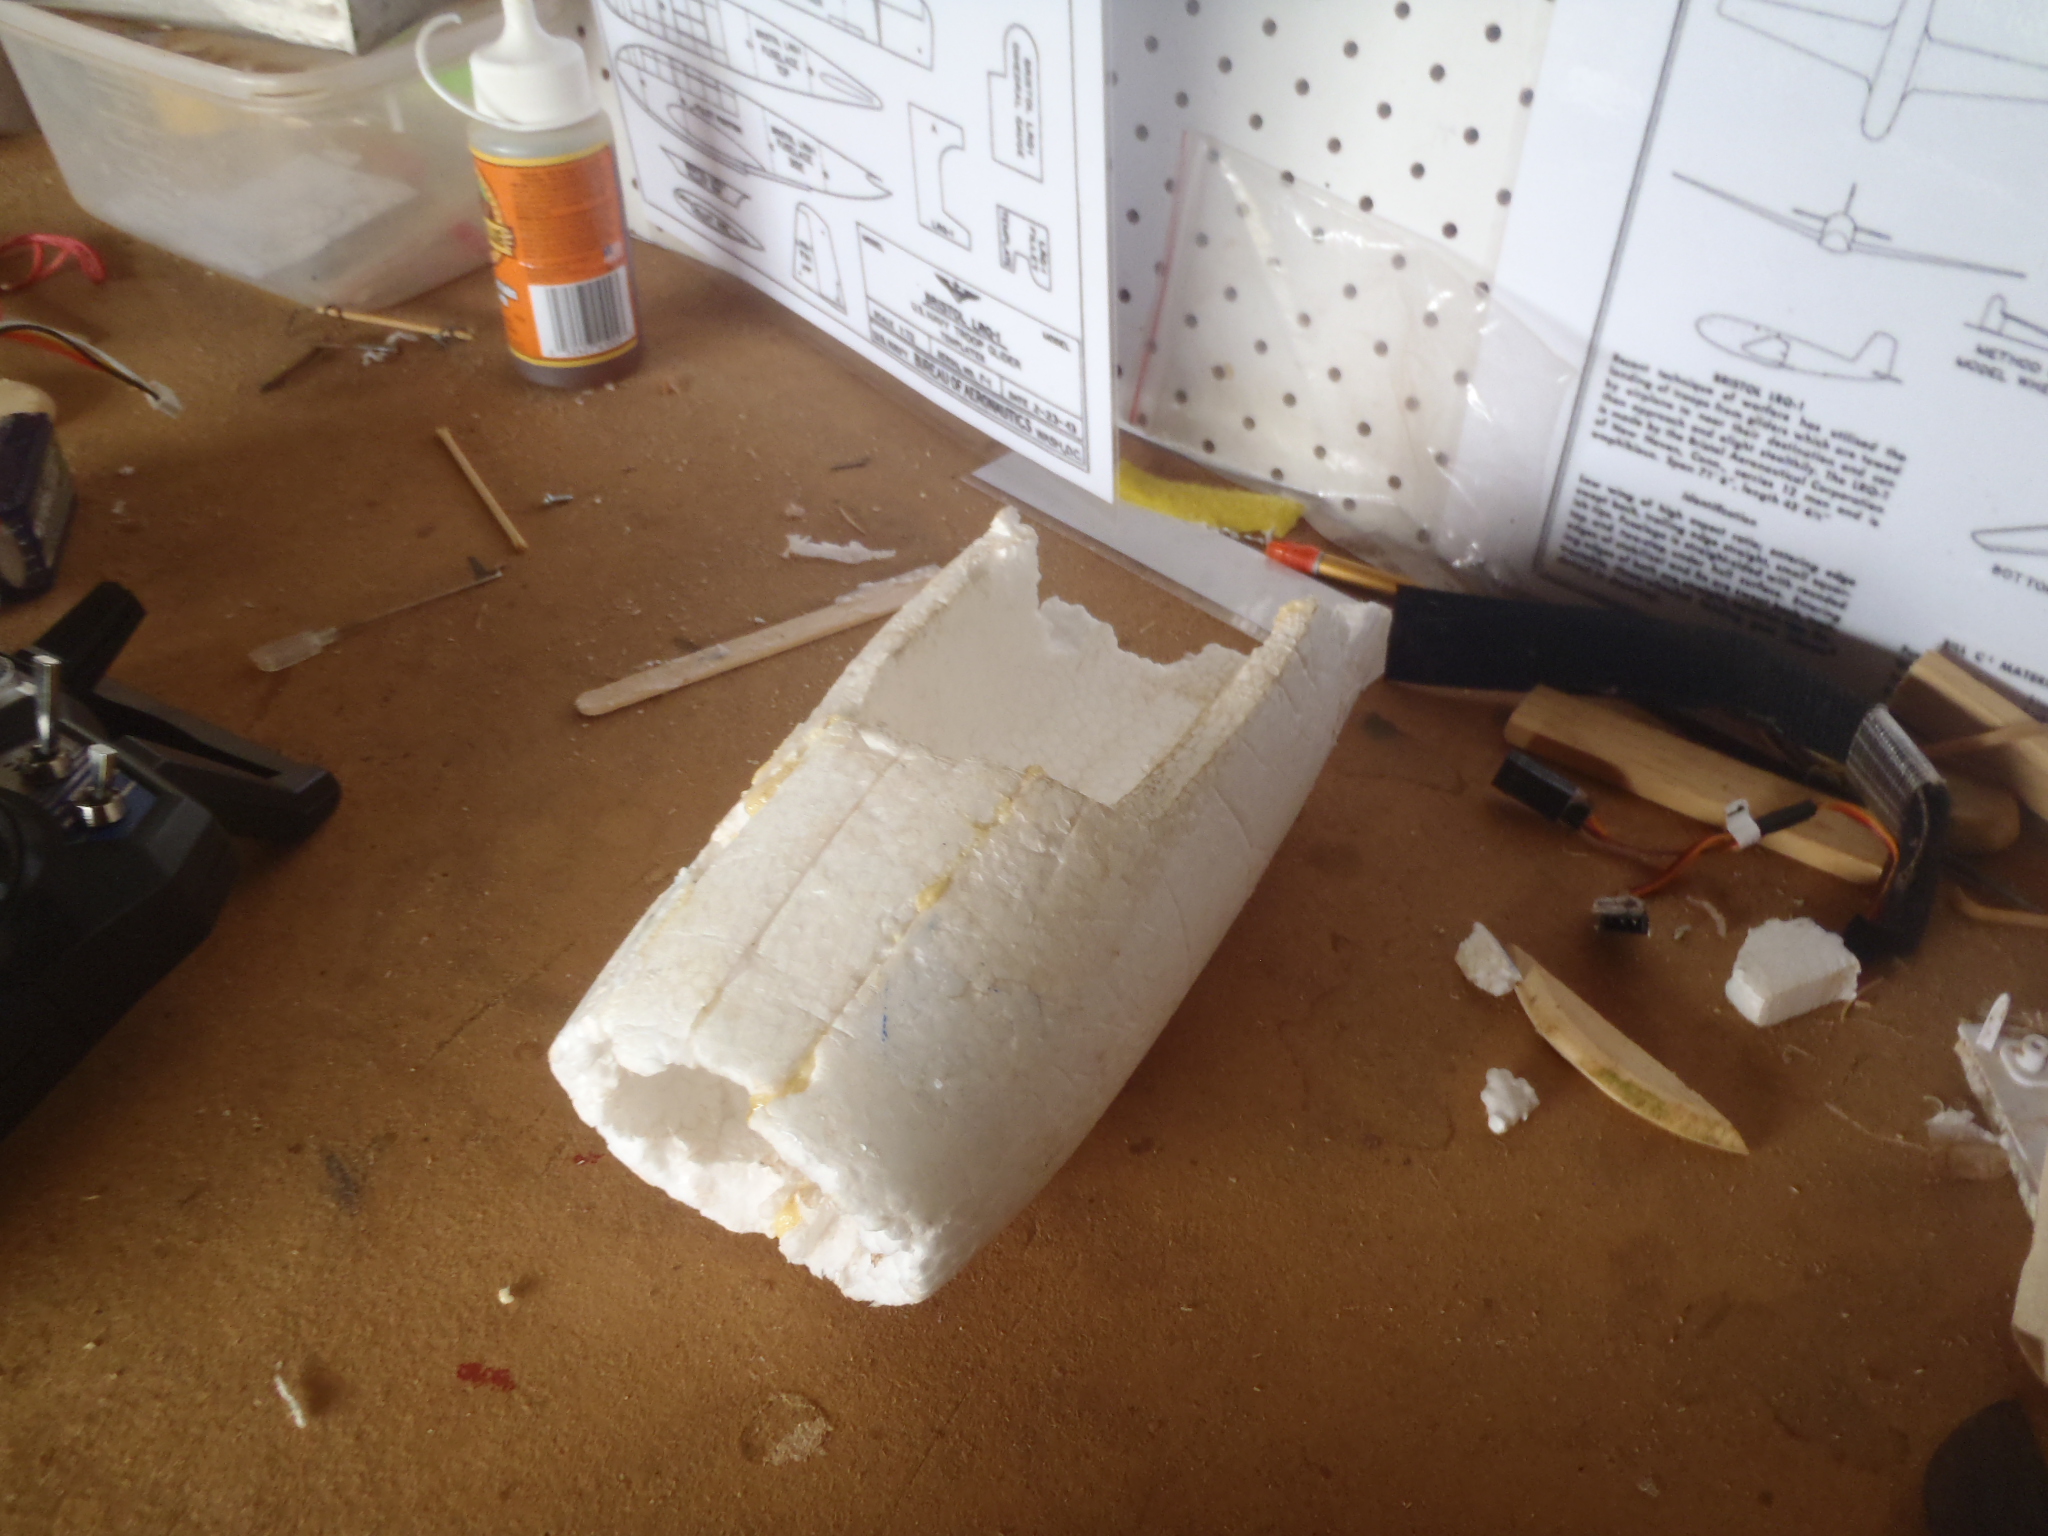
So I soaked the 8 parts of foam in hot water and they returned to their original shape with only a small amount of dents and creases. Next I glued them together with gorilla glue, as I have to wait for my hinges and wires to arrive I have lots of time.
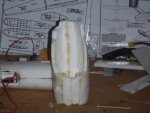
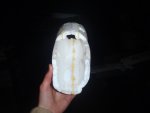
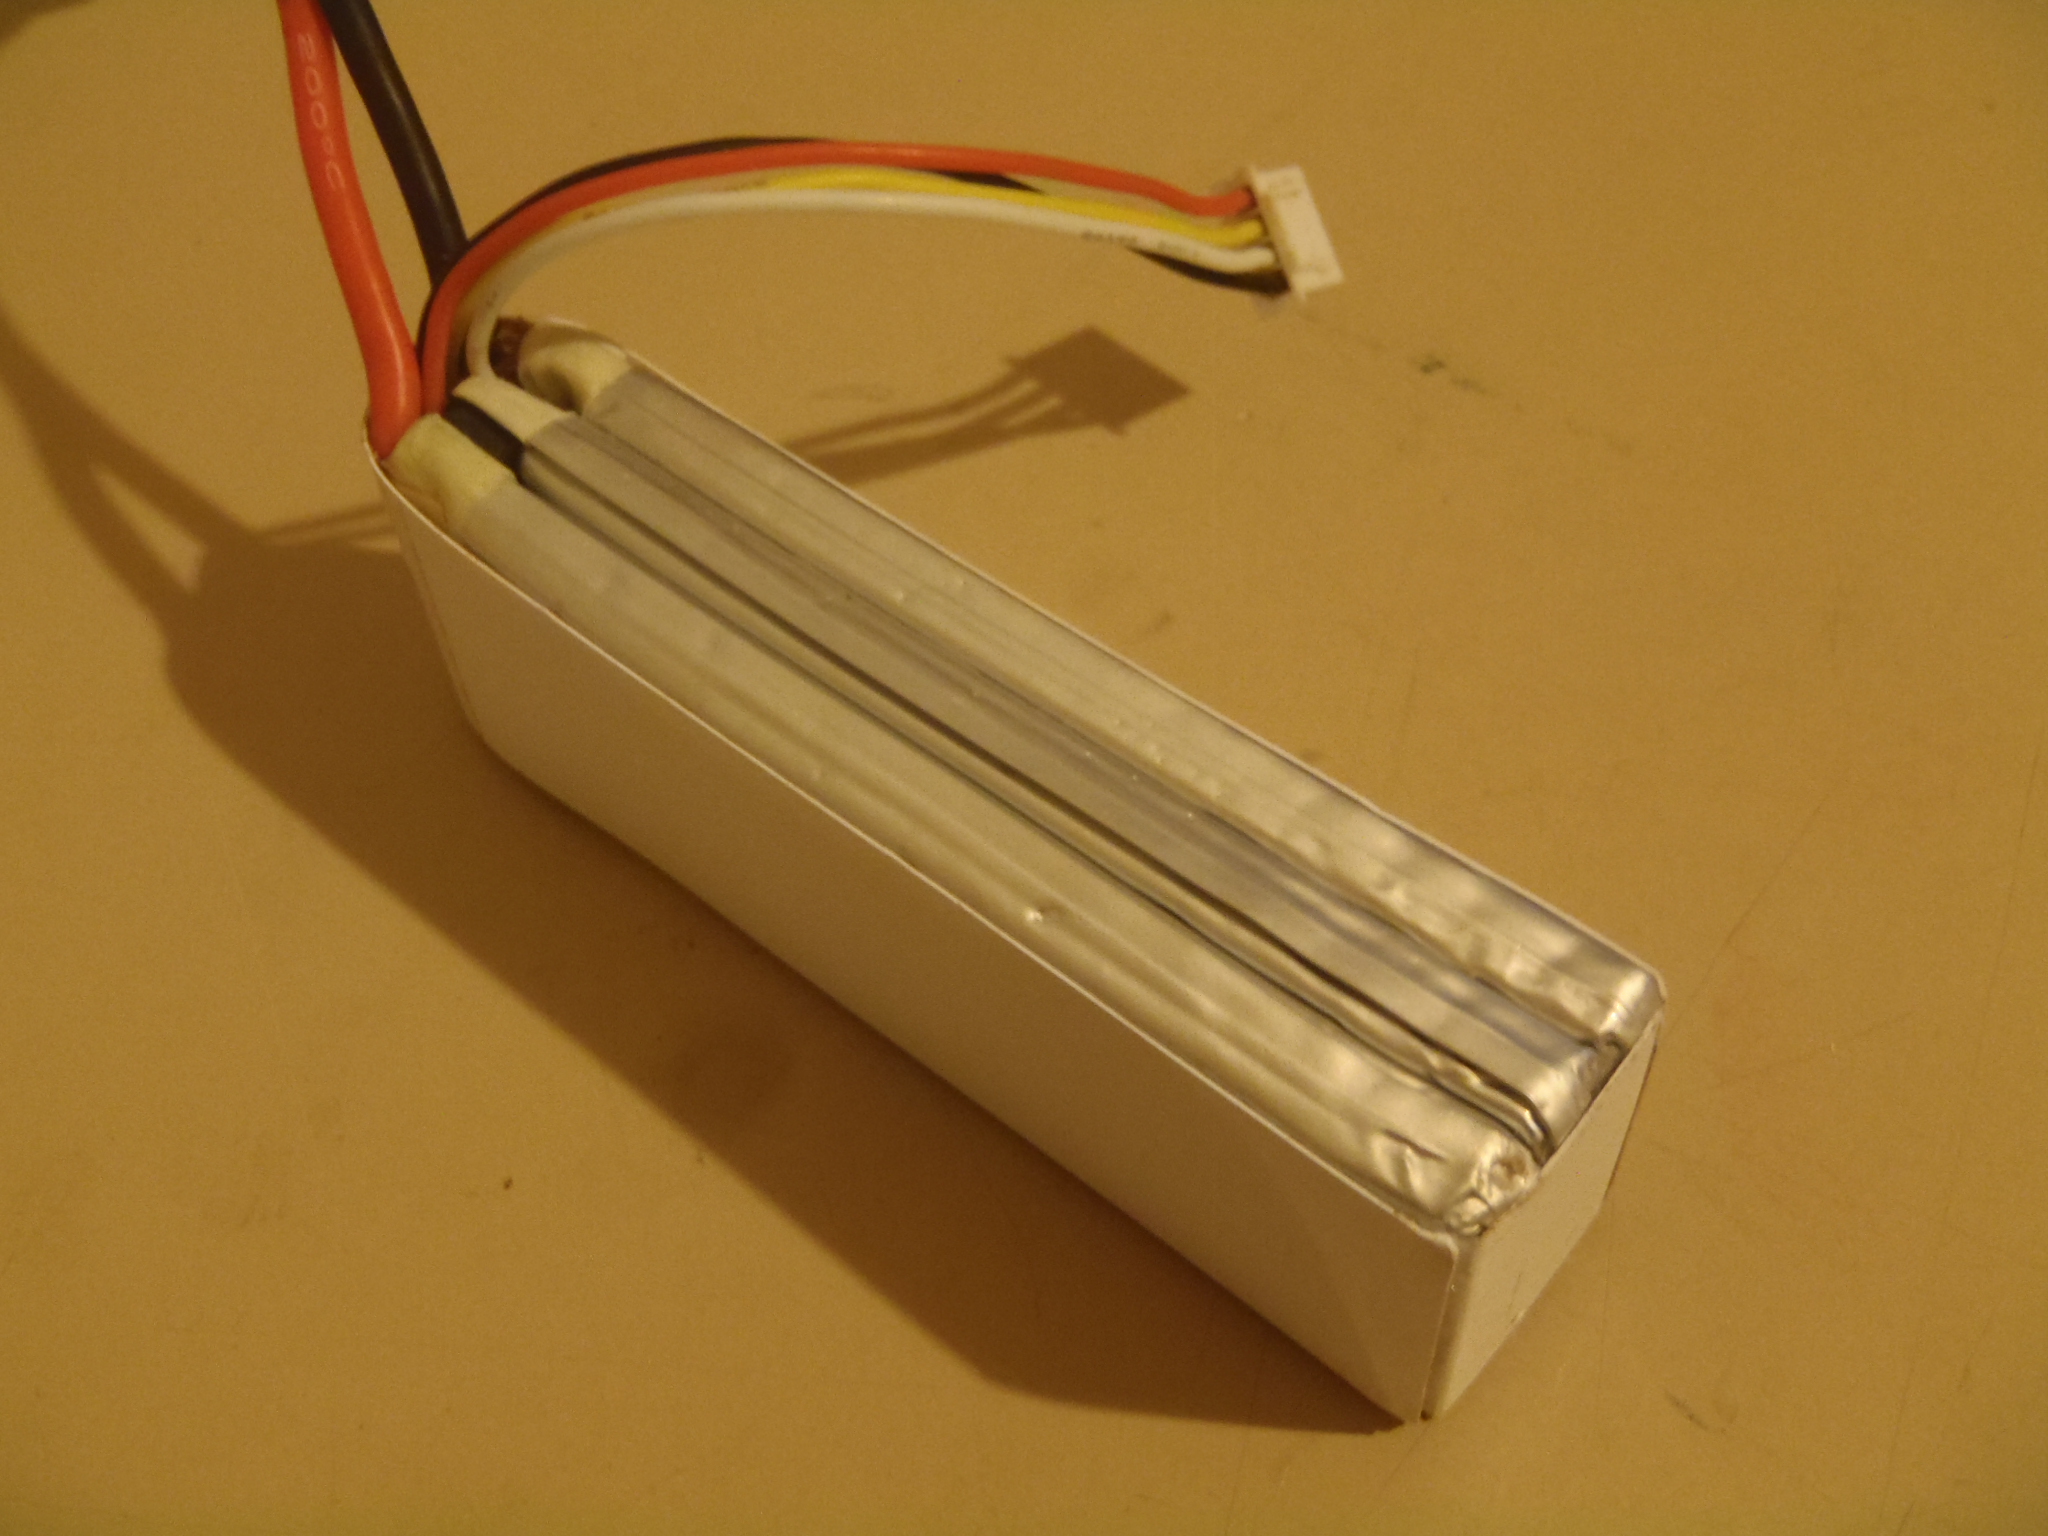
So I took the covering of my battery fearing the worst, but lo and behold it was largely fine! So I left it for 24 hours then did a slow charge at 0.1 amps and the voltage of each cell was the same on 3.94 volts each. So I used it, and it is absolutely fine.
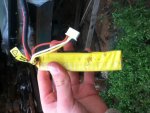
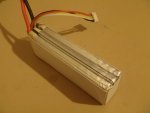
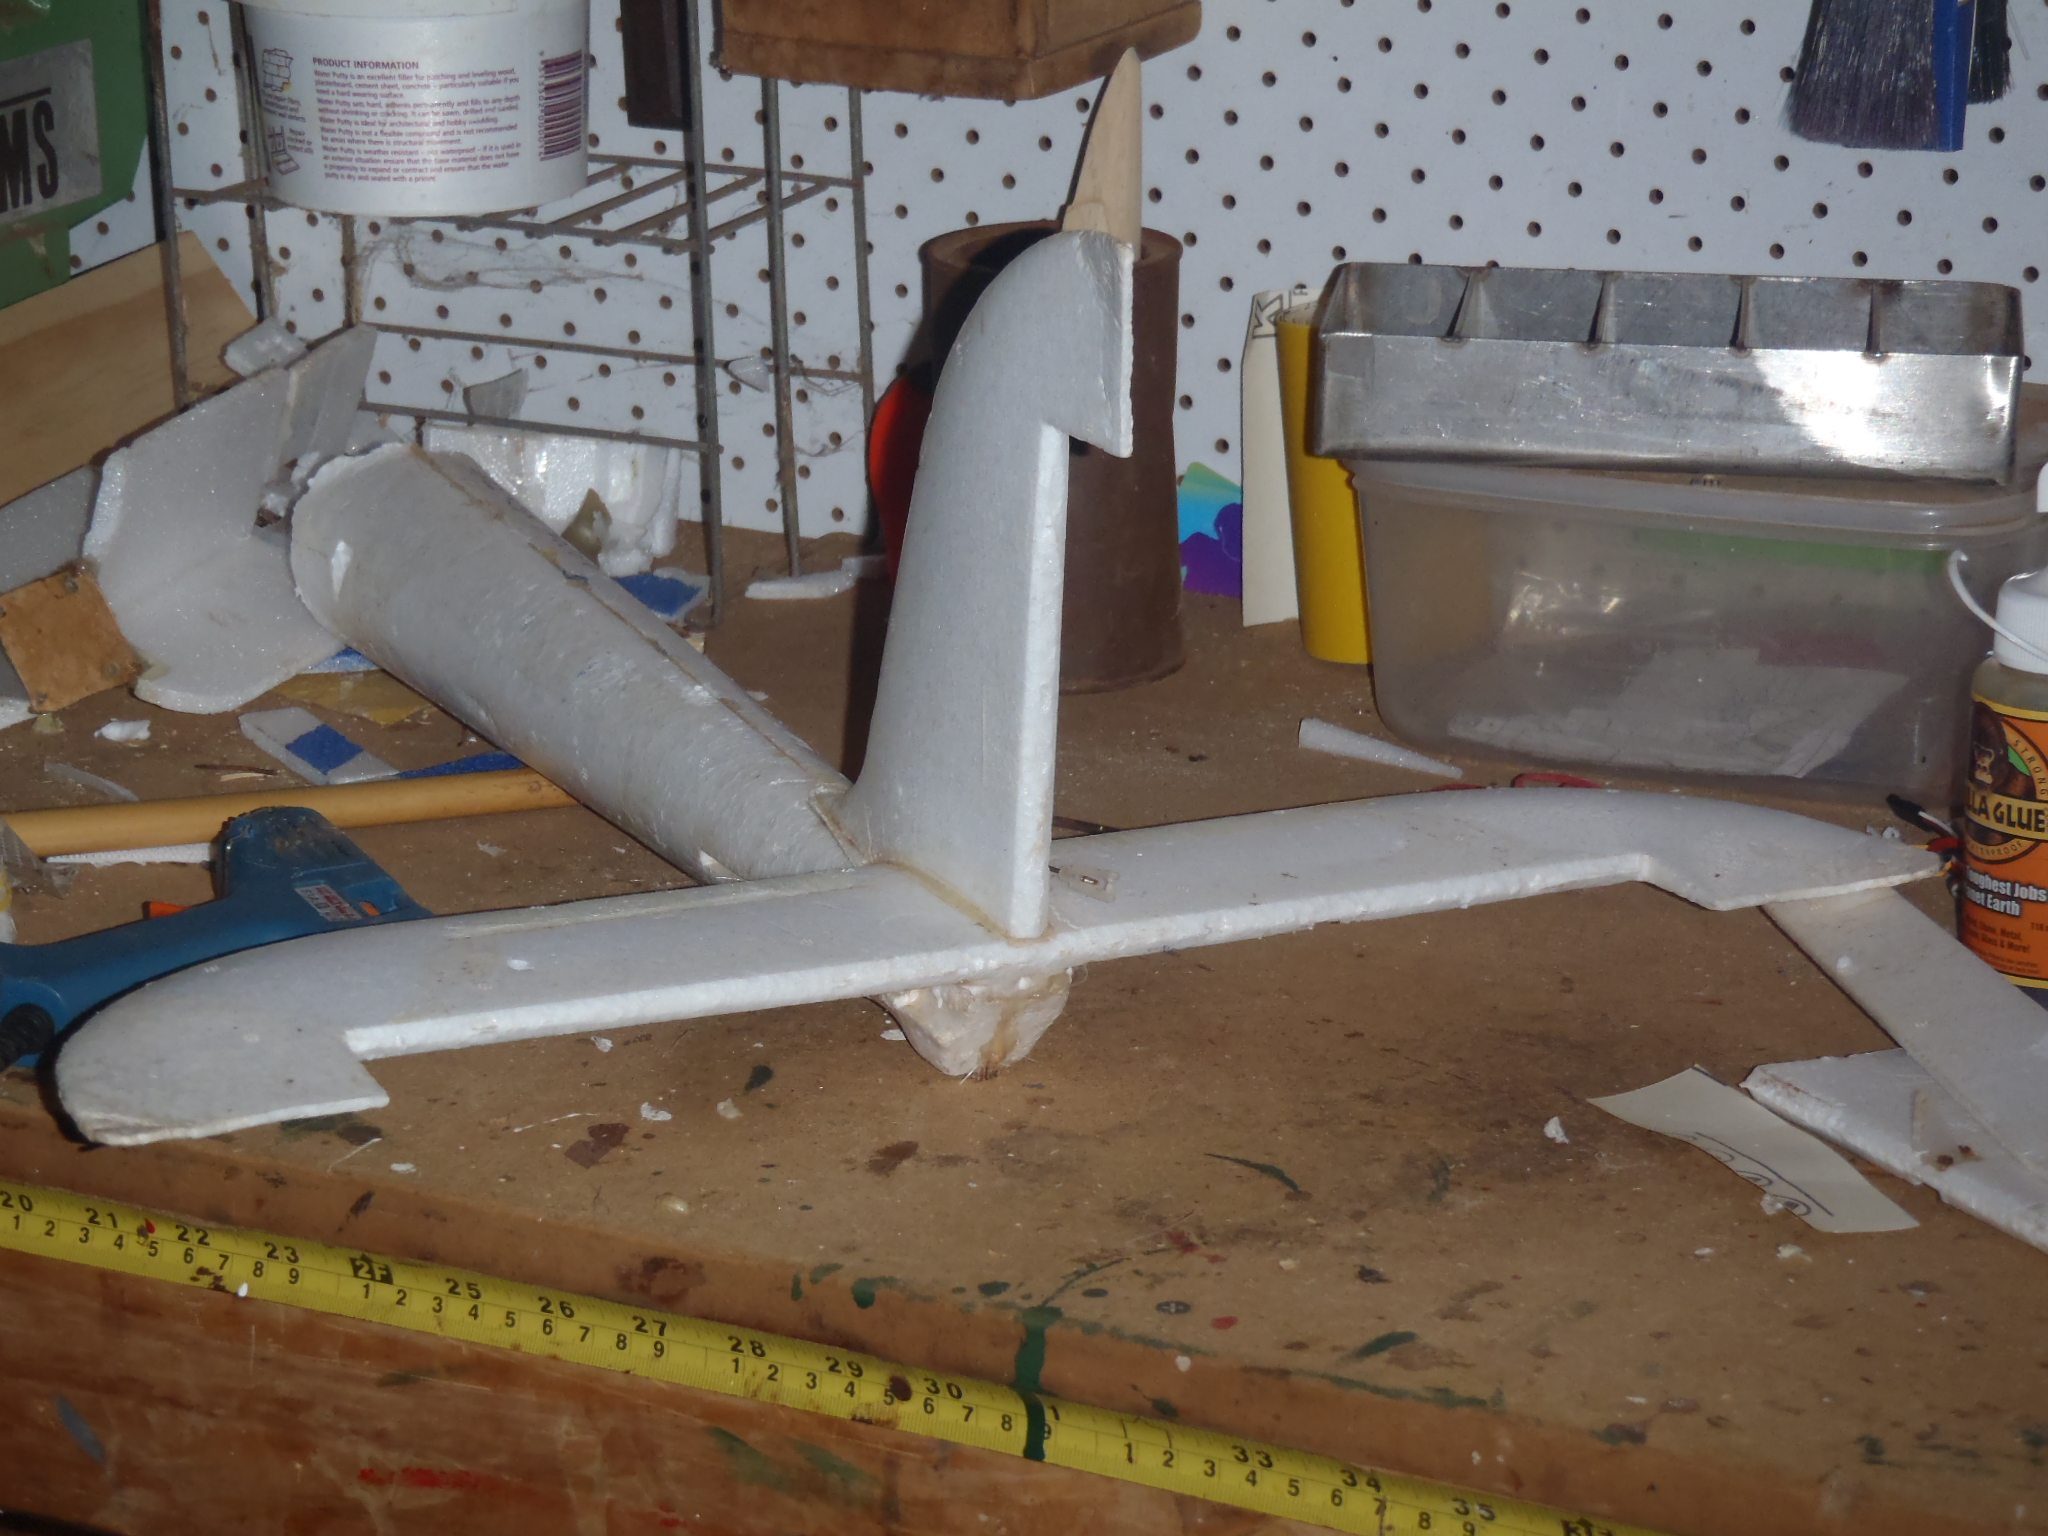
Next I glued the tail onto the mid section and removed all control surfaces and cleaned up the hinge line.
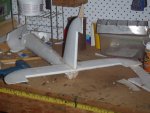
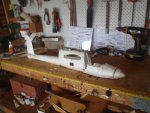
Then I striped the wing of all tape and the yellow decals witch I don’t like.
The glue on the nose was dry the next day so I did some minor sanding.
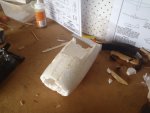
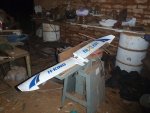
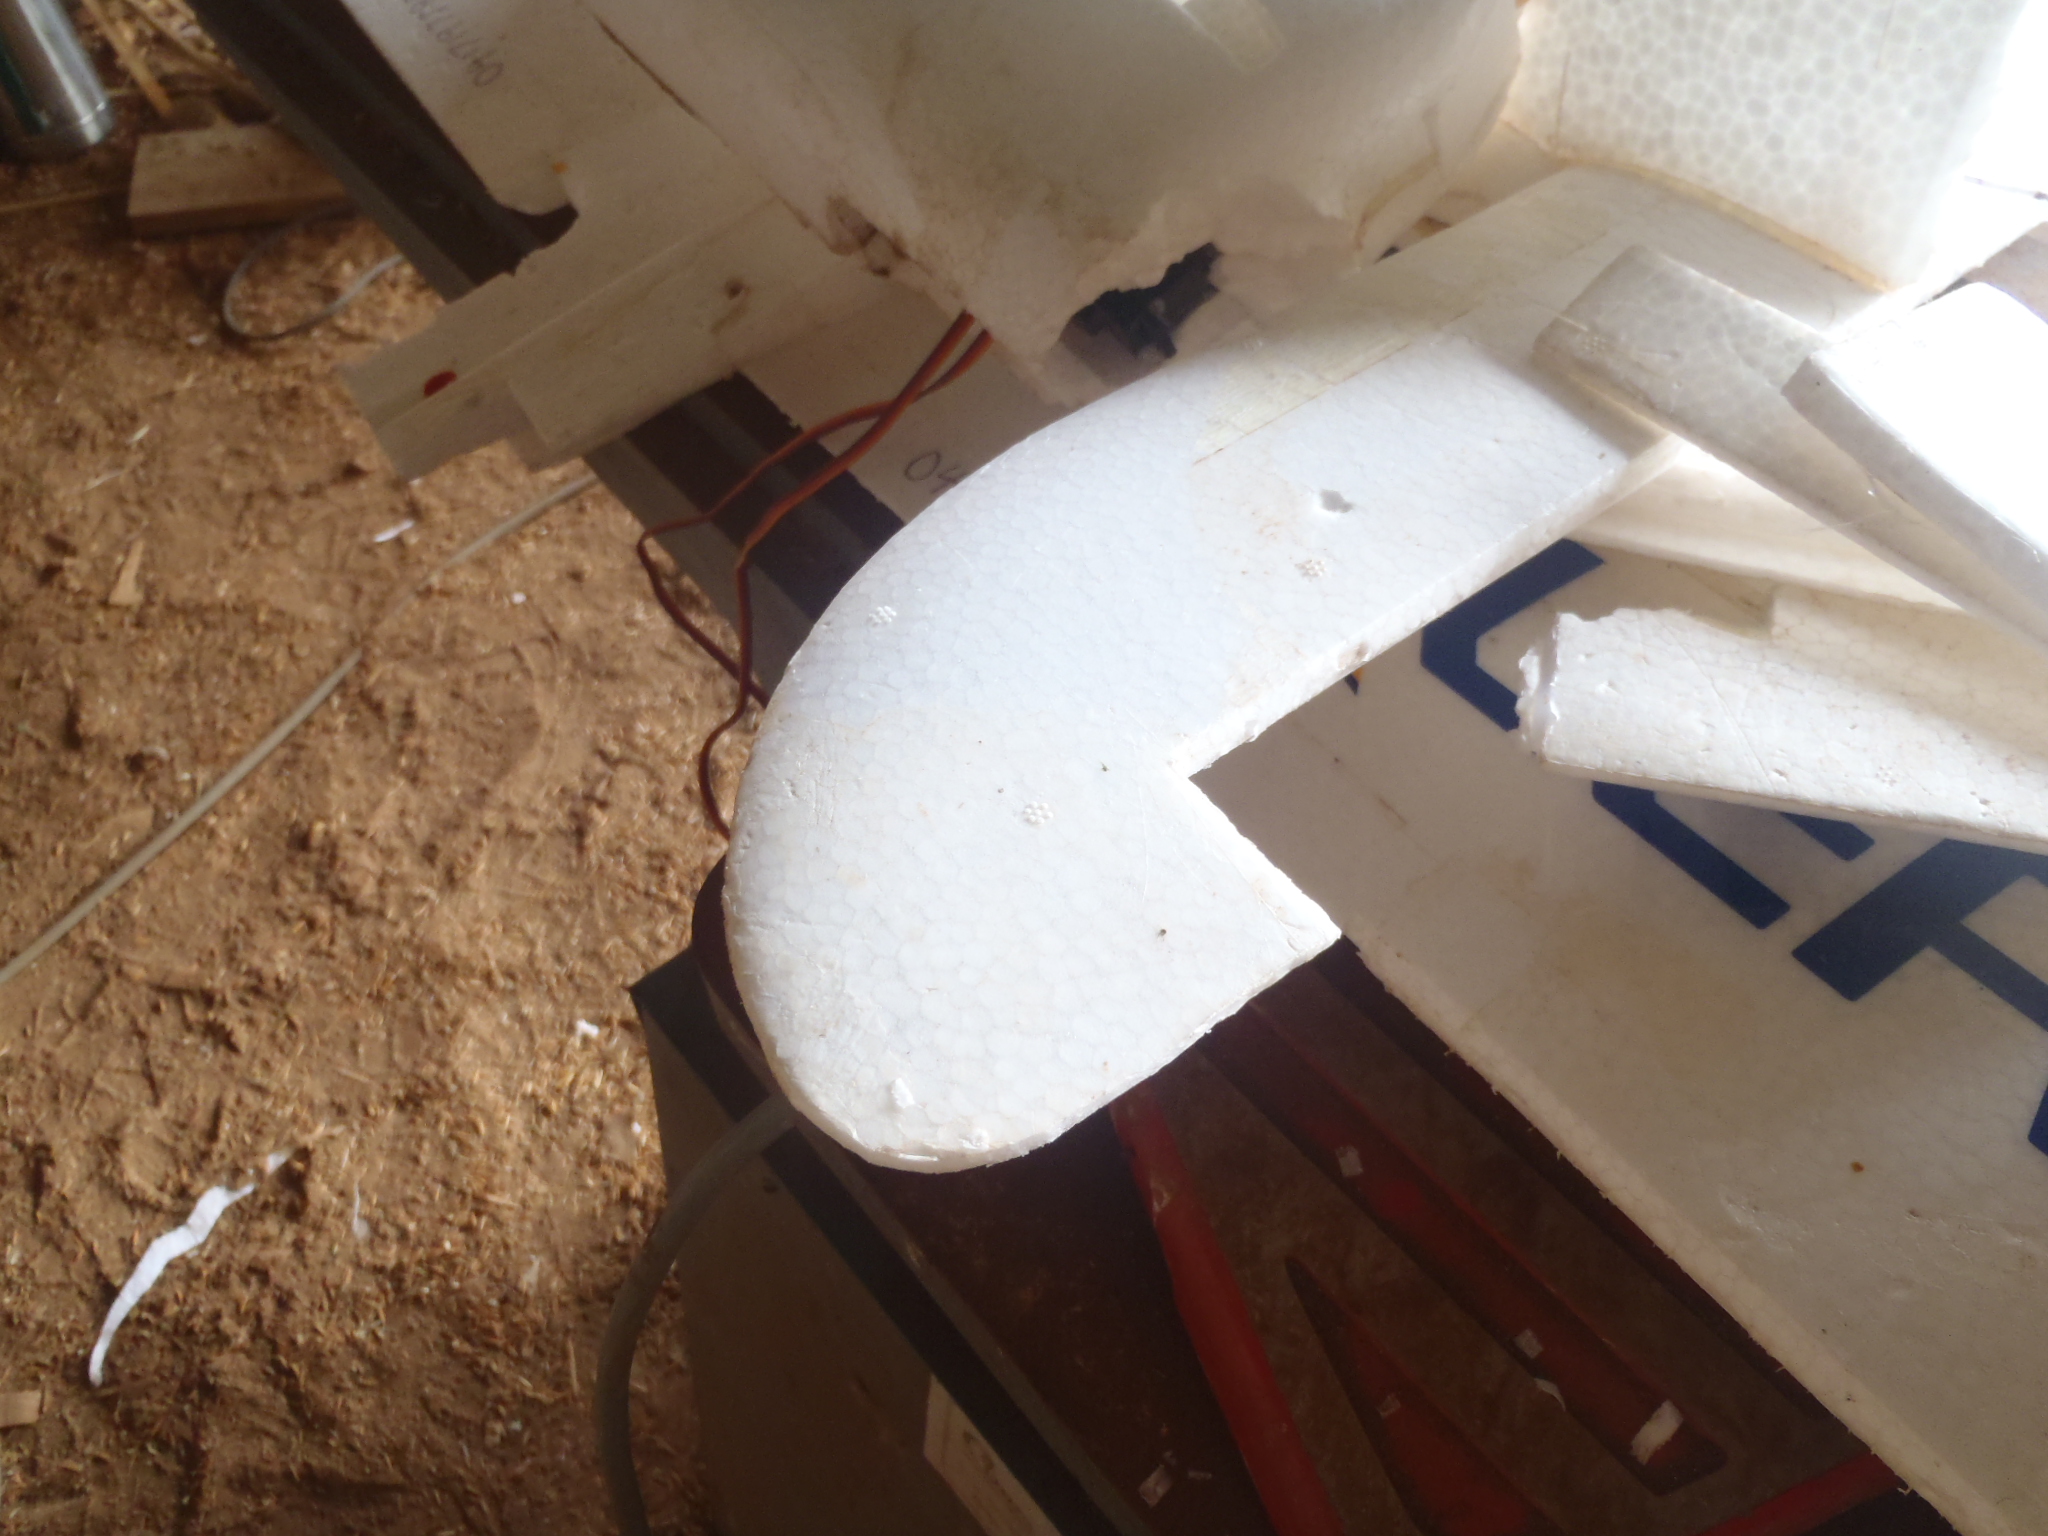
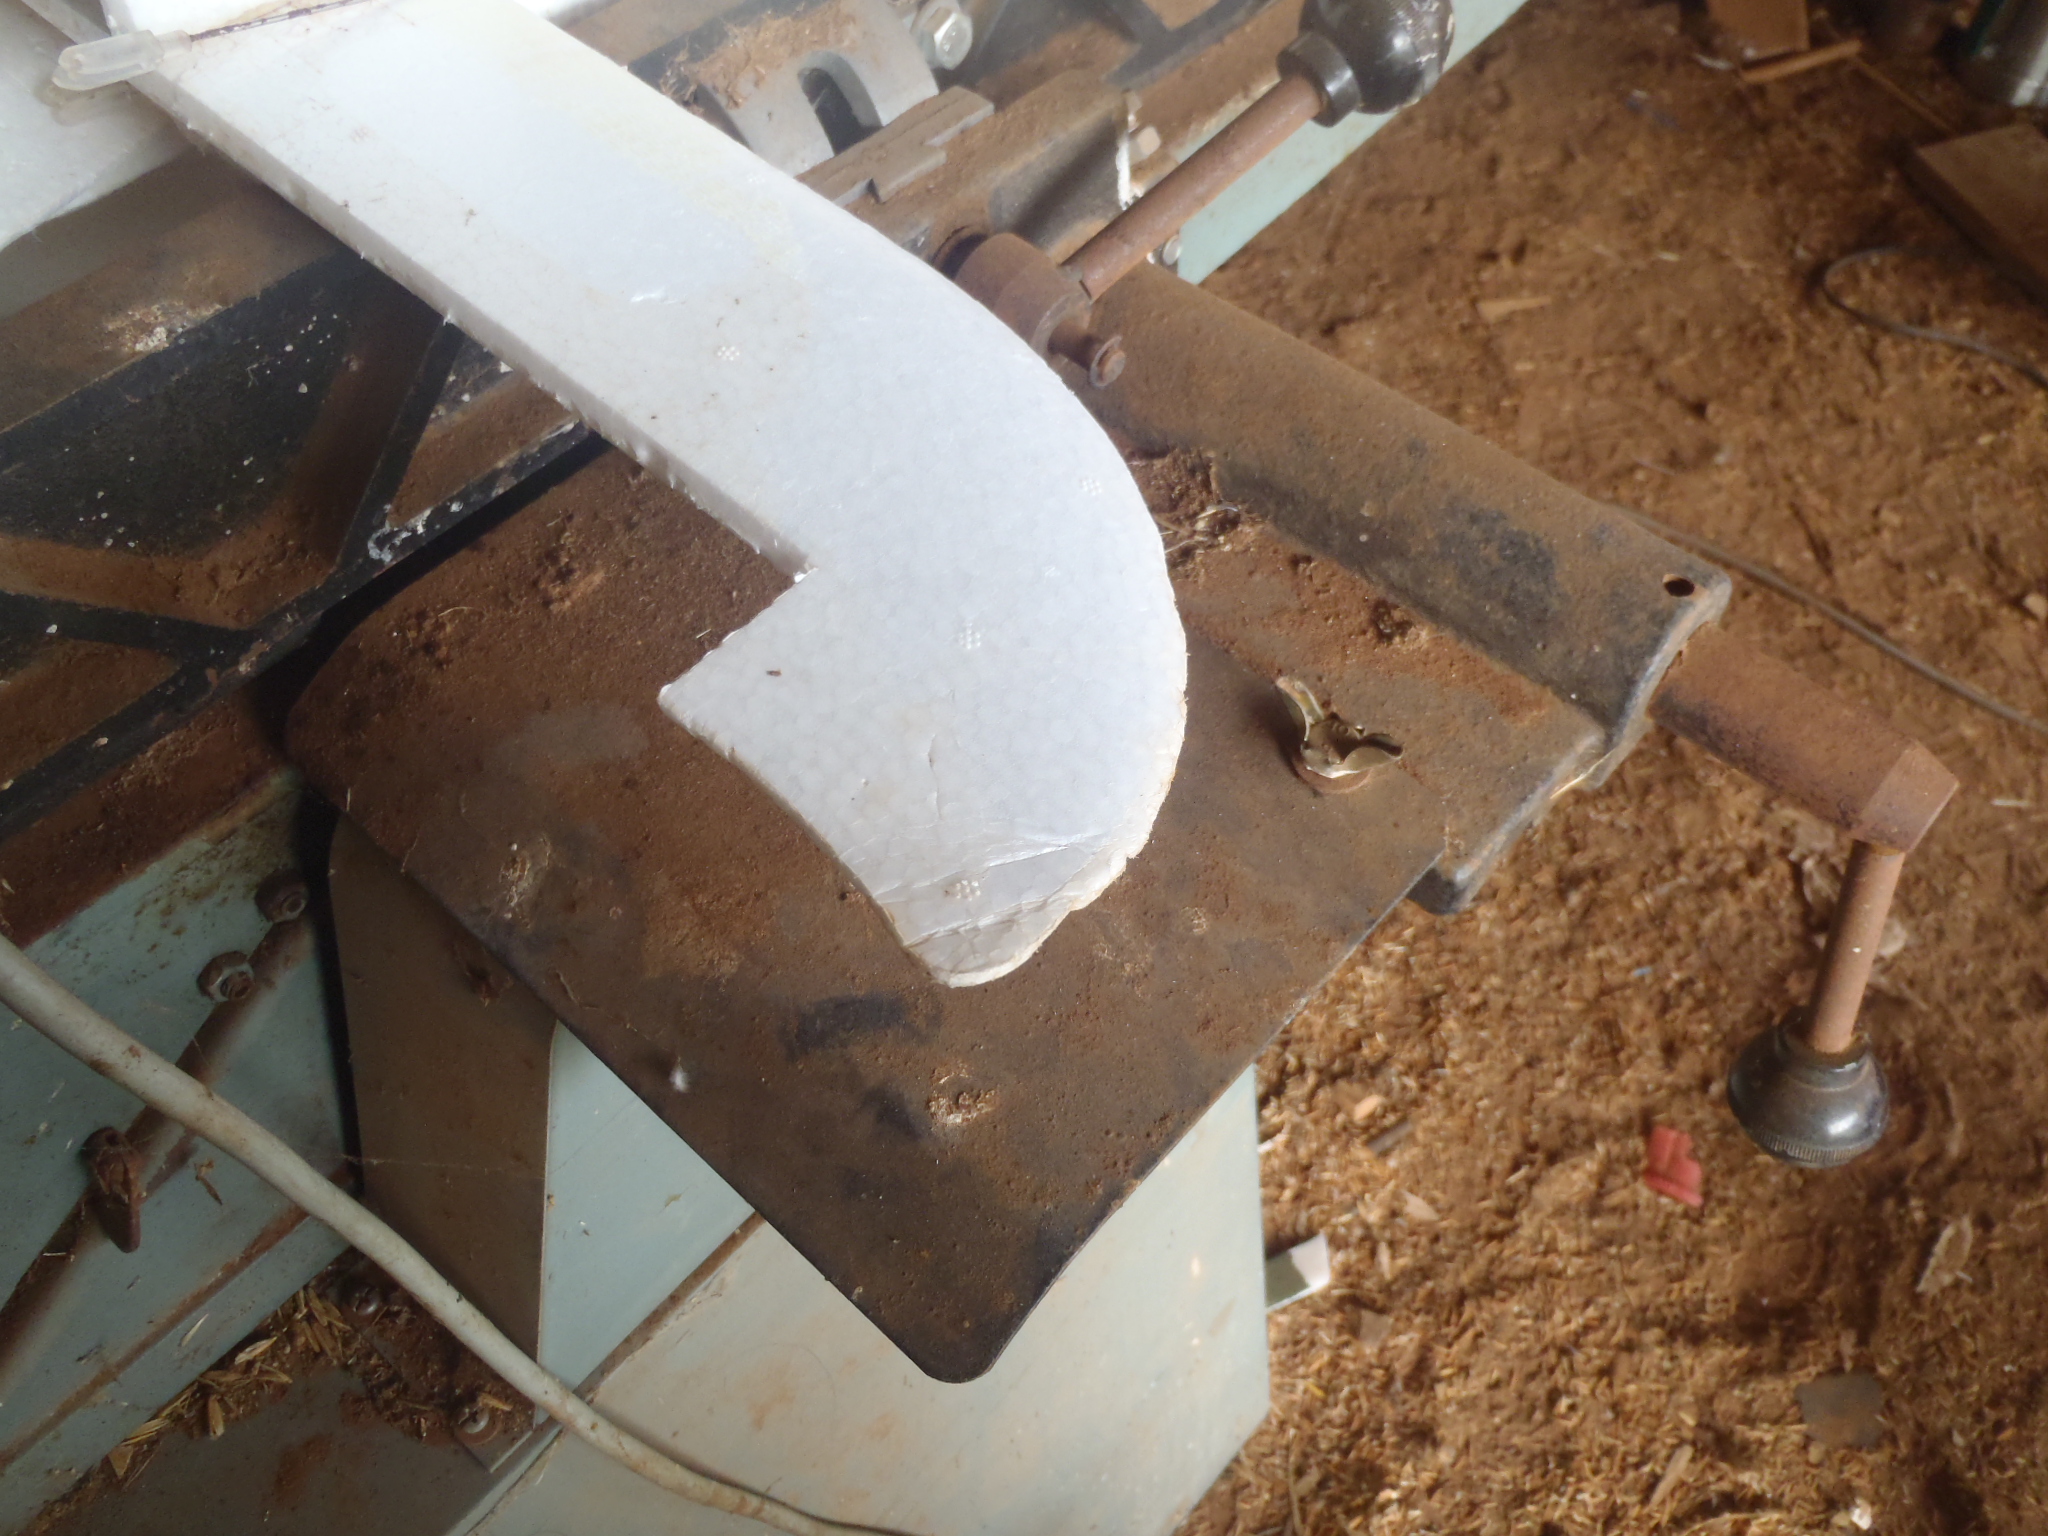
The tips of the tail was crushed and bent from the many cart wheels so I trimmed them of.
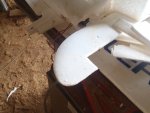
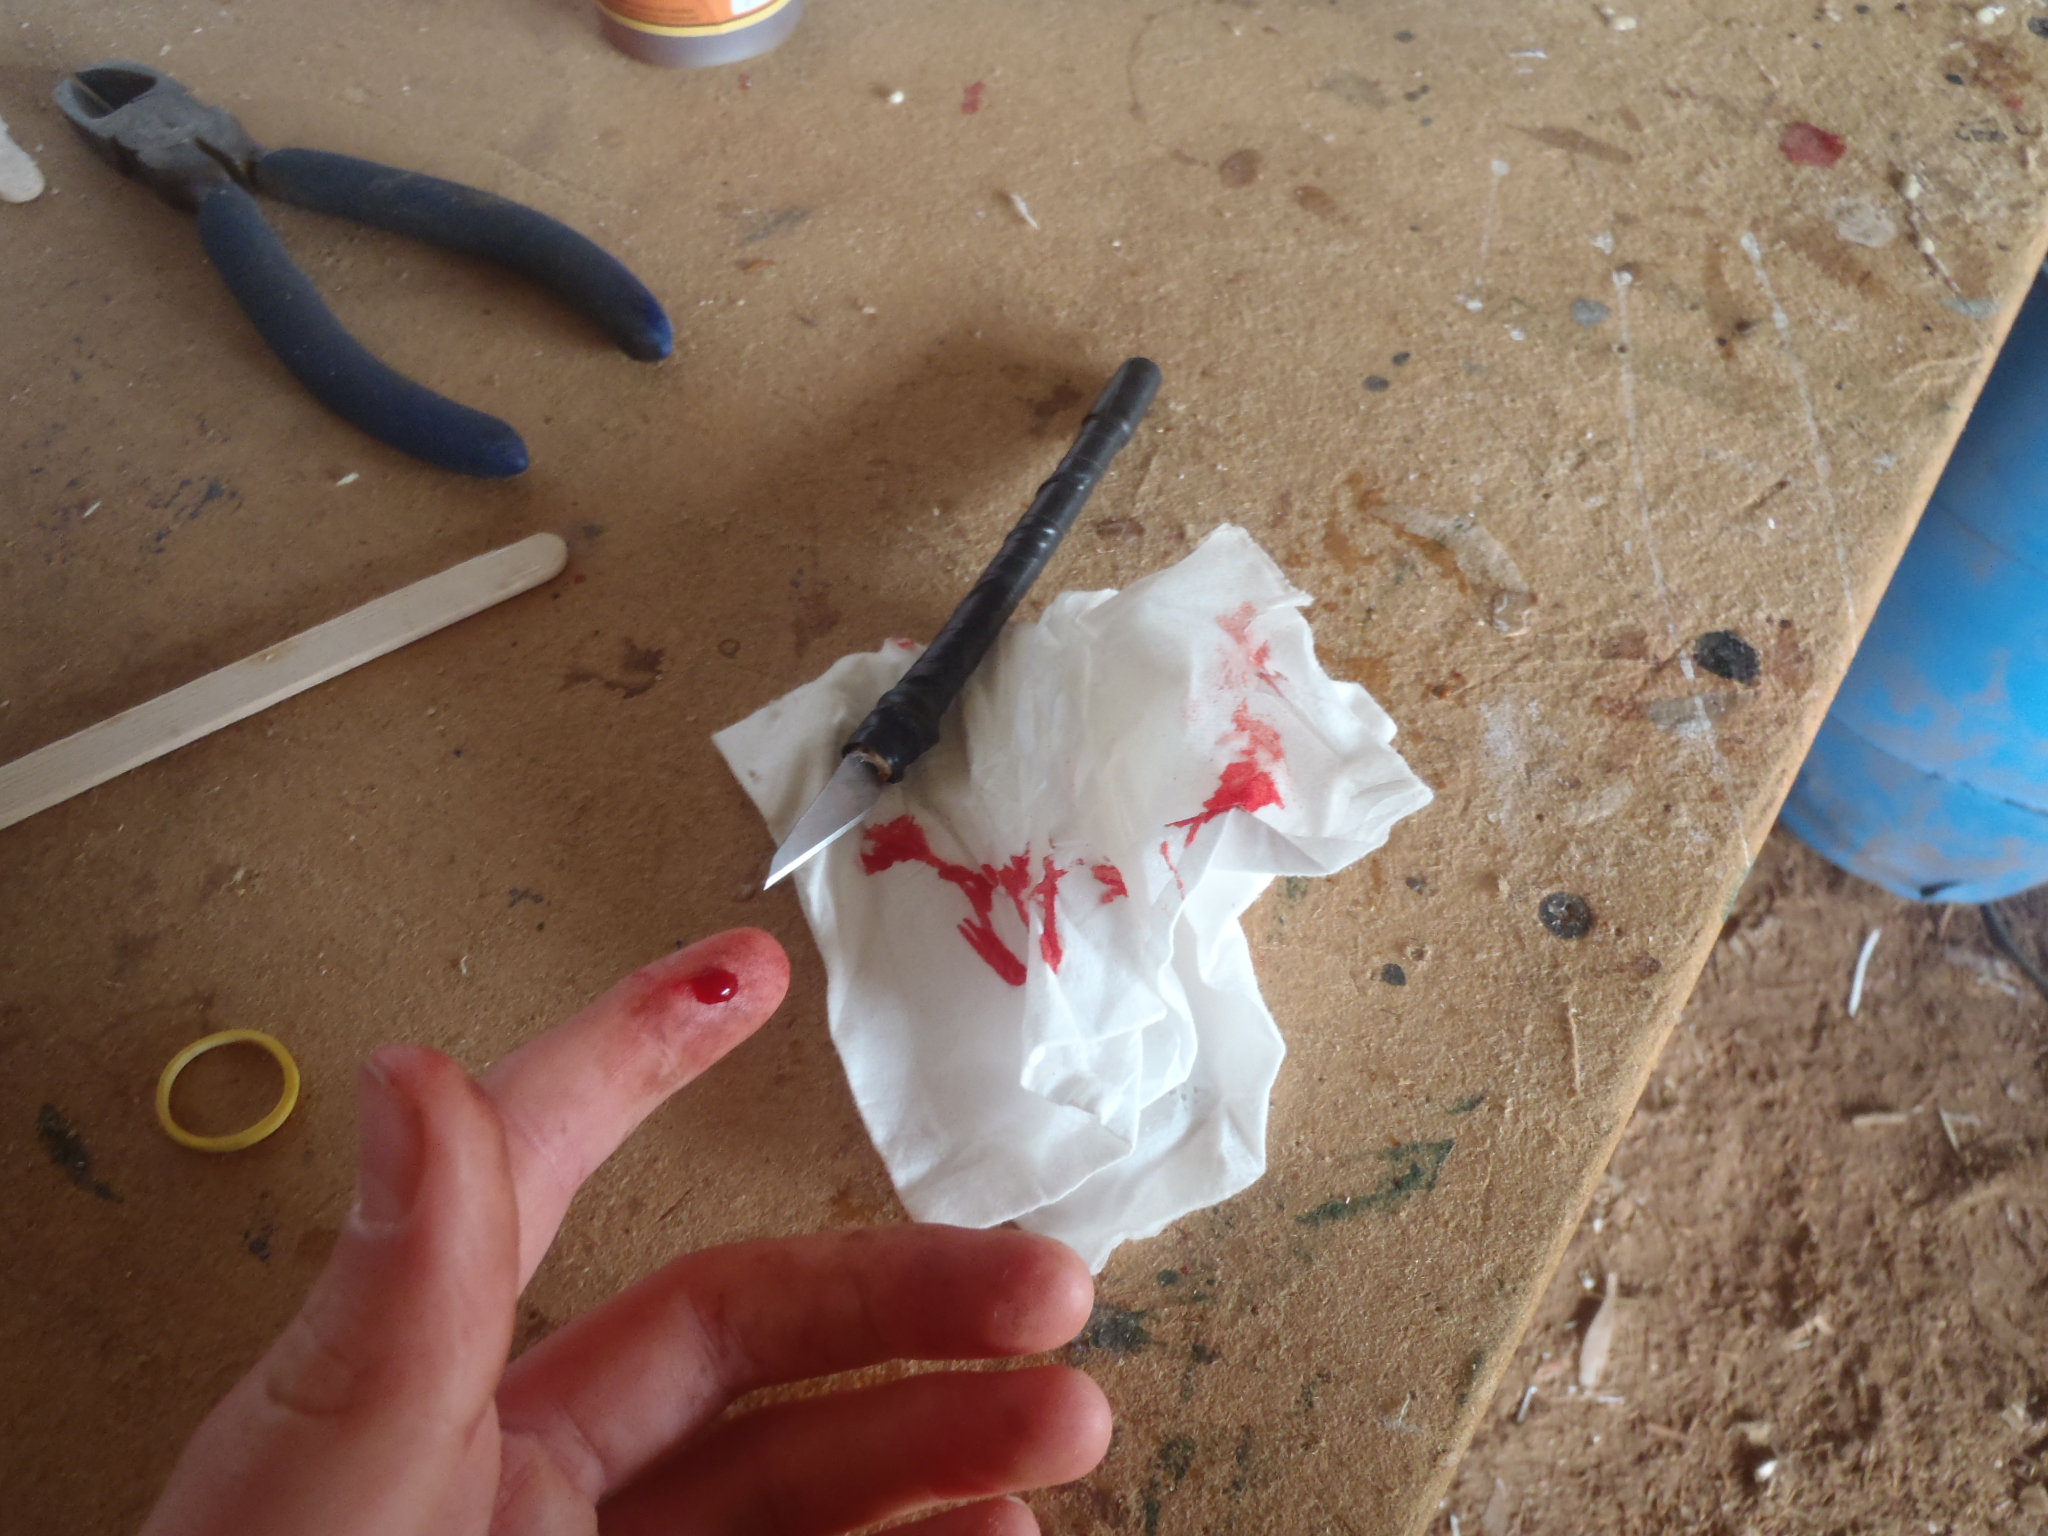
Ach, you have to watch those fingers! Darn nuisance, red finger prints on my nice white foam!
More to follow.
Abe
This is a repair log for my Bixler 1.1. First of, I learned to fly on a Hobbyzone Duet, then bought my first ARF, The venerable Hobbyking Bixler 1.1 for the majestic sum of $98.56. (The price was lowed for 3 days, so I bought speedily!)
Also I bought a DSM2 orange receiver, (I had an eflite 5ch transmitter,) a 30A ESC, 2200mah 3S, charger and some other hobby items.
3 days after it arrived in the nearest town, the clock showing 6:30 and on a still cloudy morning the Bixler took of on its maiden voyage.
Later the same day I was using an iPod to record flight footage and Dad seeding oats.
Fast forward 3 weeks and I was flying inverted stall turns and generally wishing for more. So I dusted of an old 30” brushed Mustang given to me by a friend and searched through pages of brushless motors, ESC’s and battery options.
After many frustrating nose dives, I finally got a successful flight with 3 AA batteries taped to the nose to counter the tail heaviness created by replacing the old heavy motor with a new light SK3.
Even after flying this, I still went back to the Bixler for a nice relaxing flight after the heart pounding speed and inertia of the Mustang.
By this stage I had 3 new planes, a Parkzone T-28 and a Dynam PBY Catalina (both very kindly given to me, the Catalina in almost immaculate condition!!) plus a 32” depron Yak 54 that I made learnt 3D of sorts on!
I had put a set of Hobbyzone floats on the Bixler for water flying, and with the front mount still glued in the fuselage I had the idea to take the front wire strut from my floats and add some 50mm wheels to it.
And, I cut some flaps into the wings controlled by two 9g servos and a Y harness. As my radio was not a computer programmable one I had to orientate both the servos facing the same direction to stop them working as ailerons on my ch5 pot!
So, in essence I had a camera carrying STOL Bixler, and it was great fun!
I also upped my no-flap gliding record to 4.37 minuets.
After a few more months and 5 new scratch built planes, the Bixler had had the flaps removed (I needed the servos!) and a nose mounted park 480 outrunner. Also, during one particular knife edge stall the right wing tip snapped of at the outer edge of the aileron. So, I hacked the other one of and kept flying! (It was going to happen sooner or later, a short wing sport Bixler.)
But after a while, I glued the wing tips back on and made a new motor mount for the original location. I was half way through a FPV bomber conversion when my plans were forced to change.
Some were along the way I lost the original wing spar and I had been flying for 3 weeks with an aluminium crossbow shaft taped to the bottom of both wings. During a high risk ground attack mission, just after dropping the ordinance and diving on a tank convoy the left wing ripped of at the roots. Investigation revealed that it was a combination of the high wind speed at the time and the damage sustained during an earlier raid.
The left wing fluttered down like a scrap of paper while the rest of the aircraft spun viciously 400’ into the ground. After recovering the wreckage I discovered that it hit hard enough to slightly crush the battery! The fuselage was broken into 6 or 7 pieces and the wing roots were damaged but the tail was largely intact.


The fuselage was being held together by the stickers and 4 layers of tape.
So I striped everything, and decided to do a complete restoration.

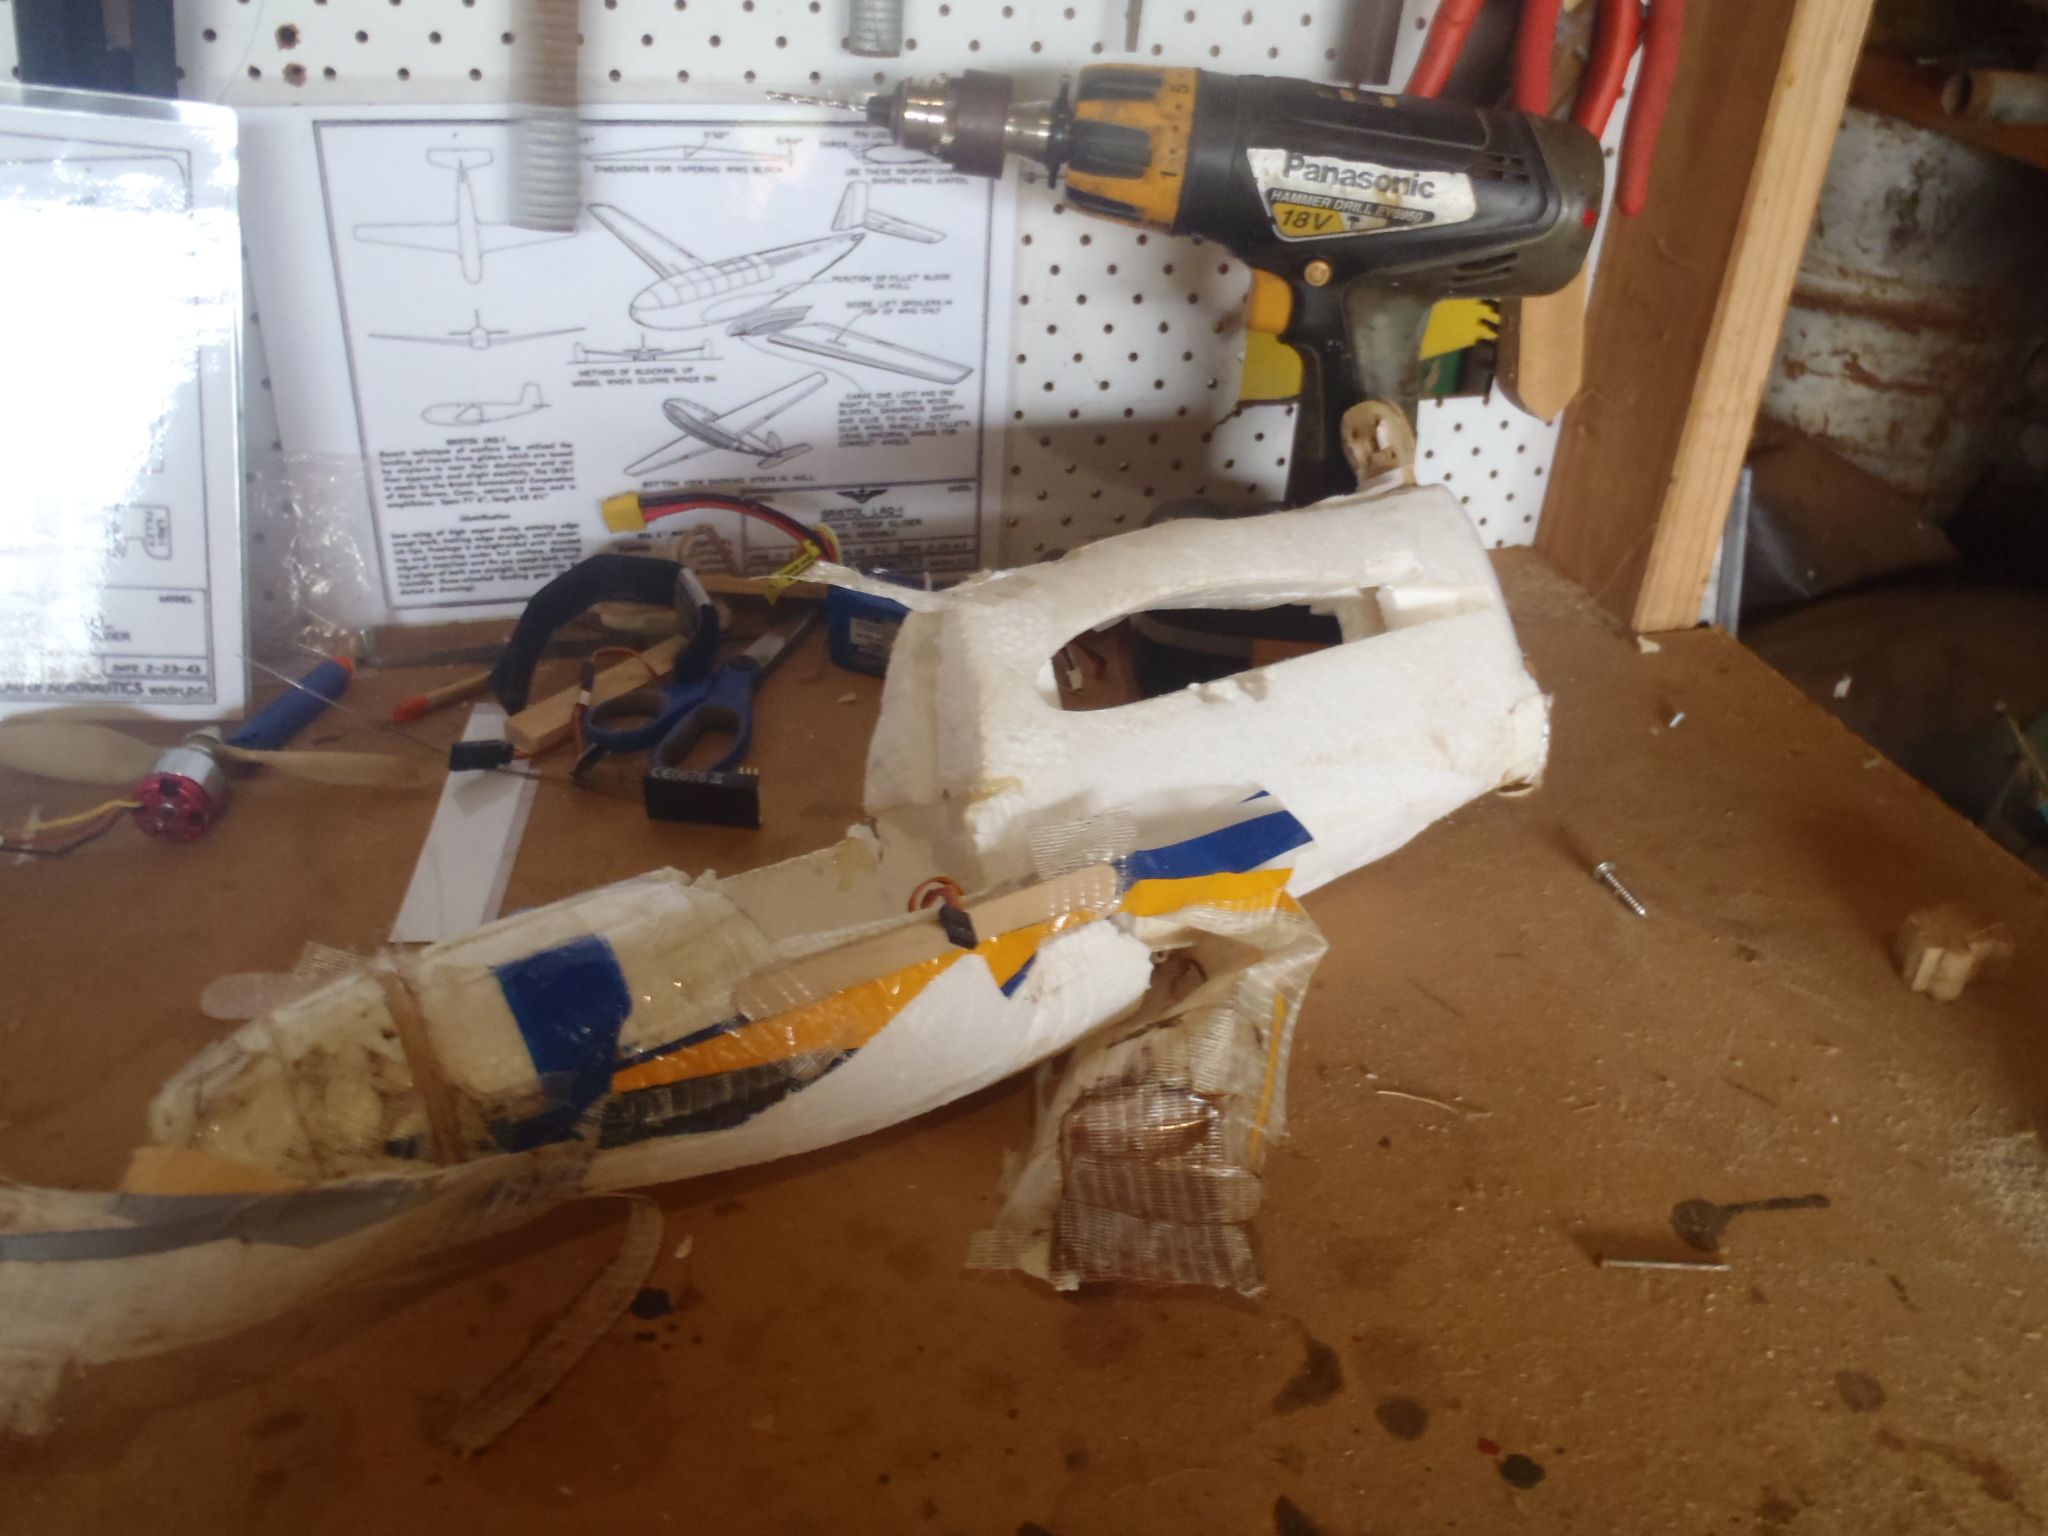
The fuselage and tail were coated in months of repair and protection tape.
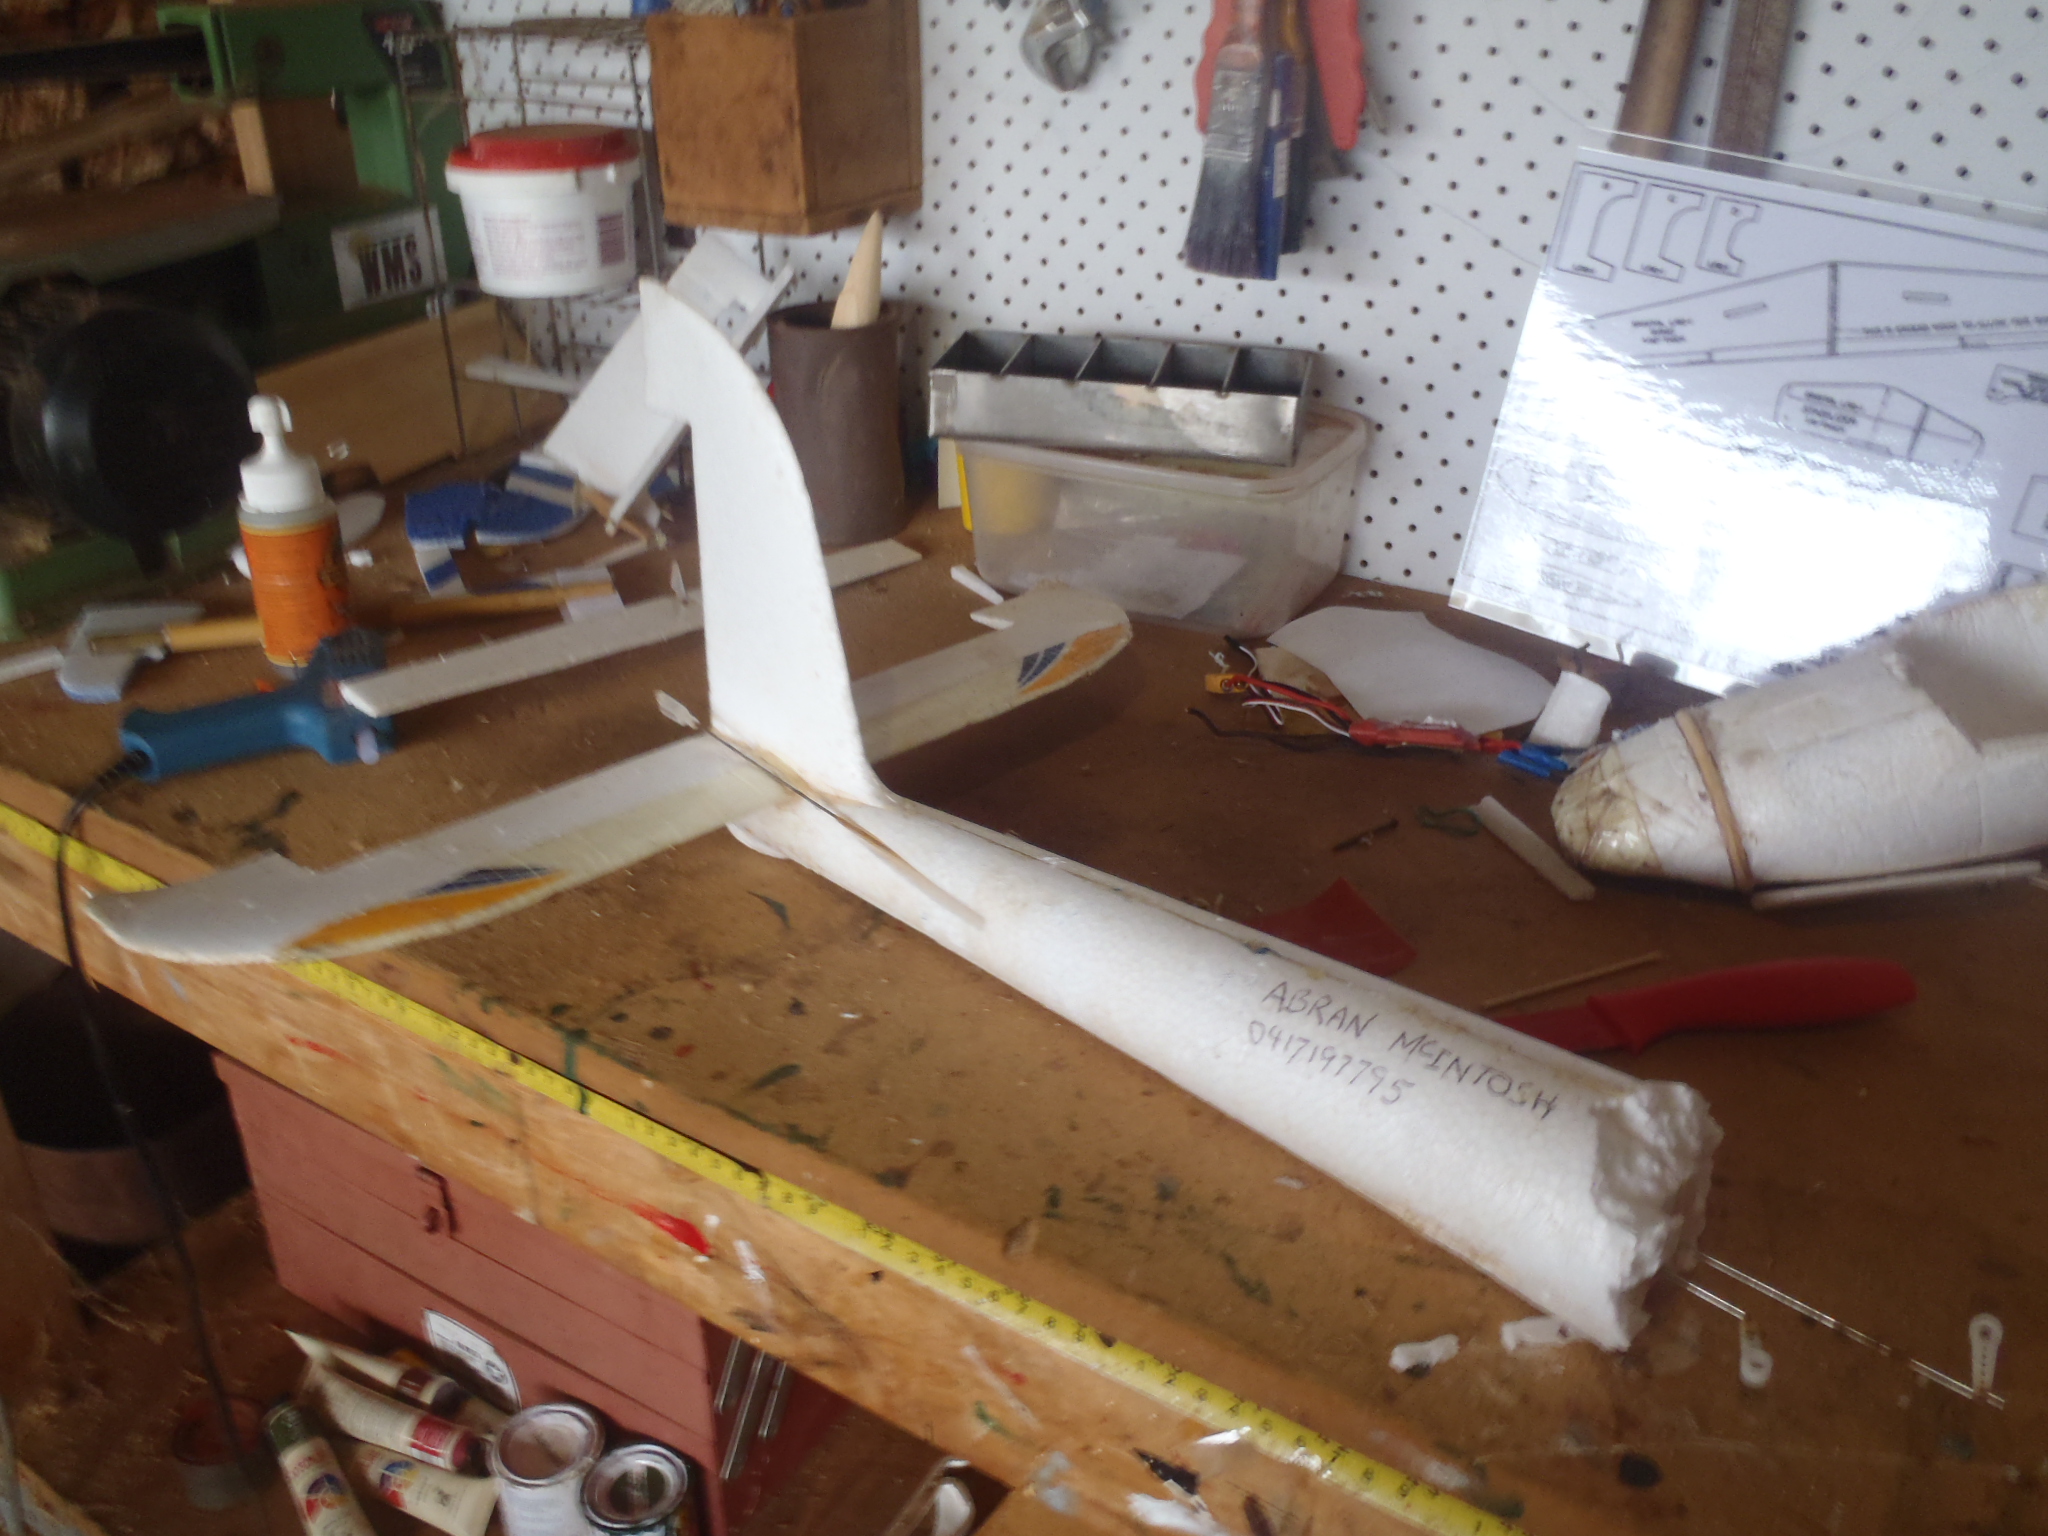
The nose was badly crushed and compressed from many many crashes.
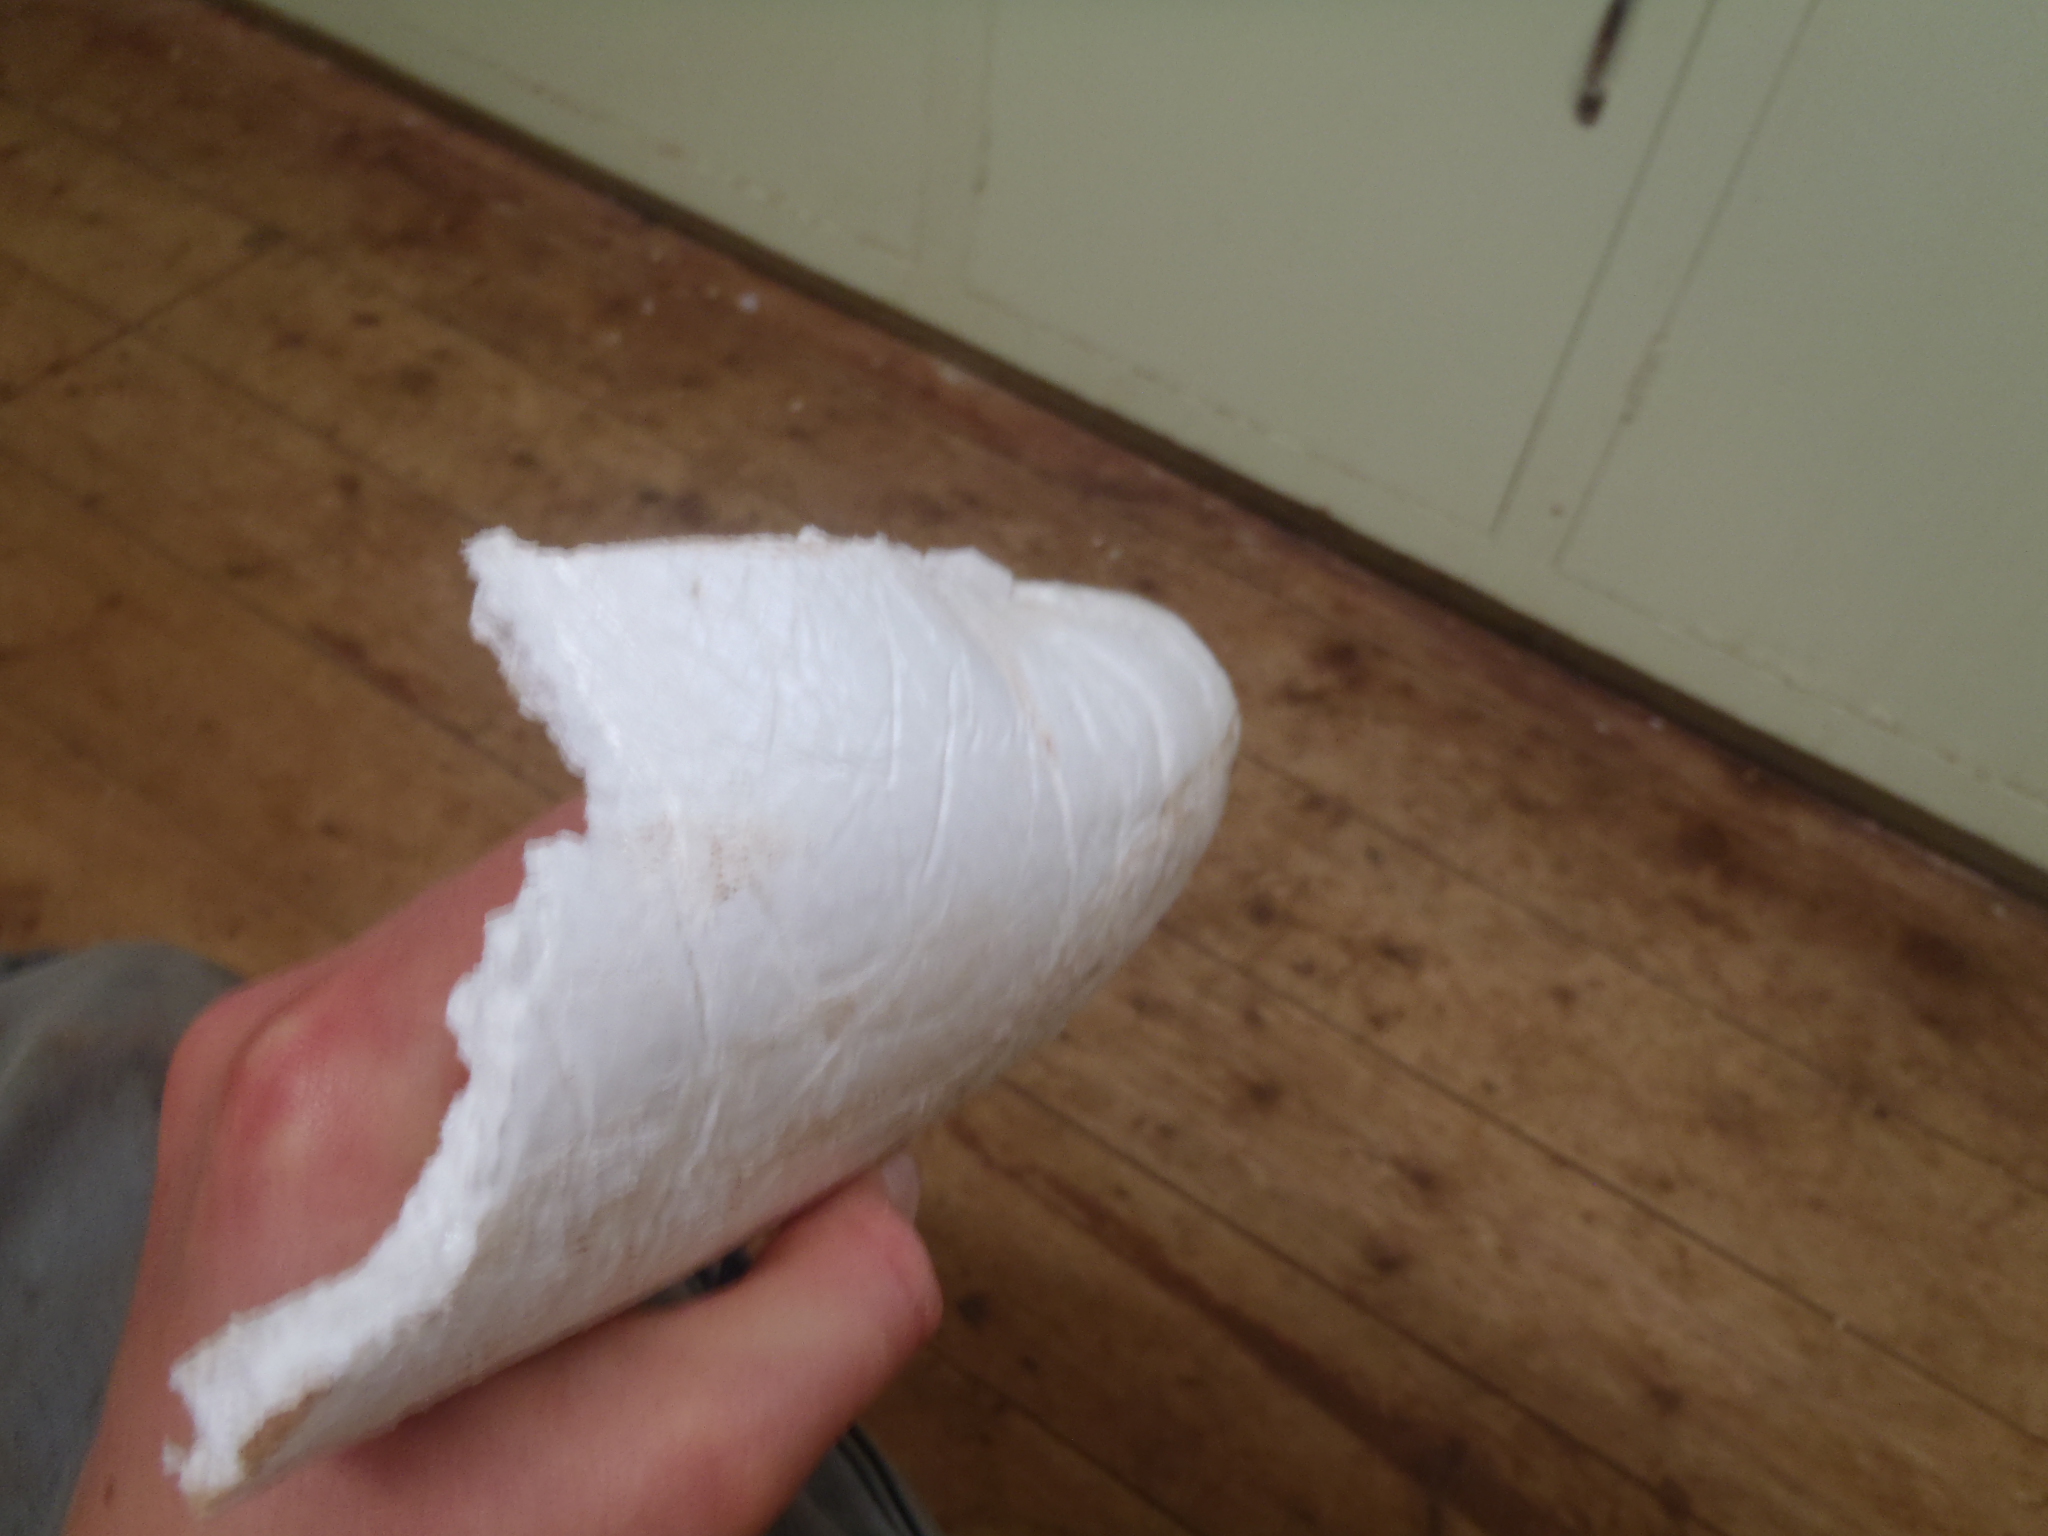
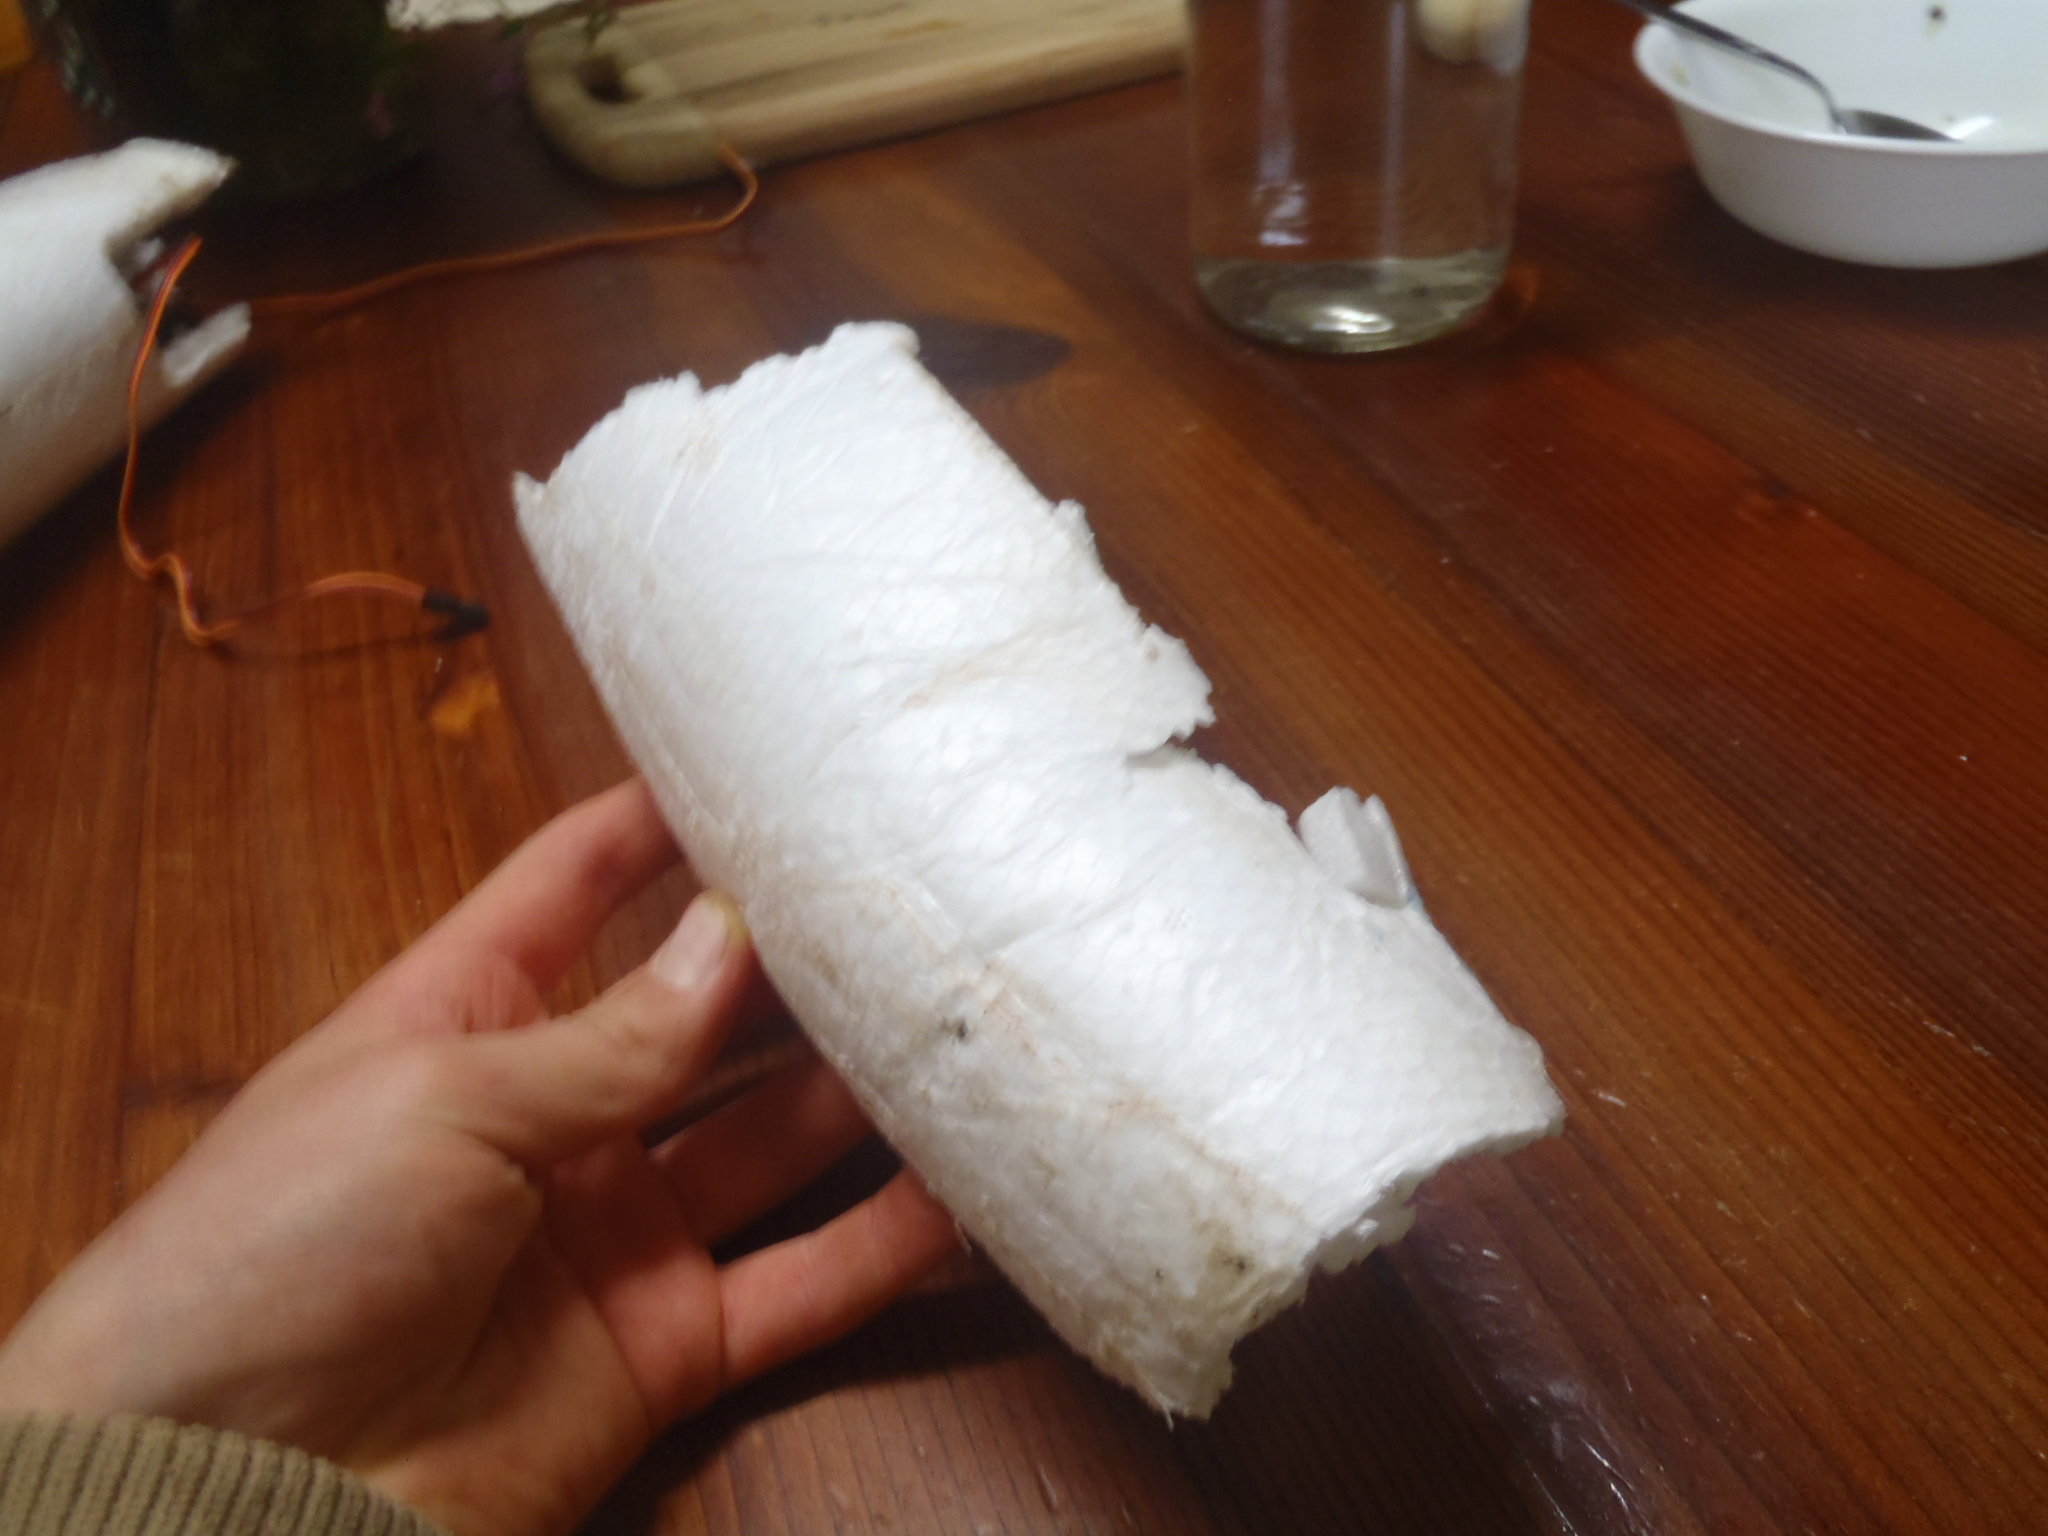
So I soaked the 8 parts of foam in hot water and they returned to their original shape with only a small amount of dents and creases. Next I glued them together with gorilla glue, as I have to wait for my hinges and wires to arrive I have lots of time.
So I took the covering of my battery fearing the worst, but lo and behold it was largely fine! So I left it for 24 hours then did a slow charge at 0.1 amps and the voltage of each cell was the same on 3.94 volts each. So I used it, and it is absolutely fine.
Next I glued the tail onto the mid section and removed all control surfaces and cleaned up the hinge line.
Then I striped the wing of all tape and the yellow decals witch I don’t like.
The glue on the nose was dry the next day so I did some minor sanding.

The tips of the tail was crushed and bent from the many cart wheels so I trimmed them of.
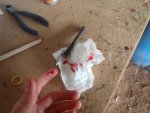
Ach, you have to watch those fingers! Darn nuisance, red finger prints on my nice white foam!
More to follow.
Abe