valiantglx
Junior Member
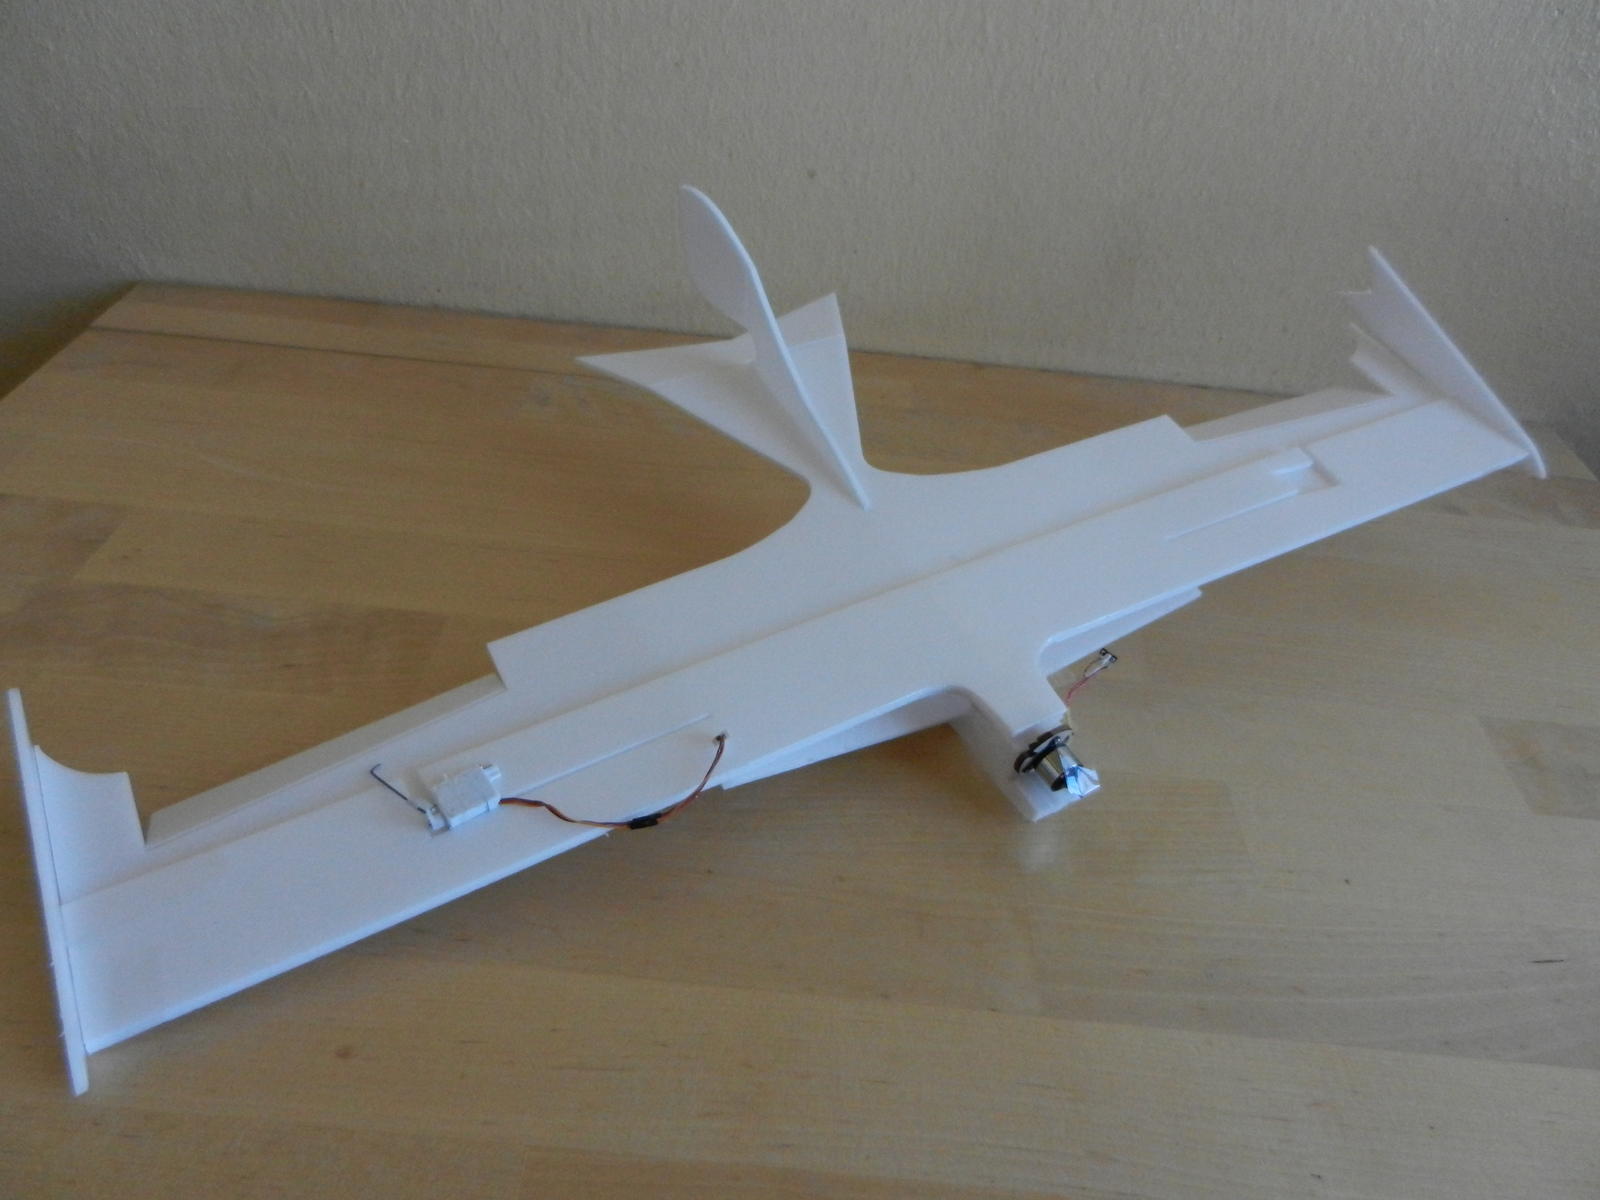
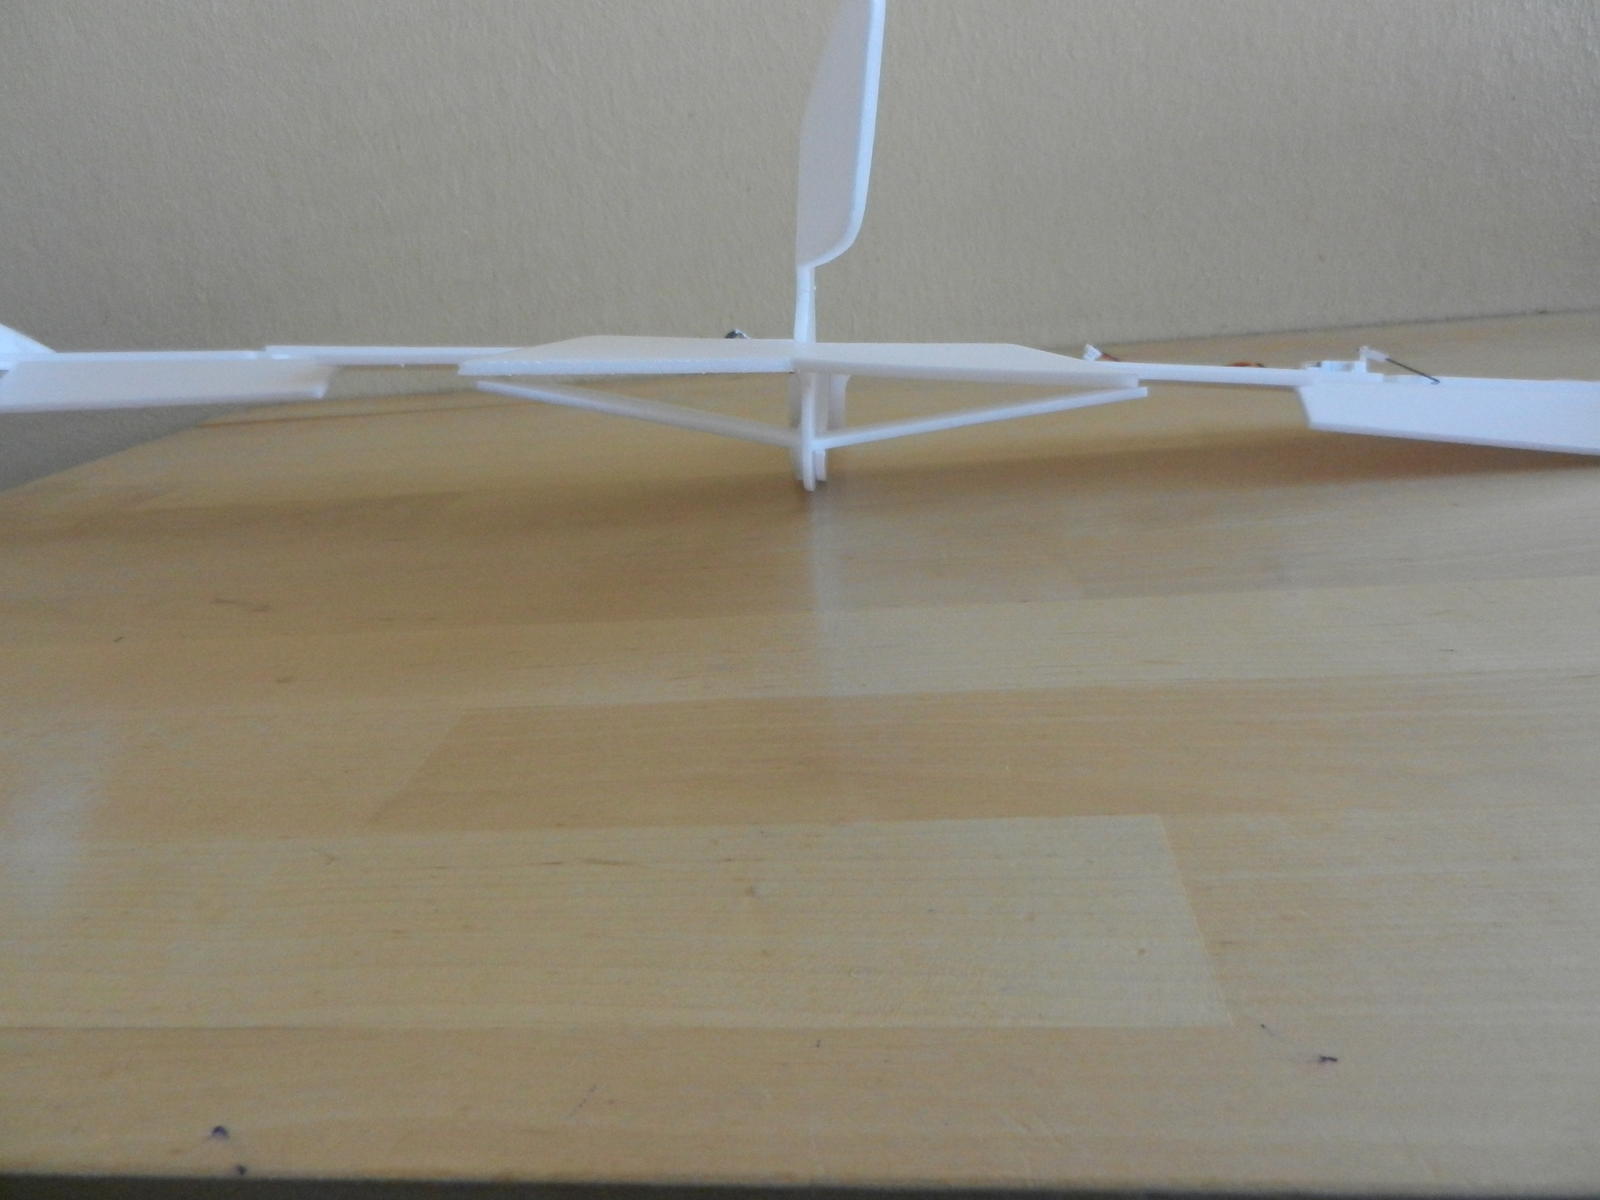
The Sparrow
I have seen a lot of flying videos, I have flown a handful of planes, and I can say with confidence that this is the best 3ch (RET) aircraft that you will ever fly.
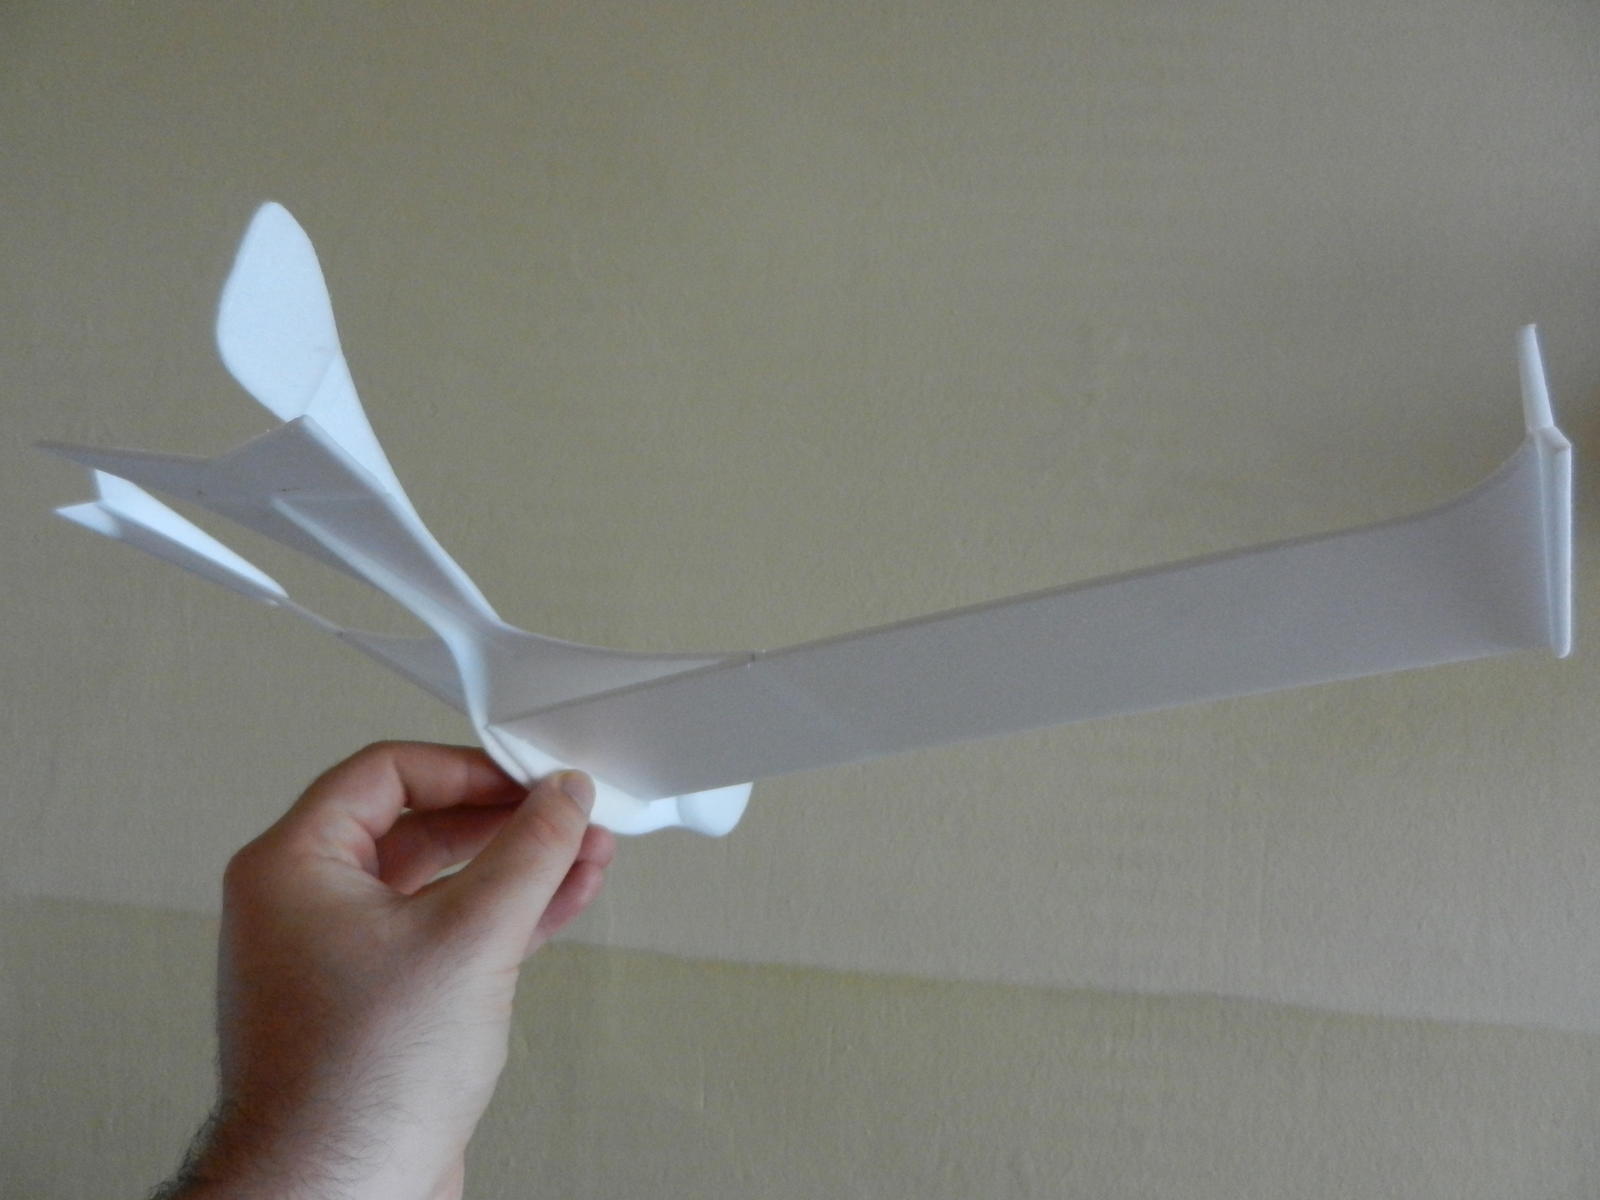
It is great for young and old; beginners and experts; slow flying and aerobatics; indoors and outdoors. It seriously ticks all of the boxes.
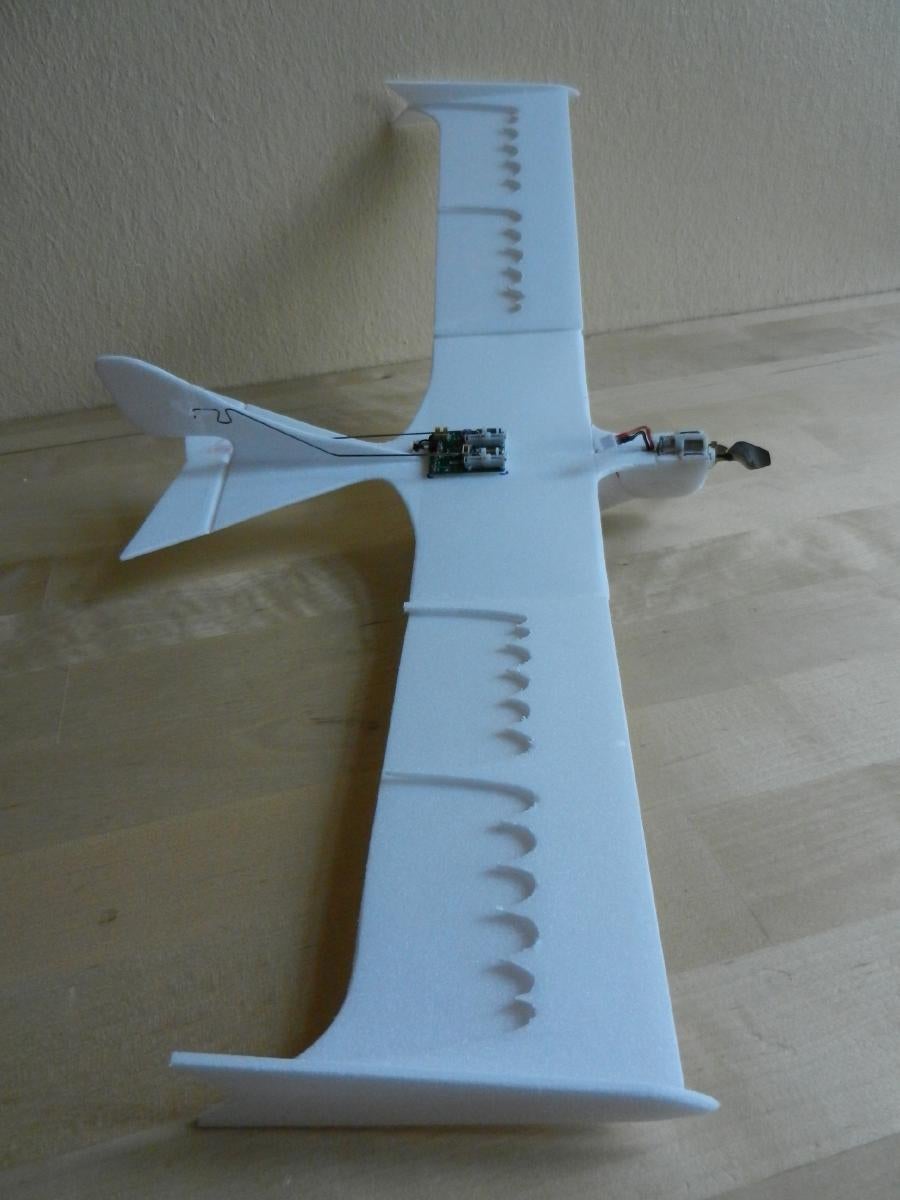
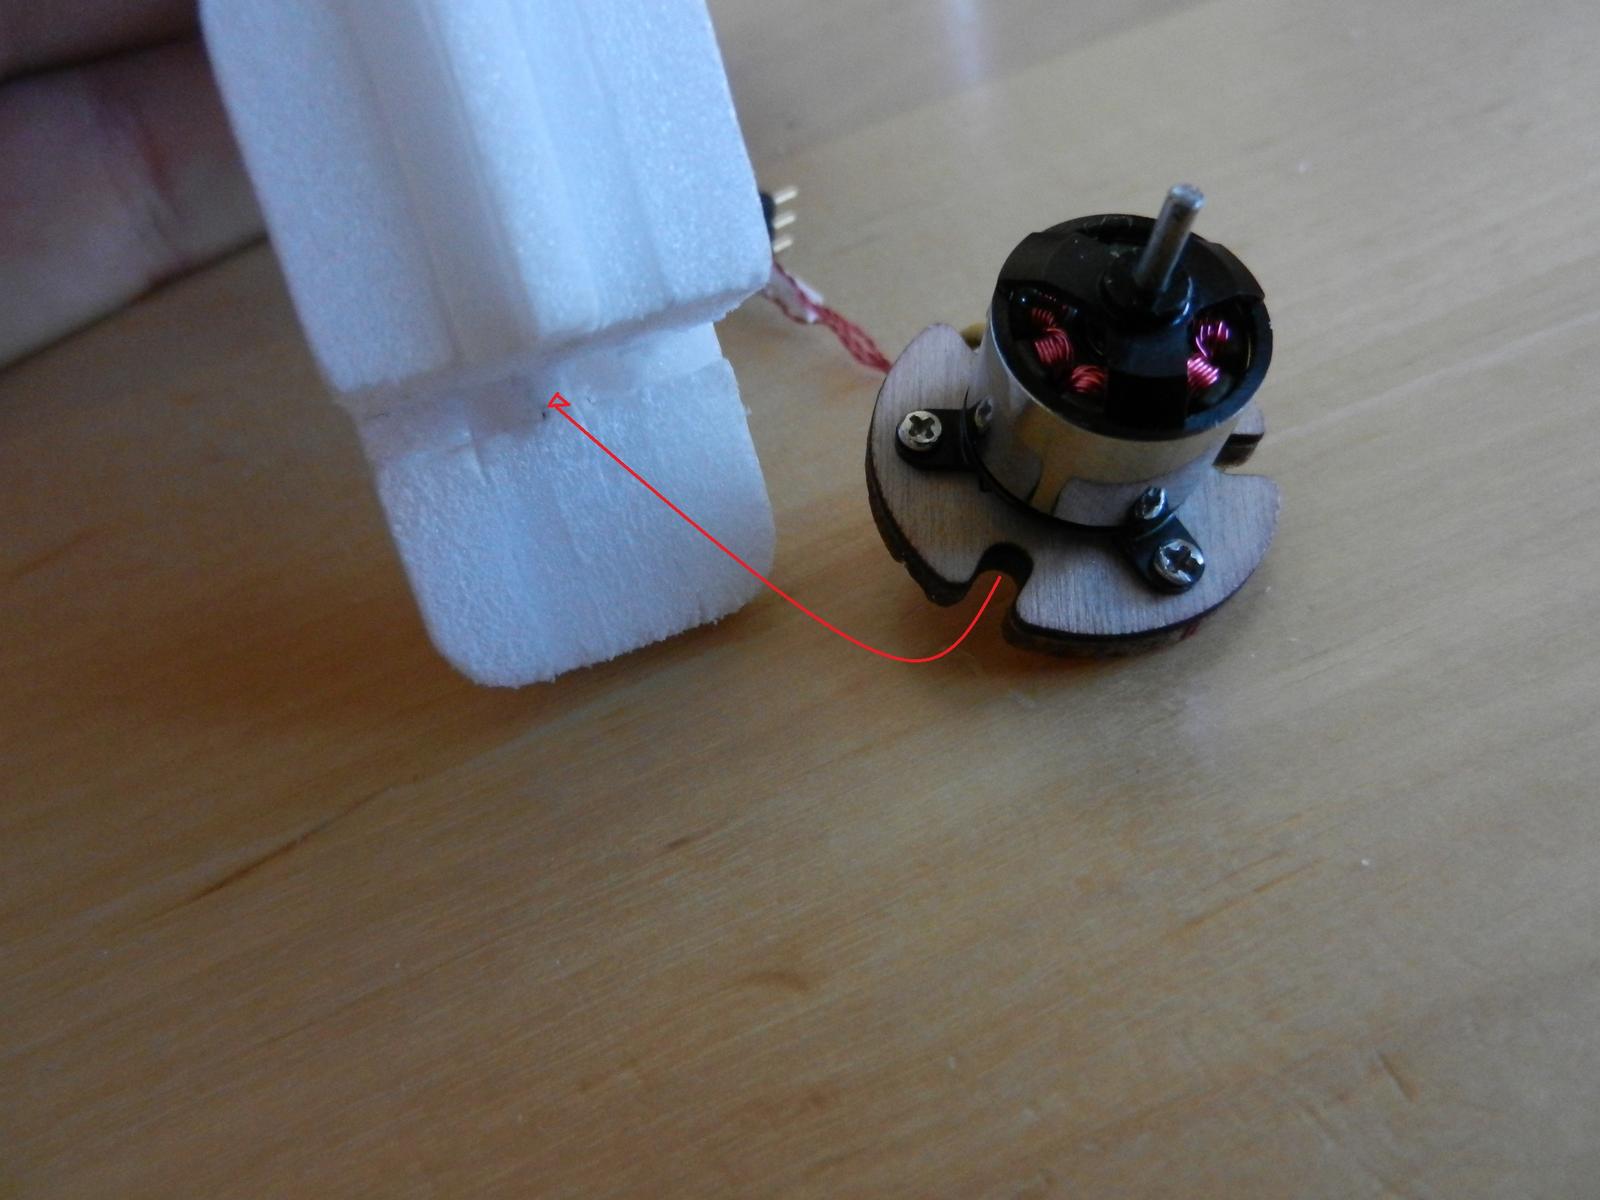
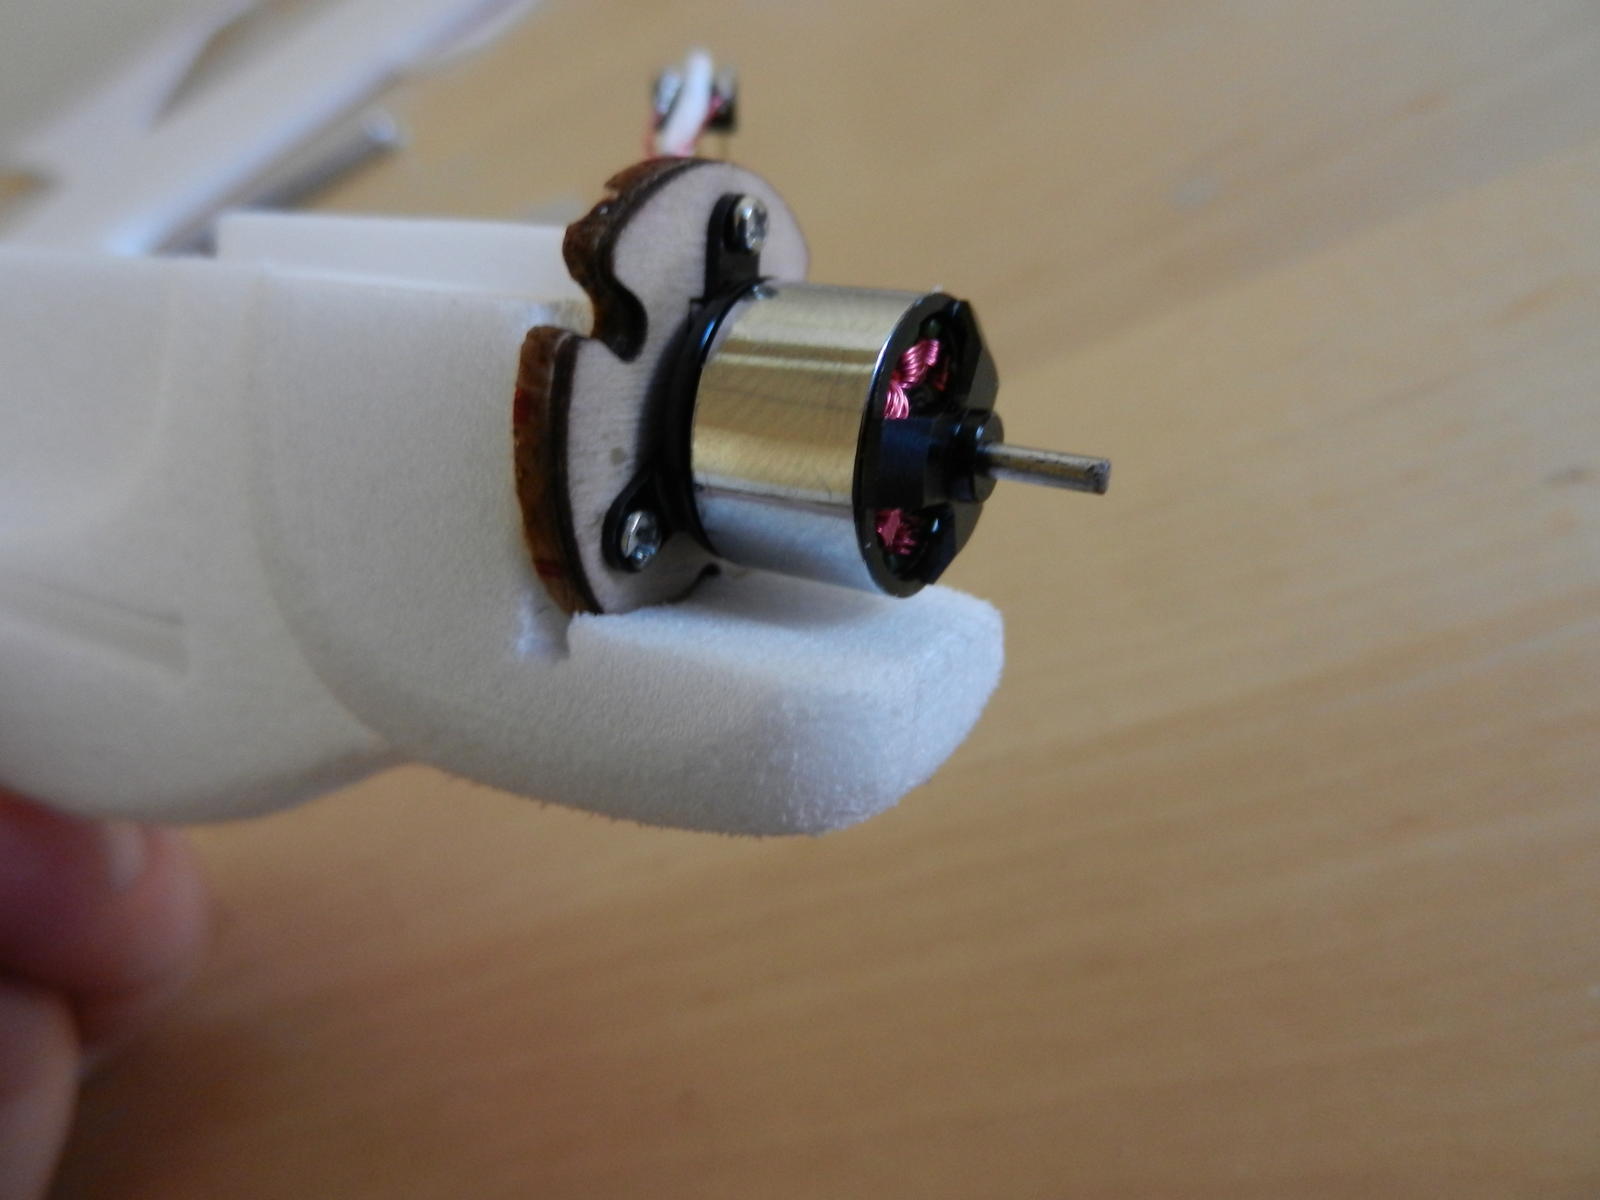
This plane with Parkzone Ultra Micro brushed electronics including AS3X, has performance beyond the capabilities of the average 3ch RC plane.
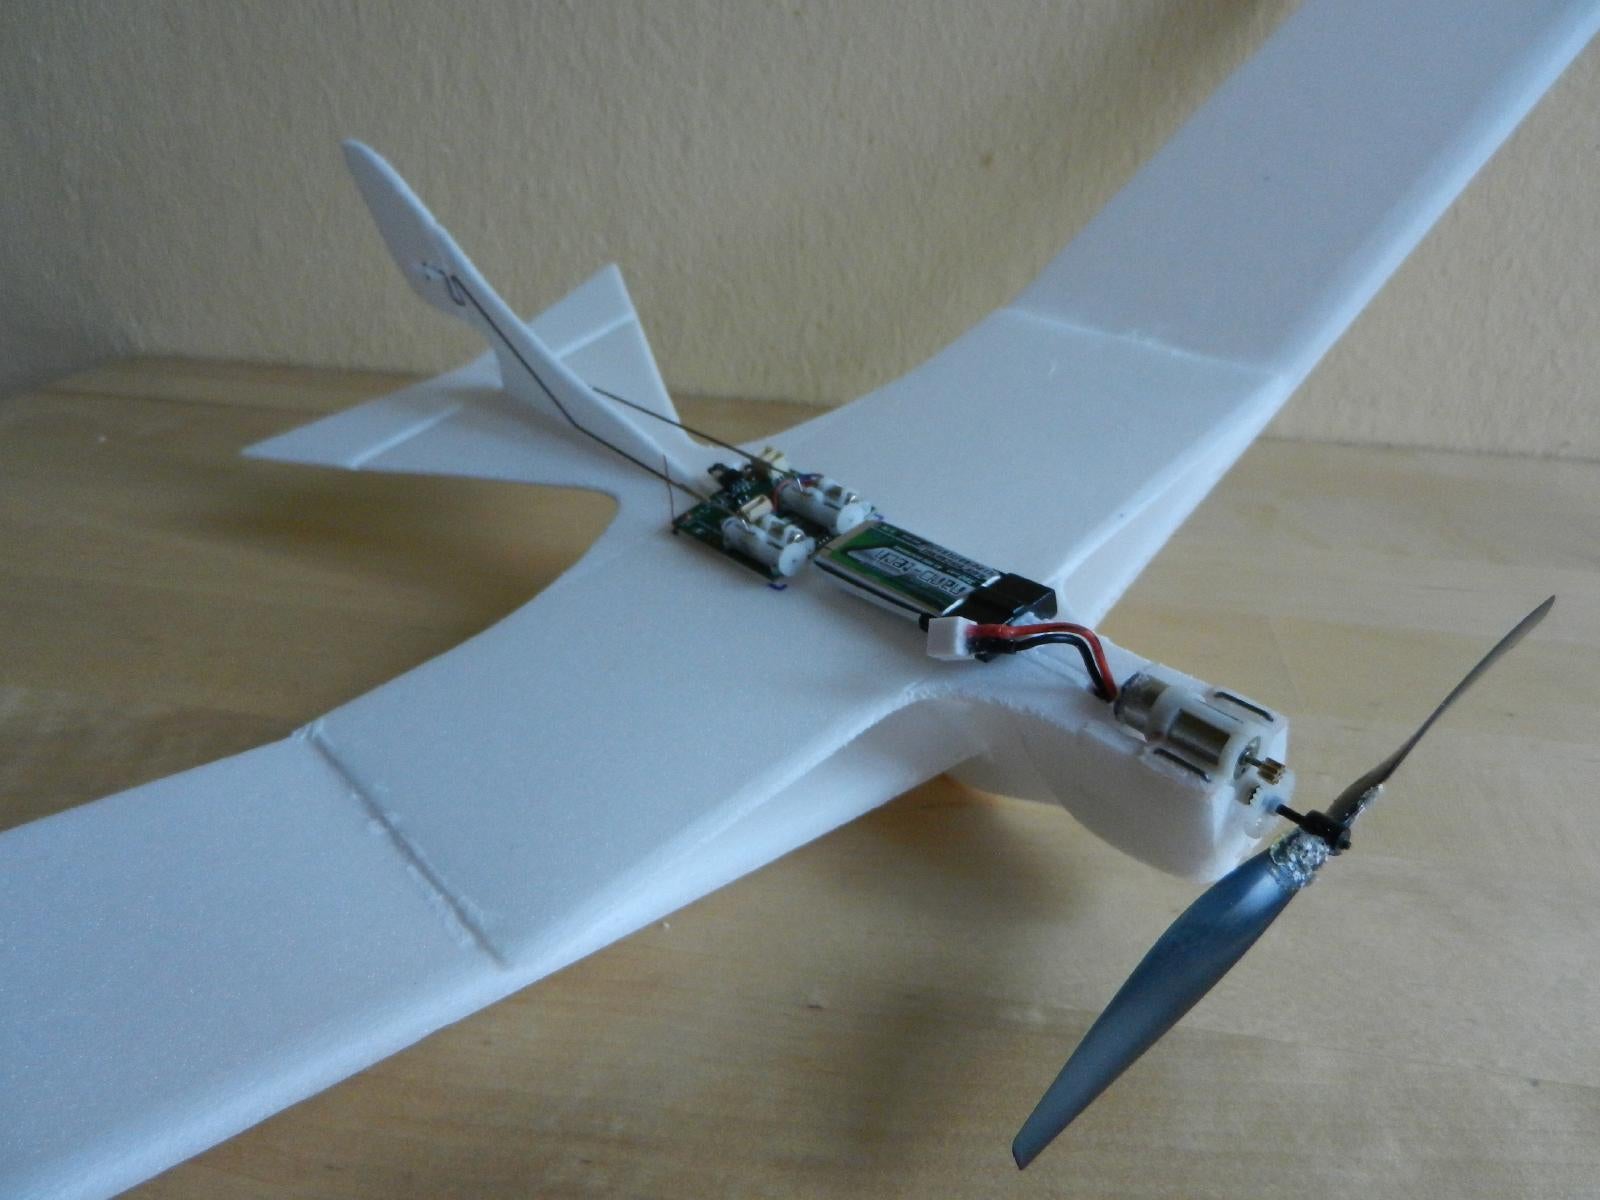
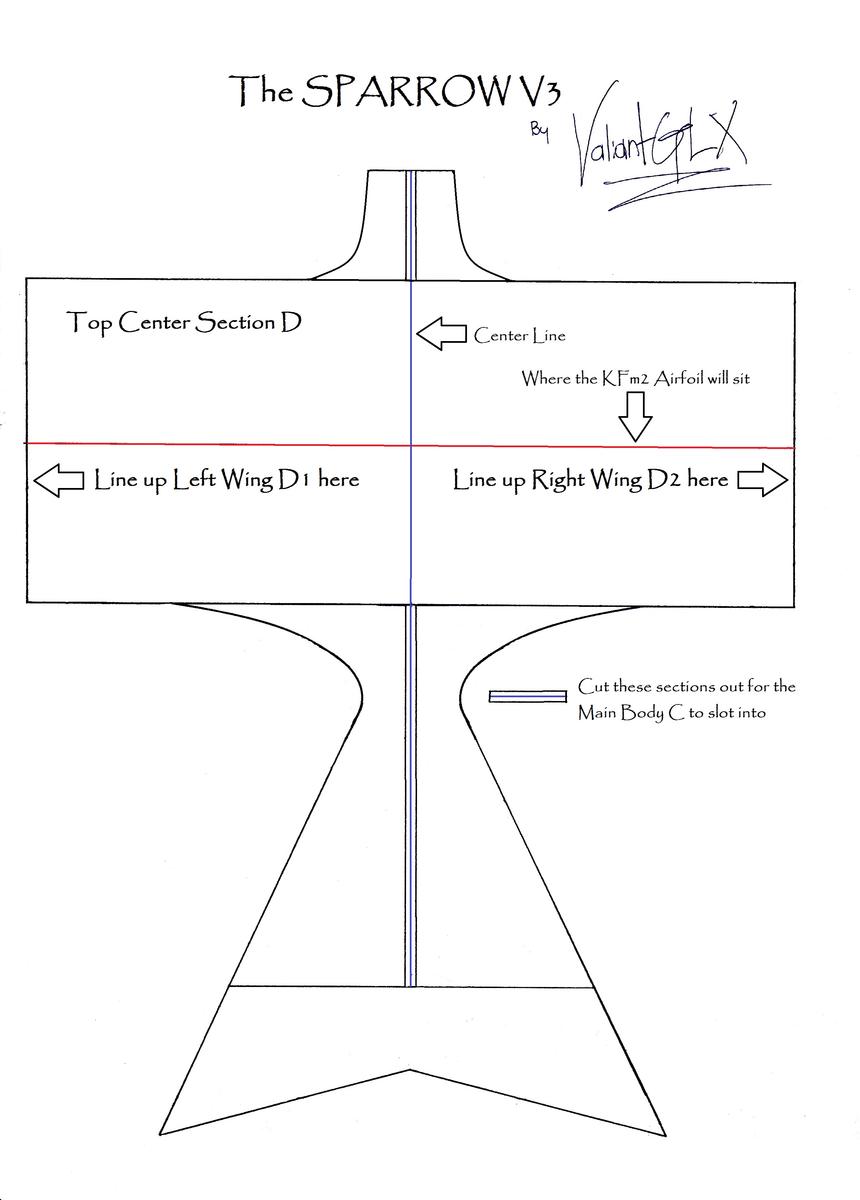
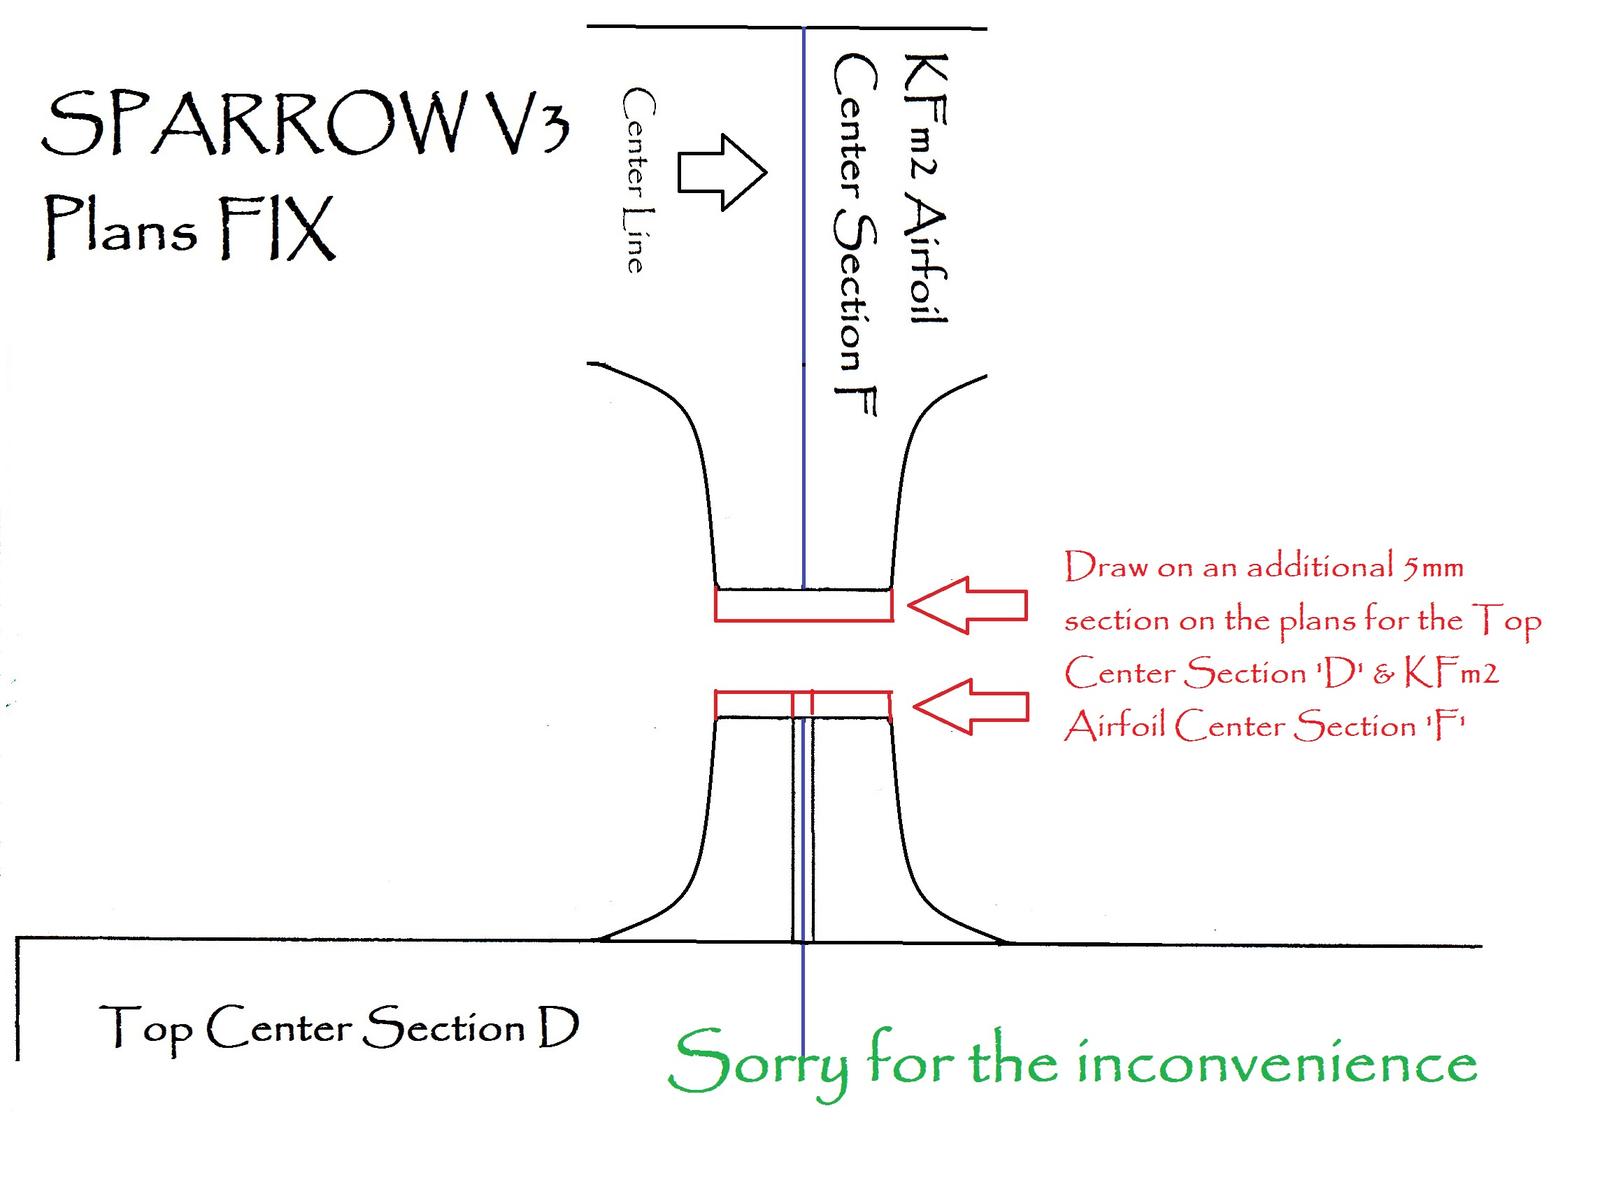
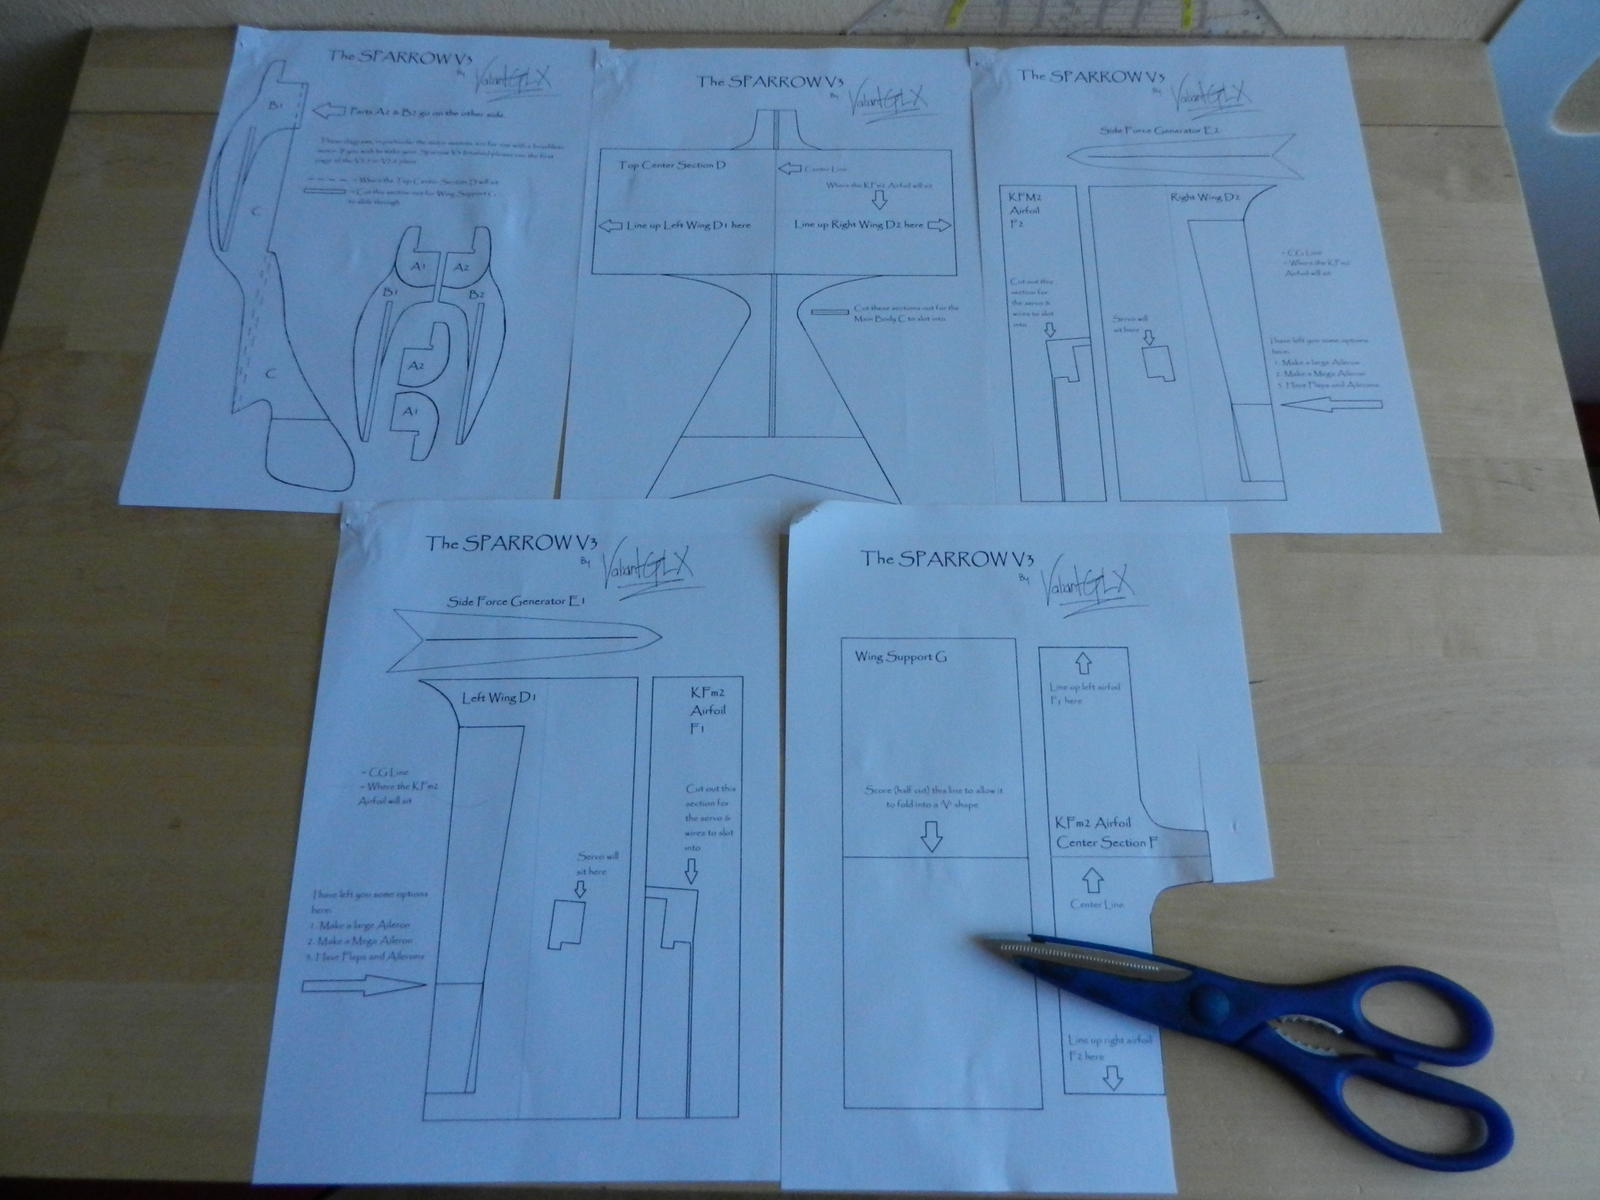
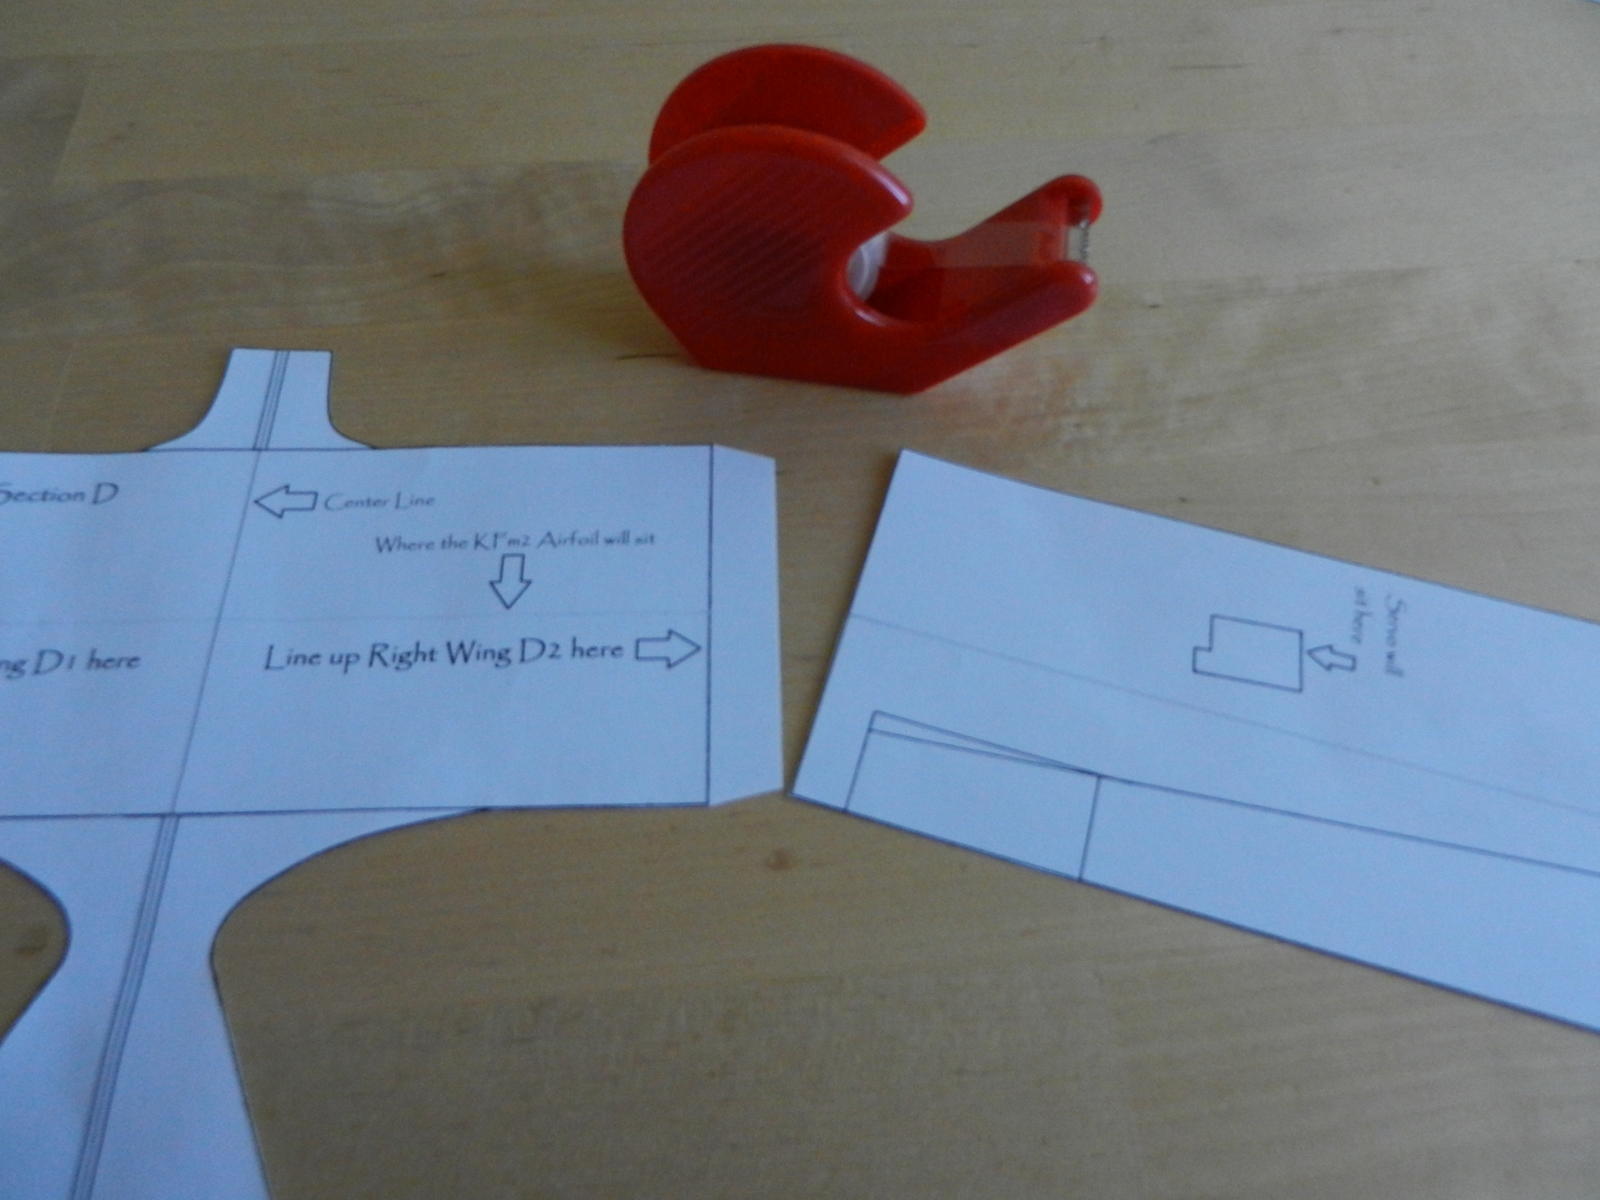
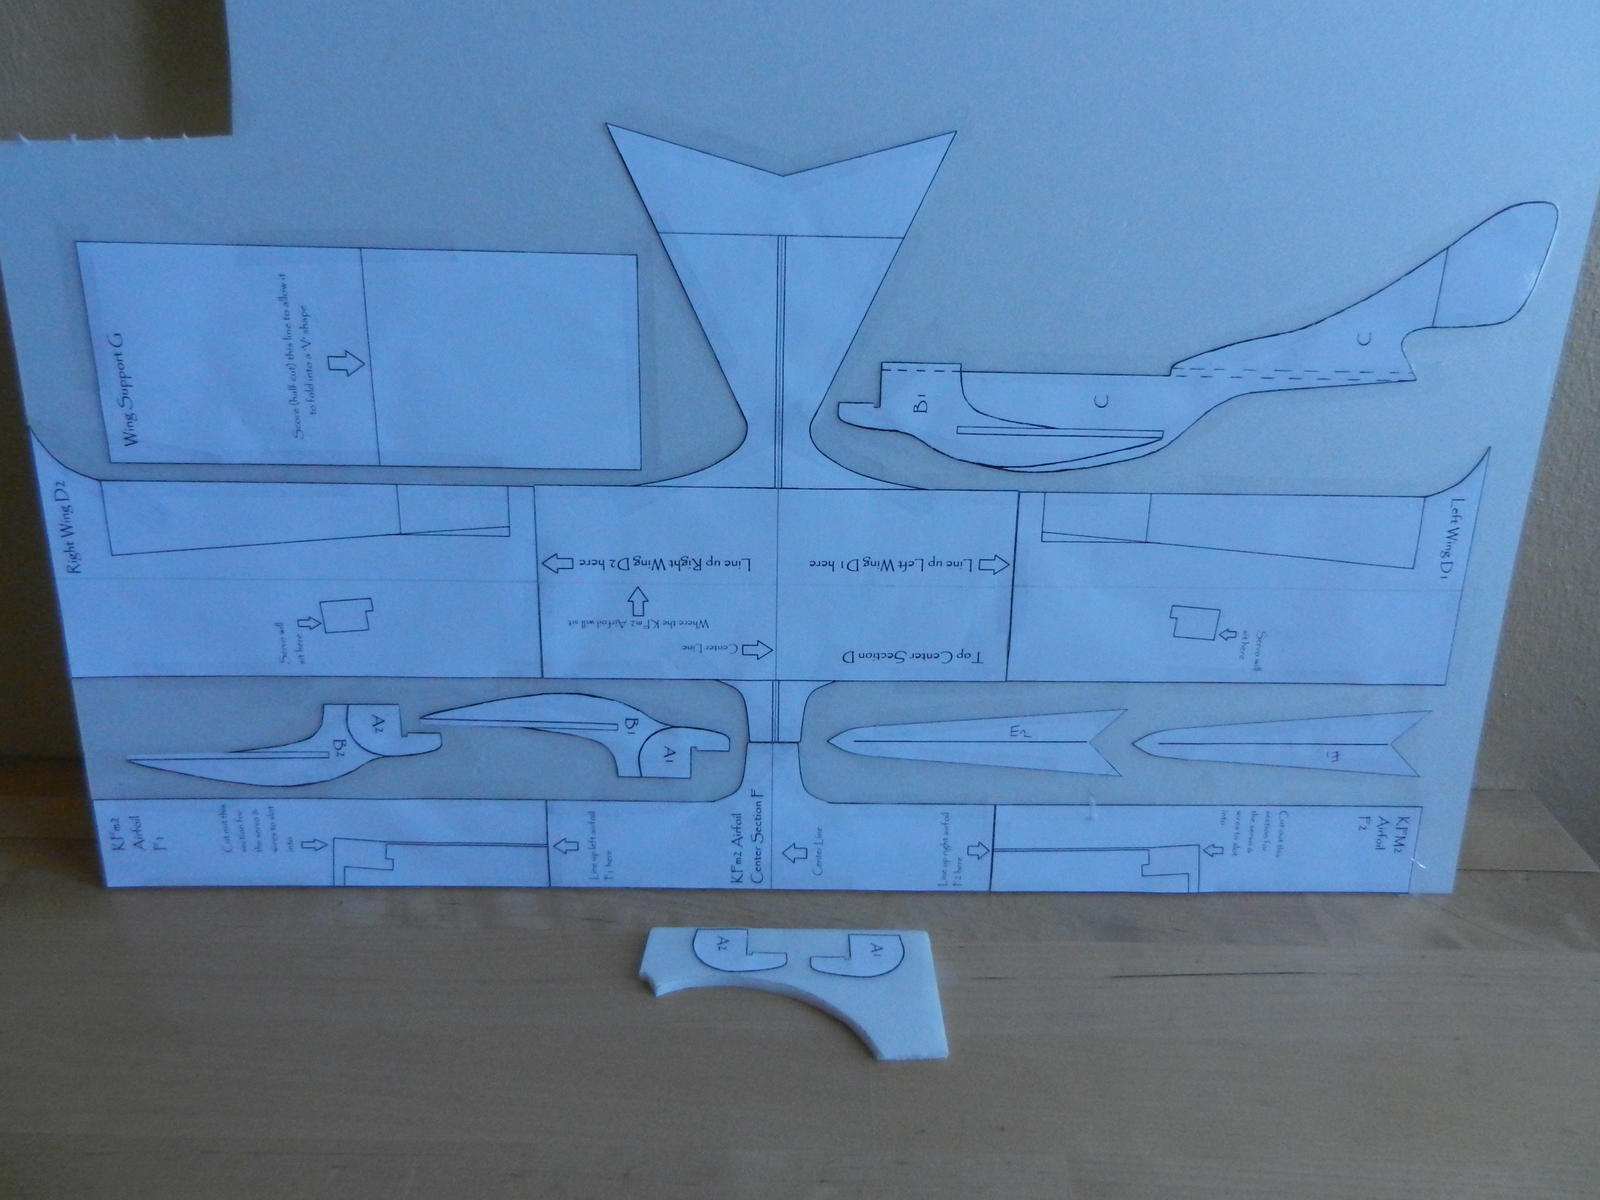
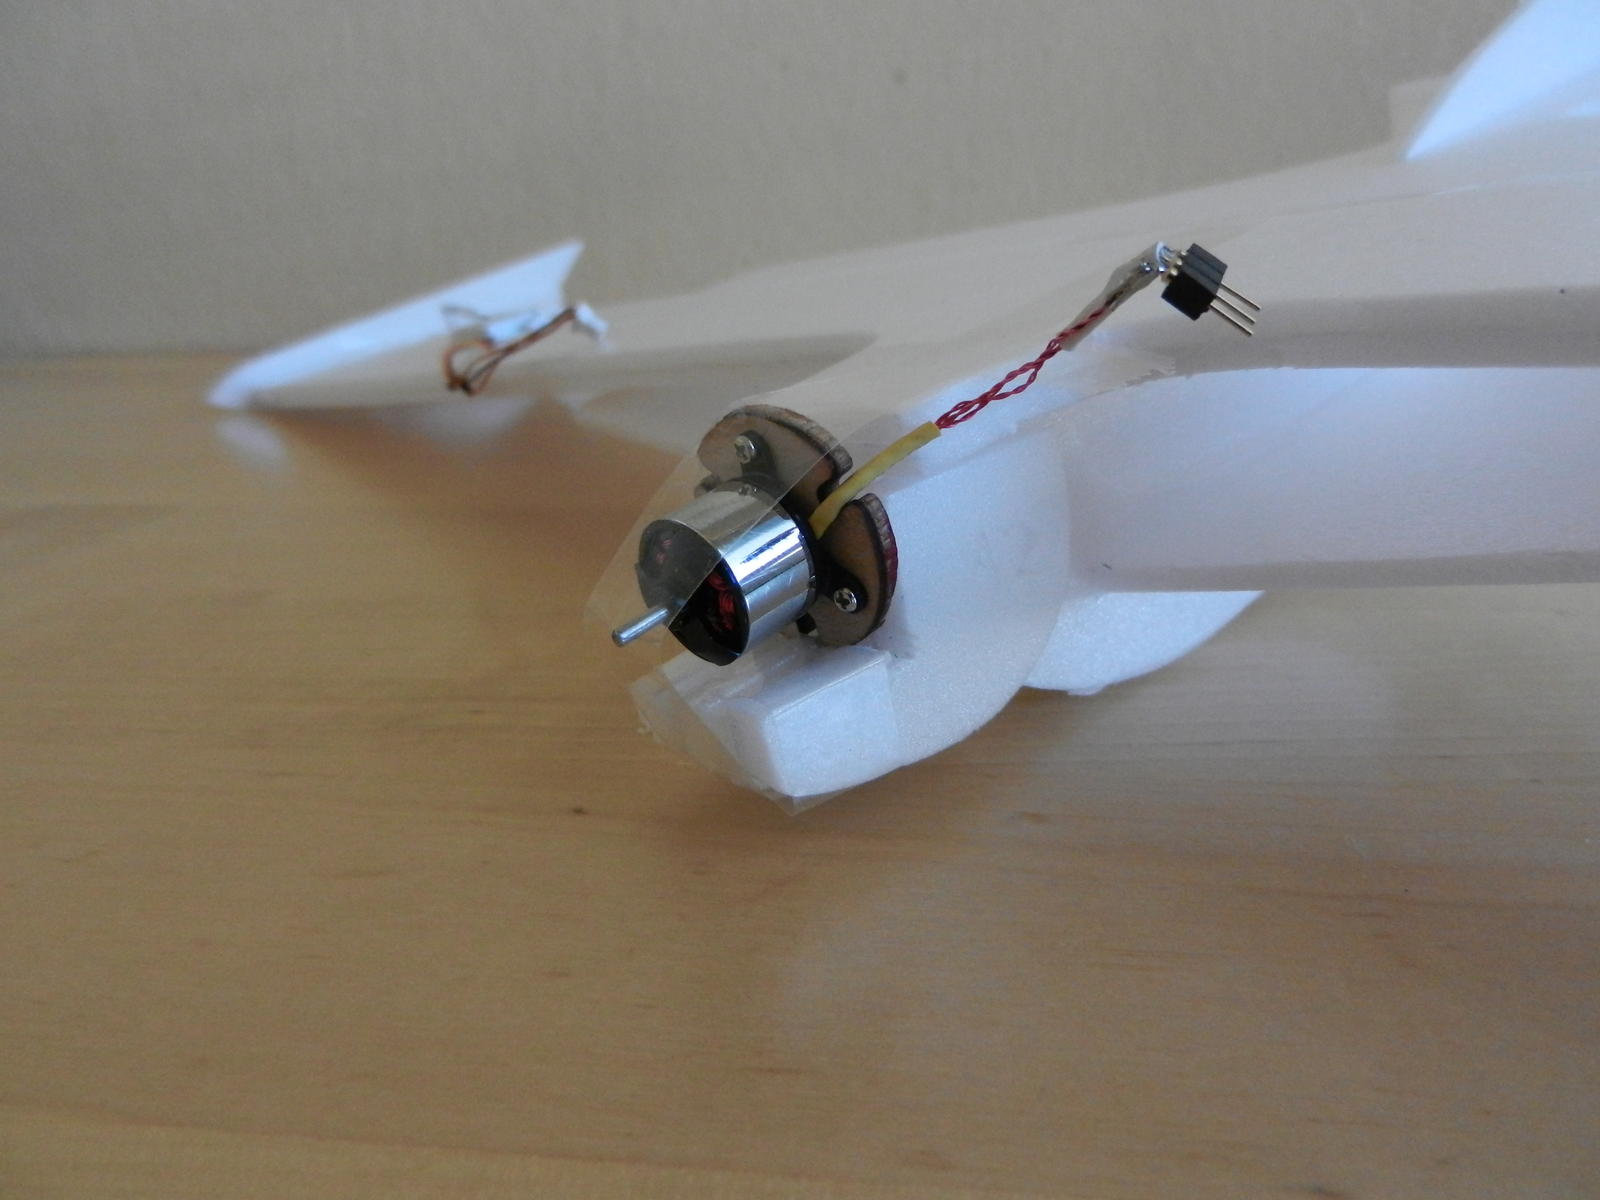
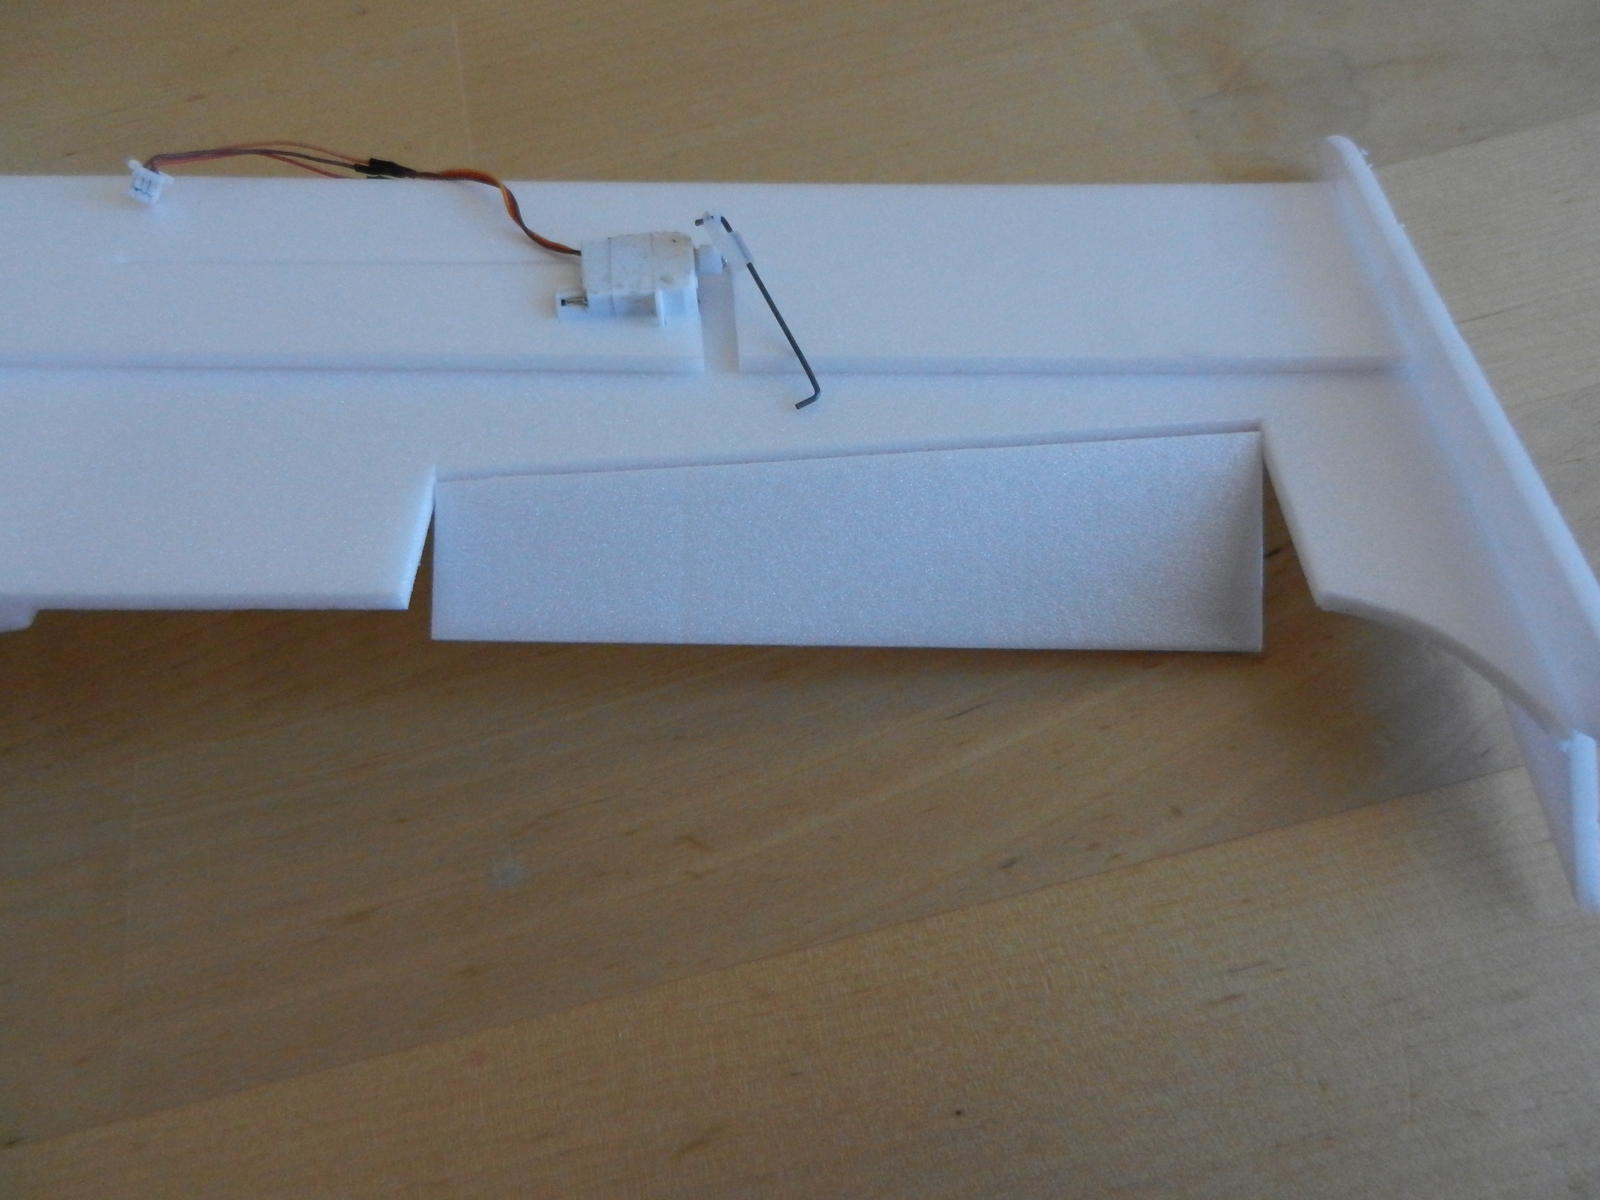
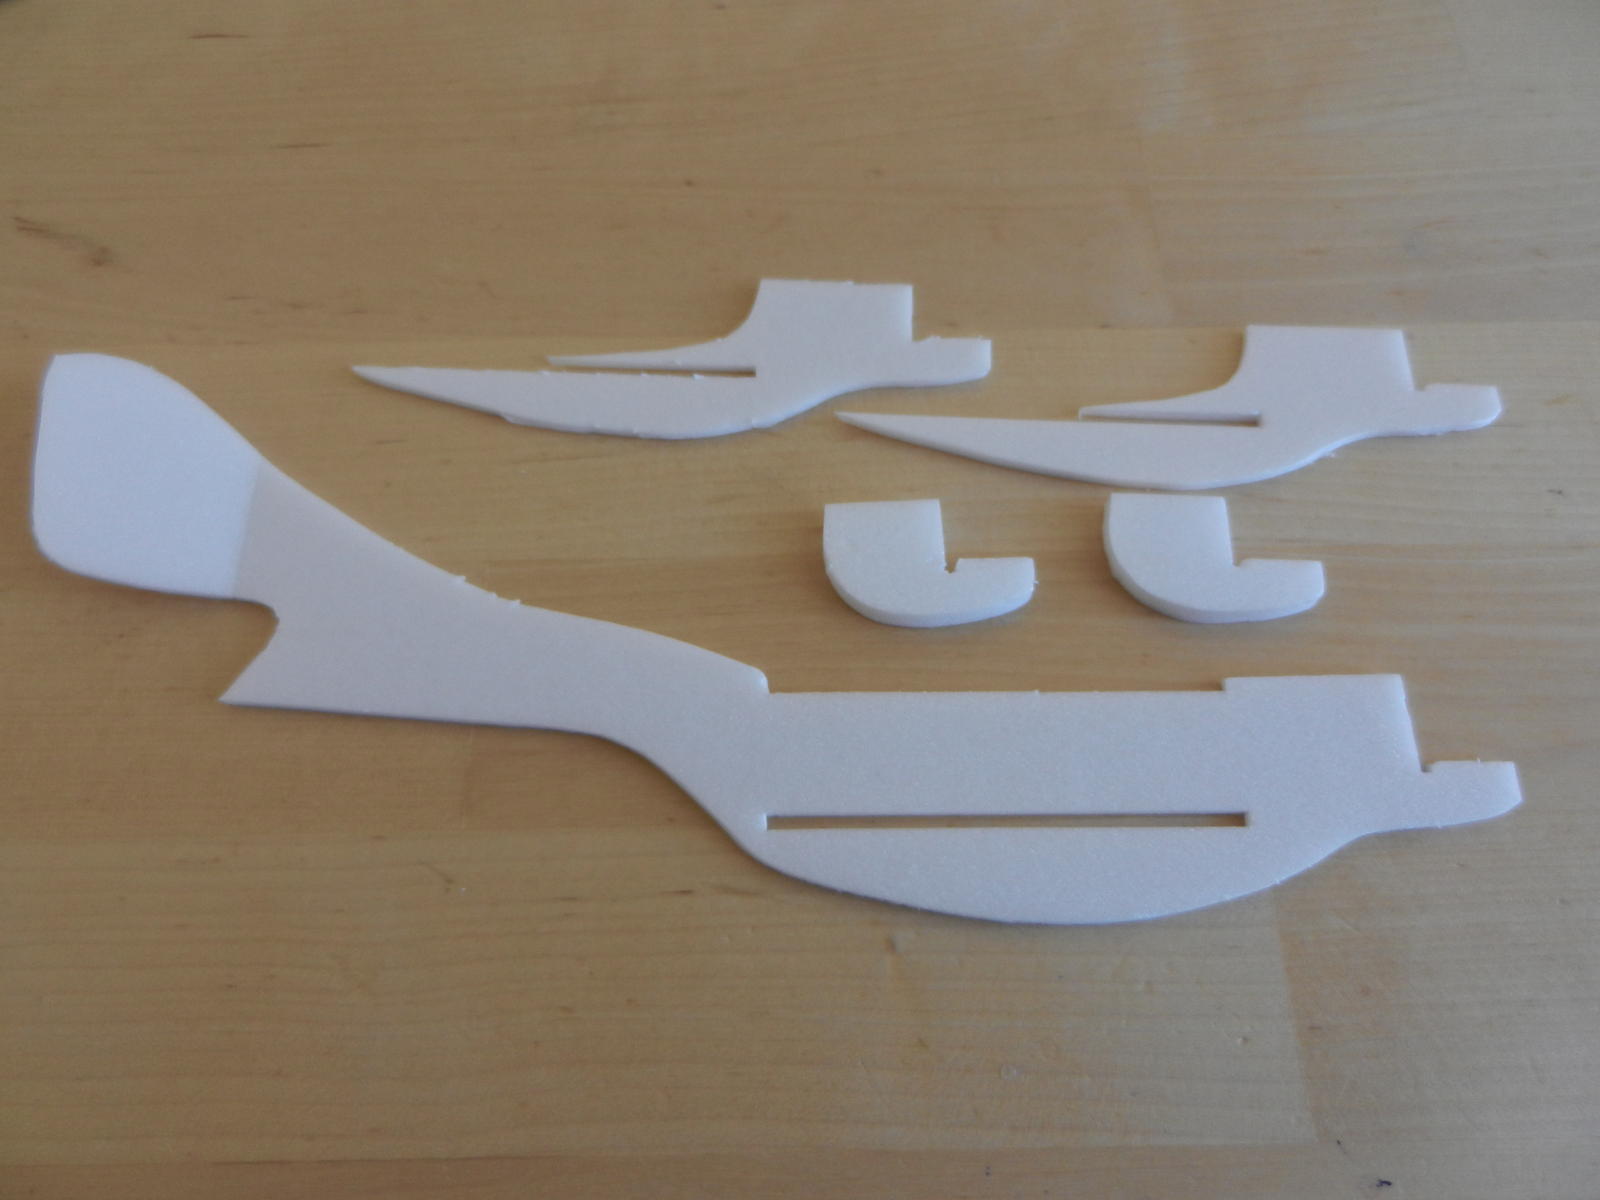
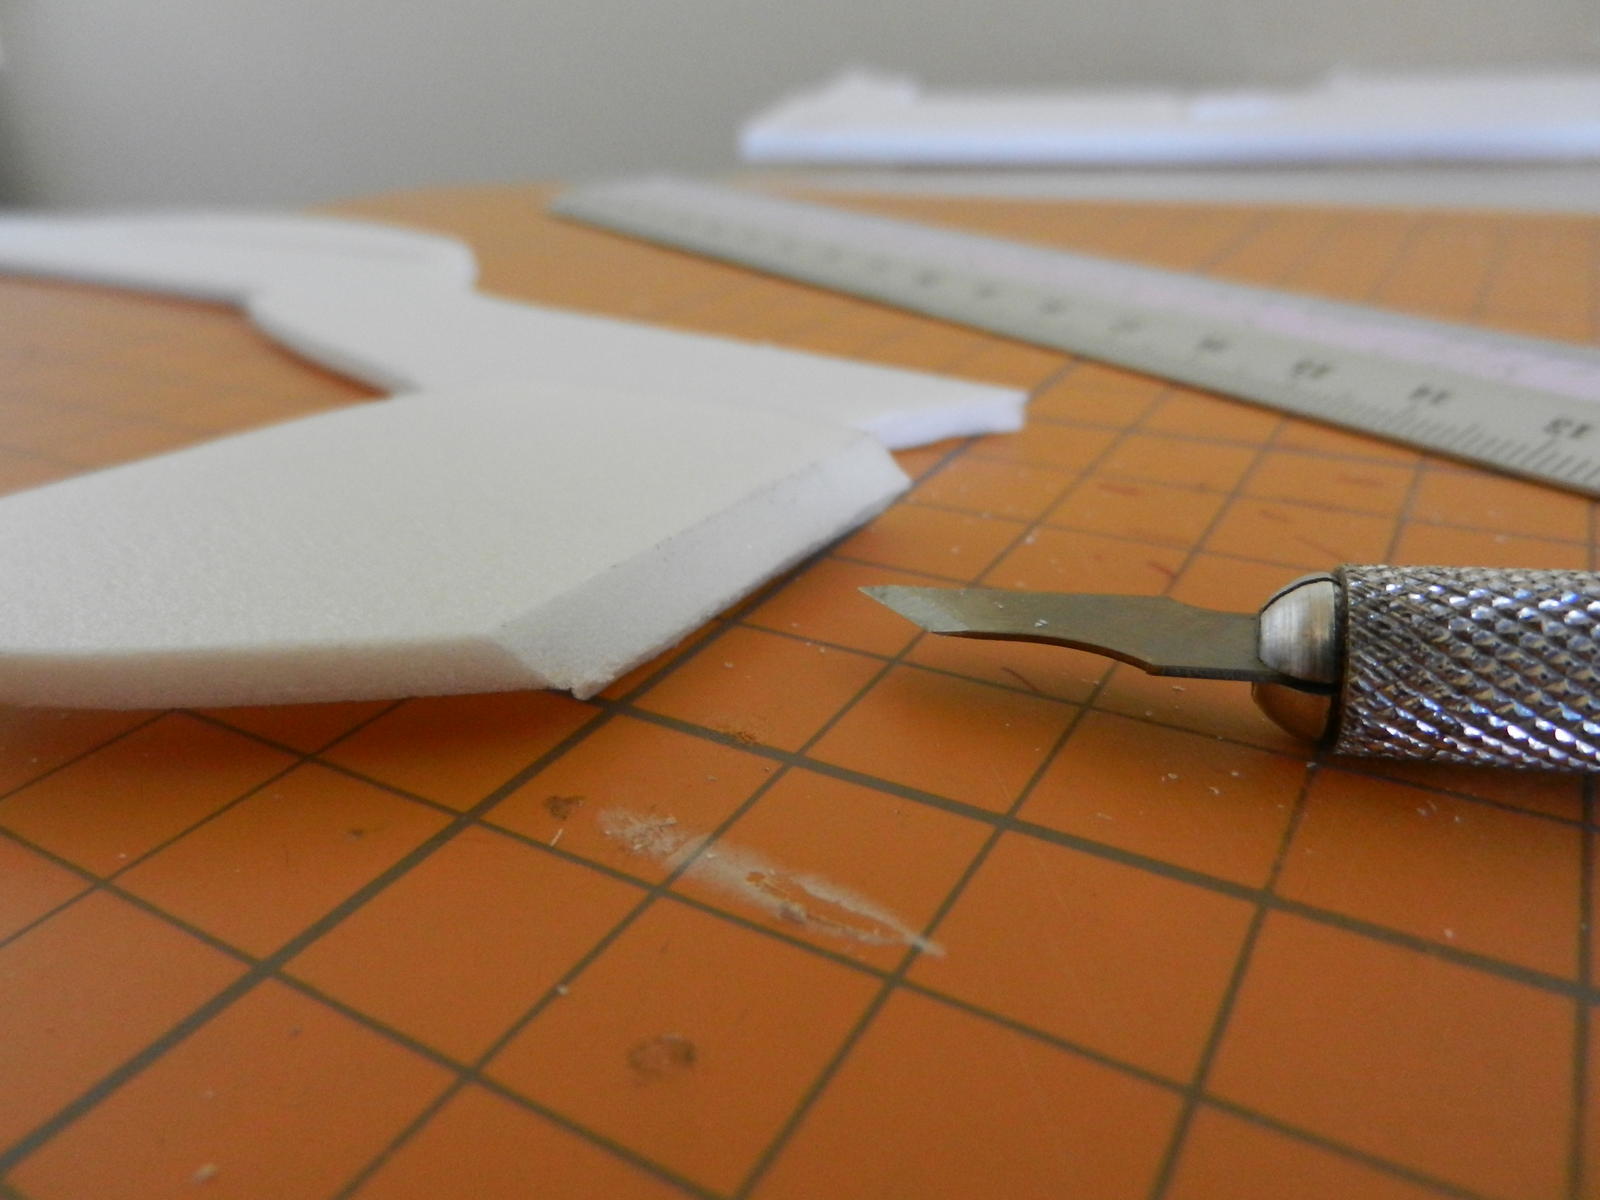
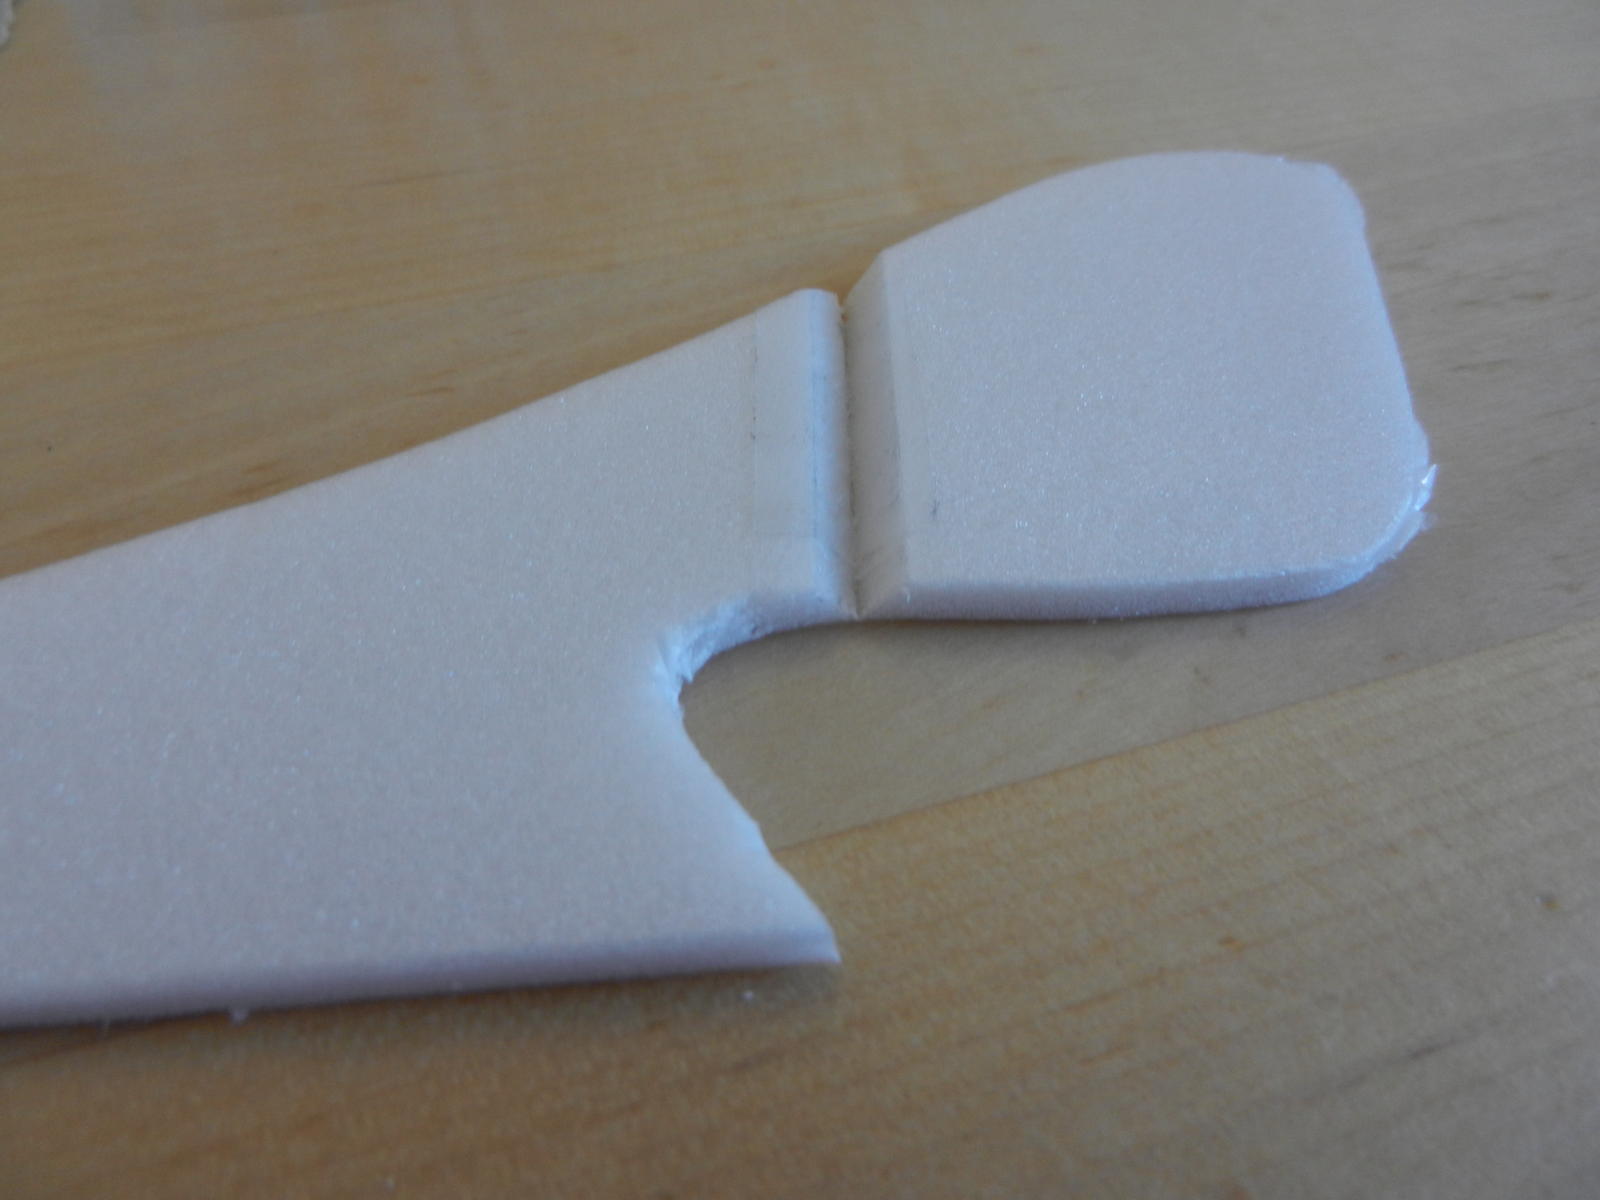
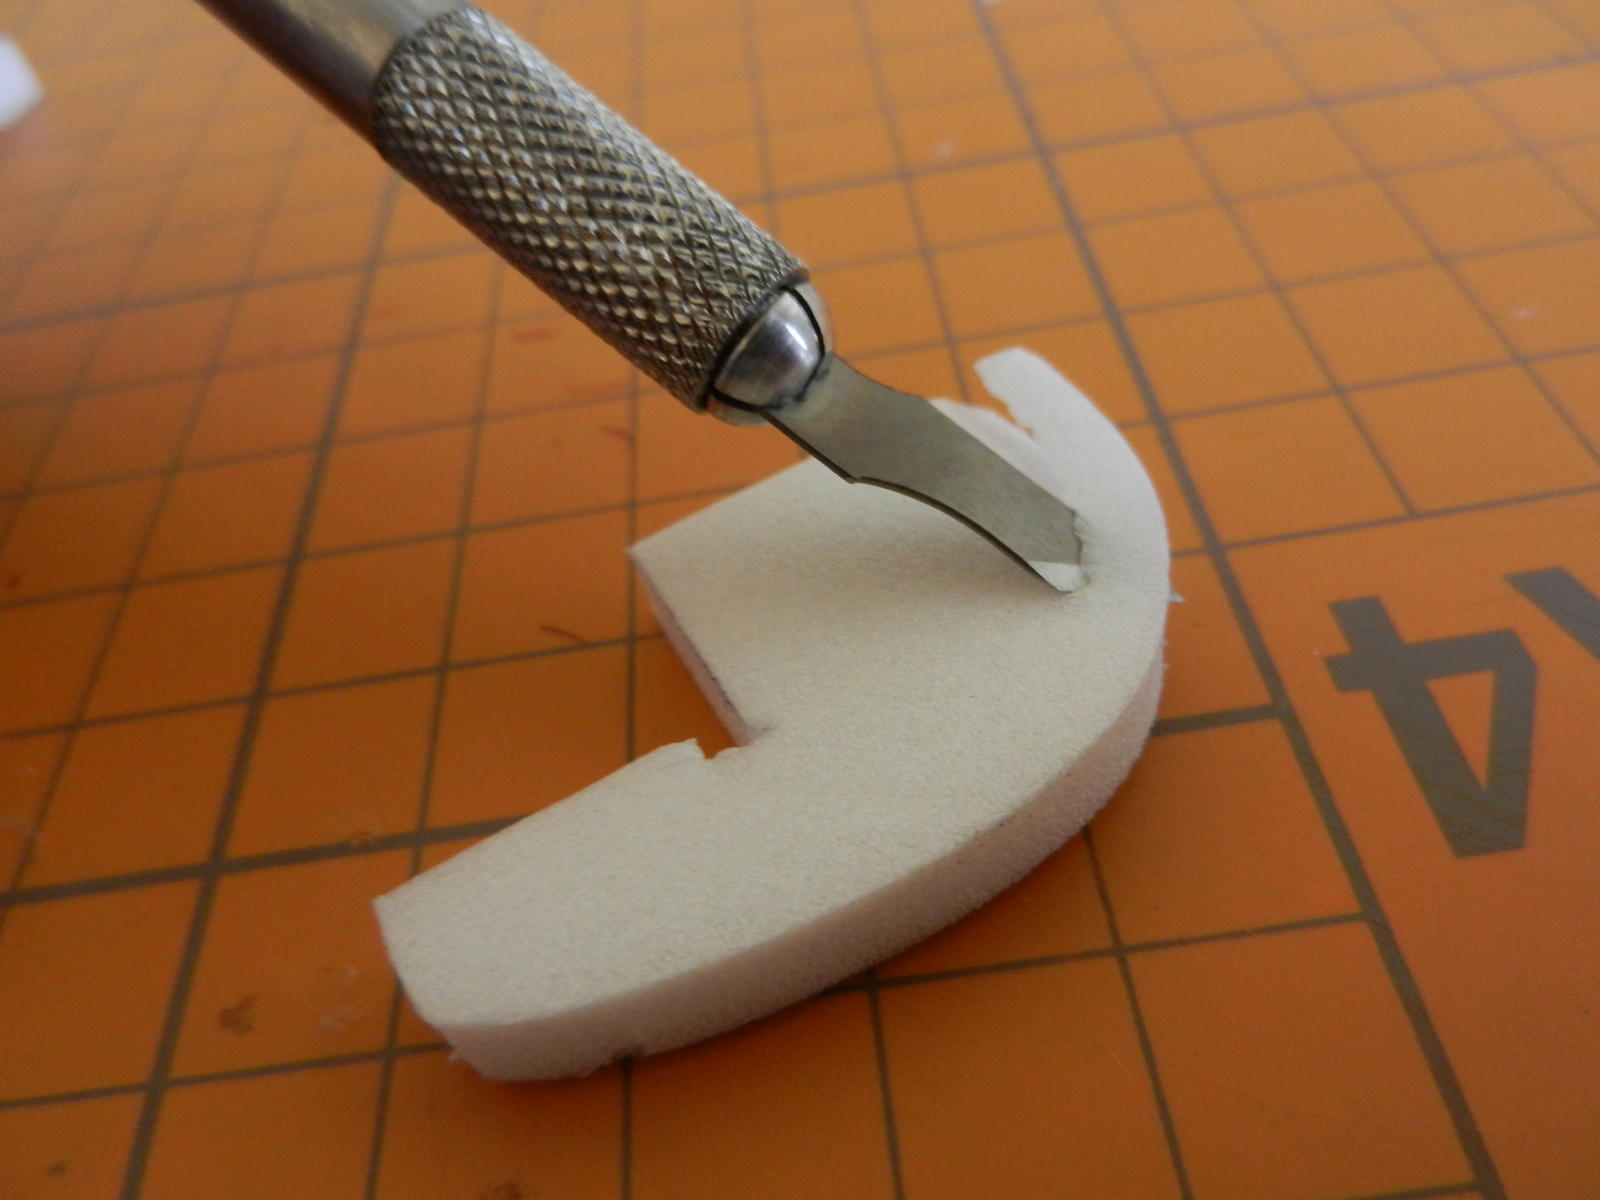
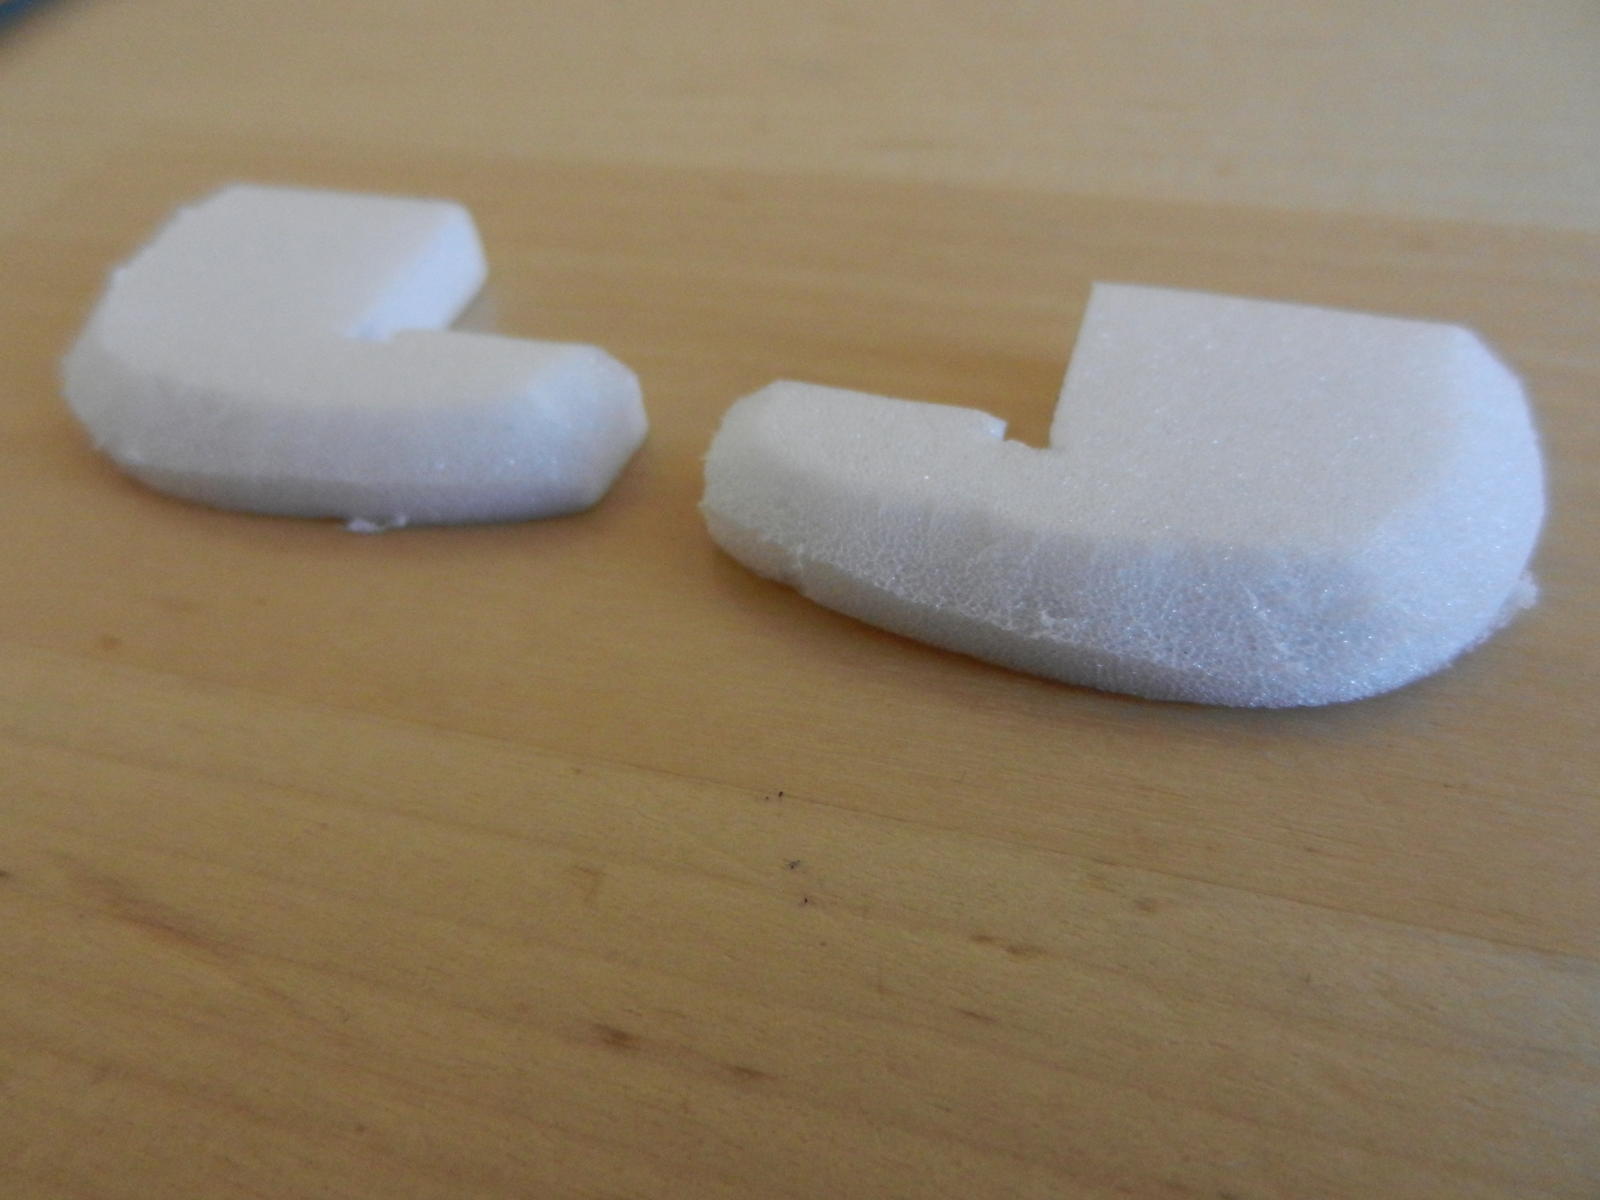
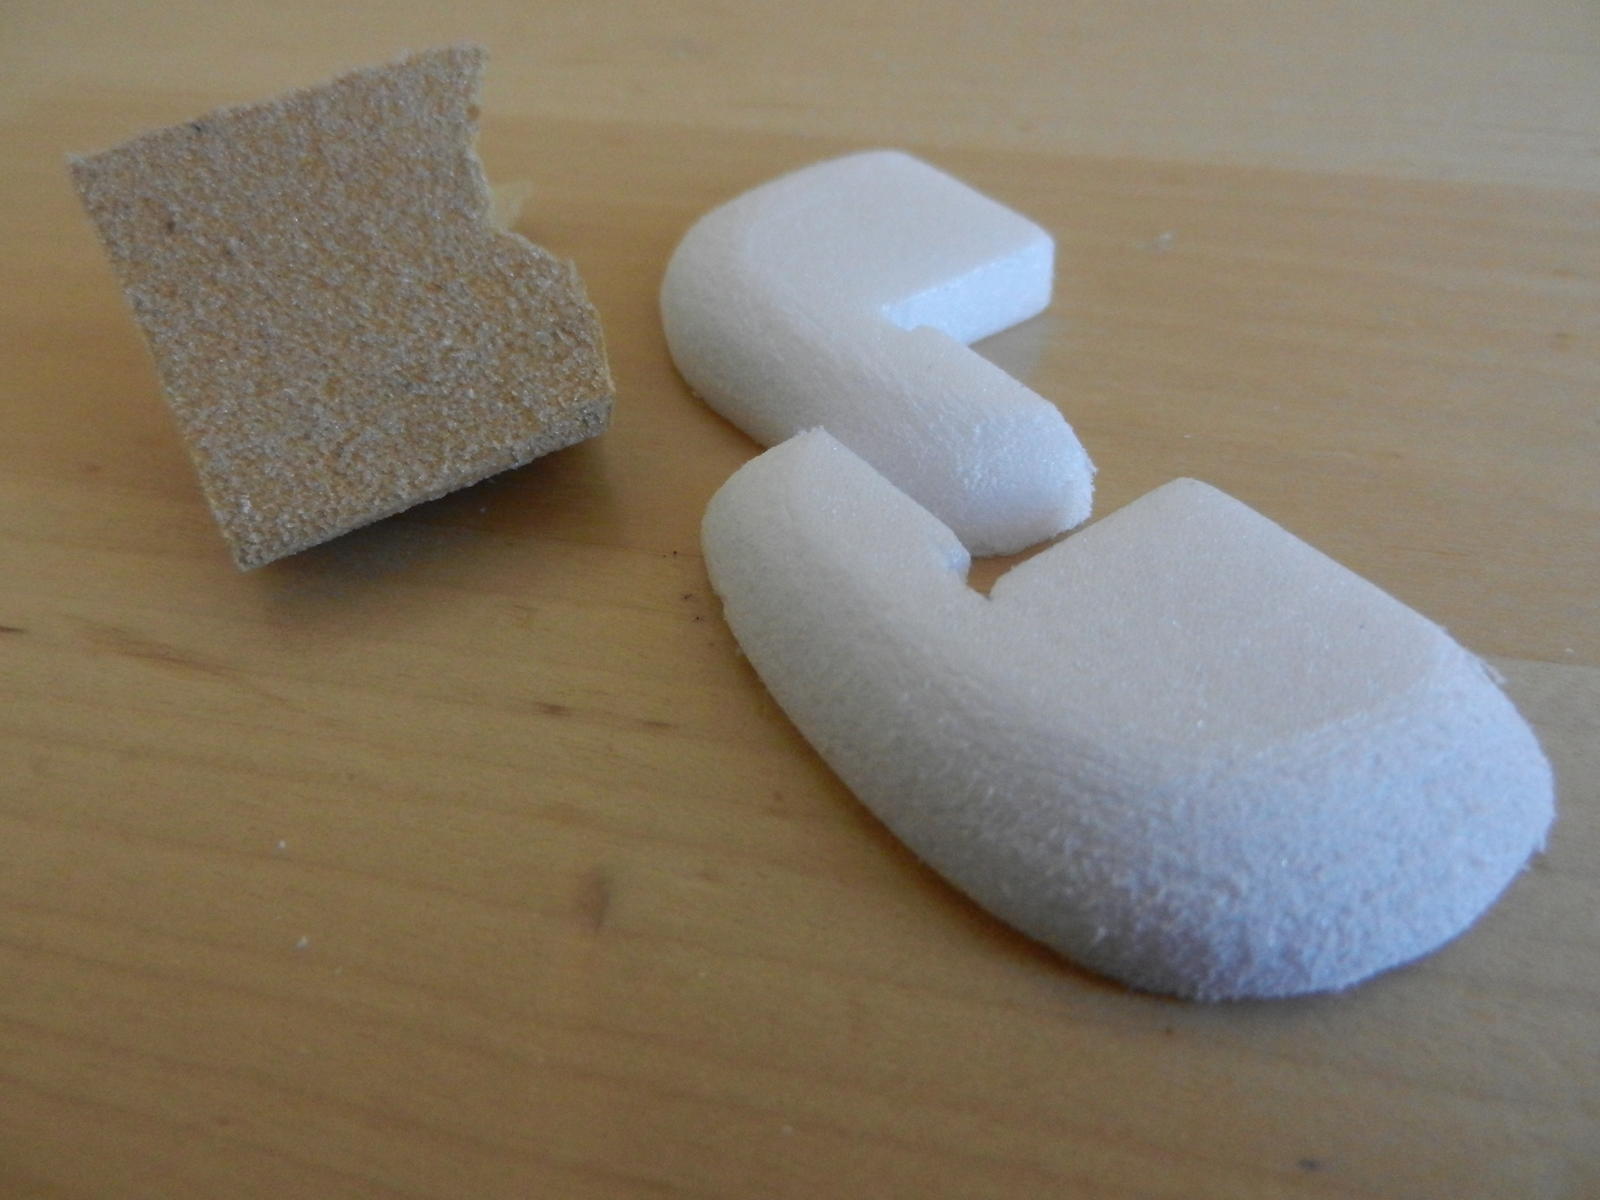
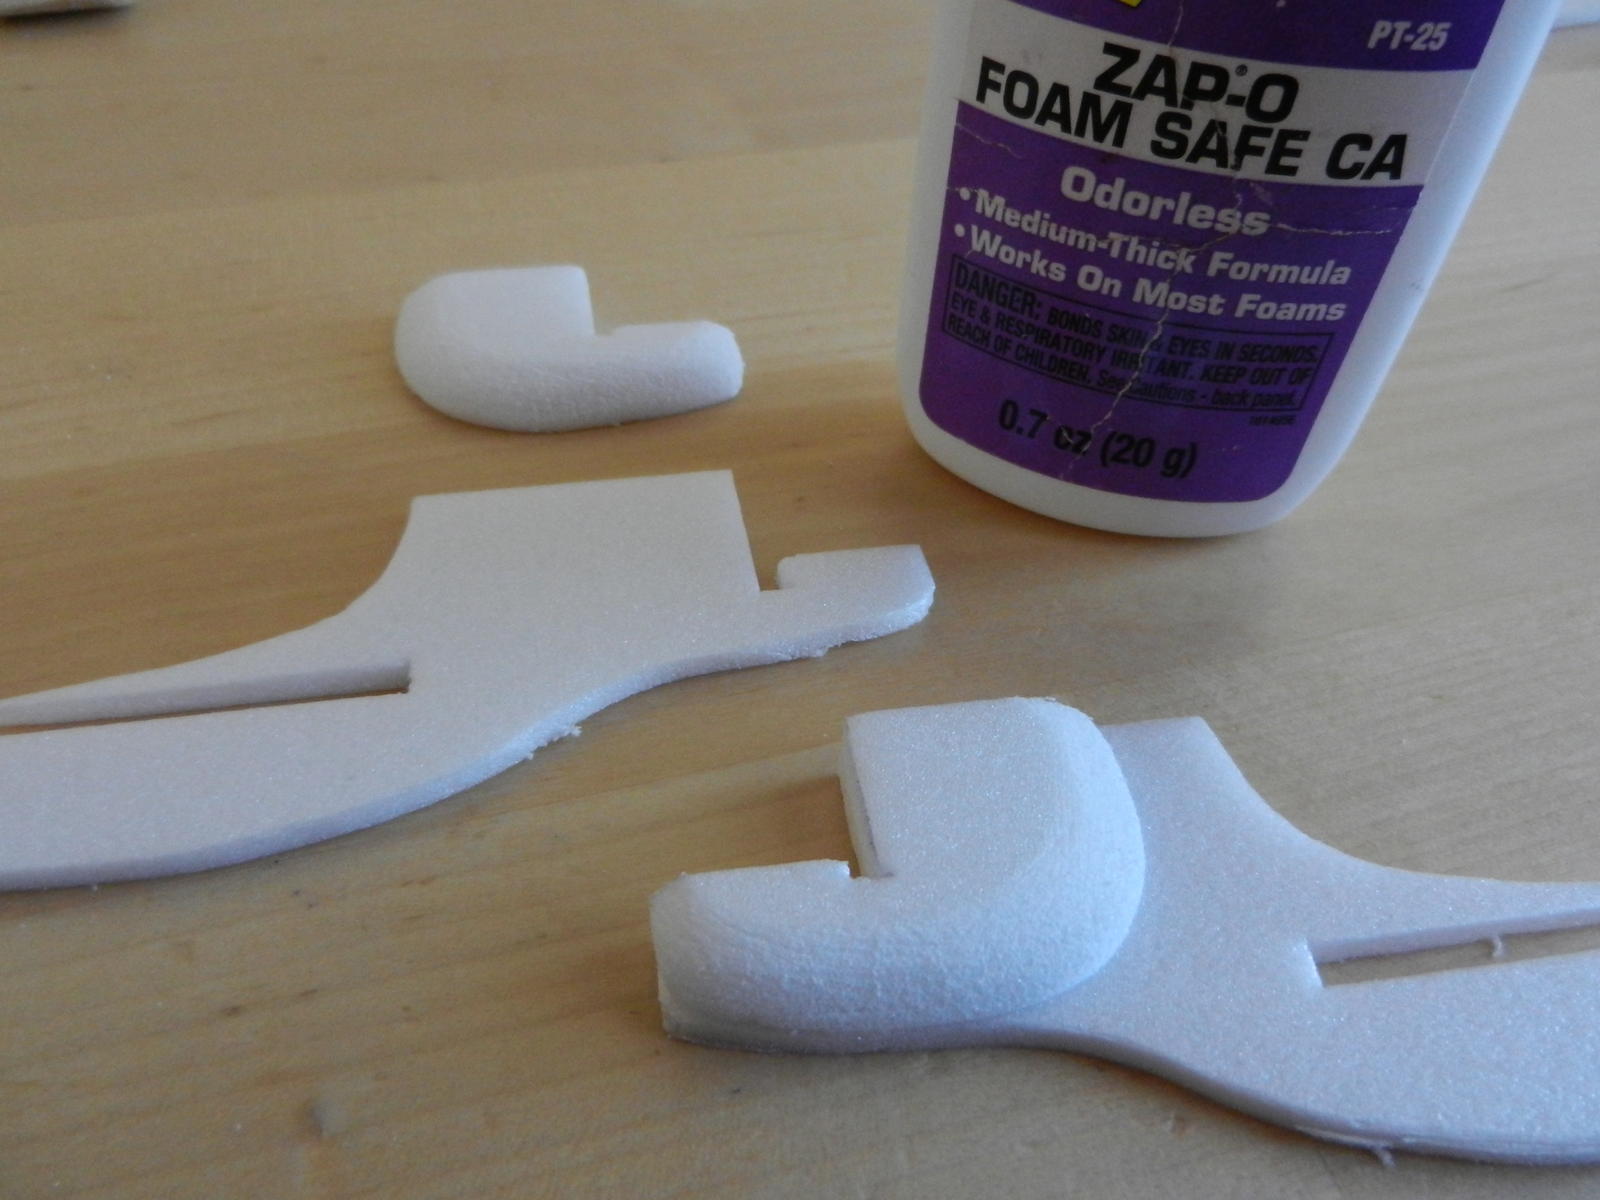
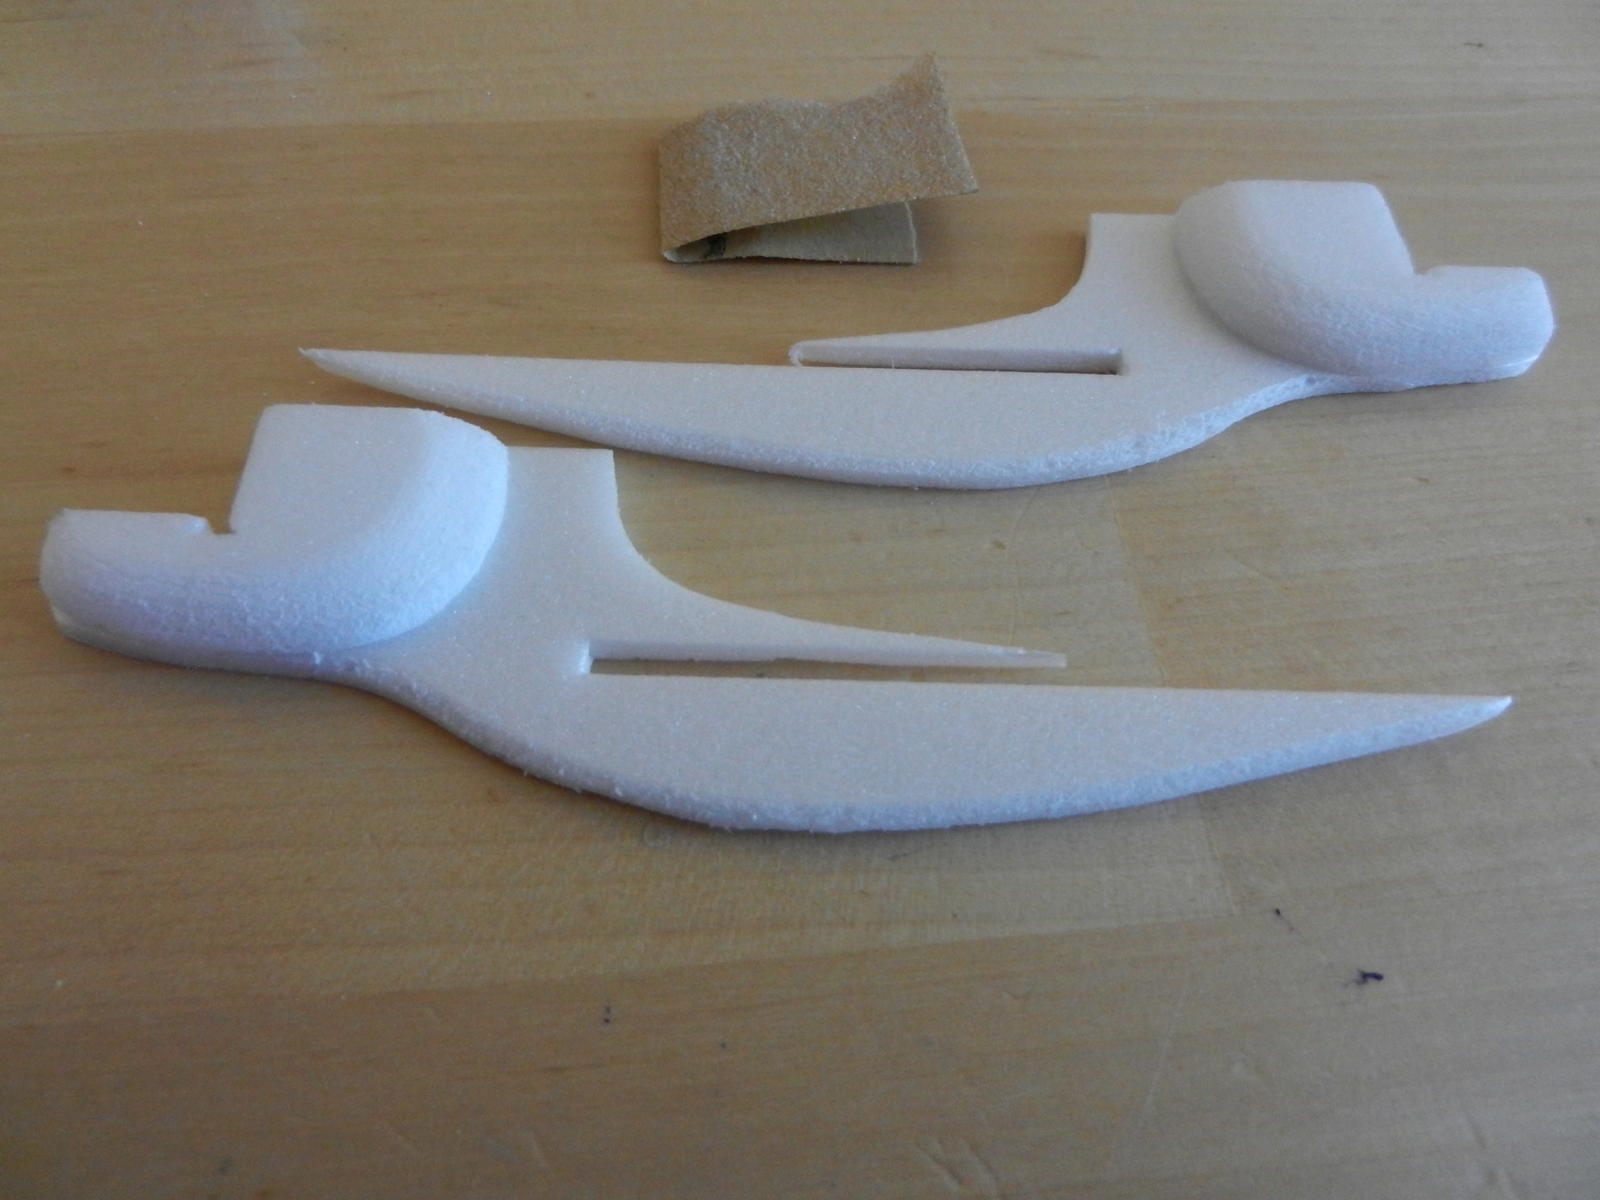
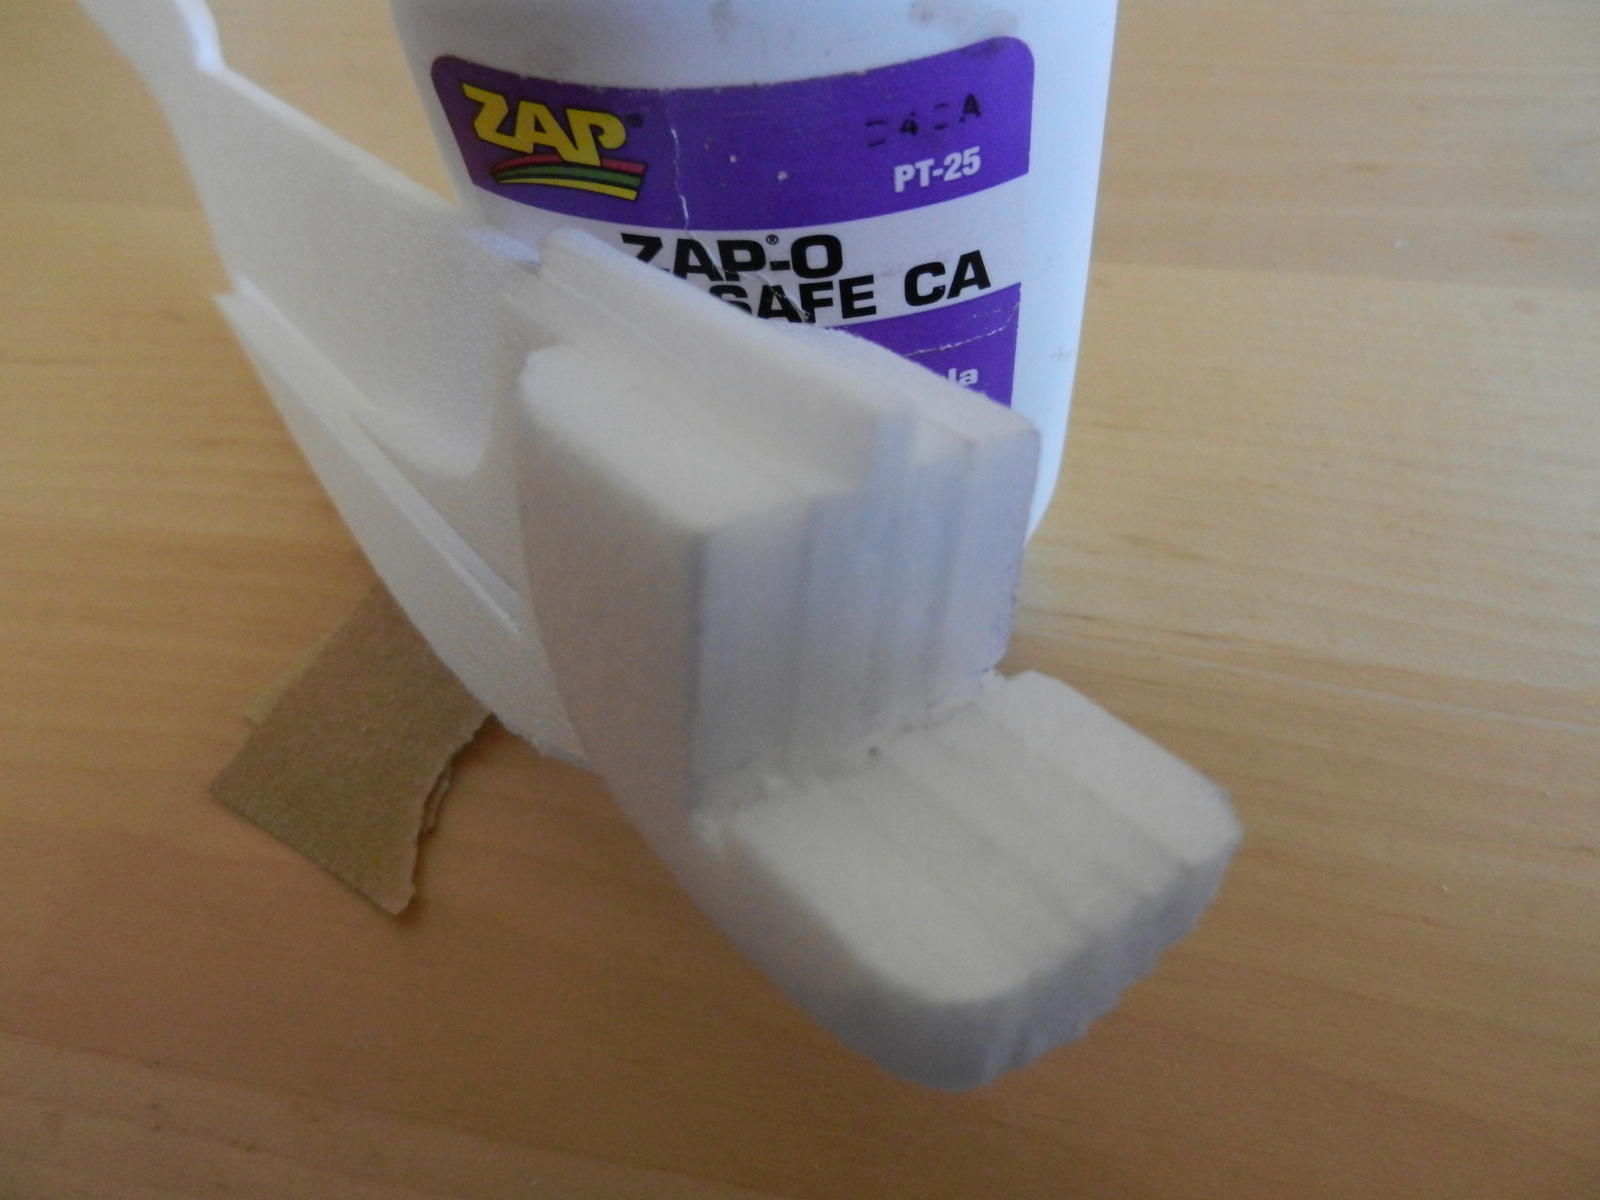
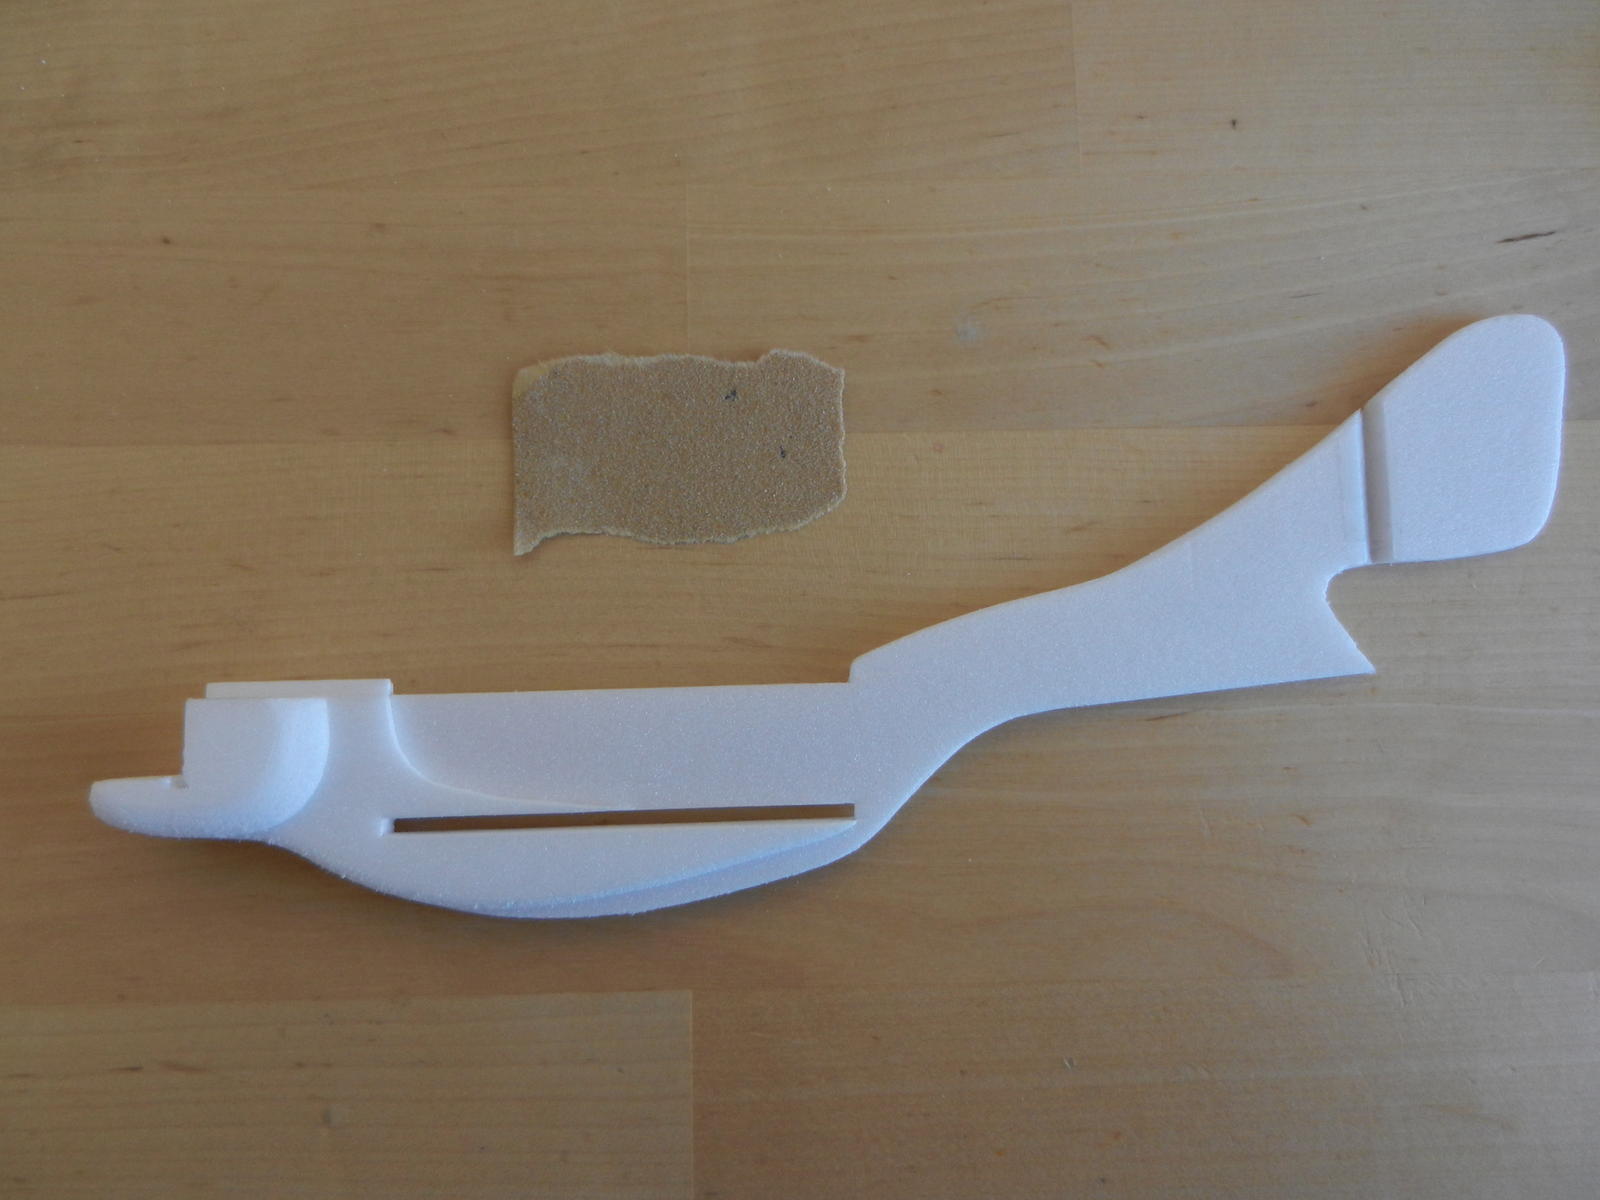
Above all else it is super easy to build, the A4 PDFs print out in the actual size, and there are only 3 pieces of 3mm depron that make up the air frame and a further 4 pieces that make up the motor mount.
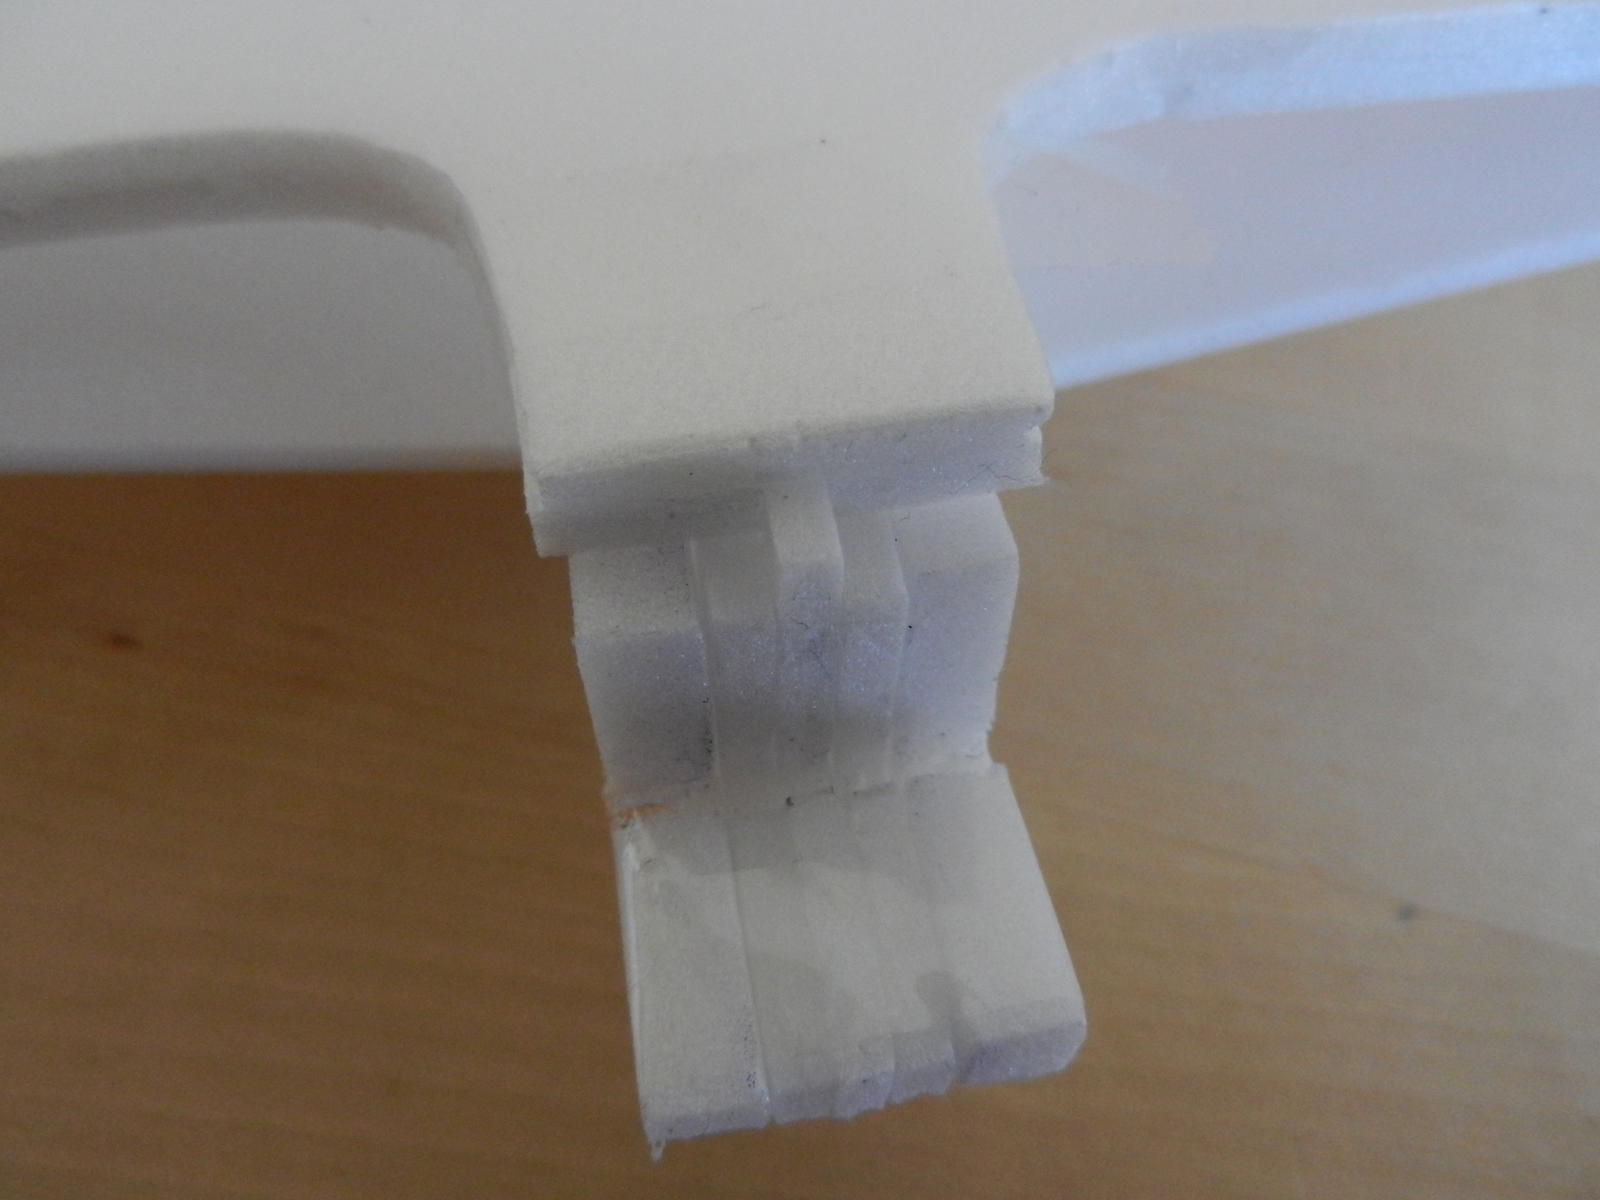
Further more it is almost indestructible, I have CRASHED HARD many a time, and the only damage it has incurred so far is the motor/gearbox breaking loose.
Don't just take my word for it check out these vids:
Sparrow V2.5 Inverted Flat Spin: https://www.youtube.com/watch?v=3chKv049N8w
Sparrow V1 Aerobatics: https://www.youtube.com/watch?v=oaxl4qpPvio
Sparrow V2.5 Slow Flying: https://www.youtube.com/watch?v=Qq1jzWnKorY
I will attach the V2.5 PDF's to this thread
I'm not after fame or money I purely just want my design to get out there so I can see other people having as much fun as I do with my Sparrow.
Please Flite Test build this plane, it will do me a great honor.
Please Flite Test build this plane, it will do me a great honor.
For more info, pics and vids here is the main Sparrow thread: http://www.rcgroups.com/forums/showthread.php?t=1961057
Also if you guys need more info please don't hesitate to ask, I am willing to help out as much as possible.
Attachments
Last edited: