Collaborators - build 1 - 800 mm KFM flying wing

Hai-Lee

Old and Bold RC PILOT
This is the first build in what will hopefully be a series.

Motivation
I wanted to teach myself how to setup and fly a flying wing and I was intrigued by the idea of a 2 servo only plane with full roll control so I searched the internet and this included the FT pages to see if anything was appealing. Many designs were quite attractive but some were too elaborate, too fragile, or just miles too big or small. I wanted it to be suitable for building simply out of FB without fancy bends or a construction that required a great deal of hand skill and accuracy because I did truly expect it to be a one flight wonder at the time.
The inspiration for this build/design is another project wing posted on the FT pages, https://www.flitetest.com/articles/tinywing
The design was too small for my purposes, (I needed something a little larger but I was attracted by its simplicity). So I scaled it up to 800mm and with a few changes to make it longer lived, slightly more robust, and able to handle more powerful motors without excessive noise. Additionally I did not want to have to fit CF spars or any other reinforcing materials. This is the result!

This build is of the latest version.

The electronic equipment required
The usual Rx and Tx of course. (Must be capable of supporting Elevon mixing).
9 Gram servos x2
Brushless motor (100 Watt up to Park 400)
Brushless ESC to suit motor selected.
Battery to suit balance or motor current drain (1300 3S to 1800 4S)

Materials
5mm FB or equivalent
Minwax or equivalent
White glue or Equivalent
Foam safe glue
Epoxy for mounting motor mount
3mm Ply
Reinforced packing tape
2 velcro straps for battery retention
10mm x 10mm wood strip as keel (optional)
Pint, tape or wrap to suit your required colour scheme or finish.

Tools Etc
Sharp knife
1 metre Steel ruler
Pencil
A spatula or similar to spread the glue
Cheap packing tape
a board and some weight (to act as a press whilst the glue dries.

Plans

Please find attached a copy of the UPDATED plans with all layers superimposed for clarity. If individual piece plans are required please advise!


The build and the Photos will be on a second and often edited post!

Have fun!
 

Attachments

  • KFM4 - 800 Plans.jpg
    KFM4 - 800 Plans.jpg
    403.4 KB · Views: 0
  • KFM4 - 800 Total Parts.pdf
    22.9 KB · Views: 0
Last edited:

Hai-Lee

Old and Bold RC PILOT
The Build

Preparation

Using the plans cut out the required pieces.

On the base piece minwax or seal the bottom of the piece and allow to dry fully, (note the Elevon hinges will be cut out of the upper surface and so any markings for the elevon placement should be considered as being on the top surface of the bottom piece).

On the upper piece seal the upper surface with minwax or similar and allow to dry. When dry remove the paper from the underside completely, (this is optional but a weight saving measure).

On the centre pieces remove the paper on what will be the bottom or underside. (again this is optional but a weight saving measure)

When the main pieces are prepared and fully dry stack them atop of each other and check for fit prior to the gluing. Adjust if necessary! Once the glue is applied and dried the parts will not be able to be moved or adjusted for fit.

Pieces ready.JPG


Assembly
Now take the centre piece/s and cover the entire underside with white glue, (I use a spreader to make the glue application more even and rapid).
glue and Spreader.JPG


Position the piece/s on the base piece ensuring that the front point and the wing tips are aligned. Use cheap packing tape in 100mm lengths with the ends folded over around the wing LEs to hold the pieces together in their proper alignment. Additionally use a similar piece of packing tape at the rear, (motor area), to hold the top piece/s in proper alignment.
Taped.JPG


When all glued and taped securely place under a flat board and carefully add weights to act as a simple press. Leave until the glue is dry! If using white glue it may take upto 8 hours until it is dry enough to handle, of course other glues will take less time.
Weighted.JPG


When the glue is dry repeat the procedure to glue the top layer in place.
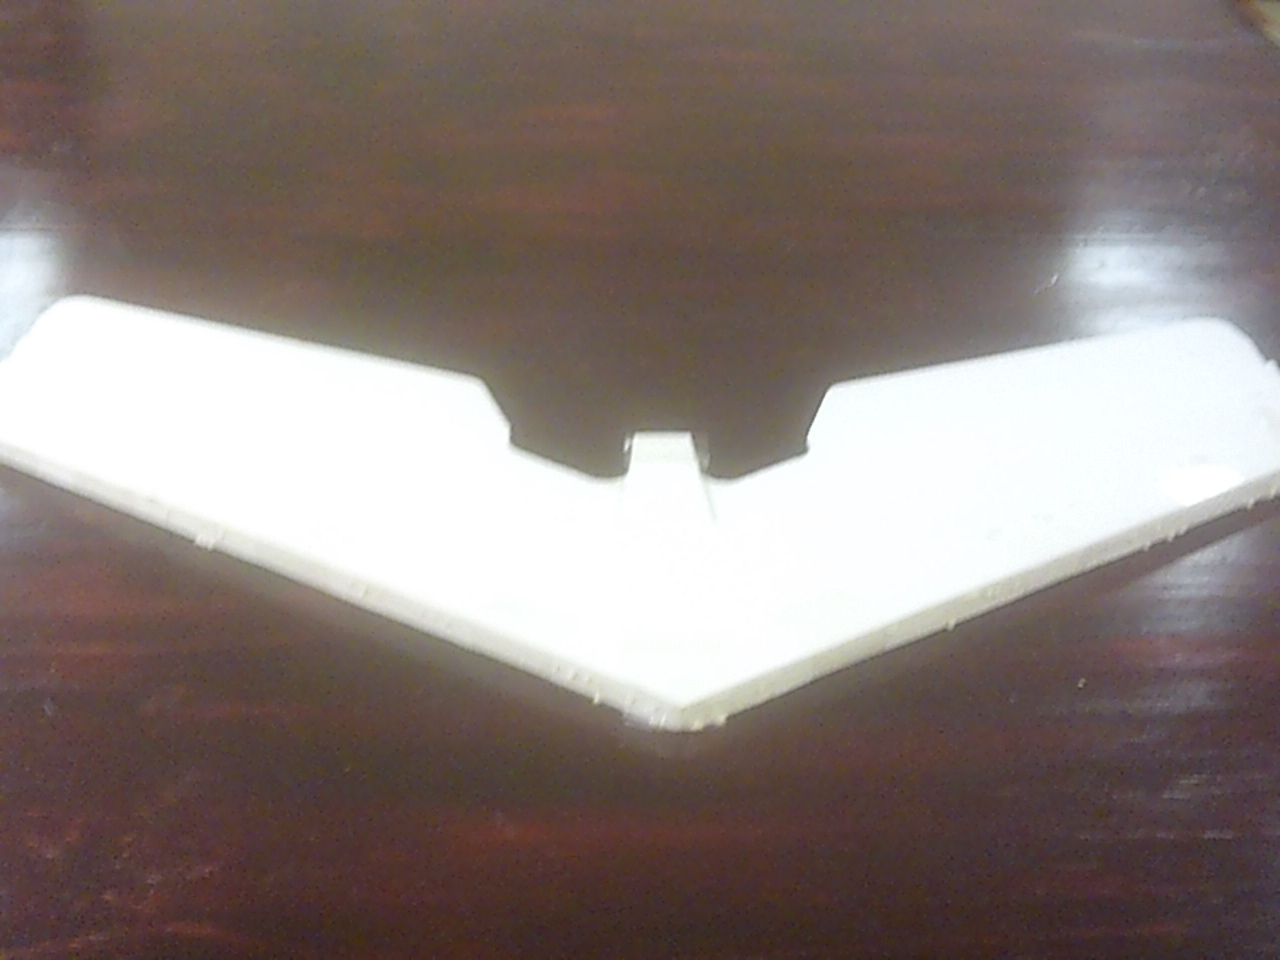
3 layers.JPG


Next Cut the elevon hinge line and bevel. Then fit the winglets. trim the front piece to match the wing LE contour.
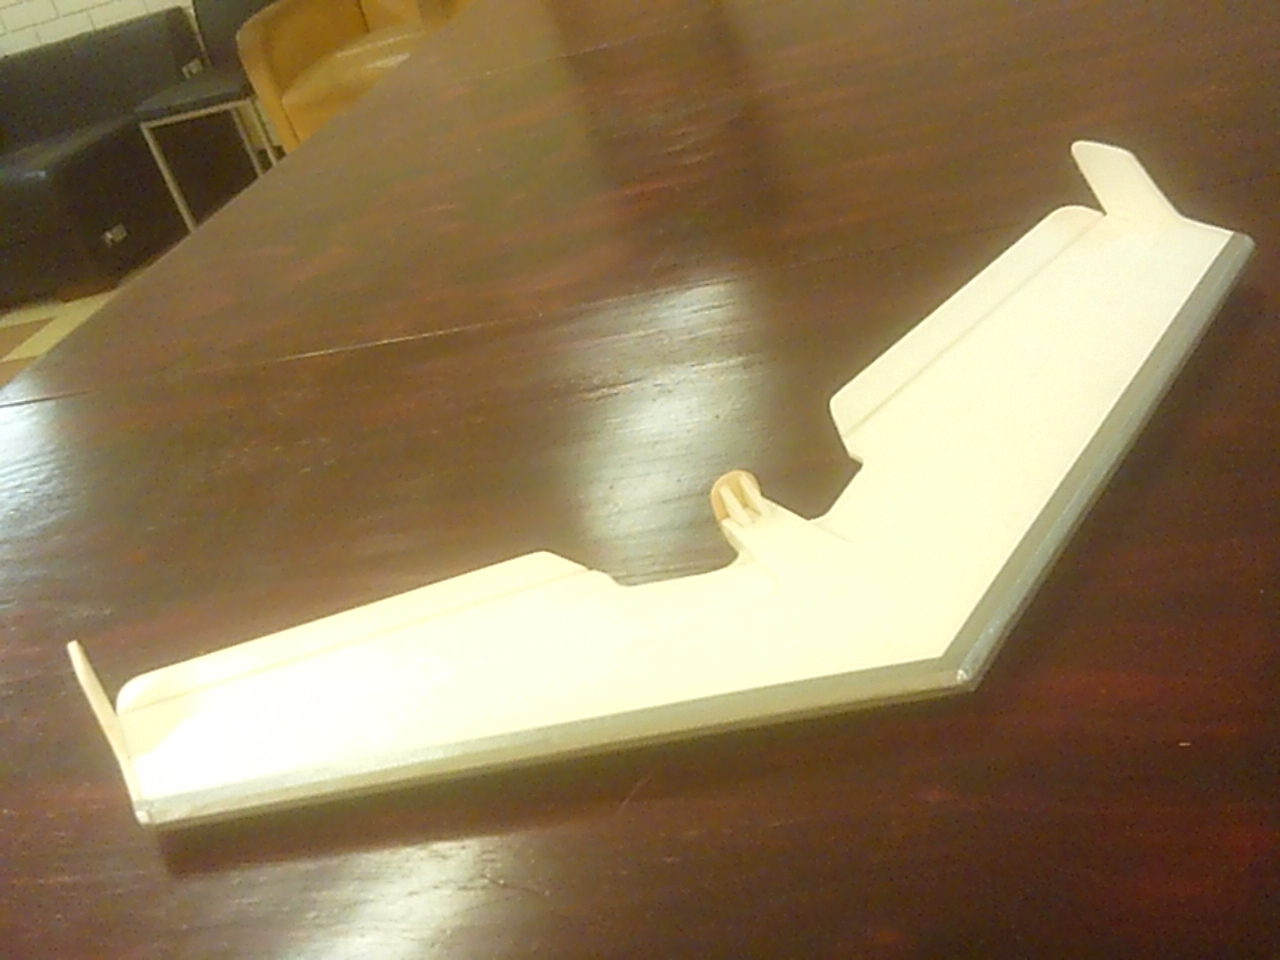
Winglets fitted.JPG


Now when the glue is dry bevel the LE of the top and bottom layers at 45 degrees, (Sand if necessary).
Bevelled.JPG


It is now when the skid bar, (Keel), and the engine mount are fitted. Also seal all exposed FB edges using glue and when the glue is dry seal all remaining FB faces/Paper with Minwax or equivalent. For larger and heavier motors you can trim the FB where the motor mount is to be fitted to shift the motor forward towards the CG point and make balance easier.
Done.JPG


When minwax is dry it is time to paint or otherwise decorate the craft. Final thing before adding the electrics and proceeding to setup and Maiden flight is to add the fibre tape along the wing LE.
Ready for fitout.JPG

Ready for hand over tomorrow or the weekend whenever the intended recipient next comes to fly!

NOTES:
The cheap packing tape having the ends folded over gives you a finger hold for when the tape is removed after drying. The sealing of the bottom of the bottom later is so that the tape will be less likely to tear the paper upon removal. The centre section may suffer a slight amount of paper tearing but the damaged surface will be covered by the top layer when applied.

After the painting or other finish has been applied and dried it is recommended that the Elevon Hinge line on the underside be covered with packing tape to stop water, (Dew) from getting into the hinge and causing the hinges to fail over time.

On my version I cut the centre layer out of my larger scrap pieces or offcuts and for your build you could easily use a solid single piece centre layer.

Also the removal of the paper is purely a weight saving feature and can be considered as Optional only!
 
Last edited:

Hai-Lee

Old and Bold RC PILOT
Specifications and setup

Setup for maiden flight testing, (adjust post flight to suit your own setup).

Specifications:
Wing Span: 800mm Nominal
Length: 550mm Nominal
Weight:135 Grams Nominal – (Bare wing Kit)
Radio:3 Channel (Elevons and Throttle)
Motor: 75 to 200+ Watts
Esc: To Suit Motor
Servos: 2 of 9 Gram (5 Gram suitable)
Composition: Foamboard
Battery: 1300mA 3S (Nominal)

Setup Instructions:

Paint in your desired colour scheme or patterning using either, Tape, Contact, Paint, or even a printed wrap if available.

Drill the engine bulkhead to suit motor selected, with ventilation holes, Motors mount on the rear of the bulkhead. Larger motors can mount through the bulkhead to aid balance but at the penalty of increased prop noise. If fitting the motor in front of the motor mount ply, remove wing FB in front of bulkhead to suit. Secure motor leads with the plastic ties or similar.​

Cut holes for the elevon servos in the wing, (in marked locations), and Fit the Elevon servos. Then connect to control horns fitted at the locations marked. Run servo leads towards the centre of the wing along the rear of the first wing step. (Use hotmelt glue or similar).​

All remaining parts are fitted directly along the wing centre line.​

Locate the battery centrally on the front of the wing using the supplied Velcro battery hold down straps.​

Connect the ESC to the motor and locate ESC as far forward as is possible. Glue,Velcro, or tape in position.​

Fit the Receiver either on top of the ESC or forward of it. Glue, Velcro, or tape in position.​

Connect the Elevon servo leads and the ESC control lead into the Receiver.​

Connect battery, check the motor rotation direction suits prop, (up to 8"), selected and Calibrate the Motor/ESC.​

Program Transmitter for 2 channel Elevon mixing and ensure that the control surfaces operate as required. Up elevator up should cause both control surfaces to rise and aileron input should give the same responses as a normal wing. Each control input should only give 50% of maximum servo deflection. Change mix ratio only if you are an expert and know what to expect.​

Set Up
Elevon deflection: Nominal: +/- 20mm (Recommended Maximum +/- 30mm).​
Reflex amount: Nominal setting: 2mm upwards. (adjust to suit).​
Mix ratio (Elev/Ail): Beginner: 50:50 Expert: 60:40​
Exponential: Beginner: 30% Min Expert: 15% Min​
Balance point, (C.G.). Nominally 160mm from wing nose point. (As Marked).


Thrust Angles: 1° up (nominal – set for neutral throttle response)

Flying Tips

This is not a glider and has a rather steep glide angle. For "Dead stick" landings keep wing level. Do not flare!​

Launch into the wind with moderate motor thrust, (avoid full throttle unless the motor is small), and increase throttle to full once speed has built up.​

Rolls are sharp and rapid but loops are wide and slow with small power plants. If the CG is too far aft the rolls are tighter but the KFM4 wing will wander around the sky and then drop a wing as stall approaches.​

The more powerful the motor the faster it climbs with unlimited vertical easily acheiveable but be careful as it can climb so far and fast you might easily lose it!

Setup Tips

A large prop adapter or spinner can be used if CG is a little too far forward!

A larger battery can help to balance out a larger power motor if too tail heavy.

The length of the motor mount protrusion can be shortened to achieve balance especially for heavier motors.

That should be it and finally I say - ENJOY!
 
Last edited:

Hai-Lee

Old and Bold RC PILOT
attachment produces a blank page...!!!
I tried to open or view it via the attachment browser and directly from the post and both times it downloaded to my computer and opened correctly, If you wish I can screenshot it and post as a JPG!

Does anyone else have a problem opening the attachment?

Have fun!
 

Hai-Lee

Old and Bold RC PILOT
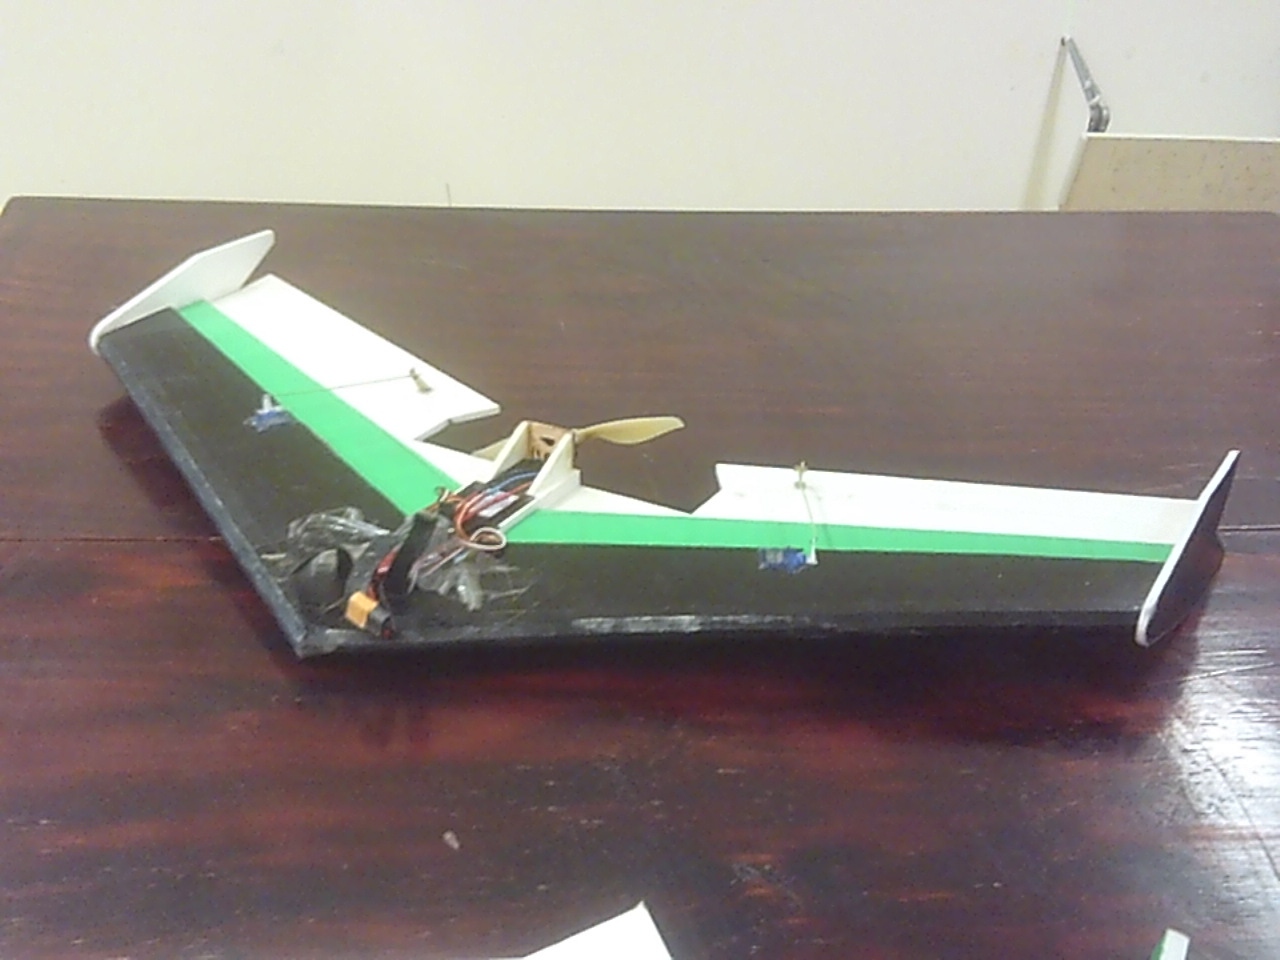
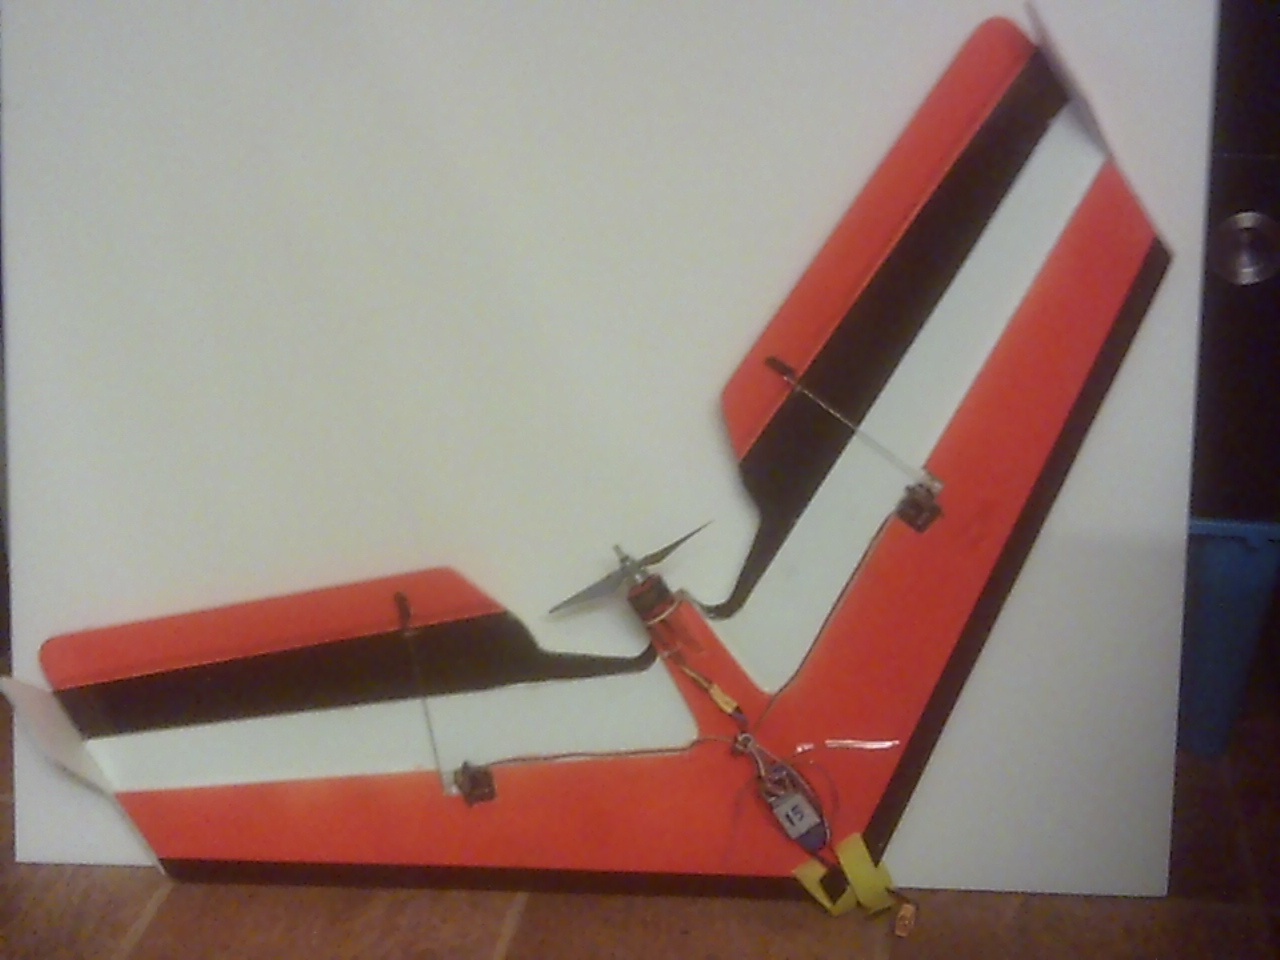
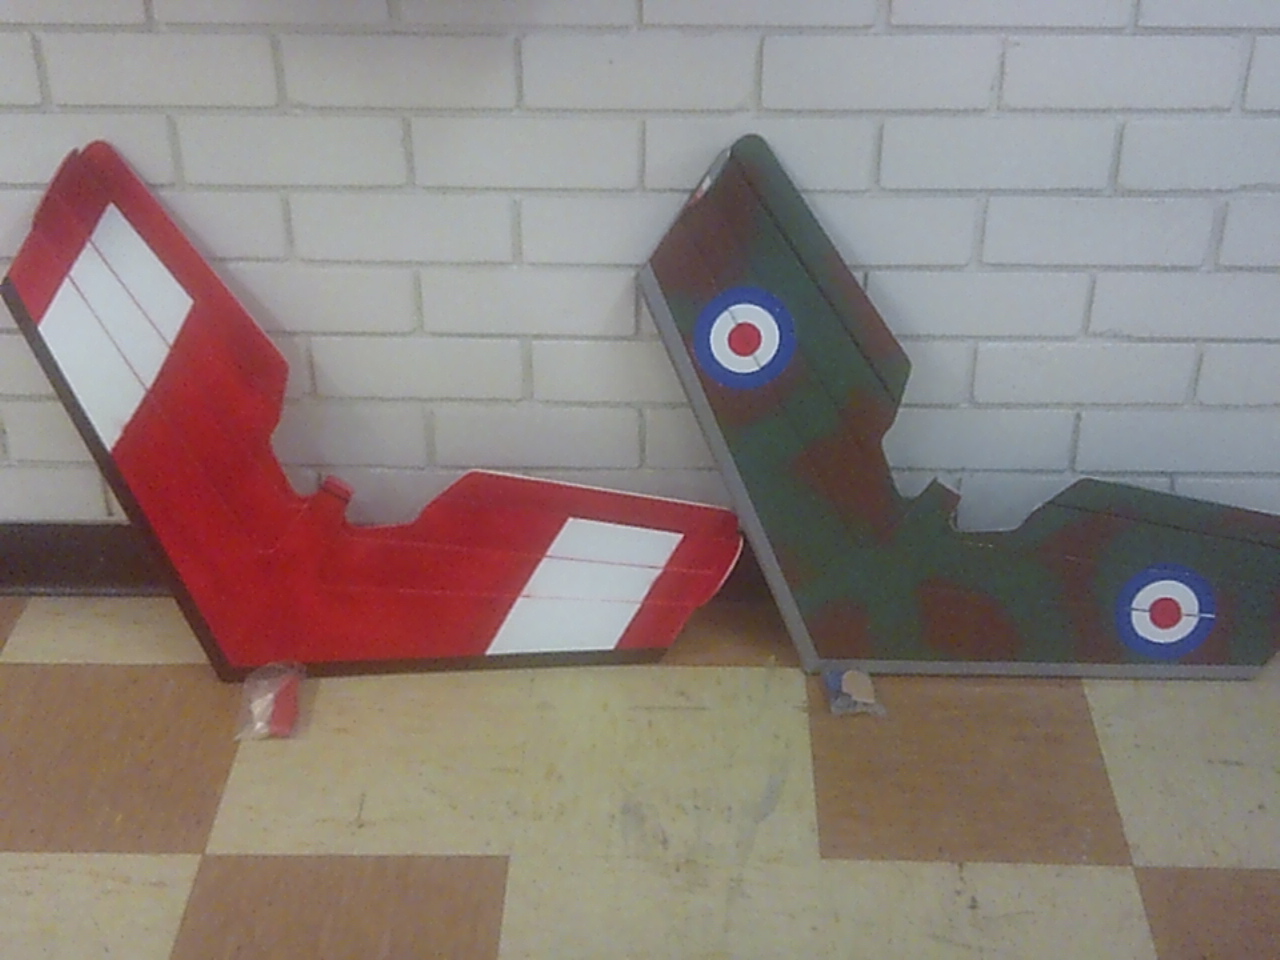
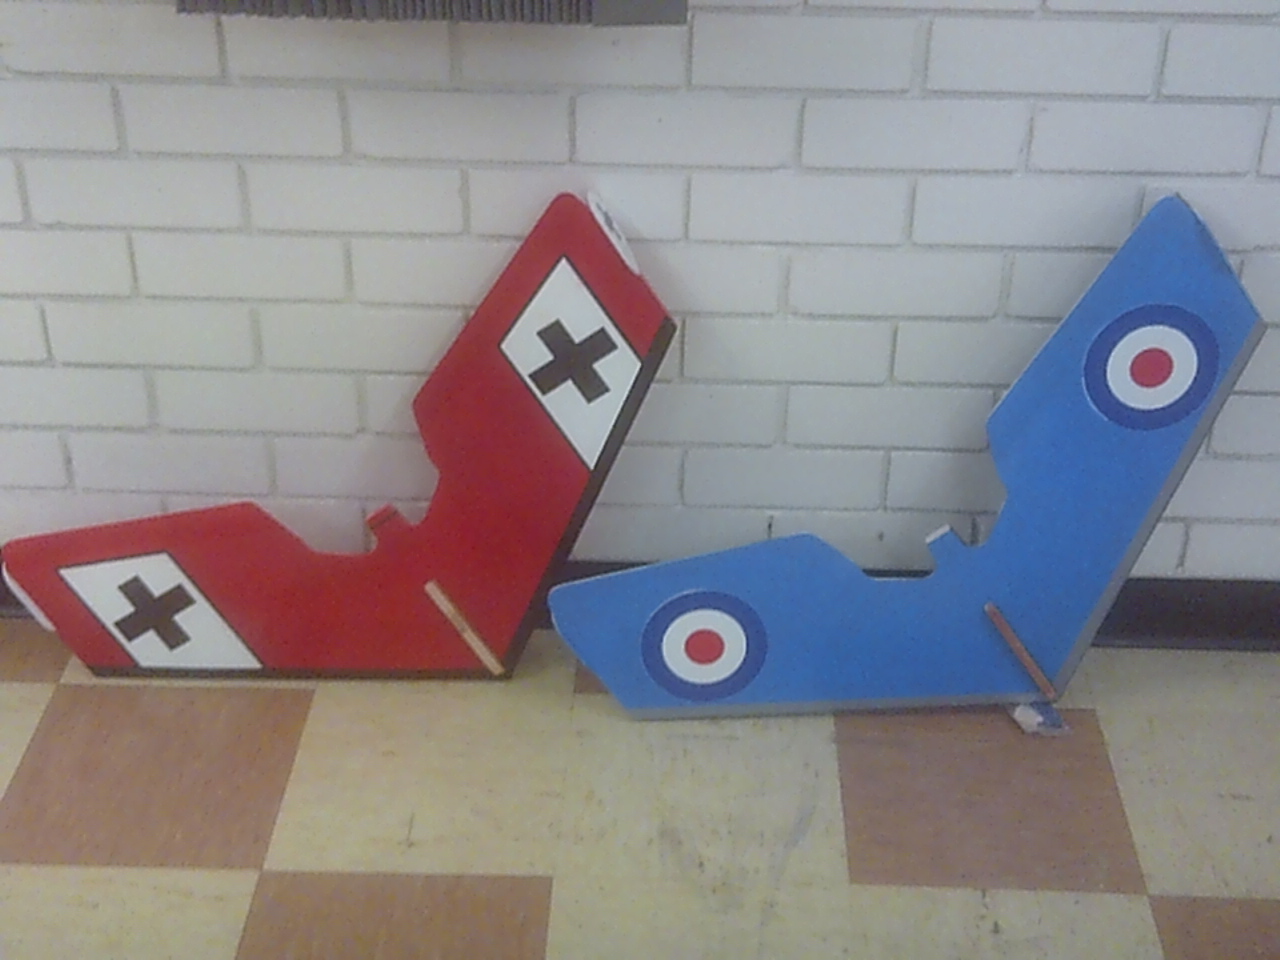
For those wishing to see what the plane looks like I have added a few pictures of finished and well used examples.

Firstly is the original prototype which is still flying on a 2205 1400kV, 7x4 prop and a 1250 3S. Has logged over 100 flights and quite a few crashes/hard landings.
Prototype.JPG


Here is the version of the build. It runs a 2825 1950kV, 5.5 x 4.5 Prop, and a 1300 3S. Has flown without an incident for about 30 odd flights and has a club full of clones with which it dogfights and has circuit races. One version is actually doing the FPV thing of late!

Top view
Top View.JPG


View of underside

Bottom View.JPG


Have fun!
 

DamoRC

Elite member
Mentor
Does anyone else have a problem opening the attachment?

I think this is just an oddity of the new forum setup. When you click on an attachment a new blank tab is opened when the download starts - not very intuitive.

@Hai-Lee - Thanks for the plans and the instructions. A couple of clarification questions:

(1) You refer to the marked elevon servo positions but in the plans these positions are not marked - are you going to update this?
(2) Is this really a KFM4 wing? If I am looking at the plans and pics correctly it seems like a KFM3 foil - am I missing something?

DamoRC
 

Hai-Lee

Old and Bold RC PILOT
As for the KFM3/4 debate I went back to the original KFM articles, (somewhat hard to find due to the way the search engines work), and it showed the 3 layers flat bottomed profile as KFM4 so that is what I called it. You can call it a KFM3 if you want as it doesn't effect how it performs.

I left the servo positions off of the plan deliberately as the wings I have sold have all types of servos fitted, (most buy one to use it to test their crashed electrics and then never bother to return them they buy new electrics for their repair. It will fly on 3.7, 5, 9 and even heavier servos.

As you can see from my current version picture I have fitted 9Gram plastic geared servos that are about 10mm thick so I have mounted them by cutting through 2 layers of the FB to make them flush. Others have recessed them into a single layer of FB or even surface mounted them.

If you require it I can provide servo position recommendations or modify the plans with a 9 Gram servo sized box in the location I have used.

Let me know what you prefer.

have fun!
 

DamoRC

Elite member
Mentor
Thanks Hai-Lee.

I think a box on the plans indicating approximate positioning of the servos would help (although its pretty easy to see from your pictures).

Also - are you bevelling the upper and lower pieces at the LE?

DamoRC
 
Last edited:

daxian

Elite member
ok i still get the blank page ...but it does download !! must be the forum stuff ,as said ! sorry hai lee ...
 

Hai-Lee

Old and Bold RC PILOT
Thanks Hai-Lee.

I think a box on the plans indicating approximate positioning of the servos would help (although its pretty easy to see from your pictures).

Also - are you bevelling the upper and lower pieces at the LE?

DamoRC
I will amend the plans to give a firm position for the servos and I may also include the simple bungee launcher hook and location as the one I am building is an order for one with a bungee capability. Sadly the one I am building will not get a colour scheme as the owner wants a blank canvas so he can add his own mural type finish.

Yes I do bevel the LE pieces but after the wing is all glued together and trimmed/sanded. Once beveled I seal all of the Exposed FB edges using glue, (including in the servo mounting holes), and then apply the colour finish, (Paint mostly). After the finish is done and dry I fit fabric tape to the LE's and clear packing tape to help waterproof the Elevon hinge lines. Last item of the build is the keel piece.

Next is the fitout, the setup and then the maiden.

Just a note on the servo fitment. I use a "Jam fit" with no glue under the servo but a line of hotmelt around the servo wing surface edges. The FB holds the servo in place and the Hotmelt just stops the servo working itself loose over time. This makes replacing servos damaged in full contact dogfighting a simpler and less damaging procedure.

My pieces are cut out ready to commence the build. That starts today, (I Hope).

Have fun!
 

Hai-Lee

Old and Bold RC PILOT
Build approaching completion. I will not be fitting motor Etc as this is a blank for someone who has ordered it.
 

Hai-Lee

Old and Bold RC PILOT
Build completed! Fit out is obvious and can be seen in the original pictures posted earlier.

If anyone has any questions please advise and I will answer what I can!

Have fun & ENJOY!
 

Hai-Lee

Old and Bold RC PILOT
Got a fresh order for this design just yesterday. Seems people who fly here love its simple and robust nature. Anyway today our club had a couple of attempts at full contact dogfighting. It was rather insane with a myriad of full power, high speed near misses. Great fun was had by all. Seriously it is extremely difficult to deliberately ram another plane when it is trying to avoid you.

Have fun, (we do)!
 

Hai-Lee

Old and Bold RC PILOT
Just an update!

More orders received! Had a fly off between an arrow (using the proper DT FB) and the KFM wing. KFM very slightly slower but dives far faster! Also the DT Arrow was a little spongy/soft to touch but a tad lighter.

Had a unique episode on Sunday where one of the KFM wings was Bungy launched but the motor did not work, (I think something was a disconnected), and it glided in a slow right turn and crashed into one of the steel goalposts that line our sports field. So reset the Bungee and launch again. This time a flat and slow glide, (again no motor power), and this time the motor kill switch was activated. "Third time lucky?"

Third bungy launch was a success and after a few minutes the owner brought it in for a landing complaining that it was handling funny! Upon examination one of the servos was flapping loose and held to the wing only by the pushrod and the lead to the Rx. The servo had only been held in place with double sided tape which had let go. Fresh tape and away it went for a fourth and very successful flight.

Apart from the embarrassment, NO DAMAGE!

Have fun!
 

Duck

Active member
Hai-Lee,

I noticed the cut line for a heavier motor, would this be a good use case for a large higher KV, small prop motor? How well does it deal with extra weight and what does the design consider a heavier motor? An F-Pack or a C-Pack or higher?

My last wide body arrow split into two before it really had a long life due to me trying to get it flying well before reenforcing it. I was looking for a bit of a faster wing then my Spear.

Thanks!
 

Hai-Lee

Old and Bold RC PILOT
Hai-Lee,

I noticed the cut line for a heavier motor, would this be a good use case for a large higher KV, small prop motor? How well does it deal with extra weight and what does the design consider a heavier motor? An F-Pack or a C-Pack or higher?

My last wide body arrow split into two before it really had a long life due to me trying to get it flying well before reenforcing it. I was looking for a bit of a faster wing then my Spear.

Thanks!
Sorry for the tardy response but I was out delivering planes and getting some flying in at the same time.

The original motor position is for those running motors in the vicinity of 100W, (beginners or those training). The heavy motor line is a suggested maximum forward position as you trim the length to get the proper balance point. We use a large number of the funfighter motor from HK on this design, D2826/6 2200kV. Some run more powerful motors but remember there is a definite prop size limit of 7 inches.

Some people use batteries around the 1300mA/Hr 3S and some have gone to the 2200mA/Hr 4S so the choice is up to the person assembling the plane. I determine the length by fitting everything except the motor and place the motor, (attached to the mount and plugged into the ESC), in the location I wish to test and if it is too heavy I slide it forward and if too nose heavy I slide it to the rear. Once the best position is located I mark it with a pencil and then remove the motor and cut to wing motor mount area to the position marked.

I then glue the motor mount into position and when dry I refit the motor and set the wing up for its first flight.

It might sound strange in a way to some but you get brilliant balance doing it thie way described.

Hope this helps,

Have fun!