Hai-Lee
Old and Bold RC PILOT
This build uses 3mm FB but would render quite well in the standard 5mm. The customer has requested a 3mm version, (original), so that is what it will be.
Anyone wishing to render in 5mm just advise and any dimension changes or alternate plans will be supplied.
The plane
Design History
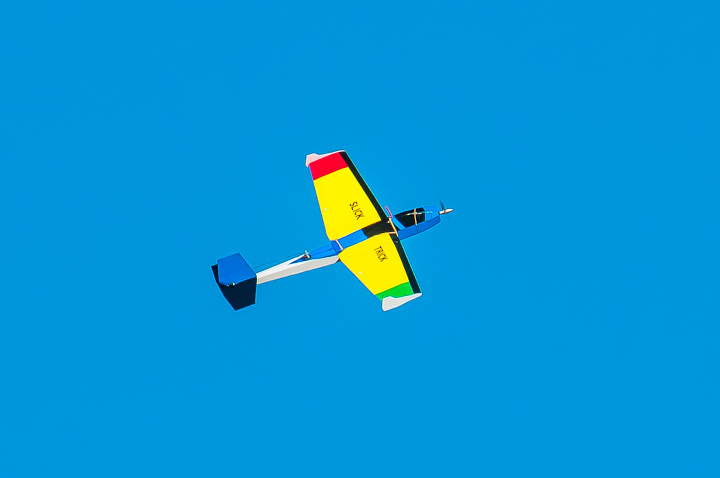
The inspiration for this build/design was another project which was a FB rendition of a Quick Trick the original balsa plans can be found at Outerzone. It was my first foray into making a semi-symmetrical wing profile. The original plane was quite fast especially when fitted with a funfighter motor. Sadly it was always a very fast beast with maneuverability that was incredible but it broke up in midair, (High G outside loop), and rather than replacing a mangled fuselage I built a longer fuselage with easy access, a better wing mounting solution and some dihedral. I also decided to lengthen the wing span whilst still using the original planes remaining wings.
The design was to utilise the offcuts I had around and to be a sport trainer of calm and yet highly spirited performance when required. Initially I ran a 100 watt 1400kV unit and later versions are running Funfighter motors and larger. Option landing gear can be added though it hand launches very well. So far there have been around 6 models produced and the build is for a specific customer order. So far of those built 2 have flown into goal posts, (both still flying after very minor repair and one has been replaced after it did a high speed, low level pass and then the pilot pulled up at the end of the pass spreading the plane over half of the runway! Additionally I did not want to have to fit CF spars or any other reinforcing materials. This design is the result of much flying, crashing, and some serious fun!
This build is of the latest version.
The electronic equipment required
The usual Rx and Tx of course. (4 channel minimum).
9 Gram servos x 4. (Rudder, Elevator, and 2 for Ailerons).
Brushless motor (100 Watt up to Park 400)
Brushless ESC to suit motor selected.
Battery to suit balance or motor current drain (850 3S to 1800 4S)
Materials
3mm FB or equivalent - 5mm plans on request
Minwax or equivalent
Bamboo BBQ Skewers - 3mm dia.
Foam safe glue
Epoxy for mounting motor mount and dihedral braces
3mm Ply
Reinforced packing tape
Self adhesive Velcro for battery retention
A spring wire landing gear (Optional)
Paint, tape or wrap to suit your required colour scheme or finish.
Canopy/Fuselage Jig Materials
Scrap FB pieces. (I will be using 5mm FB for this builds Jig
Glue
Tools Etc
Sharp knife
1 metre Steel ruler
Pencil
Cheap packing tape
Sandpaper
Plans
Plans will be posted when ready. Delay in plans due to redrafting of plans to clarify the design. Original plans overwritten with various modifications and improvements. If individual piece plans are required please advise!
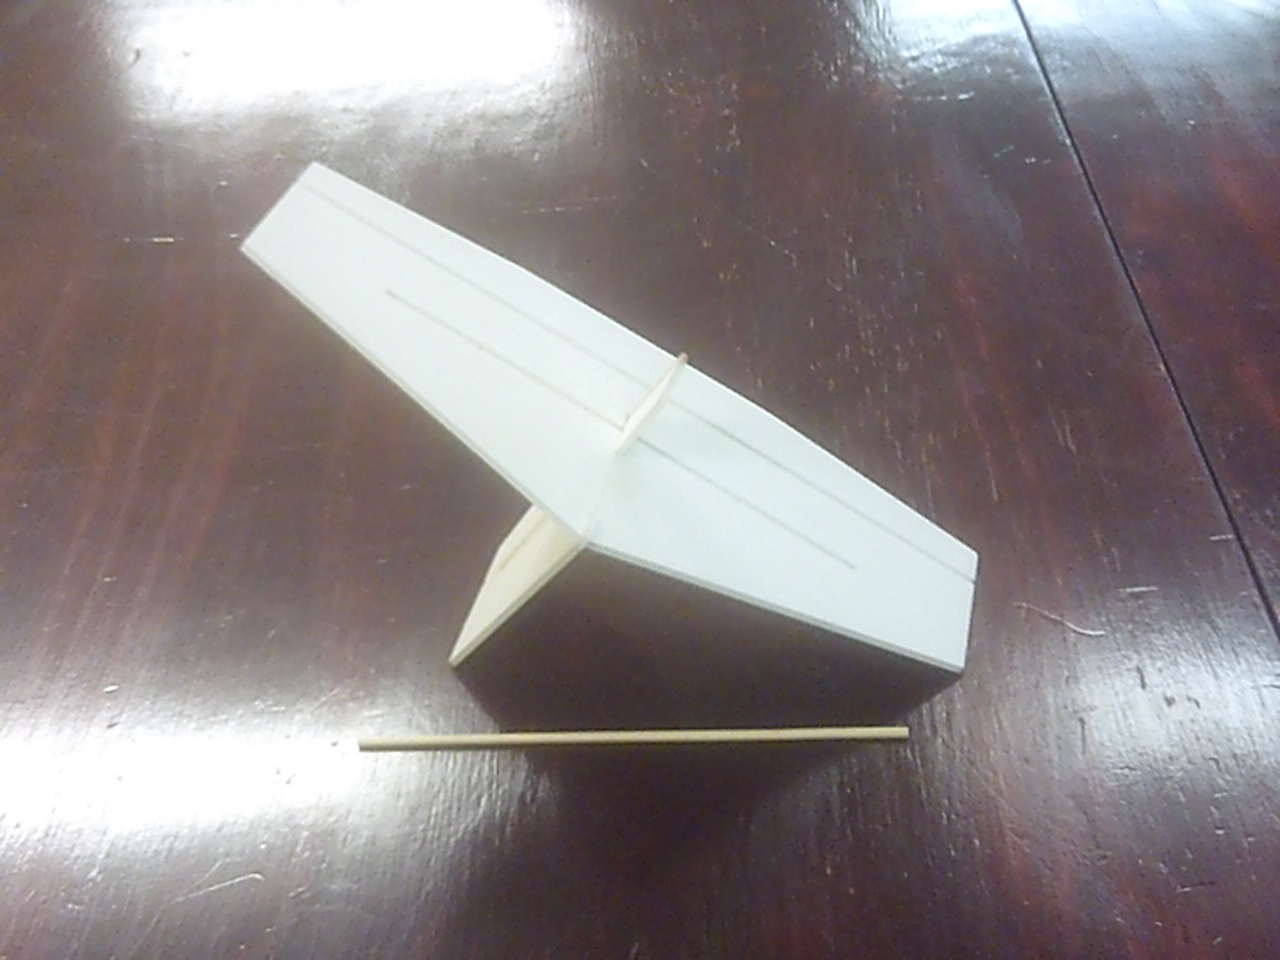
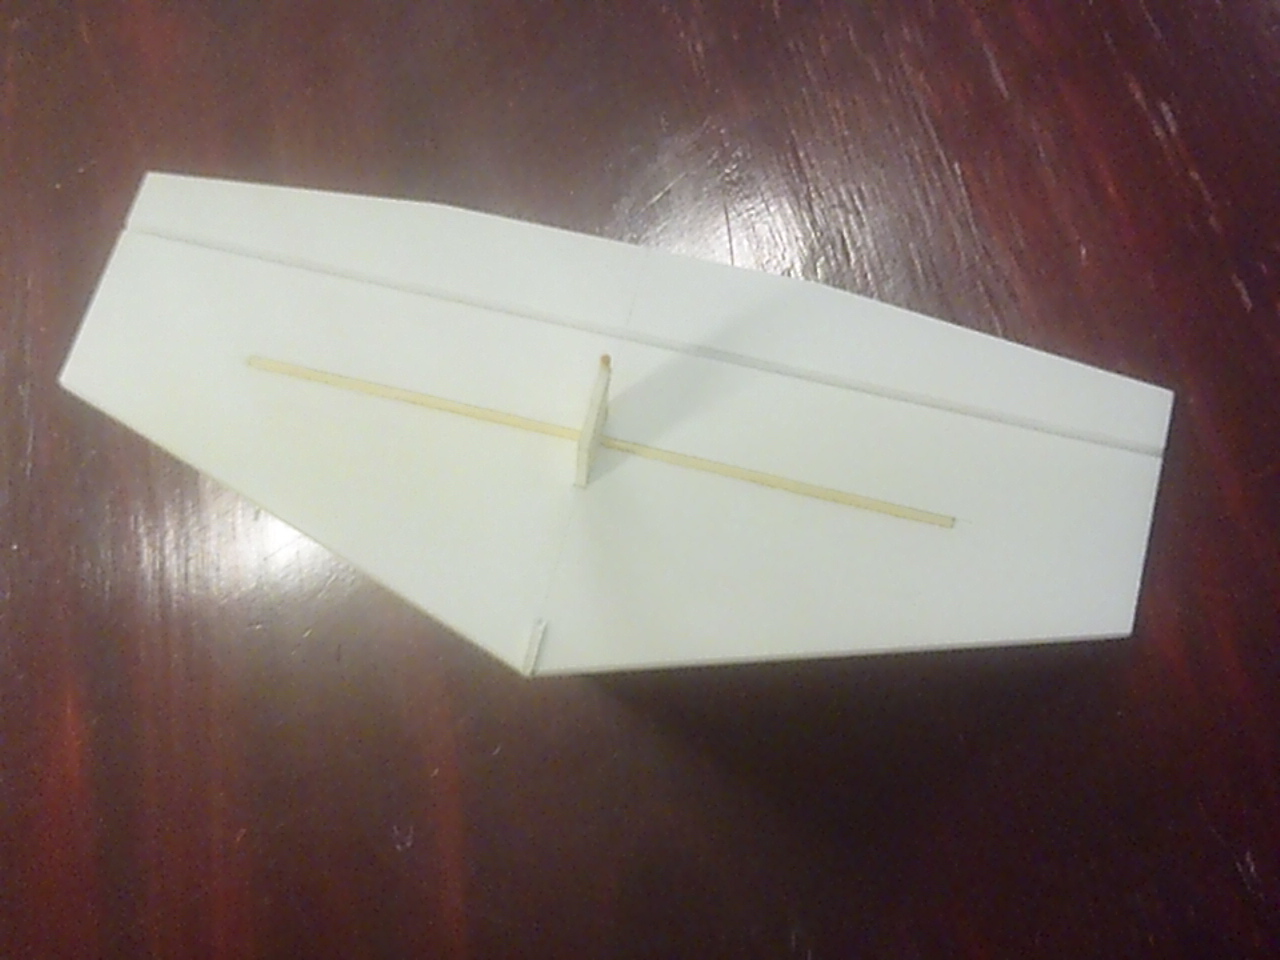
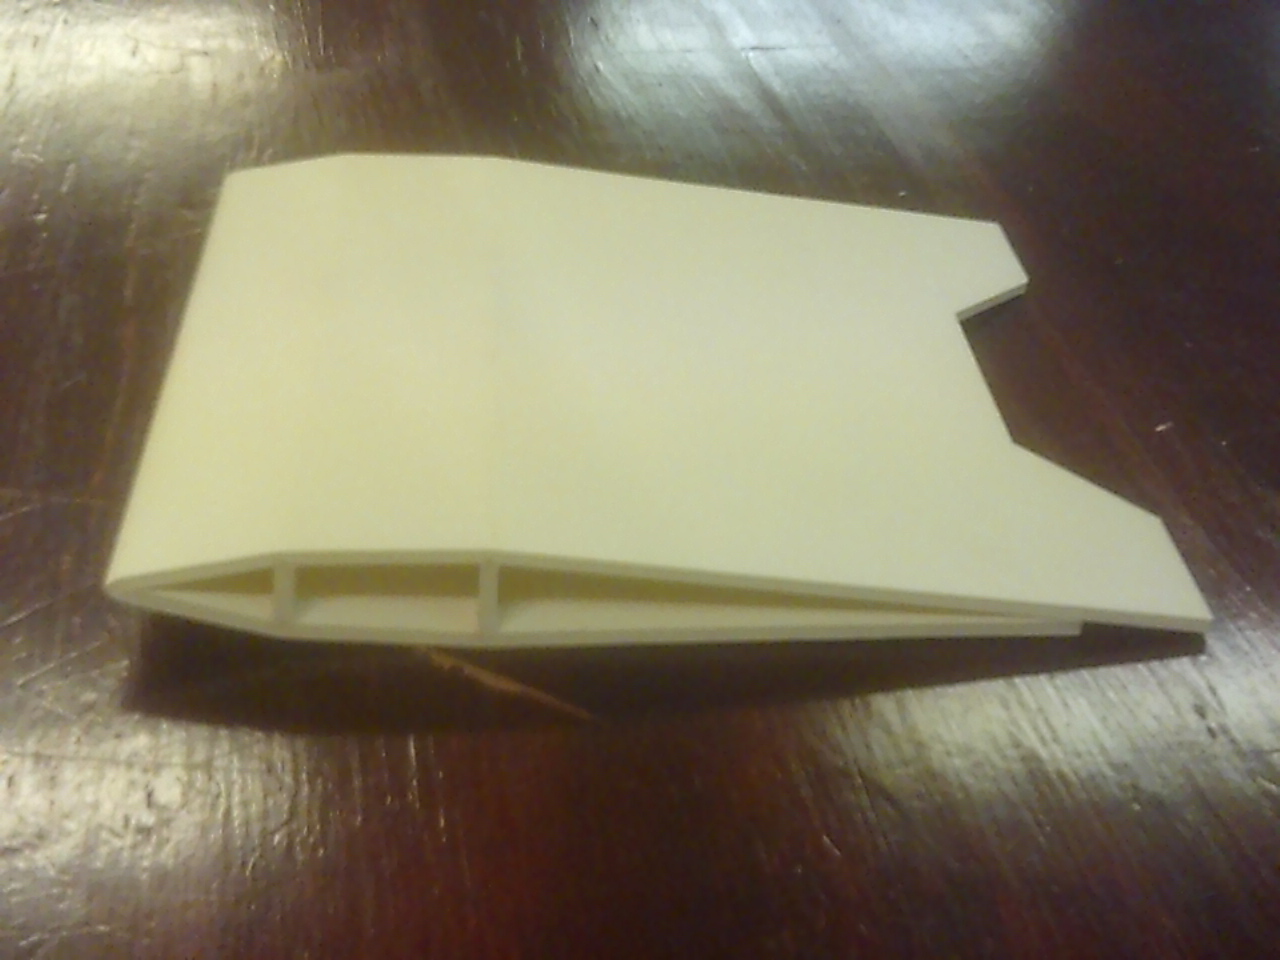
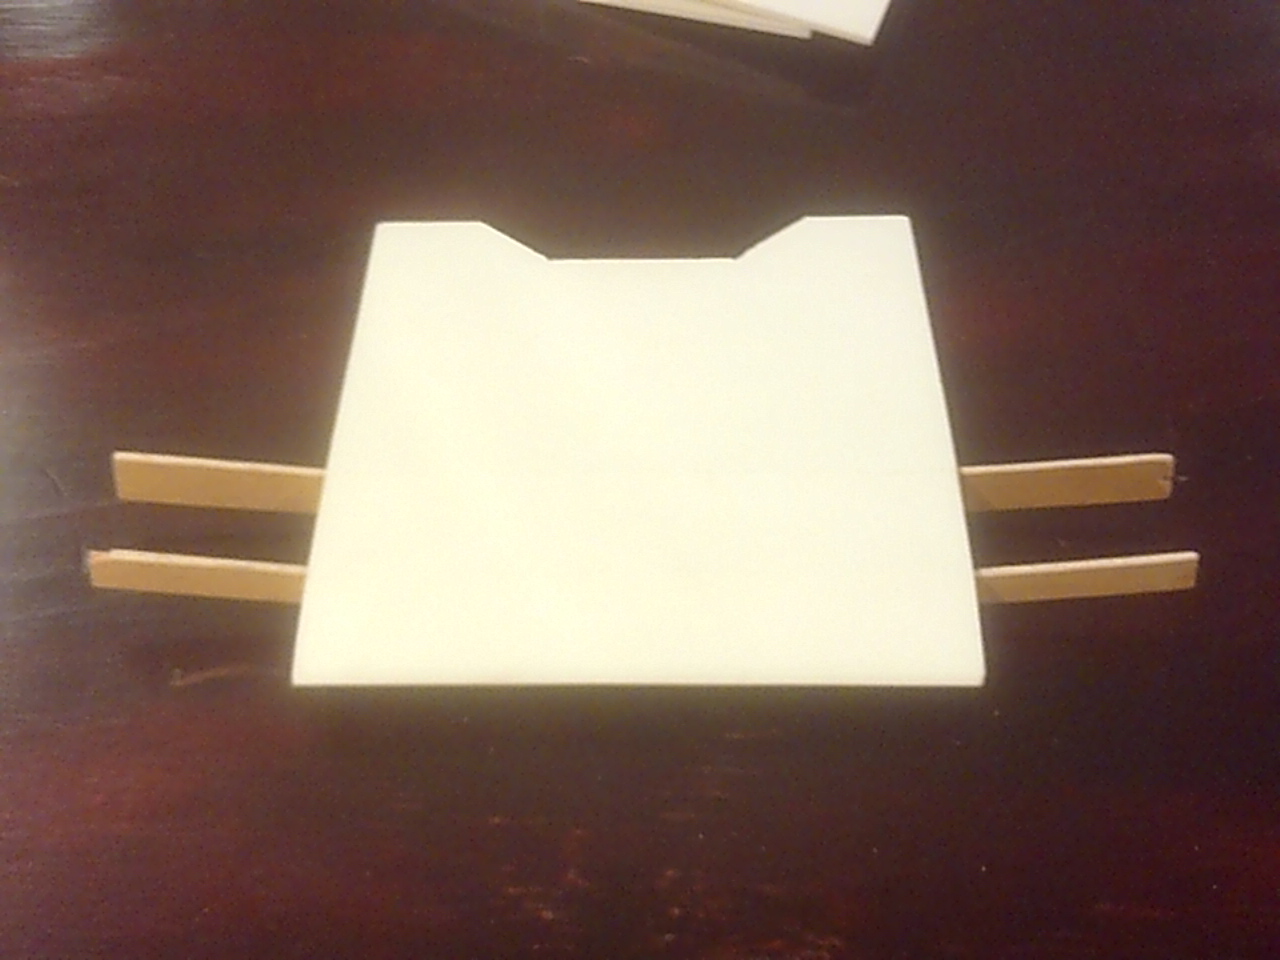
Wing plans: Sorry for the delay but things just seemed to overwhelm me there for a while! Here are the revised basic wing plans with the tail pieces and an other odd piece or 2 from the fuselage.
The build and the Photos will be on a second and often edited post!
Have fun!
Anyone wishing to render in 5mm just advise and any dimension changes or alternate plans will be supplied.
The plane

Design History
The inspiration for this build/design was another project which was a FB rendition of a Quick Trick the original balsa plans can be found at Outerzone. It was my first foray into making a semi-symmetrical wing profile. The original plane was quite fast especially when fitted with a funfighter motor. Sadly it was always a very fast beast with maneuverability that was incredible but it broke up in midair, (High G outside loop), and rather than replacing a mangled fuselage I built a longer fuselage with easy access, a better wing mounting solution and some dihedral. I also decided to lengthen the wing span whilst still using the original planes remaining wings.
The design was to utilise the offcuts I had around and to be a sport trainer of calm and yet highly spirited performance when required. Initially I ran a 100 watt 1400kV unit and later versions are running Funfighter motors and larger. Option landing gear can be added though it hand launches very well. So far there have been around 6 models produced and the build is for a specific customer order. So far of those built 2 have flown into goal posts, (both still flying after very minor repair and one has been replaced after it did a high speed, low level pass and then the pilot pulled up at the end of the pass spreading the plane over half of the runway! Additionally I did not want to have to fit CF spars or any other reinforcing materials. This design is the result of much flying, crashing, and some serious fun!
This build is of the latest version.
The electronic equipment required
The usual Rx and Tx of course. (4 channel minimum).
9 Gram servos x 4. (Rudder, Elevator, and 2 for Ailerons).
Brushless motor (100 Watt up to Park 400)
Brushless ESC to suit motor selected.
Battery to suit balance or motor current drain (850 3S to 1800 4S)
Materials
3mm FB or equivalent - 5mm plans on request
Minwax or equivalent
Bamboo BBQ Skewers - 3mm dia.
Foam safe glue
Epoxy for mounting motor mount and dihedral braces
3mm Ply
Reinforced packing tape
Self adhesive Velcro for battery retention
A spring wire landing gear (Optional)
Paint, tape or wrap to suit your required colour scheme or finish.
Canopy/Fuselage Jig Materials
Scrap FB pieces. (I will be using 5mm FB for this builds Jig
Glue
Tools Etc
Sharp knife
1 metre Steel ruler
Pencil
Cheap packing tape
Sandpaper
Plans
Plans will be posted when ready. Delay in plans due to redrafting of plans to clarify the design. Original plans overwritten with various modifications and improvements. If individual piece plans are required please advise!
Wing plans: Sorry for the delay but things just seemed to overwhelm me there for a while! Here are the revised basic wing plans with the tail pieces and an other odd piece or 2 from the fuselage.
The build and the Photos will be on a second and often edited post!
Have fun!
Attachments
Last edited:


