TheSFReader
Member
I'm trying to print moebeast's plenum wkith no luck so far.. Will try again, slower, but as is it's already 10 hours... Any tips ?

Absolutely super needle cutter and plane! I'd love to see more pics/detail with regards to your cutter... any plans to share it? -- David
Oh, yes, and what that sensor is ? Is it used to control speed on the motor ? Do you use any kind of feedback control ?
So it's been a while since I participated in flying, building or cutting anything. I've moved from sunny Ottawa, Canada to beautiful New Jersey. Most of my planes were destroyed by the moving company and / or while in storage.
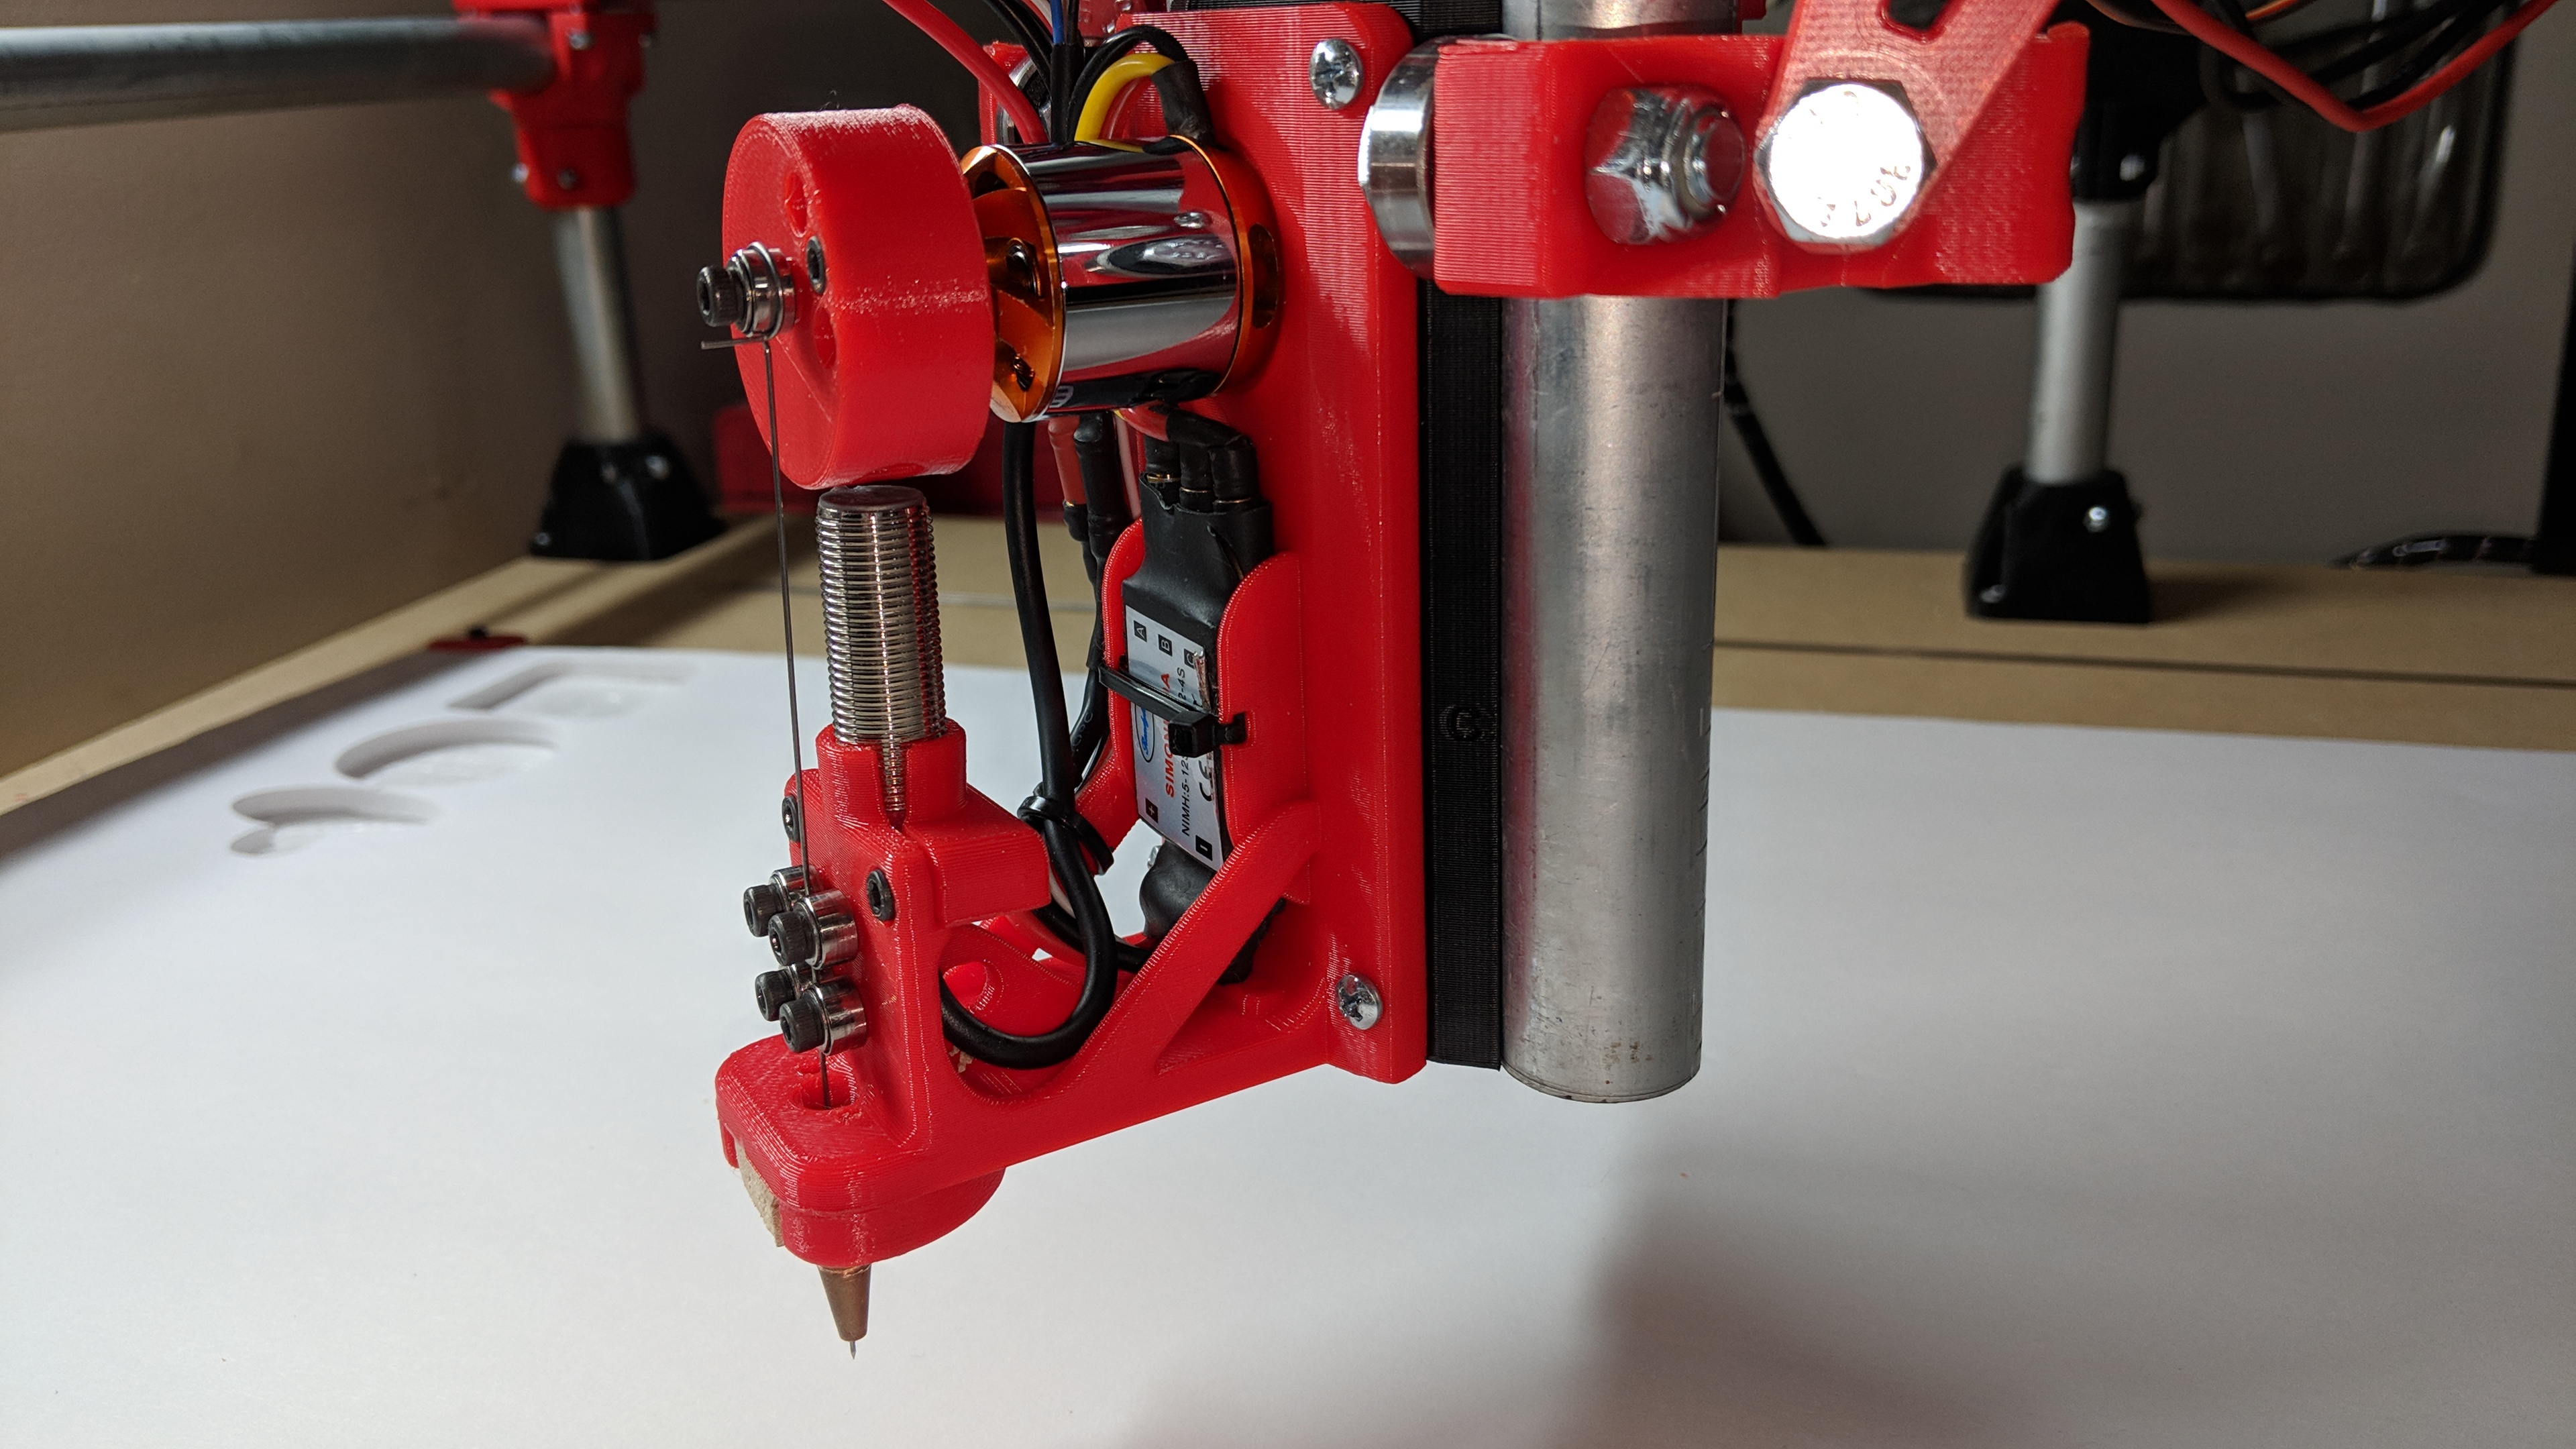
I took this chance to rebuild my mpcnc from scratch with all the latest parts, stainless steel tubing and fancy upgrades like the dual endstops. I also redesigned my cutter to be faster to print and lighter, along with working with the new stock tool mount. After sharpening my trusty needle to be too short and not having much luck getting a new one as nicely made and able to stay on the crank shaft, I decided to try a flywheel. I printed one up for a 10mm bearing I had that I dremeled a groove into, made a slot I could feed a bolt and nut into so I can simply slide it in and out to adjust the balance, and off I went. It cuts much nicer and way faster.
I also realized that while rebuilding, my spoil board had a bow to it in the middle. While a long term solution would be a vacuum hold down, short term me found a box of assorted springs in a drawer and printed a foot. I just tried it out on some test movements and it seems to work really well. The only problem I see with it is to attach the spring to the top, I just printed a 9mm->6.2mm ring and slipped it over the mig tip. This will not hold up well to heat.
Here's an album of the new and improved cutter.
Link
Ok, so I just assembled and tested my new prusa mk3. My current cutter is old school design, frame made with ply. It is great, lots of cutting done with good quality of cuts. Now I want to go faster, at least higher rpm. i was looking at Jason's design with guide bearings and fly wheel. I was considering a few things, brushed motor to run off the rambo board its self. Built in rpm display (thinking magnet and sensor from a gas engine) or possibly if I go brushless pulling rpm from the esc.
Question is to those who have been there and done that. If you were to build it again, what is on your list of must have's? Or what is on the list of "wish I had done that differently, it's annoying the crap out of me"?
Thanks for any input!
Older design with a spring crank, no bearings and mig tip. I got through about 60 sheets of cutting before breaking my first needle. Funny part is, no idea where it went! Was running unattended when it broke or threw it.
")
Jason. I am using your vacuum hold down. But I did not like the sound of a shop vac either. So I stole the house vacuum. A shark. Is much quieter! And works great.
If the "slow" time of year decides to finally slow down, i have a few ideas i have mathed out that have promise. After a few tests I found how little one needs to hold a sheet of foam down. Of course you need more then bare minimum to account for leaks from cuts. Sound is a function of size and rpm which make such great suction. Increase the fan size and slow it down, and you get some suction, but nothing like a vacuum or edf. Add more fans to account for losses, you start to trade space for sound. In theory a quiet solution gets big.I actually have an old house vac that I tried as well, but it's no quieter than the little $25 1 gallon shop vac I use
There are vacuum motors designed just for this kind of use that are supposed to be pretty quiet...but they start at about $130 and while I do want it quieter I can't justify spending that much to get it quieter especially without knowing how much (if any) quieter it actually is! (had to dig a bit to find the link: https://www.centralvacuummotor.com/shopbot.htm)
It holes the foam noticeably weaker than my big vac, and the far corner I have to watch to make sure it doesn't start to lift sometimes. Of course this is against my MDF table which could be leaking a lot of air as well, sealing that may potentially help quite a bit since my vac also sucks against that to hold itself in position....