Cutting foam sheets... with a needle!

dkj4linux

Elite member
After completing the printer build, I started cleaning up the R&P MPCNC wiring and installed a base frame. Also installed a 2.5 watt laser and ran the MPCNC crown test...


I generated the laser gcode for GRBL using Lightburn... really a nice piece of software.

20200210_213035.jpg


A really fun machine to build and play with!

20200210_184419.jpg


-- David
 

ironkane

Member
Just a tidbit for you guys thinking of using a drag knife. I was really interested in one until I got into a discussion where they were talking about how knife software is special to move the head around to achieve sharp corners. At that point I gave up and worked more with the 2.5 watt laser dkj4linux suggested. I found that I could cut the Michael's type vinyl decal sheet perfectly at 70/255 power and 350mm/min speed. It cuts the vinyl and adhesive but not the clear backing film. In the attached pic, the names and N numbers are all laser cut. A friend was over a few days ago and asked about how it cut cloth (his wife is a quilter) so we tried it and got a great fine smooth cut. While you may find different power and feed settings work best, it is worth a try!

A laser would be optimal, but I thought I read somewhere that cutting vinyl with a laser was a no-no? https://lasergods.com/can-i-cut-vinyl-pvc-in-a-laser/
I'm unclear about the safety of cutting stickers. Please don't hurt yourself. If you have some information about the safety, please link it because I would love to try it.
 

ironkane

Member
I sent Jay at JTech an email and you really don't want to vaporize vinyl or PVC. Both contain Chlorine and releases Chlorine Gas during combustion. This is not good for the lungs and when combined with water vapor in the air, it becomes Hydrochloric acid which is really bad for your optics and electronics.

I've found some alternatives, but of course they're not cheap. The more expensive one was https://www.engraving-supplies.com/plastics/laser-materials/foil-sticker.html and https://www.engraving-supplies.com/plastics/laser-materials.html
And the cheaper alternative which is Polyester Vinyl which does not contain chlorine https://www.amazon.com/dp/B07CLJRJMG/?tag=lstir-20
 

Springer

Member
I probably should have qualified my comments, in that I am cutting film occasionally for my own planes, not trying to compete with Callie graphics! While I have to agree with the guy in the video, and others mentioned that vinyl decomposition products aren't "nice", I view my usage as not nearly as intensive as that which was corroding the machines. I noted that in the video, it appeared to be an enclosed cabinet which would concentrate the vapors even with ventilation. Also, anyone cutting pvc pipe or vinyl fabric will be generating a couple orders of magnitude more HCl than a .1mm thick film. My total time to run a set of N numbers and a logo/name is no more than a couple of minutes, and that not continuous cutting. I do use a shop vac to suck the smoke right at the cutter to minimize my exposure.

I would not even consider cutting vinyl for a car seat, or piece of upholstery where the machine would be running for many minutes, but am not too concerned about a few minutes cutting thin films once every few weeks with vacuum and filtering in an open machine environment. I was more concerned about the caustic smoke generated when I was engraving wood end grain. Nevertheless, caution is indicated, just as with the laser itself.

Another approach I have used is cutting the numbers from colored packing tape. Same method, but the tape is usually polyester or polypropylene from what I have read. It is tougher to peel and pick the offal with the tape than decal film.
 
Last edited:

dkj4linux

Elite member
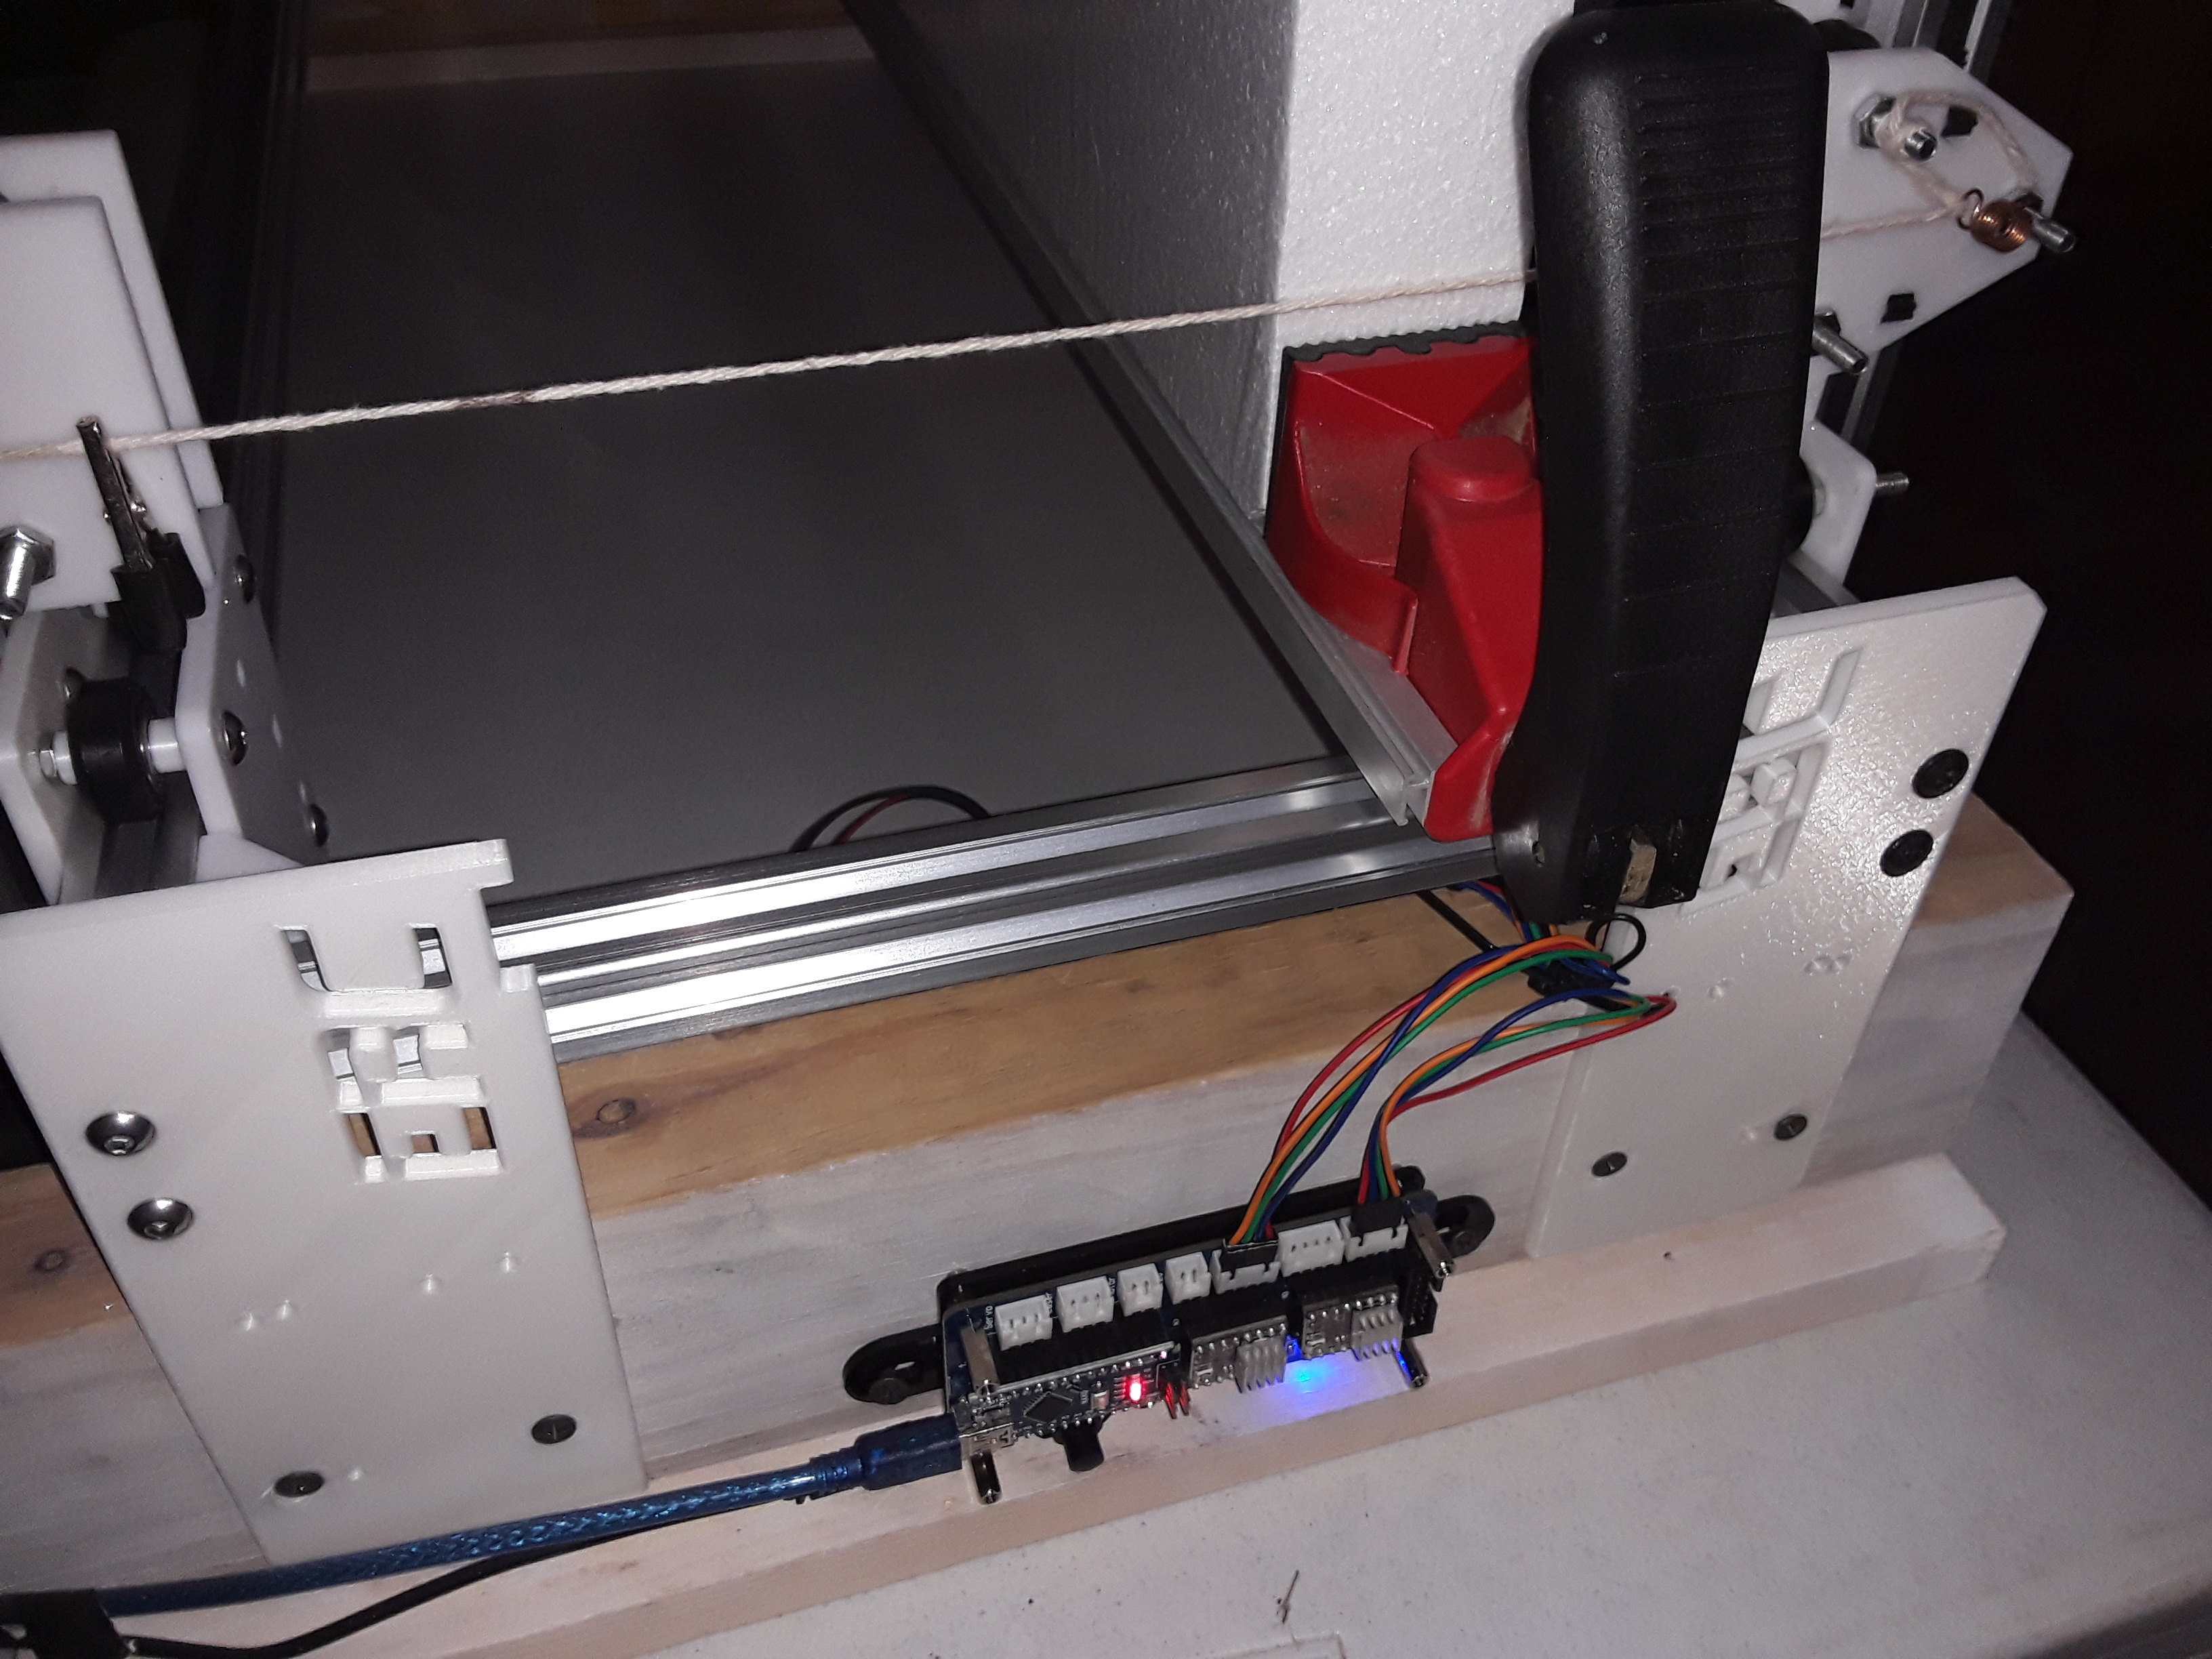
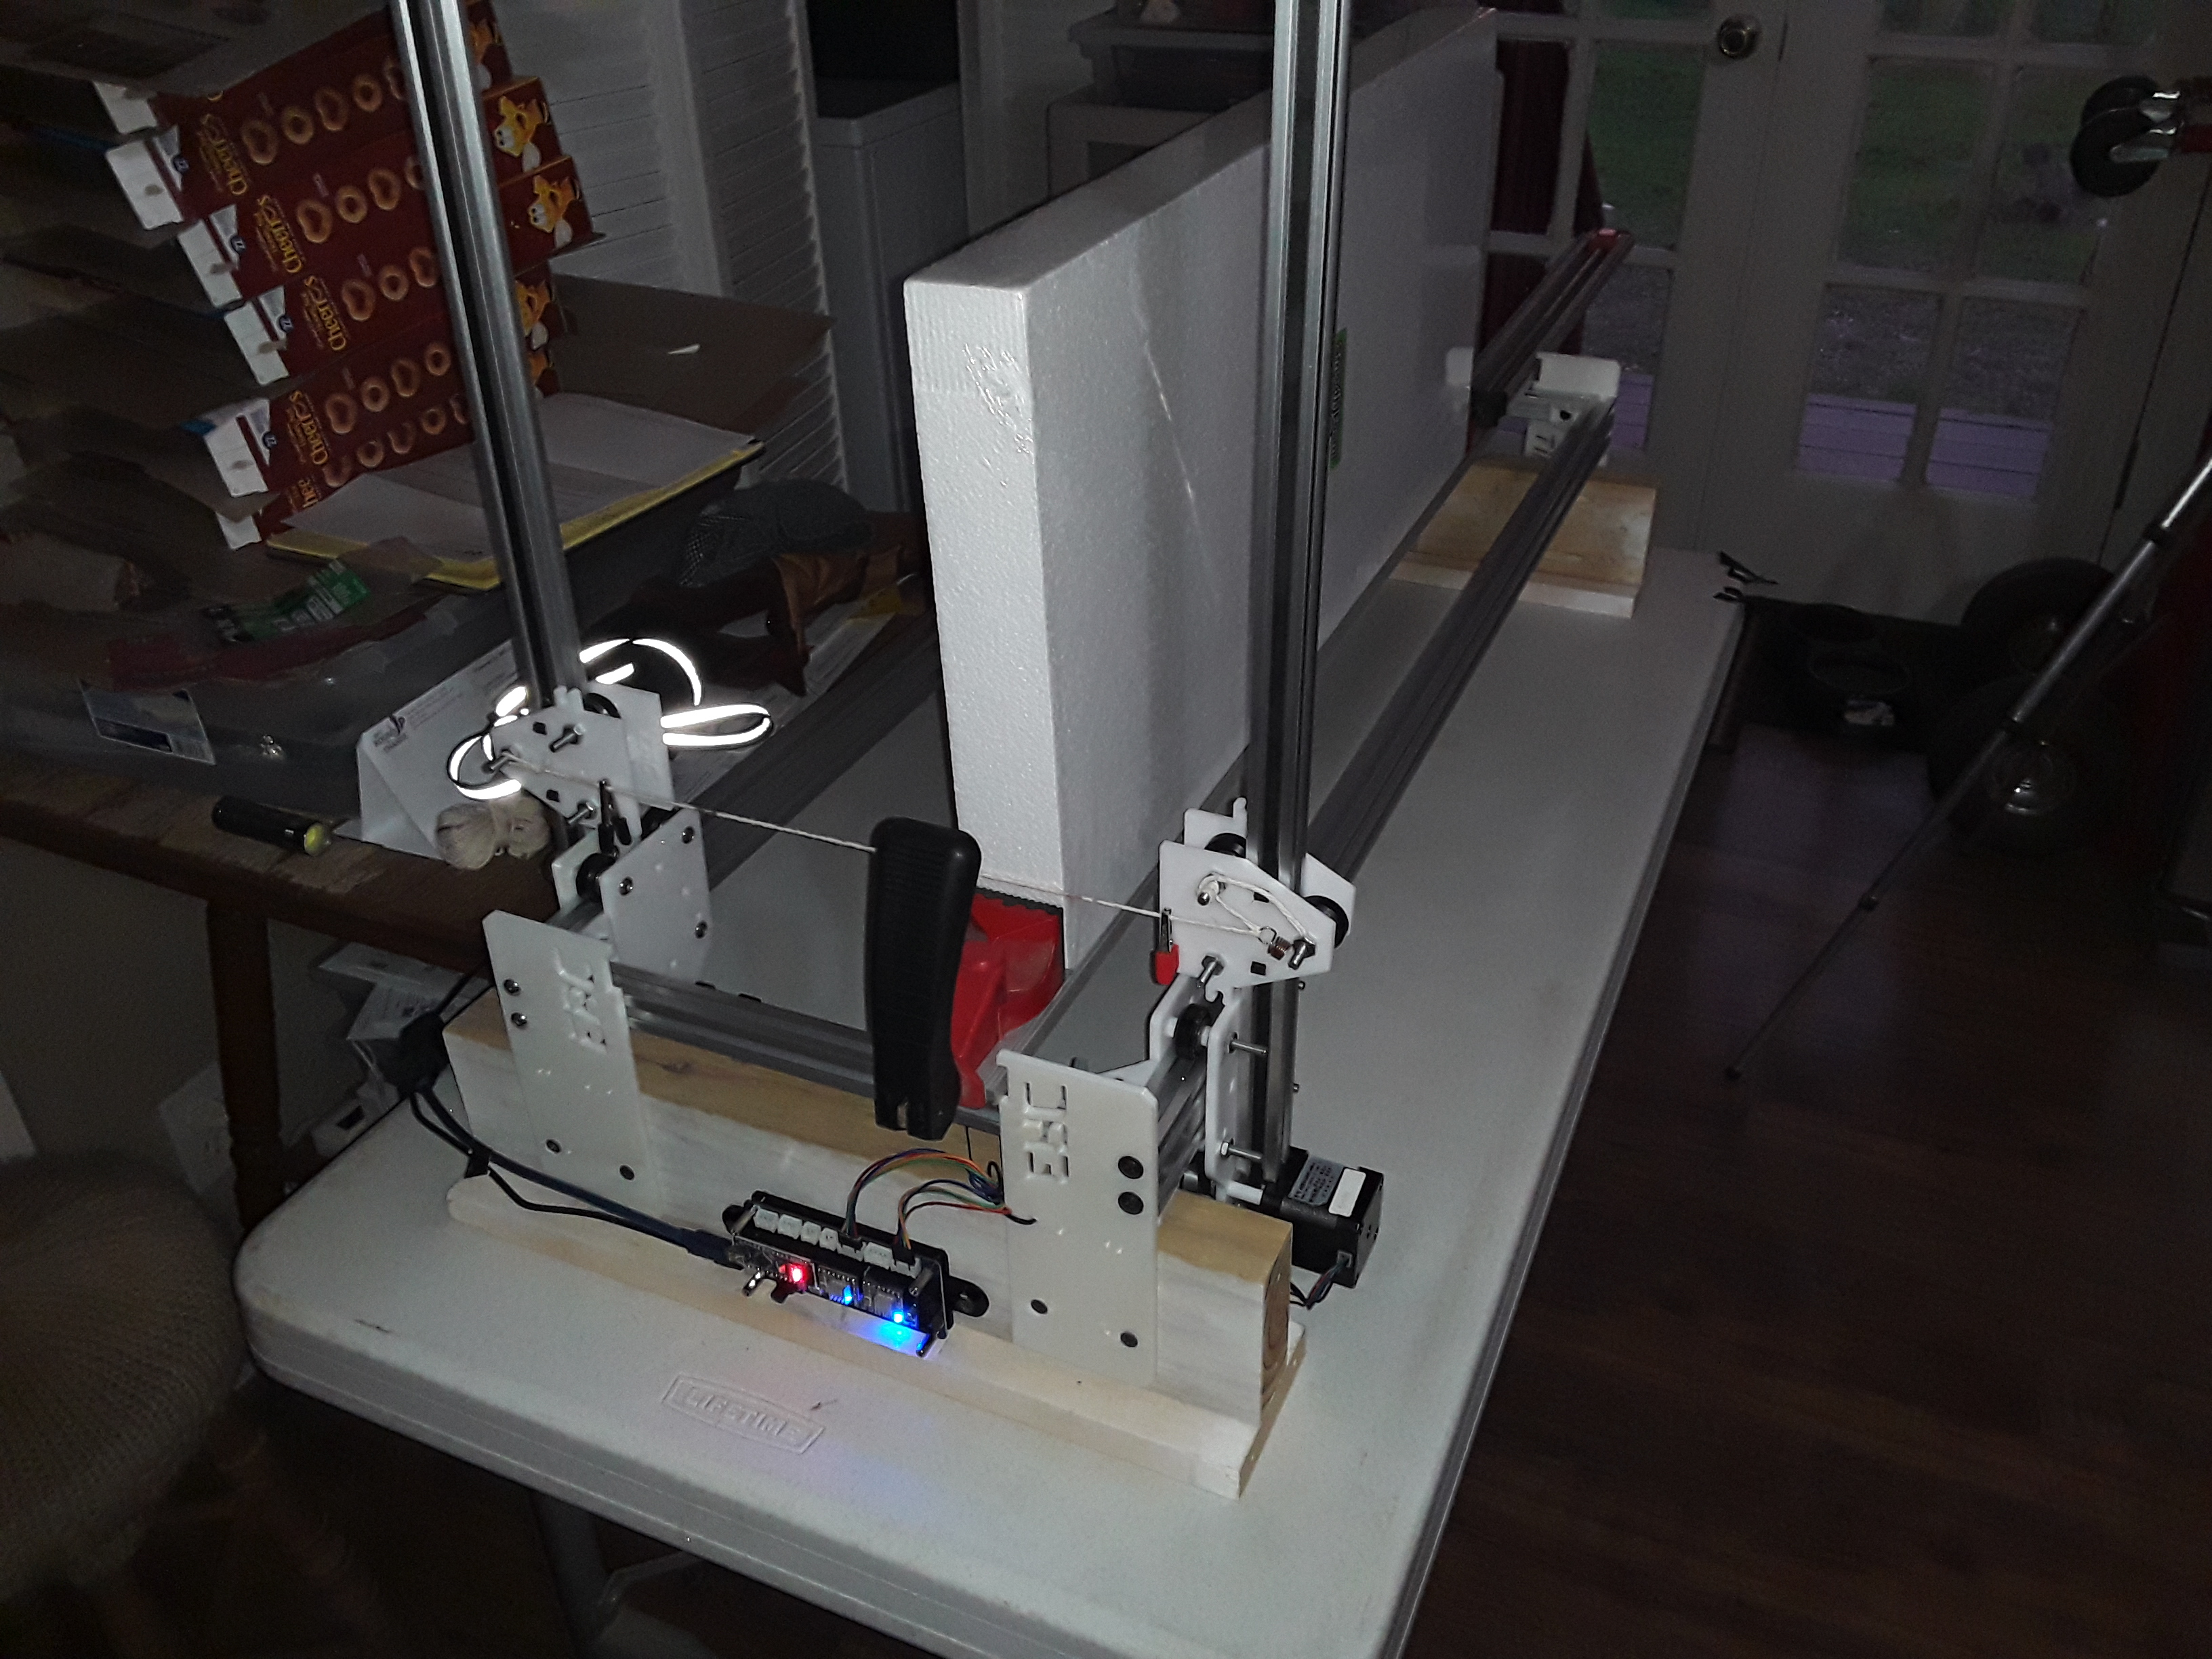
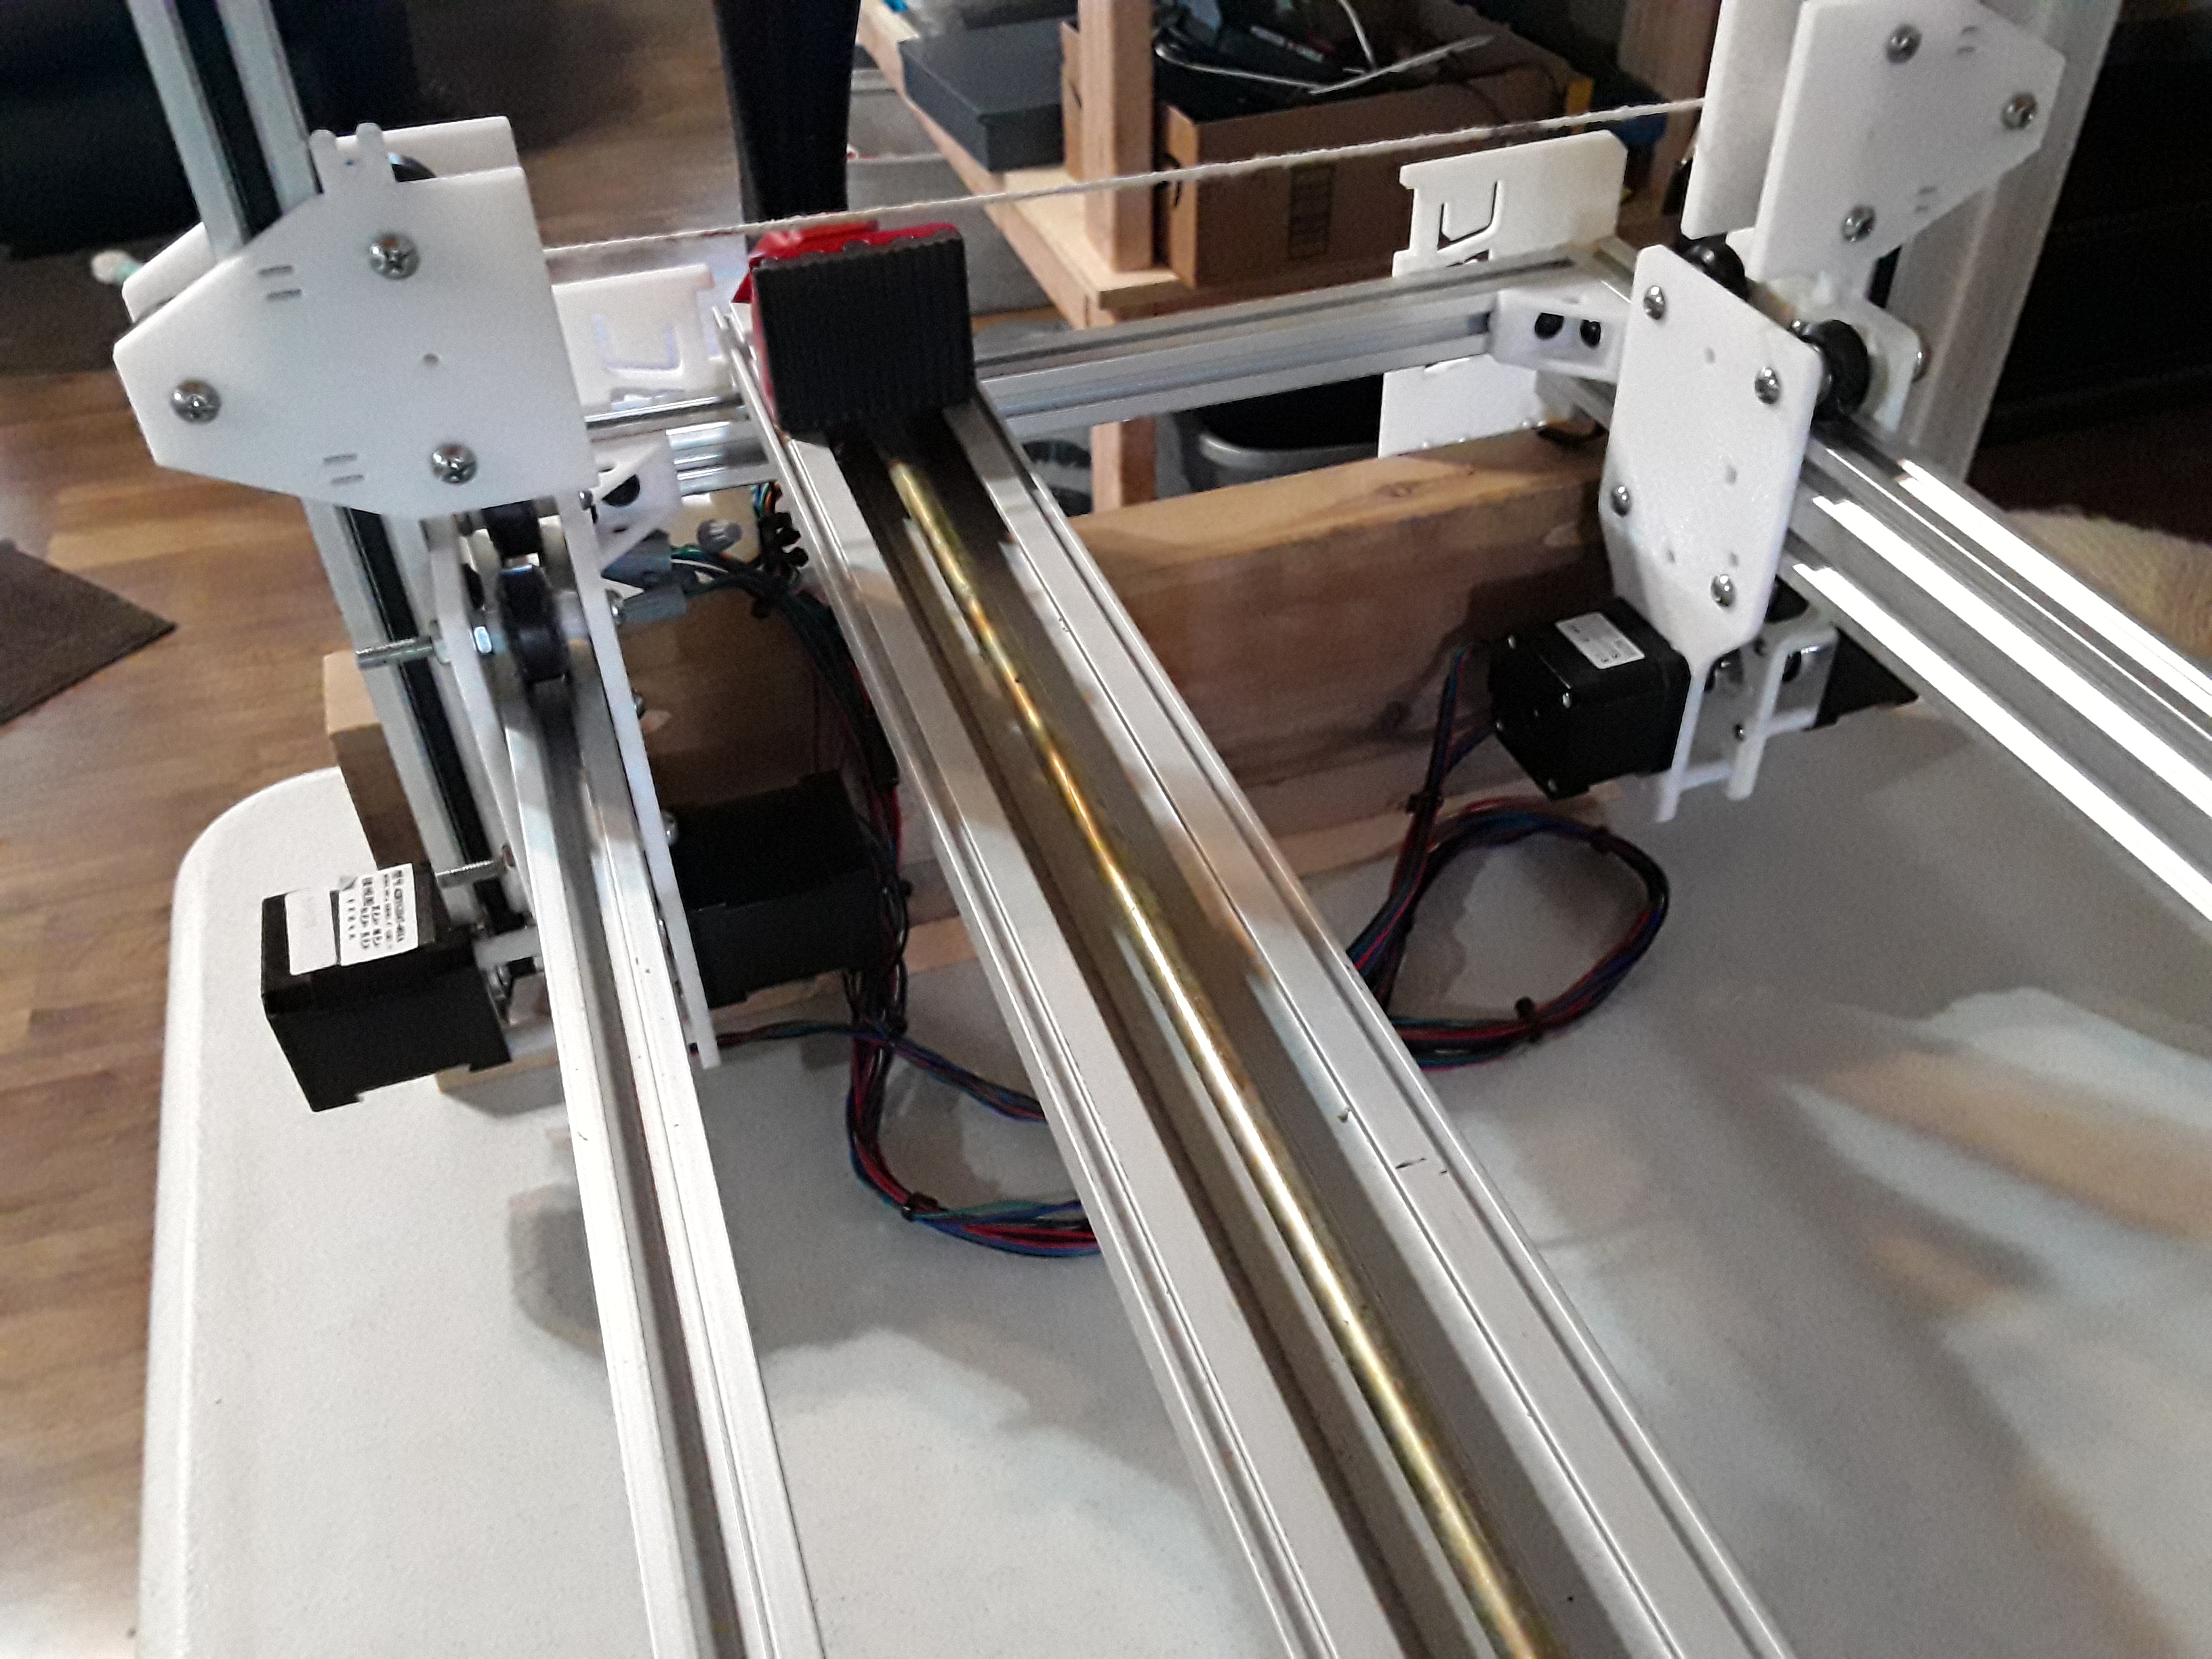
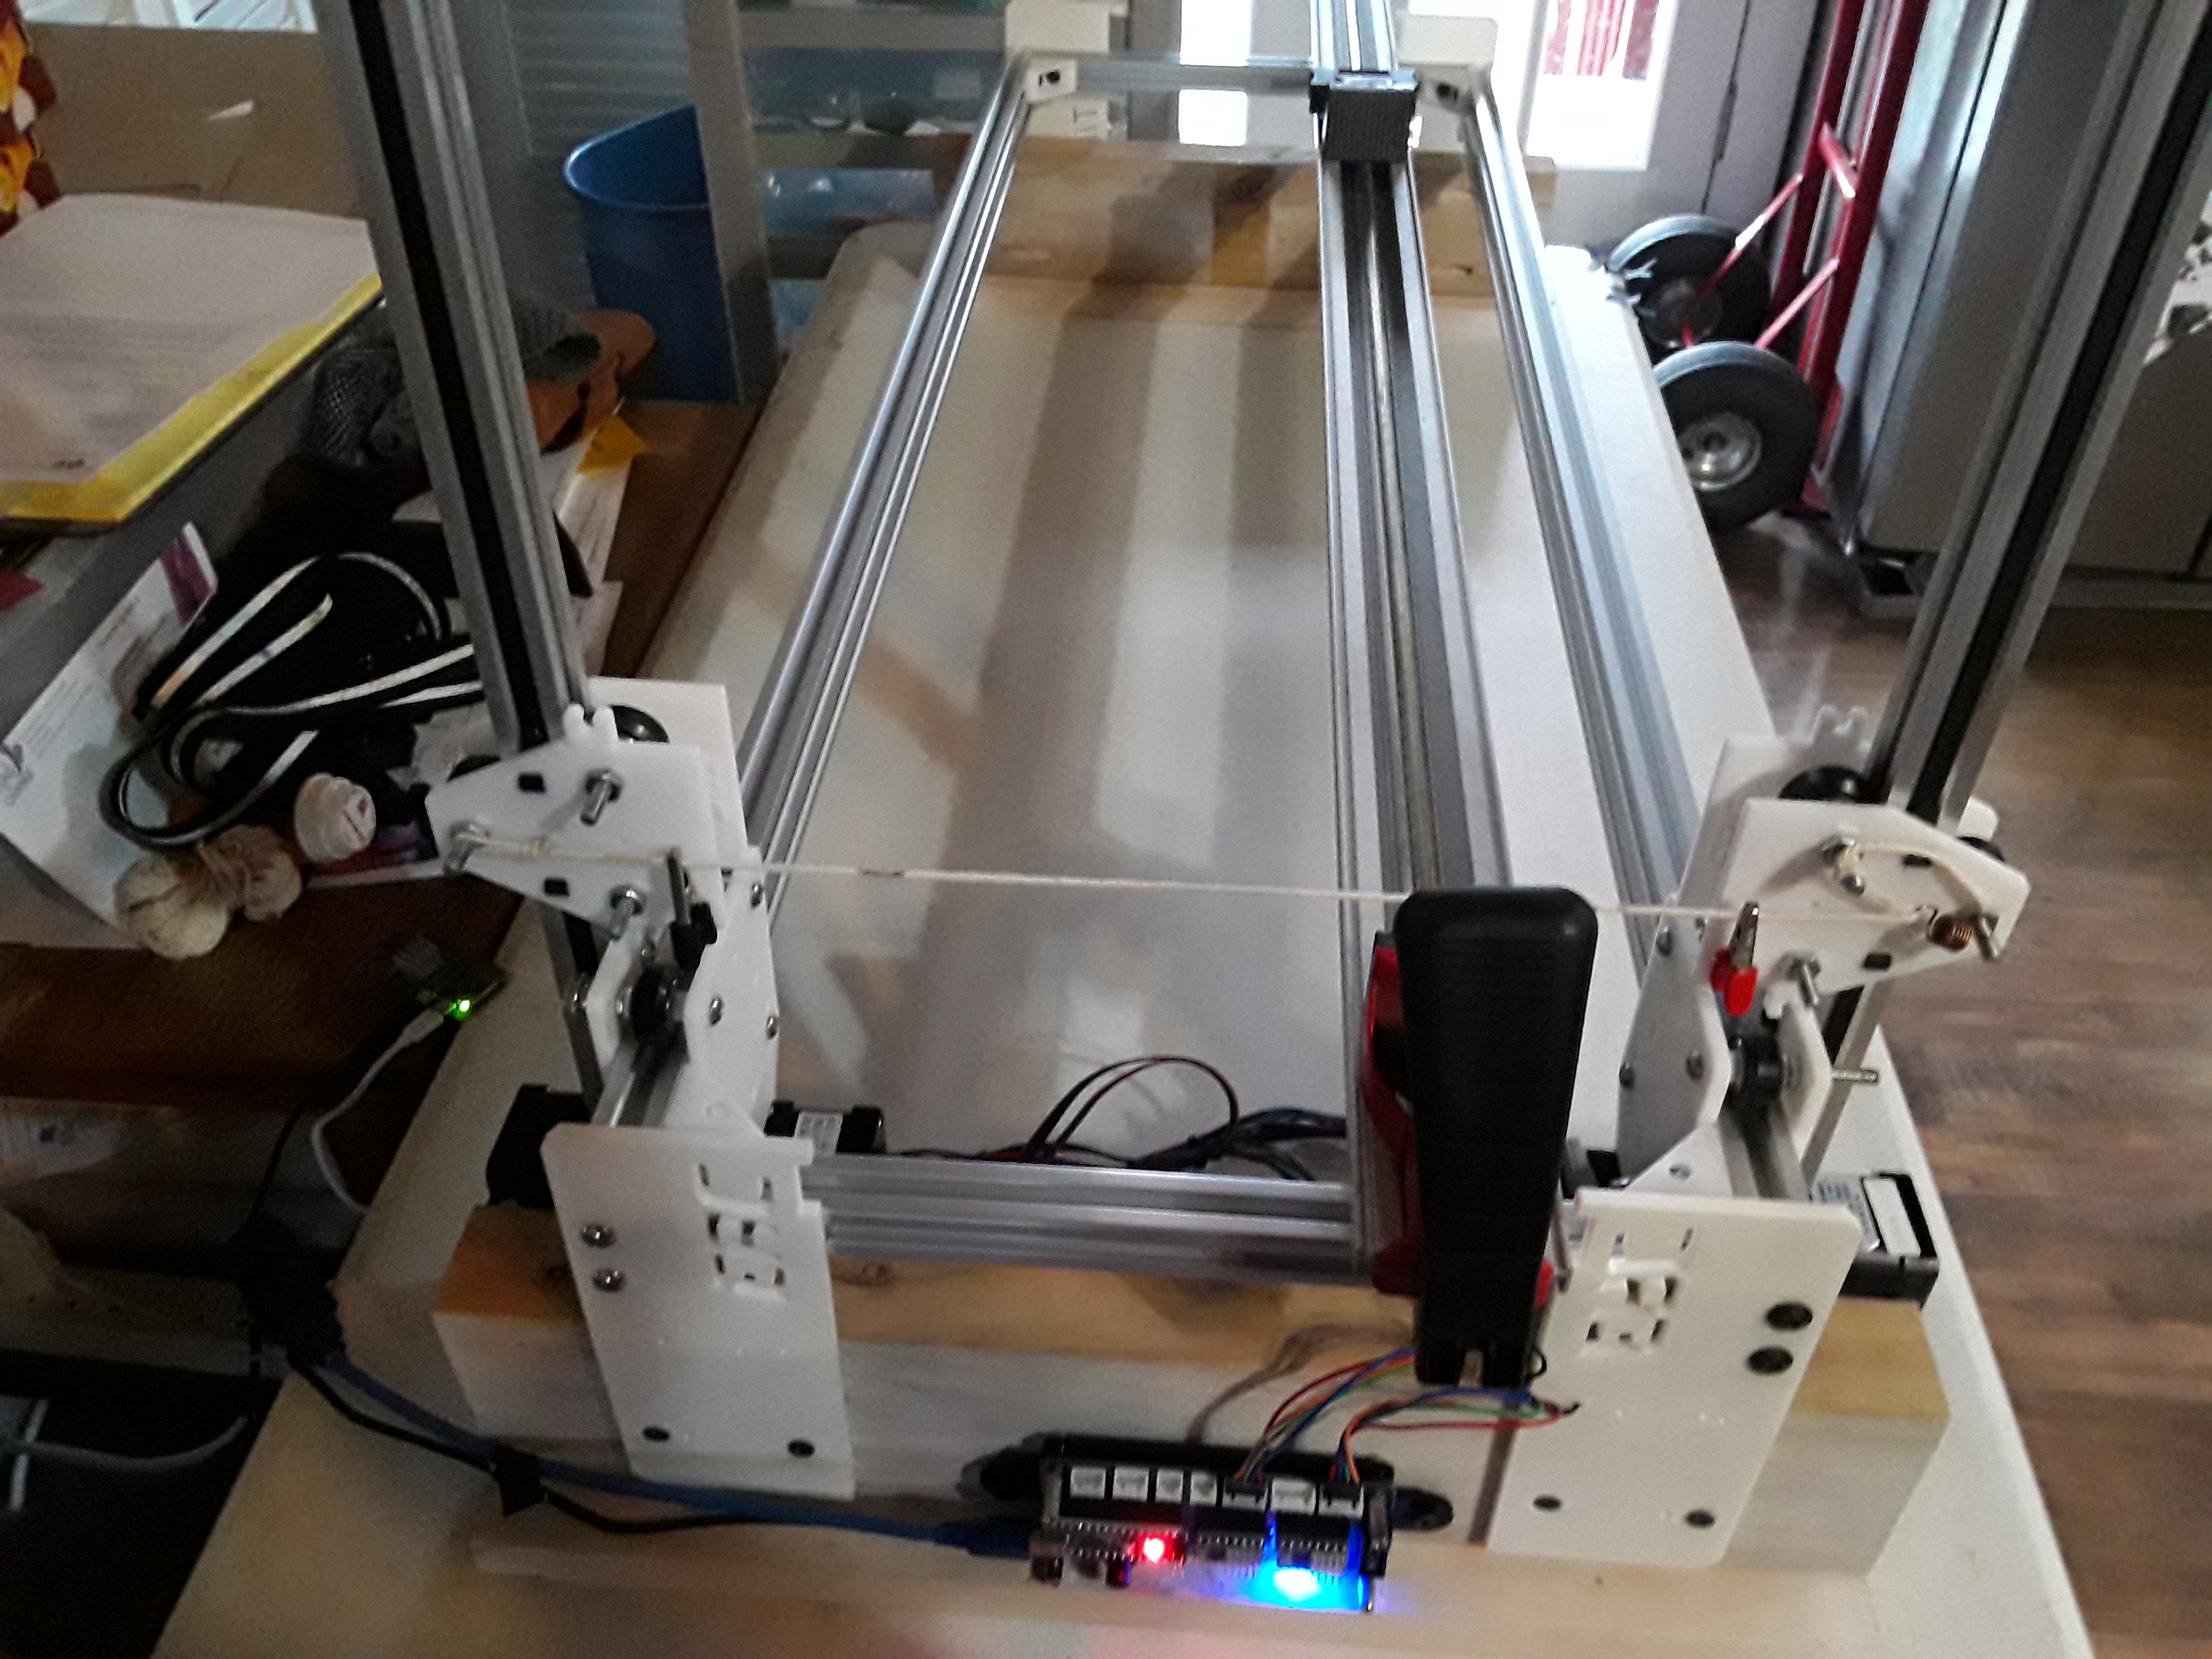
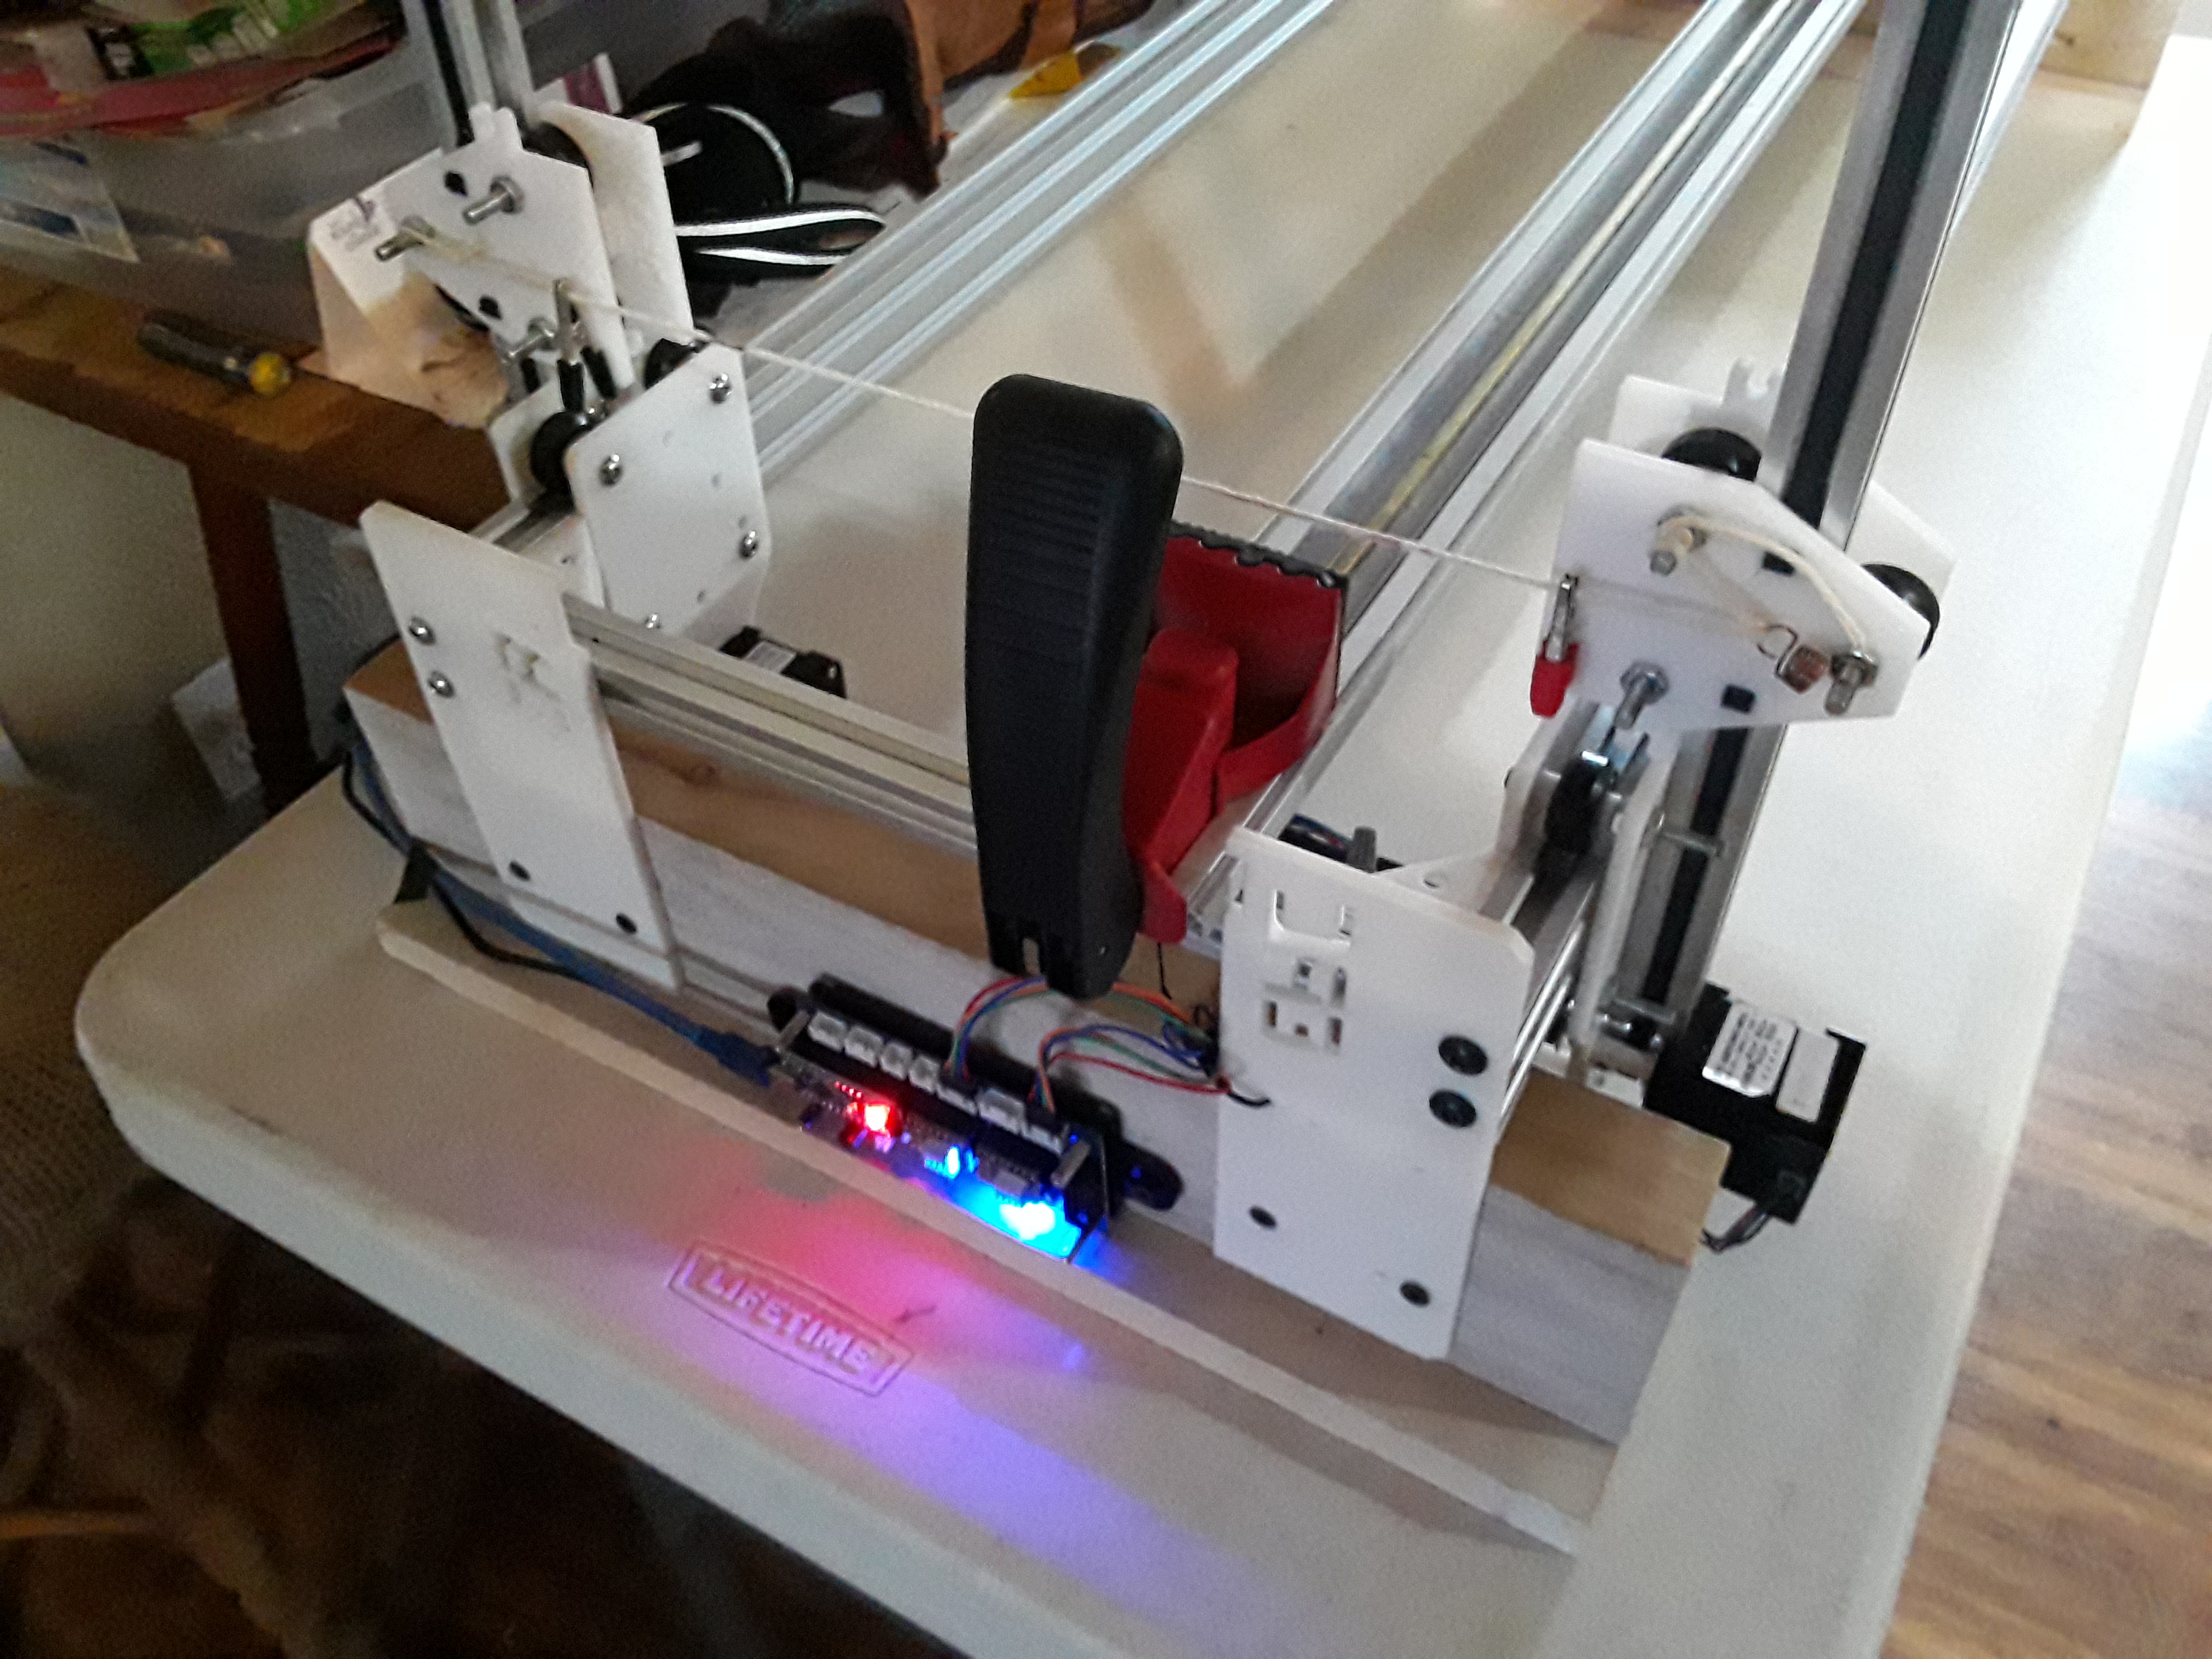
Not really needing yet another needle-cutter, my ERC TimSav minimalist needle-cutter machine had been pushed to the side while I addressed a couple of other projects. But then the stars aligned and my SIL said he'd taken on a job where he needed to cut larger, thicker pieces of foam. So, with a couple of hot-wire designs I'd seen in mind, I decided that TWO TimSav's could be better than one, and... voila! TimSavX2 Hotwire foam cutting machine... a work in progress.


284509_d330fc1f9ea64a9885f07b2b0c09cf7e.jpg


284510_fd32a78055970351ab4d2ef2e9e8fb18.jpg


284512_6b9f8ff062fdfd9e878aa72f7e002617.jpg


284514_23a8c50ca41224faa54a51e22ff9211b.jpg


284516_1c2c787bd073886a21b6ad4ed03a433f.jpg


284518_b19c5baf993c2778e250224f1cd65ded.jpg


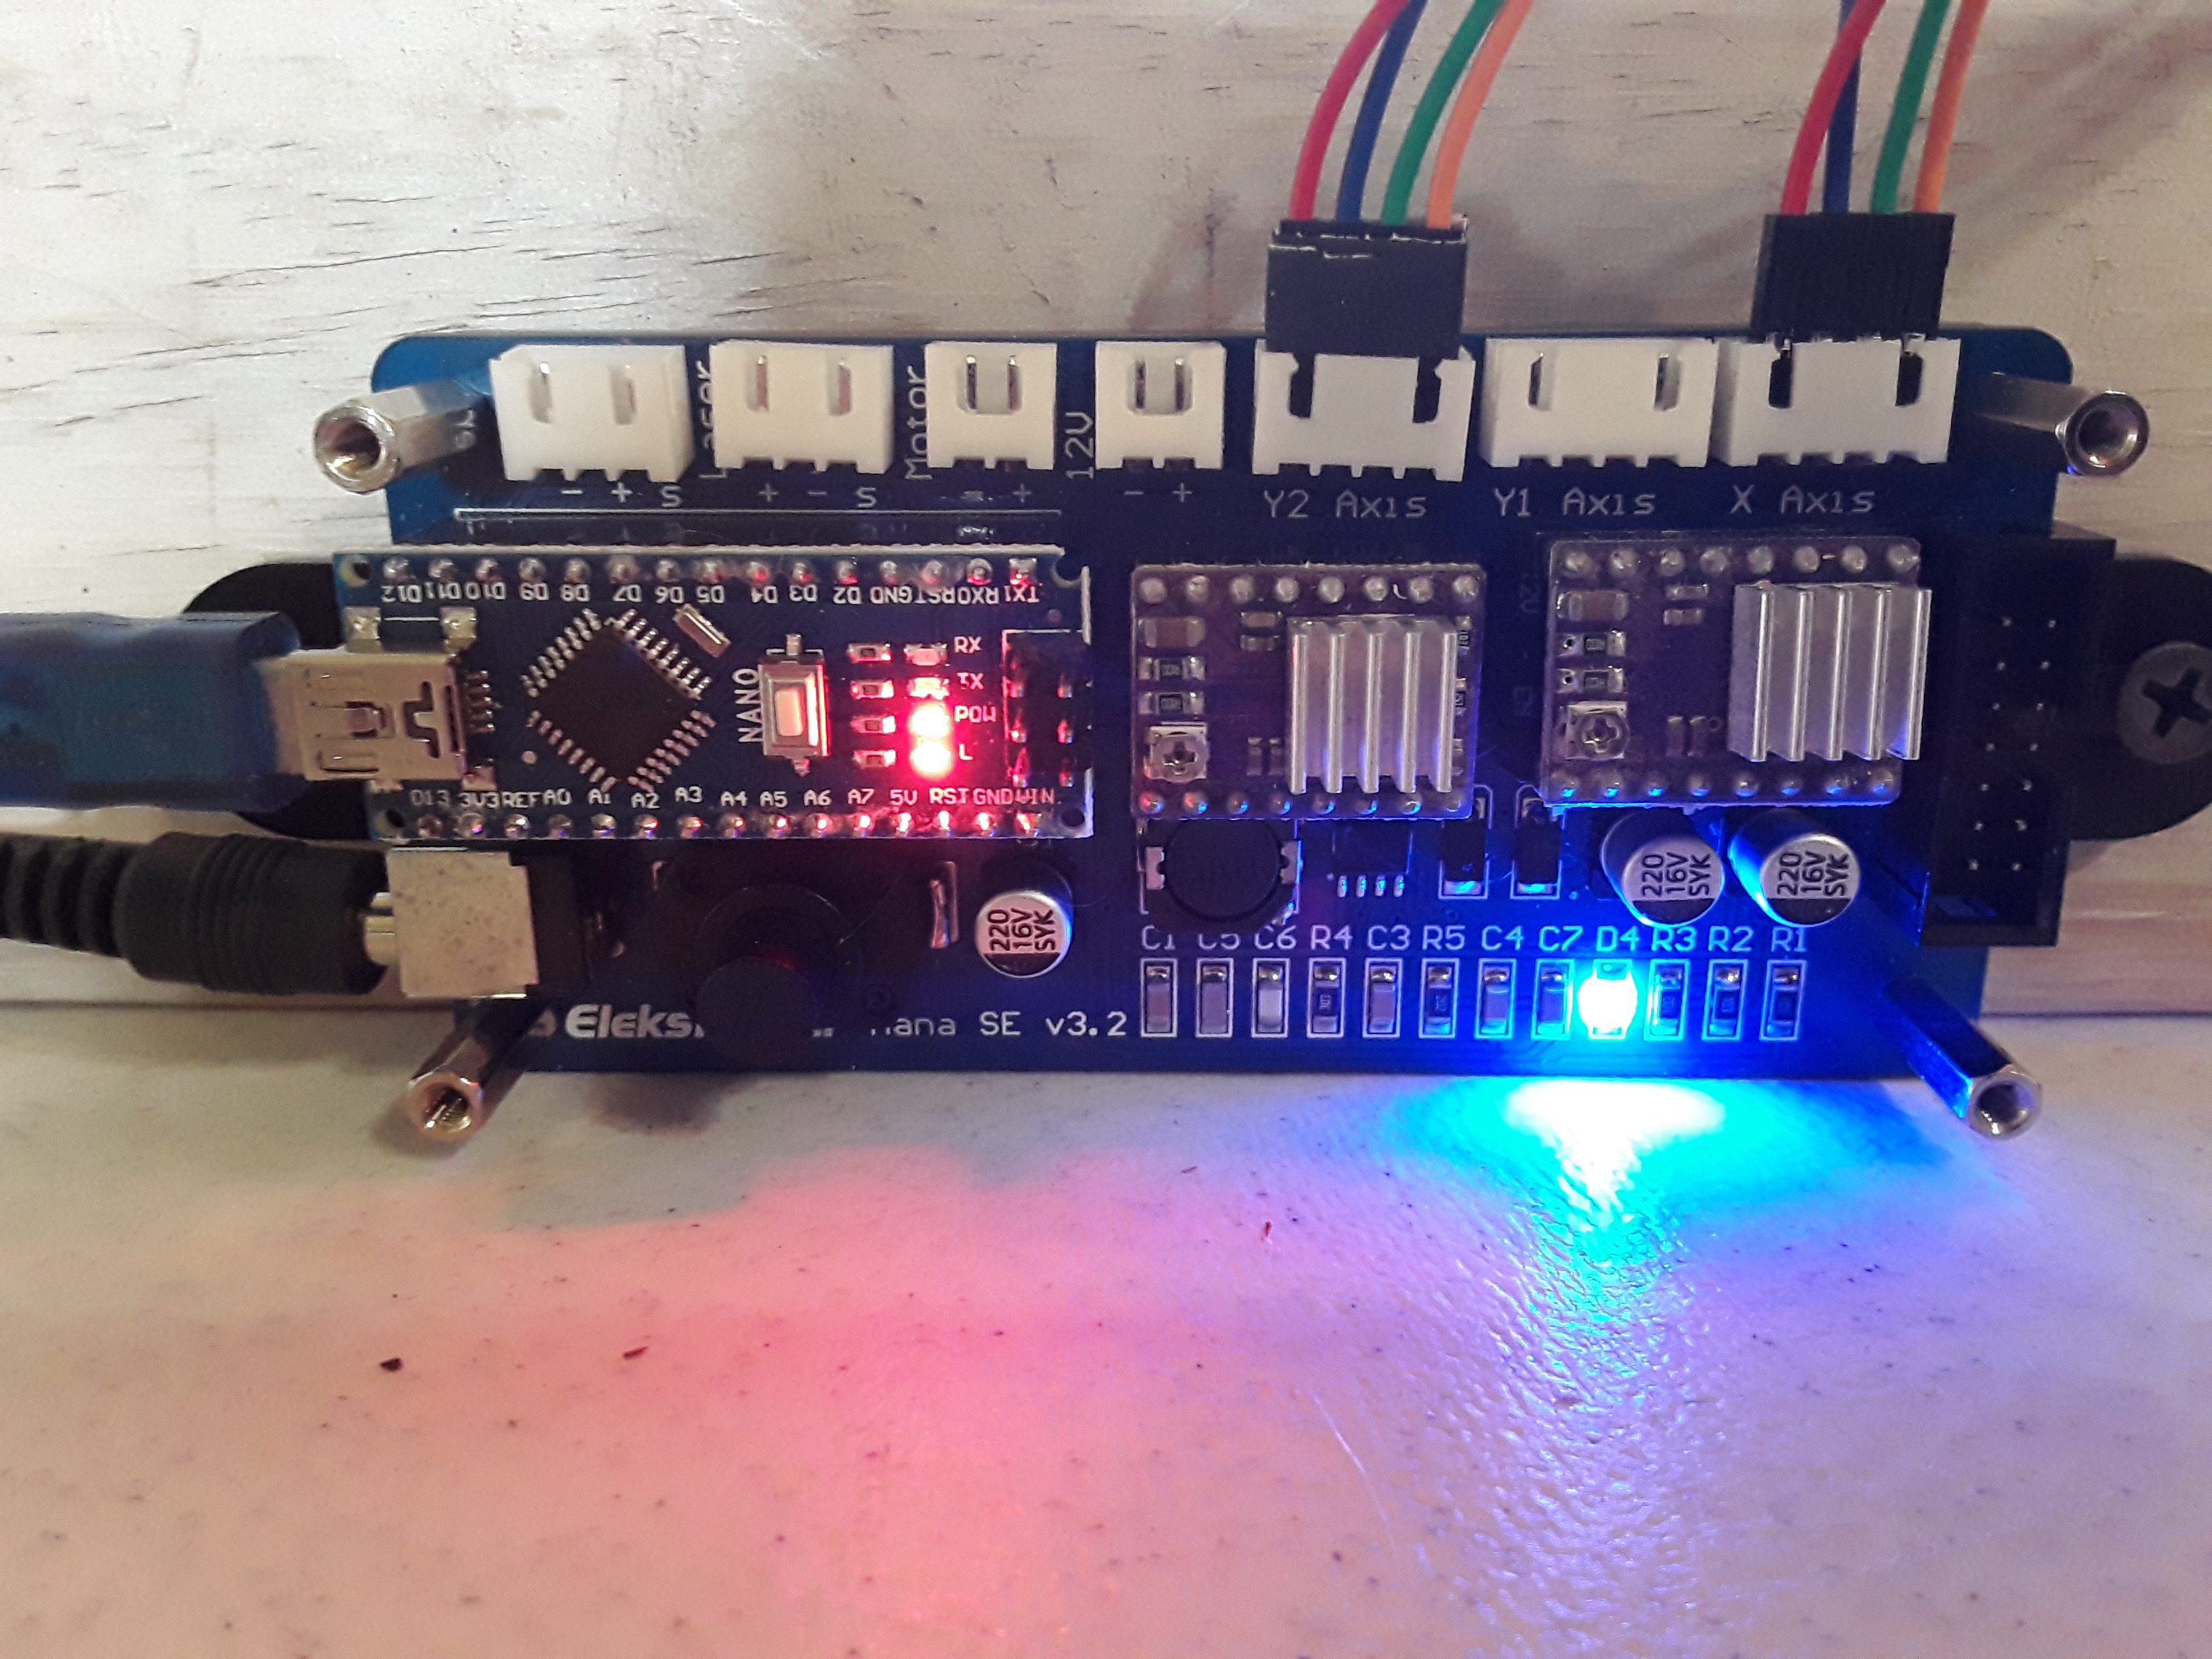
This is simply two almost-stock TimSav's (without stock electronics or needle-cutter, of course...) standing on edge with enough room between that up to 6" thick styrofoam can be placed on edge and a hot-wire run through it. The towers are currently slaved to one another so no independent movement of the towers... straight-through cuts only -- no fancy tapers -- it's a simple 2-axis XY machine with 800mm X 600mm workarea. A simple Eleksmaker Mana SE 2-axis CNC controller is used to drive all four motors... two motors per axis and wired in series, just as with MPCNC. I've got more testing and development to do of course... I now need to address the hot-wire connections and find appropriate feeds and speeds for the foam SIL needs to cut.

Later. -- David
 

dkj4linux

Elite member
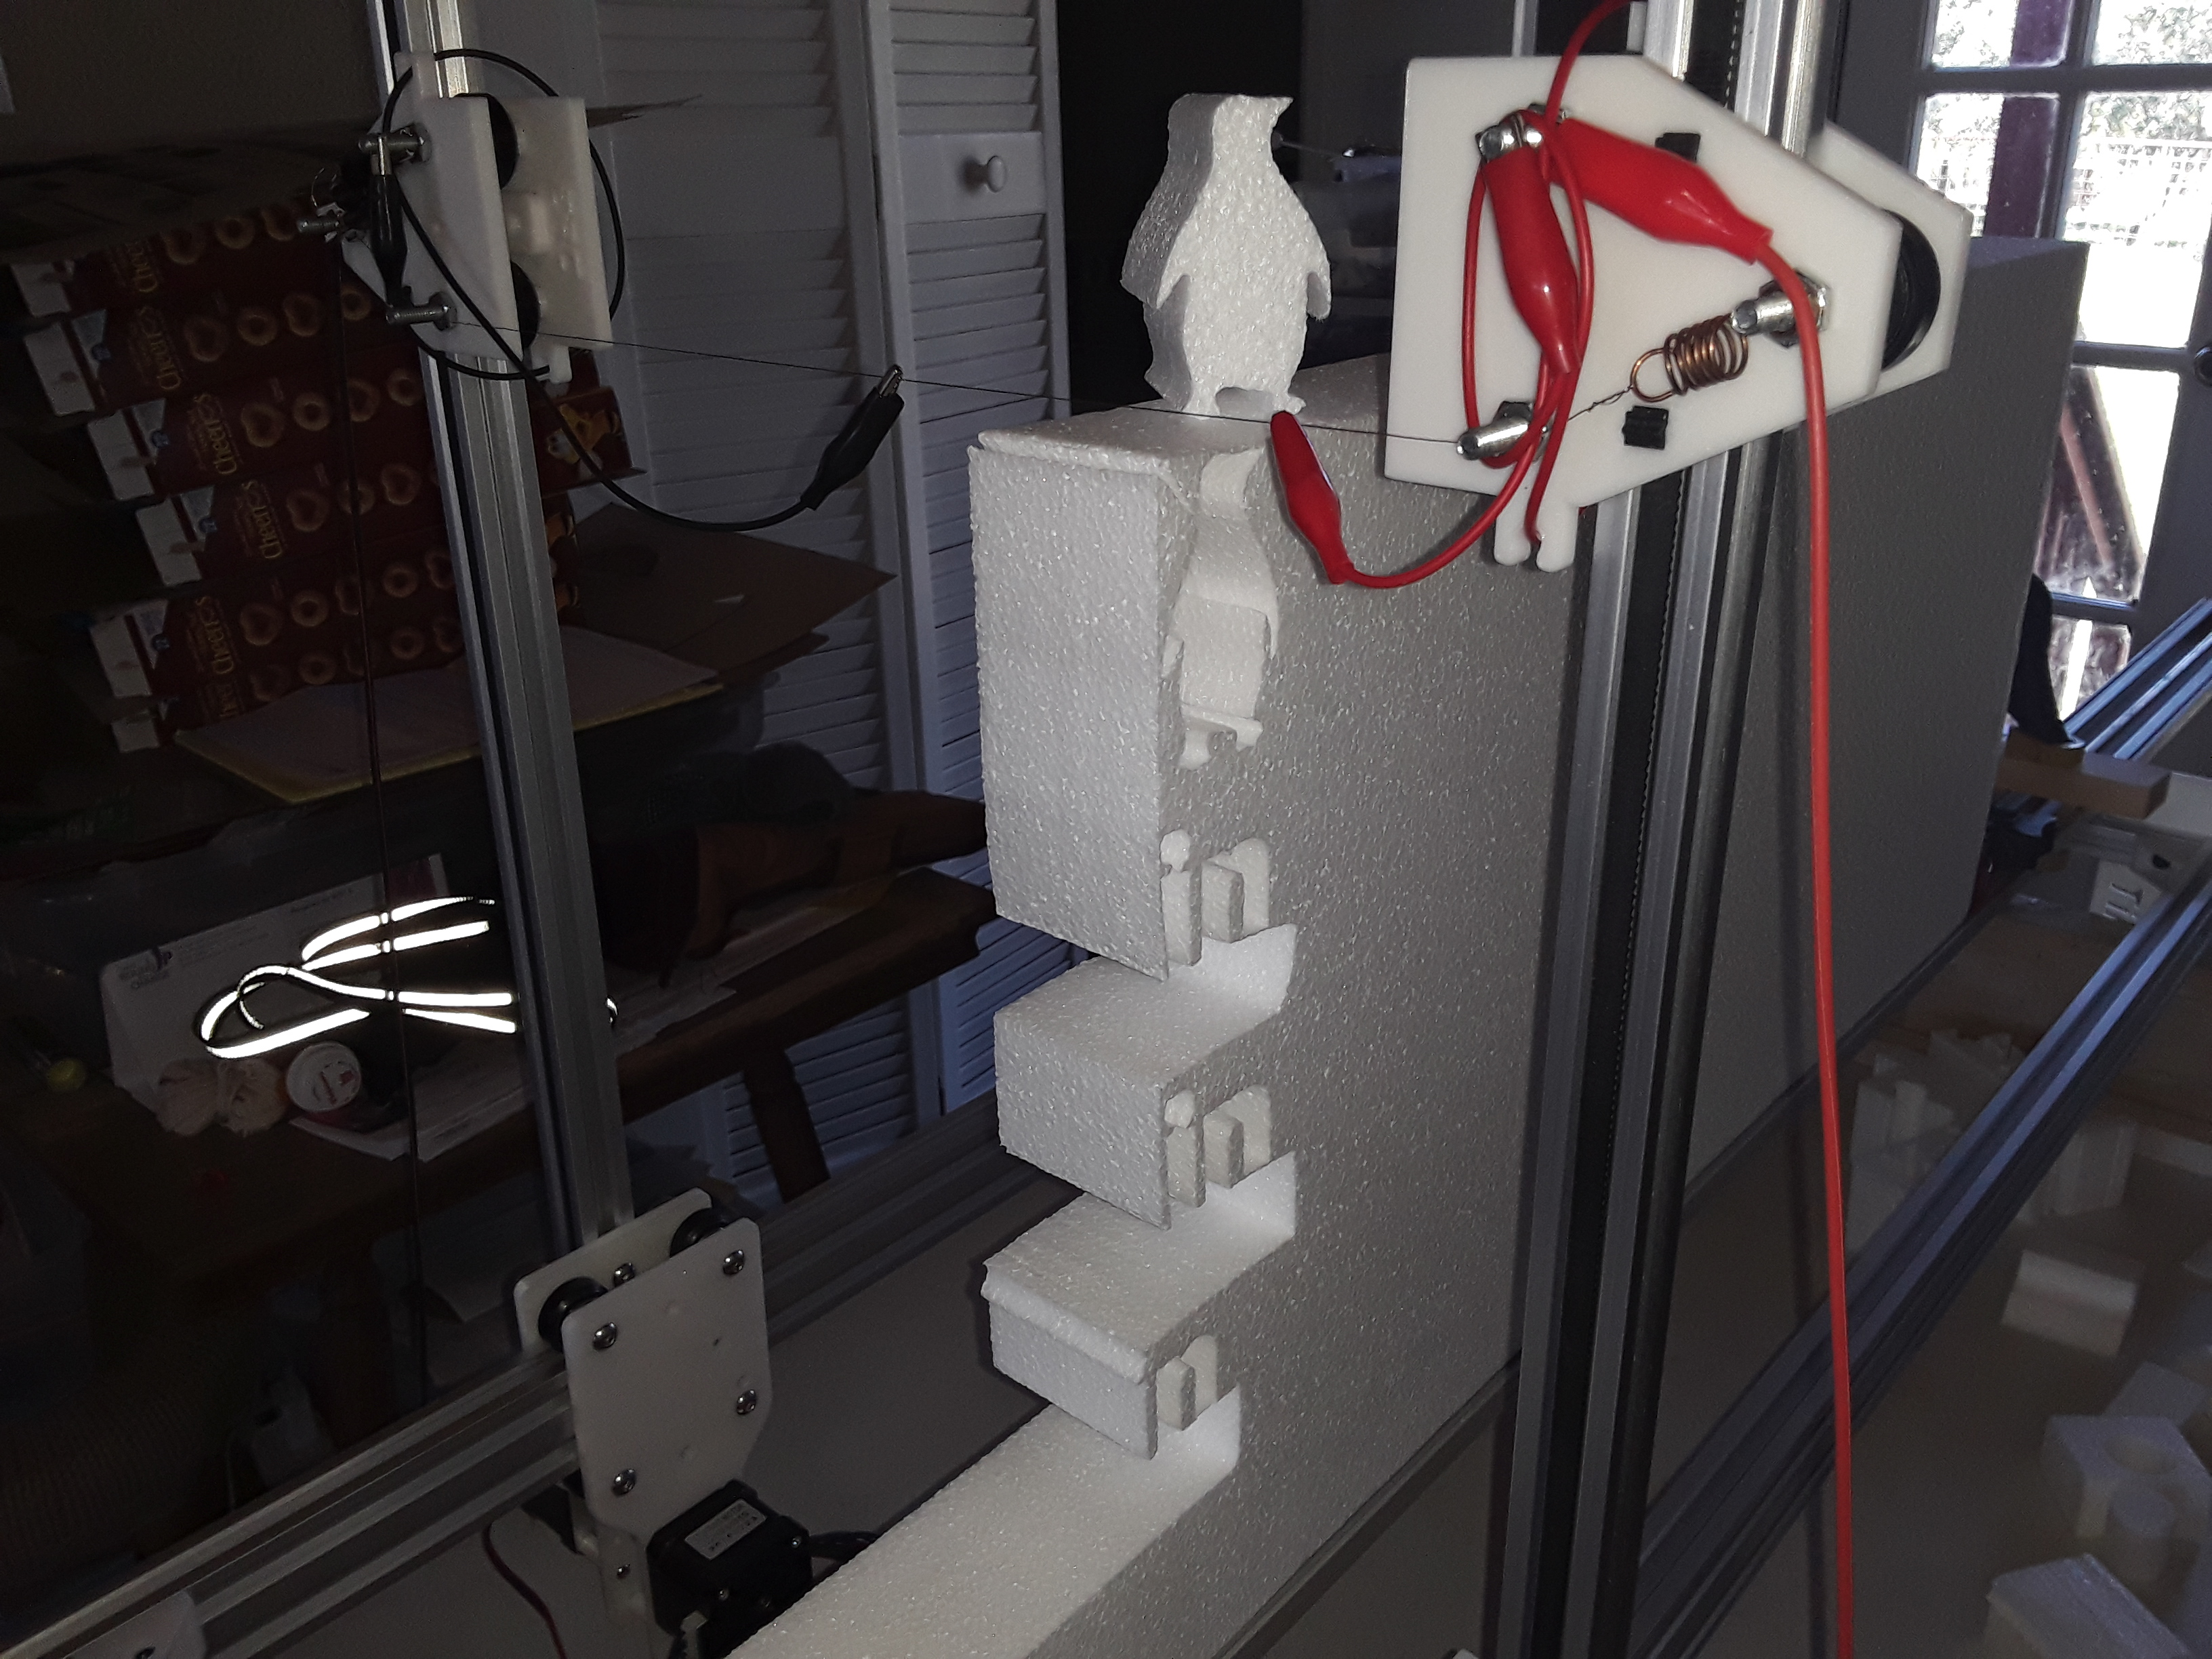
TimSavX2 hotwire machine in action and actual speed...


284902_8f50bcf48d692bb2c5ae54c3bf433efa.jpg


284904_051202aea2e1156c7ae4a2bea1199290.jpg


284906_e0794ef3c1e44813133be23090d9a4f1.jpg


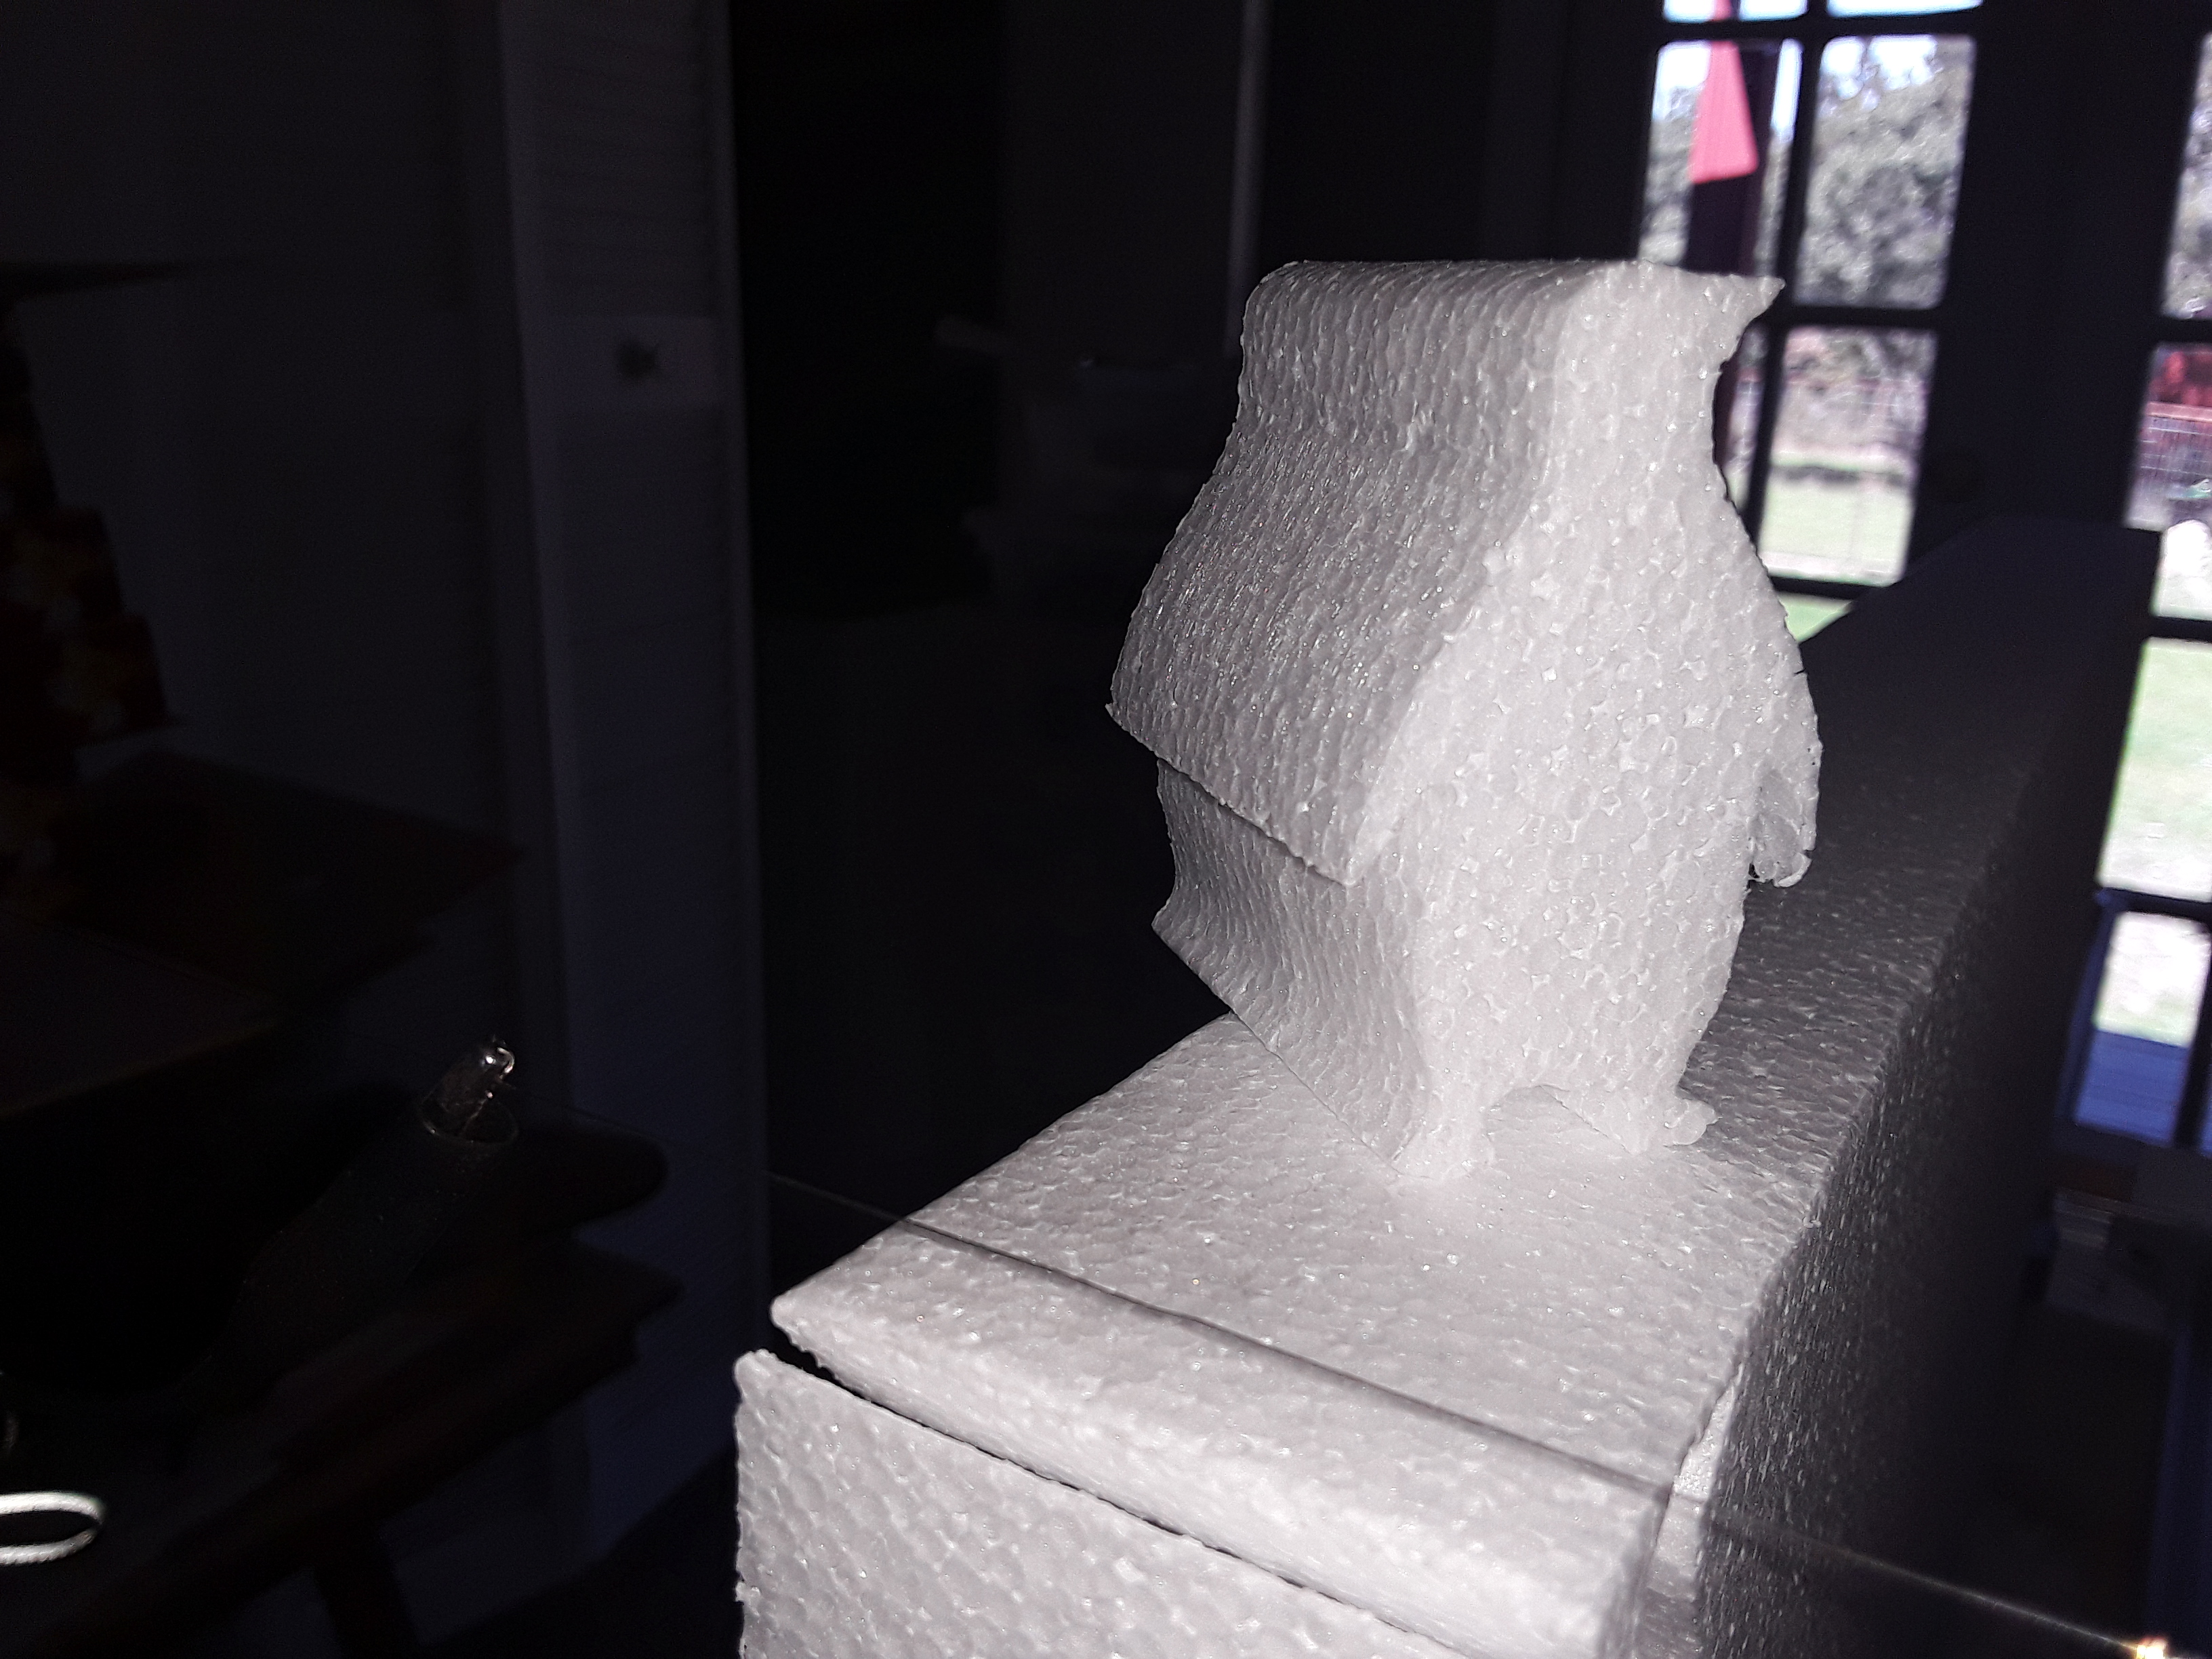
TimSavX2 hotwire machine cutting small penguin shape from 2" thick styrofoam. Using 100mm section of 30 AWG nichrome wire (6.5 ohms/ft) and 1.5 amp current. Feed rate is 1000 mm/min. Grbl 1.1 firmware running on inexpensive Eleksmaker Mana SE v3.2 2-axis CNC controller.

-- David
 

Keno

Well-known member
Just wondering if we are going to see this in wider version to cut wing panel 30"? I can see this working. Just a note I used .025 piano wire for cutting seem to work quite well.
 

dkj4linux

Elite member
Just wondering if we are going to see this in wider version to cut wing panel 30"? I can see this working. Just a note I used .025 piano wire for cutting seem to work quite well.
No, Ken... KISS is still king at my house and this is a simple two-axis beast that meets my SIL's need at the moment. No independent towers, no fancy tapers for me… the towers are “slaved” together with the corresponding motors wired in series, ala MPCNC, so just straight-through cuts for now. Everything is in place, of course, should I ever need independent towers... maybe a project for someone else who's brain hurts less when they think in more than X and Y.

Almost any high-carbon steel wire can be used... I've done that also. But I also have a roll of 30 AWG nichrome wire (6.5 ohms/ft) that I had ordered at one time and it works much better. With the smaller diameter wire and higher resistance, you can attain the temperature needed to cut the styrofoam with much lower current (8 volts at 1 - 1.5 amps) and much narrower kerf. I'll save my 0.025" piano wire for my needle cutters... ;)
 

Keno

Well-known member
No, Ken... KISS is still king at my house and this is a simple two-axis beast that meets my SIL's need at the moment. No independent towers, no fancy tapers for me… the towers are “slaved” together with the corresponding motors wired in series, ala MPCNC, so just straight-through cuts for now. Everything is in place, of course, should I ever need independent towers... maybe a project for someone else who's brain hurts less when they think in more than X and Y.

Almost any high-carbon steel wire can be used... I've done that also. But I also have a roll of 30 AWG nichrome wire (6.5 ohms/ft) that I had ordered at one time and it works much better. With the smaller diameter wire and higher resistance, you can attain the temperature needed to cut the styrofoam with much lower current (8 volts at 1 - 1.5 amps) and much narrower kerf. I'll save my 0.025" piano wire for my needle cutters... ;)
Yah, have to agree, I always wanted to try nichrome wire as I have heard it best. Maybe somebody will pick up on the idea. Ah, I now into 3d printing working on a 3D Labprint Qtrainer, so far its looking pretty good.
 

dkj4linux

Elite member
More fun with TimSavX2 hot-wire foam cutter...


285498_bd8611e1d53605e1bb0a417a8347cb54.jpg


285500_ca1ddcef050622fab96c4f29d3124112.jpg


285502_7c352aa1438b30d14fe489060a7afc1e.jpg


285504_76233e3d215a5c0ce3c5e4a0f09cd65d.jpg


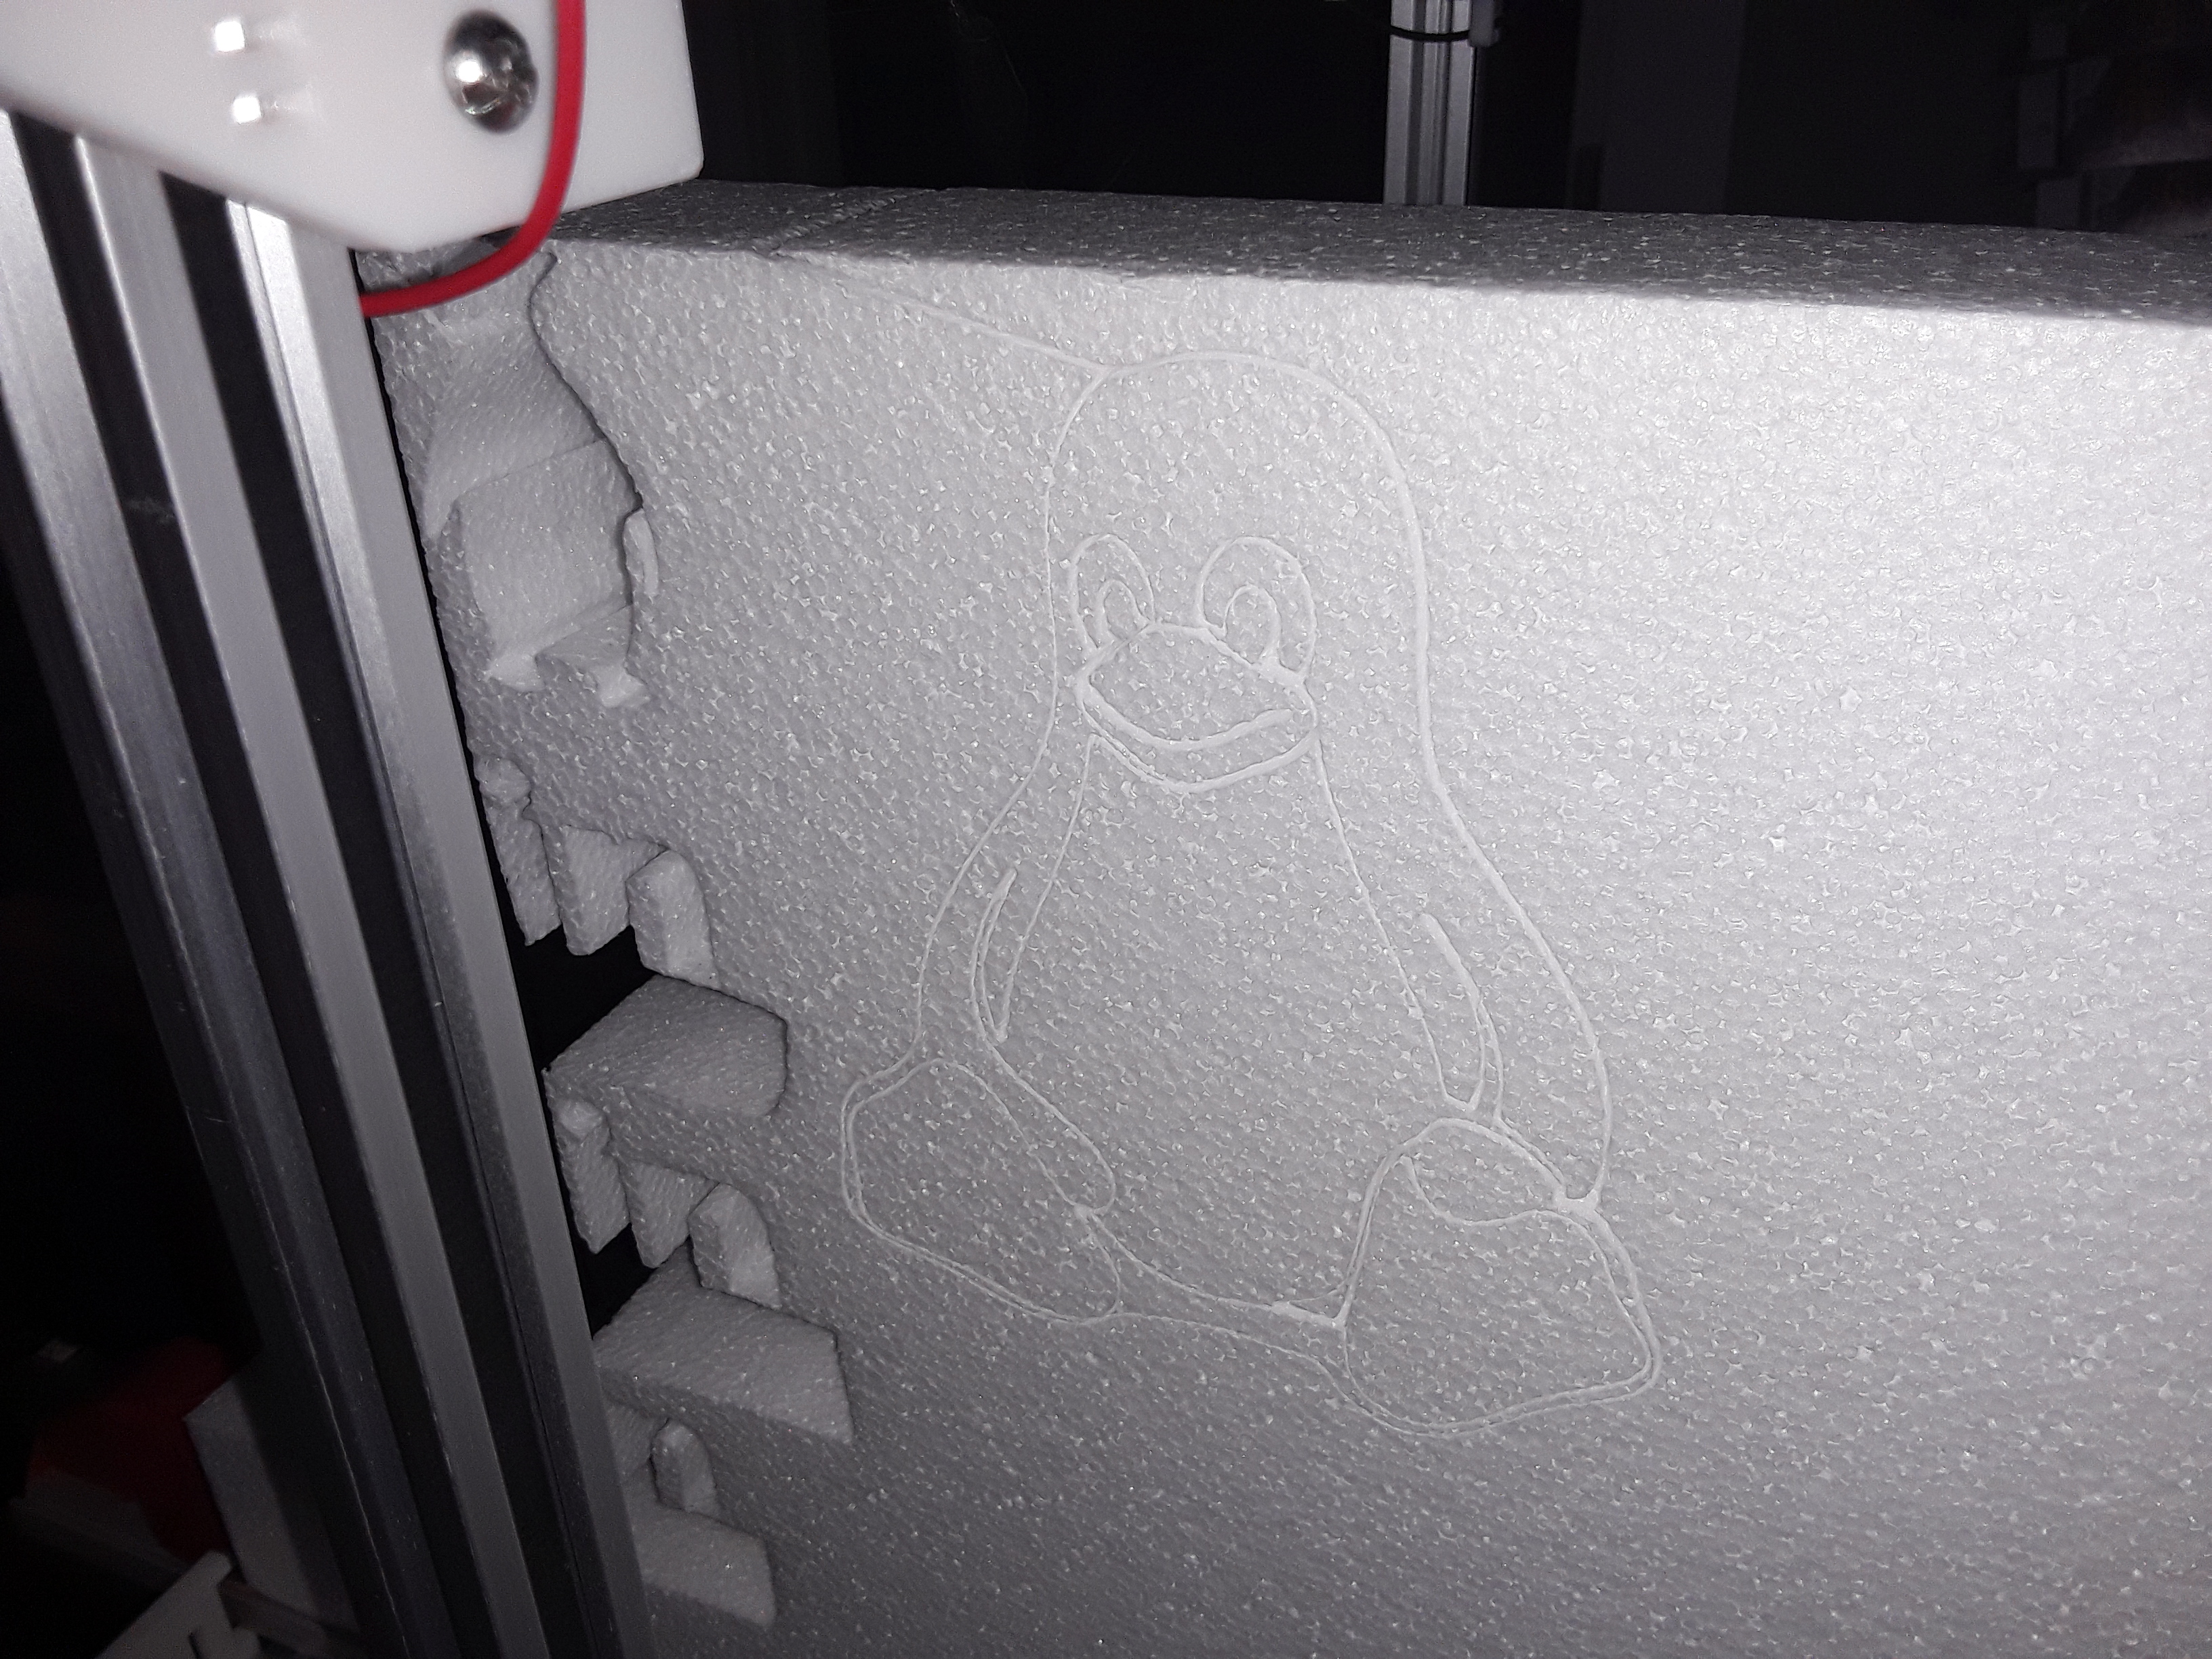
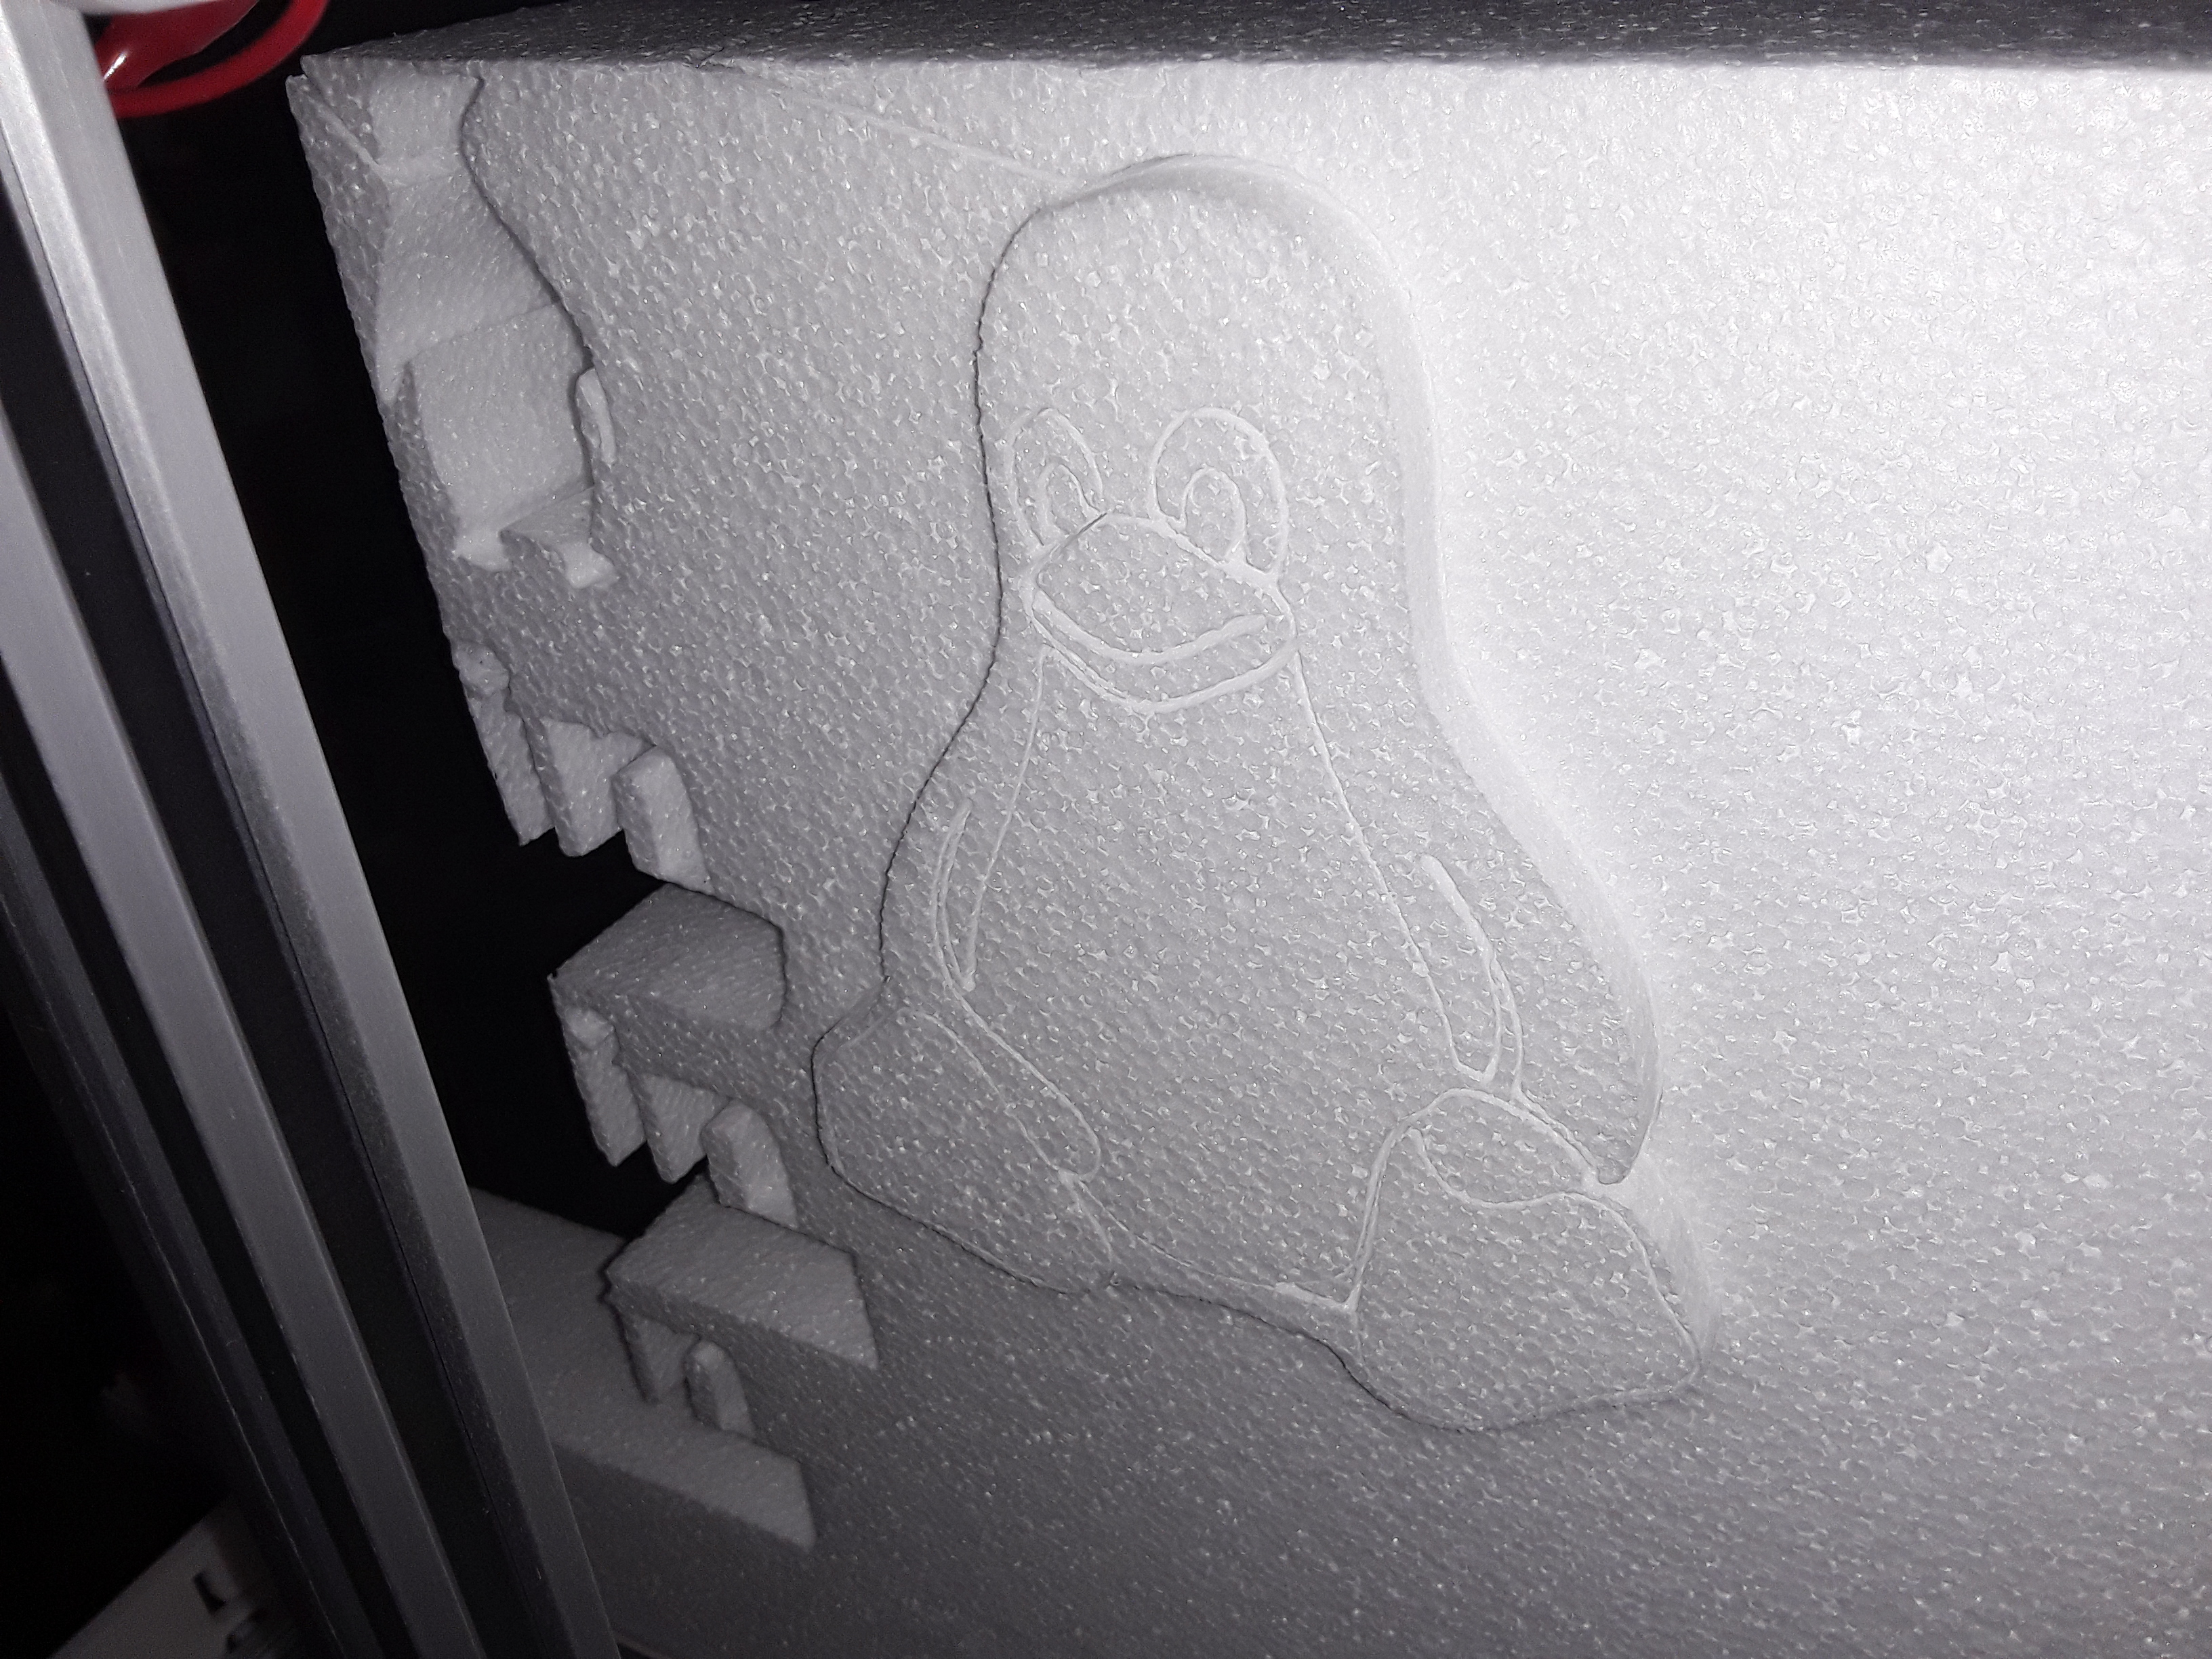
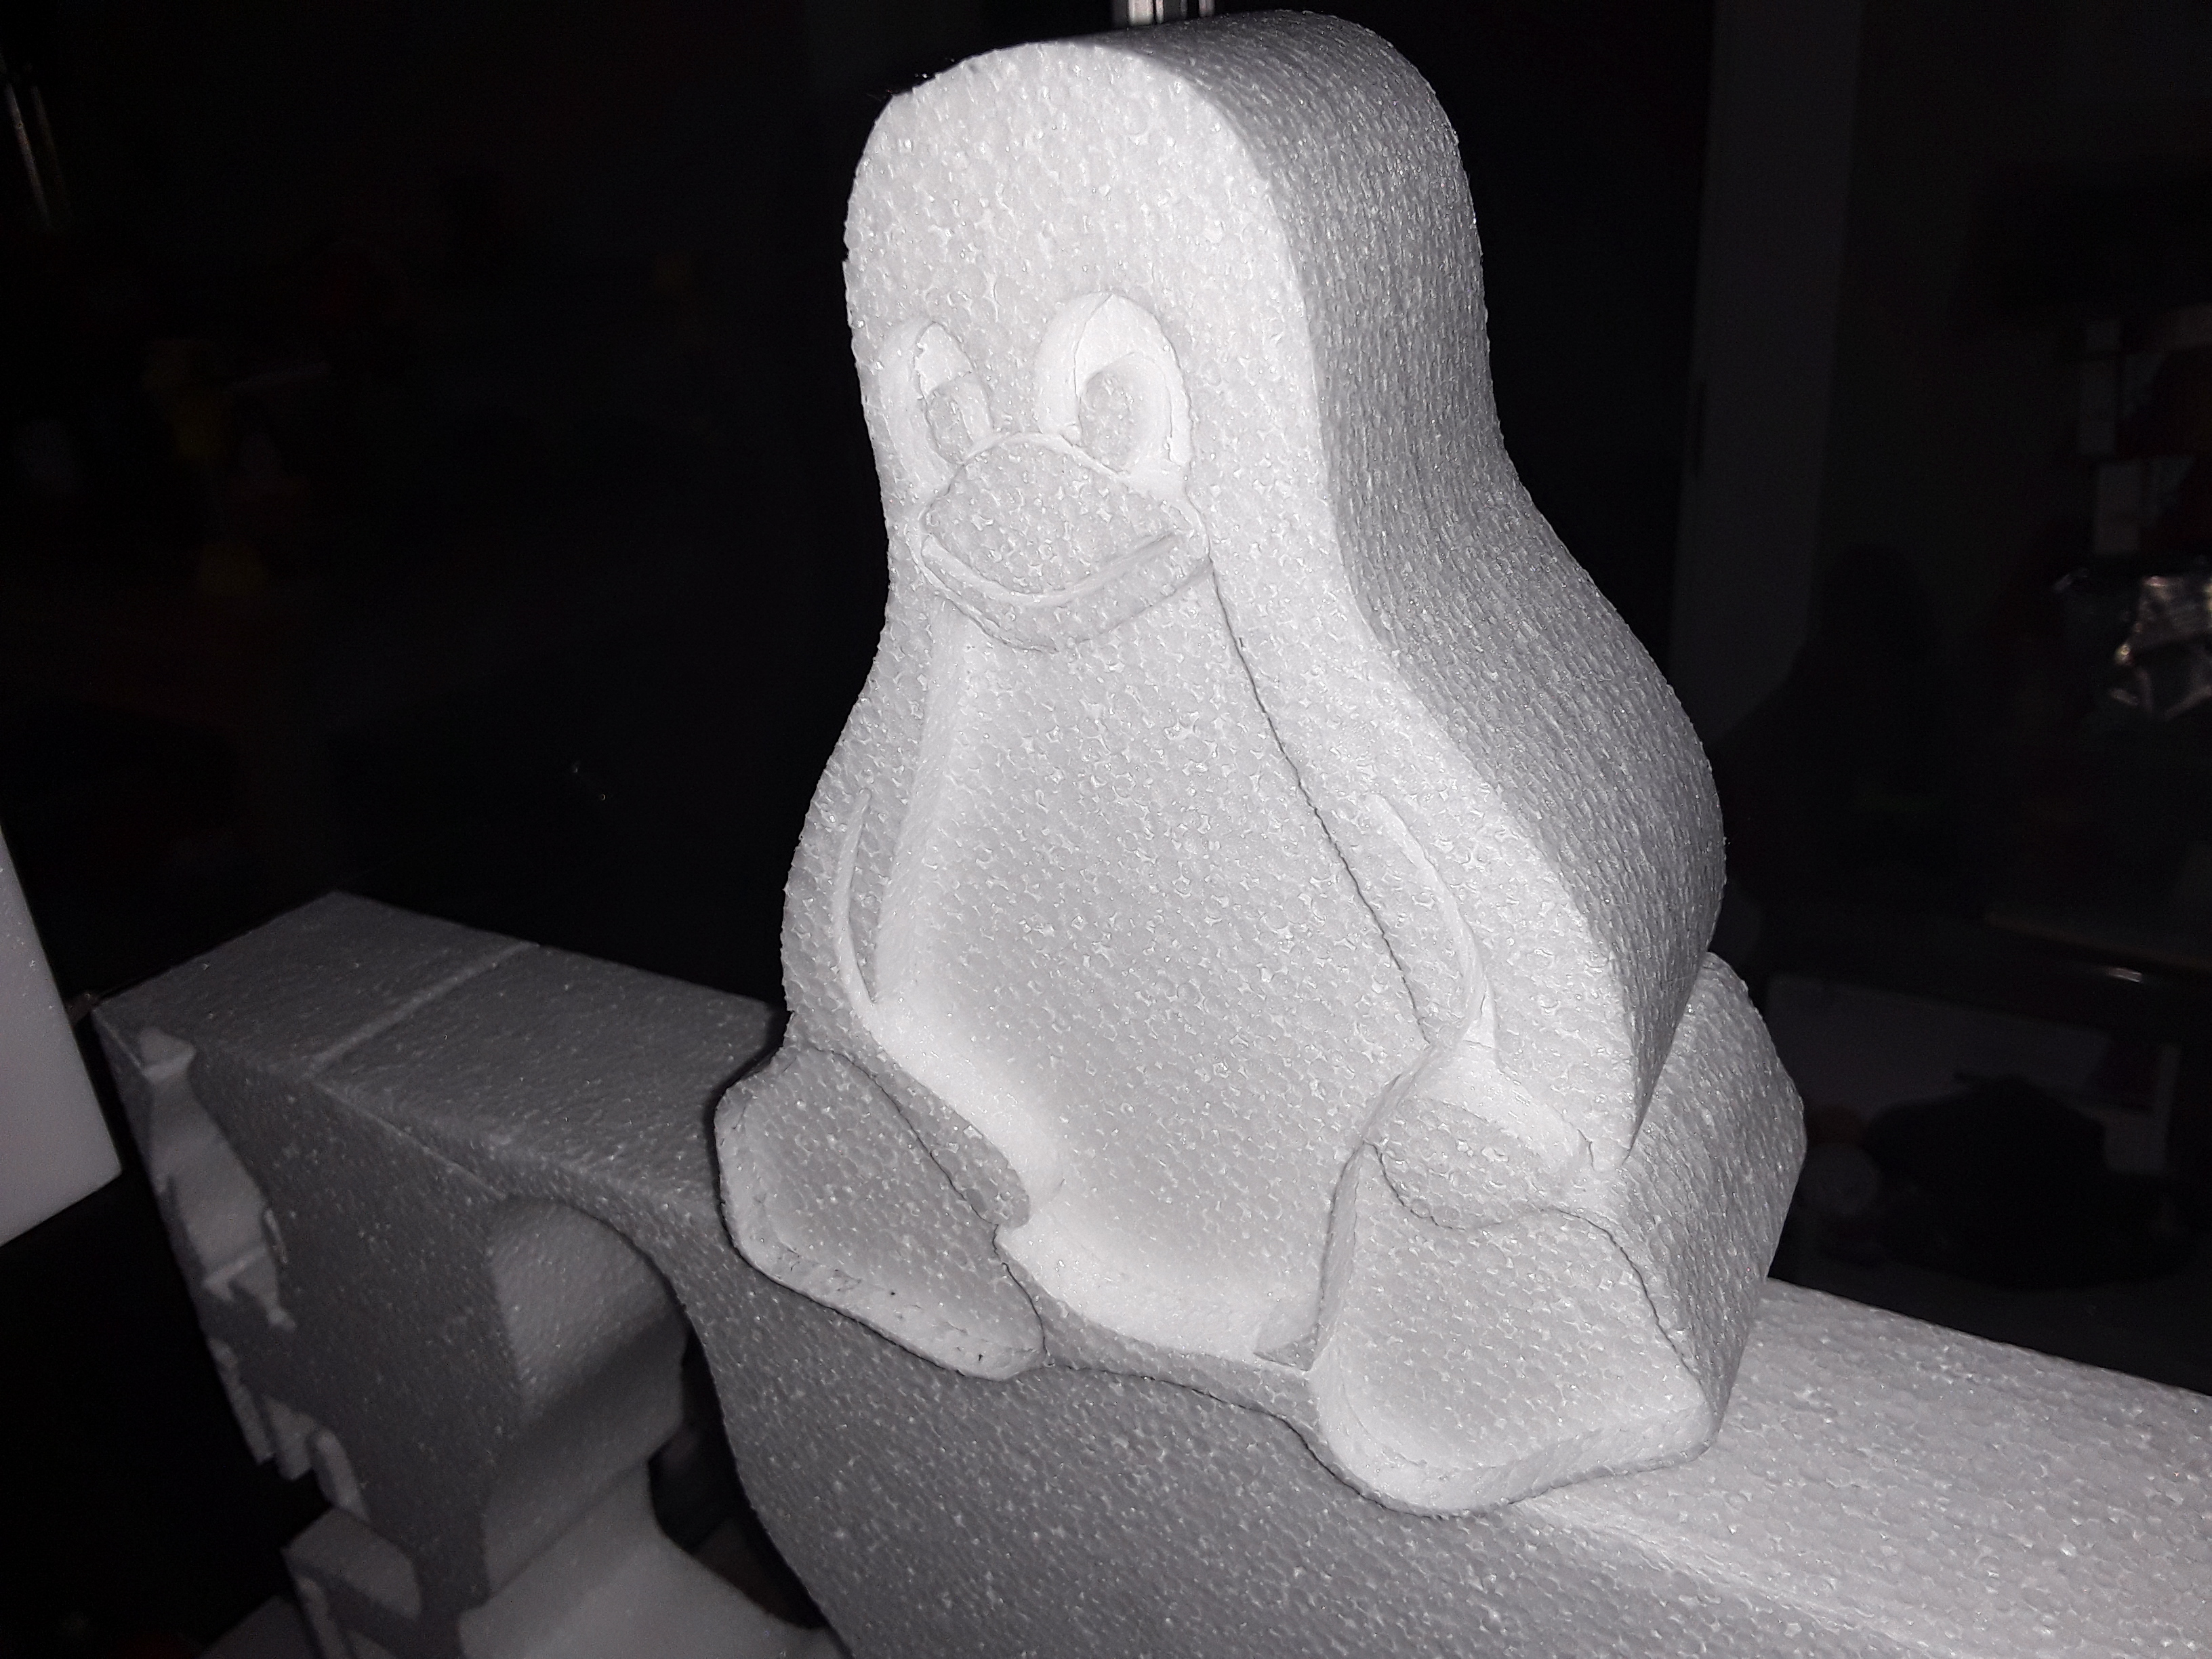
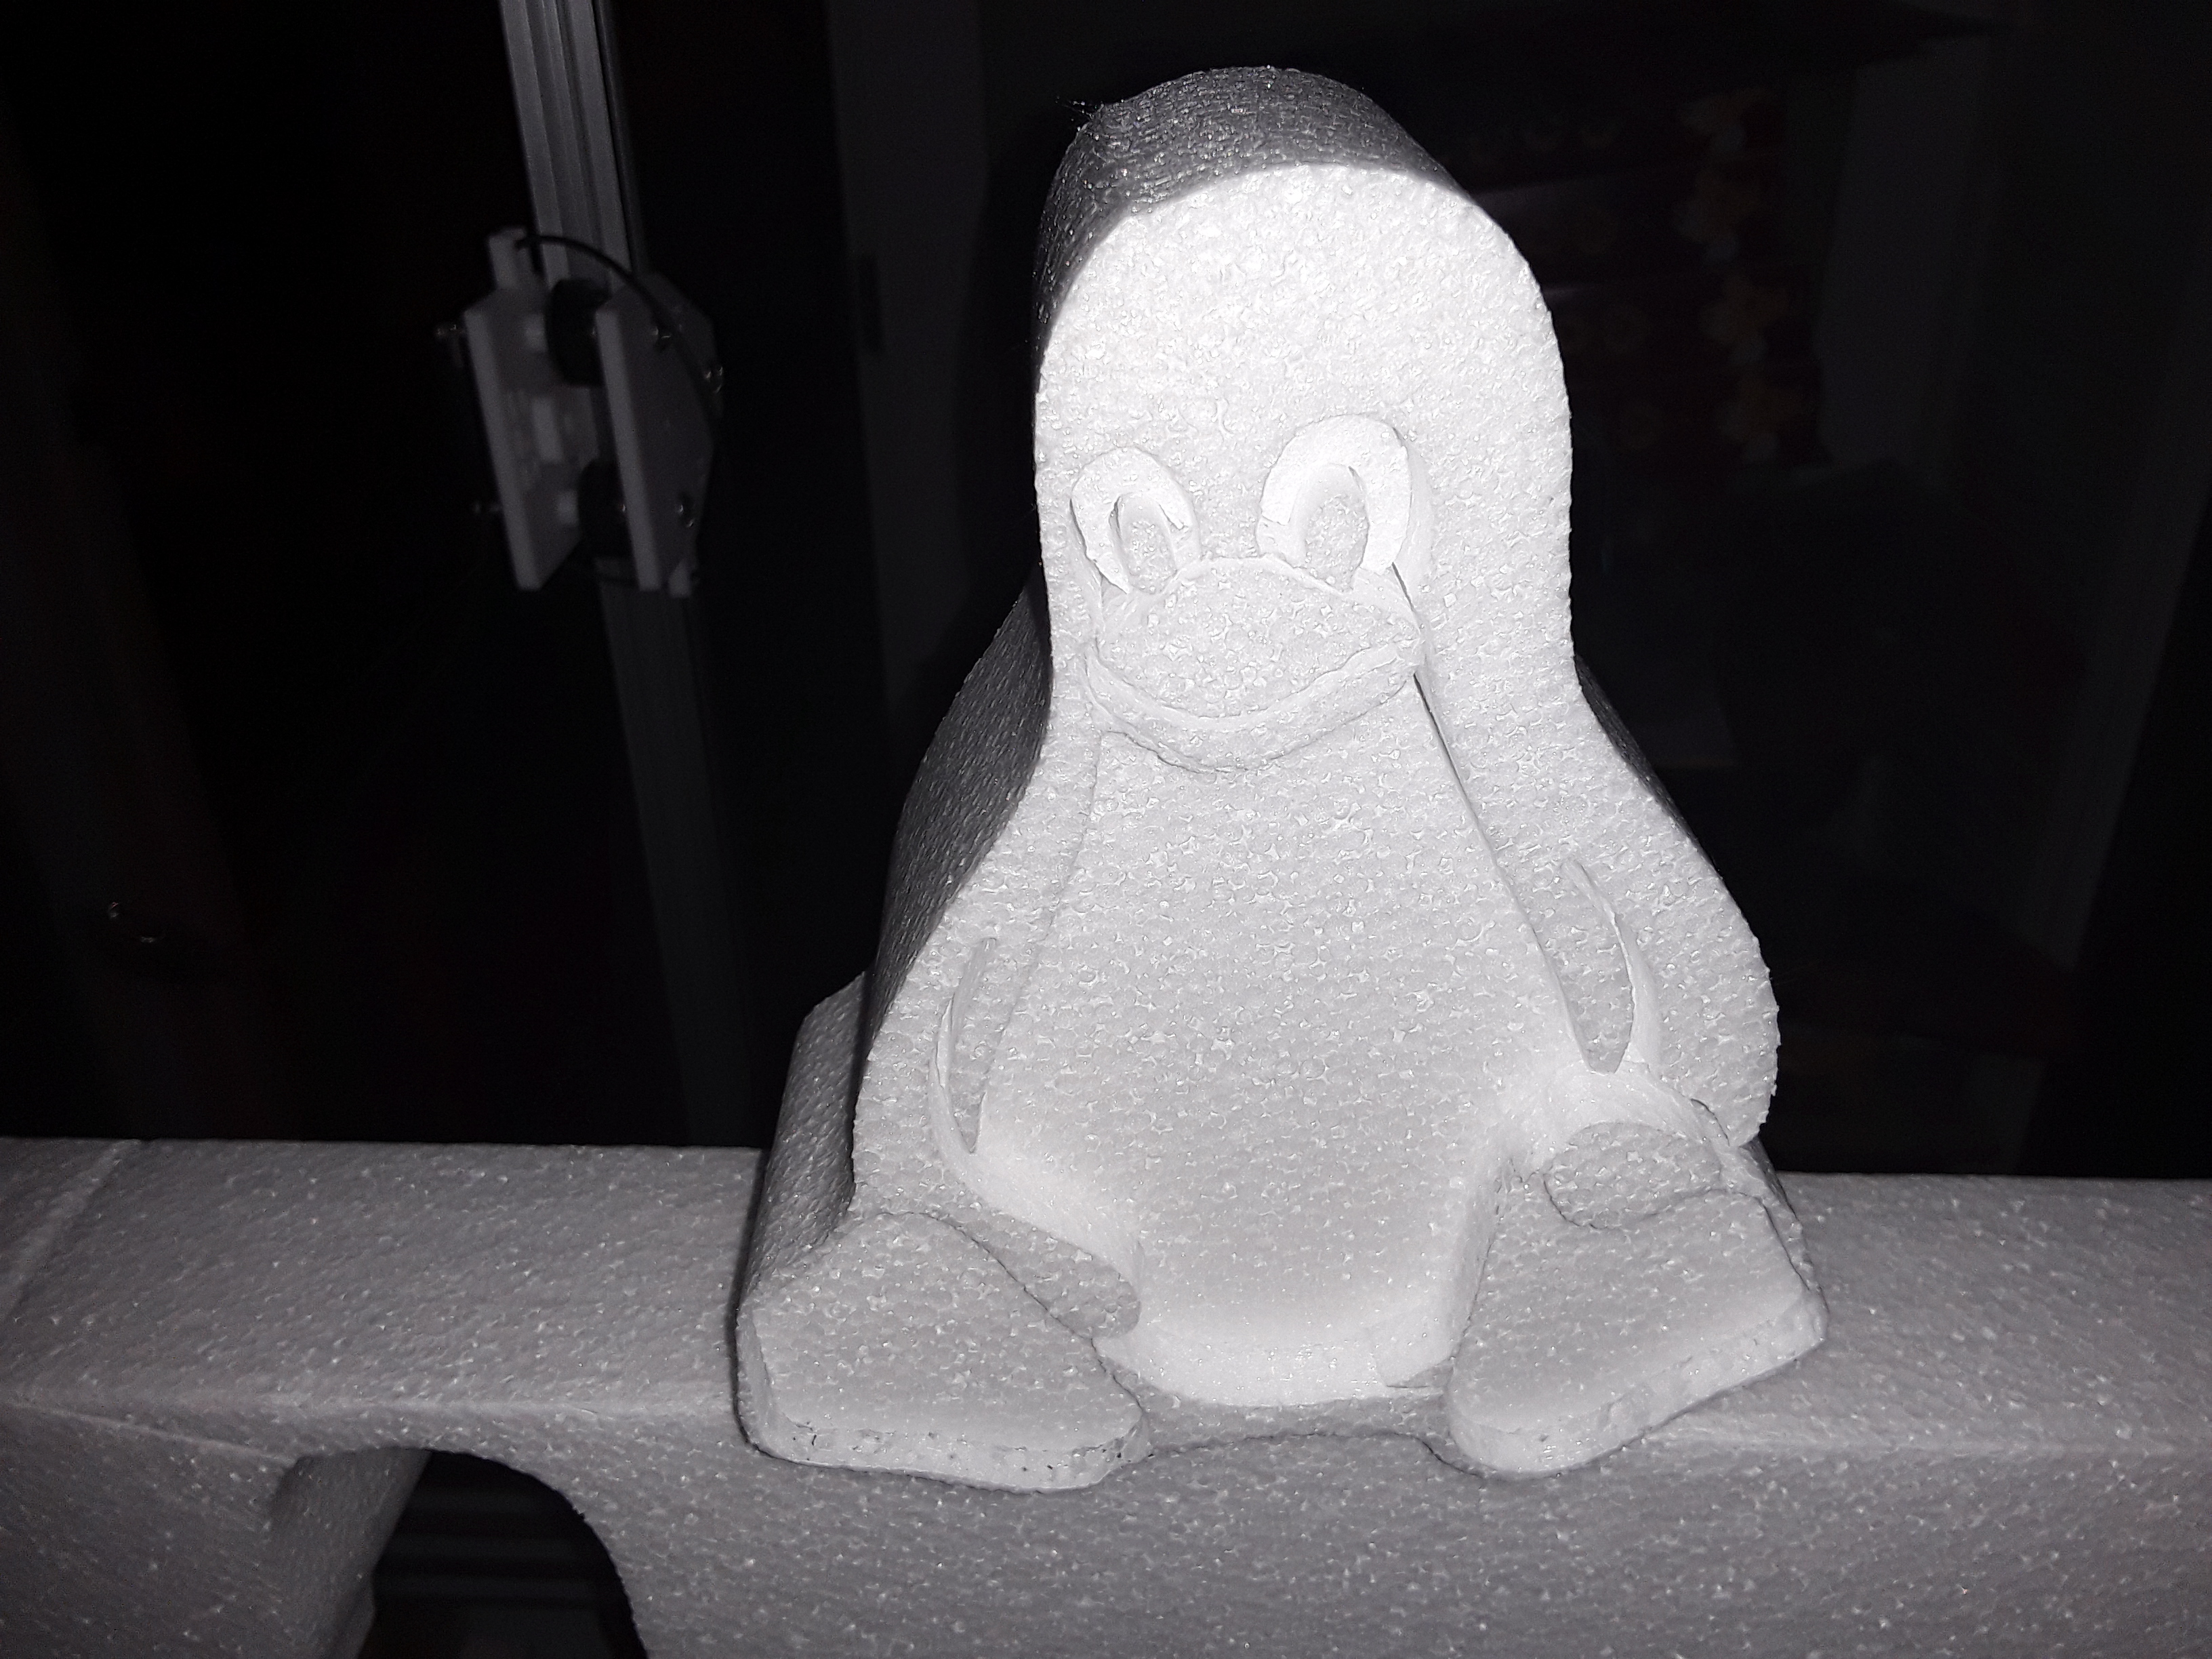
Tux... one of my favorite characters! Hot-wired on TimSavX2 hot-wire foam cutter. Feedrate is 1000 mm/min and ~100mm of 30 AWG Nichrome wire (~6.5 ohms/ft) with 1.5 amps passing through it... temp (from charts) is in the 600 - 800 degF range.

What fun! -- David
 

Robin Bennett

New member
I've written up a wiki-style, user-editable page of instructions, resources and advice for needle cutting here:
https://docs.v1engineering.com/tools/foam-needle-cutter/

It's largely a copy and paste from parts of this thread and the MPCNC one, but aimed at people building a MPCNC or Low Rider machine because their instructions and plans are so detailed. Hopefully it will reduce the number of repeated mistakes and questions from people like me who didn't read this whole thread before building a machine.

Anyone can create a GitHub account and submit changes, the V1 guys will moderate them.

Would the experts mind checking it please?
Is it OK to use photos from this thread?

Also, I remember reading about a flywheel that fits over a motor, but now can't find it. Where is it?
 

Wildthing

Legendary member
More fun with TimSavX2 hot-wire foam cutter...


285498_bd8611e1d53605e1bb0a417a8347cb54.jpg


285500_ca1ddcef050622fab96c4f29d3124112.jpg


285502_7c352aa1438b30d14fe489060a7afc1e.jpg


285504_76233e3d215a5c0ce3c5e4a0f09cd65d.jpg


Tux... one of my favorite characters! Hot-wired on TimSavX2 hot-wire foam cutter. Feedrate is 1000 mm/min and ~100mm of 30 AWG Nichrome wire (~6.5 ohms/ft) with 1.5 amps passing through it... temp (from charts) is in the 600 - 800 degF range.

What fun! -- David
You know with a long wire and just rotate you frame 90 degrees so the wire is the length of the bed not width you could cut airfoils :) . Now if your 6 step motors and each had a separate channel so you could program one set at one end of the bed to do something different then the other side you could do a tapered airfoil. In my brain it works but my brain doesn't have that programming skill level :D
 

dkj4linux

Elite member
Thanks, Robin... and what a great resource this is!

I'm a "fixture" in both forums... so use any photos you'd like. In the "Description", the brushless motor used on the cutter in the photo is 2212 (vs 2826/2822) for consistency sake. In the "Vacuum hold down" section, I've never seen it necessary to remove the paper from the "holes" top layer of the vacuum pad... and IMO the paper actually supports the bottom-side of the work piece better than unclad foam and results in a cleaner cut. And never mind "saving" the needle a little work... it's there for us to use, not for protecting itself. ;)

Some detail of my slip-on flywheel (specific to 2822 motor) can be found here. A few other folks (who I can't recall right now) have made variations of it to fit their particular motor and bearings. Vital to building/using this flywheel is the need to come up with a design/STL suited to the specific motor used... and a pretty dialed-in 3d printer to get nice slip-/press-fits for the motor bell, bearings, etc. The advantages I've seen so far is that it seem inherently better balanced and smoother running and the needle attachment is simpler, using a screw/post through the bearing's inner race rather than surrounding the outer race.

Again, thanks for taking the time to write this up. I'm sure that it'll be a great help to the RC'ers in our midst... :)

-- David
 

Robin Bennett

New member
Thanks, I'll update the doc, and I'll have to try that slip-on design.
How about using two bearings to support the post - do you think the weight cause more problems than the extra support would help?

I found that I still break needles with moebeast's printed collar, right where the needle enters the collar. I think it's because the needle has to rotate the collar and bearing back and forth. I'm not sure if a longer collar would make things better by adding more leverage, or maybe no collar at all would be better because there's less weight.

> 6 step motors and each had a separate channel ... a tapered airfoil.

You can cut tapers with 2 motors by only moving one end of the wire, and attaching the other to some string fixed a couple of yards away to the wall. David's machine cleverly manages the wire tension and allows it to stretch as it heats up, and you'd need to work out a way to do that. A bungee to the opposite wall would work.
 

Wildthing

Legendary member
Thanks, I'll update the doc, and I'll have to try that slip-on design.
How about using two bearings to support the post - do you think the weight cause more problems than the extra support would help?

I found that I still break needles with moebeast's printed collar, right where the needle enters the collar. I think it's because the needle has to rotate the collar and bearing back and forth. I'm not sure if a longer collar would make things better by adding more leverage, or maybe no collar at all would be better because there's less weight.

> 6 step motors and each had a separate channel ... a tapered airfoil.

You can cut tapers with 2 motors by only moving one end of the wire, and attaching the other to some string fixed a couple of yards away to the wall. David's machine cleverly manages the wire tension and allows it to stretch as it heats up, and you'd need to work out a way to do that. A bungee to the opposite wall would work.
I have seen the bungee style attached to the wall and he had a template at each end that guided the wire and it was pretty slick. I just thought that if the left motors were programed to cut the fuse side template and the right side motors are programed to cut the tip template, two programs running at the same time.
 

dkj4linux

Elite member
You know with a long wire and just rotate you frame 90 degrees so the wire is the length of the bed not width you could cut airfoils :) . Now if your 6 step motors and each had a separate channel so you could program one set at one end of the bed to do something different then the other side you could do a tapered airfoil. In my brain it works but my brain doesn't have that programming skill level :D
Yeah, YOU (or somebody else) could... not me. My head hurts just thinking about more than simple X/Y and possibly Z. And I'm not building/flying anymore and don't really need wings right now.

Not sure where I talked about it -- possibly the RCGroups thread -- but I really don't think the TimSav, as I've used it here, is sturdy enough to tension the hot-wire and handle the larger forces involved with cuts longer/deeper than 2-4" in foam. By the time you braced it up enough for independent towers and deep cuts/tapers, it'd look like any of the other similar, two-tower, hot-wire designs out there... which are purpose-built for cutting airfoils. The light-weight, two-axis, machine I've presented here addresses a specific need to cut foam for signage and scenery for a job my SIL has taken on. With one TimSav already built and sitting unused, I was extra motivated to see if the TimSav's minimalist design is up to the task... and, if so, I was already almost half-way there!


20200229_195742.jpg


20200301_105828.jpg

I need a lot of practice CAD/CAM'ing for hot-wire but, thankfully, SIL is a true artist and will paint/patch/decorate and make it all look professionally done!

--David
 
Last edited:

Keno

Well-known member
I have seen the bungee style attached to the wall and he had a template at each end that guided the wire and it was pretty slick. I just thought that if the left motors were programed to cut the fuse side template and the right side motors are programed to cut the tip template, two programs running at the same time.
Just something to feed your brain with on the subject. I had a cutter that could cut wing cores having complex tapers. It cut the top and bottom at the same time. You pulled the foam using weights adjusted for speed. And used timing gears with different tooth count on the ends of an long axle. The bow wires where spring loaded to keep them riding on bar Formica templates placed at each end. Timing belts were use to track the teeth of the timing gears. Cut a lot of wing cores and you actually could cut hollowed fuselages but never tried that.
 

weisssa

New member
Long time stalker first time poster and thank you to everyone for their posts as my cnc needle cutter is up and running and has cut some foam. Here is the needle holder I am using, It has two bearings and a stand-off that I drilled a hole in for the needle. I also added two vents to add air flow for the motor. It balanced out and runs at 10,000 rpm but I use it at about 8,000. This first attempt worked great for foam but was to flexible for routing as I wanted to use it for routing as well as laser, drag knife ext. so I am in the process of rebuilding it already. I have changed the mount to fit in a round router holder from open builds. I will post again when complete.

B8AD3CD6-FADC-45E9-B6D9-ED6FE53D67EA.jpeg
8942A650-D31E-490F-A9A9-83FD87D6B027.jpeg
9B8070E7-3B8C-4177-9330-7D88AB35B27F.jpeg
F1DAE350-CEF1-45A7-B40D-37CC9F87BB39.jpeg
 

dkj4linux

Elite member
Long time stalker first time poster and thank you to everyone for their posts as my cnc needle cutter is up and running and has cut some foam. Here is the needle holder I am using, It has two bearings and a stand-off that I drilled a hole in for the needle. I also added two vents to add air flow for the motor. It balanced out and runs at 10,000 rpm but I use it at about 8,000. This first attempt worked great for foam but was to flexible for routing as I wanted to use it for routing as well as laser, drag knife ext. so I am in the process of rebuilding it already. I have changed the mount to fit in a round router holder from open builds. I will post again when complete.

View attachment 160835 View attachment 160836 View attachment 160838 View attachment 160839
That is an outstanding looking cutter! And, like Jason, I'm loving the way you've attached the needle to the flywheel... so obvious, yet so simple! Great work!

And, welcome to the party! We want to see more... MUCH more! -- David