Dat Guardrail

Daniel Liutan

Well-known member
I have never have had such a bad time scratch building anything as I had on this airframe. :oops::cry::p
View attachment 166659 View attachment 166660 View attachment 166661 View attachment 166662
(FYI both the F15 and the RC12 are 1:20 scale)

The first issue was I had my blade wander twice during cutting. One part was salvageable, the other was not. Of course the one that I could not save was the largest piece of the bunch. (the rear fuselage wrap) :rolleyes:

The second issue was I thought I would be slick and try a new way to wrap the skins around the formers. It does not change the model or design, it just changed the way I layout and cut the skins and saves an extra seam.:unsure:

NOPE!

It worked. Kind of. It just took too much wrestling and force to get the seam right. This thing is full of wrinkles from the pressure of my hands trying to hold things in place while curing. It was worth a try and it does work well on small parts, but it is not worth the frustration.

Minus those to major issues, everything fit pretty well. I went ahead and hand sketched some windows on the canopy so it did not look so plain. Even if someone was to build this without the painted skins, window decals will be a must. It just does not look right without them.

I was half tempted to just abandon what I have and start over with the old wraps, but I think I am just going to continue with this and see how it does in the air. She won't be pretty, but it only a test build anyway. Wings will be tomorrow.

For me, it looks gorgeous!
I'd done a twin 50mm EDF Honda jet before. As it was 2D designed, the plan is not accurate and the final looking is ugly.
Just have a request, could you enlarge this Guardrail to, let's say 1 meter wingspan? So It will fit two mighty mini power sets and will flies more stable.
Thanks you so much!

Screen Shot 2019-08-19 at 8.55.09 am copy.jpg
 

Namactual

Elite member
Nice build!(y)

While I do plan on building a larger version at some point, the current version is designed for the mighty mini power pack. It is about the same size as the FT Mini Cruiser. I just do not have mini packs at the moment so I am using the racing quad motors I have laying about.

The larger version will be built around a "C" pack. probably 1:12-1:10 scale. 55-60 inch wingspan or so. (1.5 meters or there about)

No promises, but I will see what would happen to the fitment if someone was to up-scale the prints a bit. If I did the math in right, the 1m wingspan would be about 112% of what I have now. I don't think it would effect it too much, but if it does I will see about modifying the prints as needed.
 

jfaleo1

Junior Member
I have never have had such a bad time scratch building anything as I had on this airframe. :oops::cry::p
View attachment 166659 View attachment 166660 View attachment 166661 View attachment 166662
(FYI both the F15 and the RC12 are 1:20 scale)

The first issue was I had my blade wander twice during cutting. One part was salvageable, the other was not. Of course the one that I could not save was the largest piece of the bunch. (the rear fuselage wrap) :rolleyes:

The second issue was I thought I would be slick and try a new way to wrap the skins around the formers. It does not change the model or design, it just changed the way I layout and cut the skins and saves an extra seam.:unsure:

NOPE!

It worked. Kind of. It just took too much wrestling and force to get the seam right. This thing is full of wrinkles from the pressure of my hands trying to hold things in place while curing. It was worth a try and it does work well on small parts, but it is not worth the frustration.

Minus those two major issues, everything fit pretty well. I went ahead and hand sketched some windows on the canopy so it did not look so plain. Even if someone was to build this without the painted skins, window decals will be a must. It just does not look right without them.

I was half tempted to just abandon what I have and start over with the old wraps, but I think I am just going to continue with this and see how it does in the air. She won't be pretty, but it only a test build anyway. Wings will be tomorrow.

Prototypes are not usually beautiful, I know, I have spent a fair amount of time around full size prototype aircraft. Looks good to me so far. I excited to see the results.
 

Namactual

Elite member
Prototypes are not usually beautiful, I know, I have spent a fair amount of time around full size prototype aircraft. Looks good to me so far. I excited to see the results.
Aye, it's not that bad.
It looks ok from a foot away, it was just frustration last night more than anything. Things will go much smoother with my old way of building.
 

Namactual

Elite member
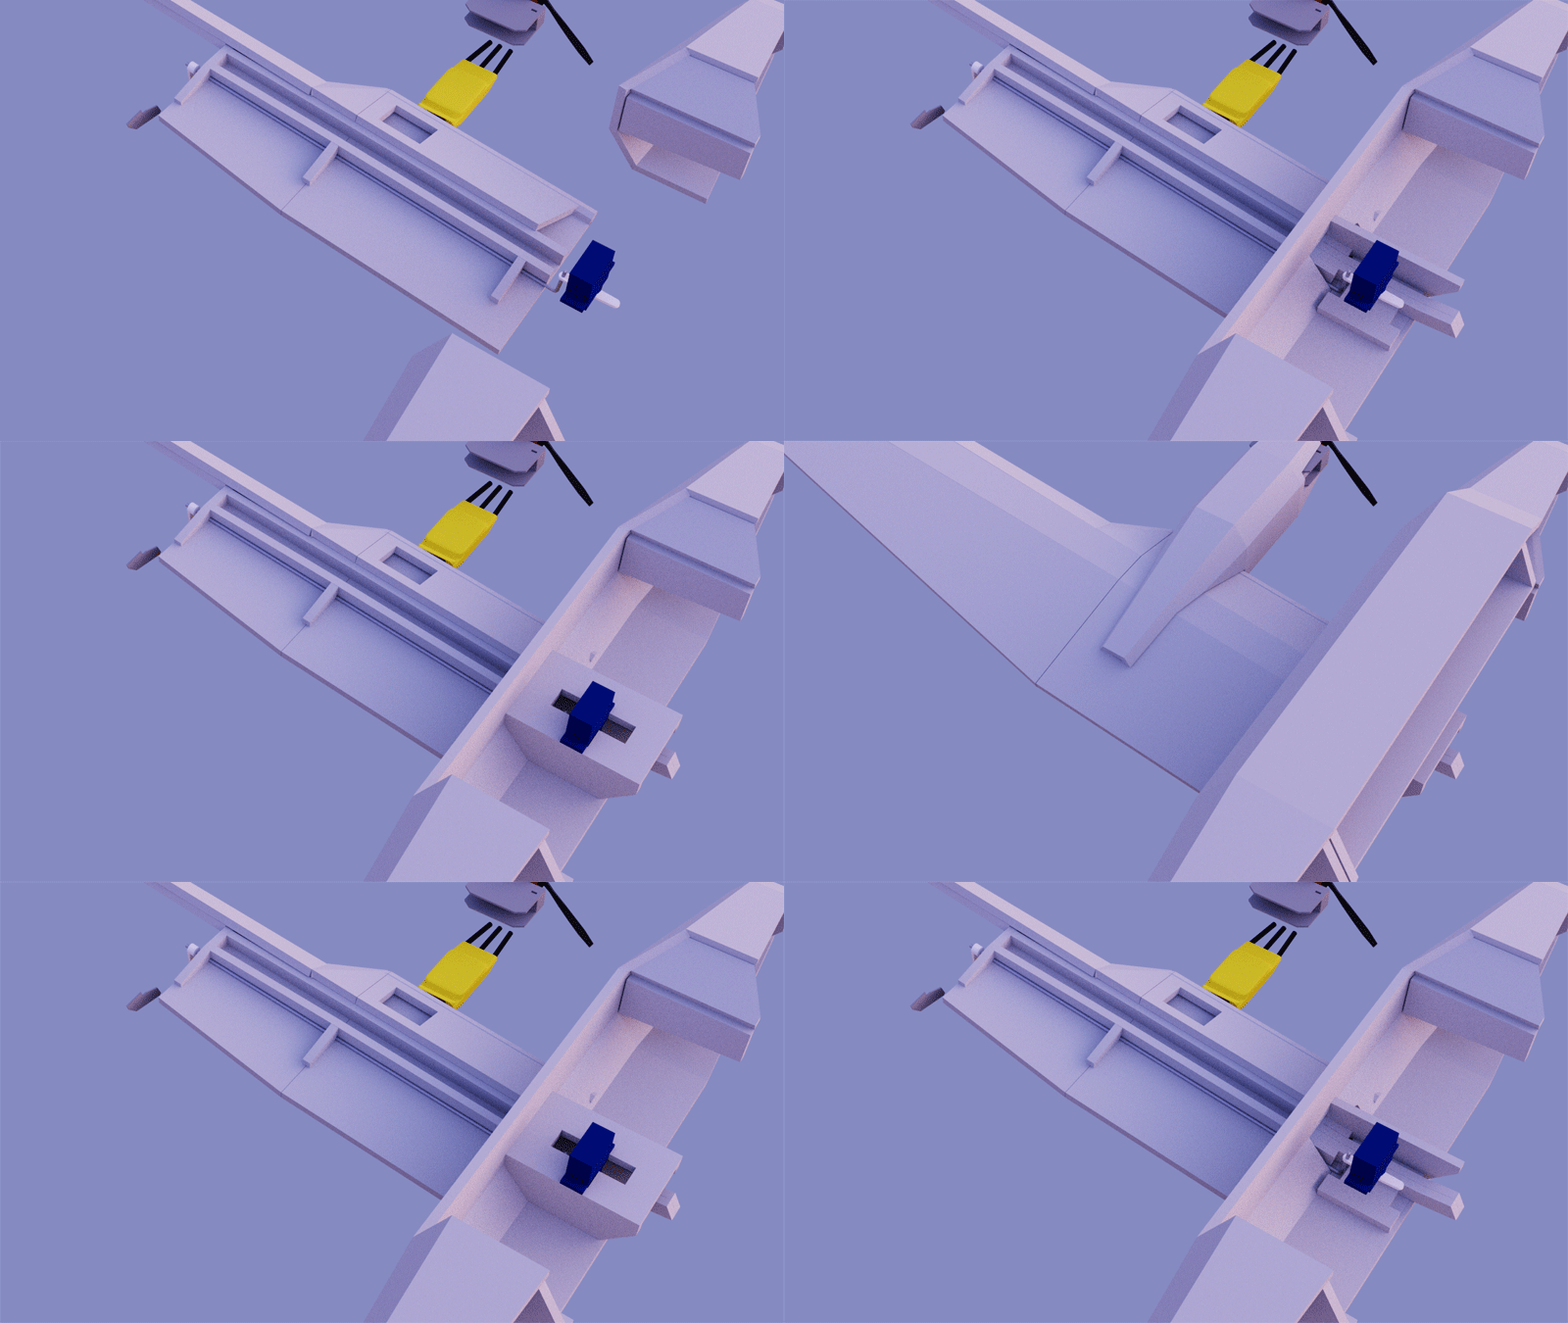
I am still working on this. I just decided to do a complete wing redesign. Again, the overall shape is still the same, this is just the construction. I also may have figured out a way to use a single servo for the ailerons.

The issue started once I noticed the compound dihedral wing section was not going to pass through the fuse like I thought it would. The fix was just to pass the spar through and externally connect the wings. This also means the fuselage now makes the shape of the flat wing section. This will make the wing a little easier to build as well.

It all looks good now, I am just working on the single servo modifications. You may find it easier to use two separate servos and that still can be done, but I would suggest using the smaller 5gr servos from the FT mini pack or equivalent.
 

jfaleo1

Junior Member
I am still working on this. I just decided to do a complete wing redesign. Again, the overall shape is still the same, this is just the construction. I also may have figured out a way to use a single servo for the ailerons.

The issue started once I noticed the compound dihedral wing section was not going to pass through the fuse like I thought it would. The fix was just to pass the spar through and externally connect the wings. This also means the fuselage now makes the shape of the flat wing section. This will make the wing a little easier to build as well.

It all looks good now, I am just working on the single servo modifications. You may find it easier to use two separate servos and that still can be done, but I would suggest using the smaller 5gr servos from the FT mini pack or equivalent.

either way would be good. The way I see it is this is no an aerobatic machine. it is a business turboprop. They are actually a little heavy in pitch and slow and graceful in roll rate so you don't need so much power on the controls if you keep the speed and power closer to scale.
5 gram servos, or even less possibly, should be enough.
 

Namactual

Elite member
The control rod has enough room to use on standard control horns as well. Slotted horns would work obviously, but I just wanted to make sure the standards would have clearance.
The control surface end does push in and out, but it is only about a foam width. The linkage between the control rod to control surface horns should be able to handle it.:unsure:
 

b-29er

Well-known member
The control rod has enough room to use on standard control horns as well. Slotted horns would work obviously, but I just wanted to make sure the standards would have clearance.
The control surface end does push in and out, but it is only about a foam width. The linkage between the control rod to control surface horns should be able to handle it.:unsure:

you may look at adding an extra linkage between the servo and the piano wire. then you could just glue the piano wire directly to the aileron and boom, no more need for an extra control horn, which keeps the wing looking cleaner, and no worries about horizontal movement.

1587525600476.png
 

Namactual

Elite member
you may look at adding an extra linkage between the servo and the piano wire. then you could just glue the piano wire directly to the aileron and boom, no more need for an extra control horn, which keeps the wing looking cleaner, and no worries about horizontal movement.

View attachment 166844
I will definitely be going that route for the bigger build. I need to buy some hinges and linkages.
I am using scrap for this test build.

Build Update:
The wing worked out fantastic!(y)
RC12U25.jpg RC12U26.jpg RC12U27.jpg RC12U28.jpg
Everything fit perfect except for the little fillet between the two leading edges. I don't think the prints were at fault though. I think I took too much meat off of it when I was trying to get it to fit. Everything else fit like a glove. No need for trimming or fine tuning at all. The seams were perfect. It is strong as all get out too. Maybe too strong.

I might be able to lighten it up a bit, but I want to see how she handles wire landing gear as I think it may be required with the nacelles. Those butter cutter props can take a hit no problem, I just worry about the nacelles being so far forward of the wing acting like a lever. I don't think it would take a big hit to twist the nacelles off on impact.

I will have a better idea when it's all together.:unsure:
I am off for the night though.:sleep:
 

Namactual

Elite member
Thanks Griff!

It looks like I get to rebuild the fuselage after all. :rolleyes:
RC12U29.jpg RC12U30.jpg RC12U31.jpg RC12U32.jpg
Since I was retrofitting the wing spar to the old pass through fuselage, I just measured where the spar needed to go from the outside and hacked a few holes in the side. The problem is I only measured once and there is no cutting twice. The wing is too far back by about 3/4"-1". No worries though. I can salvage the hatch, the tail and the nose.

Outside of that, everything fit pretty well. Don't worry about that massive gap in the nacelle cap. That is the right nacelle cap on the left nacelle. This is what happens when you don't label your prints.:rolleyes: Also, nothing is glued, so the motor, wing and fuse are just sitting there. They are not quite square.

I few things to note:
1: The nacelle feels like it is pretty stout. A lot more stout than I thought it would be. I still don't know how it will handle a hard landing, but we will find out soon.
2: The nacelle is a very intricate part. A sharp knife and patience are required.
Nac.jpg
It actually assembles quite easy once cut, but that cut is a doozy. I am going to separate the front from the back which should help a little, but it is still a lot of cuts.

I have everything printed now, so the rest of the work is just the build. As long as I don't run into and major problems, this could be in the air this weekend.
 

jfaleo1

Junior Member
2: The nacelle is a very intricate part. A sharp knife and patience are required.

It actually assembles quite easy once cut, but that cut is a doozy. I am going to separate the front from the back which should help a little, but it is still a lot of cuts.

I have everything printed now, so the rest of the work is just the build. As long as I don't run into and major problems, this could be in the air this weekend.

Sorry about the need to rebuild. Bright side it looks good and should fly well too.

The nacelles are pains on the real thing too. A lot of compound curves that are hard to match up. It shows up a lot later in the planes life when all the cowling pieces start to crack. You either repair what fits or replace and “make” the new parts fit with some gentle persuasion⚒😁
 

Namactual

Elite member
This has potential...:unsure:
RC12U33.jpg RC12U34.jpg RC12U35.jpg RC12U36.jpg RC12U37.jpg RC12U38.jpg
Again, nothing is glued yet. I rebuilt the new core fuselage and reused everything else. The foam spar is rather weak, but I think once the wings are glued to the body, it should be strong enough. It's more of an alignment tool that anything else.

I went ahead and made the elevator a straight pivot. It does not look scale, but it will work for now. I am also going to try a single layer horizontal stabilizer on the next build.

I like the look of it...

It needs a LOT of fine tuning though.
 

jfaleo1

Junior Member
This has potential...
Again, nothing is glued yet. I rebuilt the new core fuselage and reused everything else. The foam spar is rather weak, but I think once the wings are glued to the body, it should be strong enough. It's more of an alignment tool that anything else.

I went ahead and made the elevator a straight pivot. It does not look scale, but it will work for now. I am also going to try a single layer horizontal stabilizer on the next build.

I like the look of it...

It needs a LOT of fine tuning though.

I like it a lot. Perfect is the enemy of the good. Get it to fly then fine tune it. This is not for the master’s, it is stand-off scale, and by that term it is AWSOME!😁. I am actually very impressed.
 

Namactual

Elite member
Well, the foam work is done...
RC12U39.jpg RC12U40.jpg RC12U41.jpg RC12U42.jpg RC12U43.jpg RC12U44.jpg RC12U45.jpg
Now I just need to glue everything together and install the electronics.

Major changes that have to be done for the beta build.
1: The wing assembly needs to be fixed. Each wing section goes together great. The center section is just too weak and needs to be redesigned. The right idea is there, I just need beef up that entire section and how it attaches to the fuselage.

2: The nacelles needs more alignment tabs. The bottom/rear section works great, but attaching the front section is too free to move around and alignment is done by eye. The thrust angles are too important to left up to the eye.

There is a lot of little details to finalize of course, but overall it is pretty much good to go.
Now the only question is will it fly?
 

Wildthing

Legendary member
Well, the foam work is done...
View attachment 167134 View attachment 167135 View attachment 167136 View attachment 167137 View attachment 167138 View attachment 167139 View attachment 167140
Now I just need to glue everything together and install the electronics.

Major changes that have to be done for the beta build.
1: The wing assembly needs to be fixed. Each wing section goes together great. The center section is just too weak and needs to be redesigned. The right idea is there, I just need beef up that entire section and how it attaches to the fuselage.

2: The nacelles needs more alignment tabs. The bottom/rear section works great, but attaching the front section is too free to move around and alignment is done by eye. The thrust angles are too important to left up to the eye.

There is a lot of little details to finalize of course, but overall it is pretty much good to go.
Now the only question is will it fly?

That looks really nice, well done.