Dat Rhino

Namactual

Elite member
They will get a coat of paint for sure.:)

On the full scale fighter the missile rails actually help reduce induced drag by preventing spanwise airflow around the wingtips. I doubt that will be the case with the little foamie's displacement. I am sure the AIM9X and rails will not amount to much drag. The larger inboard pylons with the AGM84’s will be a lot of extra drag though. Especially if I mount them with the scale 3-5* toe out.

As far as a Printer recommendation I am sure there are others here that have used multiple brands and could steer you in the right direction. We have an Ultimaker 2+ where I work which is extremely expensive, but has been trouble free for years. Easy to setup and easy to use. There were no issues with tuning at all. It worked great out of the box.

We only had one issue with it when an unsupervised print detached from the bed and blocked the nozzle. The result was about 25grams of molten PLA back feeding into the print head. The entire head was encased in PLA the next morning. I mean every open cavity, void and hole was full of plastic. It took a complete tear down and major surgery of the head to get it back online.

I am sure most common “brands” are pretty reliable now. The bigger issue in my opinion is creating the 3D model in such a way that the printer actually agrees with. I am still learning in this area. There are a lot of things to consider when converting a three dimensional object into a layered sliced printable object. The more I print with it though and see the limitations, the better I can get at designing parts around these pitfalls the first time.
 

Namactual

Elite member
Wow...
AGM84Tests.jpg
Yeah these look cool and all, but a single Harpoon and pylon is 30grams. That's a whopping 120grams for the set.
NOPE!
They will work for show though.(y) I will finish printing an entire set and taking a few pics of it fully loaded for sure, but these will not fly.

You guys don't even want to know what I am thinking now. None of this 1/20 scale prop and slot nonsense, but a 1/10 scale twin EDF with all the scale bells and whistles...

No, I can't. I have too much to do as it is. Not anytime soon anyway.
Maybe someday...
 

kilroy07

Legendary member
They will work for show though.
Add some rare earth magnets.

Or, what was your infill/shell settings? Maybe try vase mode (depending on your slicer) to get the weight down.
(They look SO cool, it'd be a shame not to see them on a bird in flight.)
 

Namactual

Elite member
They are completely hollow, no infill. I used a .6 nozzle and a two pass wall thickness of 1.2mm. I could drop it down the the .4 nozzle, but the print times would be forever and a day. These things are huge, pics don't do it justice. The Harpoon is 7-1/2" by 3/4' Dia. The pylon is over 6" long.

I plan on using magnets for the show bird, but yeah, I don't think she will handle another 120grams and fly like anything other than a brick. That's the weight of my battery.

The 1/10 scale Rhino might not happen for a while, but my top secret major build I am starting after I finish my Phantom will have scale details like this.;)
 

Namactual

Elite member
Well, it looks like my plans to make it to FF this year have been shot down. :( The Family Reunion which was supposed to take place the July 4th weekend (7th) has been pushed back to the 14th. I guess it's more convenient for everyone, except me of course. :rolleyes:

Anyway, I am going to do some investigation on what it will take to have these planes shipped. I figured if I leave the nose cone, vertical stabilizers and the elevons off, I could ship them 90% assembled and would not take much to put the rest together. Maybe 15-20 mins? That would make the minimum box without padding or crush space 25x26x13" with both inside. I will need to figure out padding and such so the final size will change. I did some estimates on the UPS store and it was quite high, $150, but I guess thats less than the rental car was going to cost me. I figured high too, so it might not be quite that bad.

I don't know, I will try to figure something out.

I am off to get some building done to try to lighten the mood a bit.
 

DamoRC

Elite member
Mentor
That's a shame. I looked into shipping costs a little while back and provided you are below what USPS call a "girth" limit, they can be pretty reasonable (at least compared to UPS). A quick run through their online calculator says that you could get a 26 x 26 x 13, 4 lb package from Flint to Canton for $25. Might be worth checking out at you local post office.

DamoRC
 

Namactual

Elite member
Thanks Damo.

Aye, I was being extremely liberal with my packing material estimates and was using 36x36x16 when I was looking into it earlier. I figured after the first estimate I would go talk to them in person. I am willing to bet I can have it sent much cheaper than $150. I will be talking with USPS as well.

There is still a very slim chance I can take a few days off of work, maybe shoot for Thursday/Friday. I am not going to bet on it though. I thought about just driving down Sunday, but I don't think I can justify the expense for just a few hours and 9-10 hours on the road.

I did get a lot done today. I finished another Harpoon print...
AGM2.jpg

I also built the horizontal stabilizers for the Phantom. The hinges are in the process of drying as I type. I also completed the prints for the nose as well as the hatch. Those are very simple builds and should not take long at all. I still have the prints ready for my other wing, but I have not started the build on that yet. She is pretty much ready to be fully built. I still have to design a DTF nose cone and canopy, but those can be done anytime. Expect a big update in the Phantom thread in a few days.
 

Namactual

Elite member
Awesome @seth
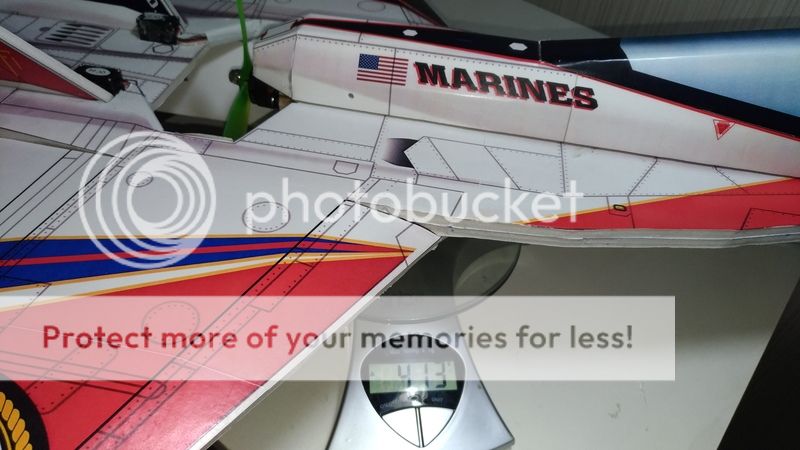
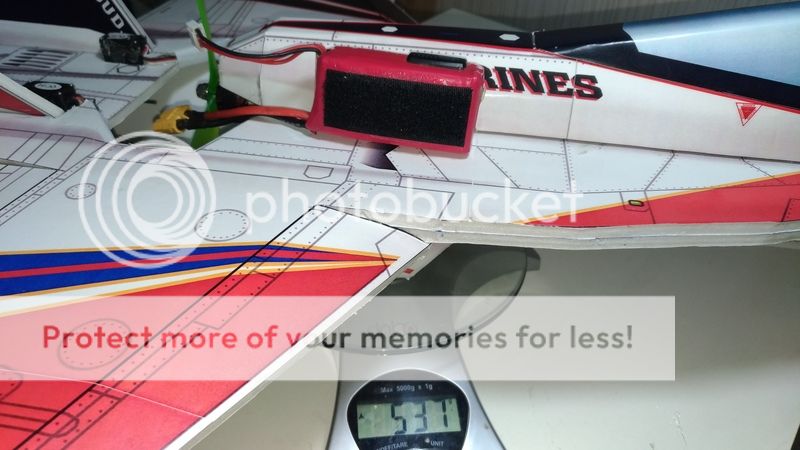
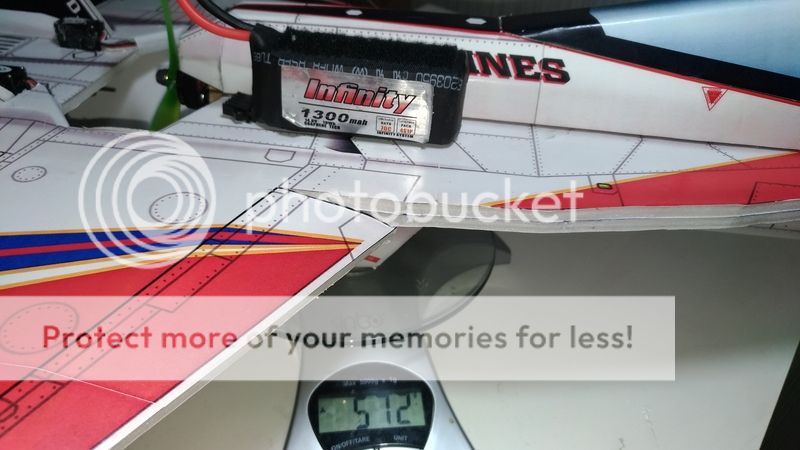
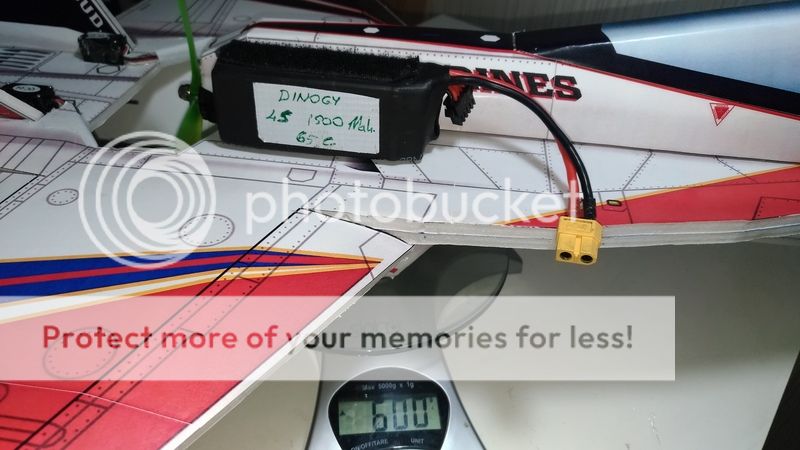
You will have to let me know how she handles the extra weight. I think all you need is that 1300 3S with a 5040 hex blade if the 4s is too heavy. 600grams might be pushing it.
Keep me posted. (y)
 

Namactual

Elite member
One more to go, then it's on to the AIM120's...
AGM3.jpg

The AIM120's will be single's on the outboard wing pylons. I am also going to design the dual rails for the heavy inboard pylons. In full A2A...
A2A.jpg
 
I did the maiden with br2205 motor and 3 blade 5045..not really fast..tried with turnigy d2826/6 on 6x4 as well as 7x4 not impressed. I will try different esc maybe I can make her fly A little bit faster. Turnigy supposed to have 900gr thrust. she is only 525gr with trunigy motor +35c 1300 mah battery. thrust/weight ratio is close to 2 .
 

Namactual

Elite member
With the default setup she is build for slow speed park flying and handling. If you would like more speed do not cut the flaps and reduce the angle of the leading edge slats. The LES could even be left flat, but I would suggest just moving the leading edge down the width of a single sheet of foam all of the way down the wing. If you did that, you could use a piece of tape to wrap the leading edge to the bottom wing plate for even less drag.

How did you fit a 7" prop on that thing? The 5" is tight, probably too tight.
 
She is not fast but does good high alfa.
I will straighten the leading edge if she flies fast then build a new one. I mounted the motor higher to have some clearance. Itdoesn't look as good as the default set up but in the air who sees it:)
 

Namactual

Elite member
Here is the idea i had for the speed wing...
Speed Wing.jpg
The LES one layer down the entire length of the wing. The yellow would be tape, (I would use clear tape;)), and no flaps.
I will give this a try on my next build.

If you try this, let me know how it goes. (y)

Edit: If this works I will make a skin for this extra piece that could be printed on it's own self adhesive paper and use that instead of tape. That way it would look seamless. (y)
 

Namactual

Elite member
Are you mapping the images to the CAD model? That looks SWEET!
Aye, it takes a little longer to set up the model this way. Essentially I am building the aircraft twice. One is the foam design which is fairly complicated. I then build another that uses the same basic outline and plot what you call "UV Coordinates" on to the mesh. I then use the UV's and prints to make the skins which I can now render from any angle.

I could even animate it. :cool: