You are using an out of date browser. It may not display this or other websites correctly.
You should upgrade or use an alternative browser.
You should upgrade or use an alternative browser.
DC3/C47 2 meters / 6,5 foot twin electric plane
- Thread starter Jetcrafter_2000
- Start date
-
- Tags
- c 47 dc3 scrach build twin motor ww2
Jetcrafter_2000
Member
Thanks!
She's a bit tailheavy (CG is in the middle of the wing) but i'll ballance that out with the Arduino, which will be attached in the nose.
If that isn't enough I'm going to use a bigger batterie (I'm going to do that anyways).
In the meantime I also made some progress!
I first fixed the batterie holder.
And when I got nothing to do in school I went to the library and started with the Arduino code.
I hope the weather is fine tomorrow so I can fly her again.
See you!
Jetcrafter2000
Attachments
Jetcrafter_2000
Member
Jes, it looks like she flyes great but she really ignores the ailerons!
I now mixed the rudder with the ailerons but i didn´t tryed it out jet (the last flight on this day should be the testflight).
Here is the video from the last sunday:
On the last flight i pulled up too early and stalled out.
The damage is verry small.
See you!
Jetcrafter2000
I now mixed the rudder with the ailerons but i didn´t tryed it out jet (the last flight on this day should be the testflight).
Here is the video from the last sunday:
On the last flight i pulled up too early and stalled out.
The damage is verry small.
See you!
Jetcrafter2000
Jetcrafter_2000
Member
Thanks!
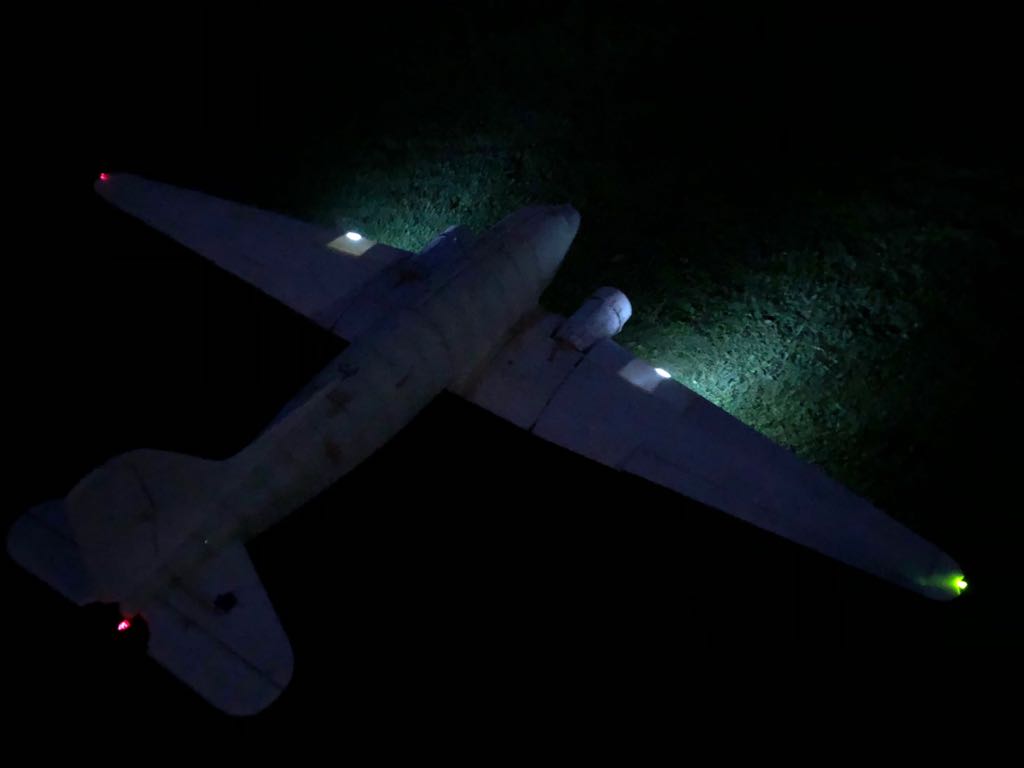
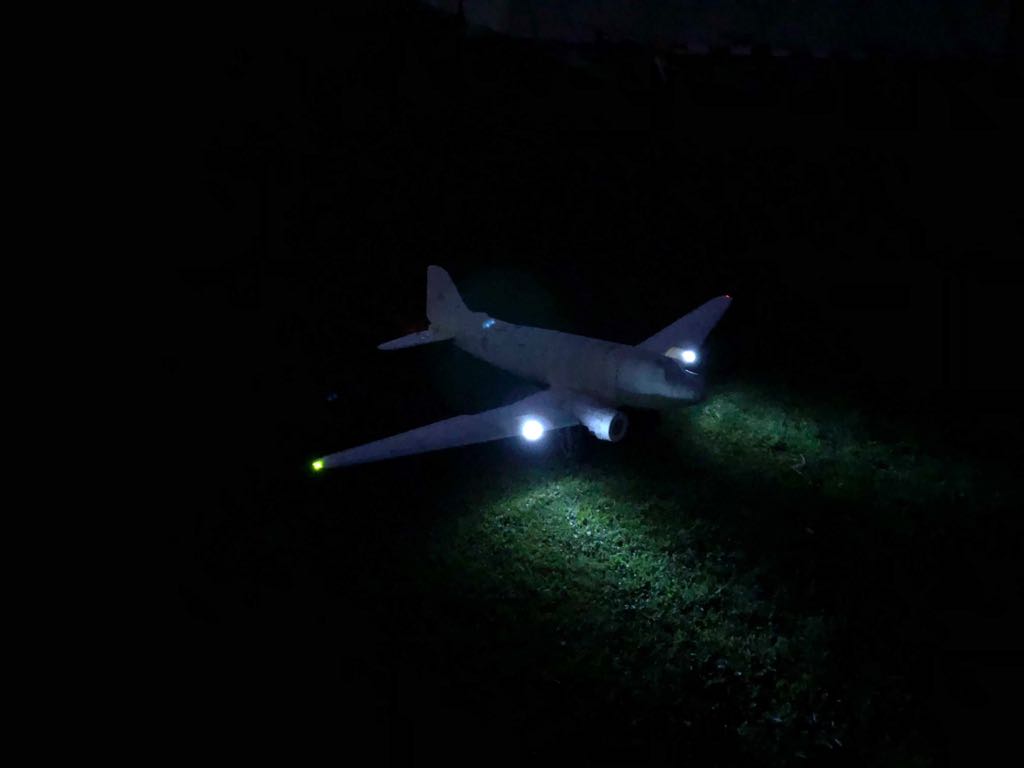
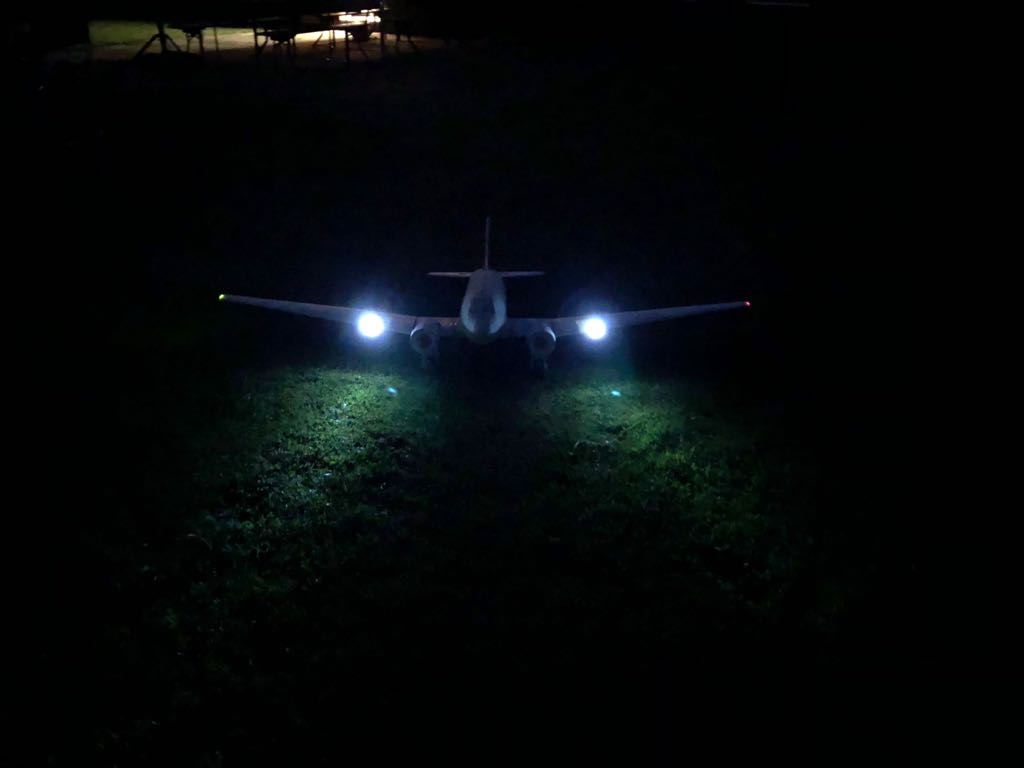
By the way i´ve got the nightlighting to work!


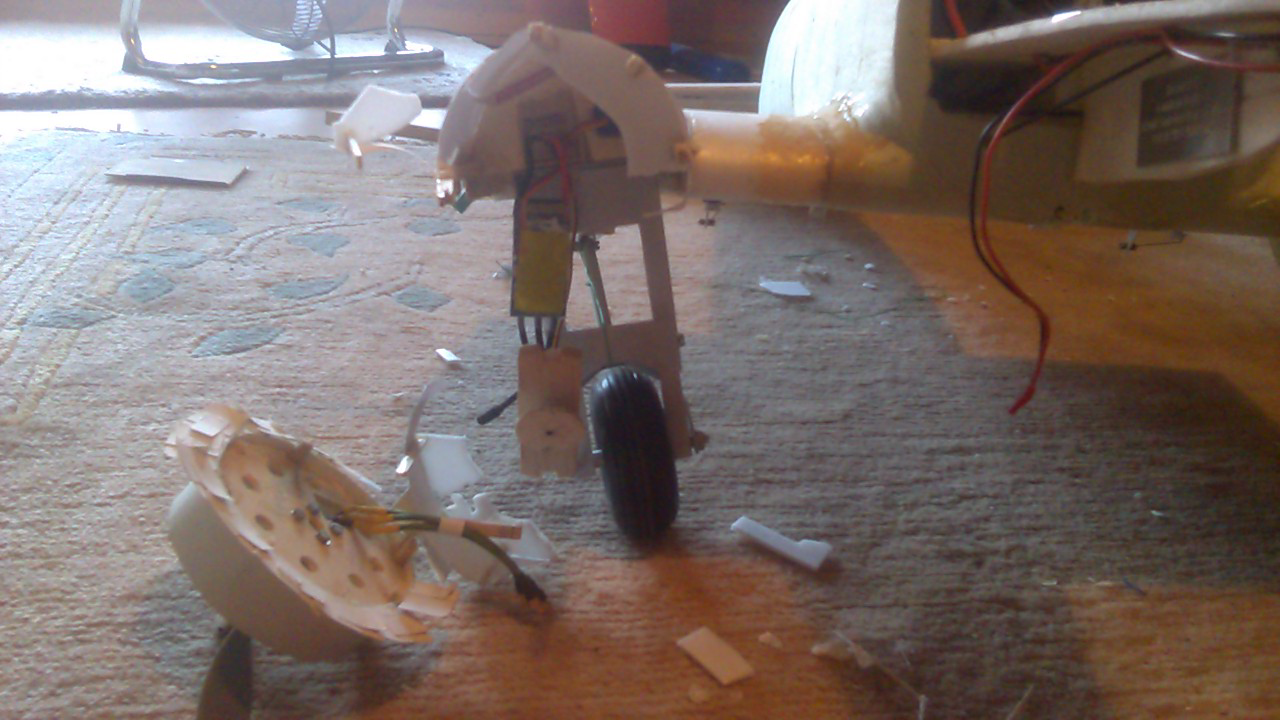
I flew it on the next evening but the landing didn´t go so well.
You really have to watch you speed douring landing!

The whole inner wing is done!
I´m gonna fill the broken surfaces with some epoxy and then i´ll just hold the nacell and the lanndinggear in place.
The opinion is to open everything up and to replace the whole nacell.
See you!
Jetcrafter2000
By the way i´ve got the nightlighting to work!


I flew it on the next evening but the landing didn´t go so well.
You really have to watch you speed douring landing!

The whole inner wing is done!
I´m gonna fill the broken surfaces with some epoxy and then i´ll just hold the nacell and the lanndinggear in place.
The opinion is to open everything up and to replace the whole nacell.
See you!
Jetcrafter2000
Jetcrafter_2000
Member
Hello guys,
i´ve been away for a long time now but i´ve got a lot to do for my final exams and stuff.
But anyway this is what i´ve made on the plane so far.
I put some metall gear servos on the retracts because the old ones died on me.

And i´ve repaired the broken engine nacell with some carbonfibre rods but i forgot to take pictures of that .
.
Year, a hard landing + 5mm balsa
Same
See ya!
Jetcrafter2000
i´ve been away for a long time now but i´ve got a lot to do for my final exams and stuff.
But anyway this is what i´ve made on the plane so far.
I put some metall gear servos on the retracts because the old ones died on me.

And i´ve repaired the broken engine nacell with some carbonfibre rods but i forgot to take pictures of that
Ouch!
Year, a hard landing + 5mm balsa
I'm liking those landing lights.
Same
See ya!
Jetcrafter2000
voyhager3
Active member
I’m gonna try that on my own scratch build (JU-288) there is a small wooden spar, so should I make a small plywood plate on the fuselage to attach that to? I think im gonna di the nut and bolt idea because I need to be able to transport this thingLooking great!
For attaching the wings to the fuselage, put a screw or two through the spar. There are several ways of installing the screws:
-Drill a pilot hole just smaller than the threads, have the bolt tap into the wood (does not require a nut)
-Drill a hole just as large as the threads and secure it with a nut at the other end (the nut can also be placed into a notch into the bottom wood piece, so that it is flush with the bottom piece and doesn't spin)
View attachment 100603
But the most important part is to drill the holes with the wings installed and in the right place. This will line all of the holes up perfectly and eliminate the need for measuring and guesswork.
The screw head can rest in a hole just below the surface of the foam to hide it.
Pieliker96
Elite member
I’m gonna try that on my own scratch build (JU-288) there is a small wooden spar, so should I make a small plywood plate on the fuselage to attach that to? I think im gonna di the nut and bolt idea because I need to be able to transport this thing
That could work yeah. Upon further reflection I'd advise against putting the screws directly through the spar and instead opt for putting them through a tab or two on the wing - that'll keep the main spar as strong as possible.
voyhager3
Active member
So add some bits of plywood to increase area (to decrease the pressure to lighten the force on the foam) then put the screws through that?That could work yeah. Upon further reflection I'd advise against putting the screws directly through the spar and instead opt for putting them through a tab or two on the wing - that'll keep the main spar as strong as possible.
Pieliker96
Elite member
So add some bits of plywood to increase area (to decrease the pressure to lighten the force on the foam) then put the screws through that?
Something like this - the tab holds the wing on without compromising the main spar, and, if placed close enough to the leading/trailing edge, can also serve as an anti-rotation tab (keeping the wing from twisting around the main spar). Ofc this is probably way overkill for smaller planes (these pics are from a quad-EDF delta that's nearly 10 feet long) but the concept can be scaled down to suit.


voyhager3
Active member
Hm, good idea, I will try something like this, I need to get some hobby plywood first. I’m going to make it an entire sheet on the fuselage for max strength because the fuselage is very skinny on the 288Something like this - the tab holds the wing on without compromising the main spar, and, if placed close enough to the leading/trailing edge, can also serve as an anti-rotation tab (keeping the wing from twisting around the main spar). Ofc this is probably way overkill for smaller planes (these pics are from a quad-EDF delta that's nearly 10 feet long) but the concept can be scaled down to suit.
View attachment 204381 View attachment 204383
voyhager3
Active member
How thick of wood should I go?Something like this - the tab holds the wing on without compromising the main spar, and, if placed close enough to the leading/trailing edge, can also serve as an anti-rotation tab (keeping the wing from twisting around the main spar). Ofc this is probably way overkill for smaller planes (these pics are from a quad-EDF delta that's nearly 10 feet long) but the concept can be scaled down to suit.
View attachment 204381 View attachment 204383
Pieliker96
Elite member
As thick as you think it needs to be. I used 1/8" ply but that's overkill for smaller stuff.

