DTFB Extra 330 sc scratchbuild

UnfocusedZeus39

Junior Member
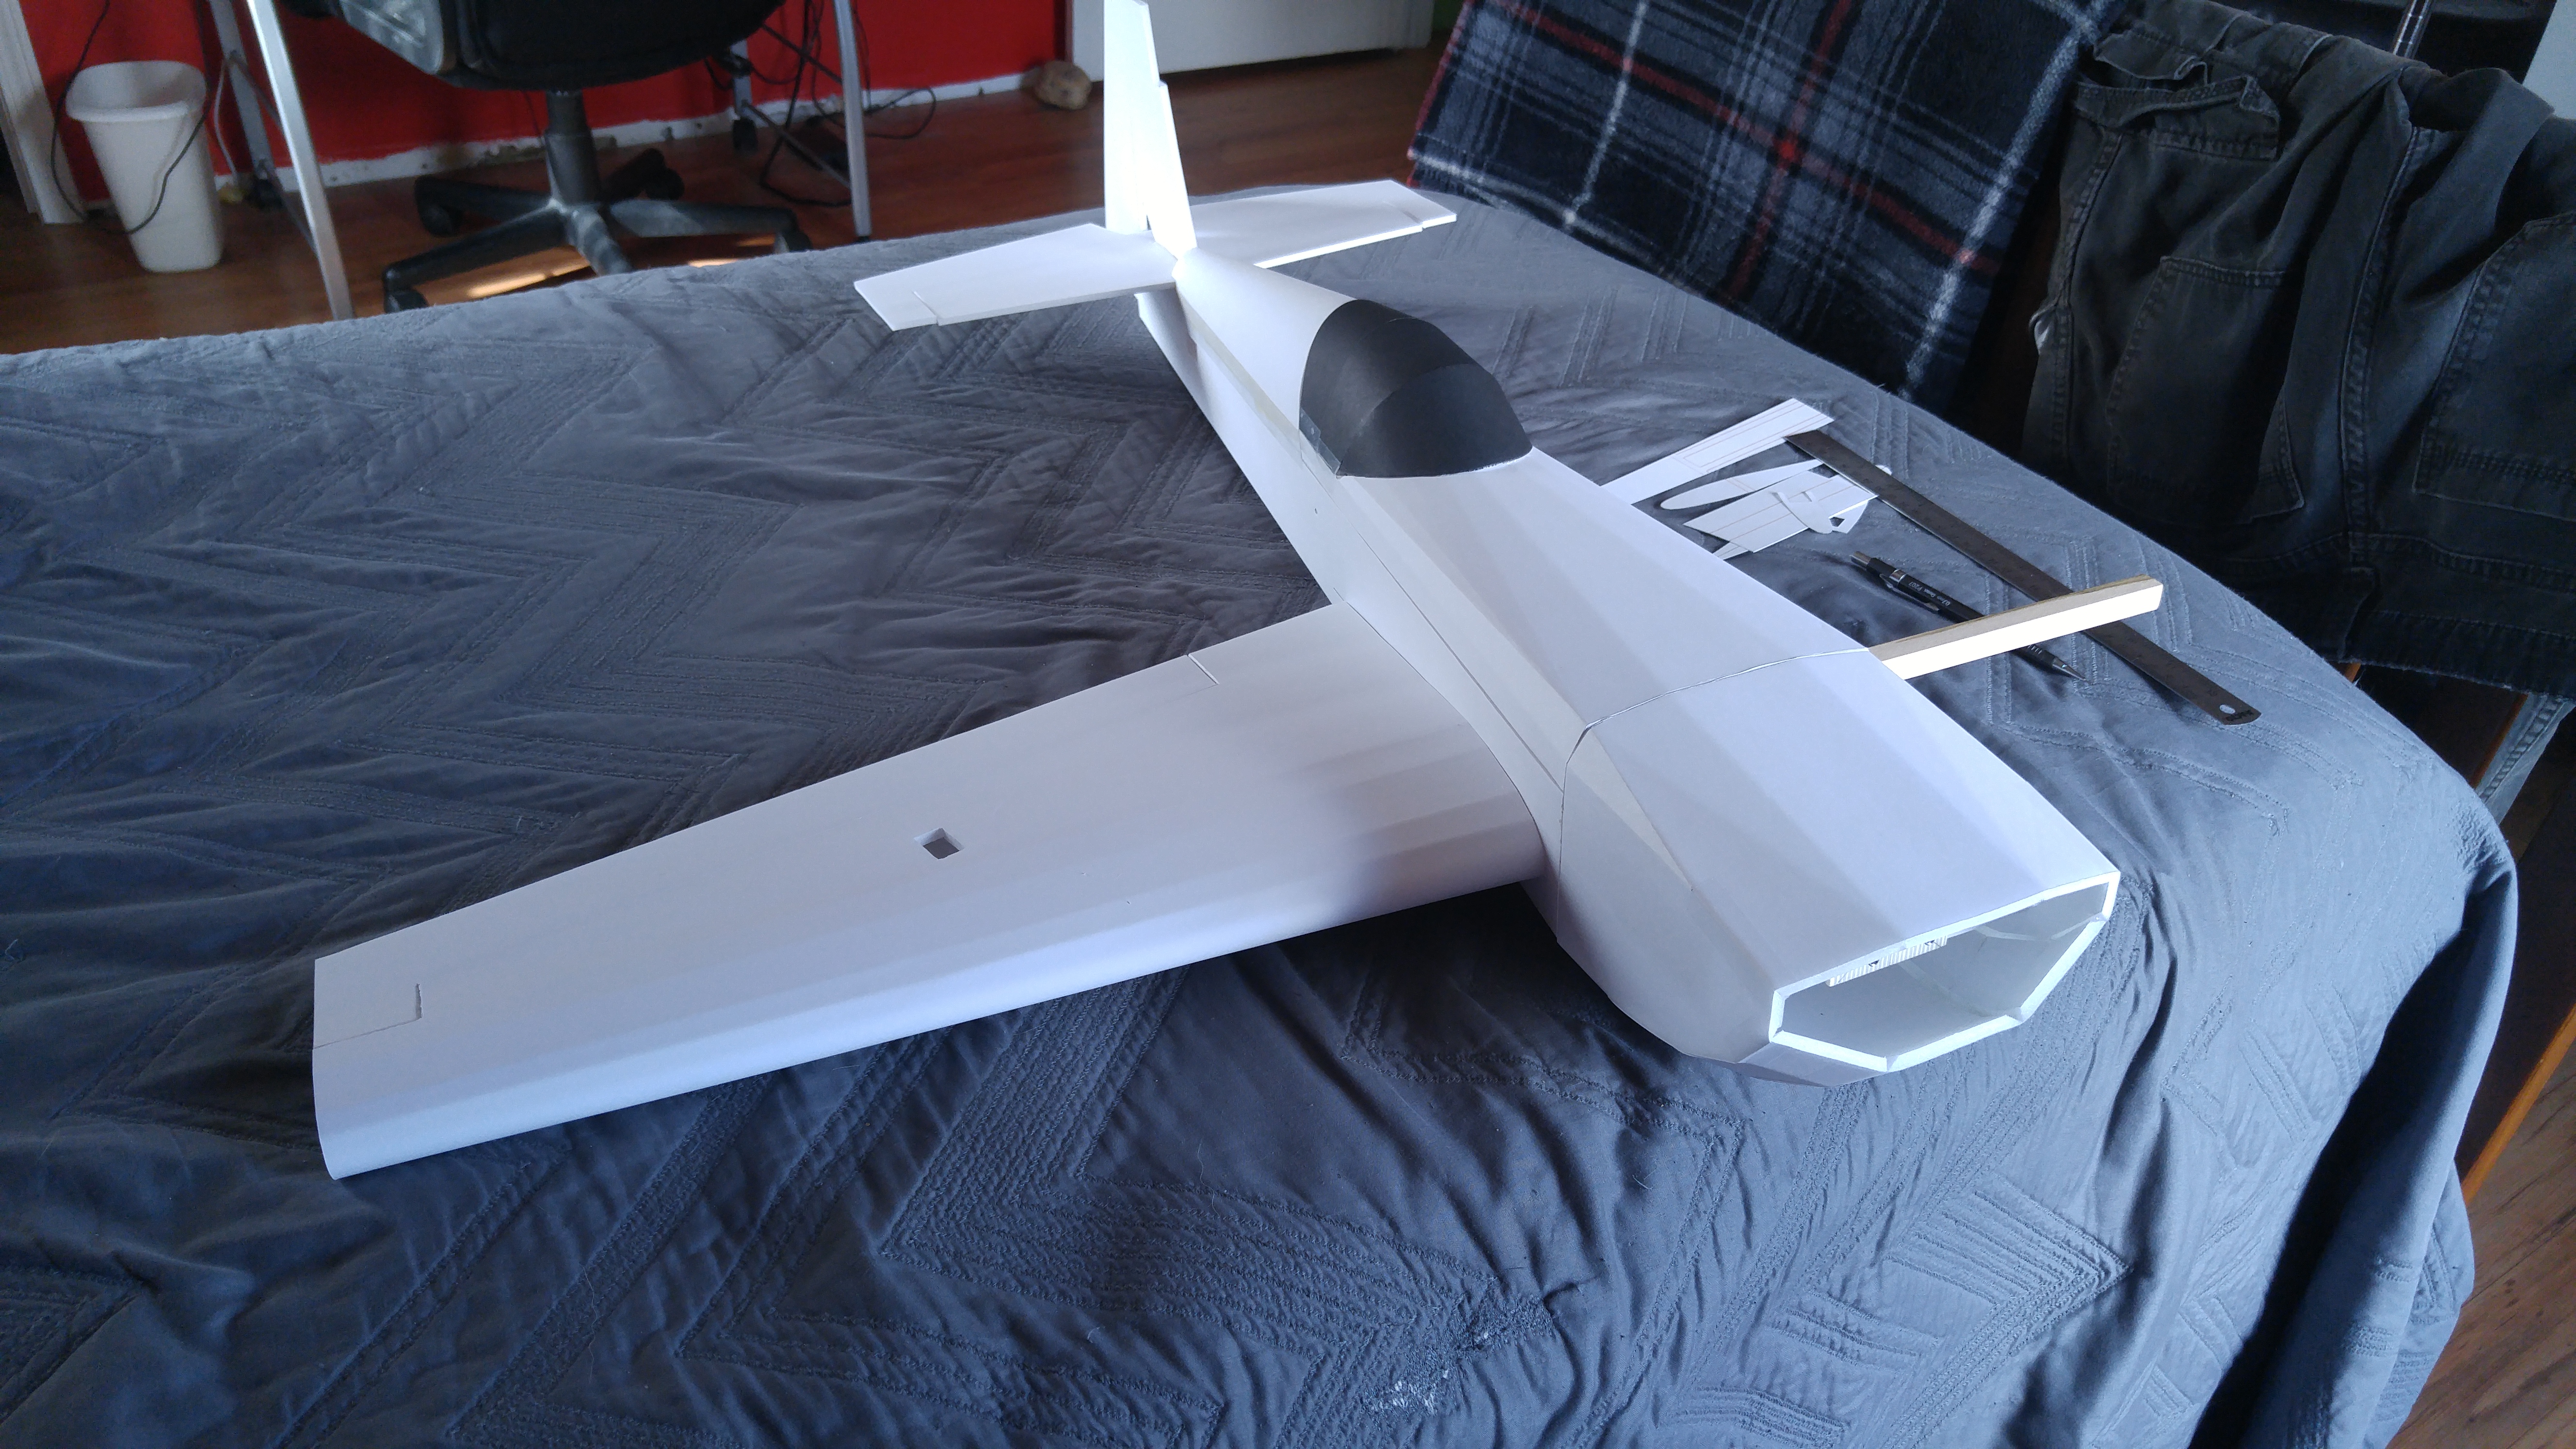
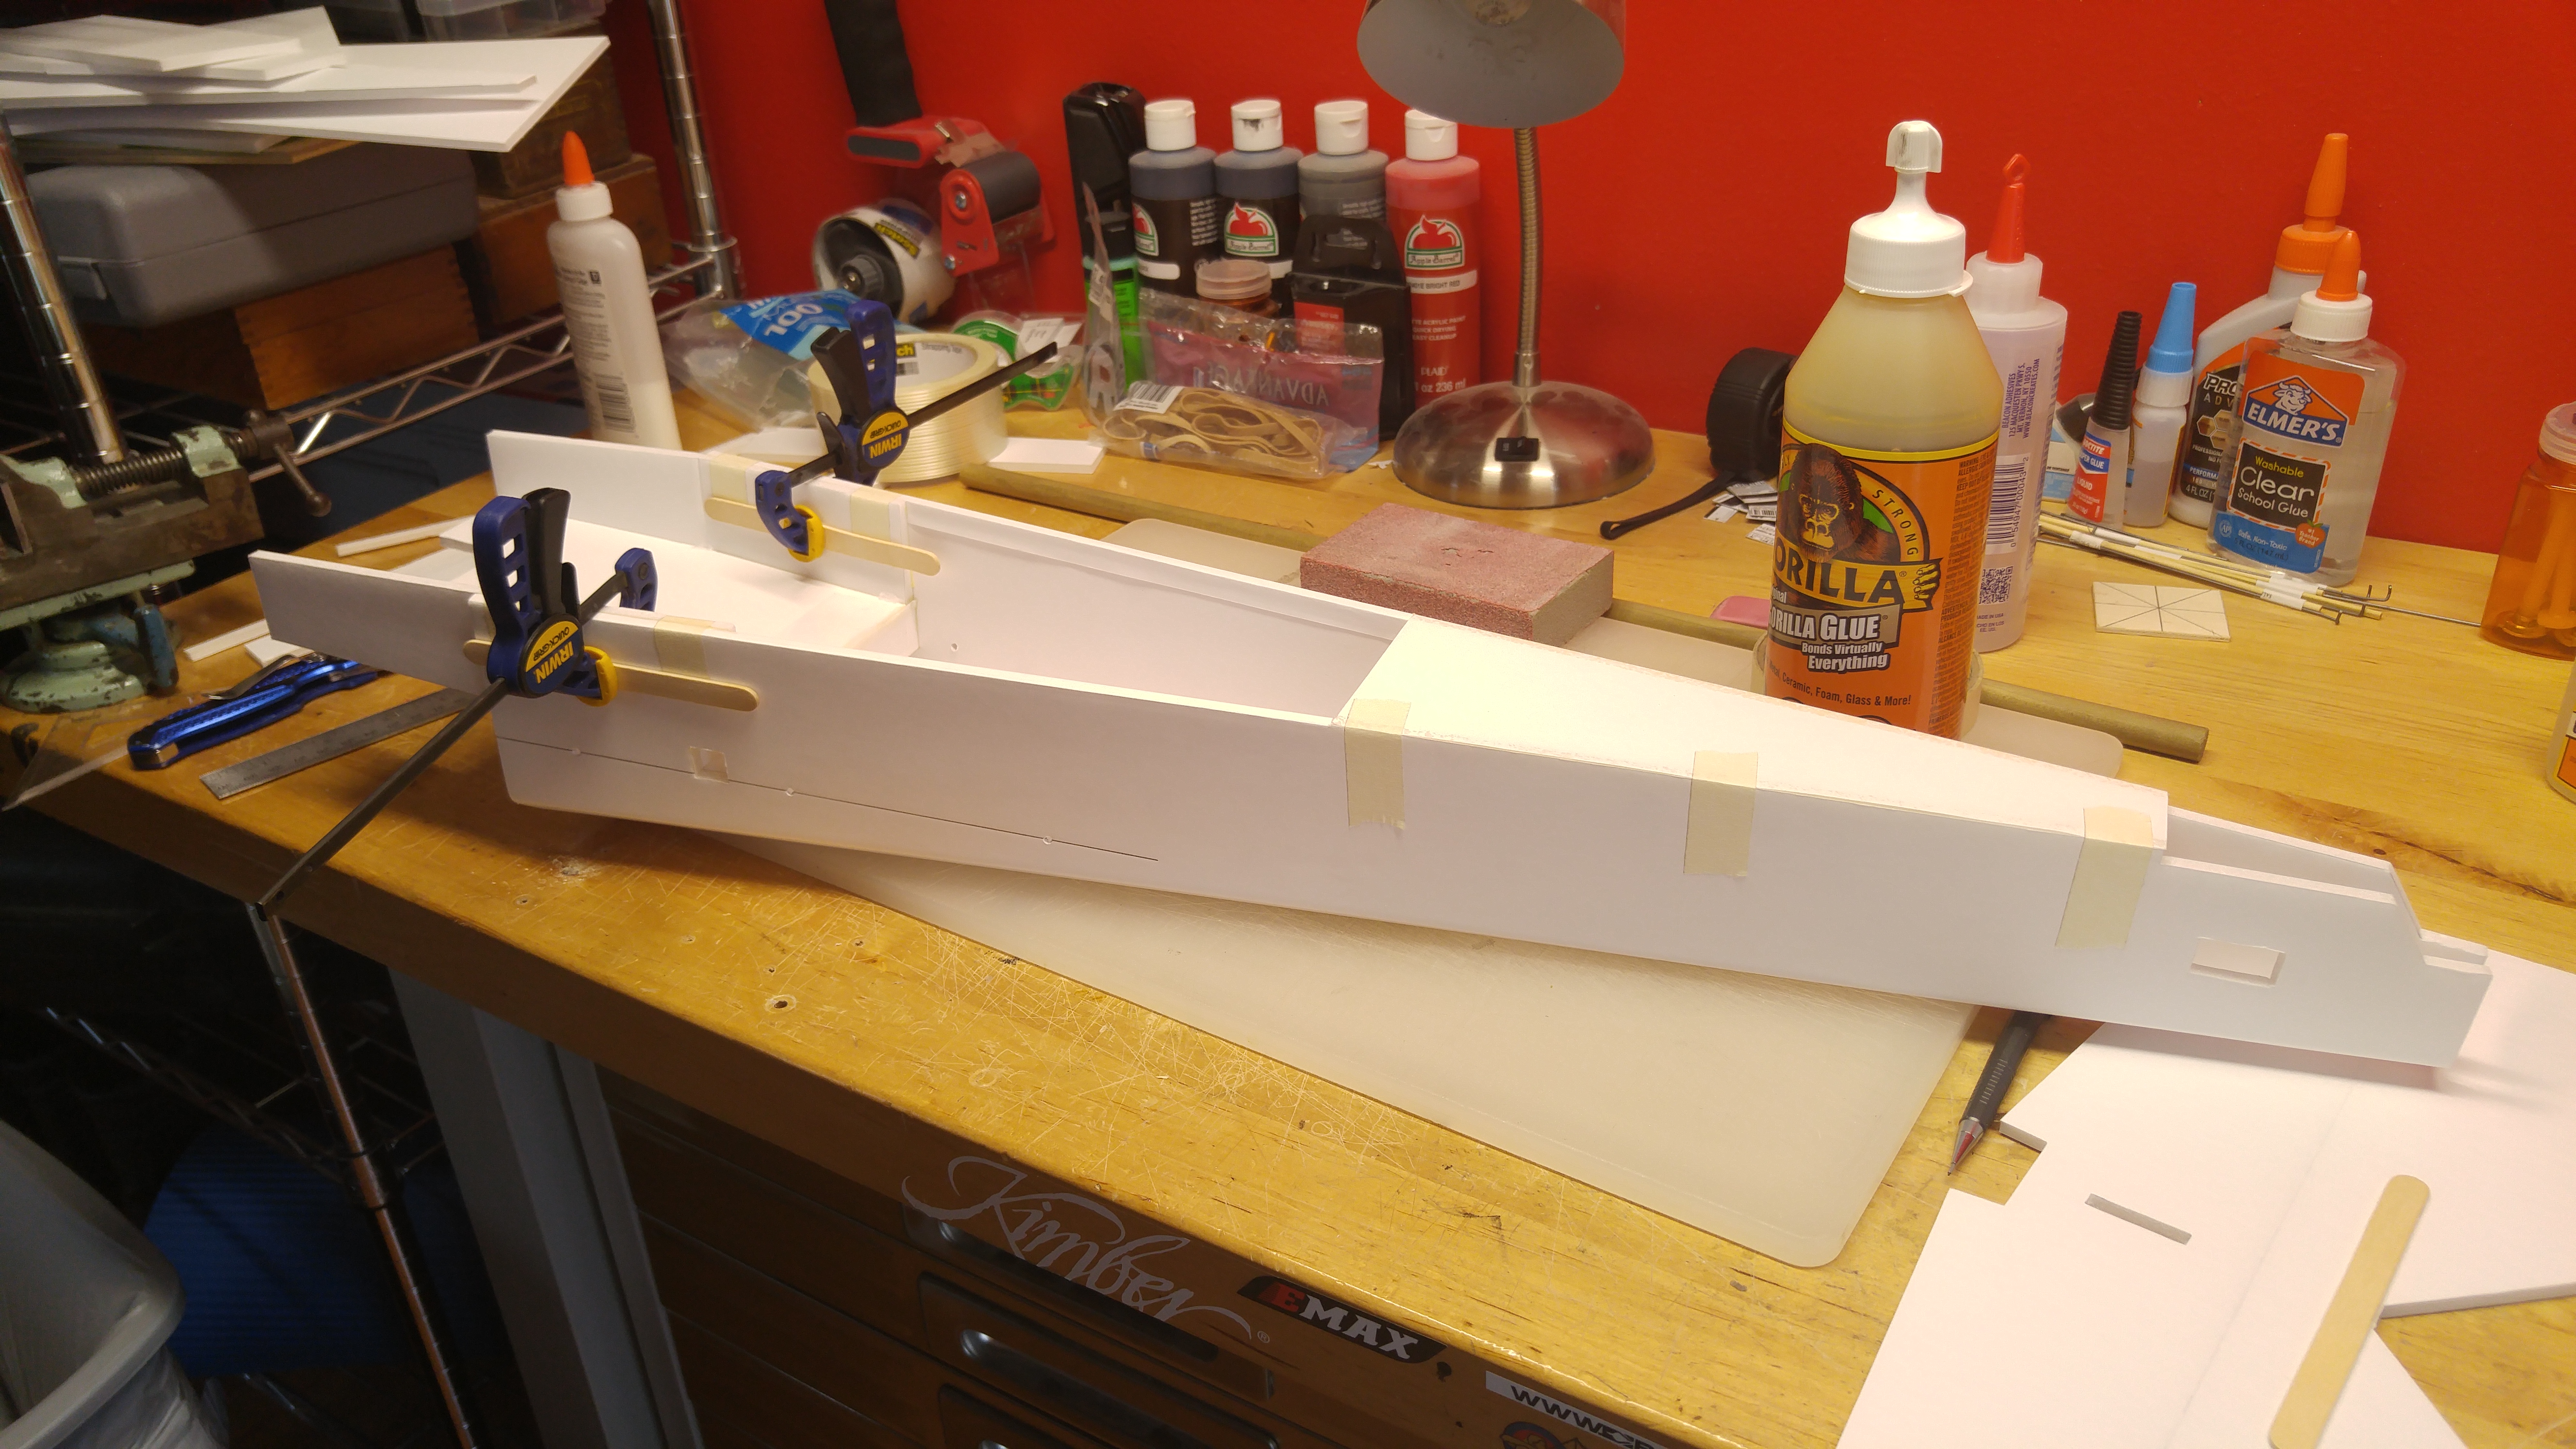
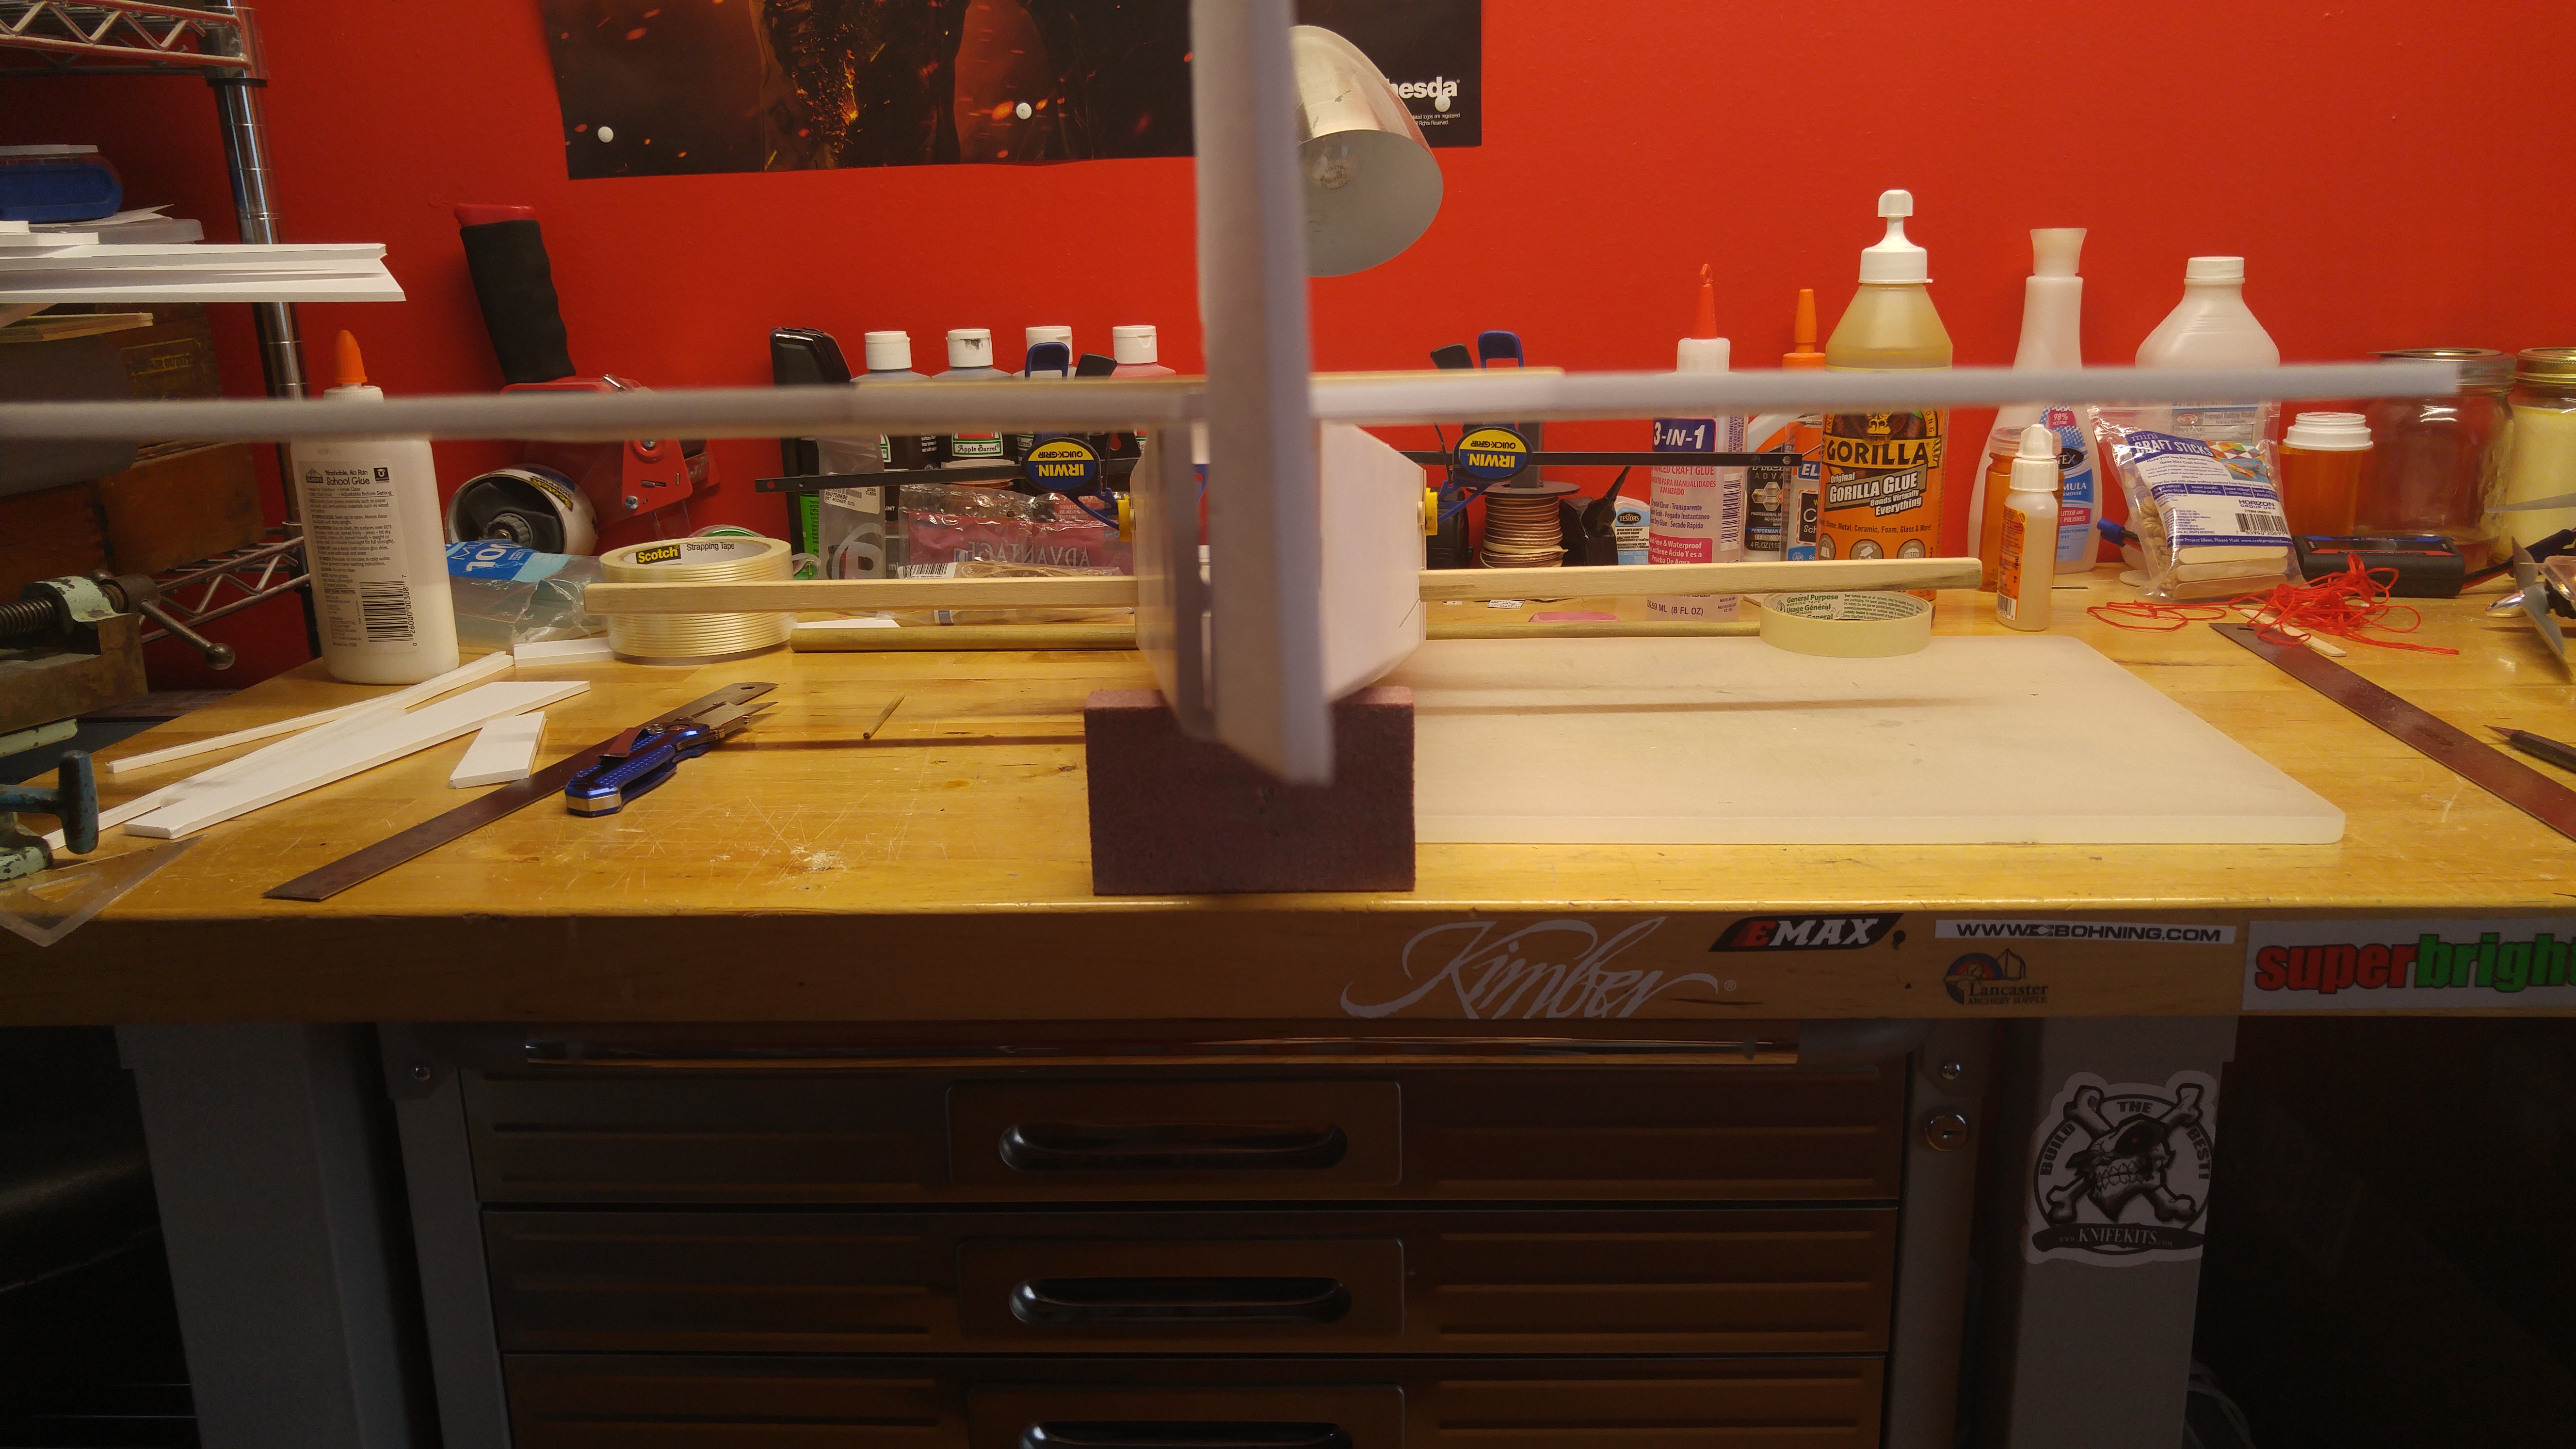
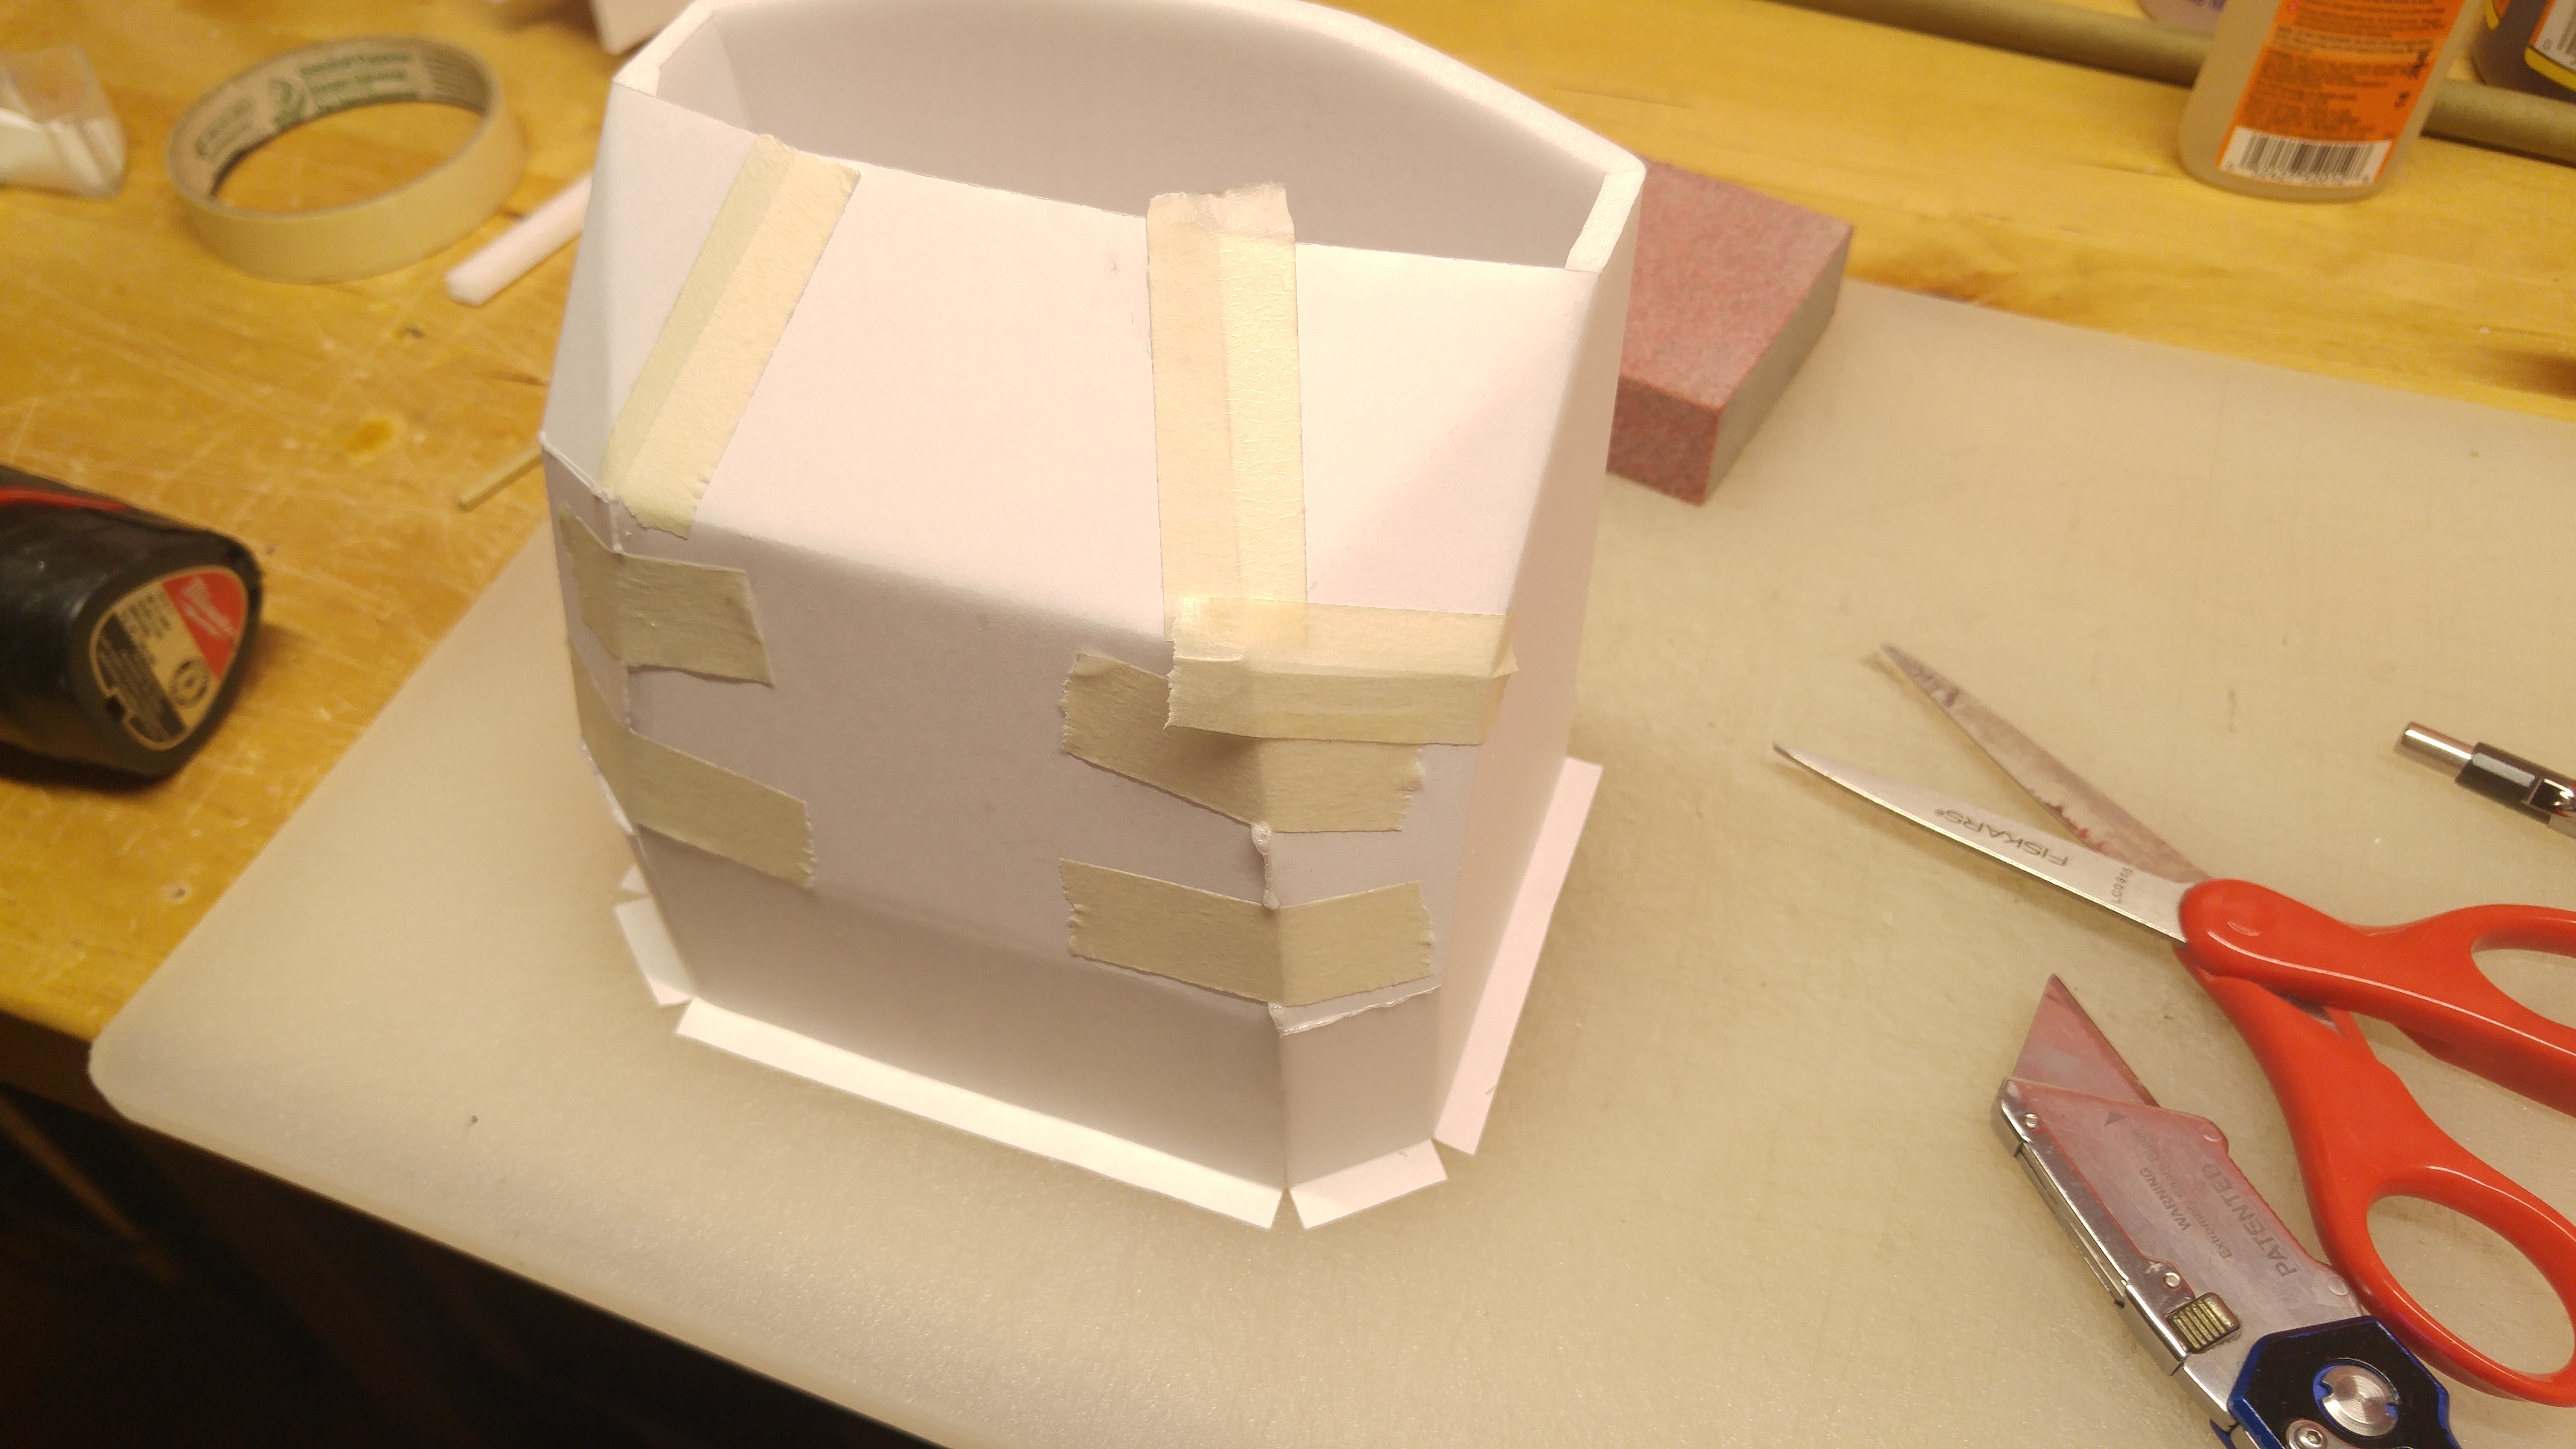
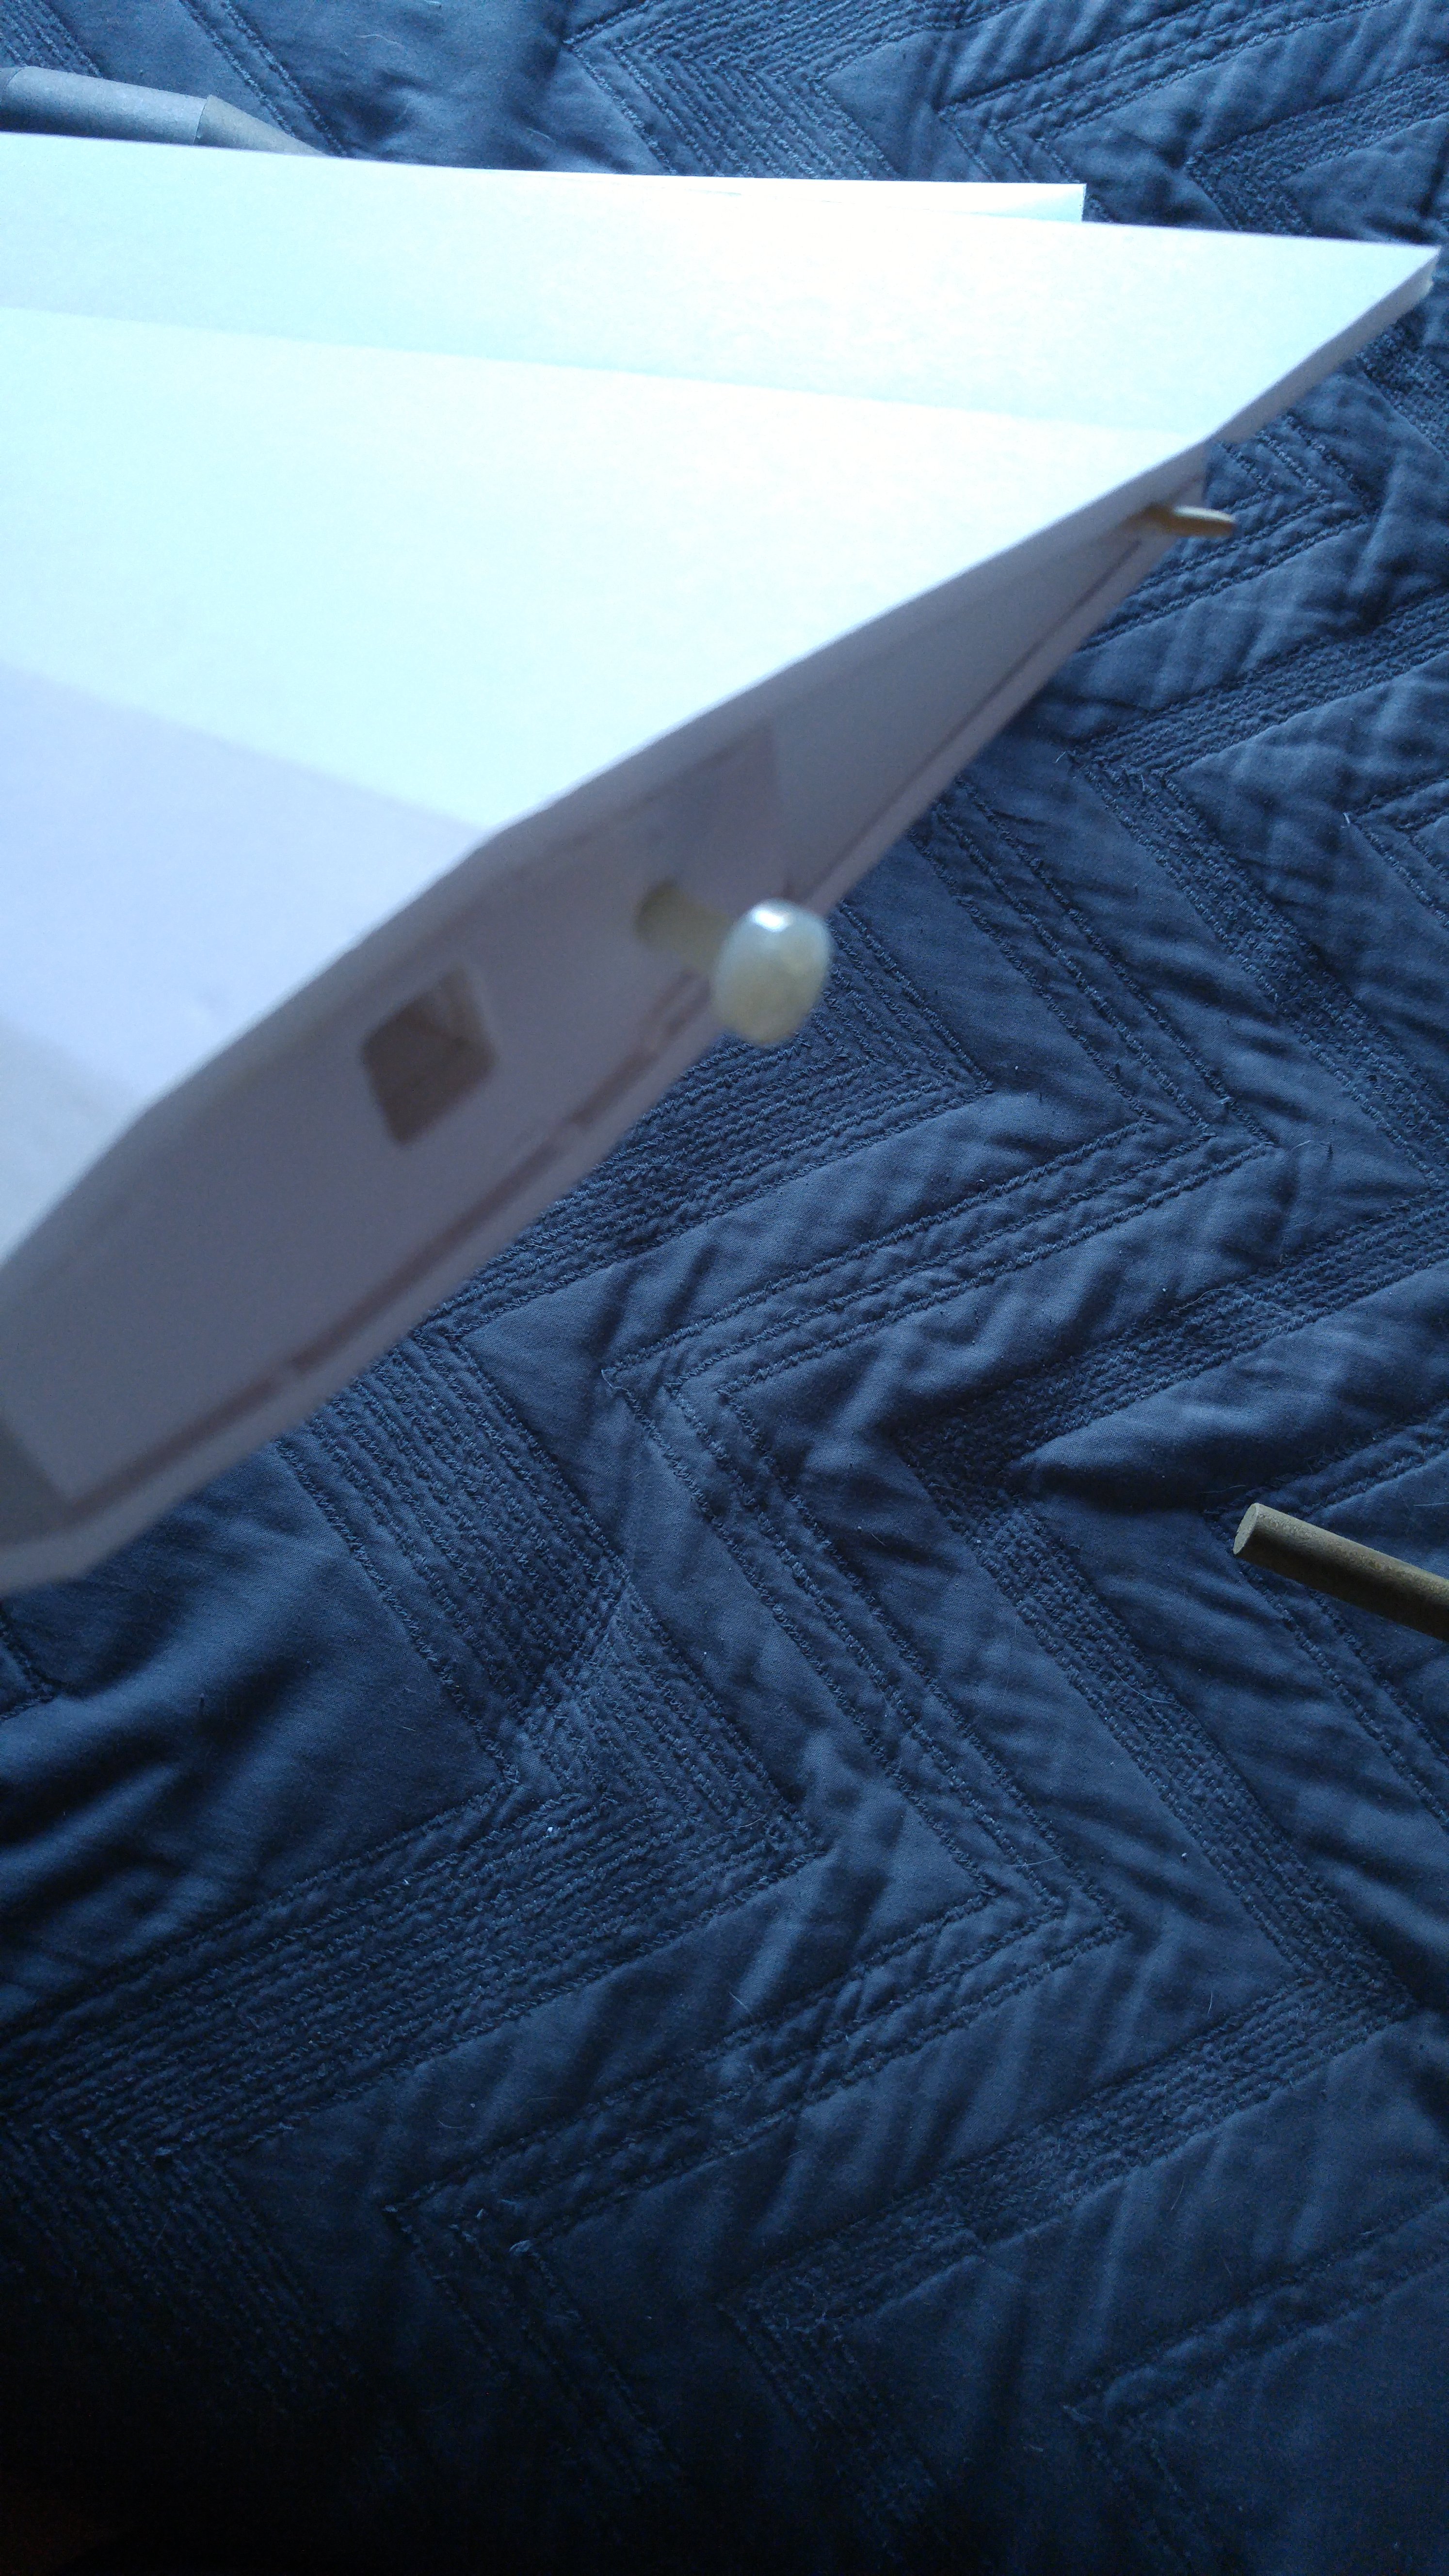
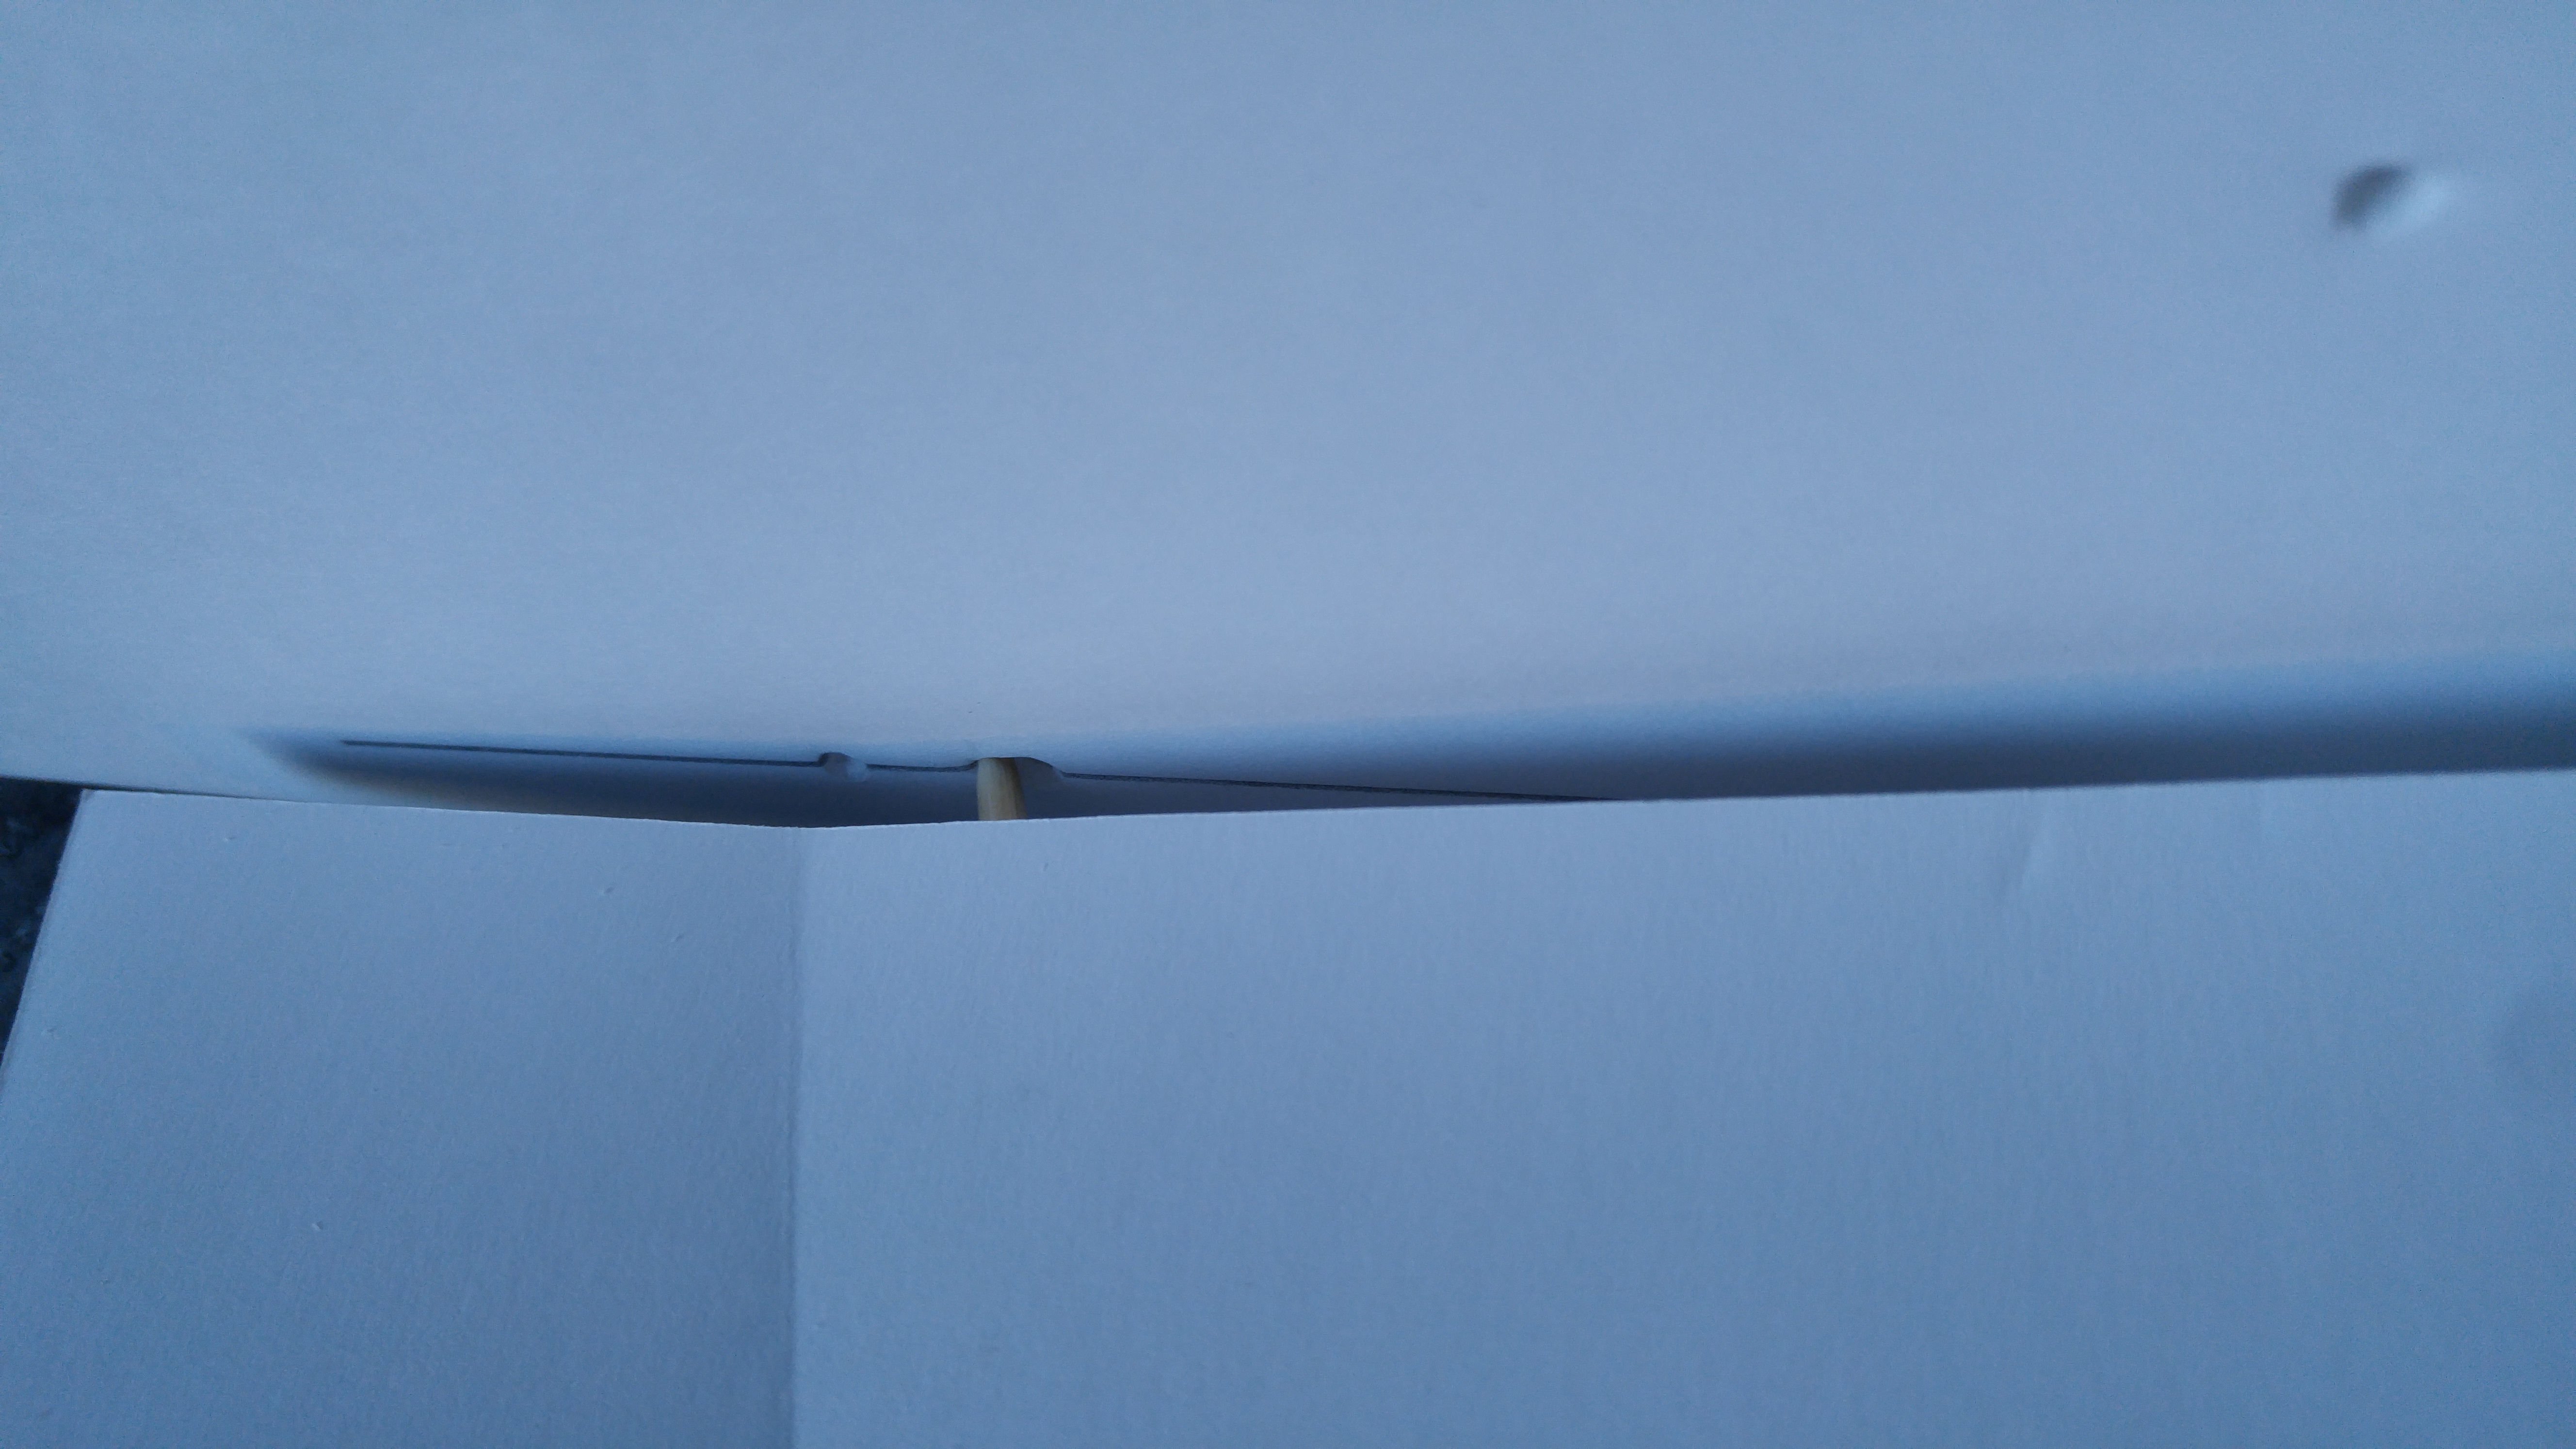
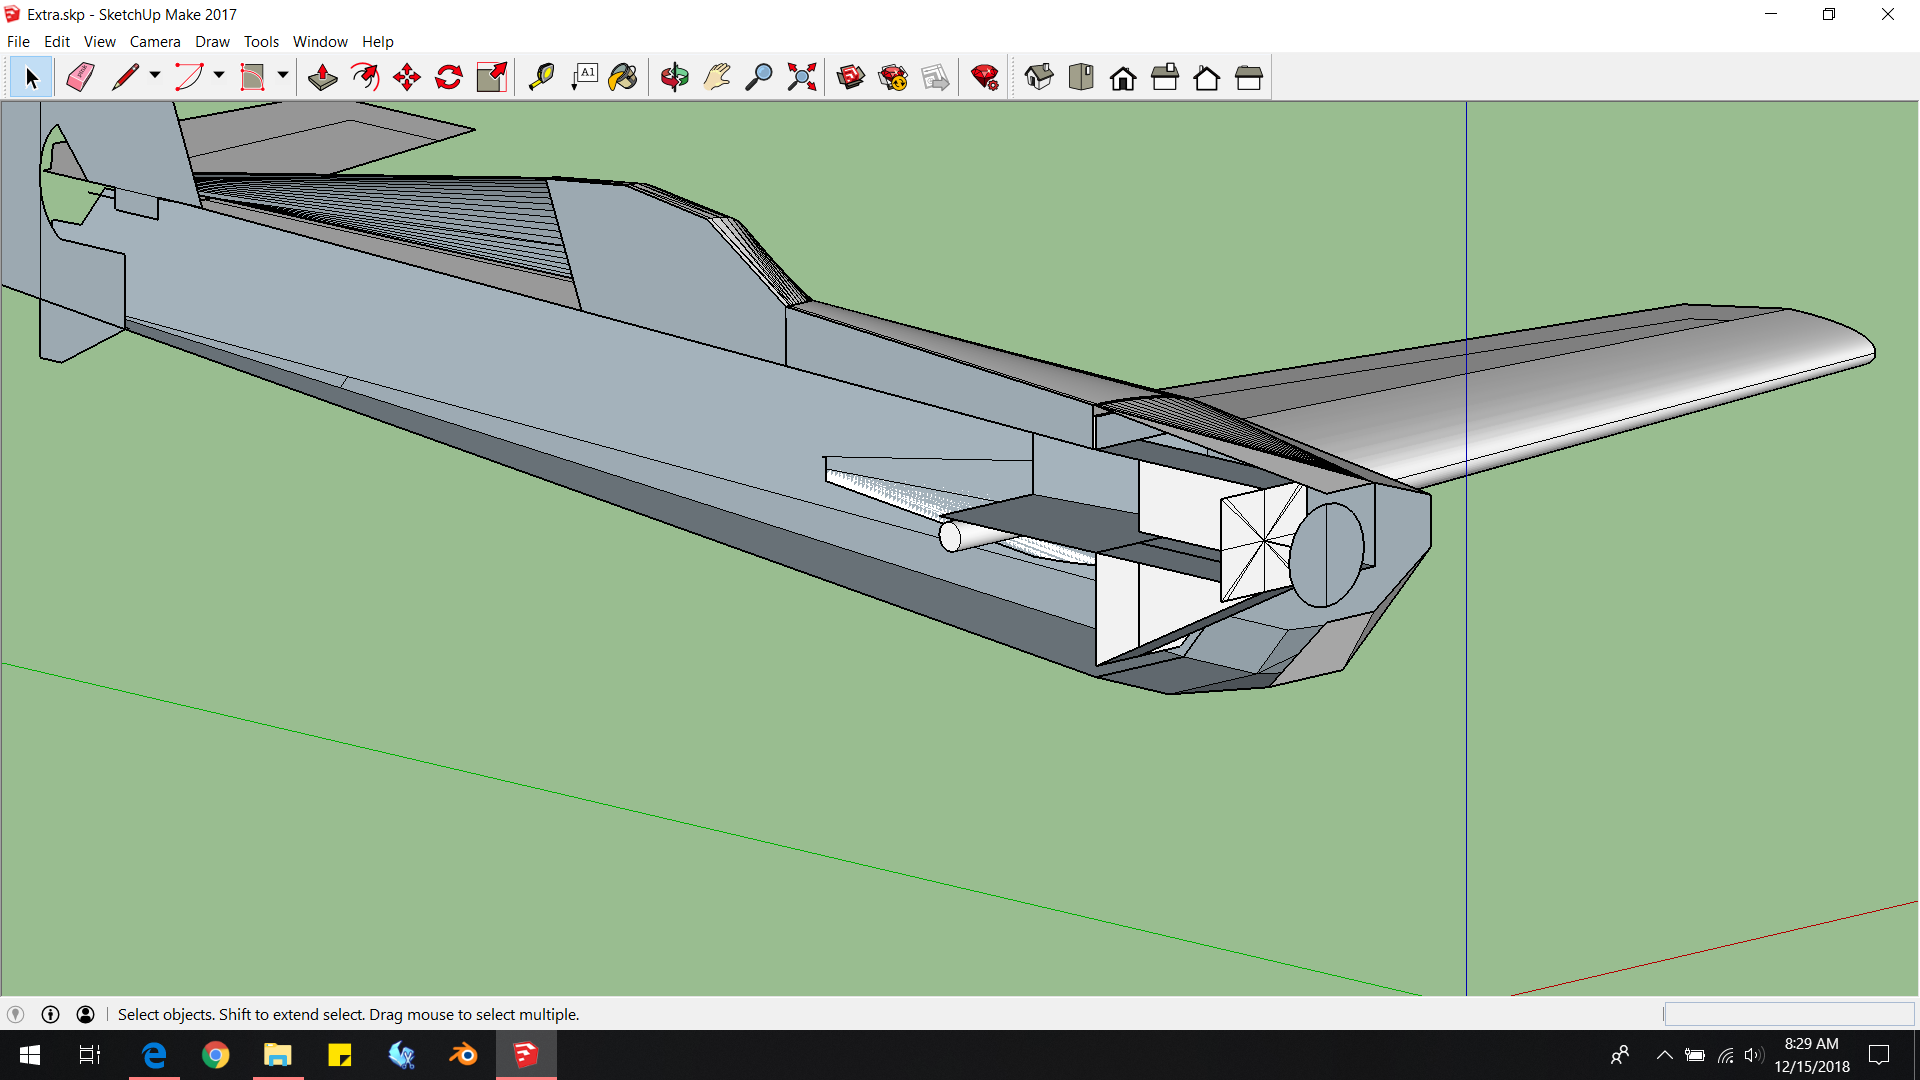
Hi guys and gals, I've been building out of foam board for a couple of years now and after building the Edge a few times I decided to try my hand at making my own set of plans. I'll try to keep everyone updated and I'll definitely release the plans when I've worked out the kinks. I've been working on this 40" Extra for a couple of weeks now and finally got around to building the prototype this week. It will probably use the same power setup as the edge. I'm hoping to make the wings removable like most other 3D types with nylon wing bolts and a round spar, but I'm kinda stuck right now. I was planning on using a 1/2" dowel as the spar and can't figure out a neat clean way to cut a round hole for it.

Edit: I think I've had enough with revising, so here's my final version(for now). It doesn't seem to like slow 3D much. Rudder input tends to put it into a ridiculous nose dive no matter what but it flies decent otherwise. AUW is around 740g(26oz) and I'm running the EMAX GT2215/09 with a 10x5 on 3S. It's light and very responsive so it may work better with a heavier motor as a racer or something. I'll probably try making plans for a different airfoil once I finish this course in aerodynamics.
 

Attachments

  • 1214181847.jpg
    1214181847.jpg
    5.1 MB · Views: 0
  • 1214181847a.jpg
    1214181847a.jpg
    5.2 MB · Views: 0
  • 1214181848.jpg
    1214181848.jpg
    4.9 MB · Views: 0
  • Screenshot (6).png
    Screenshot (6).png
    393.6 KB · Views: 0
  • Screenshot (7).png
    Screenshot (7).png
    298.9 KB · Views: 0
  • Screenshot (8).png
    Screenshot (8).png
    456 KB · Views: 0
  • Screenshot (9).png
    Screenshot (9).png
    173.3 KB · Views: 0
  • Extra 330.zip
    63.1 KB · Views: 0
Last edited:

DamoRC

Elite member
Mentor
Really nice work!

On the round hole, yep, that's going to be tricky to do neatly. You could drill 1/2 hole in thin ply and apply that over the hole to tidy up the looks. Or maybe cut a smaller square in the foamboard and use the dowel to round it out?
 

reburg99

Member
I've used an 1/8" drill bit to predrill holes for BBQ skewers, I don't see why you couldn't just do that with a 1/2" drill bit. I would predrill a smaller hole first, 5/16 or 3/8.

As an alternative you could use 1/2"x1/2" square stock. This would make building a pocket in the wing easier as well.
 

UnfocusedZeus39

Junior Member
As reburg99 suggested, I ended up cutting square holes and happened to have a 1/2" square stick of bass wood kicking around. Will try to maiden it some time this week, gotta wait for the rain to back off and the wind to die down a bit. I'm adding foam tubes so that you'll be able to use either square or round spars without fear of a round one wallowing out the holes.
 

Attachments

  • 1215182012.jpg
    1215182012.jpg
    5.3 MB · Views: 0
  • 1216181210.jpg
    1216181210.jpg
    4.8 MB · Views: 0
  • 1216181211.jpg
    1216181211.jpg
    6 MB · Views: 0
  • Screenshot (10).png
    Screenshot (10).png
    523.8 KB · Views: 0

reburg99

Member
Looks great so far. I would add a 2nd reinforced hole at the TE for a BBQ scewer pin or possibly a small chunk of threaded plywoood to accept a nylon screw. This will help keep the wings in the correct position and not rotate.
 

foamtest

Toothpick glider kid
If you need to cut round holes in something you can sharpen a copper pipe and then put that into a drill and bam a tiny FB hole saw. I have not tried this method but I have heard of other's using it with great success.
 

GMalatrasi

Active member
If you need to cut round holes in something you can sharpen a copper pipe and then put that into a drill and bam a tiny FB hole saw. I have not tried this method but I have heard of other's using it with great success.
I use leather hole punches in the same way.
 

UnfocusedZeus39

Junior Member
Alright, managed to get the prototype up in the air. It was too windy to get a proper feel for the plane and it needed downthrust. AUW came in at 730g, I'm running the EMAX GT2215/09 with a 10x5APC and a 2200mah 3s. Here's some Beta plans, let me know what you guys think. The trailing edge of all flight surfaces have been extended by about 1/2" from true-scale. The wings have a slight dihedral so that the upper surfaces are flat. When you go to form the wings, attach all the formers and the spar tubes square to the top surface first. The motor mount is a cut-to-fit, the front edge extends by about 1/8" forward of the cowl. You can lay the whole motor assembly+firewall on it and cut it square to get a perfect fit regardless of motor setup. The motor mount itself has about 1.5 degrees of downthrust and the battery tray cutout for it has about 1 degree of right thrust. The CG should be roughly where the spar is or closer to the rear fold in the wing. Forming the fuse is easiest if you bevel all the bottom folds by about 1/8". The holes just behind where the spar goes is an ideal place to use BBQ skewers to align the wings, I've also included alignment marks to help make sure both wings are parallel. There should be just enough room behind the spar to fit in a 1/4" nylon bolt +blind nut. If all goes well, I'll try making a build guide when I go to release the final version.
 

Attachments

  • Extra 330sc (Beta-Letter).pdf
    216 KB · Views: 0

Chappie66

Active member
Wow that is a beastly looking piece of art. Definitely want one. Are you using gorilla glue in the build vice hot glue?
 

UnfocusedZeus39

Junior Member
Wow that is a beastly looking piece of art. Definitely want one. Are you using gorilla glue in the build vice hot glue?
I was planning on using gorilla glue to help keep weight down, but there's still some areas where the speed of hot glue may be better. I used gorilla glue on some of the fuse and the horizontal stab but ended up using a quick bead along the seams to help keep things in place. I didn't have enough patience to keep using gorilla glue on something I wasn't planning on keeping for long, so I ended up switching completely over to hot glue by the time I started the cowl and wings which kinda helped since the pressures kept forcing things apart.
 

Chappie66

Active member
I definitely understand the waiting for Gorilla glue to dry, it has its places for use. Looking forward to building this one, hopefully later this winter. Nice work!!
 

UnfocusedZeus39

Junior Member
First I messed up and forgot to put scrap foam between my clamps and left popsicle indents in the fuse(oops!). It's not shown in the pics but I did use the spar to help align the battery tray right before clamping, I didn't leave it in because some of the glue leaked through the cracks and threatened to make it permanent. Then I got ahead of myself and put the tail feathers on too early and wound up having to make posterboard templates for the rear deck. Not complaining though, it made the build easier and helps shave weight. The cowl had issues with catching on the new motor mount, had to dig out some of the foam to get it to fit, so I've changed the construction a bit and raised the top a little at the front. Also had to move the rudder servo down so the pushrod clears the elevator and flipped some of the parts so the elevator servo is on the left side now. The wing has been drastically simplified to reduce weight, might have to bevel every fold a little and inject some gorilla glue in to help get the wingtips shaped properly. The total spar length is 20". The hatch has been a mess so far, gonna try going back to how I did it on the prototype.
Edit: just built the wings and they turned out awesome. They fold a lot easier if you bevel one edge of each fold and inject a little gorilla glue into the crease. I over-beveled the leading edges though so they turned out sharp, may not work so well for slower 3D stuff. It gave me the idea of making different sets of wings for different flying styles though. I'll make a second set with squared wings for minimum wing loading and maximum 3D flying. I also found it's easier to just mark the fuse for wing alignment and then let the skewer at the trailing edge decide where to poke through rather than pre-punch a hole. I used a piece of 1/8" light plywood and regular 1/4" nylon wing bolts for attaching the wings and that seems to be working decent too.
Edit(part 2): Flew it and it was fairly unstable when trying 3D maneuvers and didn't want to fly very straight no matter how I trimmed it. I tried using gorilla glue for most of the construction and managed to keep AUW at 730g. Had a tendency to nose dive when giving it any rudder input and I think it chopped a little with throttle changes. Gonna try moving a few things around and playing with the thrust line. Otherwise it was very responsive.
 

Attachments

  • 1219181325.jpg
    1219181325.jpg
    5.4 MB · Views: 0
  • 1219181400.jpg
    1219181400.jpg
    5.5 MB · Views: 0
  • 1219181401.jpg
    1219181401.jpg
    4.6 MB · Views: 0
  • 1219181401a.jpg
    1219181401a.jpg
    5 MB · Views: 0
  • 1219181443.jpg
    1219181443.jpg
    5.4 MB · Views: 0
  • 1219181444.jpg
    1219181444.jpg
    5.4 MB · Views: 0
  • 1219181452.jpg
    1219181452.jpg
    4.8 MB · Views: 0
  • 1219181546.jpg
    1219181546.jpg
    5.2 MB · Views: 0
  • 1219181746.jpg
    1219181746.jpg
    5 MB · Views: 0
  • 1219181904.jpg
    1219181904.jpg
    4.8 MB · Views: 0
  • 1223181311.jpg
    1223181311.jpg
    6.2 MB · Views: 0
  • 1223181702.jpg
    1223181702.jpg
    2.5 MB · Views: 0
  • 1223181702a.jpg
    1223181702a.jpg
    5.1 MB · Views: 0
  • 1223181703.jpg
    1223181703.jpg
    5.3 MB · Views: 0
  • 1223181703a.jpg
    1223181703a.jpg
    5.7 MB · Views: 0
  • 1224181708.jpg
    1224181708.jpg
    6.1 MB · Views: 0
Last edited: