DTFB observations

FishbonesAir

Active member
So, I got curious about some things with Dollar Tree (Adam's brand) foam board.

What's the stuff actually weigh? How much of that is paper, and how much is foam? So here's what I came up with.

Sample size: 10 cm x 10 cm
Weight: 2.909 g
Weight of paper: .777 g & .768 g = 1.545 g
Foam weight: 1.364* g
* actually putting the foam on the scale is an exercise in static electricity & scales... after discharge, it settled close to that calculated number, 4 out of 5 times. As the static charge builds, the foam weight increases.

Conclusion: the paper on the foamboard does weight more than the foam core. Something I found out, that I didn't expect, was that the foam has a definite grain of sorts to it. That is, it bends easily one way, but is very stiff turned 90 degrees. This grain runs the length of the board; excellent for our purposes when building wings, but also worth noting on wide stabilizers.


Disclaimer: I only sampled one piece from 1 board from 1 store. I can tell you, the boards I bought were not that consistent in thickness and quality. I noticed this after getting them home from the store. The sample was taken from one of the best sheets.
 

Tench745

Master member
I just weighed a whole sheet of foamboard and then calculated weight/100cm square and came up with 2.88g/100cm My scale isn't accurate enough to weigh a small piece. I can also verify from past experience that the paper weighs more than half the total foamboard and it definitely has a grain. I have not found the grain to be particularly impactful in a build, but I haven't tracked it specifically either.
I also found that dollar tree posterboard weighs more than DTFB with the paper removed on one side.
 

Tench745

Master member
@Tench745 - I'm sure you know this but if you're building an MS type design the grain has a definite effect. You can't roll those shapes with the grain going the wrong way.

I have done a little bit of moulded foam building and have not run into any difficulty forming any part. It is entirely possible, albeit statistically improbable, that I got lucky and cut all my pieces with the grain going the correct direction. Like I said, I never kept track of it to know one way or another.
 

Yankee2003

Well-known member
I have done a little bit of moulded foam building and have not run into any difficulty forming any part. It is entirely possible, albeit statistically improbable, that I got lucky and cut all my pieces with the grain going the correct direction. Like I said, I never kept track of it to know one way or another.

Have you ever assembled a plane and then removed the outer paper? I have heard of Josh Orchard doing some form of this and then “glassing” the foam. I would wonder to what extent this is done, how and when it is done (before or after assembly), and does the areas warp once the foam is removed? Seems like wings and tail surfaces would warp out of shape.
 

Tench745

Master member
Have you ever assembled a plane and then removed the outer paper? I have heard of Josh Orchard doing some form of this and then “glassing” the foam. I would wonder to what extent this is done, how and when it is done (before or after assembly), and does the areas warp once the foam is removed? Seems like wings and tail surfaces would warp out of shape.

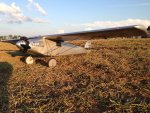
My large Spirit of St Louis was built from paperless DTFB over formers and then glassed. You can work with paperless DTFB just like one would work with Depron, though it's a little more brittle. Full disclosure: I still haven't flown this one.
156202_791e85826f0d853cd078971724373d73_thumb.jpg


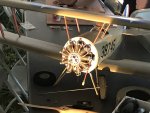
When building my Thomas Morse Scout I found I could curve the foam more easily without cracking it if I left the paper on. Once the structure was all glued together I went back and removed the paper. For that one I covered the foam sheets with Silkspan tissue instead of fiberglass. Turned out pretty good.
421760_a8cc074b4f406850c507a7bb4499c87e_thumb.jpg


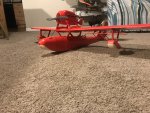
For my FT Sea Angel I used the bare foam and just coated it with multiple layers of polycrylic to build up a shell and then spray-painted it. This one hasn't flown yet either, but I can tell you it feels about as stiff as any other FT plane in my hangar. For this one I mixed and matched peeling paper before or after gluing. For example, the fuselage top-skin was shaped and assembled before peeling the paper because it takes a relatively tight bend and might have cracked without the paper to help support it. I believe the wings were shaped and assembled with the paper off. The floats were built paperless during assembly and then got sanded to final shape.
390611_7f73b09be66e84a0bc1eeed5e872c9f3_thumb.jpg


Whenever removing the paper you eliminate a lot of the rigidity, so you need to build in reinforcements. The Spirit has wooden spars in the wings. piano wire wing struts, a wooden box structure to take spar and gear loads, and double-thickness tail surfaces with BBQ skewers inside.

The Tommy Scout has wood spars, piano-wire struts, plywood formers to take spar and gear loads, a plywood firewall, and the hinge-line of each tail surface is balsa.

The Sea Angel has Carbon-fiber wing spars and a strip of balsa along the hinge line on the H-stab and V-stab, but no other reinforcements beyond what the FT plans had.
 

Yankee2003

Well-known member
My large Spirit of St Louis was built from paperless DTFB over formers and then glassed. You can work with paperless DTFB just like one would work with Depron, though it's a little more brittle. Full disclosure: I still haven't flown this one.
156202_791e85826f0d853cd078971724373d73_thumb.jpg


When building my Thomas Morse Scout I found I could curve the foam more easily without cracking it if I left the paper on. Once the structure was all glued together I went back and removed the paper. For that one I covered the foam sheets with Silkspan tissue instead of fiberglass. Turned out pretty good.
421760_a8cc074b4f406850c507a7bb4499c87e_thumb.jpg


For my FT Sea Angel I used the bare foam and just coated it with multiple layers of polycrylic to build up a shell and then spray-painted it. This one hasn't flown yet either, but I can tell you it feels about as stiff as any other FT plane in my hangar. For this one I mixed and matched peeling paper before or after gluing. For example, the fuselage top-skin was shaped and assembled before peeling the paper because it takes a relatively tight bend and might have cracked without the paper to help support it. I believe the wings were shaped and assembled with the paper off. The floats were built paperless during assembly and then got sanded to final shape.
390611_7f73b09be66e84a0bc1eeed5e872c9f3_thumb.jpg


Whenever removing the paper you eliminate a lot of the rigidity, so you need to build in reinforcements. The Spirit has wooden spars in the wings. piano wire wing struts, a wooden box structure to take spar and gear loads, and double-thickness tail surfaces with BBQ skewers inside.

The Tommy Scout has wood spars, piano-wire struts, plywood formers to take spar and gear loads, a plywood firewall, and the hinge-line of each tail surface is balsa.

The Sea Angel has Carbon-fiber wing spars and a strip of balsa along the hinge line on the H-stab and V-stab, but no other reinforcements beyond what the FT plans had.
Excellent work. Thank you for the detailed reply. I will experiment with different situations as well.
I noticed some builders will all balsa sheeting to the inside fuselage at the wing saddle or battery hatch area. Do you think glassing these areas would be a good alternative…..maybe glassing a battery hatch…?
 

Tench745

Master member
Excellent work. Thank you for the detailed reply. I will experiment with different situations as well.
I noticed some builders will all balsa sheeting to the inside fuselage at the wing saddle or battery hatch area. Do you think glassing these areas would be a good alternative…..maybe glassing a battery hatch…?

Glass makes for a good paint surface and adds a some tensile strength to the foam, but does little for crush and dent resistance. This is what the balsa is good for. Lining areas that get beat up like the battery hatch keeps the edges of the foam from getting rounded over and dented. Wing saddles, likewise benefit by keeping the wing from crushing the foam and moving out of position.

@Tench745
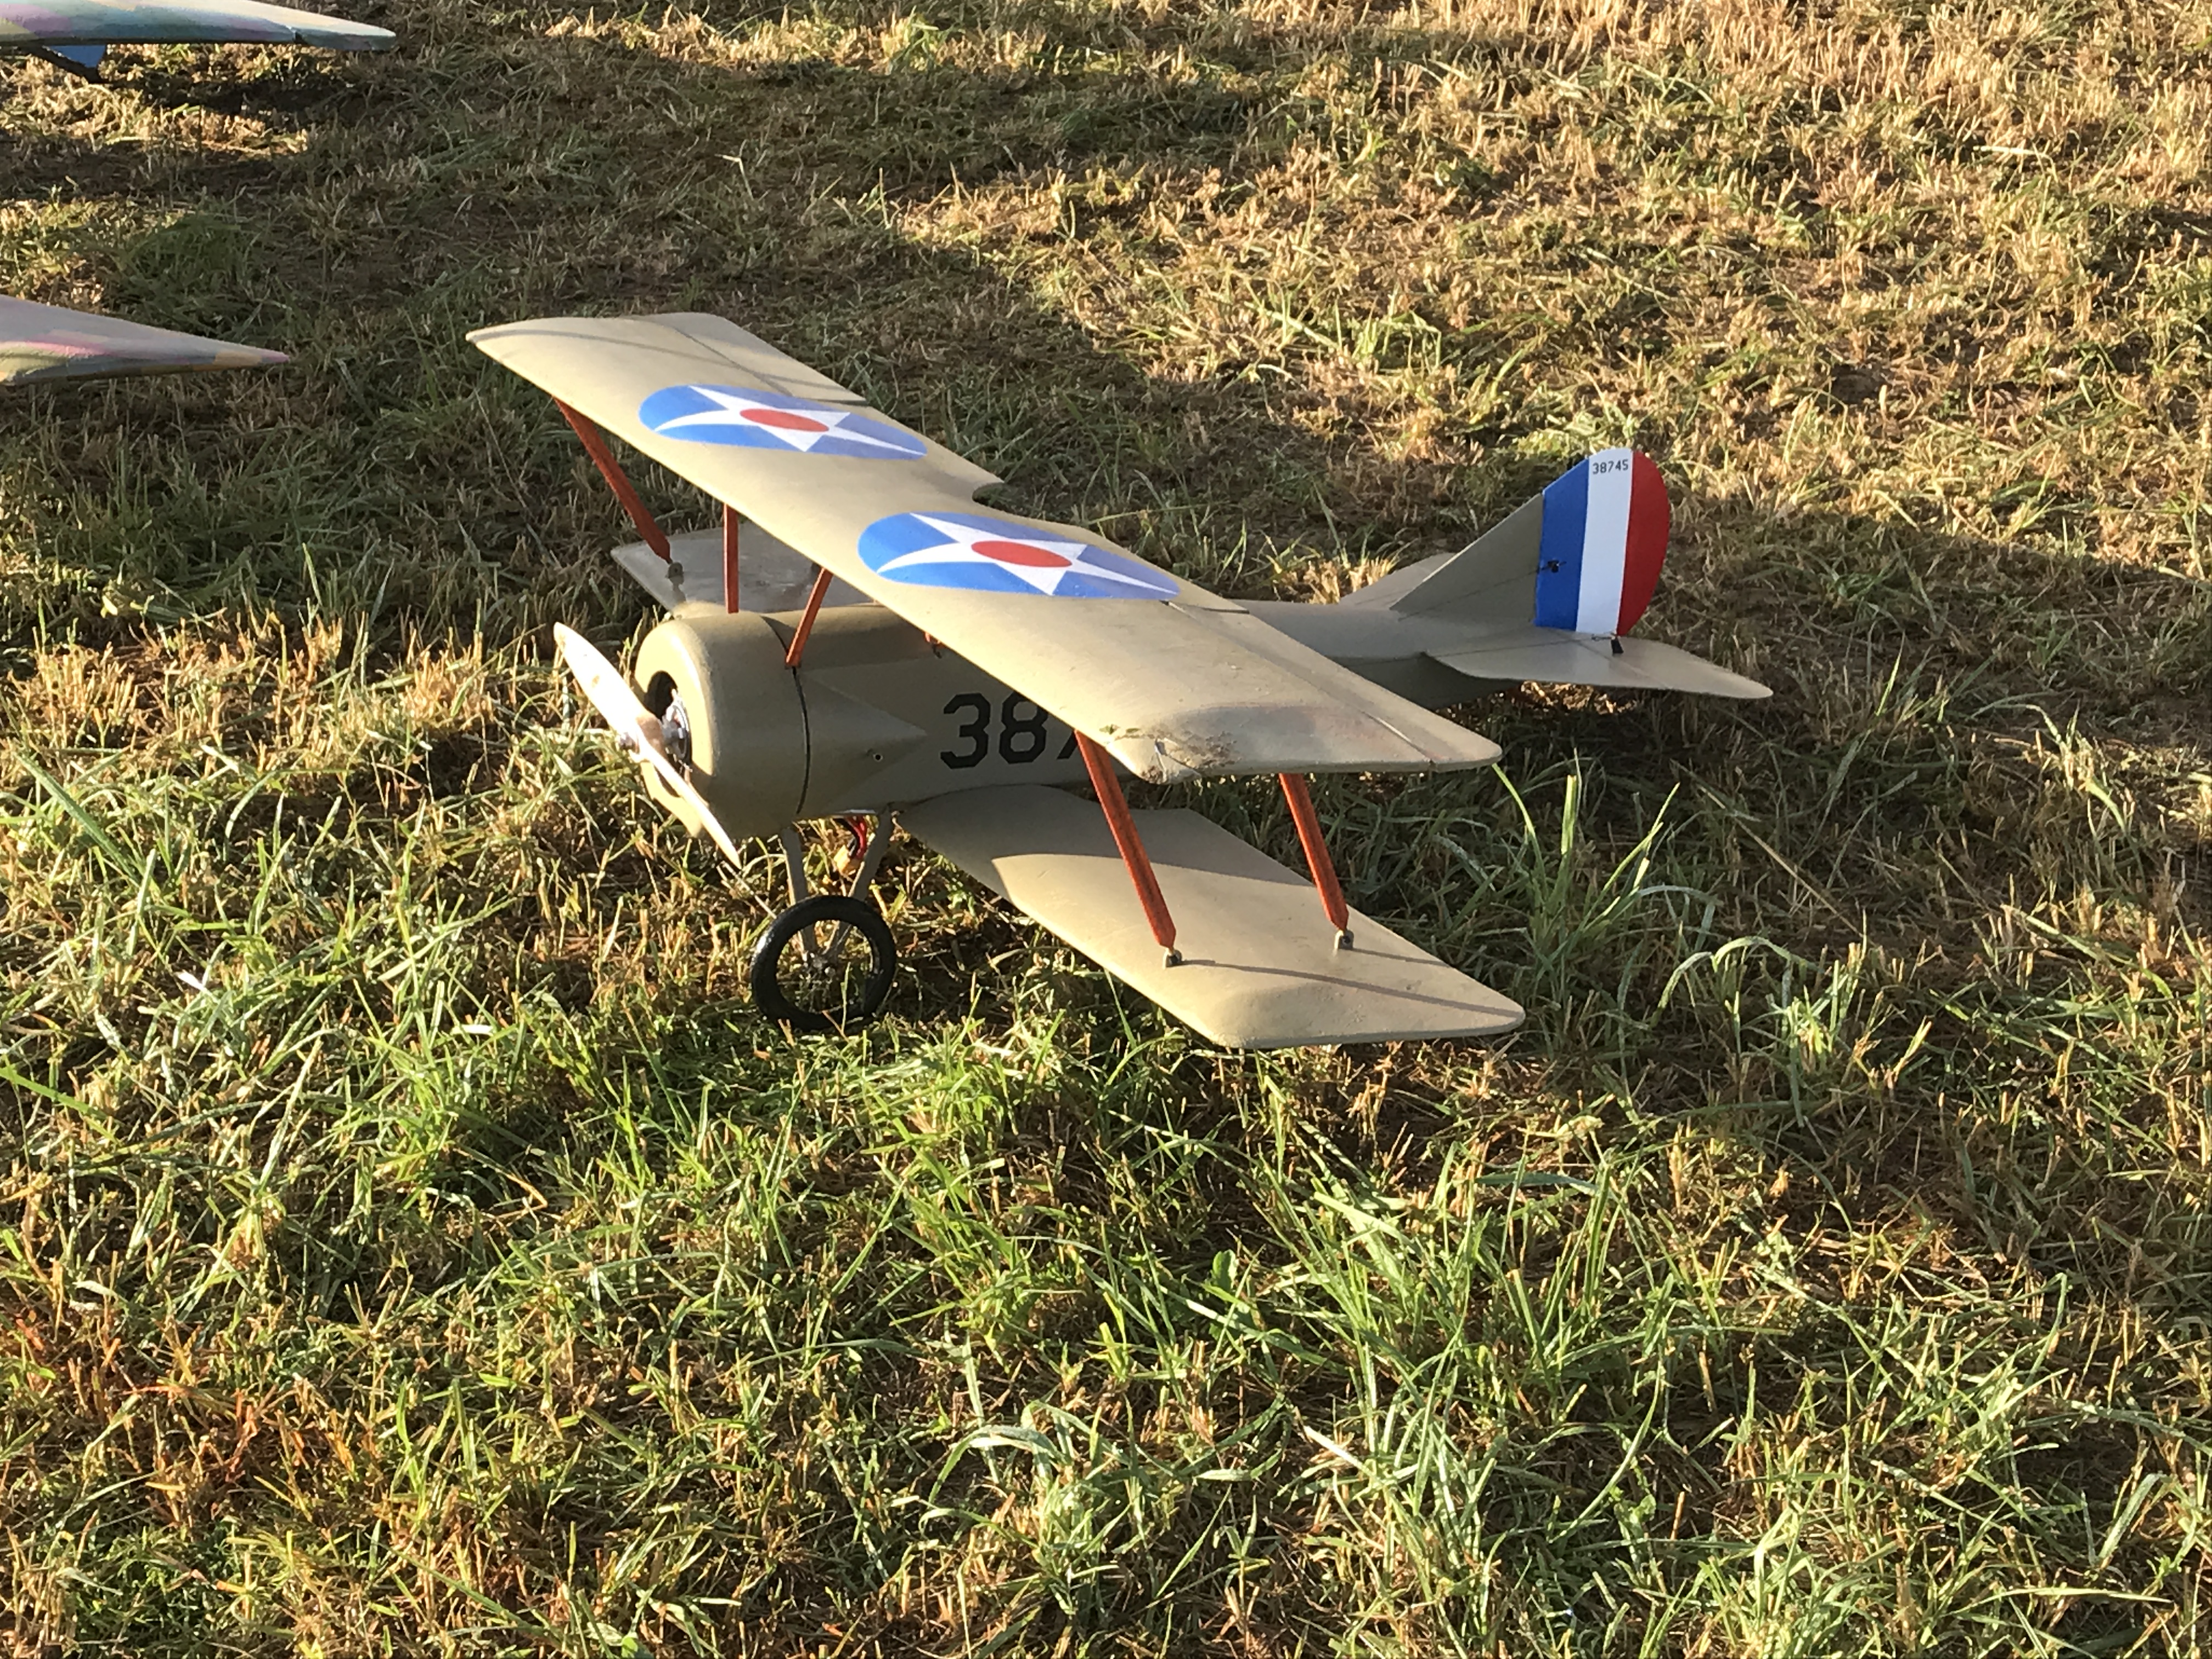
I sure would like to see a bigger pic of the Tommy - thanks for all the info.

Larger picture as requested. There's more info on each of those builds linked in my last post.
421756_117026459370cd136d352d7e08a9539f.jpg
 

Yankee2003

Well-known member
Glass makes for a good paint surface and adds a some tensile strength to the foam, but does little for crush and dent resistance. This is what the balsa is good for. Lining areas that get beat up like the battery hatch keeps the edges of the foam from getting rounded over and dented. Wing saddles, likewise benefit by keeping the wing from crushing the foam and moving out of position.


Larger picture as requested. There's more info on each of those builds linked in my last post.
421756_117026459370cd136d352d7e08a9539f.jpg

Thank you. This picture looks like one taken, I think Friday morning of FF. I was out at the flight line that morning. If I remember right Josh was there helping a few of the guys maiden their aircraft. Gorgeous aircraft. Maybe I’m wrong about that.
Either way…I appreciate the information on the balsa reinforcement.
 

FishbonesAir

Active member
My large Spirit of St Louis was built from paperless DTFB over formers and then glassed. You can work with paperless DTFB just like one would work with Depron, though it's a little more brittle. Full disclosure: I still haven't flown this one.
156202_791e85826f0d853cd078971724373d73_thumb.jpg


When building my Thomas Morse Scout I found I could curve the foam more easily without cracking it if I left the paper on. Once the structure was all glued together I went back and removed the paper. For that one I covered the foam sheets with Silkspan tissue instead of fiberglass. Turned out pretty good.
421760_a8cc074b4f406850c507a7bb4499c87e_thumb.jpg


For my FT Sea Angel I used the bare foam and just coated it with multiple layers of polycrylic to build up a shell and then spray-painted it. This one hasn't flown yet either, but I can tell you it feels about as stiff as any other FT plane in my hangar. For this one I mixed and matched peeling paper before or after gluing. For example, the fuselage top-skin was shaped and assembled before peeling the paper because it takes a relatively tight bend and might have cracked without the paper to help support it. I believe the wings were shaped and assembled with the paper off. The floats were built paperless during assembly and then got sanded to final shape.
390611_7f73b09be66e84a0bc1eeed5e872c9f3_thumb.jpg


Whenever removing the paper you eliminate a lot of the rigidity, so you need to build in reinforcements. The Spirit has wooden spars in the wings. piano wire wing struts, a wooden box structure to take spar and gear loads, and double-thickness tail surfaces with BBQ skewers inside.

The Tommy Scout has wood spars, piano-wire struts, plywood formers to take spar and gear loads, a plywood firewall, and the hinge-line of each tail surface is balsa.

The Sea Angel has Carbon-fiber wing spars and a strip of balsa along the hinge line on the H-stab and V-stab, but no other reinforcements beyond what the FT plans had.

Great info Tench!

I was messing with DTFB, wood glue, and kraft masking paper. The glue was thinned a bit with water.

I peeled the paper from both sides of a scrap of FB, about 10x15cm. I cut a piece of kraft paper that matched the fb. I then coated the FB with glue and smoothed the paper into place. This caused the paper to stretch, causing a noticeable overlap of about 3mm.

When this dried (I used a hairdryer on low), the paper predictably shrunk, bending the FB. What I hadn't expected was that it made a complex curve, forming a slight bowl. I'm thinking this might prove useful on my Stinson project 🤔

I've also been messing around with glue sticks. The Elmer's craft stick is interesting, as you can apply to the paper, it doesn't cause shrinking, but can be peeled later. Better still, peeling doesn't make it lose its stick; you can peel it up and reposition!