jglerner
New member
Ops! My bad!... Thanks for the heads up.If you scroll to the bottom of the Model A page (https://www.eclipson-airplanes.com/modela) there's a part list.

Ops! My bad!... Thanks for the heads up.If you scroll to the bottom of the Model A page (https://www.eclipson-airplanes.com/modela) there's a part list.
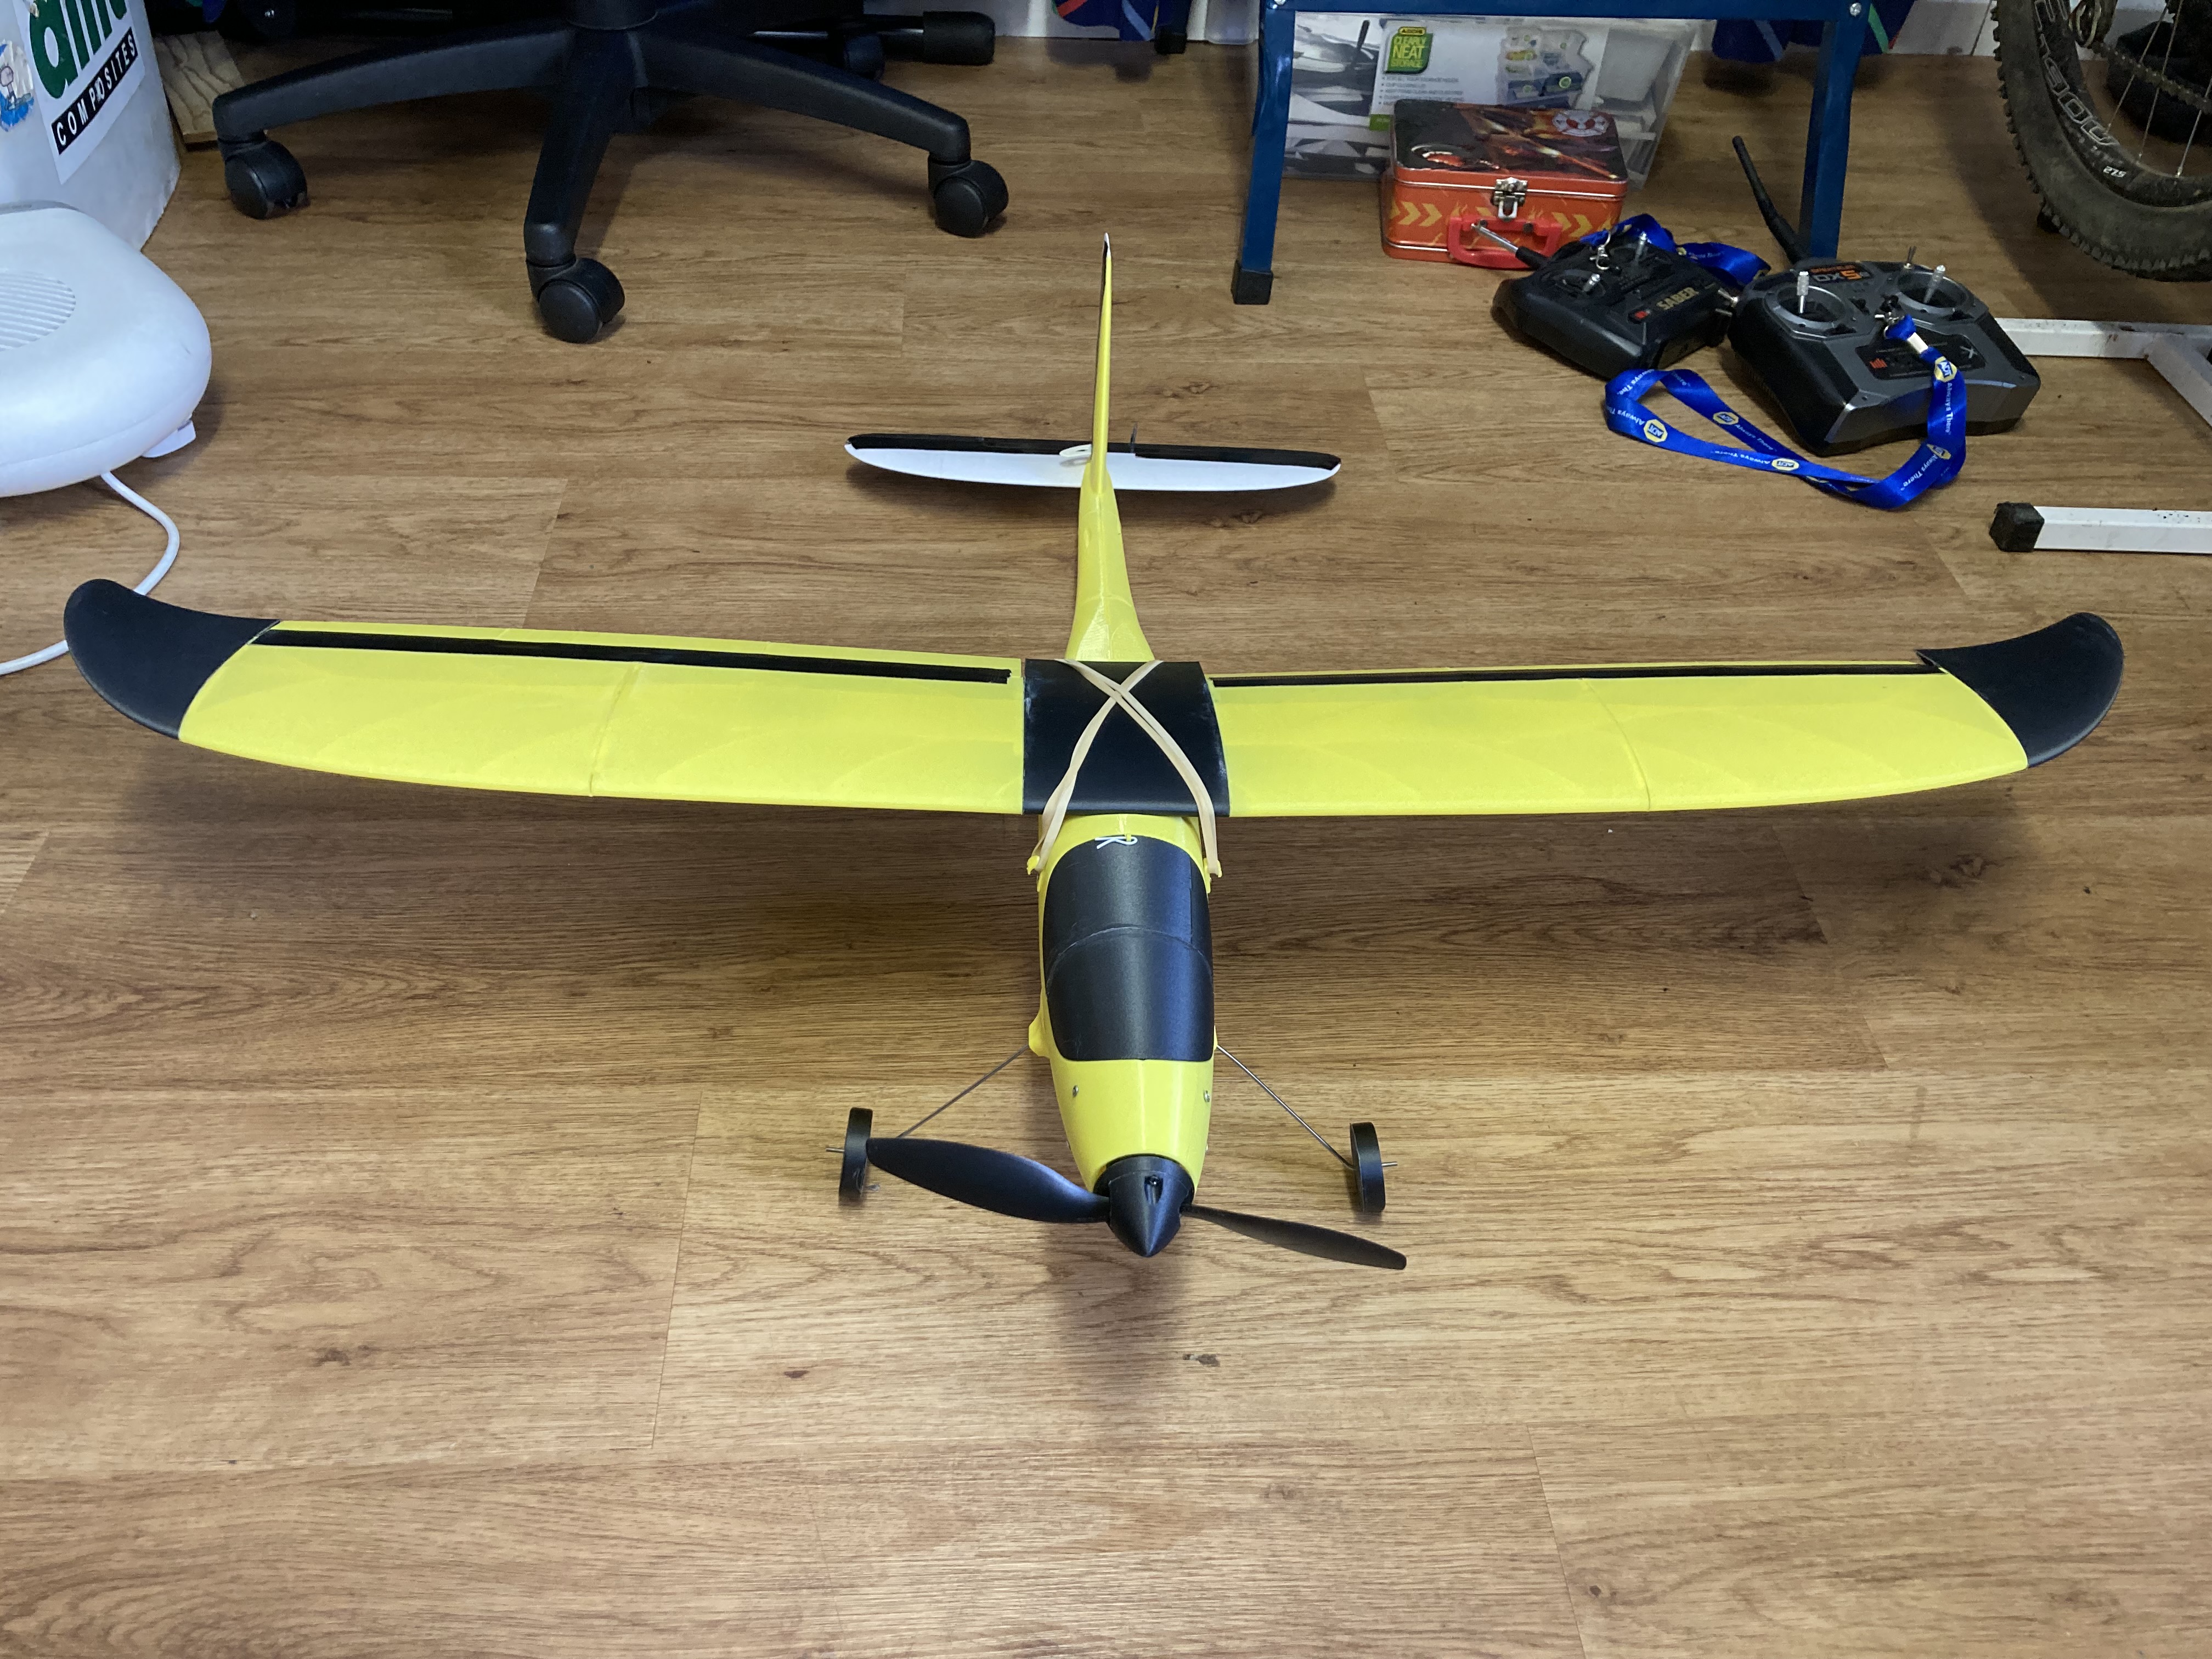
That motor is too big for the nose of the plane. Even if you can get to fit it will be a heavy set-up and ideally you should have a 8" prop for a 1400kv motor on 3s. But it will have plenty of power.Quick question, Im a complete n00b to RC planes.. so Im printing this plane out.. will it work well with a 3s 2200mah 50c battery, a 40amp ESC 3V UBEC, and a D3536-5 1450KV motor with a 9060 prop?
Ill let you know how it ends up going, but as far as the motor, the ID of the nose is 36mm so the motor actually fits perfectly inside with a 1 mm gap around all sides. The 9060 prop is the recommended size from Flash Hobby for the D3536-5 1450kv.


PETG - I hate that stuff.Thanks again. In the end I've decided to invest in some PETG as I don't want to take the risk of the motor melting its holder. I'll also install the Aura 5 lite as that's really helped me with the foam board planes especially the launch assist.
Hi, I have something similar, have started with the Flaperons and Elevator as these are thin and this can be an issue when tall.Hello RC plane makers - happy to join you and excited about this project!
This project is my introduction to LW-PLA which is something else, lol
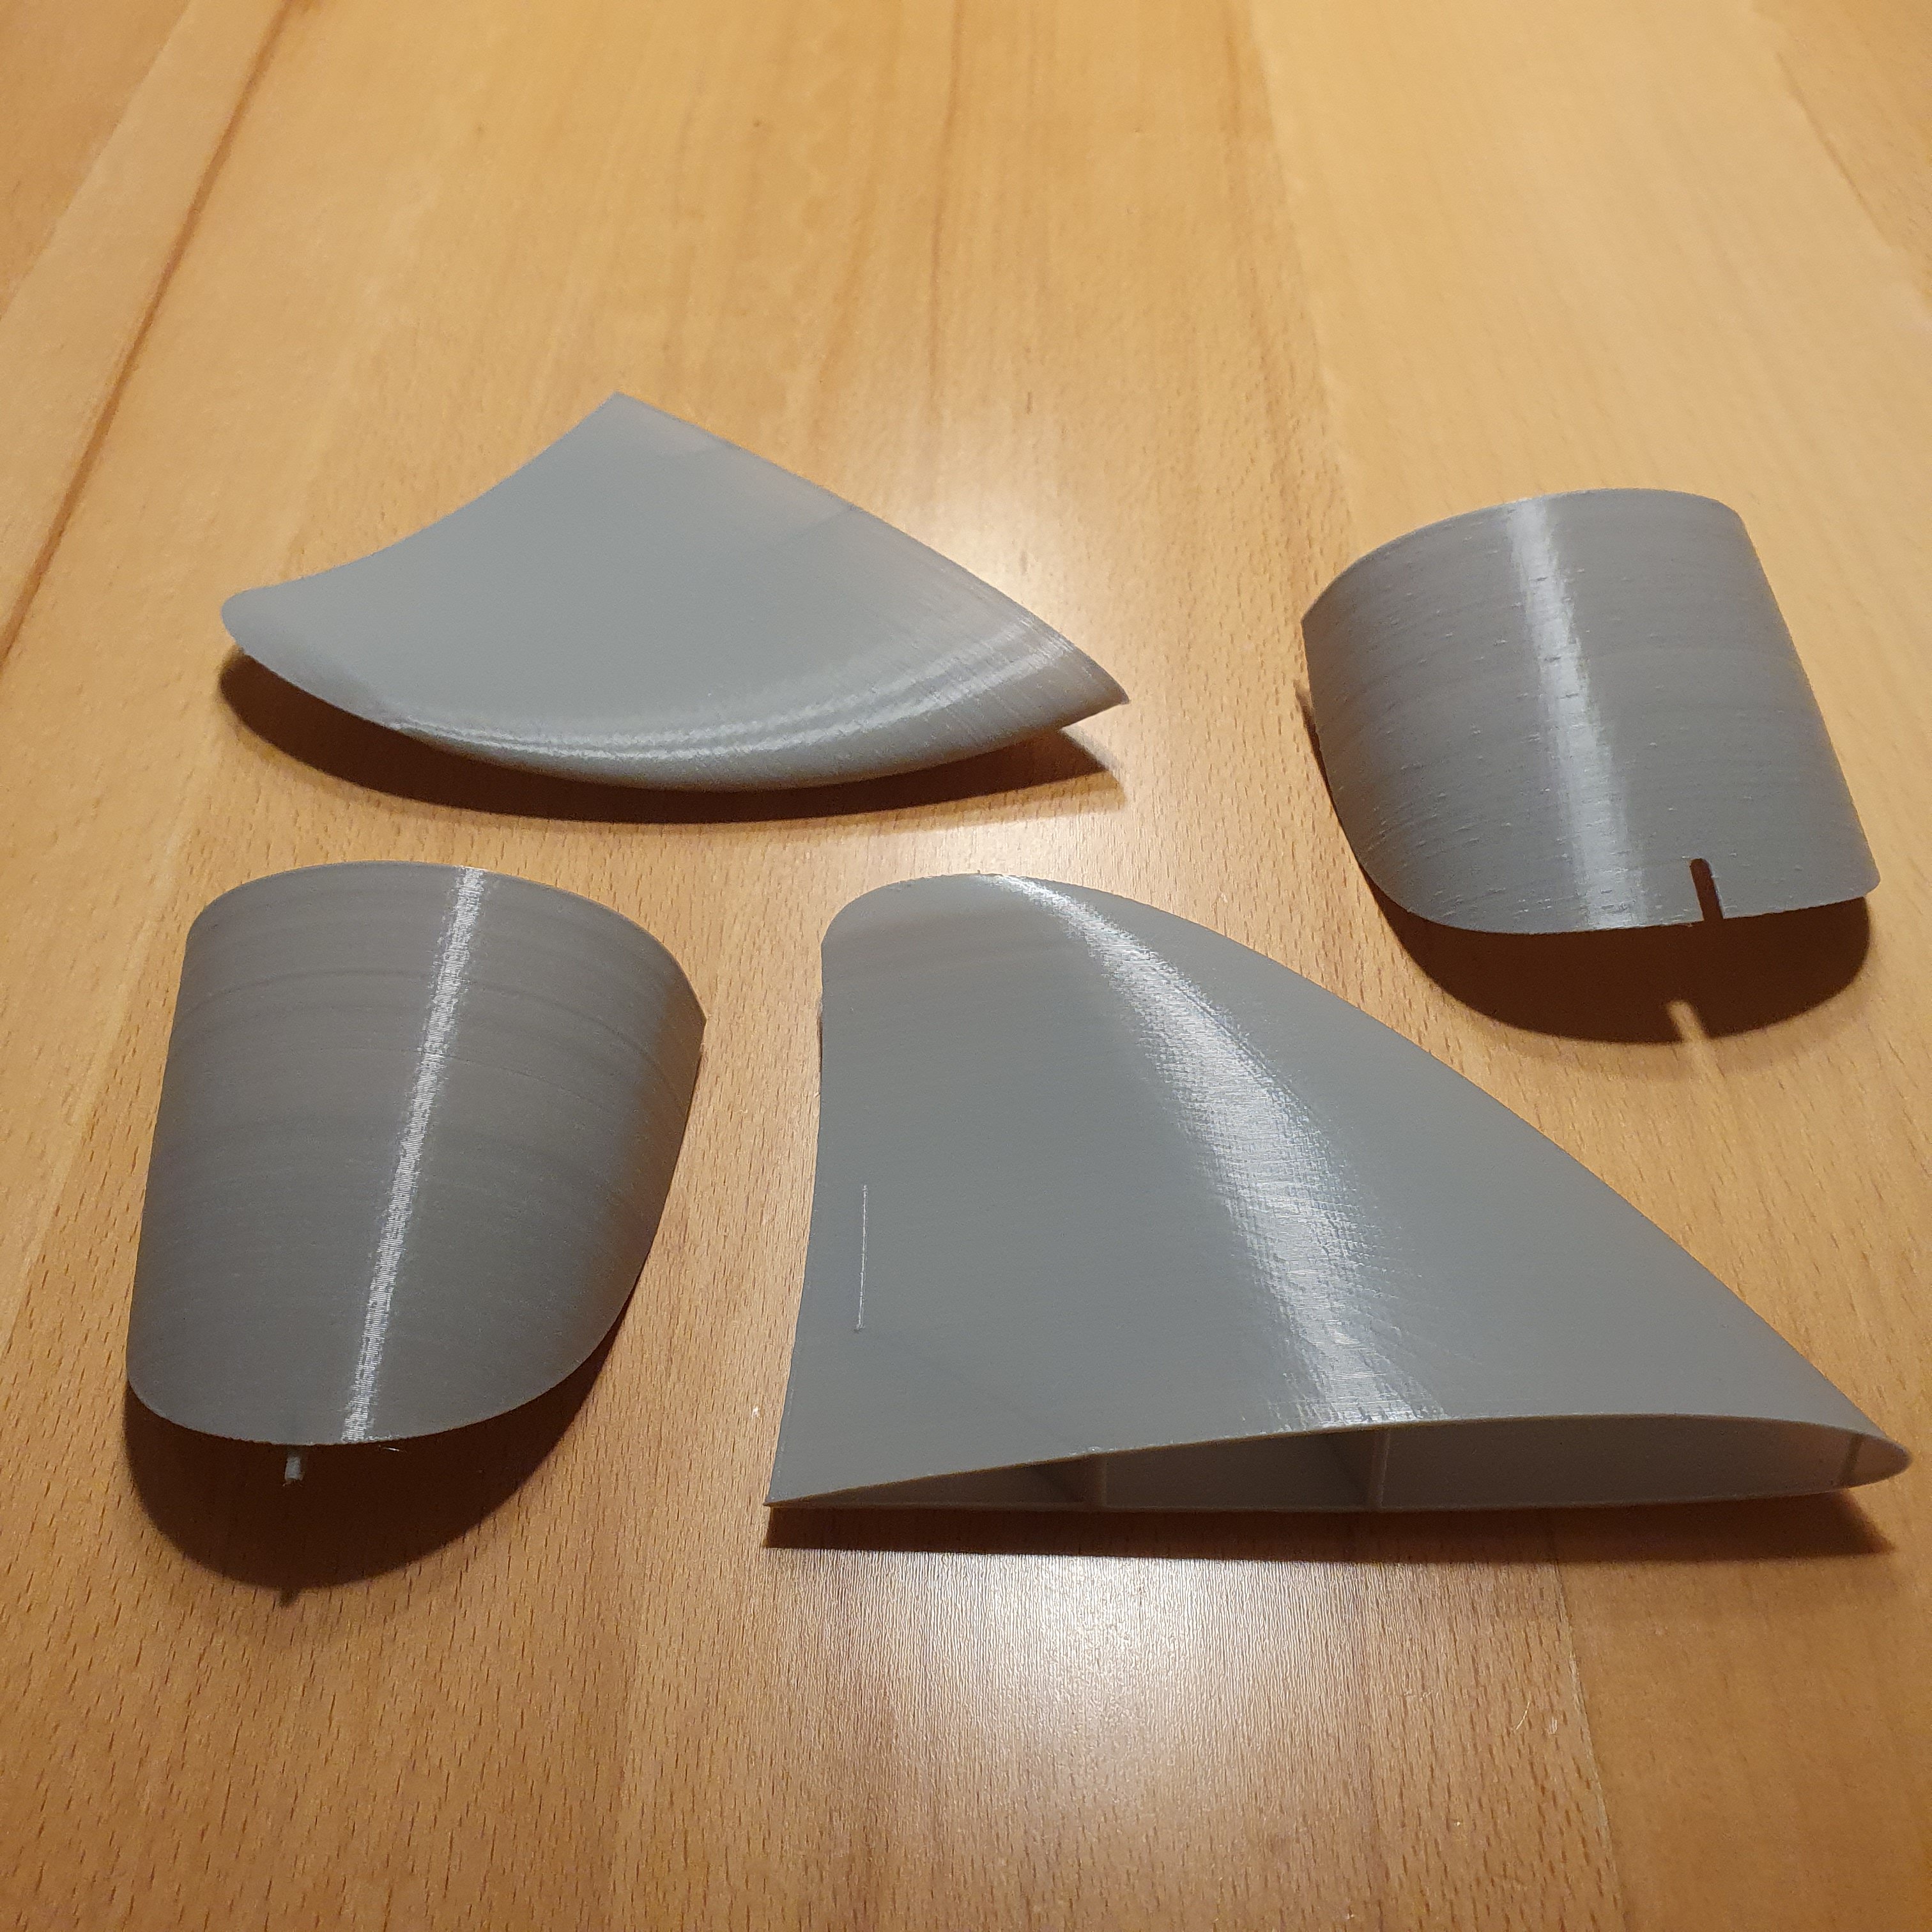
I ran a bunch of tests on my printer to nail down the settings and feel pretty good about most of my prints. But as you can see in my picture, the long narrow pieces (basically the whole empennage) are starting nice but near the top goes to $#$@.
Is there some trick to this or a way to stabilize the piece as it gets tall?
Next step for me is to slow it way down, maybe 20mm/s and adjust flow/temps accordingly to see if I can smooth that out.
I'm using the Eclipson recommended settings with LW-PLA and get perfect results. I use the STL file and do my own slicing. Seems to come out better than the G code supplied by Eclipson.Hello RC plane makers - happy to join you and excited about this project!
This project is my introduction to LW-PLA which is something else, lol
I ran a bunch of tests on my printer to nail down the settings and feel pretty good about most of my prints. But as you can see in my picture, the long narrow pieces (basically the whole empennage) are starting nice but near the top goes to $#$@.
Is there some trick to this or a way to stabilize the piece as it gets tall?
Next step for me is to slow it way down, maybe 20mm/s and adjust flow/temps accordingly to see if I can smooth that out.
View attachment 204244
If you are new to RC, this probably isn't the best choice to be introduced into the hobby (IMHO.)Quick question, Im a complete n00b to RC planes.. so Im printing this plane out.. will it work well with a 3s 2200mah 50c battery, a 40amp ESC 3V UBEC, and a D3536-5 1450KV motor with a 9060 prop?