valerimarcel
New member
Hi world
I can't find the center of gravity.
Merci Thanks
I can't find the center of gravity.
Merci Thanks

There should be marks under the wing.Hi world
I can't find the center of gravity.
Merci Thanks


I have an Ender 3 Pro first gen. The gcodes should work "out-of-the-box"
Having said that, testing up-front will save you time in the long run.
For the Eclipson C (my first airplane), I created the C and A profiles with Cura and did my own slicing and compared to their gcodes. No major differences as far as I can tell.
I'm now using their g-codes for the Pitts S12.
I did have to create a different profile for TPU (rear tire) print. I did not print main tires in my Eclipson C
If I have this straight, If I download the Gcode files from Eclipson, the parameters on the build page for PLA and PETG, like print speed, fan speed, the red notes, temps for pla vs petg will all be set by the gcodes?
Thanks for the help.
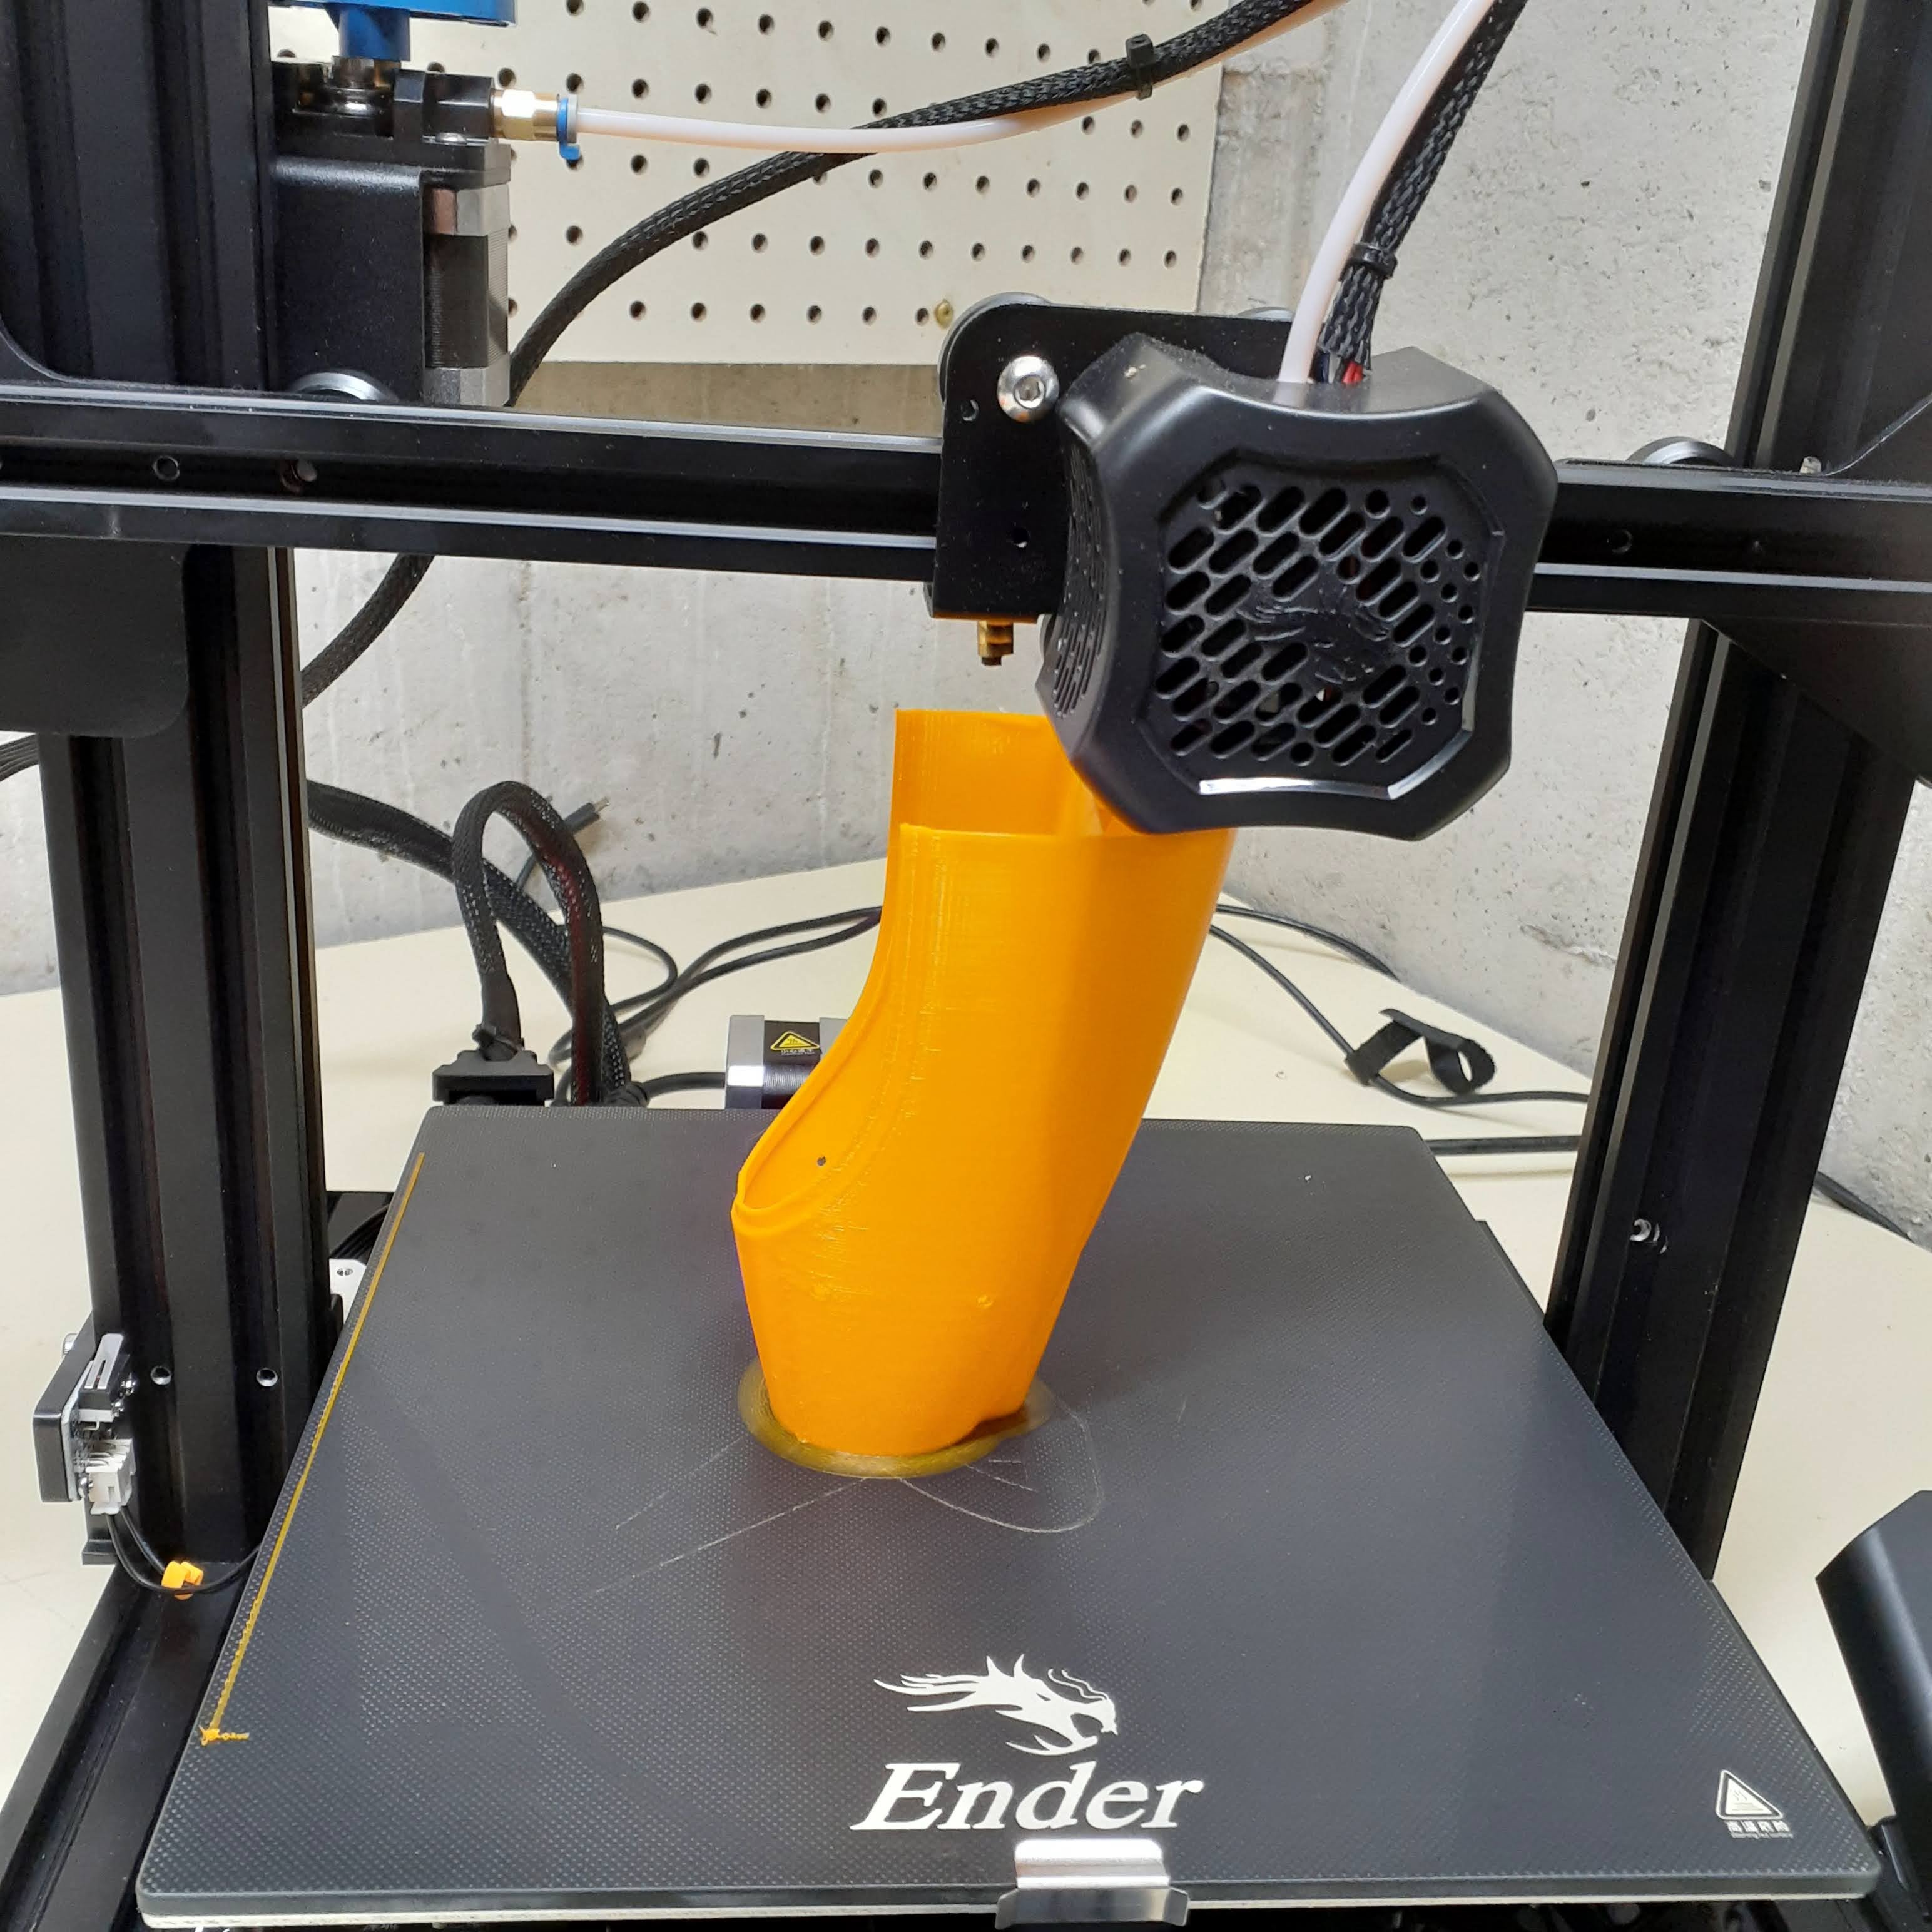
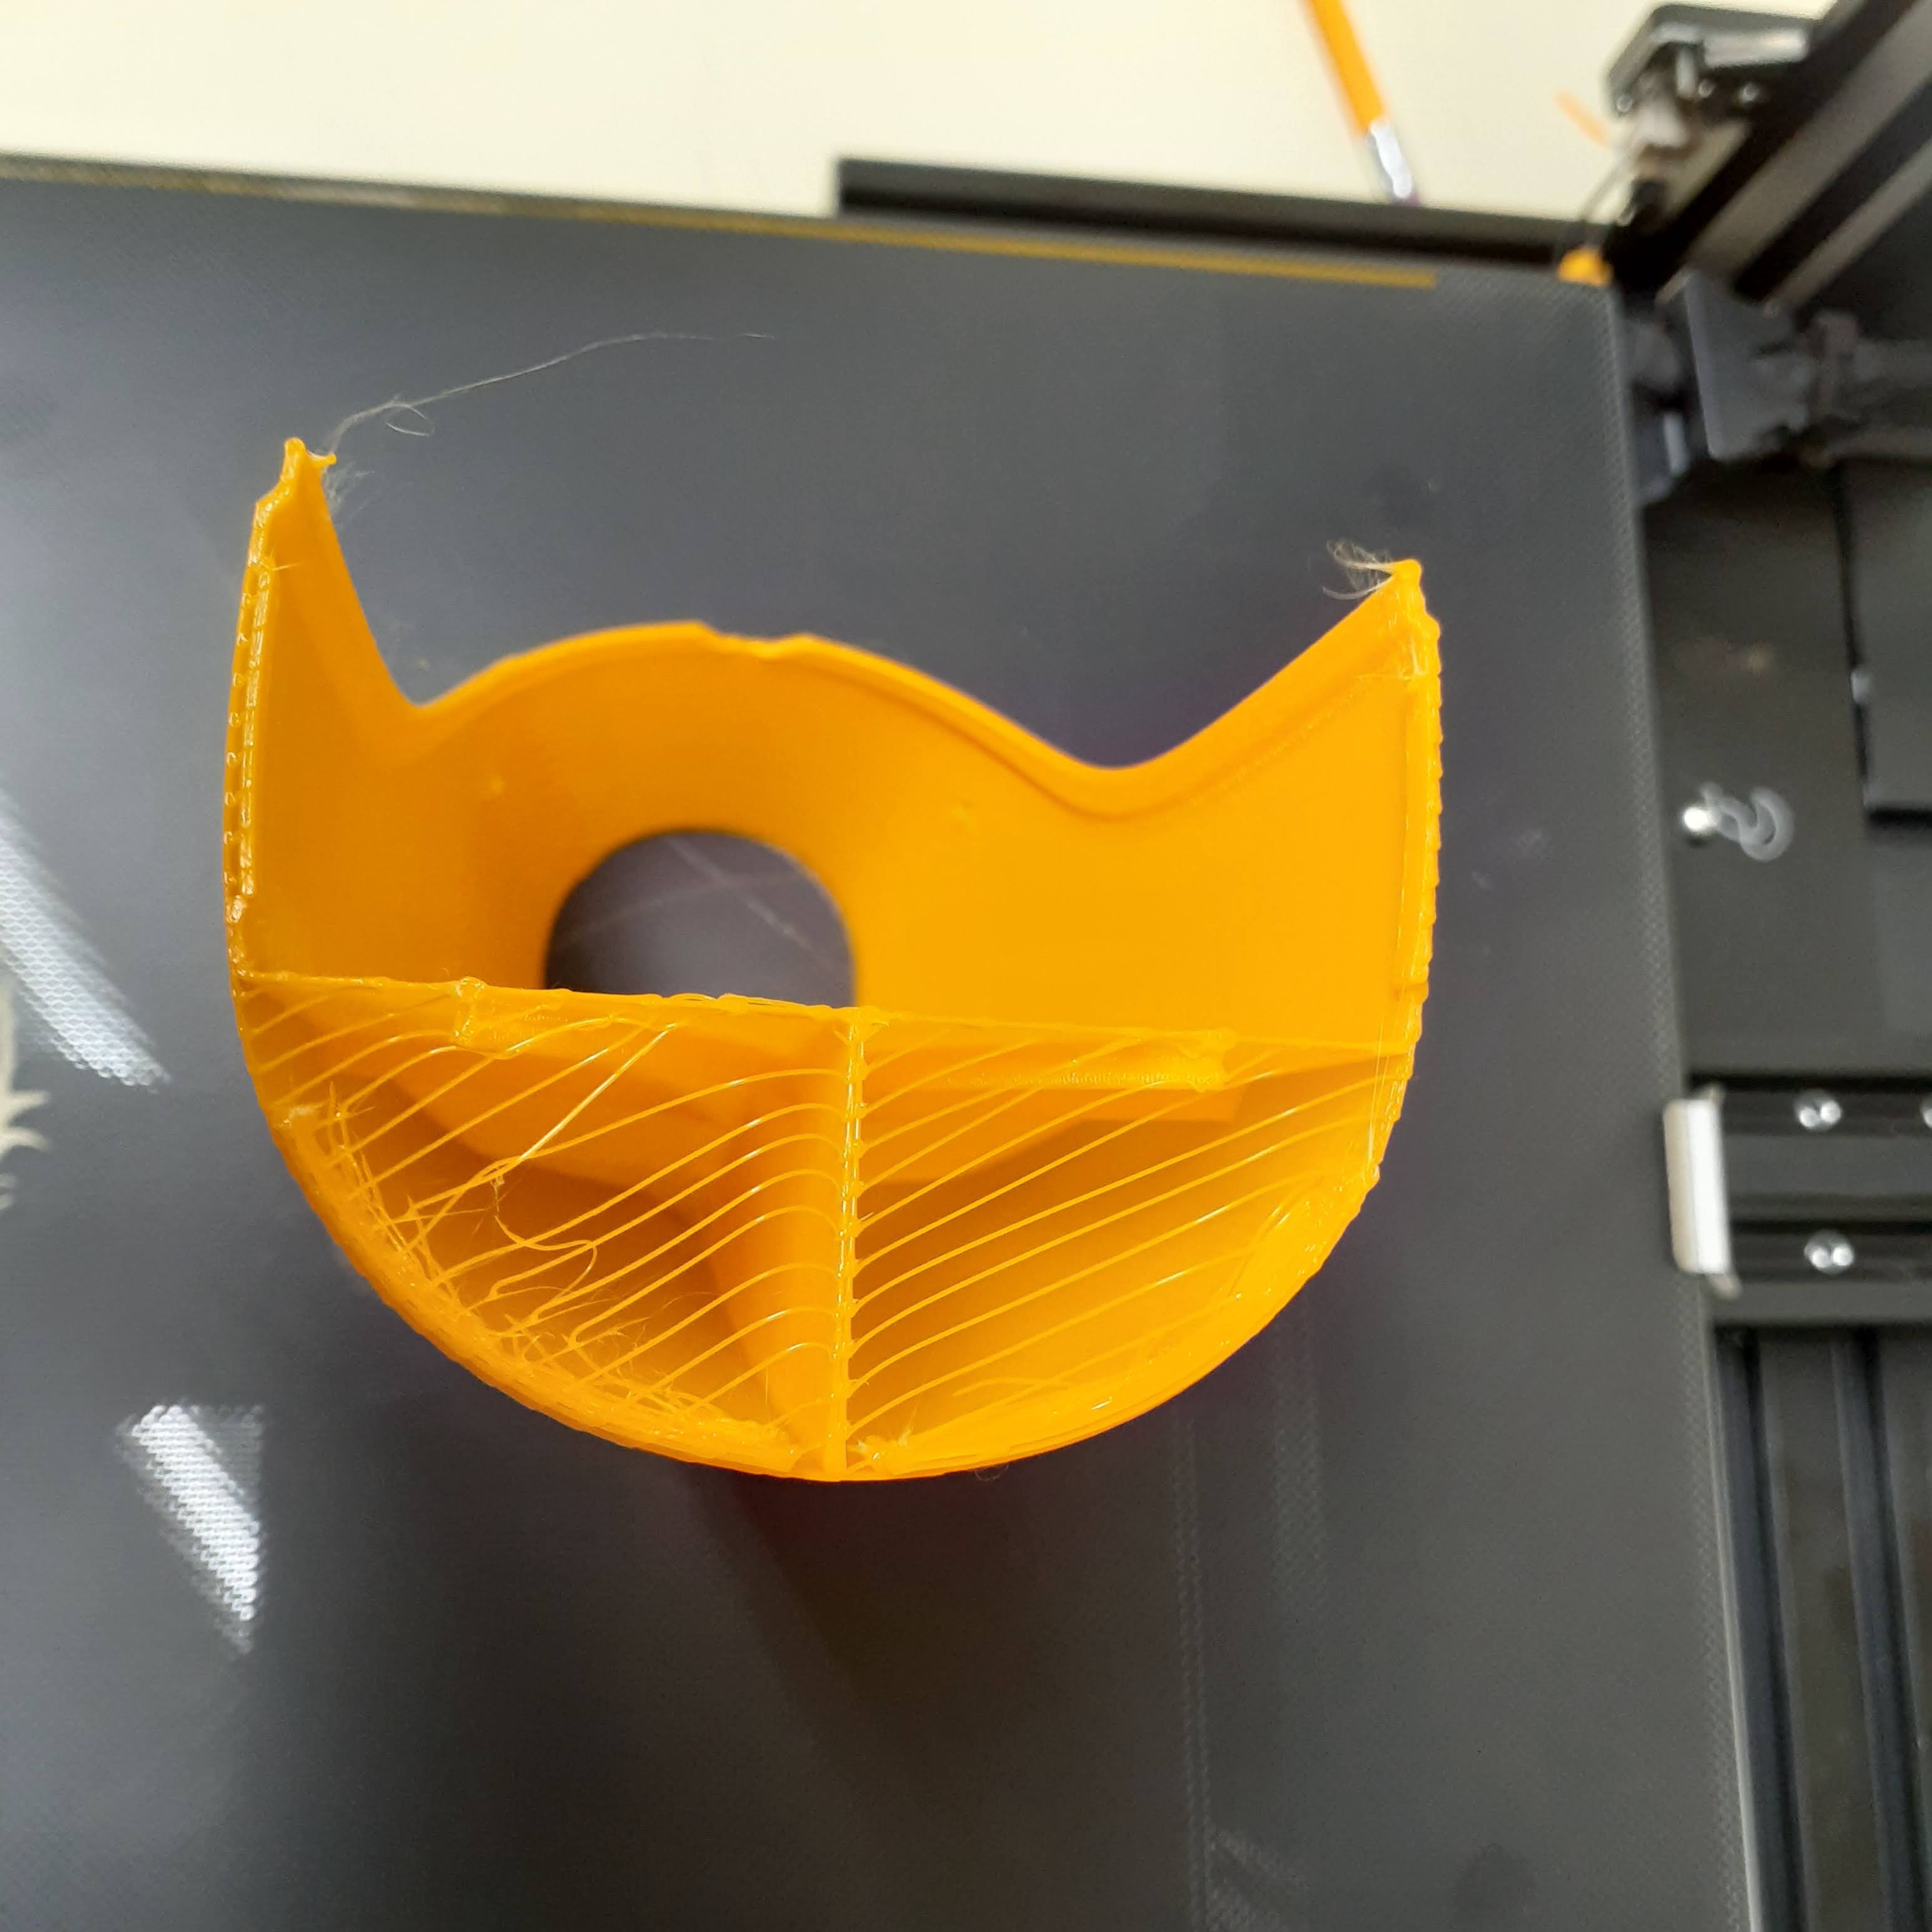
Yes. The gcodes should have all that. Are the pictures you attached from the gcodes or from a custom profile you created?
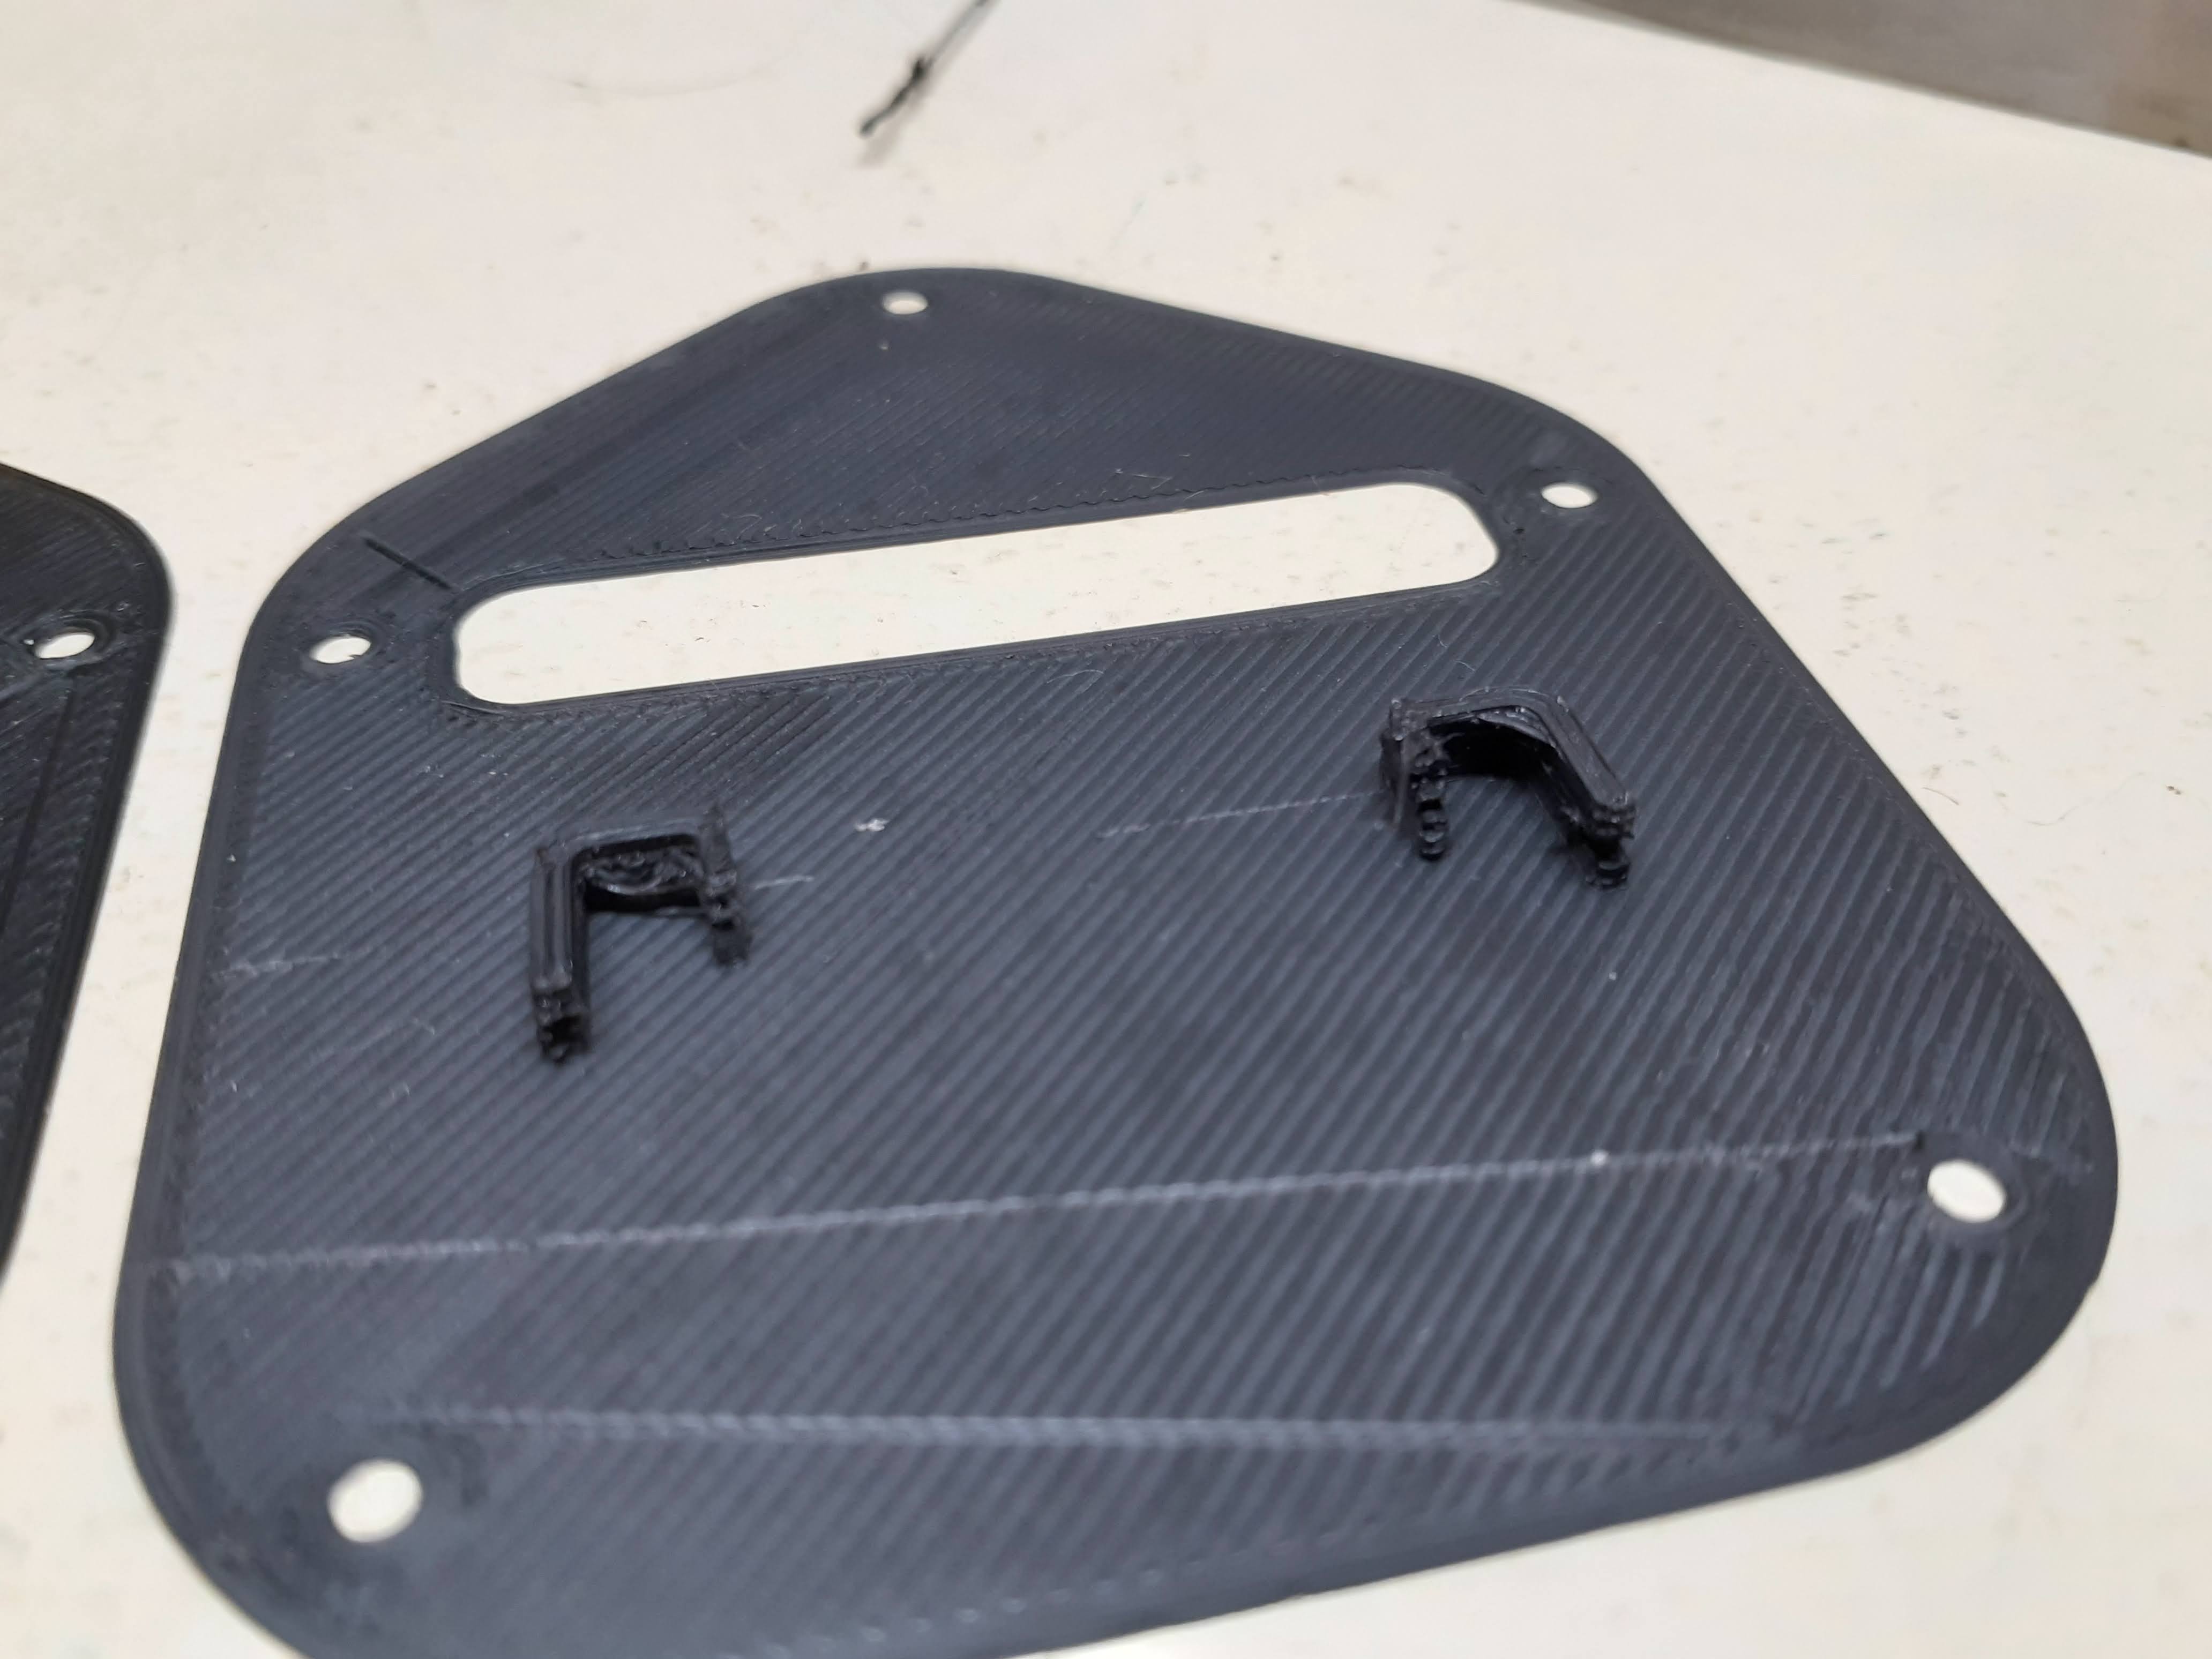
From the look of those pictures, i think you have combing enabled (specs of PLA on the outside are typically cased by combing). Make sure you turn that off.
It also looks like you have a bit stringing.
The PDF calls for profile A.
Create a profile A with Cura and turn combing off. Set the temperature to 205
I have these settings as well that could help solve the stringing.
cool_min_layer_time = 5
infill_sparse_density = 0
retraction_amount = 6
retraction_extra_prime_amount = 0.1
speed_print = 55
speed_travel = 150
speed_wall_0 = 50
speed_wall_x = 50
top_bottom_thickness = 0
wall_thickness = 0.4
Also, make sure your z-seam position is set to frontleft
z_seam_position = frontleft
I highly recommend this video:He is really good at explaining the settings and has links to some useful tests to help you tune your printer.
I think he is using the exact same model you have
Correct. You need to slice the parts again.So, if I set up a profile in Cura with the settings you mentioned. Will I have to import the STL files and re slice them?
Not in my Ender 3 Pro 1st gen. I don't know about your model. If I were to guess, I doubt it. Those settings will inform the slicing process.Is it possible to turn off combing and to position the z-seam to front left on the printer or do I have to do it on Cura?
What I did was book out 10 min of not being distracted and adjust on the printer whilst watching and tweaking. Both speed and fan can be tuned on the printer whilst printing. Drop speed to 30-40 and fan to zero.speed can go even lower the value is essentially a % of the sliced speed. Just sit and ensure the first 2 layers go down ok. Then you can push both the fan and speed back up or the speed up to close to why it was. It will just take longer to printI have all of my PLA sections printed and am trying to get started with the PETG sections. I am using the Eclipson Gcodes on my Ender3 V2 and can't get it to stick to the plate. I emailed the vendor of the PLA and this is their reply- "increase the nozzle temp to 250C which is the optimal temp using our PETG and to try 80C bed temp, 20mm/s first layer speed and not to open the cooling fan at first few layers."
I know I can adjust the nozzle and bed temp at the printer but what do I do about first layer speed and cooling? Do I need to adjust it in the Gcode somehow or do I need to take the STL file and adjust it in Cura?
Good day,
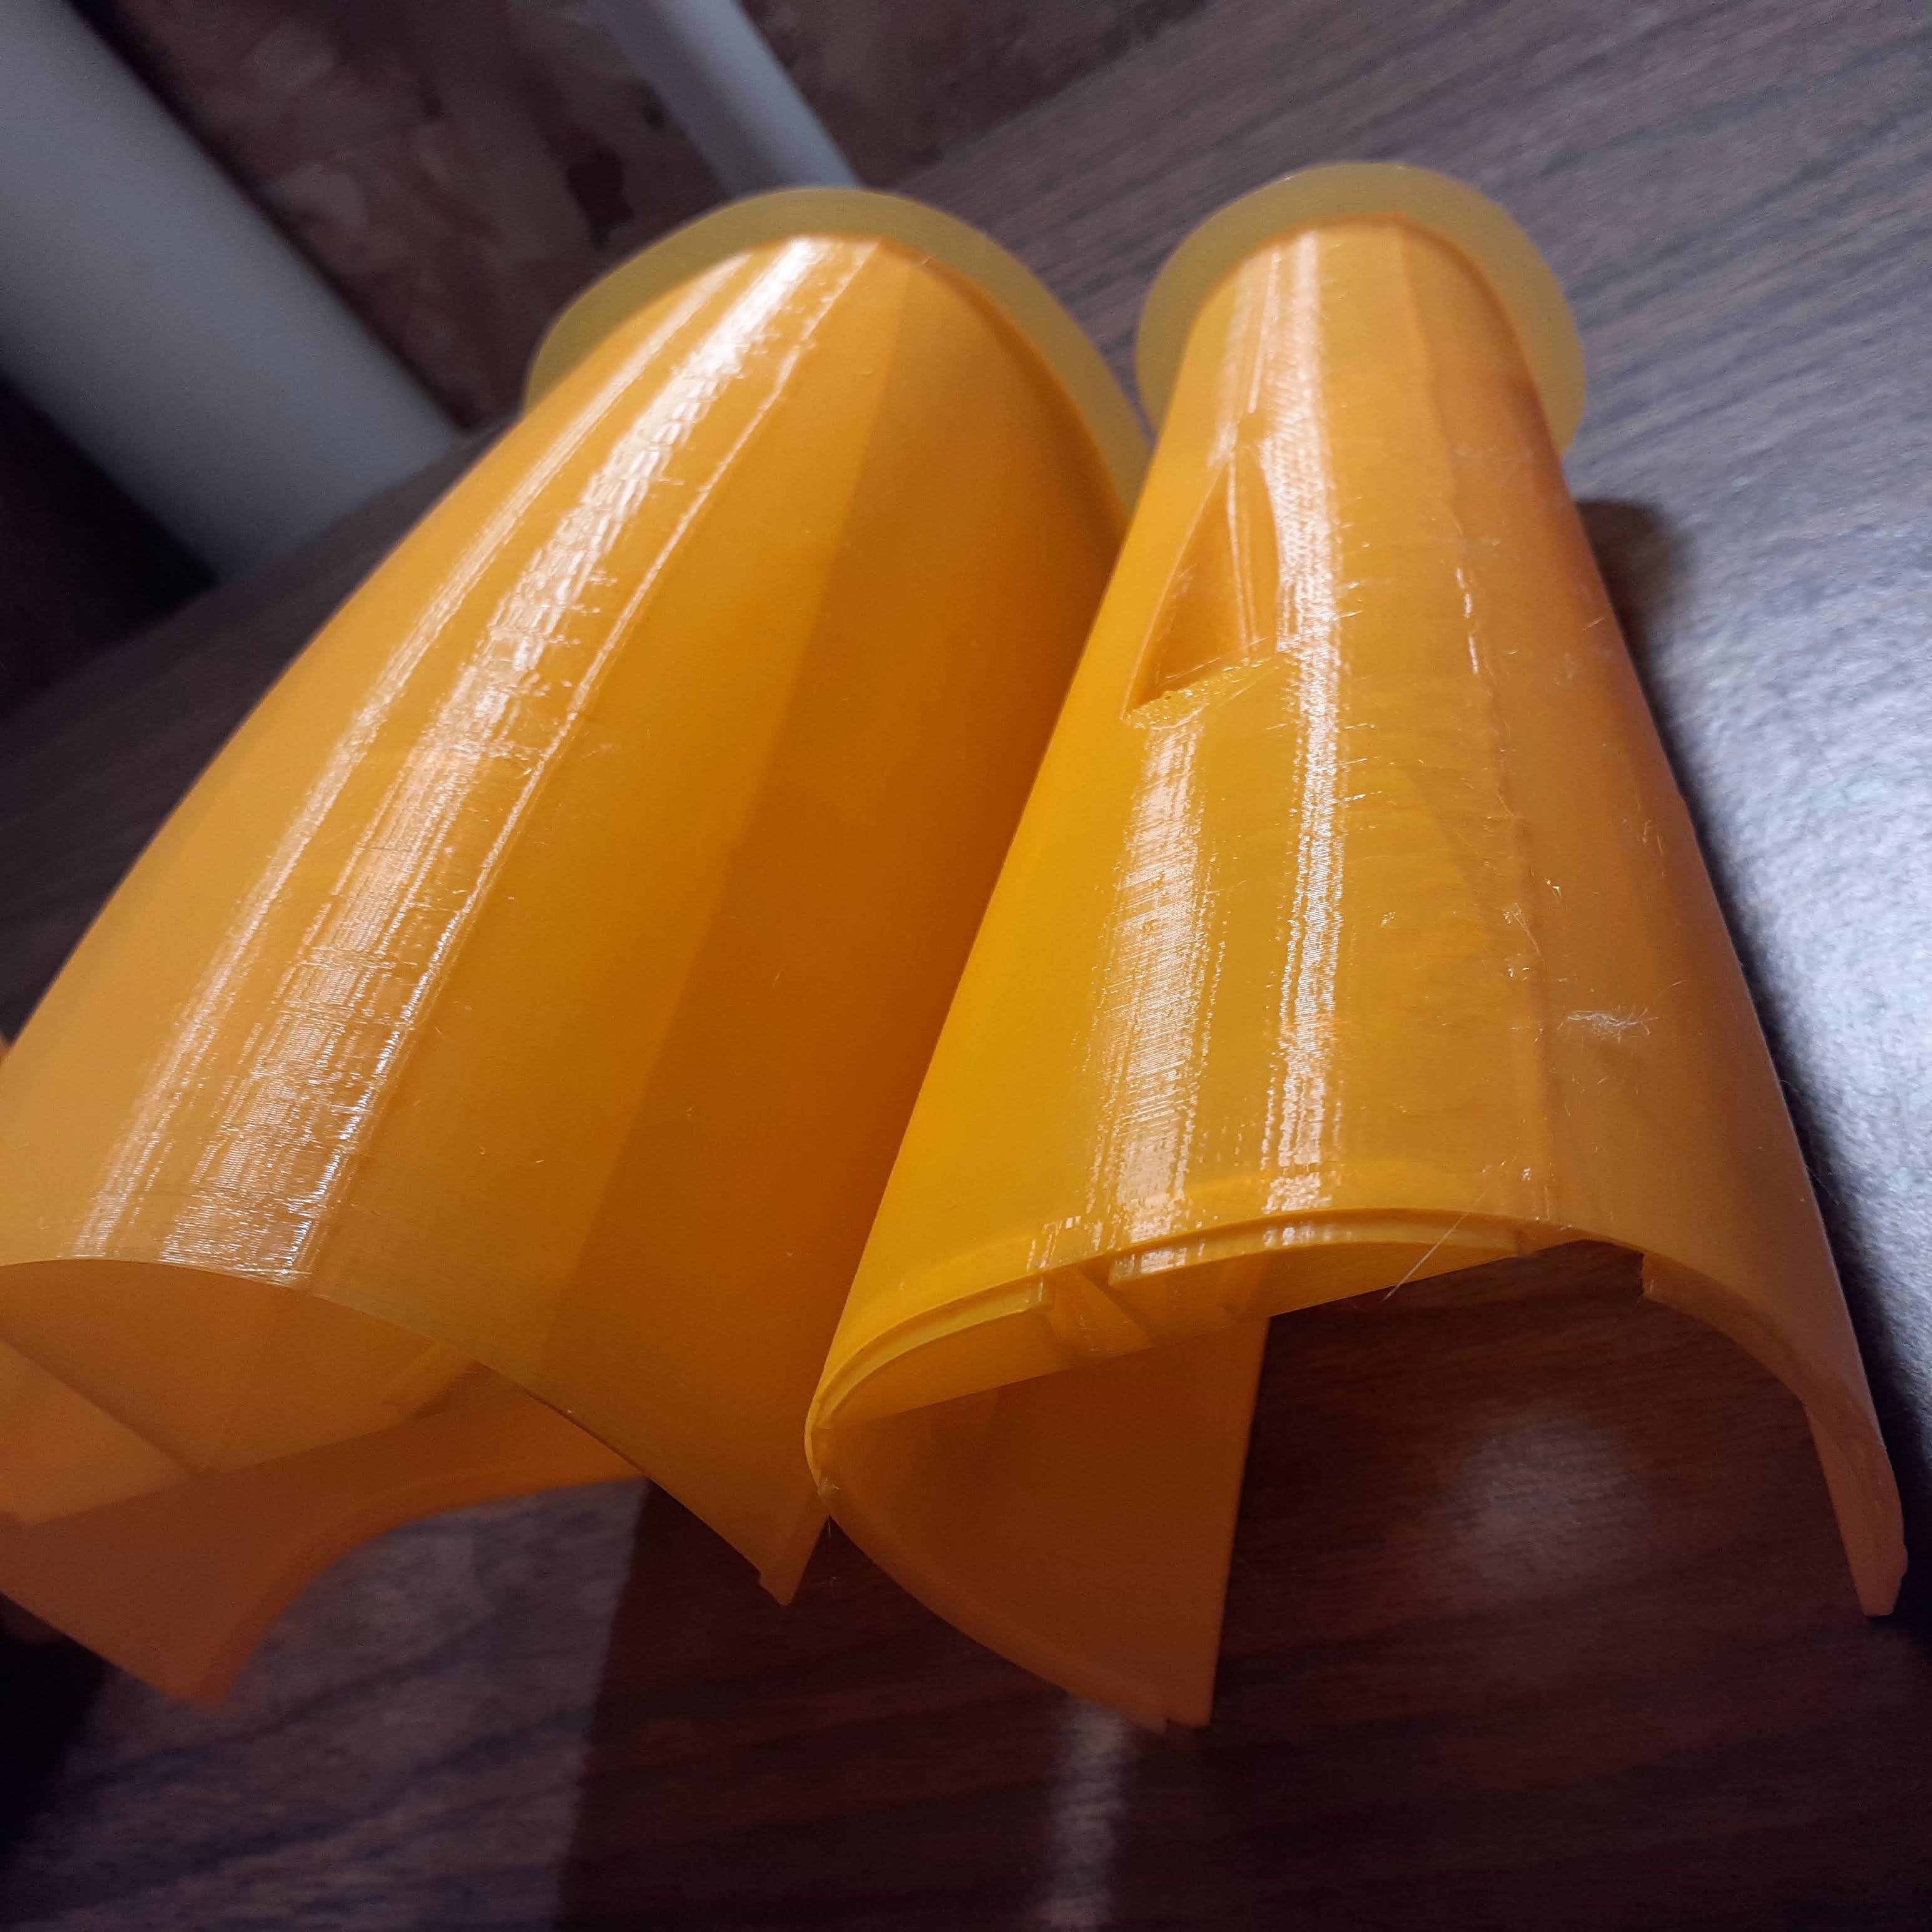
I printed the fuselage and there is no way I can get a 2mm diameter rod in the tubes. The print went great, I used 1 wall with a .4mm nozzle as instructed. The tubes looks fine, but they are basically 2mm themselves.
I'm going to use what ever diameter fits, but I'd like to know what I did wrong.
Thoughts?
Thank you