HilldaFlyer
Well-known member
Leading Edge Dogtooth
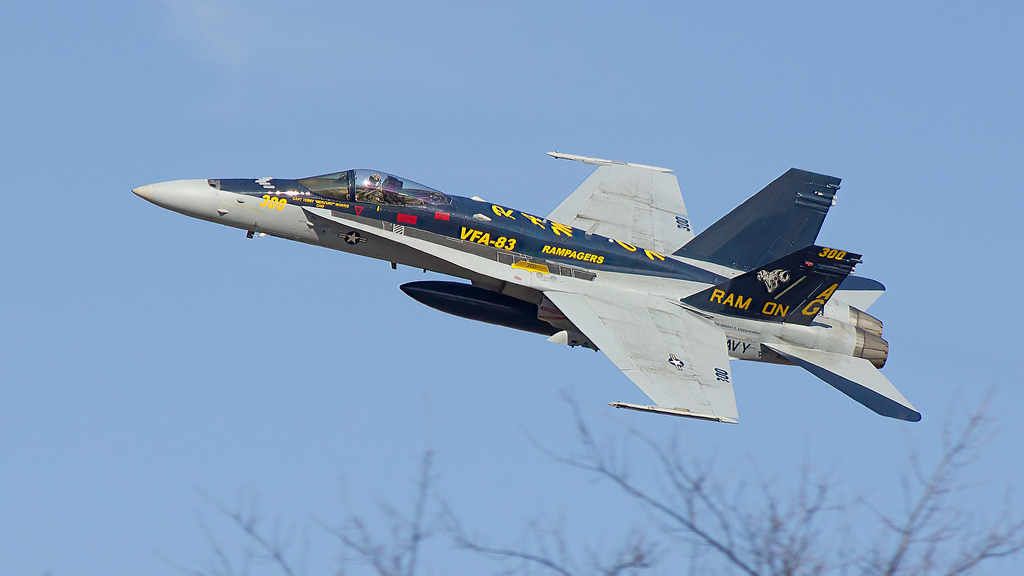
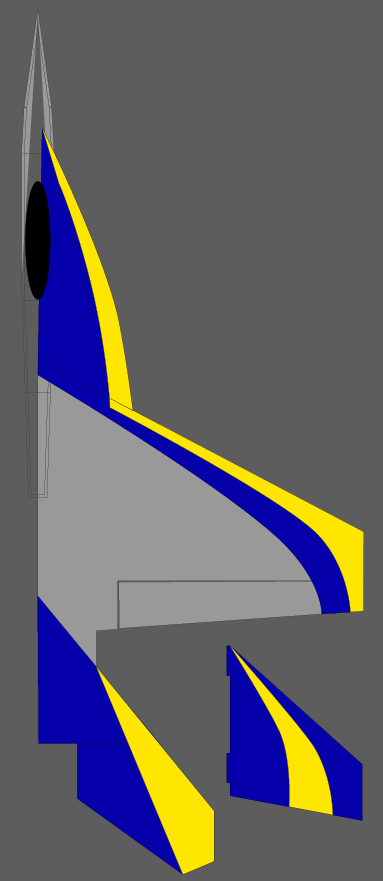
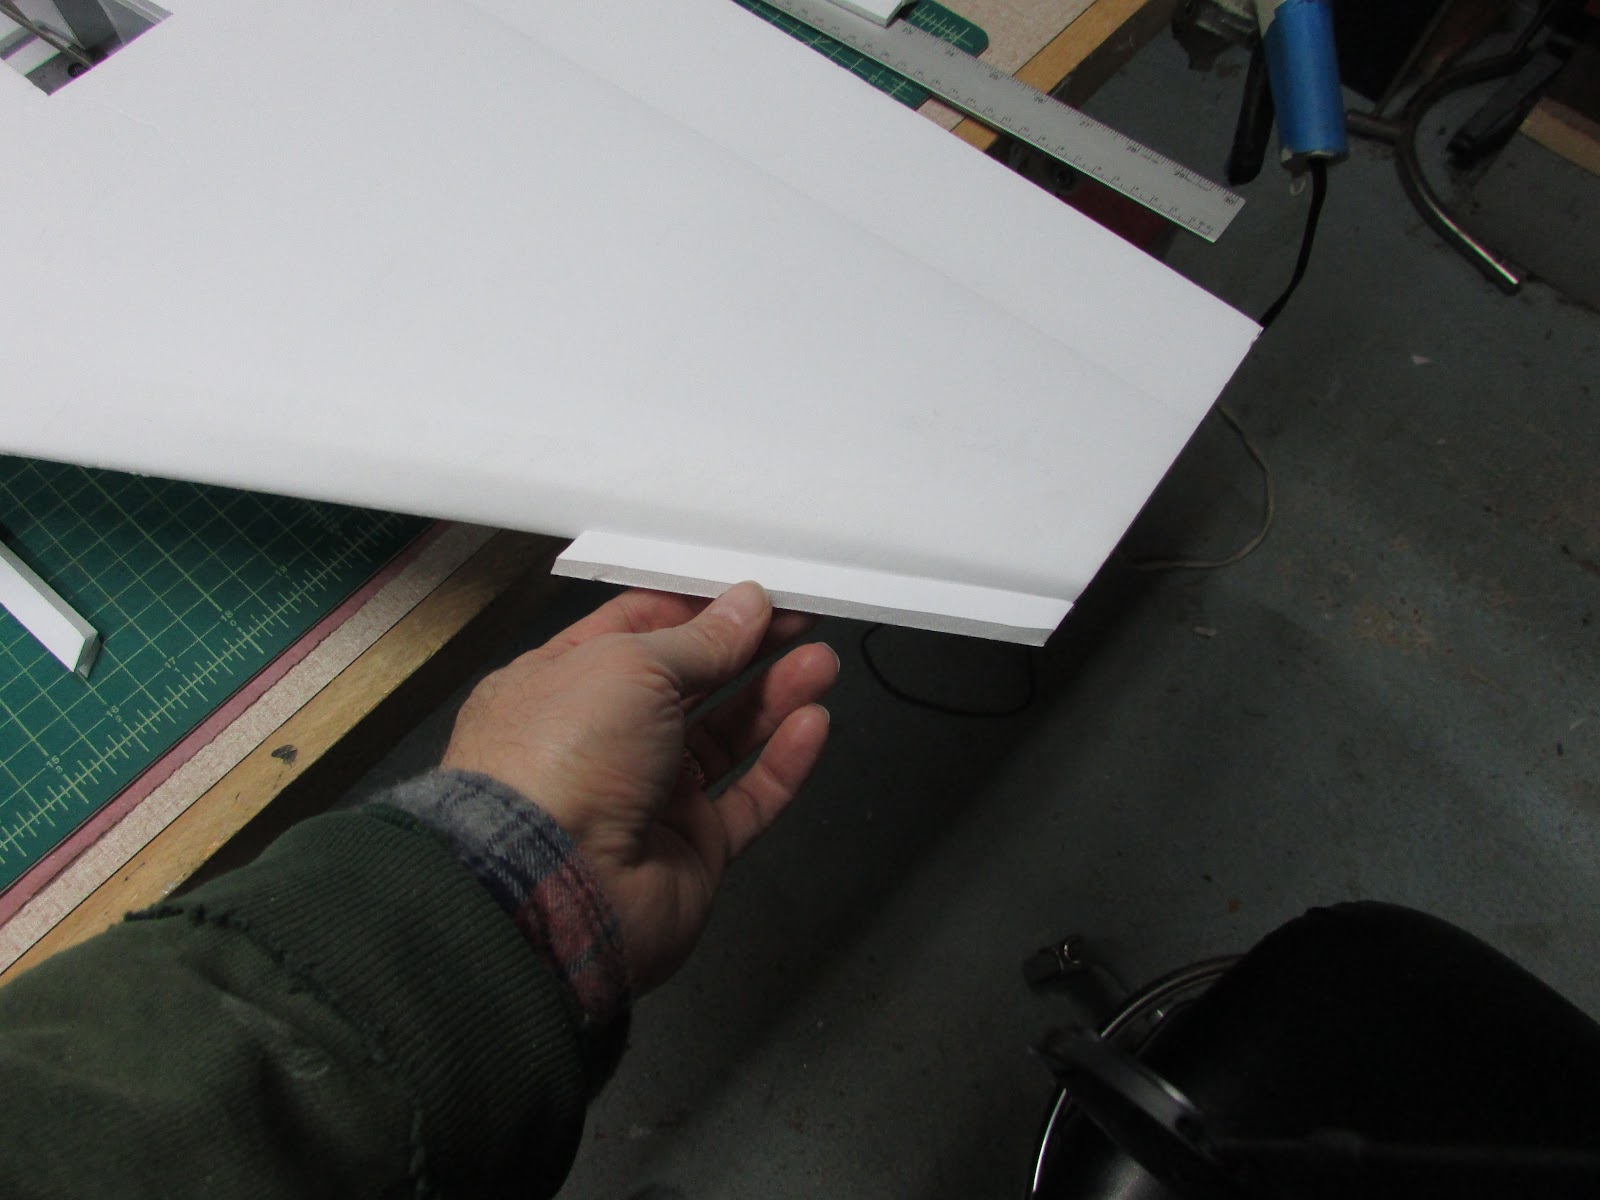
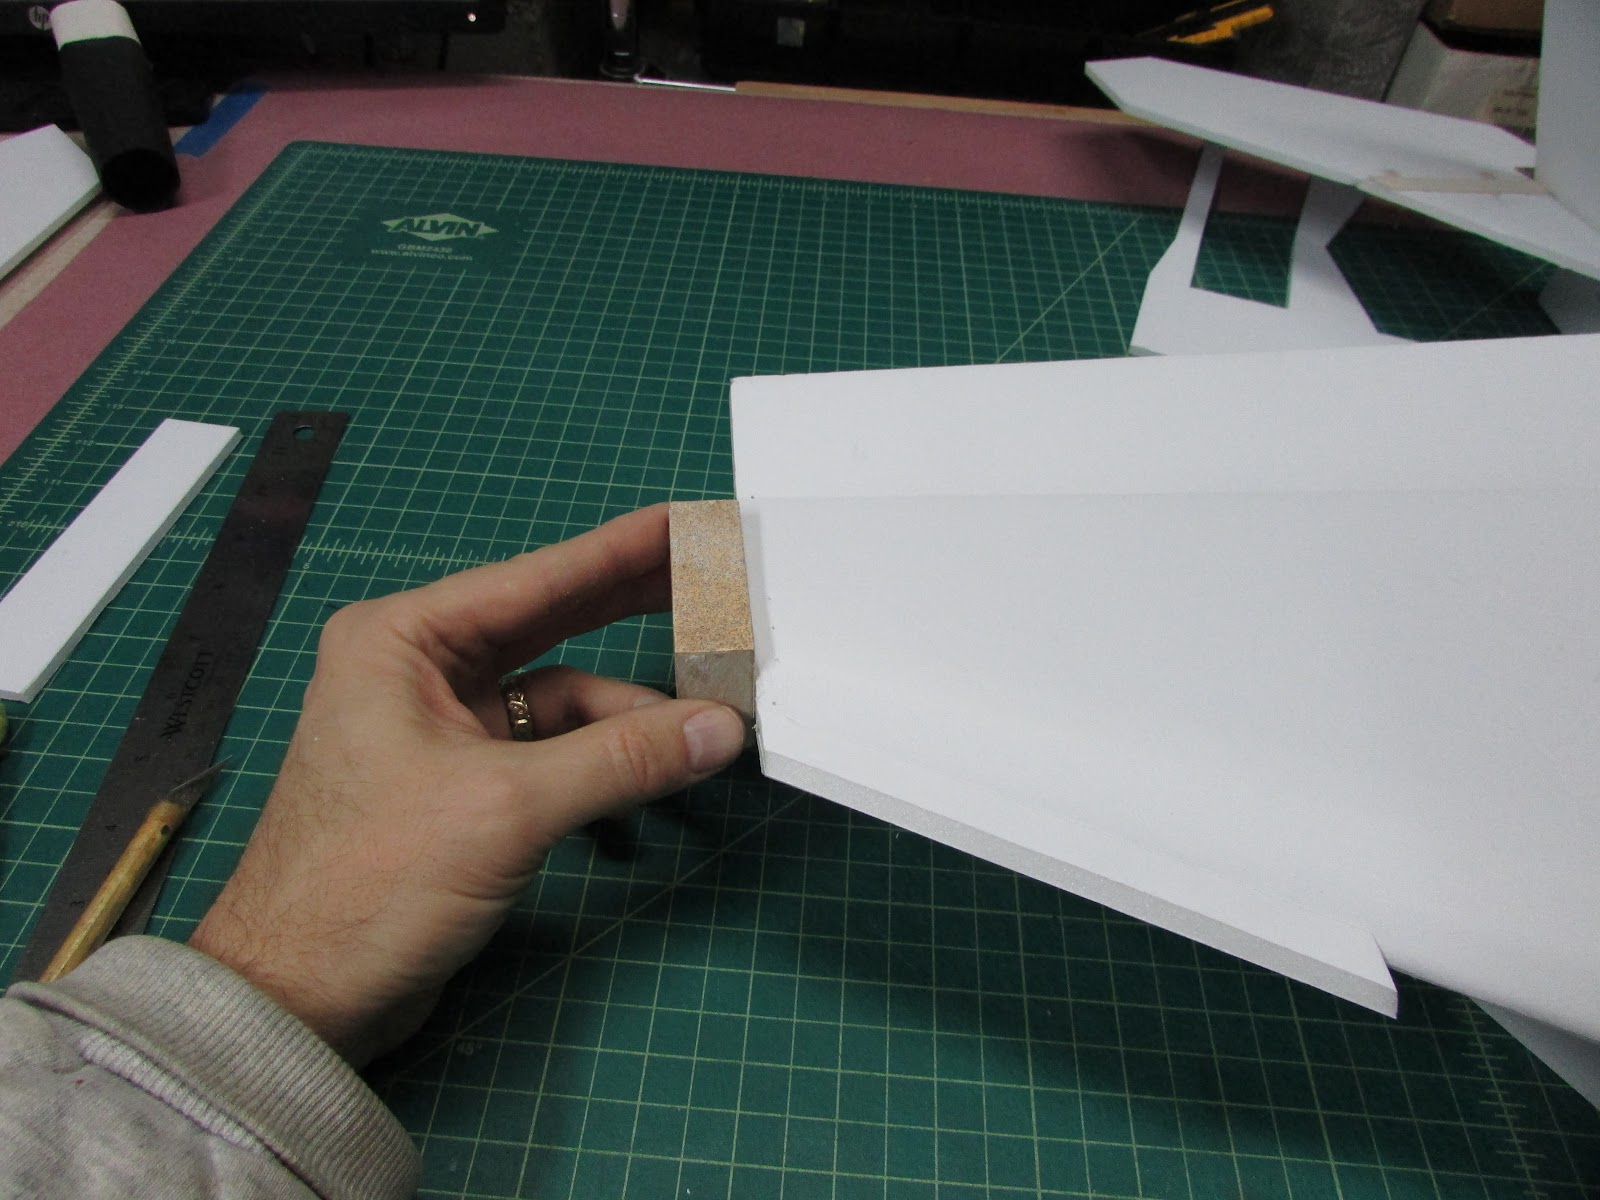
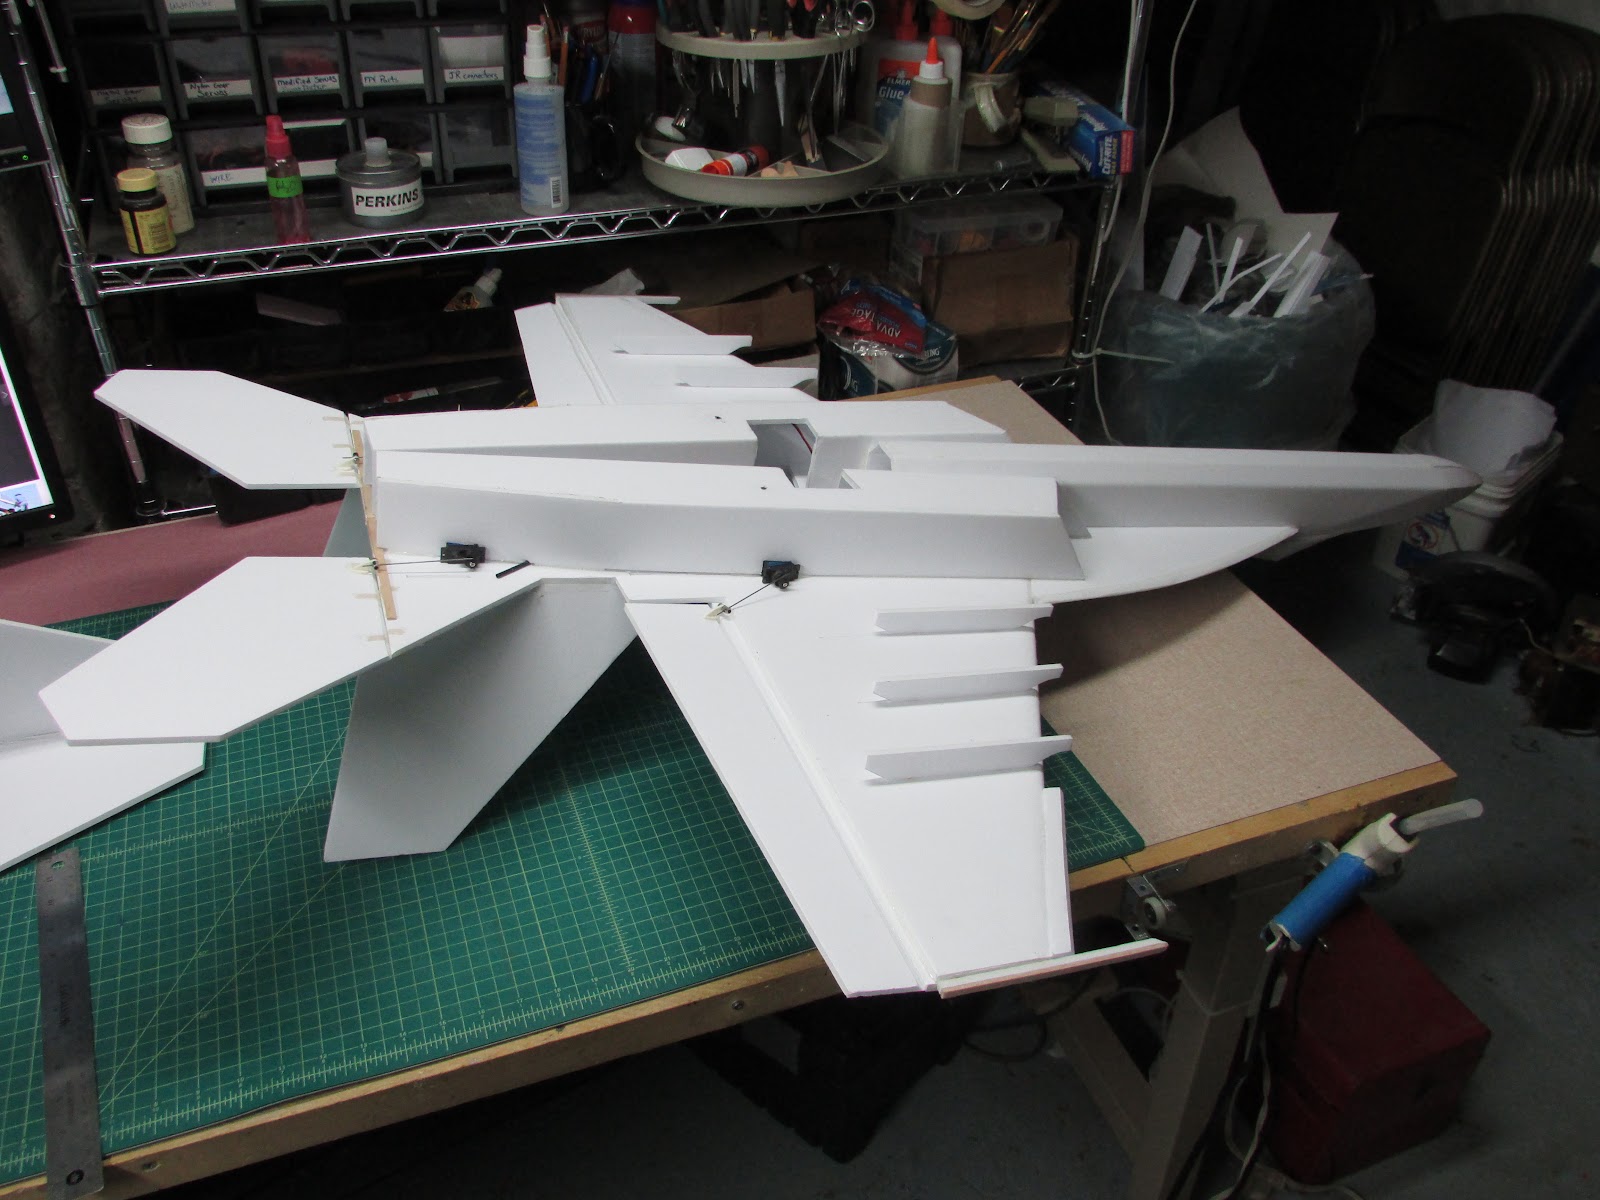
No F/A-18 Super Hornet would be complete without the distinctive wing tip dogtooth edge. Since the leading edge of the wings were used to join the upper and lower wing panels together, we’ll have to just add the leading edge dogtooth as an afterthought. In future plans, I may follow the lead of others by making the bottom wing panel shorter and just cutting the dogtooth into the upper wing panel. But for now, this is what I did.
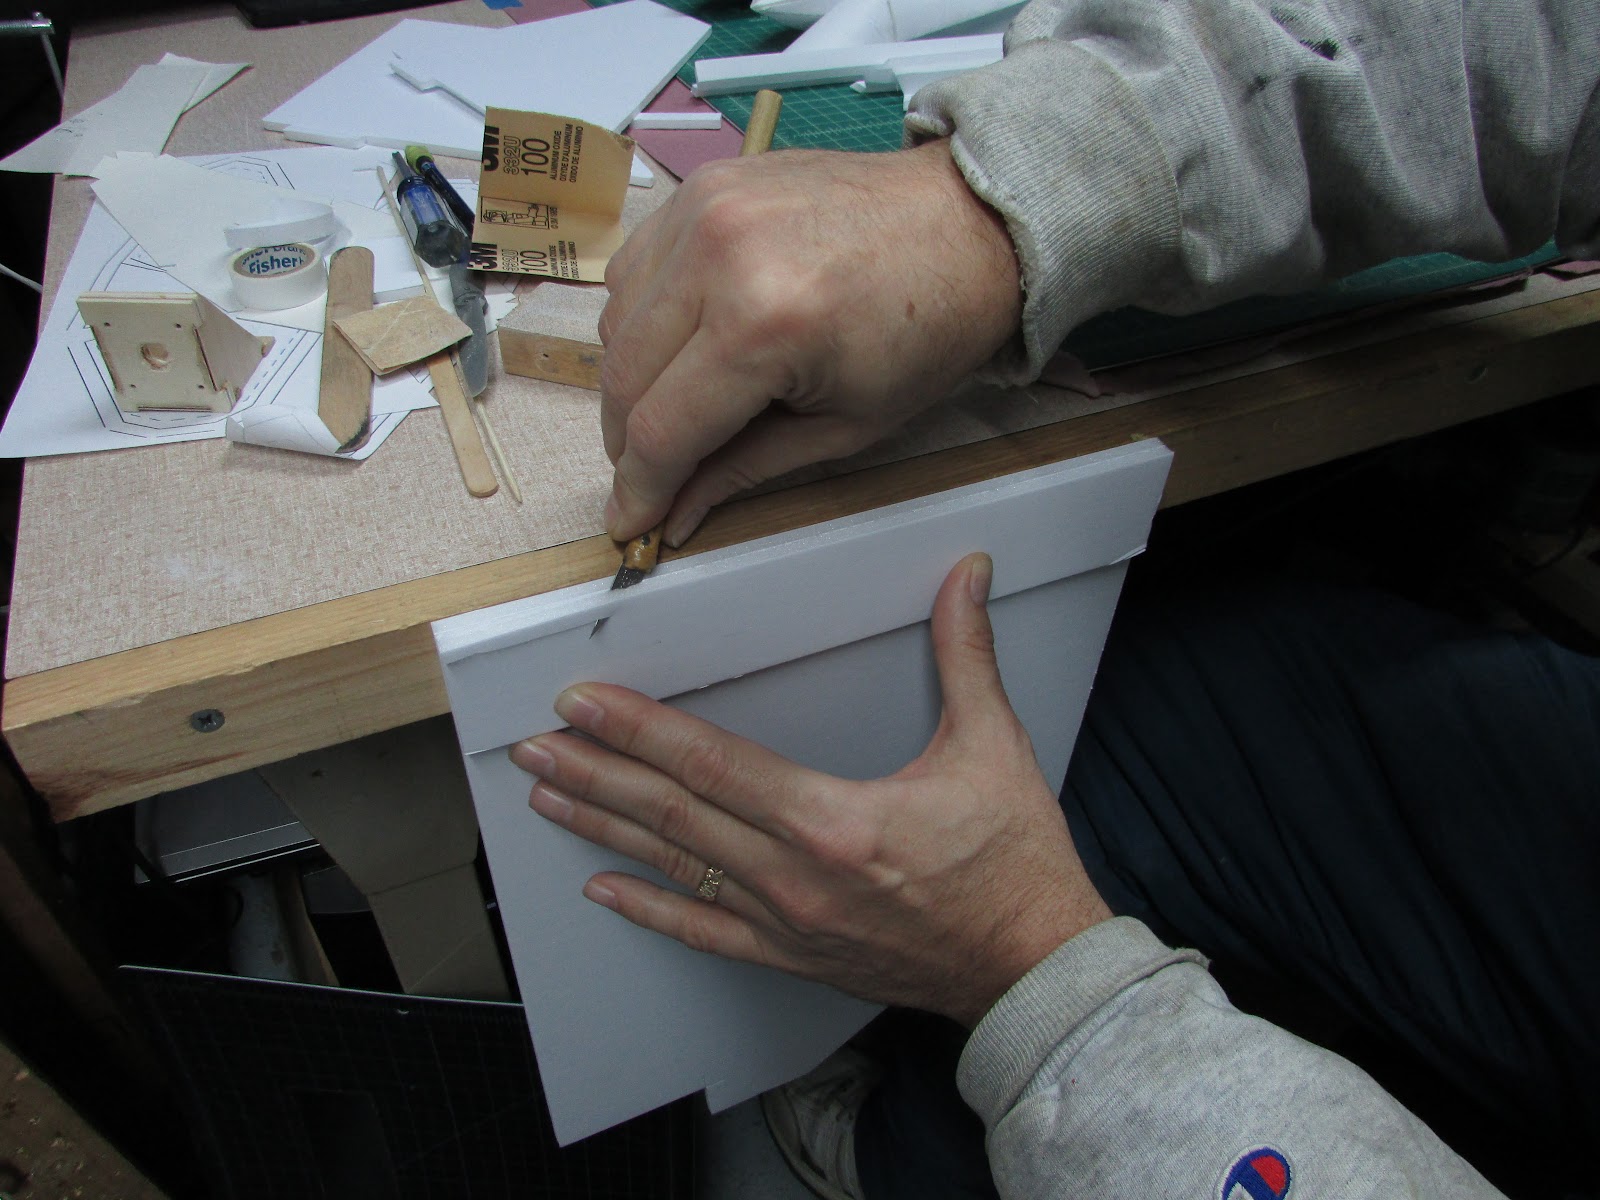
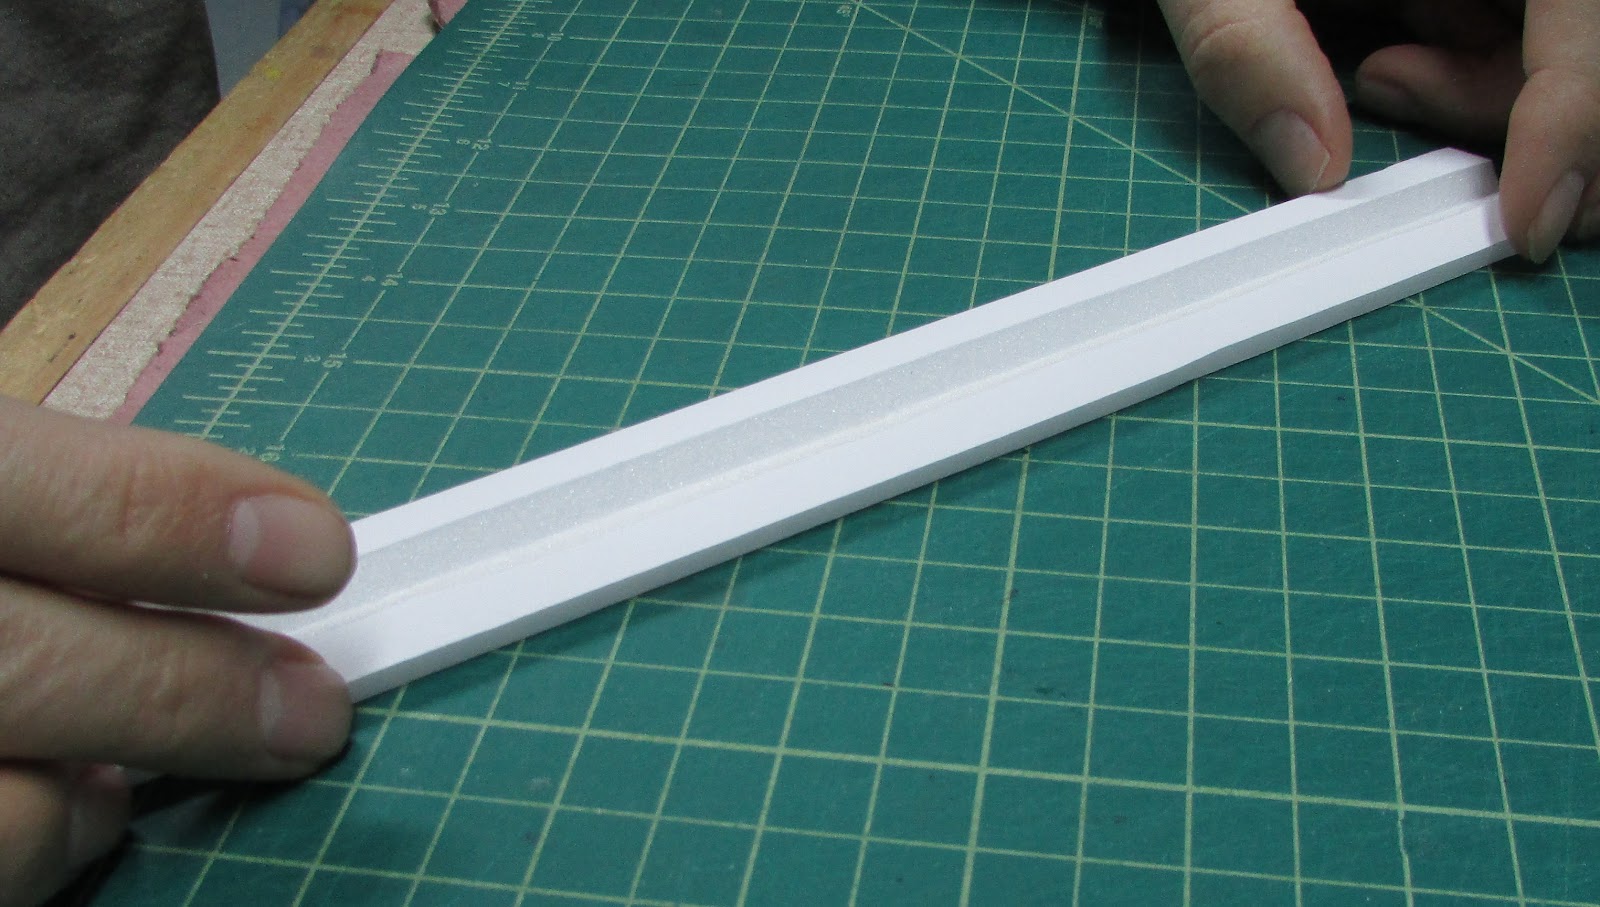
Score cut a piece of foam and fold it onto itself. Bevel cut the edges along the both sides of the fold. I like resting the foam against the edge of my build table and sliding the blade’s handle along the top of the table to stabilize it while running it through the foam.
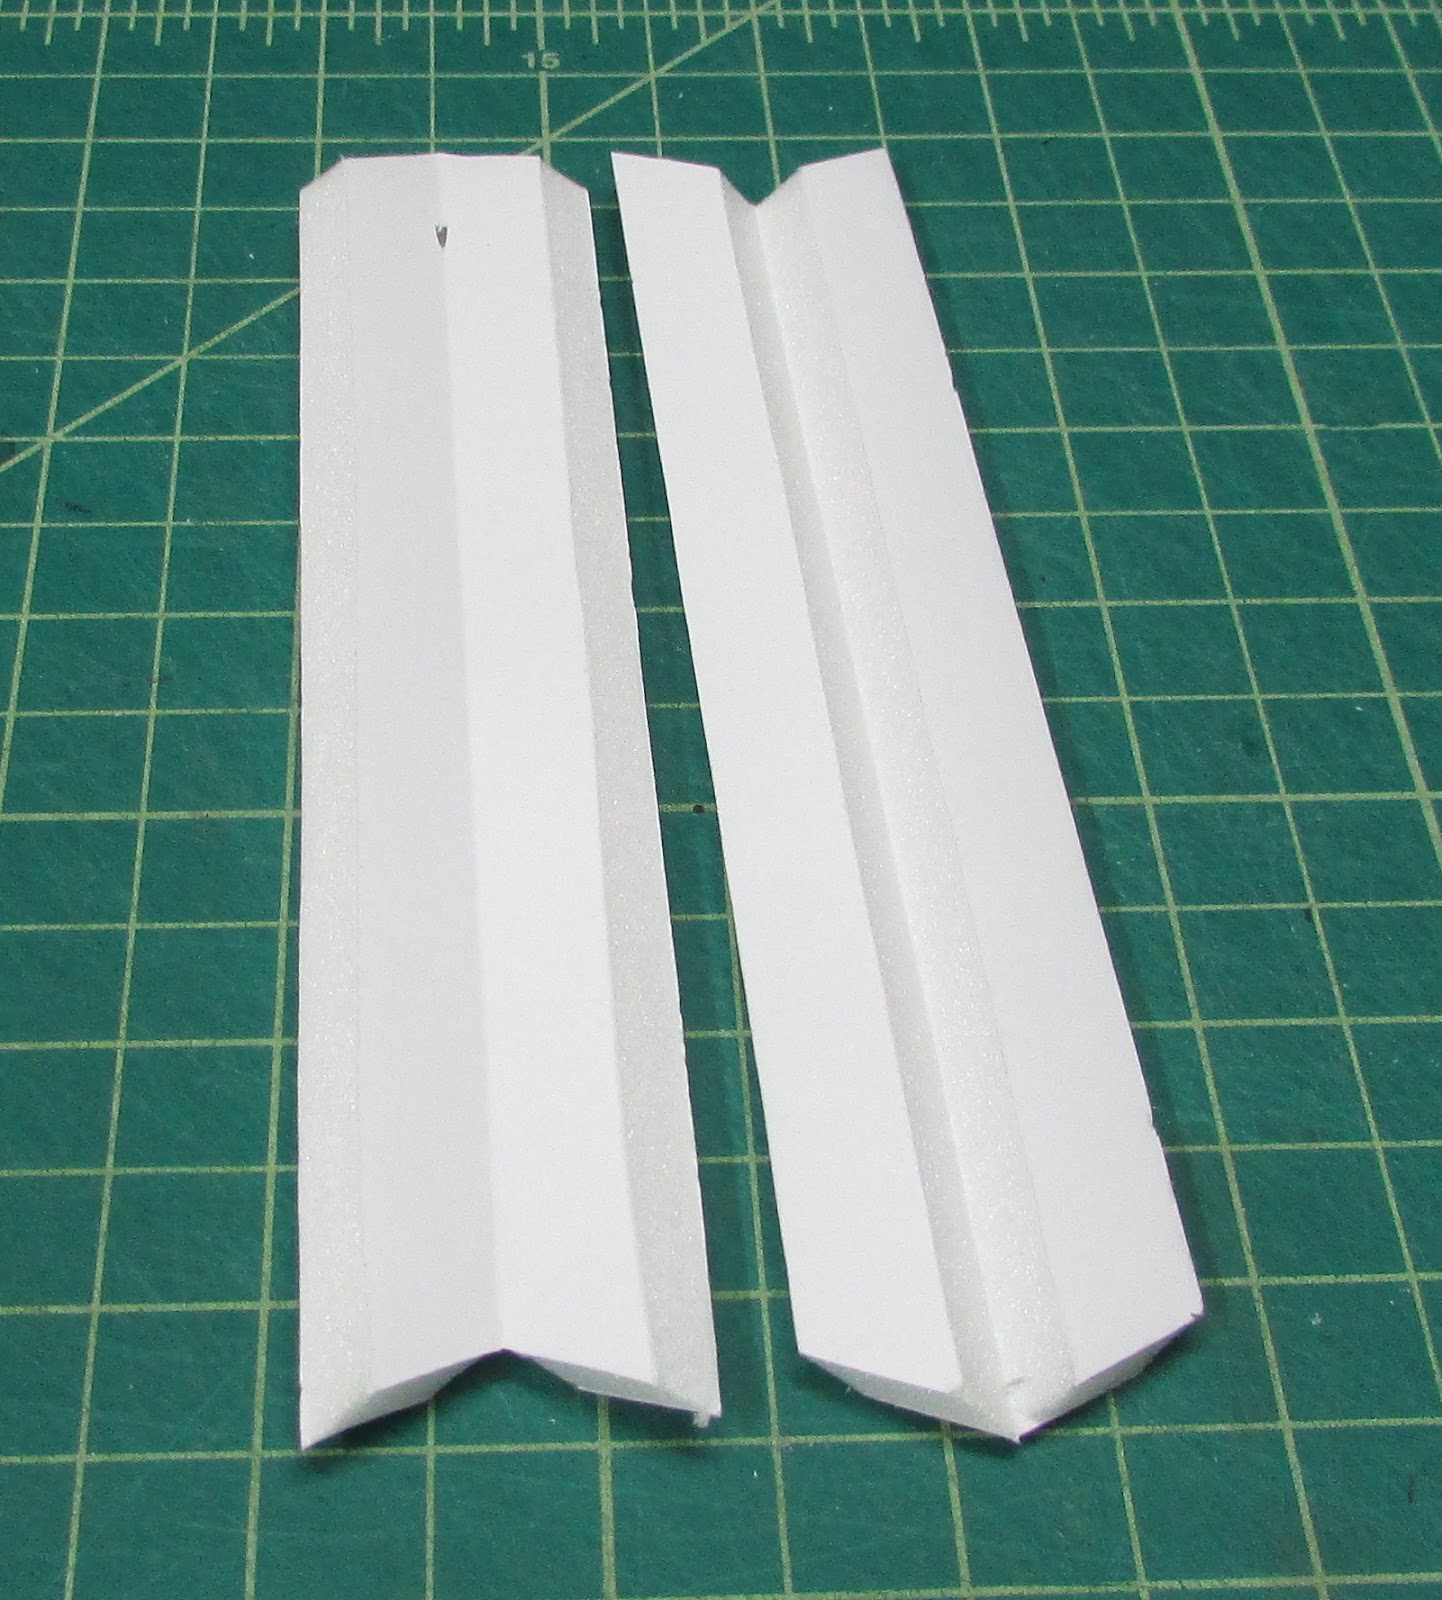
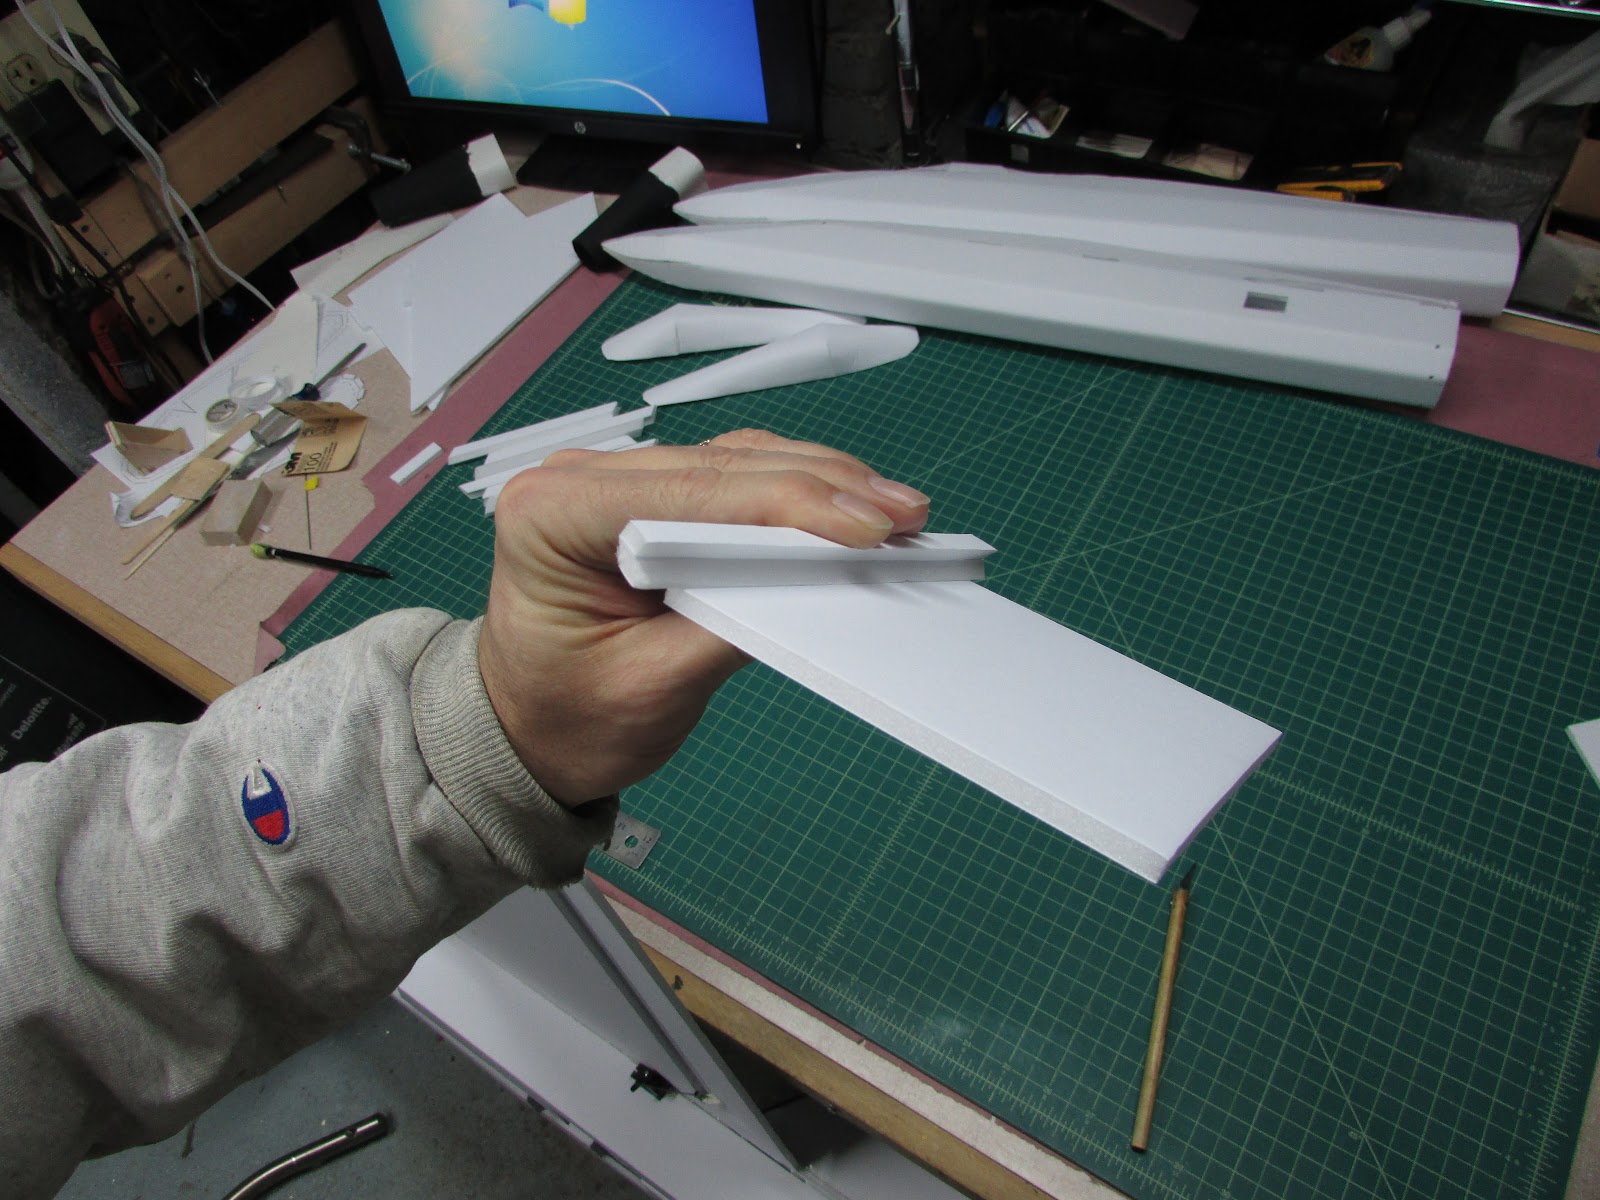
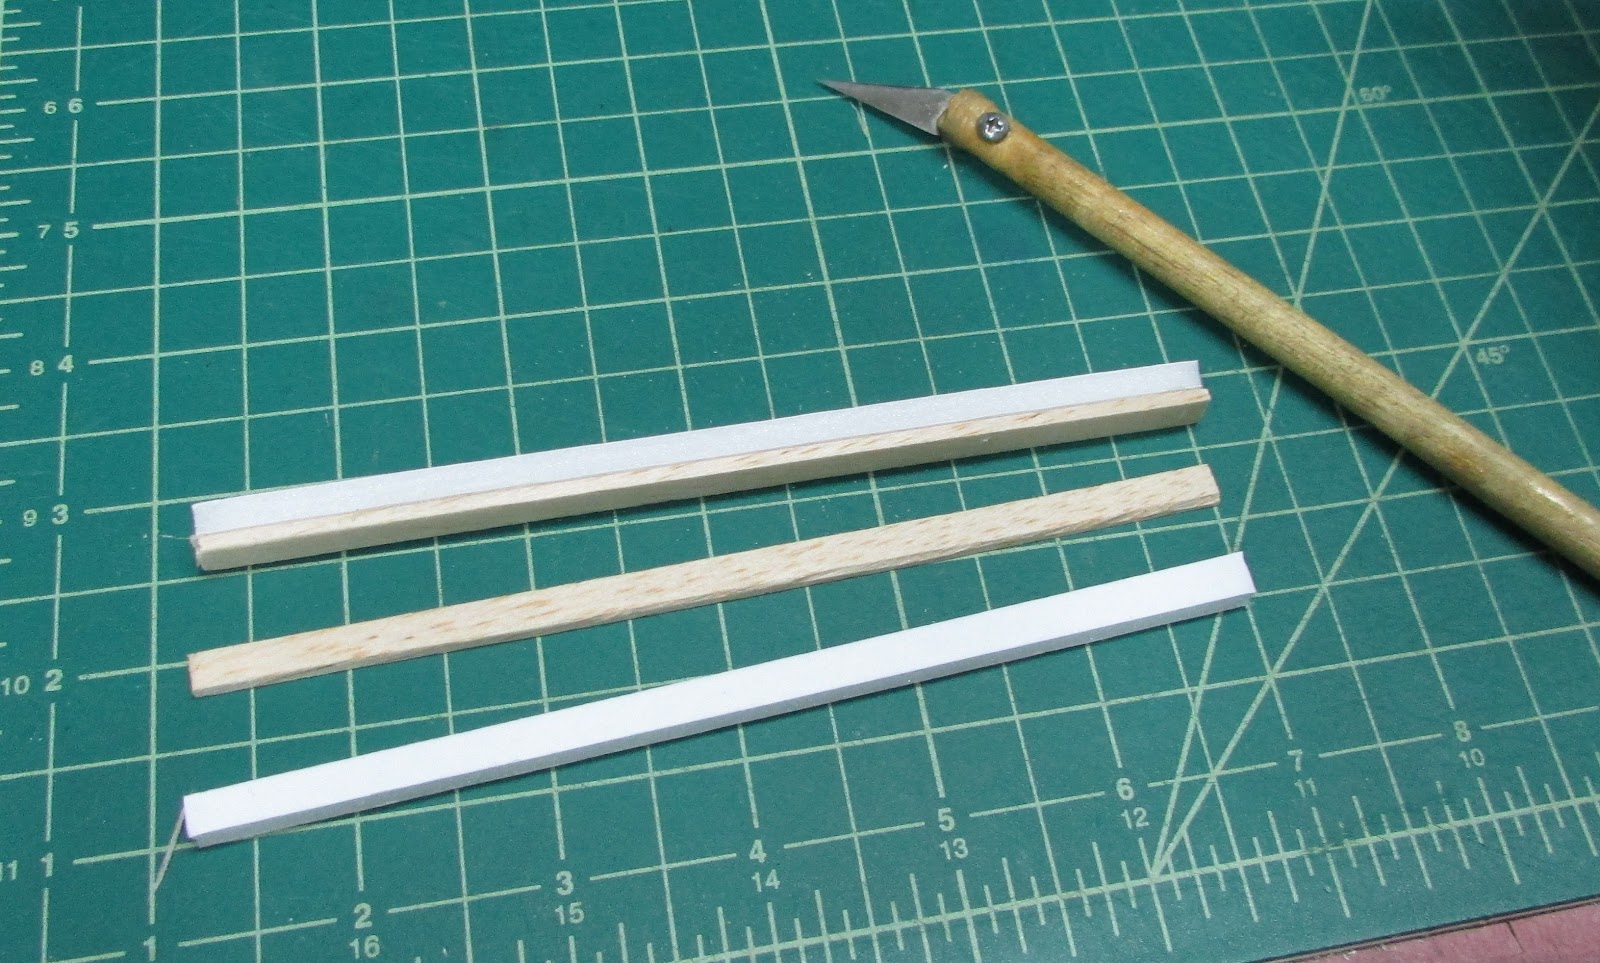
Like cutting the spar, while it is doubled onto itself, cut a 1.5 cm strip pushing your knife through both layers of foam.
The end result is a strip of foam 3 cm wide with a “V” notch in the middle when it is laid flat.
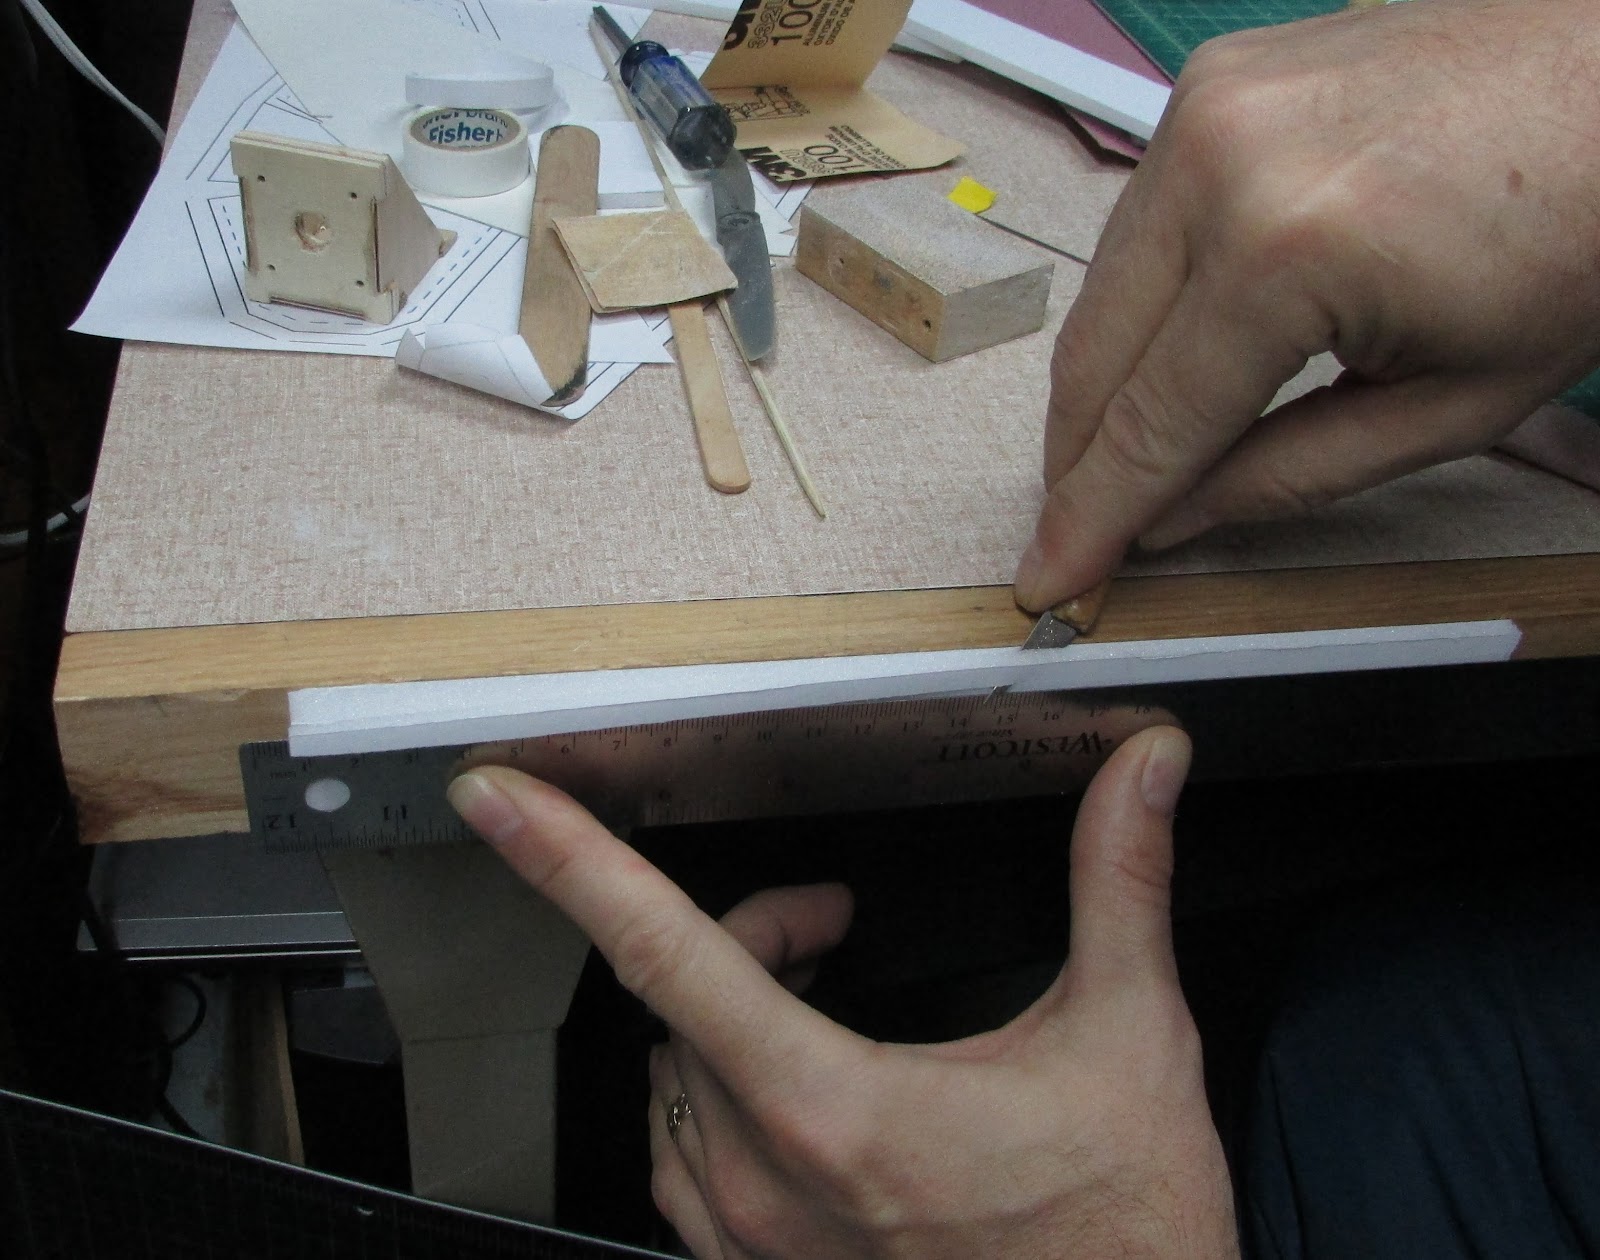
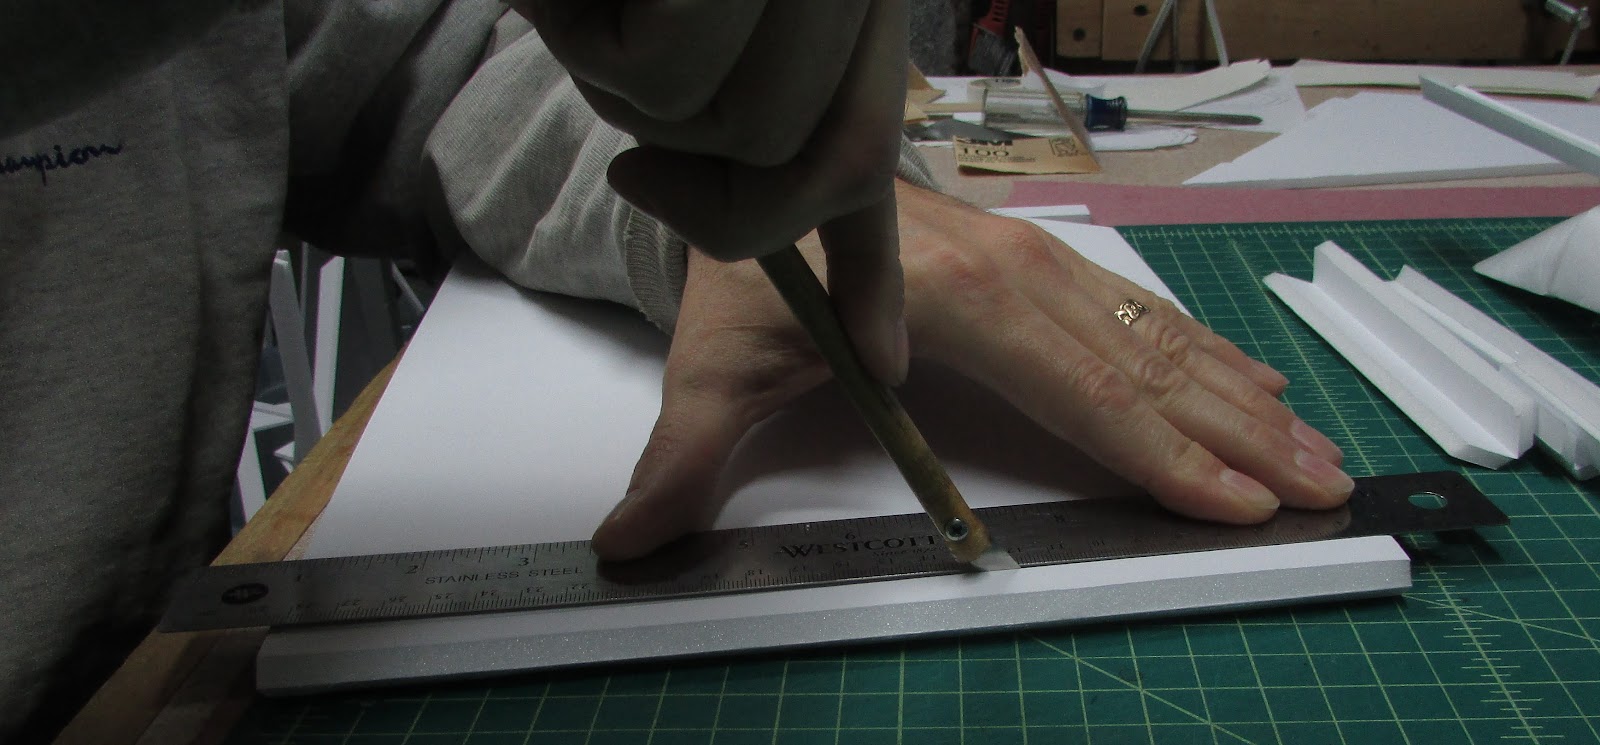
With the notch facing the build table, bevel cut the outside edges. Because the foam strip is so thin, I use a ruler to put a little more distance between my fingers and the blade.
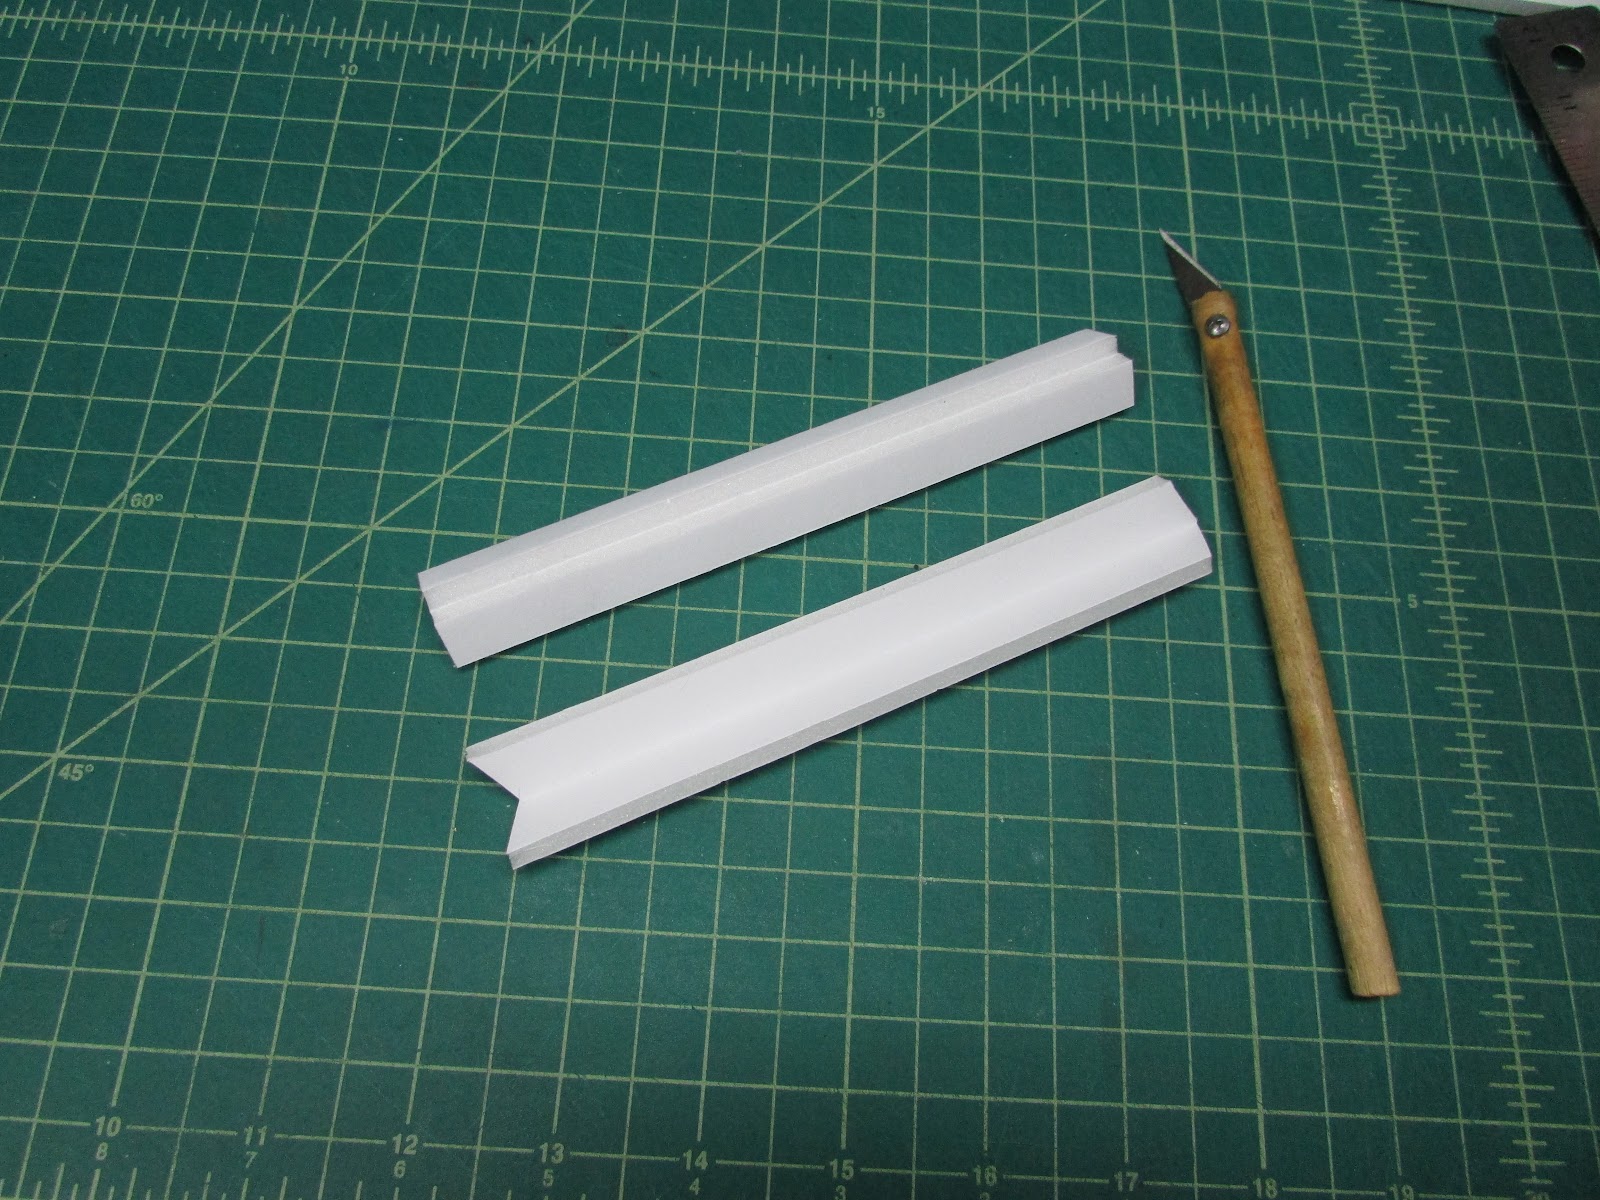
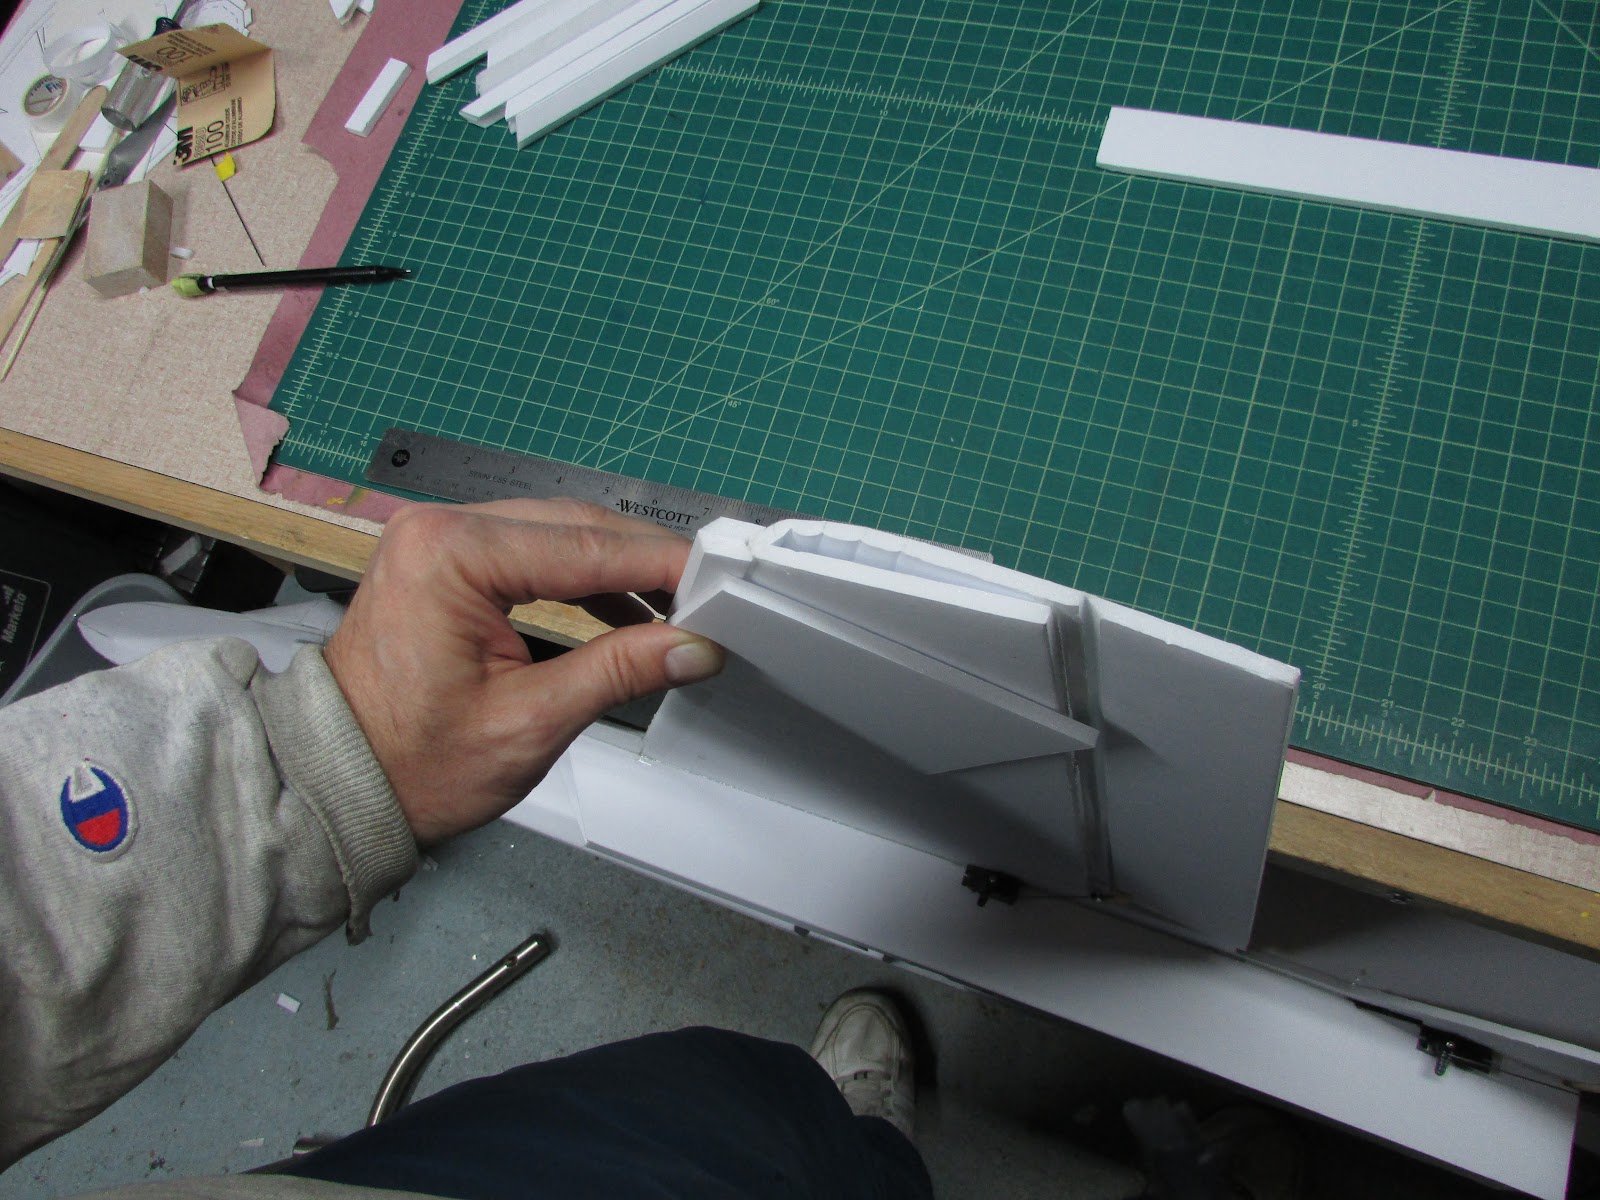
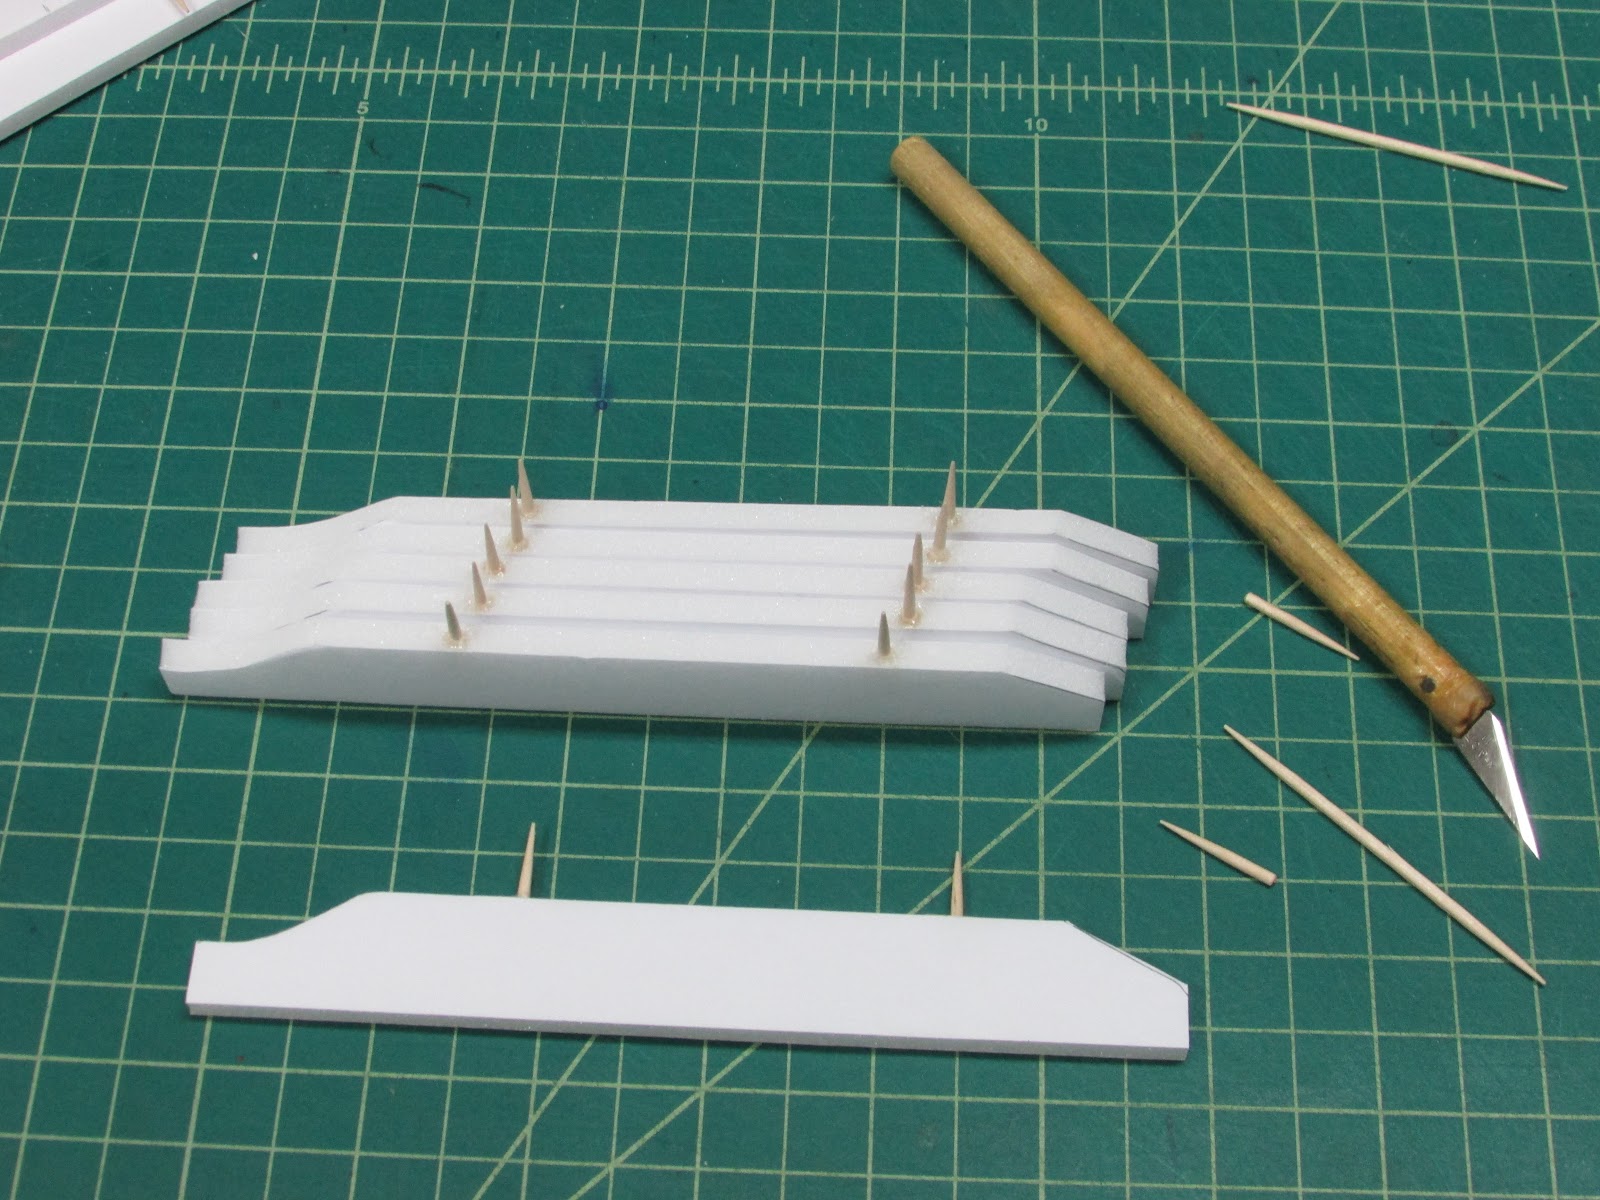
Angle cut both tips and then bevel cut the outside edges.
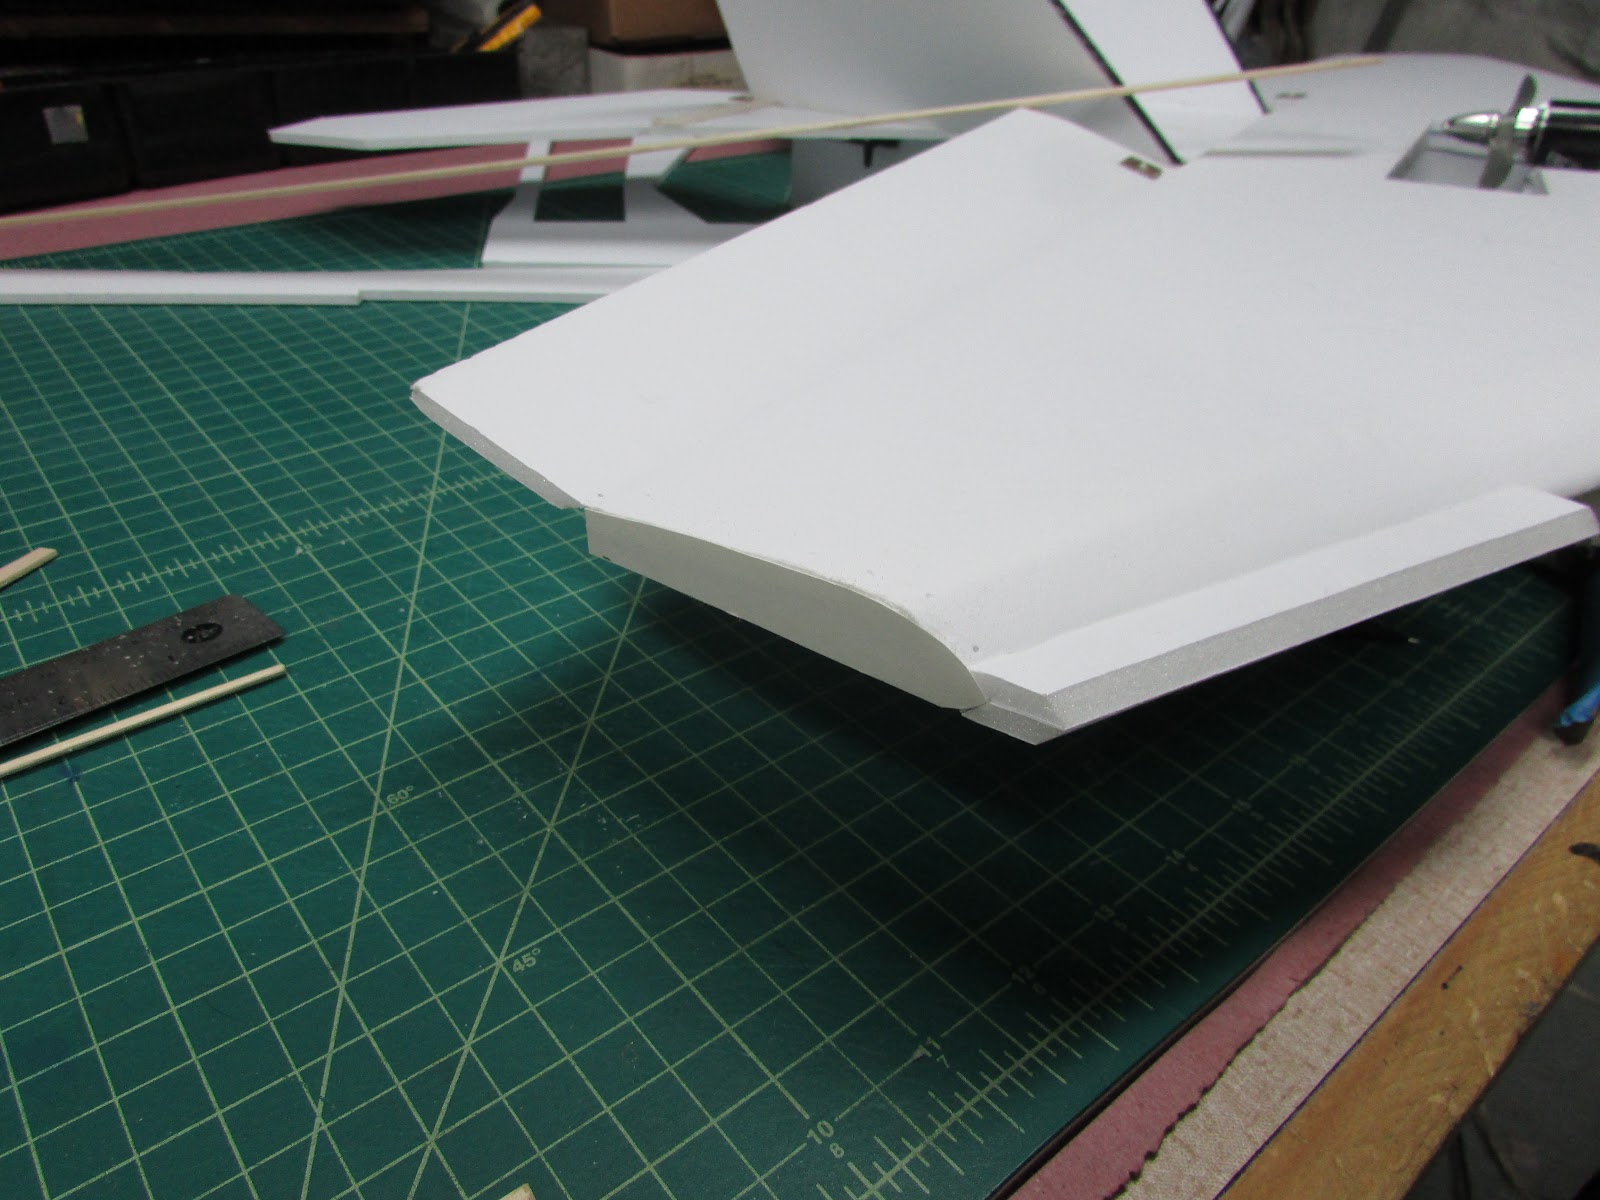
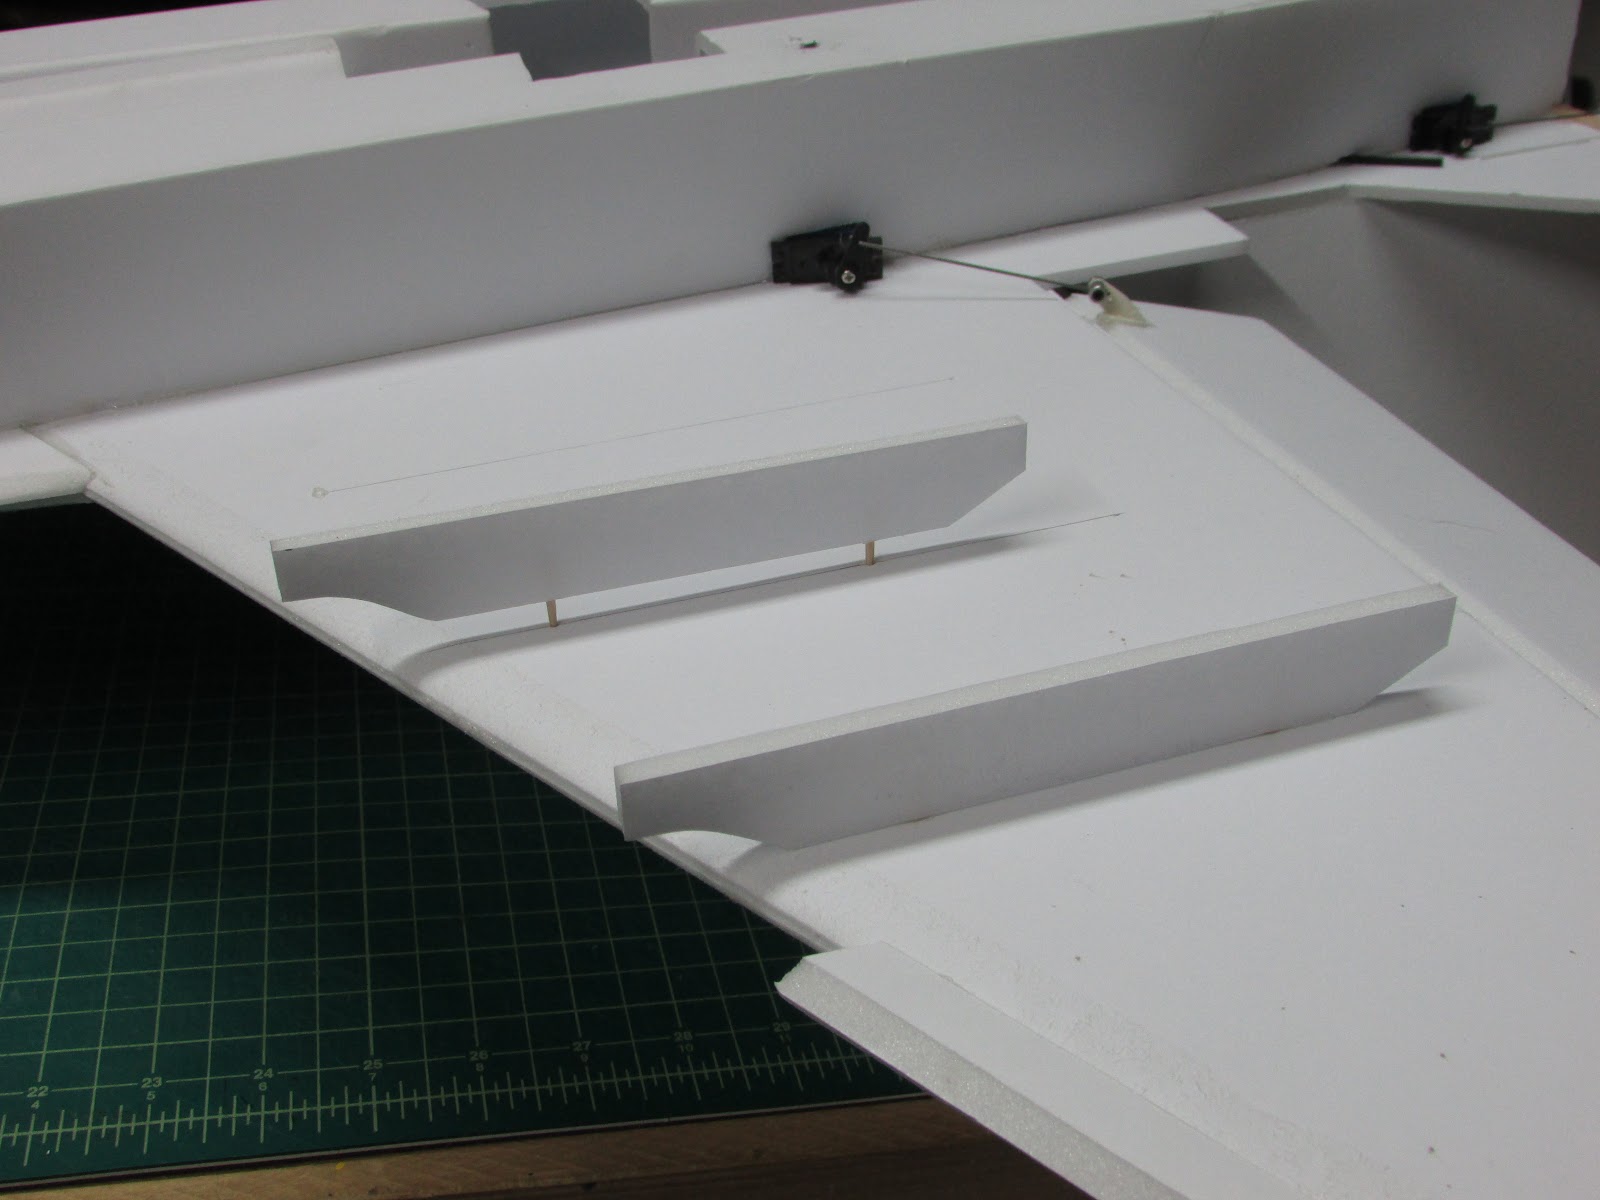
When glued they form a concave “V” on the rear to fit around the wing’s leading edge and a convex “V” on the front that can be sanded to a rounded point.
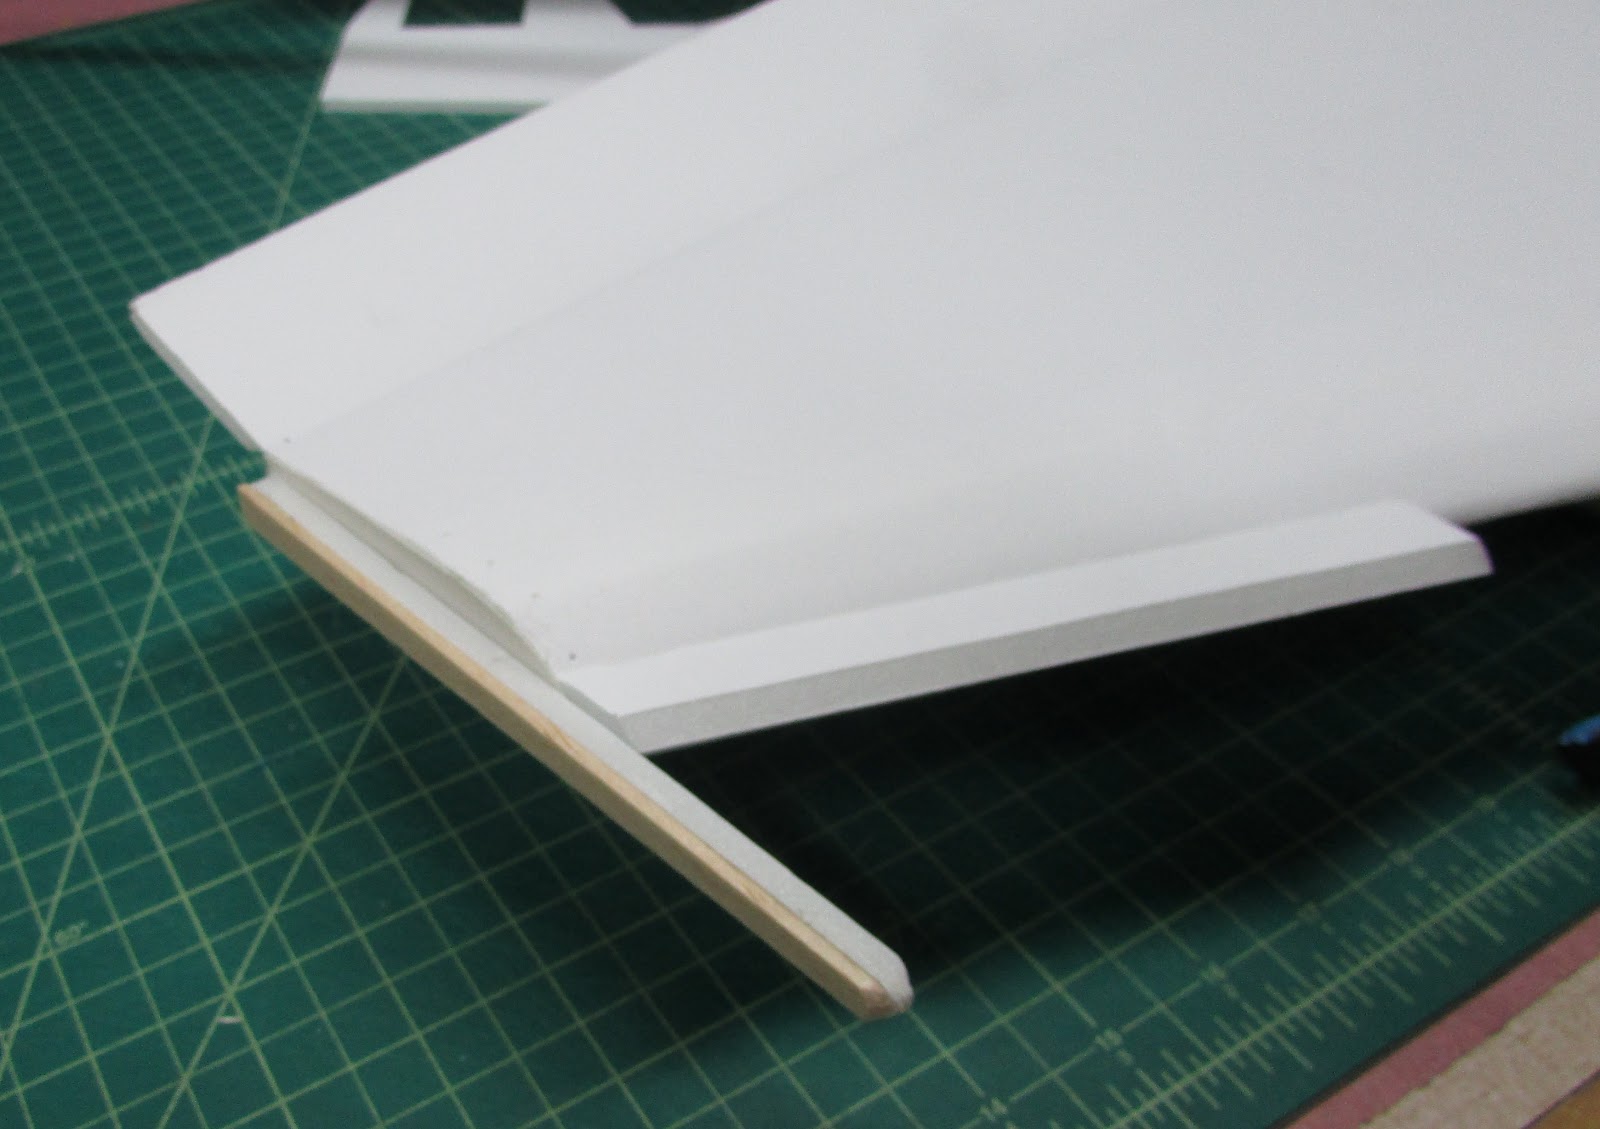
Glue them as parallel as you can with the bottom panel of the wing.
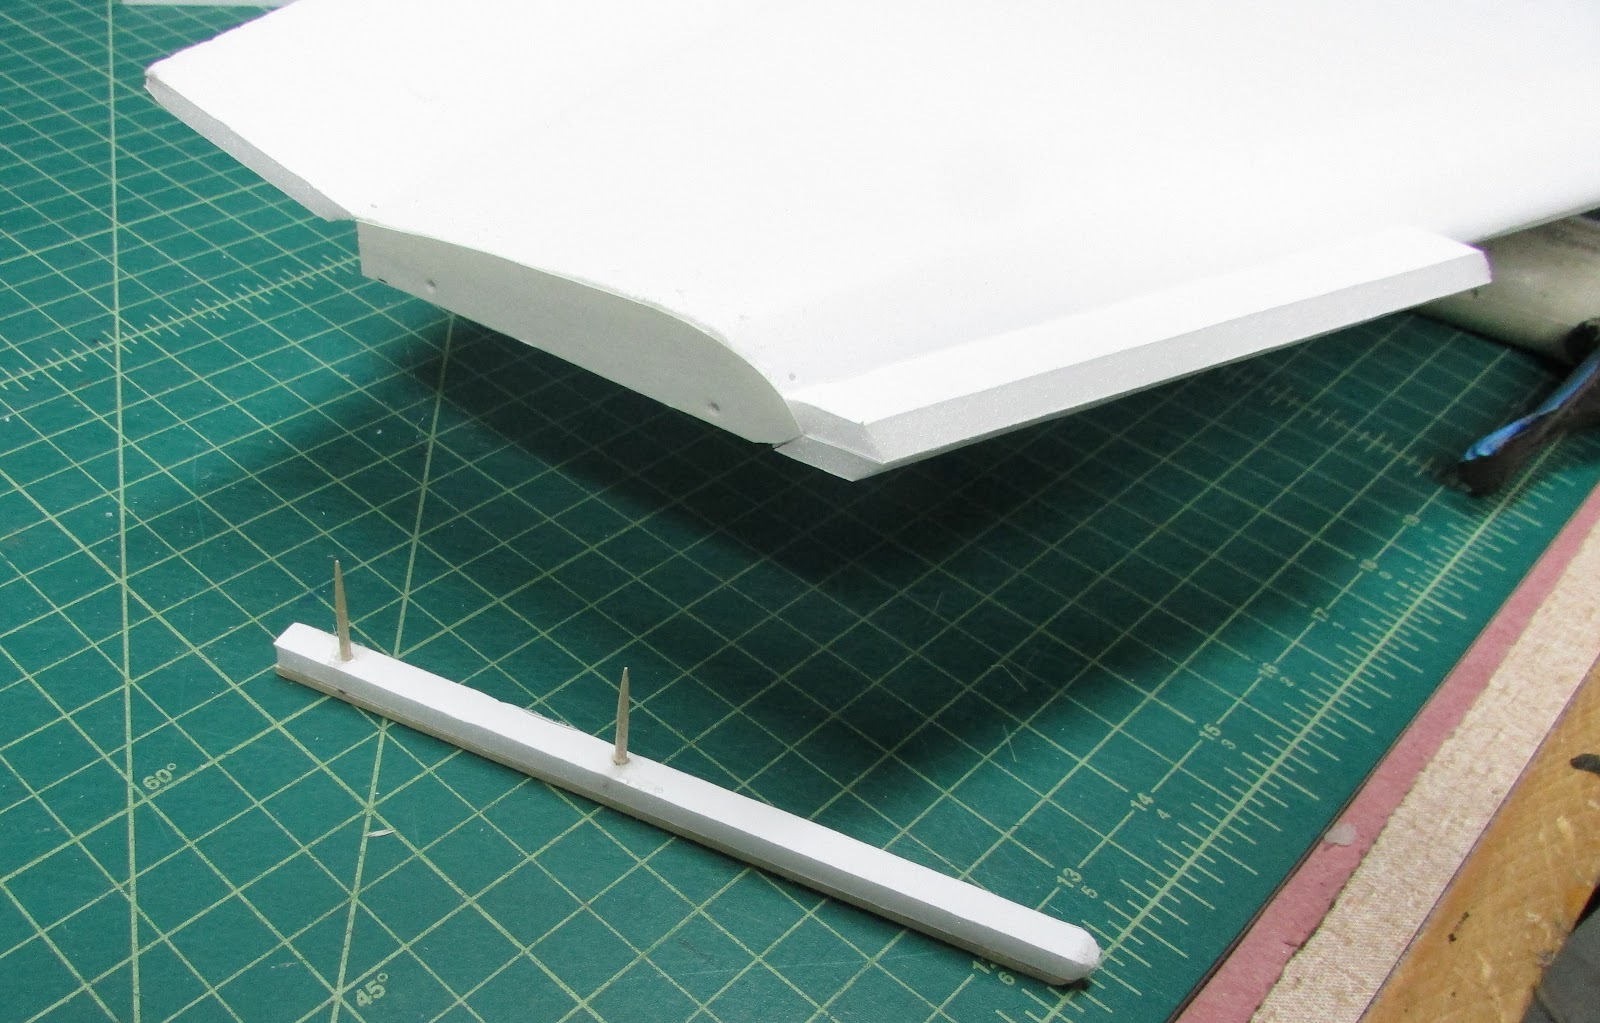
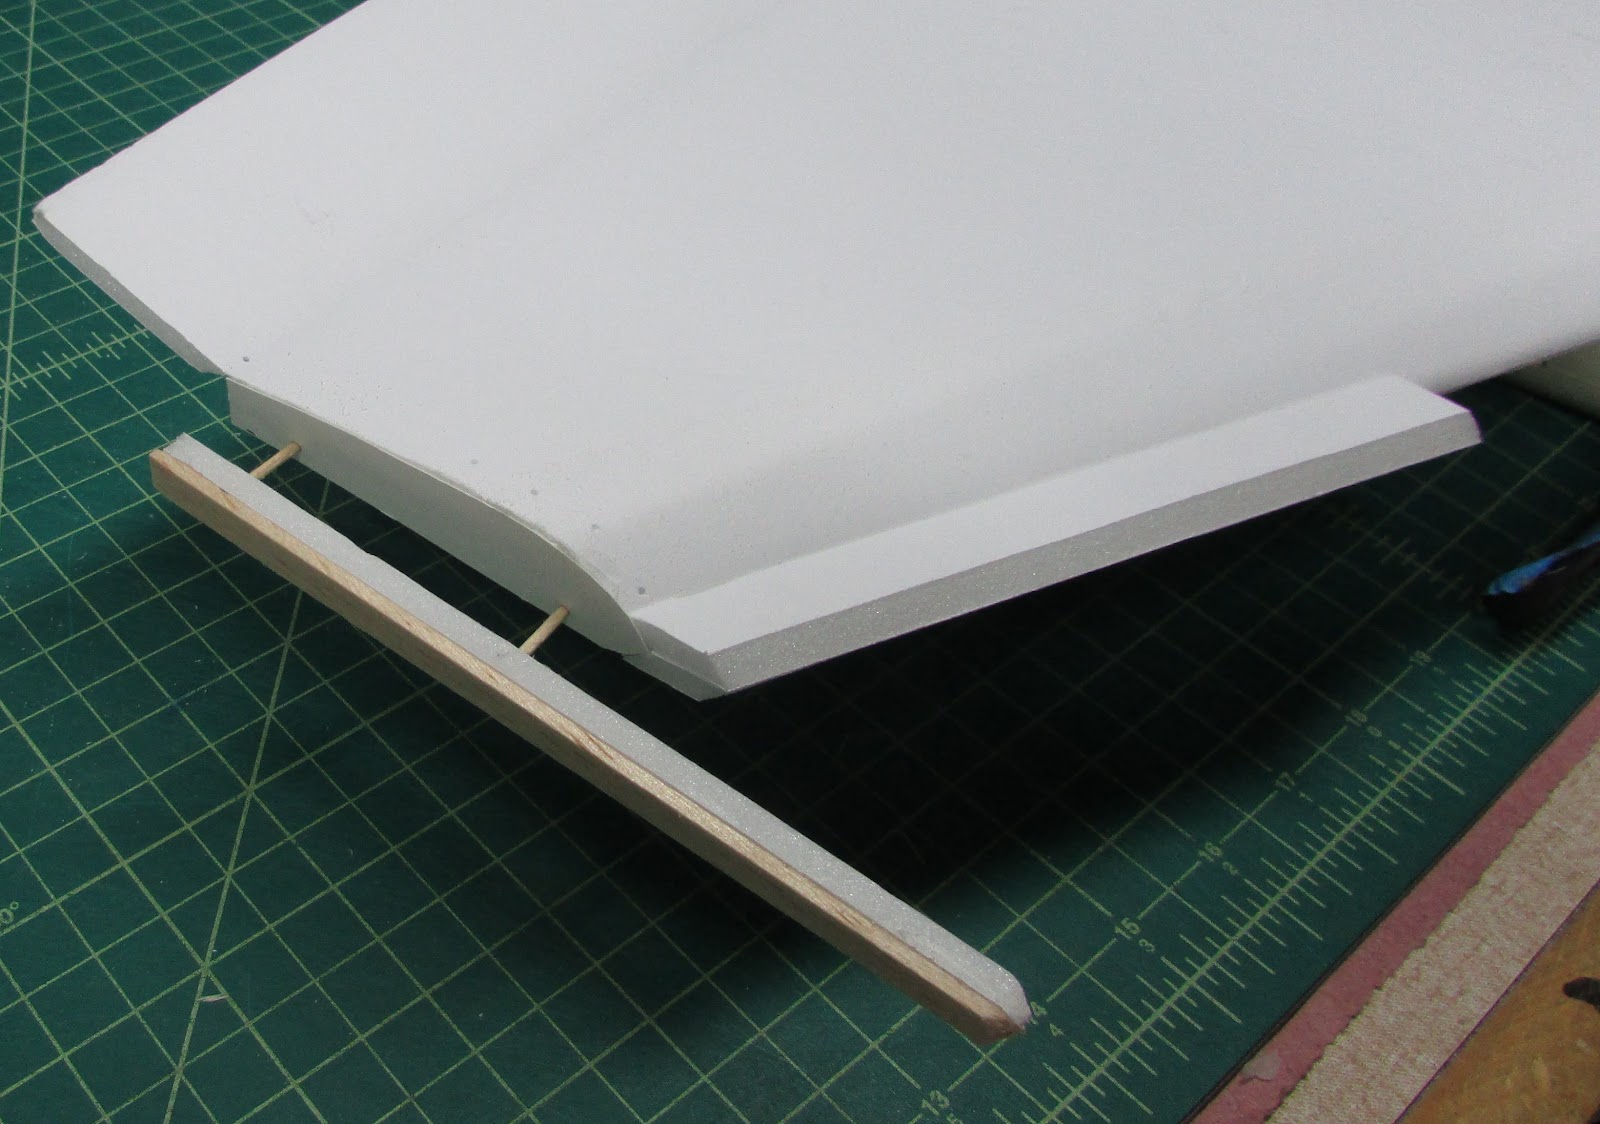
To get the dog tooth’s parallel to the bottom wing panel, I use a scrap piece of foam as a guide to extend the bottom wing panel.
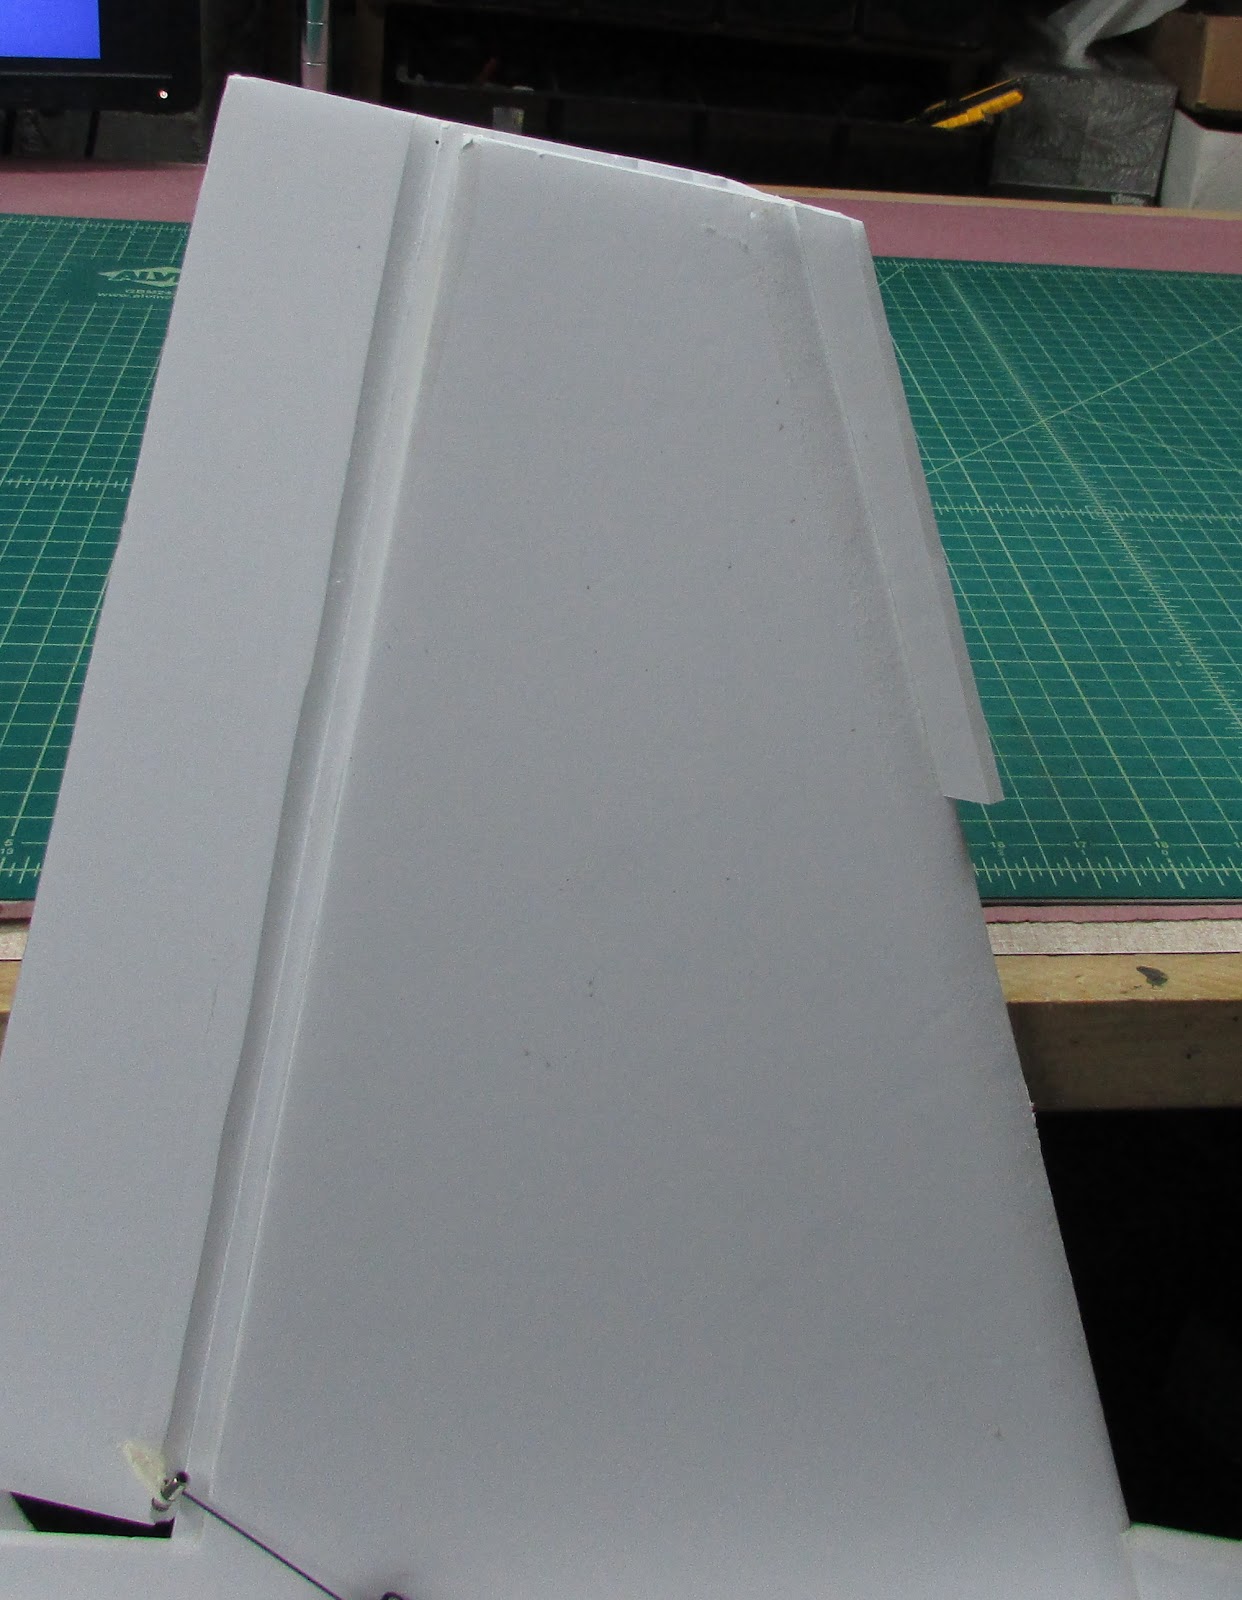
Glue in place with the tip being flush with the wing tip.
No F/A-18 Super Hornet would be complete without the distinctive wing tip dogtooth edge. Since the leading edge of the wings were used to join the upper and lower wing panels together, we’ll have to just add the leading edge dogtooth as an afterthought. In future plans, I may follow the lead of others by making the bottom wing panel shorter and just cutting the dogtooth into the upper wing panel. But for now, this is what I did.
Score cut a piece of foam and fold it onto itself. Bevel cut the edges along the both sides of the fold. I like resting the foam against the edge of my build table and sliding the blade’s handle along the top of the table to stabilize it while running it through the foam.
Like cutting the spar, while it is doubled onto itself, cut a 1.5 cm strip pushing your knife through both layers of foam.
The end result is a strip of foam 3 cm wide with a “V” notch in the middle when it is laid flat.
With the notch facing the build table, bevel cut the outside edges. Because the foam strip is so thin, I use a ruler to put a little more distance between my fingers and the blade.
Angle cut both tips and then bevel cut the outside edges.
When glued they form a concave “V” on the rear to fit around the wing’s leading edge and a convex “V” on the front that can be sanded to a rounded point.
Glue them as parallel as you can with the bottom panel of the wing.
To get the dog tooth’s parallel to the bottom wing panel, I use a scrap piece of foam as a guide to extend the bottom wing panel.
Glue in place with the tip being flush with the wing tip.
Last edited:
") . I'll post pics as soon as it's ready. Awesome design!
. I'll post pics as soon as it's ready. Awesome design!