Familiar scene

MacandRita

Active member
Hi All,

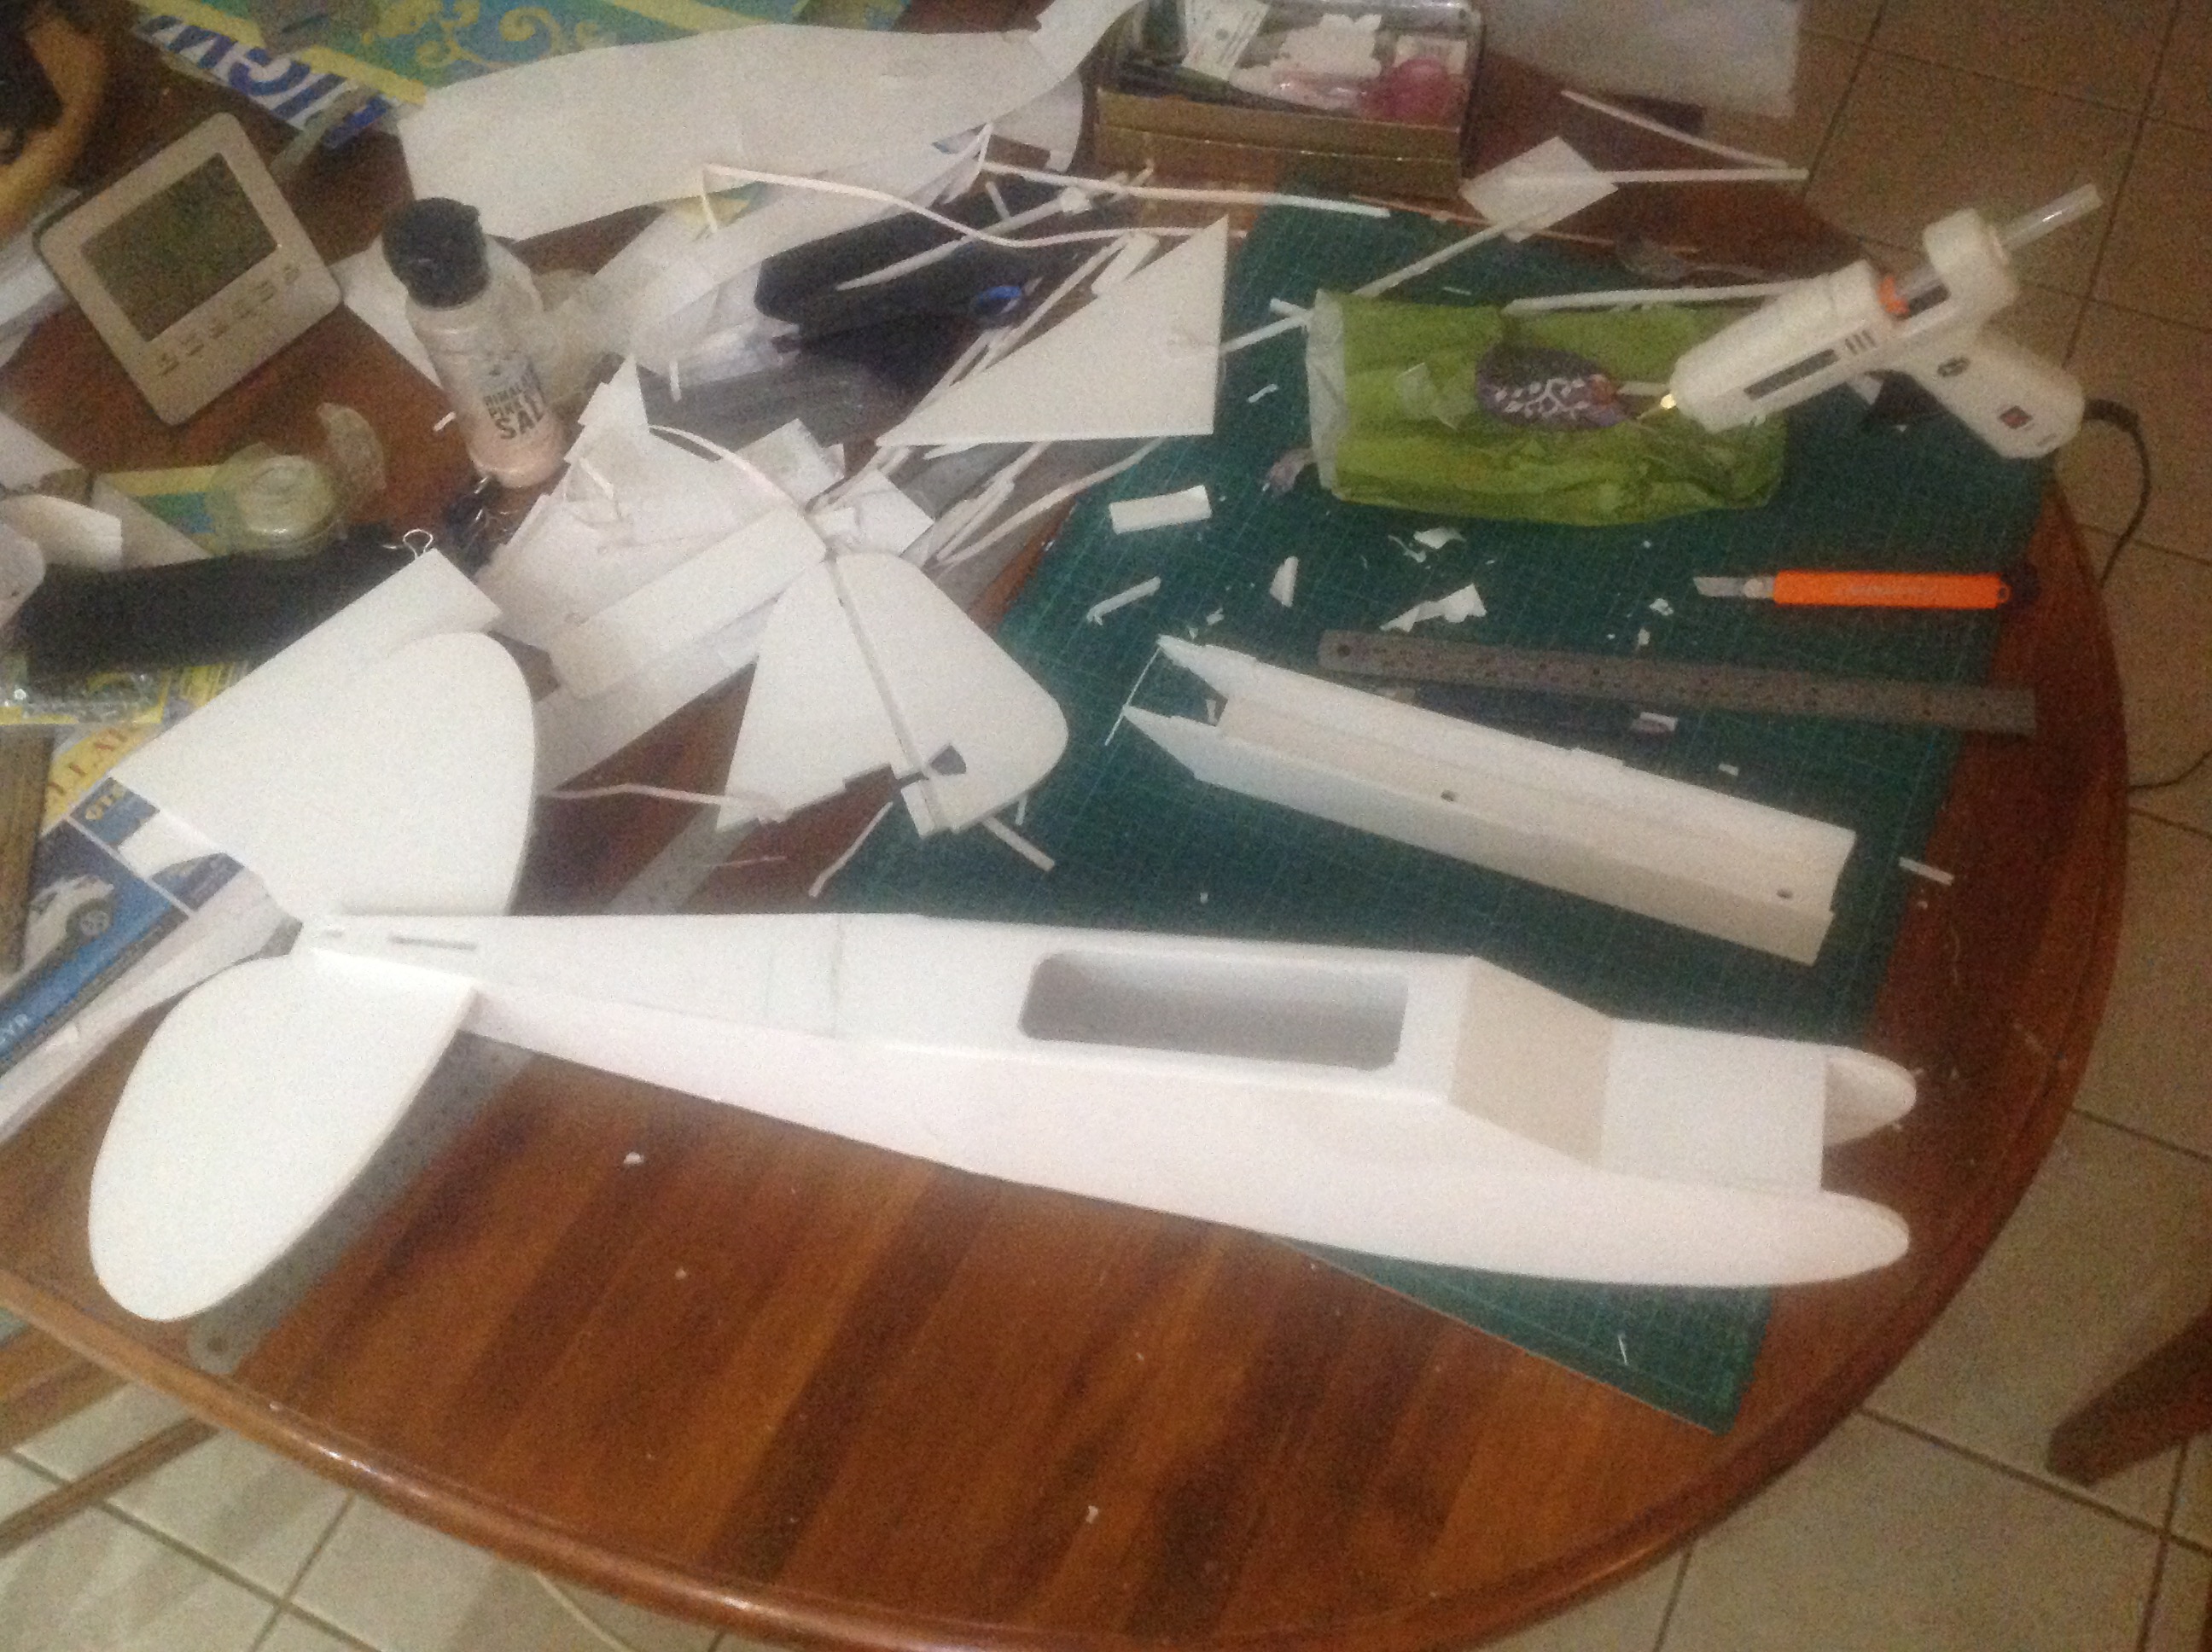
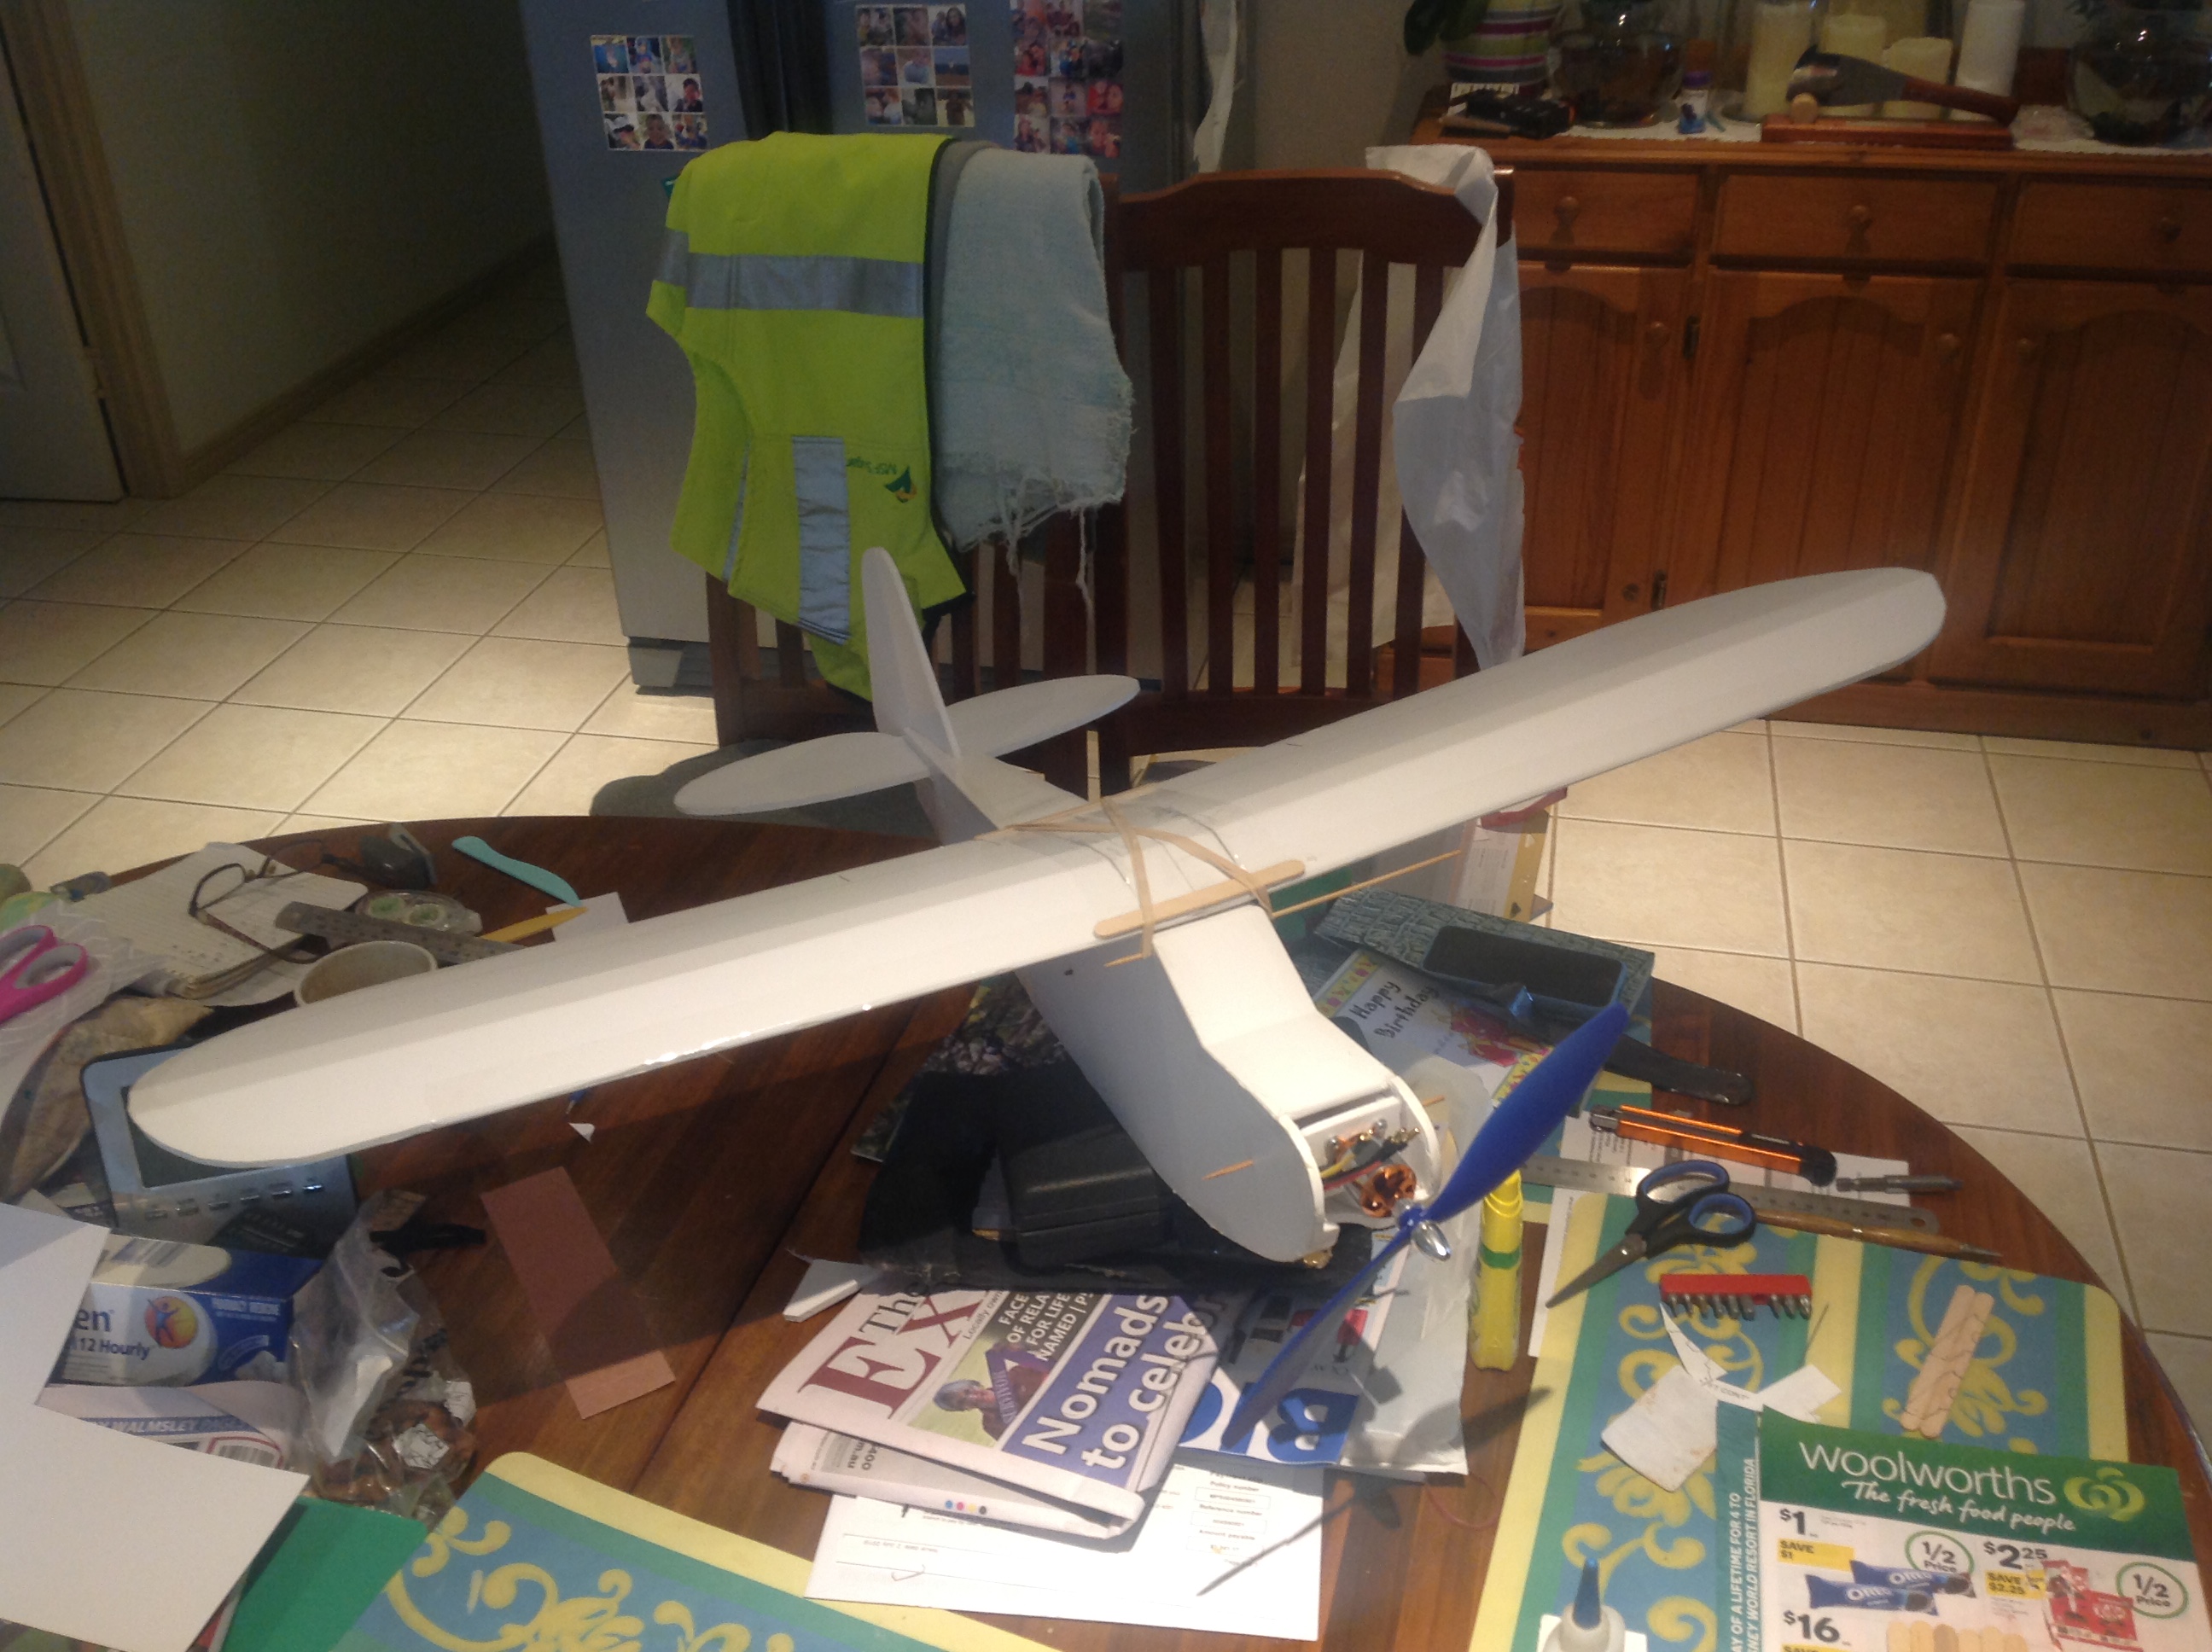
This scene will be very familiar to those who frequent here. Yes I have started on my first build and yes that is the dining room table I am working off. Definitely an advantage of being empty nesters. I ended up going the officeworks route for the foam board but only needed to glue two boards together for the fuse and beam as the wing halves fitted nicely on the A2 sheets. Also had to do one of the doublers in to sections and glue together to squeeze it out of the 4 A2 sized sheets. So plans free download, materials $16au, motor esc cables and servos $90au. Could have gone a FT c pack but exchange rate and postage would have nearly doubled that. Still to get battery, charger, RX and TX. Bring on Farthers day and Christmas. Mind you at the rate I am progressing it may be Christmas before I get this simple cub built.
IMG_0330.JPG
 

mayan

Legendary member
Welcome to the family! If there is anything that you need advice on just post about it anyone here will be helping out. And that looks like a good start I too work of the dinning room table or any other table I find :).
 

FoamyDM

Building Fool-Flying Noob
Moderator
Welcome aboard. The project has a great start. If you have a question ask away, we will help where we can
 

MacandRita

Active member
Thank you all for your kind words. I did cheat a little as I had cleared off the table twice before I took the photo. Even managed to get some on the floor. Managed to get all the parts cut out and even did the single bevel on both evelator and rudder. Also put a layer of hot glue on the hinge a la josh style. Have the day off tomorrow so will work on the power pod and fuse. Might even get to the wing over the weekend. I am thinking of setting up the four channel wing but flying it three channel initially just to reduce the risk of lawn darting. So plan will be to install servos and cables but leave off linkages and not cut the ailerons till ready for four channel. Would the servos unpowered be strong enough to hold the ailerons from moving or would they work better if powered and held centered on a seperate channel in order to fly 3 channel. Has anyone done this and how successful was it.
Mac
 

MacandRita

Active member
Evening All,

Had a good day and made some progress. Managing to keep things reasonably square and power pod slides nicely into its position. Can you spot the obvious stuff up? Yes I should have watched the build video before cutting the bevel on the rudder. As a result the bottom of the rudder now has a double bevel to allow full movement. I also redid the hot glue reinforcement into the double bevel hinge. Note to self WATCH the video just before doing each step. Don't depend on memory.
 

Attachments

  • IMG_0339.JPG
    IMG_0339.JPG
    1,009.6 KB · Views: 0
  • IMG_0340.JPG
    IMG_0340.JPG
    978.7 KB · Views: 0

MacandRita

Active member
Another interesting day on the scalpel and glue gun. Got a little carried away on one of the double bevels and cut through some of the paper. Had to repair with packing tape. I am finding that the foam board I am using is well attached to the paper and cleaning out the cavities has been a PITA. Peeling off paper to enable bending was impossible and I achieved it by scoring just through the paper every 3 mm. I also had to create a half depth bevel on the scored bend lines on the curved part of the wing to get the foam to bend to form. Happy enough with the final wing shape. All up weight of fuse and wing is 373g. While I agree that I won't forget this first build, it may be more about the things I could have done better or differently. I guess that all changes when the creation takes to the skies for the first time.
Mac
 

Attachments

  • IMG_0344.JPG
    IMG_0344.JPG
    831.3 KB · Views: 0

mayan

Legendary member
Another interesting day on the scalpel and glue gun. Got a little carried away on one of the double bevels and cut through some of the paper. Had to repair with packing tape. I am finding that the foam board I am using is well attached to the paper and cleaning out the cavities has been a PITA. Peeling off paper to enable bending was impossible and I achieved it by scoring just through the paper every 3 mm. I also had to create a half depth bevel on the scored bend lines on the curved part of the wing to get the foam to bend to form. Happy enough with the final wing shape. All up weight of fuse and wing is 373g. While I agree that I won't forget this first build, it may be more about the things I could have done better or differently. I guess that all changes when the creation takes to the skies for the first time.
Mac
Looks great! Any lesson learned is a lesson!
 

MacandRita

Active member
Hi Everyone,

Well basic structure is complete. I finished today with sealing the foam board edges with uhu glue and also sealing all the edges where the paper hadn't quite stuck down with a smear of same glue. Didn't have any hobby ply for firewall but had plenty of popsicle sticks so am using them to do firewall and control horns. Firewall is edge glued with medium CA glue and then a second layer edge and side glue at 90 degrees. Control horns are edge glued and then coated with thin CA glue. Tried cutting the shapes out with an exacto knife but will need to fire up the scroll saw the get the job done so not expecting any separation issues once done.
Mac
 

Attachments

  • IMG_0346.JPG
    IMG_0346.JPG
    1.1 MB · Views: 0
  • IMG_0347.JPG
    IMG_0347.JPG
    1.1 MB · Views: 0

MacandRita

Active member
Evening All,

Very happy tonight. Battery, charger, connections and servo tester turned up in the mail yesterday. Soldered the connectors onto the esc tonight and charged up the battery and low and behold it works. Had to swap two leads on the motor plug to get motor spinning ccw. Then set up to test a servo and that worked too. Now I can center some servos and set up the rudder and evelator systems. I also put heat shrink over the exposed solder joints to avoid the risk of a short. I can also mount the motor. I put a balsa backing on the paddle pop stick fire wall so that the screws don't stick through and I have more material glued to the power pod foam. A question on charging. I have a fully charged battery and want to put it in storage. Do I discharge first and then recharge to storage voltage or can I just set for storage charge and the charger will discharge to storage level. I have read the charger manual and it isn't really clear.
TIA.
Cheers, Mac