First Scratch Build

buzzbomb

I know nothing!
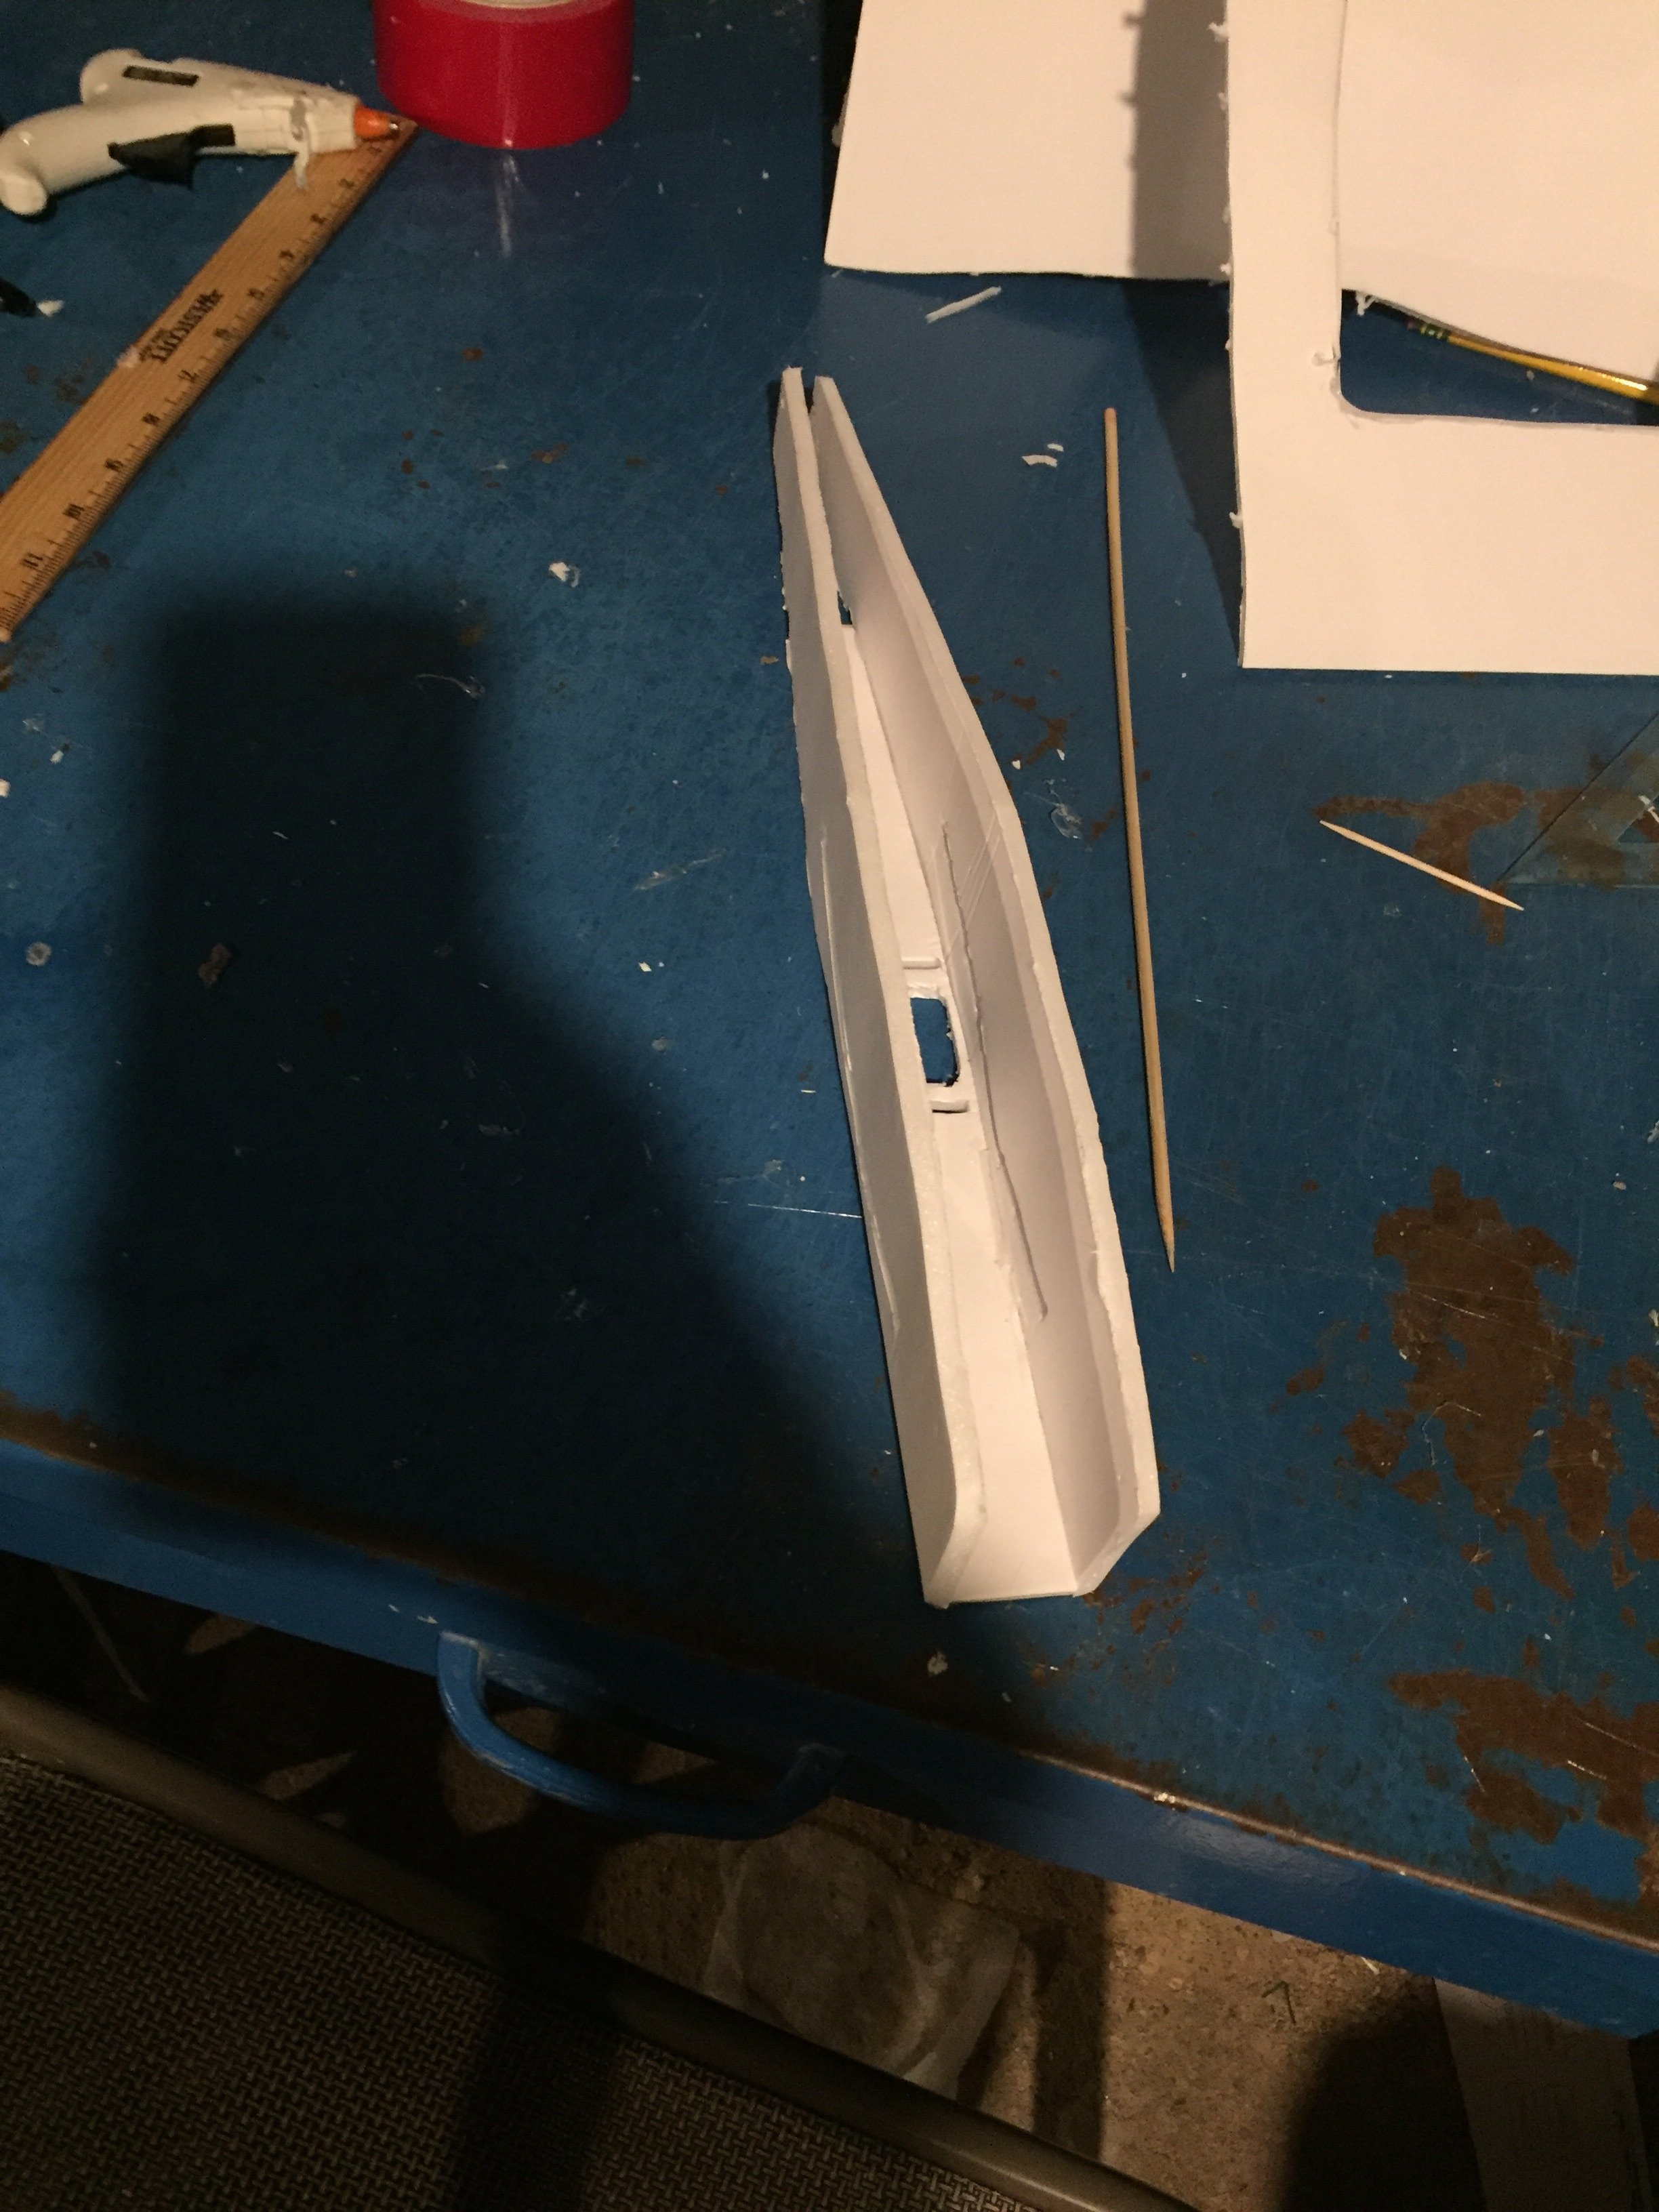
Having the plan affixed to plane, I started cutting. I learned late that your standard Exacto blade is not the way to go. Then I got confused again with all the lines. The tail section of this fuse is a total biatch. Anyway, the next pic shows the plans removed! Ignore my ugly cutting, I'm learning.

The important thing is the tiny little scars where the plan was affixed to the foamboard. If you want a pretty plane you can paint up and show off? This might not be the way to go. If you want to cut and fly? I may be onto something.

IMG_0085.JPG
 

buzzbomb

I know nothing!
I bought four sheets of foamboard for the one sheet plane. I wasn't planning on experimenting, I was planning on screwing up a lot. Looks like I got both! Woohoo!
 

buzzbomb

I know nothing!
I'm now going to use this method to tackle some easier parts, then come back to the fuselage. More to come.
 

PsyBorg

Wake up! Time to fly!
This seems like a huge effort when the tried and true spray glue your plans to poster board methid works great.

Then its cut n trace...

20180806_171452.jpg


AND you still have plans down the road for the rebuild or total new one.
 
Sometime while I was doodling for my build thread... I got a thought. Why not just spray glue the printed card stock to the foam board? Weight hit me first, but then I remembered the video of Peter's builds. But then I thought, instead of another layer of foam board reinforcement in places, why not use card stock? Hmm. When I do my test cut and gluing this coming weekend, i'll have to try that. Maybe take a few pics and post them. Thinking... Smiling... Watch out!
 

CarolineTyler

Legendary member
I just print the plans, prittstick (that lipstick type paper glue) them together, rough cut out the parts, work out a decent arrangement on the foam board and then, using a really light misting of spray mount on the back of the paper parts stick them to the foamboard.
No need to stick pins, no extra weight as the paper just peels off easily afterwards.
I store the pdfs to reprint if I want to make another.
One day I will build a needle cutting CNC but until then I get accurate shaped parts this way.
 

buzzbomb

I know nothing!
Aaand here it is: Assuming I can detatch plan from foam, this is going well. I am only stopped because of the bevel. I need to look at video so I get it right. Here's a pic. The slashed-zeroes are about where I put the drops of glue. I think I used more than necessary, but it's an experiment. I'm making stuff up and learning as I go. More to come.

IMG_0087.JPG
 

CarolineTyler

Legendary member
Aaand here it is: Assuming I can detatch plan from foam, this is going well. I am only stopped because of the bevel. I need to look at video so I get it right. Here's a pic. The slashed-zeroes are about where I put the drops of glue. I think I used more than necessary, but it's an experiment. I'm making stuff up and learning as I go. More to come.

View attachment 117234
Bevel cuts are definitely something to practice, my first ones look horrible compared to now. if you use one of those snap off blade knives, use a fresh long blade, extend it a long way and try to keep the blade at an acute angle to the direction of cut, rather then at 90 degrees.
 

buzzbomb

I know nothing!
I just print the plans, prittstick (that lipstick type paper glue) them together, rough cut out the parts, work out a decent arrangement on the foam board and then, using a really light misting of spray mount on the back of the paper parts stick them to the foamboard.
No need to stick pins, no extra weight as the paper just peels off easily afterwards.
I store the pdfs to reprint if I want to make another.
One day I will build a needle cutting CNC but until then I get accurate shaped parts this way.

It is the spray I am trying to get around. Imagine if all anyone has to do is print plans, drop a few drops of glue between plans and foam, and then cut, remove plans and fly.

No spray, no pin-pushing. Just a few drops of glue. You could do this (with a cutting surface underneath) on any table in your house. Attach plans to foam. Cut stuff out. Then remove the plans with little to no damage to the foam. Without needing a large, ventilated area to use spray adhesive? For me at least, that is huge. That's an enabler.
 

buzzbomb

I know nothing!
I used a blade to remove the glue on the foamboard. No pins, no tape, no little nails. We can successfully use this method to attach the plans to the board and BUILD. Holy cow. Do you realize what this means? Just print the plan, glue and build. That's it. Wow. Just Wow.

Retrospect: Print and put together plans. Cut them out. Just a bit of Elmer's School Glue at strategic points when your connecting the plans to the foamboard. Cut everything. Peel off the plans, Carefully cut any remaining glue with a sharp edge. You've got a plane! What!!??
 

Hai-Lee

Old and Bold RC PILOT
Just a simple method to guarantee straight bevel cuts in future.

Cut the hinge line as usual but cut the bevel line also though the paper only.

Fold the control surface back to expose the paper hinge and slot the cutting blade into the bevel cut line paper cut line and rest the heel of the blade on the hinge line. Drag the knife along the hinge line and allow the cut in the paper on the bevel line to guide the blade.

Once perfected the technique can give almost perfect bevel cuts every time. (I normally give a light sand where the blade catches and drags the foam slightly). Using this technique I have been able to build 20 complete FB planes. (Zero defect), in a single week. This includes the assembly, sealing, painting and fitting most hardware. (I sell some of my designs through a local retail outlet).

Just what works for me!

Have fun!
 

buzzbomb

I know nothing!
I can put plans on the parts, without having to transfer dots. The last pick was blurry. This one is better. You can see the little scars left by the glue.
IMG_0090.JPG
 

Mhesche

Member
Here’s my result on the fusalage just by tracing the paper. Some edges are a little uneven but I smoothed a lot of it out. Just held it in with some small pins and traced.
 

Attachments

  • image.jpg
    image.jpg
    880.4 KB · Views: 0

buzzbomb

I know nothing!
Been busy. Got this done.

d8veh - Granted I'm still a newb who hasn't flown. I like having the cut edge of the cardstock to lean on. This part was cut out just by taping on the cut cardstock plan, and it worked great. I was overthinking. Thanks, man. Seriously. Just taping it works if you think the placement through. Thank you.

Hai-lee - I used your method to cut the bevel. It is tough to line everything up, but that's because there is stuff you get to line up and make the cut. It was just a little bit of trimming to clean it up. I will continue to practice your bevel-method. It may be the book I'm reading (Warp Speed, Travis Taylor), it may be your name, or it may just be me, but I feel like I'm in a karate class and I just got a particular move that I simply need to practice more. Thank you.

IMG_0103.JPG
 

Hai-Lee

Old and Bold RC PILOT
Much better bevel cut this time. It will take a bit of practice but I can assure you that you will be able to rip a near perfect bevel in the near future. The finer the angle of the drag the smoother the cut will be.

I also do sometimes need to tidy up the bevel as mentioned previously but I just give it a few wipes with the sandpaper because the hinge line and the bevel cut paper line are definitely straight so all you are sanding is the bare foam.

Keep up the good work

Have fun!