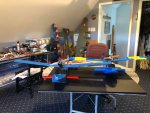
foamboard Dornier Libelle simple seaplane

synjin

Elite member
Between work and the SE5 I haven't been able to start. I also crashed my Mini Scout Saturday (thinking about it I probably had it tail heavy), and I'll have to build a new wing before I fly it again. But now that I think about it, I'll finish the Libelle before going back to the Mini Scout.

Before I start I was trying to think of how I want to reinforce the blue fanfold wings. For the last three blue fanfold wings I've reinforced the outside of the wing fold with masking tape. It helps support the foam when folding and creasing it. But, I also saw a video on reinforcing blue foam with a thin layer of paper and thinned white glue. I'll probably do that on the bottom of the Libelle fuselage.
 

Yawnsky24

Member
@synjin How is your build going along? Could you share some pictures and tell us how it fittet together or If you had any problems? That way I can make the plans better.
@Dr. Looping Looie ,

I have the plans cut out and taped up for the most part. Thank you for the design and great work on the plans!

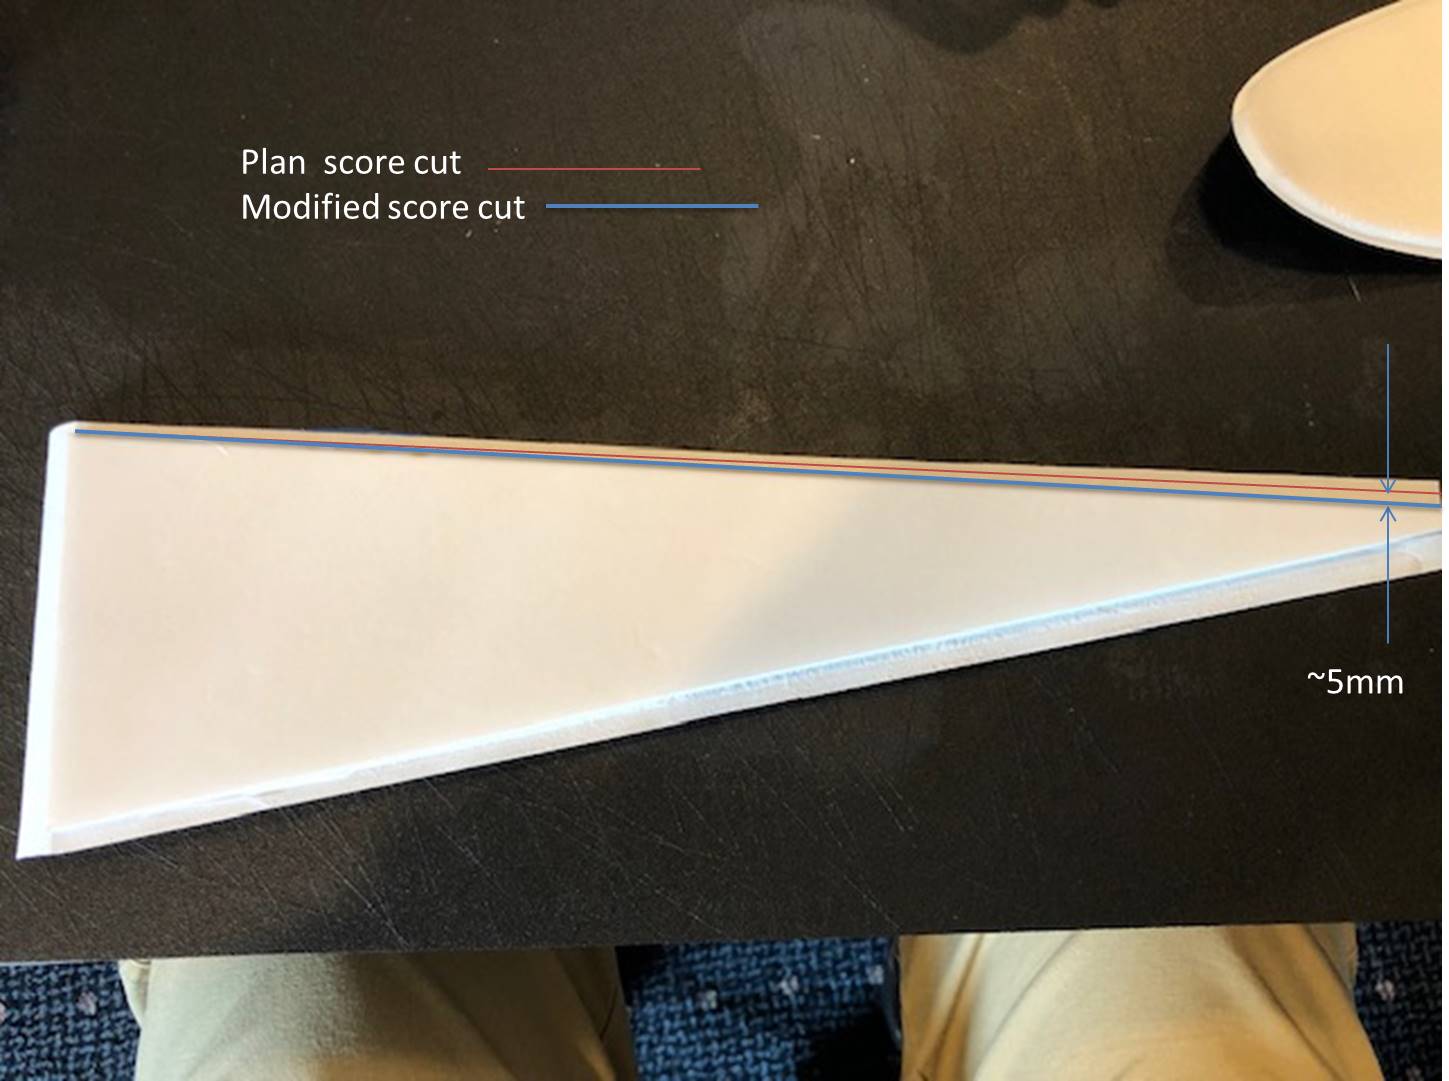
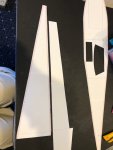
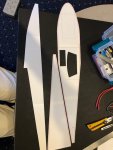
A couple of things I noticed, On the rear bottom fuselage cover the width at the rear is too wide. The front is fine, I just put a new score cut running from the front end of the rear bottom cover to 5mm inside the plan score cut on each side. I attached some pictures but not sure how clear it shows.

I also modified the main fuselage opening in the top cover, adding about 5mm of foam to each side to give the top a little more rigidity.

I will let you know if I make any other mods. I did note that the front bottom cover is larger than required but you mention that in the video.

Thanks again, Jan
Libelle 3.jpg
 

Attachments

  • Libelle 1.jpg
    Libelle 1.jpg
    95.3 KB · Views: 0
  • Libelle 2.jpg
    Libelle 2.jpg
    72.1 KB · Views: 0

Dr. Looping Looie

Elite member
@Yawnsky24 OK the rear end of both the top and bottom plate must be: 5mm cavity, 5mm foam, 5mm cavity. Could you please post some more pictures, so that I can better understand what you mean?
Also, it looks like you removed the foam on the step piece. Thats not a critical thing, but the foam just gives it more stiffness.
Good luck with the rest of your build!
 

Yawnsky24

Member
@Dr. Looping Looie I am heading to a business dinner but will post some additional pictures in the next day or so. I did remove that foam piece but still have it, just a habit after taping but I will definitely glue it back in.

I may have some more questions as well when I get back to the build. Thank you for putting these great plane ideas into the air!
 

Sheriff

Active member
... I also saw a video on reinforcing blue foam with a thin layer of paper and thinned white glue.

I am sure this technic will work wonderfully and keep the cost down; Carbon-fiber and resin or kevlar+resin is the best and strongest, but any combination of fibre and bonding solution will help tremendously.

bonne chance
Guillaume
 

Dr. Looping Looie

Elite member
Ive tried out the F-pack on 3s on this one now, and its not too nice. It can still go super slow, but the handling of the rudder is not as good as with the larger, but slower prop. I think its because of some bad propwash. If you want to go with a 3cell, install ailerons!
 

Yawnsky24

Member
@Yawnsky24 do you have some more pics/ updates?
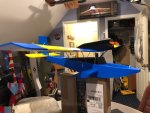
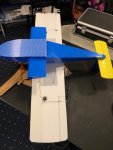
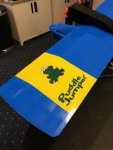
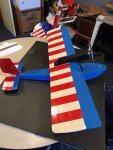
@Dr. Looping Looie Just finished the work day. Here are some pic of the finished Libelle. Great plans. As far as the error I pointed out, it was totally my error. When I cut the bottom I used the wrong pin marks. The plans are correct as drawn. Sorry about that.
Weather is supposed to be good here tomorrow but it is really wet and muddy so not sure about flying, will determine in the morning and if we fly, I'll provide an update on the Libelle and the Kolibri. If I can get one of my flying buddies to film, I'll get some video as well.

Let me know what you think of the build and if you see anything that looks out of kilter.
 

Attachments

  • IMG_0527.jpg
    IMG_0527.jpg
    125.4 KB · Views: 0
  • IMG_0528.jpg
    IMG_0528.jpg
    90.3 KB · Views: 0
  • IMG_0529.jpg
    IMG_0529.jpg
    90.6 KB · Views: 0

Yawnsky24

Member
@Dr. Looping Looie I built as a 3 channel with a small motor I used for Delta foam combat. If it does not have enough oomph on 3 cell I will use an 1806 (A pack) motor. Weight without battery is 276 grams. All up weight with 650MaH 3S battery is 330 grams. Built out of Adams foam board with colored packing tape except underside of wing which is not taped. Also only peeled inner paper where a bend was required.
 

Bricks

Master member
I just printed out the plans will see how it goes, I figured with all our snow this plane will work out great and once it starts to melt it will still be great.
 

Dr. Looping Looie

Elite member
@Yawnsky24 It looks awesome! Make sure that you trim a little bit of down elevator. Thats important because the elevator is mounted at an angle, so you need to correct it with trim. Thats totally OK and works. And you definitly want a noseheavy plane for your maiden. If you can, launch it from the ground. On 3s, it will heave enough power to do so even from long grass. Hopefully, your 3s setup works well with the plane. A 2s shockflyer setup works best for me.
 

synjin

Elite member
Alright, I laid out the parts on the work table, evened up the wings and got them ready for setting the camber. I’m missing the front bottom piece so I’ll have to cut another. With the blue foam I think I’ll put some formers inside the fuselage.
 

Yawnsky24

Member
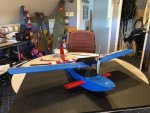
@Dr. Looping Looie, we finally got a day to fly, the Libelle flew great, it was almost ideal for the mud and puddles we have after all of the rain. I saw the issue you mentioned earlier with the rudder effectiveness. It may be dependent on the motor/prop combo but it seemed that under certain throttle and speed combos it was perfect and others it seemed to lose effect. I added ailerons last night (9" x 1.75") on the outer wings. See pic below. I plan to try it out today and will let you know how things change. I did get some video from my GoPro, my buddy is going to edit it down as the field of view is so wide you lose the plane.
Two of my three flying buddies have asked me to build one for them so that is a ringing endorsement.

I'll update after testing today and get video up as soon as I can.

Thanks again for the great design!

Jan
 

Attachments

  • IMG_0534.jpg
    IMG_0534.jpg
    44.7 KB · Views: 0
  • IMG_0535.jpg
    IMG_0535.jpg
    57.7 KB · Views: 0
  • IMG_0536.jpg
    IMG_0536.jpg
    48.2 KB · Views: 0

Arcfyre

Elite member
I'm visiting my brother in Munich this week, but when I get back I will be building one of these. I've already ordered the servos and motor for it, so hopefully they will arrive by the time I get back.
 

Dr. Looping Looie

Elite member
I'm visiting my brother in Munich this week, but when I get back I will be building one of these. I've already ordered the servos and motor for it, so hopefully they will arrive by the time I get back.
Cool, so your coming to Germany! I live there!
If you are in Munich, you NEED to visit the "Flugwerft Schleißheim", a Museum with some awesome planes, for example the only X-31 in the world, Horten flying wing, Messerschmitt Me 262, some VTOLs, Eurofighter prototype! Also, Nearby is the Bodensee, where Dornier once build planes like the Libelle, which is also worth a visit.
 

synjin

Elite member
Looks like the motor I had on the SE-5. Mine is 1400Kv instead of 1800Kv like yours. Since I crashed the SE-5, I'll pull the power pod and use it in the Libelle.
 

Yawnsky24

Member
@Dr. Looping Looie I found out where I ran into a hiccup on the Libelle plans. While I was building the second one I saw the issue. The bottom cover is about 5cm too long. It's not a problem to fix at all but I wanted to make sure that I let you know what I found. I took some pictures attached as well as a few of the second plane and the pair. I will get some feedback and video with the flaps when I get my next chance to fly.
Thanks again for the great design!
 

Attachments

  • IMG_0537.jpg
    IMG_0537.jpg
    51.6 KB · Views: 0
  • IMG_0539.jpg
    IMG_0539.jpg
    61.4 KB · Views: 0
  • IMG_0540.jpg
    IMG_0540.jpg
    50.9 KB · Views: 0
  • IMG_0541.jpg
    IMG_0541.jpg
    66.4 KB · Views: 0
  • IMG_0542.jpg
    IMG_0542.jpg
    126.7 KB · Views: 0
  • IMG_0544.jpg
    IMG_0544.jpg
    73.9 KB · Views: 0
  • IMG_0545.jpg
    IMG_0545.jpg
    109.4 KB · Views: 0