OK guys and gals, now that I'm satisfied these fit, here are the STL files!
NOTES:
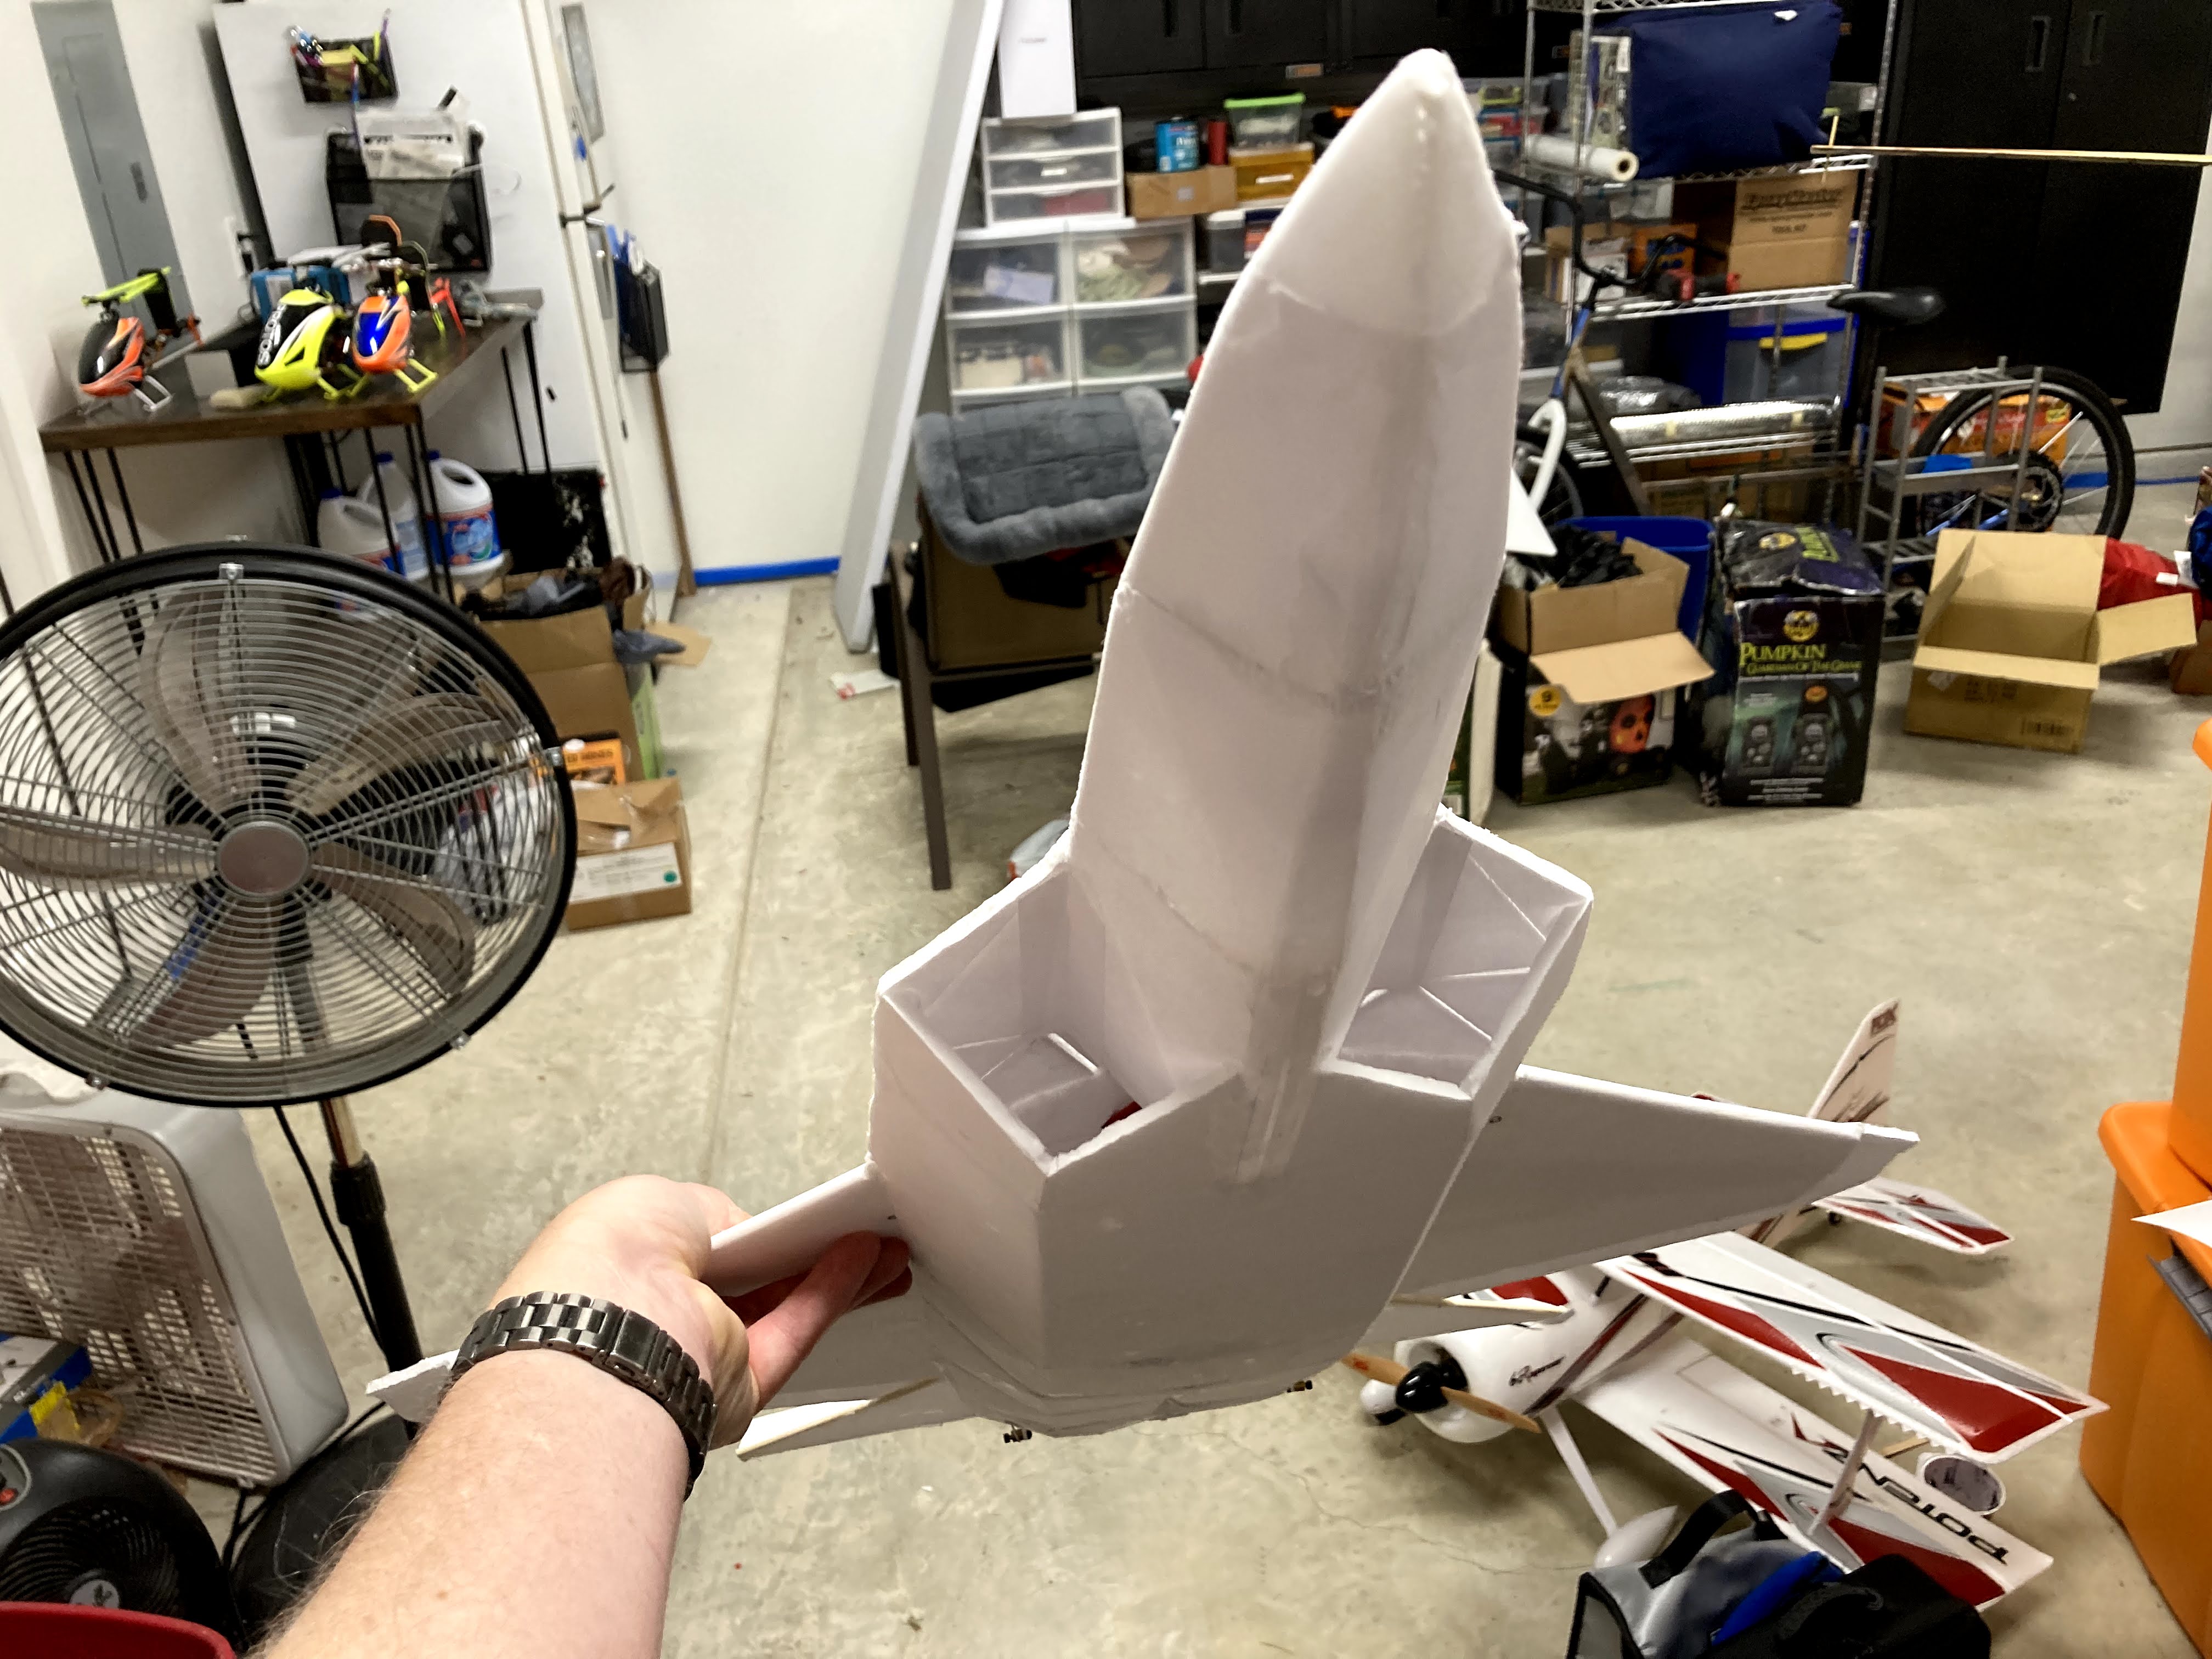
- As you can see in the photo below, the outlets that are enlarged to ~85% FSA pretty much obliterate former 7. I'm going to make it work, but it won't be beautiful.
- File F22Exhaust2-originalsize will fit in the stock former 7, and basically duplicate the paper ones in outlet area. Obviously that outlet area works, but I can't leave anything alone.

- F22Exhaust1 is the portion that slips over the fan housing. It's not a super tight fit, you'll want to tape it on.
- Print two copies of F22Exhaust2. They have a flange that lets them slip over the ends of Exhaust1.
- DO NOT GLUE THESE IN WITH HOT GLUE! You will distort the ducts. (ask me how I know) Use tacky glue, epoxy, foam safe CA, etc.
This was printed in generic PLA. If you are interested in my printer settings (Prusa i3 Mk3s) here they are:
- 0% infill
- Brim width 4mm
- 0.12mm layer height
- 0 top and bottom layers
- 1 perimeter
- skirt height 3 layers, distance 0mm from object
- NO COOLING
- First layer temp 215c, other layers 210c
- Bed temp 60c
I've played around to come up with those settings, and it really works great. Excellent layer adhesion and very light. Any other questions, please ask!
And if I haven't already said it, THANK YOU
@Grifflyer for doing all this work with the design and plans.
Chris