What I knew from the Start
I have realized with my journey through this Hobby over the last few years, That If I was going to truly engage my 2 sons in this Hobby with me, I would need to find a way to reduce the risk of accidents as they learned. My oldest has a tendency like most pre-teens to assume he is amazing at whatever he touches. But is crestfallen when it is apparent that assumption in-accurate.
Up until now they have been drug to the Flying Club, or the local Middle School yard where I attempt to fly, maiden, and often crash my planes. They have been there with me through most of it. The witnessed the Delight and High of Design and Maiden Successes! and the utter defeat and occasional unhinging of their dad as he wonders What he keeps tackling this hobby for.
The lead up to this project is no Different than any other mission. Great idea, High hopes, reality slaps my in the face, and regroup after nearly throwing in the towel. Success worked it's way through in the end.
The Plane of Choice - FT Spitfire
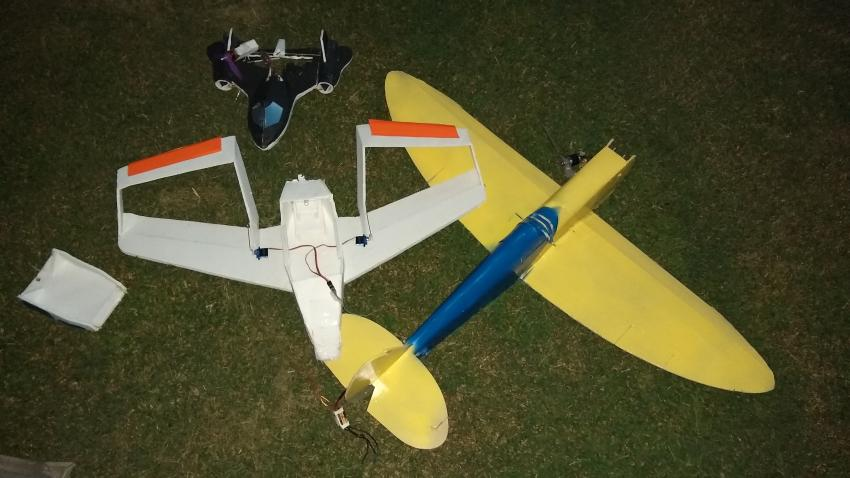
I had built flow and maiden the FT Spitfire from a speed build Kit., and was impressed at the flight envelope. it's control, and yet it's gentle forgiving tendencies, but still enabling a pilot to get into trouble. I did all this using my trusty Radiolink TX and Rx. Knowing the Buddy box was tested with my Girlfriend over the summer on the Jumper T16 & Jumper T8sg Combo (They have the same Trainer port setup). Now all I had to do was put the Spitfire Setup in the T16 transmitter. not being intimate meant a lot of learning to do. After chatting briefly about what I was trying to do, I got some quick advice (@BATTLEAXE ) which saved me some aggravation and much appreciated time. To him I say, thank you sir.The next day I painted up some orientation colors. (blue is on the bottom). I was time to test it on the new transmitter.

Buddy Box system
As the maiden was flown on different TXs than my buddy box systems, it was important, that before I try and get buddy boxing so i can get it trimmed and then make a basic setup on the T8SG. In my mind it shouldn't be a big deal. Sadly it was. First bad launch cracked the firewall (while avoiding an animal). The second had a ground strike on a low recovery, which pulled the motor off! That evening, it was three Flight attempts... 2.5 failures at flight.

After letting my disappointment (near rage-quitting) in this turn of events subside, I realized the fix was simple. I found another fire wall, and attached it and moved the motor over. Now we are ready to try again. (hopefully the last "attempt", with only fun to follow).
Final Test

The Next morning I pulled the equipment together and head to the field. it was time to test and trim. the launch was Low and iffy, but managed to gain altitude I realized after hitting the trim wall, it was time to land the plane and adjust the pushrod length. a pair of pliers I brought did the trick. a confirmation, and a few ticks on the trim tab...it was time for the main event!

Flight Time
We got airborne and I brought the plane to 3 accidents high, started her in a pattern and passed control to my buddy. The moment was upon us both.
He took it with confidence! While he flew a bit hurky-jerky he was rolling it around the sky like it had happened before.

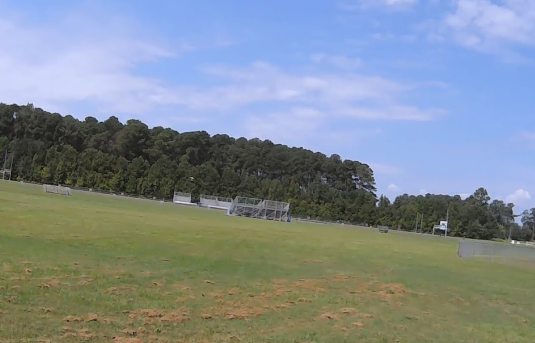
The yellow dot right above the bleachers is the plane... that's where he started to recover it, but he was scared it would crash.
I was such a proud Dad! Quinn made a few mistakes, and correct some of them on his own. He got a big hug from me, and a hive five all around. While we did this my Youngest filmed it on my phone, and my hat cam was working out too.
most importantly we had fun. I was proud as could be. Quinn was scared an excited. He told me he wanted to do it again, but not right away!

I will be editing videos and trying to release them soon on my YT channel. I will link it here when I do.
I plan to add some detailed information about how I setup my T16 and Jumper t8sG for the buddy system. It's easy, but there are challenging parts.
Last edited:


