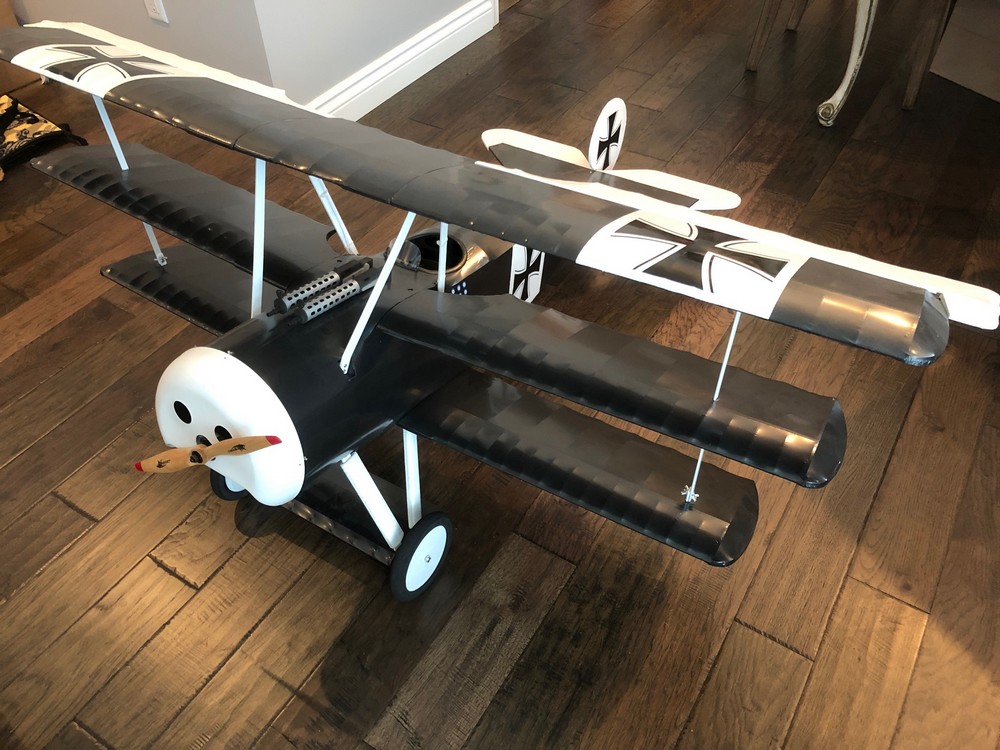
Fokker Dr.1 Triplane Build Log

Turbojoe

Elite member
WOW! As much as I'd like to I never get this involved in my builds. I try to make them look as good as possible but I just don't have the incredible skill and patience that some builders have demonstrated here. All I can do is gape in awe at their creations. Awesome stuff guys! (y)

Joe
 

TriplaneGuy

Active member
That's really looking good. One of my absolute favorite planes. I am actually scratch building it using1/2" pink foam. The plans were from a Steve Schumate park flier plan that I enlarged to get a 72" wing. I have it all cut out, just need to figure the inner structure to support motor and landing gear. I will definitely start a thread when I get going on it. The little "Fokkerish" kits have had most of my attention lately, just finishing the 6th kit.
Looks great! I look forward to the thread.
 

TriplaneGuy

Active member
White strut failings would almost hide the fourth wing by drawing attention to them. Mind you once it is done we will agree it will be a sweet looking plane and the both of us would like one in the hangar to play with (y)(y)
Ok I finally decided to go with white. The downside is they will definitely hide the fourth wing a bit but I thought it would look more balanced to match them to the white upper struts that hold the top wing.

IMG_3072_1.jpg
 

rockyboy

Skill Collector
Mentor
The cockpit looks great! Love the little tabs for holding the seat down too - very simple and clever!
 

TriplaneGuy

Active member
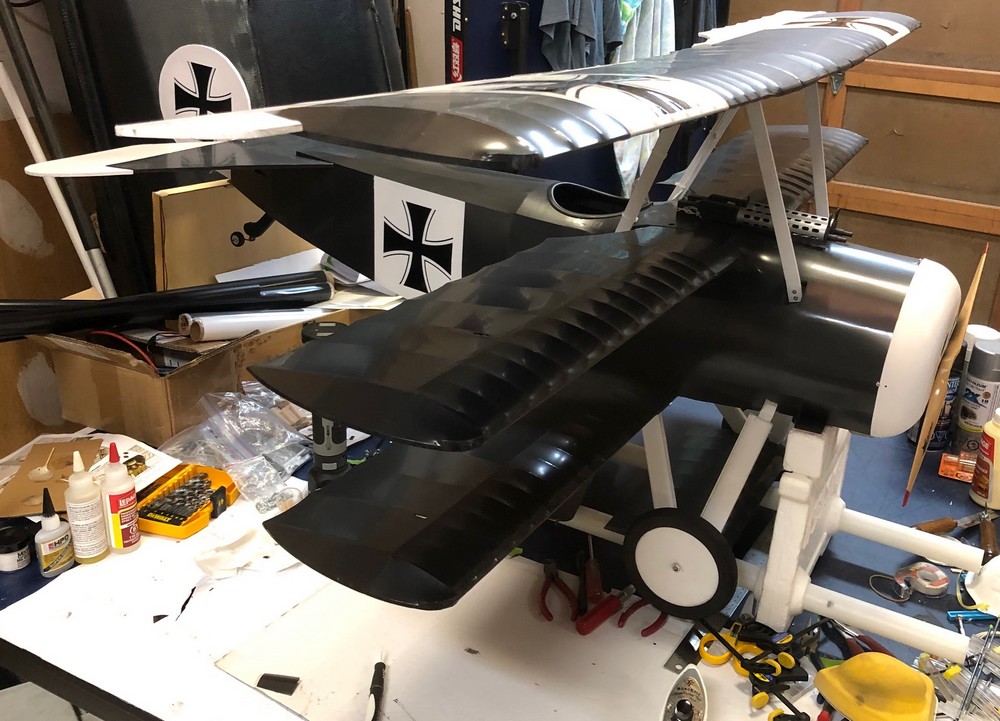
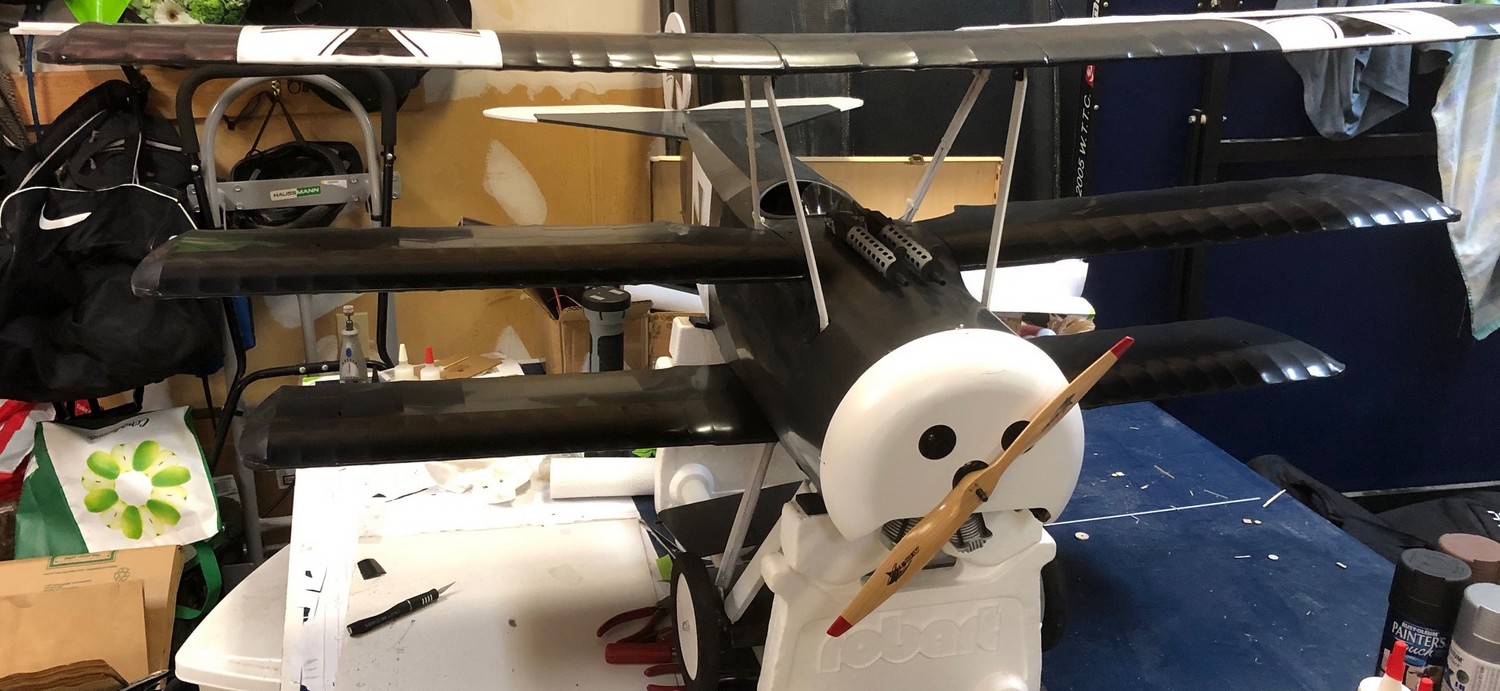
I finished covering the 2 lower wing sections (took about 6 hours over a few days....) and now it's starting to look like a finished triplane.

IMG_3074_2.jpg


IMG_3081_1.jpg

IMG_3083_1.jpg


I had a tough time with the covering on the trailing edge of the wings. They have a repeating wave pattern and despite trying different methods on 3 sets of wings, I just couldn't get the covering to shrink smoothly and not leave some wrinkles (oh well, I figure once I crash it into a thousand pieces on a field somewhere nobody will mind the wing covering imperfections!).

IMG_3079_3.jpg


I just ordered the batteries and once they arrive I'll be able to add weight to the nose and work out the CG.
 

TriplaneGuy

Active member
Not sure what you're talking about with the covering issue. It looks great. An amazing job on an epic project! (y)

Joe
Thanks Joe! The photo doesn’t really show it but on some of the back edges the covering didn’t quite shrink properly. I’m glad it looks good from a distance though!
 

Zetoyoc

Elite member
Getting close! If it ever stops raining in Vancouver it will happen soon!
Your plane is looking magnificent! I have the same rain here i think. Vancouver you say.. BC or WA? if you need a cheering section when you fly it id nearly drive out to either to see this impressive thing fly.
 

TriplaneGuy

Active member
Your plane is looking magnificent! I have the same rain here i think. Vancouver you say.. BC or WA? if you need a cheering section when you fly it id nearly drive out to either to see this impressive thing fly.
Fantastic! It’s Vancouver BC. Would be great to have an audience witness the first (and hopefully not last!) flight. I’ll definitely post video when the time comes.
 

speedbirdted

Legendary member
I finished covering the 2 lower wing sections (took about 6 hours over a few days....) and now it's starting to look like a finished triplane.

View attachment 156826

View attachment 156820
View attachment 156821

I had a tough time with the covering on the trailing edge of the wings. They have a repeating wave pattern and despite trying different methods on 3 sets of wings, I just couldn't get the covering to shrink smoothly and not leave some wrinkles (oh well, I figure once I crash it into a thousand pieces on a field somewhere nobody will mind the wing covering imperfections!).

View attachment 156823

I just ordered the batteries and once they arrive I'll be able to add weight to the nose and work out the CG.
That's gorgeous. And with the kit only being 200 bucks I might bite as soon as I clear the backlog of builds I have at the moment. As for covering I think what I'd do is use Solartex and then paint it, or go the ultimate old-school silk-and-dope method (which is the best method if you ask me because unlike solartex and Monokote it's much more resistant to going slack over time)
 

TriplaneGuy

Active member
That's gorgeous. And with the kit only being 200 bucks I might bite as soon as I clear the backlog of builds I have at the moment. As for covering I think what I'd do is use Solartex and then paint it, or go the ultimate old-school silk-and-dope method (which is the best method if you ask me because unlike solartex and Monokote it's much more resistant to going slack over time)
That’s great advice. Thanks very much. I’ll see if I can tweak them.
 

TriplaneGuy

Active member
I hope everyone is safe and well in all the COVID chaos.

With the time indoors I finally found some time to complete all the little bits and pieces needed to finish the triplane. She's now ready for the maiden flight, but alas the field is essentially closed due to COVID. I'll post a video when I eventually get it in the air. Here's a few updates on the final work completed.

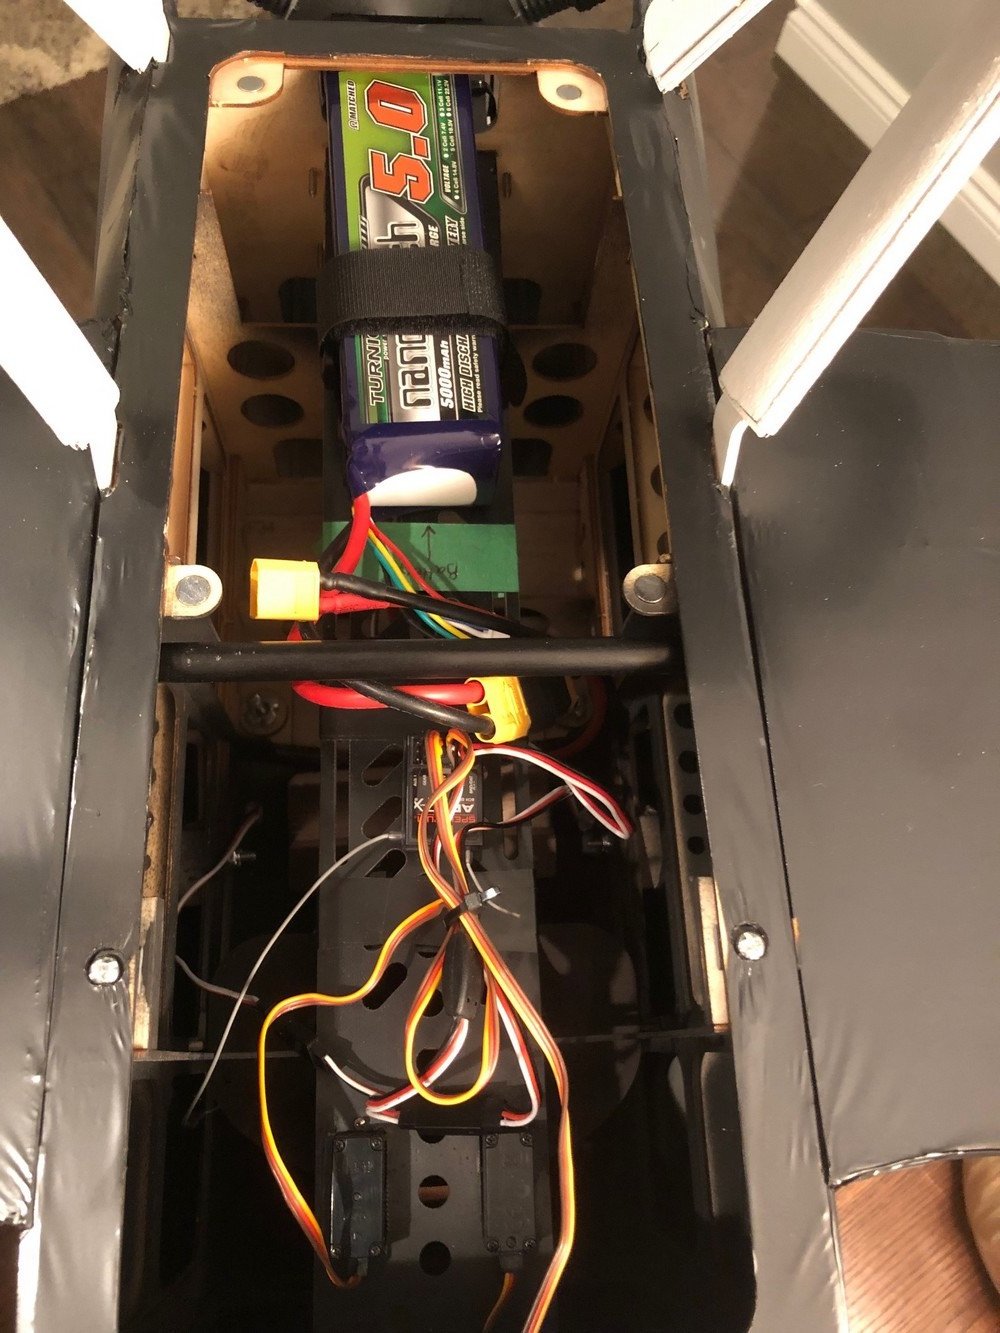
I installed the receiver and battery (5C 5000mah) in the fuselage, placing the battery as far forward as possible.

IMG_3271_2.jpg


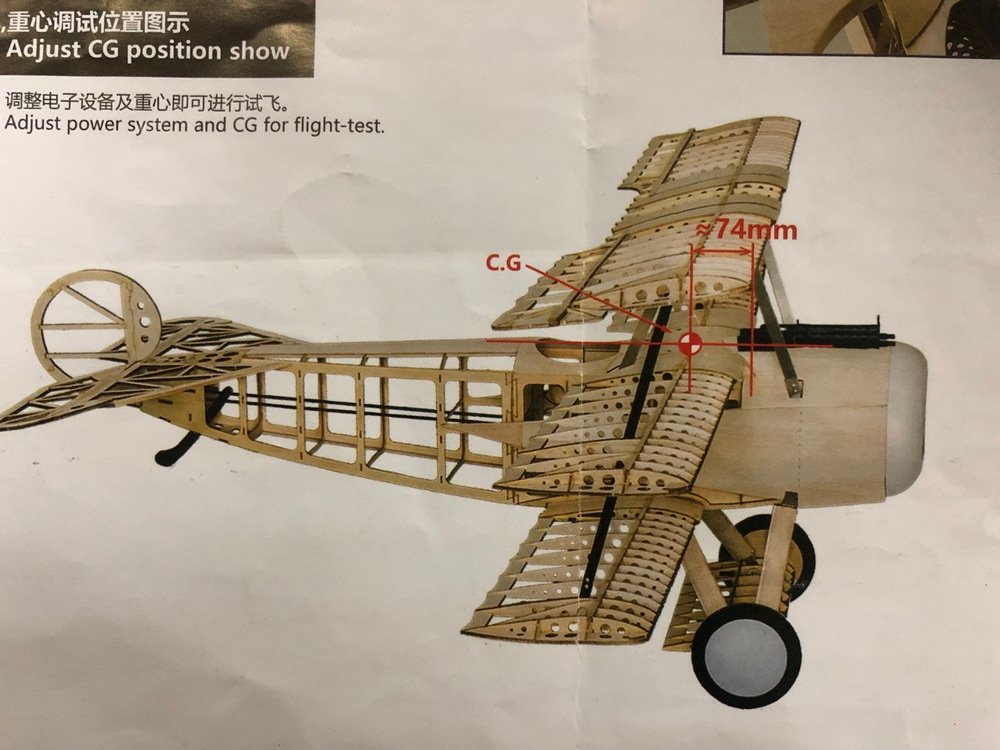
Next I tackled the CG question. The instructions in the kit are a little unclear in that the photo might be interpreted two ways (i.e. is it indicating the CG is 74mm from the leading edge of the middle wing or top wing?). I've concluded it's the middle wing, which also seems to align with my research on triplane CG, and that seems to be the consensus from others that bought the kit, but I'd be interested in any opinions on this. Here's the instructions image:

Instructions_2.jpg


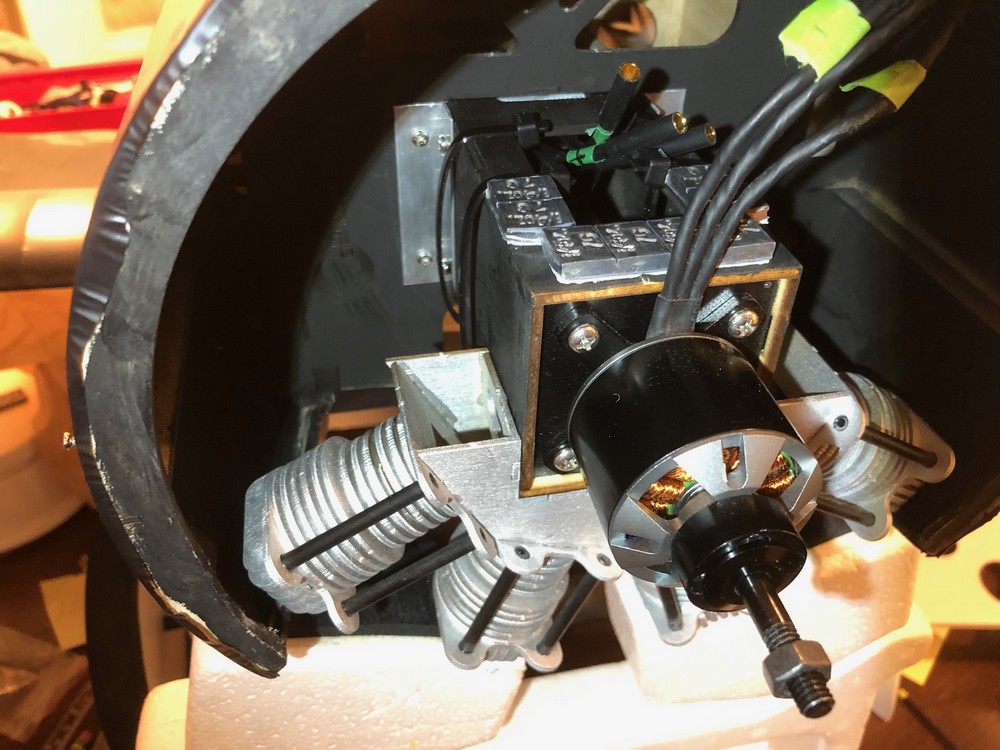
Next I installed the ESC in the motor box and started adding weight behind the motor to adjust the CG forward. I put metal plates inside the box (held with zip ties) and added lead stick-on weights as well. The goal was to make it a bit nose heavy for the initial flight just in case I've messed up the CG position.

IMG_3278_1.jpg

IMG_3283_1.jpg


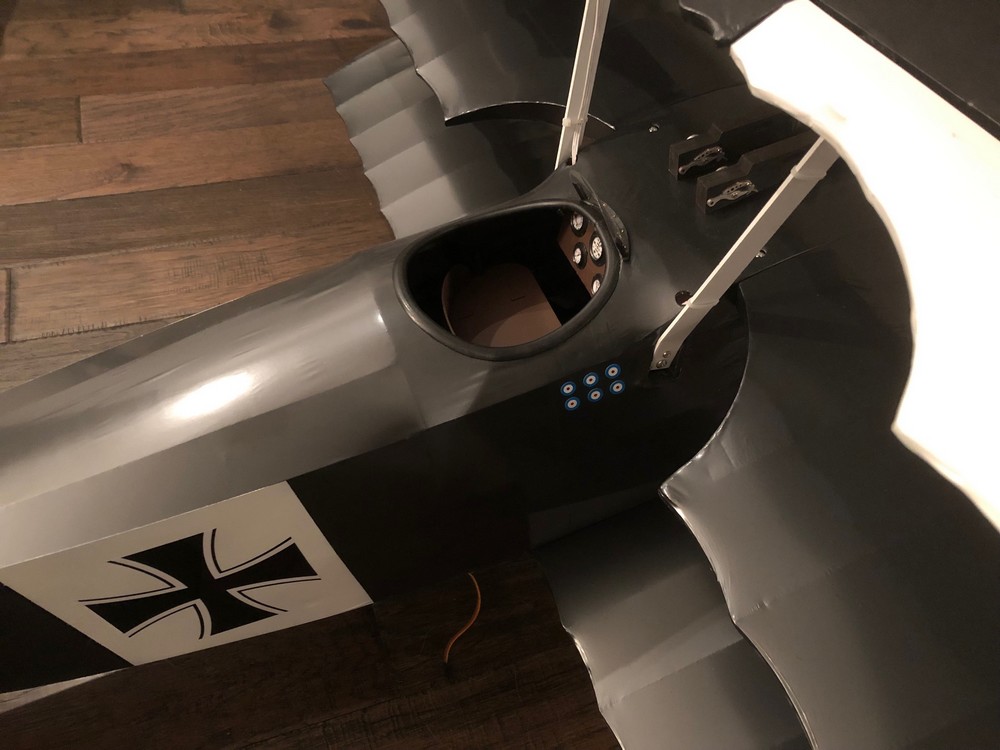
Last but not least, I added some British "victory marks" beside the cockpit for some flair. Not really accurate for WWI I know, but hey why not? She's ready to go!

IMG_3261_1.jpg


IMG_3285_1.jpg