FT Racer Narrow Fuse/Speed wing

Sero

Elite member
No this does not sound like flutter, but it does sound like dutch roll. I have had bad luck with the tip plates you are using personally. They are not going to help the dutch roll since they are not aft of the center of lift. Purely drooped tips have helped my previous efforts but I think your fix might be a dorsal fin (see cessna 172 vertical stab) or a ventral fin or fins (see Citation XLS or Citation Latitude) these may help the stability and control.

All of these installations were to reduce dutch roll or yaw issues. The dorsal fin is the easy one the ventrals need to be angled so as to not cause pitch issues.

Once agin just thoughts on things to try.

View attachment 135252
View attachment 135253
View attachment 135254

Thanks Jeff!

Yes my research had shown a ventral fin should help and probably is the easiest fix to try. I noticed the single fin like on the MIG-23 and various others vs double fins such as the Citations you posted. To keep things simple I was planning on trying the single fin. Are the double fins that much more effective and do you know why they are cambered out?

Steve
 

Sero

Elite member
So I ran a few more packs yesterday, I forgot my Gopro to record the flights to hopefully get a closer look at the wobble. But I'm sure its Dutch roll.
Another thing I noticed at moderate speeds I can't do a loop, as soon as the nose is vertical the plane starts rolling. I do remember my previous Racer doing this too but not as extreme as this one. Could be to do with the extra weight of the air frame and large motor. Perhaps I'll just have to use a little left aileron. At high speeds it rolls fine.
I put a EFxtra 7x6.5 prop on it and it certainly is faster. On the maiden with the 7x6 prop I only hit full power for 2-3 seconds, this time I held it for longer periods and it seemed quite a bit faster.
My maiden landing was much better than my last 2. Flaps are definitely needed, on one of them I thought I dropped them but I hadn't and man did it come in fast.

This plane performs spectacular at high speeds, it tracks so straight and is such a blast to fly. None of the above issues are present at 60-100% power. The last flight I used a 2500mah 4s and the flight was about 3 minutes at hight power settings. It came down at 3.7volts per cell.
 

jfaleo1

Junior Member
Thanks Jeff!

Yes my research had shown a ventral fin should help and probably is the easiest fix to try. I noticed the single fin like on the MIG-23 and various others vs double fins such as the Citations you posted. To keep things simple I was planning on trying the single fin. Are the double fins that much more effective and do you know why they are cambered out?

Steve
In the case of the citations at least a centerline ventral fin was “blanketed” by the fuselage. Putting them to the sides is more effective. It has proven out many times on fuselages that slope upward at the tail. Beech King Airs had center fins for years and needed yaw dampers. With the newer left and right ventral fins it is no longer required to have a yaw damper.

If your issues are mostly low speed it is very much like the Citation XLS.

I would actually try the dorsal extension myself but a center ventral fin should work well on this airframe.

Just got the point of reference. I am a citation maintenance instructor on the Citation X and Latitude and had years of experience on King Airs as well.
 

Sero

Elite member
In the case of the citations at least a centerline ventral fin was “blanketed” by the fuselage. Putting them to the sides is more effective. It has proven out many times on fuselages that slope upward at the tail. Beech King Airs had center fins for years and needed yaw dampers. With the newer left and right ventral fins it is no longer required to have a yaw damper.

If your issues are mostly low speed it is very much like the Citation XLS.

I would actually try the dorsal extension myself but a center ventral fin should work well on this airframe.

Just got the point of reference. I am a citation maintenance instructor on the Citation X and Latitude and had years of experience on King Airs as well.
Thanks for the advise Jeff! it all makes sense.

Unfortunately I will have to try a dorsal extension and ventral fin on V2 of this plane. I managed to lawn dart it.:confused:
 

Sero

Elite member
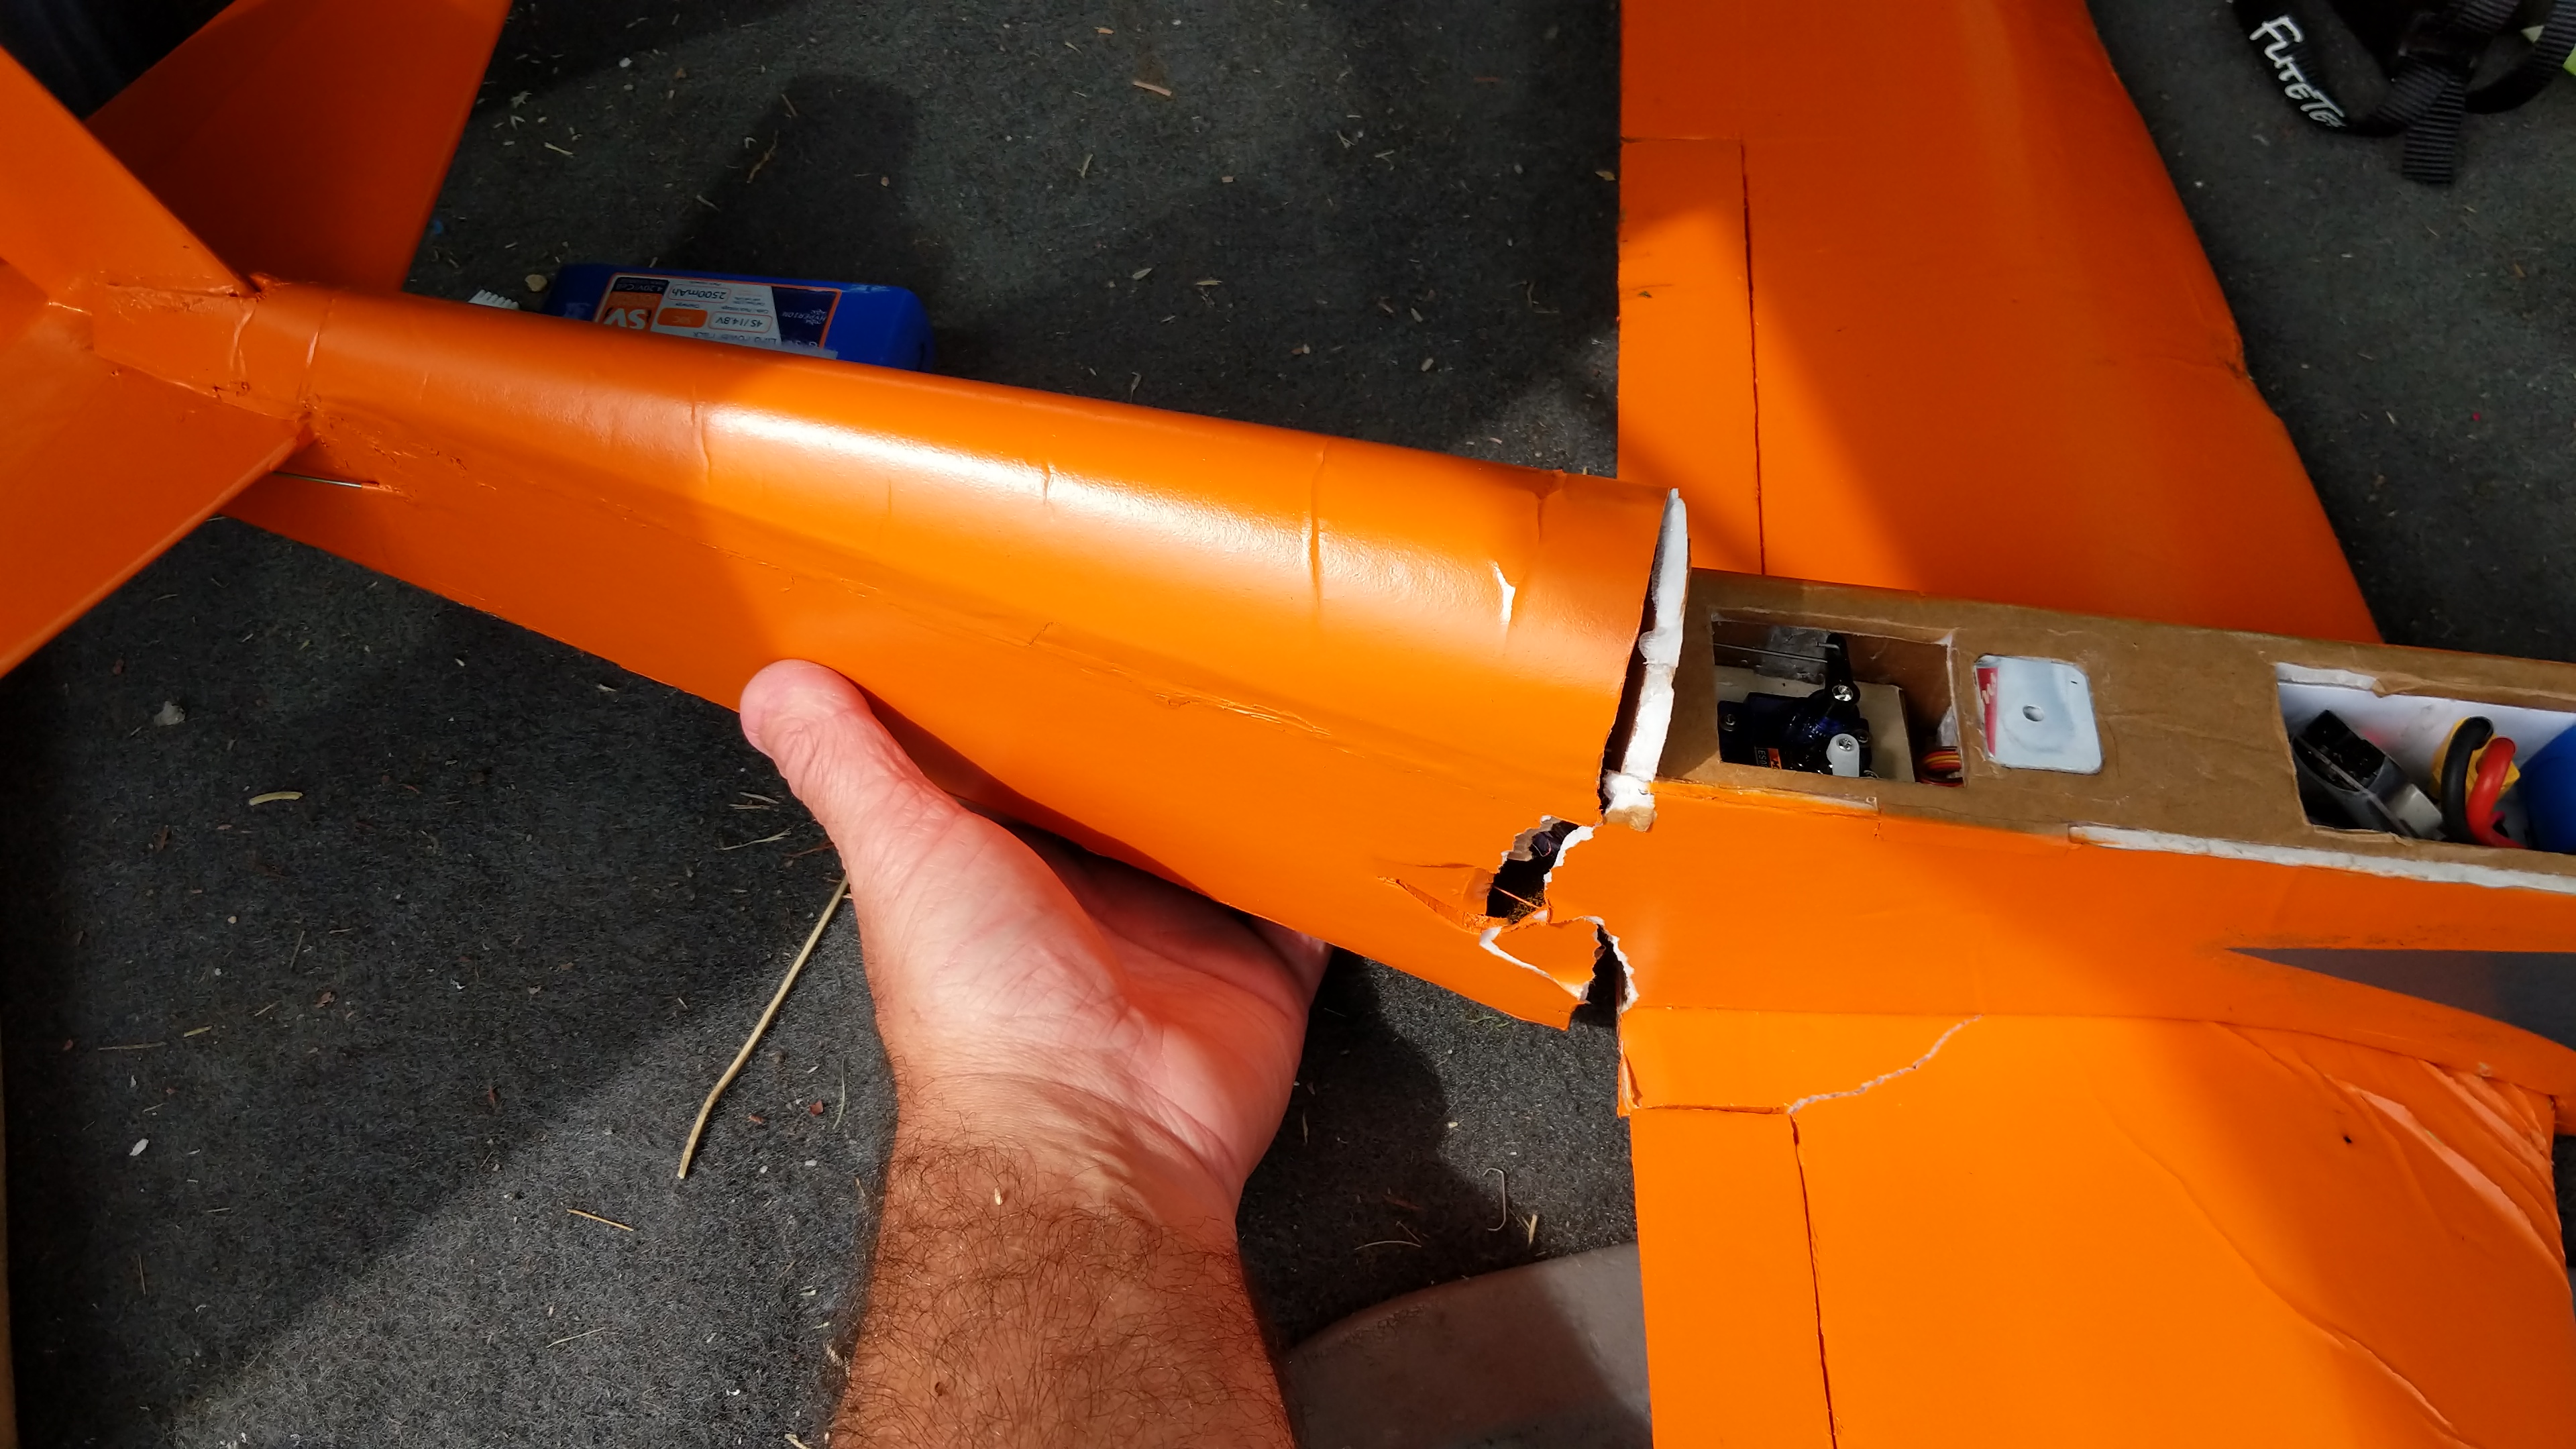
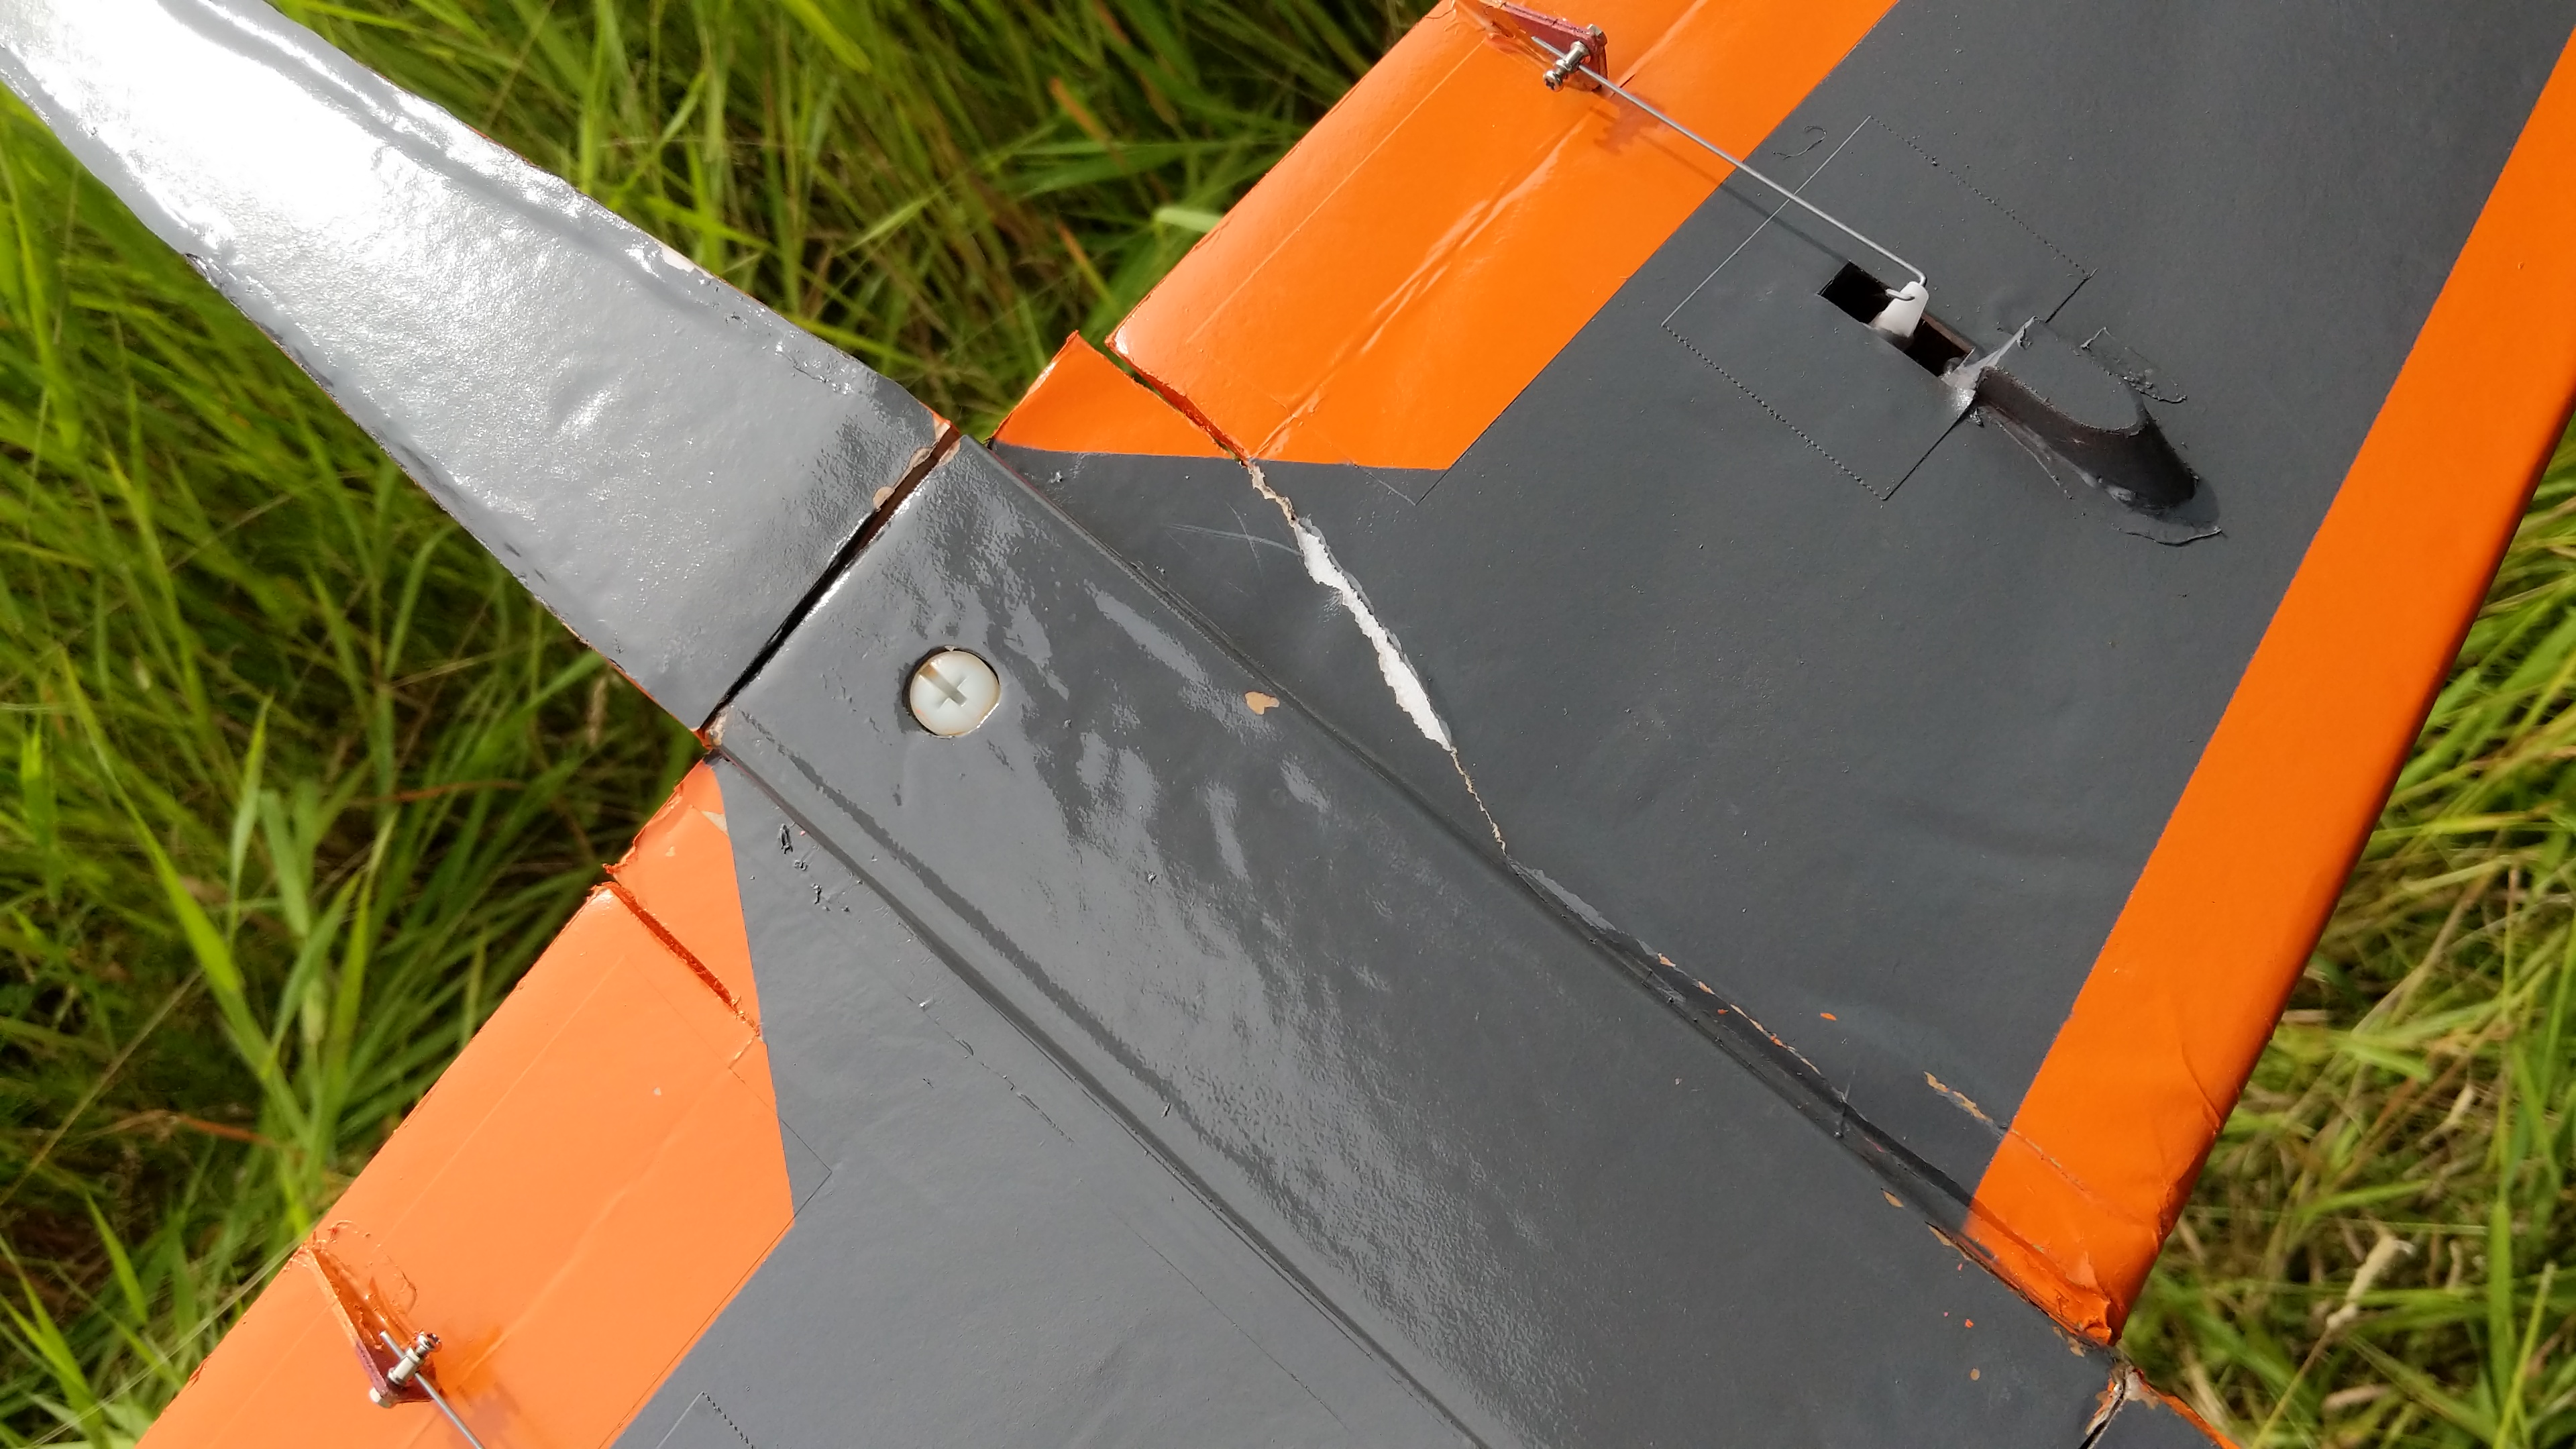
So V2 will be coming soon, I pulled on the elevator too much on the down slope of a loop and the plane snap rolled and went out of sight behind some trees with a good thunk sound.
IMG_20190704_154107.jpg


IMG_20190704_154110.jpg


IMG_20190704_154114.jpg


The nose and leading edge foam are complete mush. way too soft to do anything with. The part that bothers me is that the motor bearings are now shot since it it nose first. I found new bearings but the cost is the same as a new motor. Anybody have a source on good ceramic bearings?

So on V2 I'll be making some changes:
- Wing will not be removable, just faster to make.
- Servos will be on top of wing.
- Redesign the spar so it follows the leading edge rather than the trailing edge, hoping for a more consistent airfoil and make it thinner.
- Reduce the dihedral, or perhaps eliminate it?
- Adding a dorsal extension and a ventral fin.

Certainly open to any suggestion or ideas. Let me know.

Steve
 

Arcfyre

Elite member
Sorry about the crash, extra sorry that your motor was damaged.

The downside of building fast stuff is that when it crashed, it's usually totaled. I just smashed an arrow into itty bitty pieces last week, so I feel your pain.
 

rcfred

Member
Sorry about the crash. Regarding the bearings: For starters, make sure that you don't have a bent prop adapter or a bent motor shaft. It's possible that the bearings are fine and you've just bent the shaft.

Those Propdrive motors should be fine with any decent shielded steel bearing. What size bearings does that motor take? The more common sizes can be had from Innov8tive designs (US distributor of Cobra and Scorpion motors, https://innov8tivedesigns.com/parts/motor-parts?cat=53) or GetFPV (https://www.getfpv.com/motors/accessories-and-parts.html). For the less common sizes, search on eBay for the bearing size under the "Toys and Hobbies" category.
 

Sero

Elite member
Sorry about the crash, extra sorry that your motor was damaged.

The downside of building fast stuff is that when it crashed, it's usually totaled. I just smashed an arrow into itty bitty pieces last week, so I feel your pain.
Yes either fast or heavy, their going to get damaged when they hit the ground. its all part of the hobby. Luckily I enjoy building too.
 

Sero

Elite member
Sorry about the crash. Regarding the bearings: For starters, make sure that you don't have a bent prop adapter or a bent motor shaft. It's possible that the bearings are fine and you've just bent the shaft.

Those Propdrive motors should be fine with any decent shielded steel bearing. What size bearings does that motor take? The more common sizes can be had from Innov8tive designs (US distributor of Cobra and Scorpion motors, https://innov8tivedesigns.com/parts/motor-parts?cat=53) or GetFPV (https://www.getfpv.com/motors/accessories-and-parts.html). For the less common sizes, search on eBay for the bearing size under the "Toys and Hobbies" category.


Thanks! I was questioning if ceramic bearings were really necessary, I doubt that the motors come equipped with them.
The size I needed is 5x8x2.5mm which neither of those sites seemed to have, but lots on e-bay. Turns out Traxxus PN 5114 is the same size and the LHS had those. 2 in the package for $4, put it in and its now quiet. Not sure what these bearings were for so we'll see how they handle the higher rpms of a brushed motor.
 

Sero

Elite member
I started V2 a while ago, just haven't had a chance to do updates. I would have liked to take more photos of the build but it seems when i'm on a roll i forget to get the camera out.

Some changes from V1
- I eliminated the dihedral
- the aluminum spar was bent in the middle so it follows the leading edge to give a smoother more consistent airfoil. It was also recessed into the bottom skin and the outer quarters tapered down from 13mm to 8mm to thin out the wing.
- the wing was glued to the fuse rather than removable to save time.
- the battery compartment will be much larger and power pod is shortened which will allow it to be installed through the battery hatch. this will allow more air flow and easier access to electronics.
- I will be adding a ventral fin and a dorsal extension for added directional stability.

IMG_20190820_151612.jpg


IMG_20190820_184907.jpg

This is one of the ways I do my alterations. Here I used the side profile of the Racer plans and drew in the remaining parts on the FB, then it gets cut out.


IMG_20190821_103735.jpg

All cut out and skewers are added to the area of the battery compartment opening. Next step to this part before folding and gluing was to add fuse doublers that the power pods slides in on and adds some strength.

IMG_20190823_123849.jpg

Tail surfaces have carbon fiber and airfoiled as with V1.

IMG_20190904_141614.jpg

Components put together and tail controls installed.

IMG_20190904_202428.jpg

Power pod built.

IMG_20190904_202025.jpg
 

jfaleo1

Junior Member
I started V2 a while ago, just haven't had a chance to do updates. I would have liked to take more photos of the build but it seems when i'm on a roll i forget to get the camera out.

Some changes from V1
- I eliminated the dihedral
- the aluminum spar was bent in the middle so it follows the leading edge to give a smoother more consistent airfoil. It was also recessed into the bottom skin and the outer quarters tapered down from 13mm to 8mm to thin out the wing.
- the wing was glued to the fuse rather than removable to save time.
- the battery compartment will be much larger and power pod is shortened which will allow it to be installed through the battery hatch. this will allow more air flow and easier access to electronics.
- I will be adding a ventral fin and a dorsal extension for added directional stability.

View attachment 141727

View attachment 141728
This is one of the ways I do my alterations. Here I used the side profile of the Racer plans and drew in the remaining parts on the FB, then it gets cut out.


View attachment 141729
All cut out and skewers are added to the area of the battery compartment opening. Next step to this part before folding and gluing was to add fuse doublers that the power pods slides in on and adds some strength.

View attachment 141730
Tail surfaces have carbon fiber and airfoiled as with V1.

View attachment 141731
Components put together and tail controls installed.

View attachment 141732
Power pod built.

View attachment 141733

Looking good!
 

jfaleo1

Junior Member
The fins should fix the Dutch roll issue. Stabilizer looks small but it has a fairly long fuselage so should be ok. Just be careful of high g maneuvers with this it may be prone to Tip stalls (high speed stall). So smooth wide turns and loops. But power is not an issue here for that to work.
Again looks great, good luck.
 

Sero

Elite member
The fins should fix the Dutch roll issue. Stabilizer looks small but it has a fairly long fuselage so should be ok. Just be careful of high g maneuvers with this it may be prone to Tip stalls (high speed stall). So smooth wide turns and loops. But power is not an issue here for that to work.
Again looks great, good luck.

Thanks Jeff, the demise of Racer V1 was due to a hight speed stall. I'll have to at least turn the rates down on the elevator but I've also read and heard that low directional stability can contribute to high speed stall, so well see what happens.

With the exception of the width of the fuse the dimensions of the plane is the same as the original FT Racer. In the FT video David talks about having to raise the fin to get any stability, I suspect it could use a bit more as the original did high speed stall too.

Video is timed to that spot


A little more progress today
IMG_20190906_121623.jpg
 

BATTLEAXE

Legendary member
Thanks Jeff, the demise of Racer V1 was due to a hight speed stall. I'll have to at least turn the rates down on the elevator but I've also read and heard that low directional stability can contribute to high speed stall, so well see what happens.

With the exception of the width of the fuse the dimensions of the plane is the same as the original FT Racer. In the FT video David talks about having to raise the fin to get any stability, I suspect it could use a bit more as the original did high speed stall too.

Video is timed to that spot


A little more progress today View attachment 141745
You do some really clean builds man. Looks like it is doin 90mph sitting on the bench (y):cool:(y)
 

Sero

Elite member
You do some really clean builds man. Looks like it is doin 90mph sitting on the bench (y):cool:(y)
Thanks!
Something that bugs me is the square nose. I have some ideas but I decided not to implement them on this one, concentrate on flying and speed and once I'm happy with that I will work more on cosmetics.
 

BATTLEAXE

Legendary member
Thanks!
Something that bugs me is the square nose. I have some ideas but I decided not to implement them on this one, concentrate on flying and speed and once I'm happy with that I will work more on cosmetics.
You implemented some things in this plane that I am gonna be using in my P-40. I just recently posted an issue I am having in the design. I am a bit of a rookie on the design side and it tends to be a bit more of a "on the fly" kinda deal. can you take a look at it and tell me what you think.

NEXT LEVEL P-40 Group Build

I would really appreciate some feedback and insight. Seeing this thread last night really inspired me to go above and beyond on this one to take my time with it and make it clean and functional. Thx
 

Sero

Elite member
A bit more progress today.

Items left to complete:
- Ventral fin
- Dorsal extension
- nose bottom skin
- battery tray
- wing servo arm protectors
- wing tip fences
- coat of miniwax

Ill paint it after the maiden, same colours as V1

IMG_20190907_120843.jpg


IMG_20190907_122444.jpg


IMG_20190907_122902.jpg


Looks like I will have battery wiggle room to get CG right
 

Sero

Elite member
You implemented some things in this plane that I am gonna be using in my P-40. I just recently posted an issue I am having in the design. I am a bit of a rookie on the design side and it tends to be a bit more of a "on the fly" kinda deal. can you take a look at it and tell me what you think.

NEXT LEVEL P-40 Group Build

I would really appreciate some feedback and insight. Seeing this thread last night really inspired me to go above and beyond on this one to take my time with it and make it clean and functional. Thx

I'll have a look soon to see if I have any input for you.