Ft simple cub group build thread!

The Hangar

Fly harder!
Mentor
Well I only watched the “build with Bix” and didn’t build along, but afterwards I started wanting another simple cub - really bad actually! So I found a couple people interested in joining me on a group build and decided on starting the thread tonight! I’ll be missing mine to be a “carbon cub” and implement some of the master series building techniques in the build.
Let’s start building!

@Figure9 @whackflyer @SquirrelTail @Grifflyer
 

The Hangar

Fly harder!
Mentor
So I decided that I'll paint it up like this. I've really wanted the Hobbyzone version of it so this will be my "budget" version.
1586143930883.png
 

Figure9

Elite member
Well I only watched the “build with Bix” and didn’t build along, but afterwards I started wanting another simple cub - really bad actually! So I found a couple people interested in joining me on a group build and decided on starting the thread tonight! I’ll be missing mine to be a “carbon cub” and implement some of the master series building techniques in the build.
Let’s start building!

@Figure9 @whackflyer @SquirrelTail @Grifflyer

I might be slower than most but I’m in. Printing the tiled version, waiting for parts ordered, I can cut some DTFB tonight.
 

The Hangar

Fly harder!
Mentor
I might be slower than most but I’m in. Printing the tiled version, waiting for parts ordered, I can cut some DTFB tonight.
Take your time! No rush at all - some builds take me months to finish... 🤣 Since the cub is only 11 pieces, it makes it a much quicker cut-out than some of the other planes which is one of the reasons I feel like doing it next. I just can’t force myself to go through another intense cut-out session.
 

Figure9

Elite member
@The Hangar I tiled & taped 13 pages of the plan & noticed right away that the 8.5X11 printed plans came up short about .281” on the inch scale. I’ll need to take the 3 taped up pages of the plans tiled plans to a print shop to have them enlarged to 100% on the inch scale. Or, I can download the full plan & text or Email them the 3 full pages that I need. No cutting tonight.
 

Figure9

Elite member
Once I get the chance, I'll build a monster cub. 170% baby!

100% for me. I was going to order the kit but now I’m glad I didn’t. Feels good to step up to the scratch build for the experience. Building from 100% plan scale will eliminate more grief than needing to upsize & correct the plan at a print shop Causes me. If you upsize that much you probably 3D print things like motor mounts & control surface horns, etc.
 

The Hangar

Fly harder!
Mentor
@The Hangar I tiled & taped 13 pages of the plan & noticed right away that the 8.5X11 printed plans came up short about .281” on the inch scale. I’ll need to take the 3 taped up pages of the plans tiled plans to a print shop to have them enlarged to 100% on the inch scale. Or, I can download the full plan & text or Email them the 3 full pages that I need. No cutting tonight.
Weird. My plans printed just fine...
 

Figure9

Elite member
Weird. My plans printed just fine...

Measure that 1’ scale at the top. Check the swappable pod to see if it’s base is 2 inches wide on the print, mine is only about 1.5” My margins look right & the print would almost completely fill the page with very narrow margins if the plan frame were expanded the needed .180” on all 4 sides.
 

OliverW

Legendary member
100% for me. I was going to order the kit but now I’m glad I didn’t. Feels good to step up to the scratch build for the experience. Building from 100% plan scale will eliminate more grief than needing to upsize & correct the plan at a print shop Causes me. If you upsize that much you probably 3D print things like motor mounts & control surface horns, etc.
I'll take the control horns and firewall into cura and scale it up.
 

The Hangar

Fly harder!
Mentor
Measure that 1’ scale at the top. Check the swappable pod to see if it’s base is 2 inches wide on the print, mine is only about 1.5” My margins look right & the print would almost completely fill the page with very narrow margins if the plan frame were expanded the needed .180” on all 4 sides.
I'm comparing it to my other ft cub and it's the same size. I test-fitted the landing gear and it was a perfect fit...
 

The Hangar

Fly harder!
Mentor
Here’s what I’ve got so far.
628D0286-5605-41FF-9CAA-CA7D2E5D45F4.jpeg
E3D6F010-3F9A-4FD5-A338-556D1DF62AFD.jpeg
038CE1F0-5AAD-45C8-80DF-D162455ACDFD.jpeg
I made took normal ft wing( other than the slight change with the ailerons and flaps) and peeled the paper off the inside instead of cut the score marks. Also, I didn't cut the double bevel in the LE of the wing - I removed a strip of paper about 1 centimeter thick from the marks that they have on the plan to show a bevel cut. I did this before removing the paper from anywhere else on the wing. Then using the table, I creased and molded the front section to get the curve I needed. Then I peeled the rest of the paper and molded that over. The end result is a very smooth and good looking wing! For the fuselage I made all the score marks for the cavities, but instead of removing the foam I removed the paper and then creased and molded the “fold.” On the bottom of the fuse you can see I did make a slight modification. I cut the bottom fuselage cover in half down the center and then grafted it into the sides of the fuselage so there would only be one seam running down the center on the bottom. It looks really good IMHO. Unfortunately the rear fuse piece ended up a tad bit bigger and then I glued the two rear pieces crooked so there is a bit of a gap... :( But I’ll see if I can fill it in with a little glue or foam and make it less ugly. I really happy with how it’s turning out! I probably won’t be able to work on it more today cause I have to build a simple stick for a friend but hopefully I can start on the nose tomorrow!
 

Attachments

  • 192B5324-6DDC-4CA2-B56D-DC043F8A20AC.jpeg
    192B5324-6DDC-4CA2-B56D-DC043F8A20AC.jpeg
    2.9 MB · Views: 0

Figure9

Elite member
Here’s what I’ve got so far.
View attachment 164664 View attachment 164665 
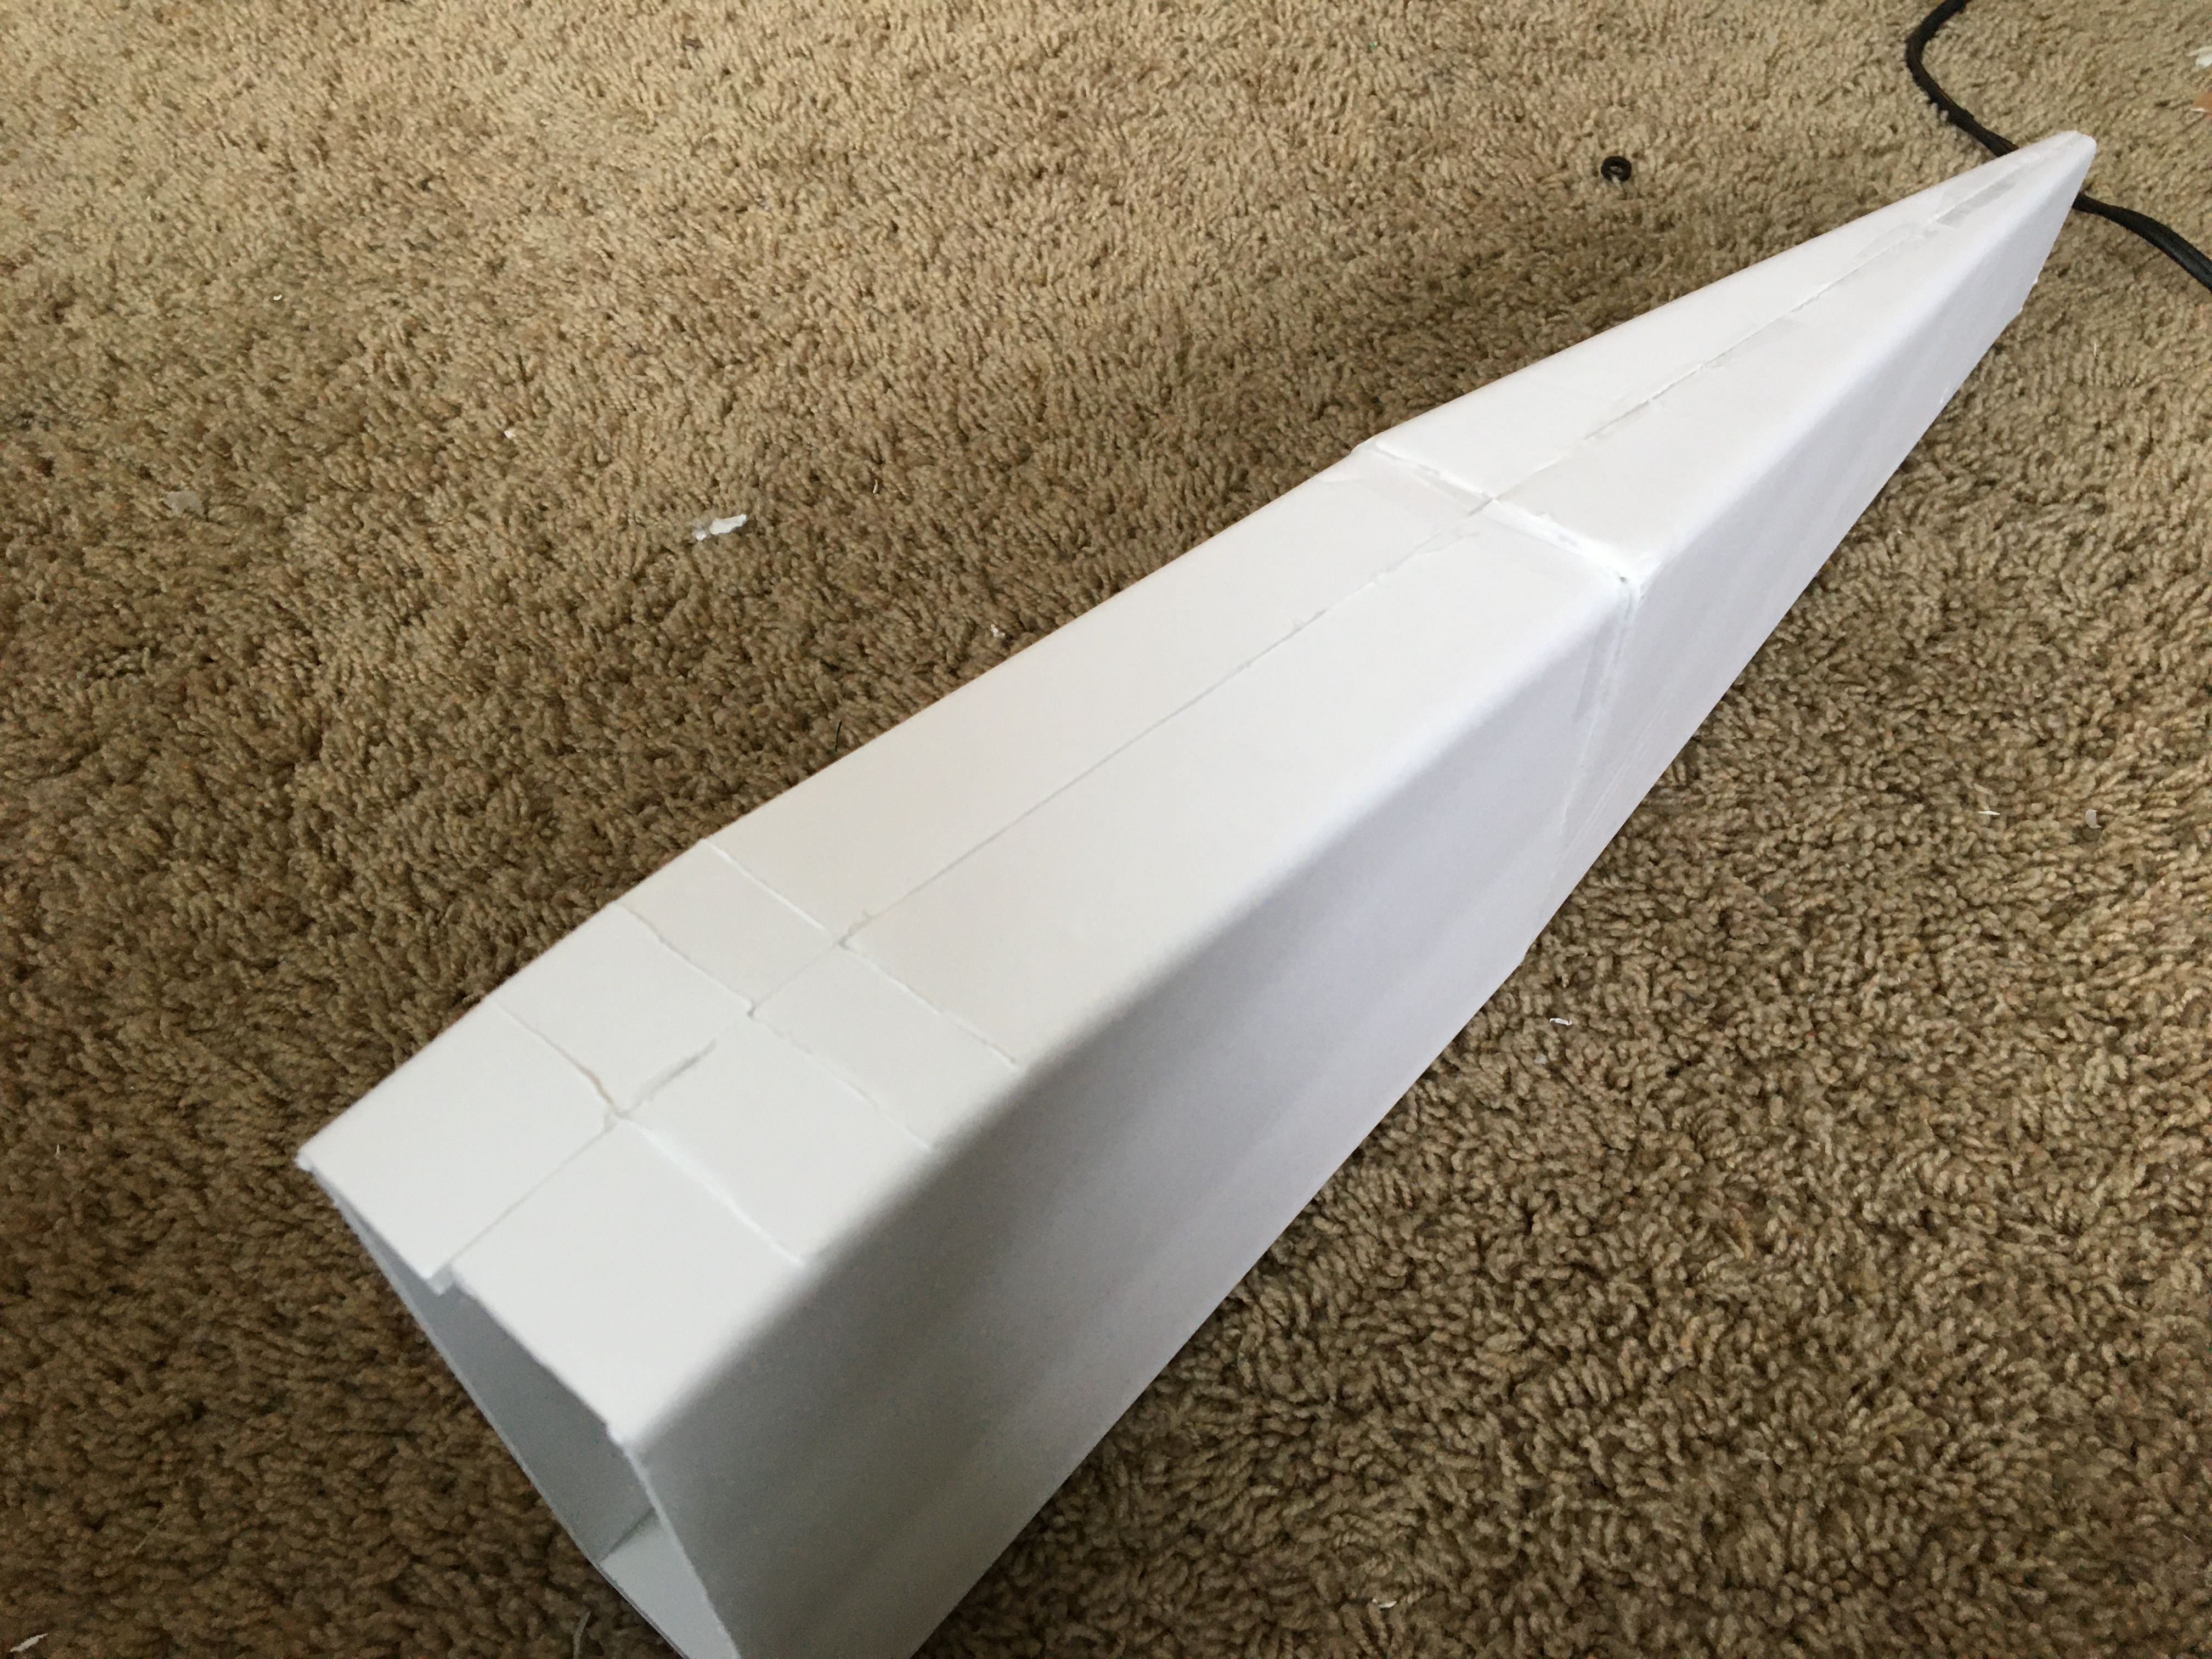
View attachment 164666 I made took normal ft wing( other than the slight change with the ailerons and flaps) and peeled the paper off the inside instead of cut the score marks. Also, I didn't cut the double bevel in the LE of the wing - I removed a strip of paper about 1 centimeter thick from the marks that they have on the plan to show a bevel cut. I did this before removing the paper from anywhere else on the wing. Then using the table, I creased and molded the front section to get the curve I needed. Then I peeled the rest of the paper and molded that over. The end result is a very smooth and good looking wing! For the fuselage I made all the score marks for the cavities, but instead of removing the foam I removed the paper and then creased and molded the “fold.” On the bottom of the fuse you can see I did make a slight modification. I cut the bottom fuselage cover in half down the center and then grafted it into the sides of the fuselage so there would only be one seam running down the center on the bottom. It looks really good IMHO. Unfortunately the rear fuse piece ended up a tad bit bigger and then I glued the two rear pieces crooked so there is a bit of a gap... :( But I’ll see if I can fill it in with a little glue or foam and make it less ugly. I really happy with how it’s turning out! I probably won’t be able to work on it more today cause I have to build a simple stick for a friend but hopefully I can start on the nose tomorrow!

I’ve been doing my leading edge folds that way for a while. Now I want to try for a rounded upper airfoil surface instead of the humps over a foam board spar. I’ve tried beveling the top of the foam board spar & no joy. I’m considering CF tube spars but I also want a flat lower surface, so maybe a strip of .065” X .5” balsa under the CF tube. I’ve been told there’s nothing you can’t design to work well with DTFB using only unlimited imagination, advanced building skills, time & money... :ROFLMAO::ROFLMAO::ROFLMAO: