FTFC: FT-Build-Ruary by FoamyDM -Bloody Vampire v2
Build Log for the Bloody Vampire v2
Find the Beta Plans
Here

Here's the
Wiki:
The de Havilland Vampire is a British jet fighter developed and manufactured by the de Havilland Aircraft Company. Work on the aircraft began during World War II as a largely experimental aircraft suitable for combat that harnessed the groundbreaking innovation of jet propulsion; it was quickly decided to opt for a single-engine, twin-boom aircraft equipped with the Halford H.1 turbojet engine (later produced by de Havilland as the "Goblin") Originally ordered as an experimental aircraft only, the decision to mass-produce the aircraft as an interceptor for the Royal Air Force (RAF) was finalised in May 1944.
In 1946, the first production aircraft entered service with the RAF, only months after the war had ended. The Vampire was the second jet fighter, after the Gloster Meteor, operated by the RAF and the first to be powered by one jet engine. Aside from its propulsion system and twin-boom configuration, it was a relatively conventional aircraft. The Vampire quickly replaced many wartime piston-engine fighter aircraft and was in front-line service until 1953, after which the Vampire was primarily assigned to secondary roles such as pilot training and ground attack, for which specialist variants of the type were produced.
In 1966, the type was retired by the RAF, from its final role as an advanced trainer being replaced by the Folland Gnat. During its service, the Vampire had achieved several aviation firsts and records, including becoming the first jet aircraft to traverse the Atlantic Ocean. It had been sold to many nations and operated in a wide range of environments around the world. Vampires participated in several conflicts, including the Suez Crisis, the Malayan emergency and the Rhodesian Bush War.
Almost 3,300 Vampires were manufactured, a quarter of them built under licence in other countries. The first Royal Navy jet fighter was the Sea Vampire, a naval variant which was operated from its aircraft carriers. The Vampire was developed into the DH.115 dual-seat trainer and the more advanced DH.112 Venom ground-attack and night fighter.
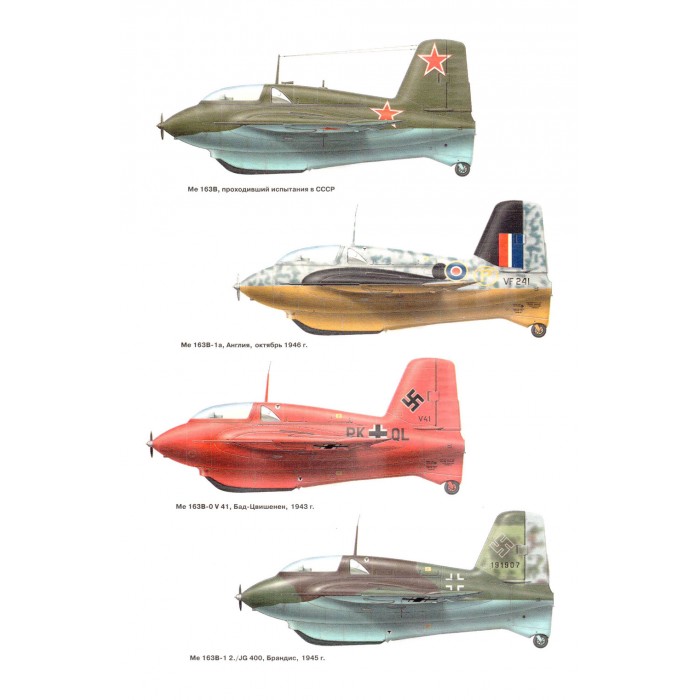
a couple Paint Scheme Ideas:
FoamyDM Build Log
Buildruary 14, 2018
I have taped the paper down and am ready for cutting.
Note: I cut the wing and had to shift it down and over to keep it on the 1 sheet.
Build-Ruary 21st 2018
Beta Build Begins. First step as always is to attache the plans and Cut.. this one cut out in 40 mins.

Putting the fuselage together to see how the hatch/wing interface works. I had to adjust the slots in the bottom of the wing to sit in the correct place. the hatch seems to be a foam thickness to low. so, trimmed it out.

Here is the tail boom. simple glue and fold just don't get stuff in the slot at the elevator.
 The wing:
The wing is straight forward. I had to trim out bits to allow for aileron movement. and I scored on the opposite site to allow for the center section to bend up. There are other modifications I will need in there for the EDF to allow for proper air flow.
This picture shows that the tail booms are NOT parallel but slightly kicked out at the tail. this to help keep the plane straight. (like reason landing gear is slightly pigeon toed.

This shows that with a cross piece the hatch lands nicely on the back.

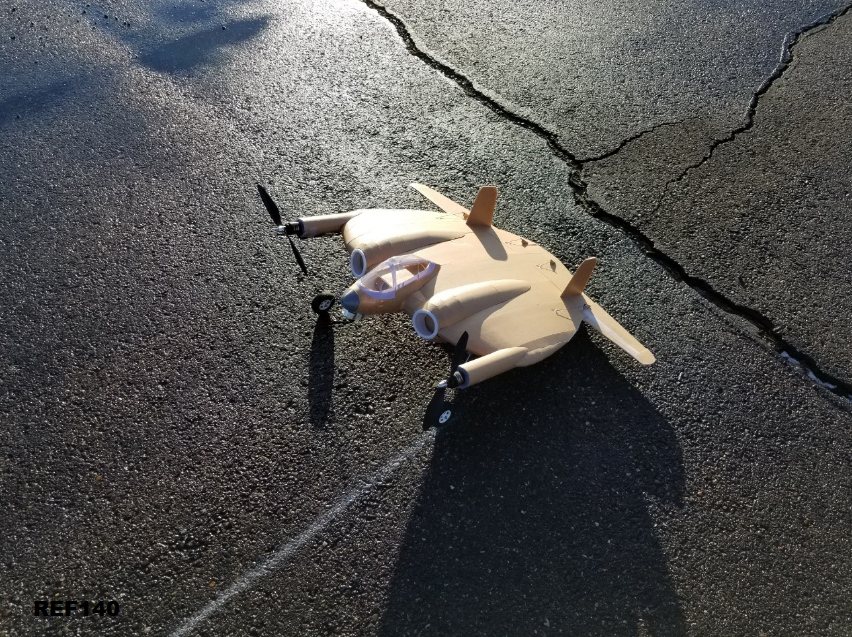
This is a pic with the hatch opened. The design is supposed to have a fuselage side doubler, so I doubled the read section and cut the cross piece at the fuse back to allow for the engine swappable "A" or "F" pod. The A with a 5x3 and a 3S should produce enough trust. This is were I started realizing my plans were falling to peices. because up until this modification, only 45mins passed.

Closeup before I realized - I designed this to take the EDF unit too.

Here it is with the EDF shoe-horned in. nice and close.
.JPG")
1. Slot for the Power Pod
2. Notch to allow for the 30mm EDF unit
3. This is the doubler... Plans need to include this piece too. it is also used to keep the EDF unit snug in place.

Now the wing is on. Note the notches at the front to allow for solid hatch closure.

Here is the V1 (foreground) vs the V2 (background)
 Next Step:
Now I have install the Servos and horns and maiden, first with EDF then with a pusher prop.
") Build-Ruary 27th
Build-Ruary 27th
I have the horns in and the rods set except for the front servo... I will glue that servo in tonight and maiden it. I will bring both the A pack and the EDF. This will be tight. It was supposed to rain tomorrow evening. so tonight or lunch tomorrow is all I got.
So here's the maiden video
I will need to correct the Linkage setup as the Ailerons weren't returning back to neutral which I believe caused it to flip over before I could correct for it.
Take-Aways
Build - Moderate

This still needs a bit of work. - but the Linkages and the Shaving needed for EDF Installation bring this to a moderate complexity build. It has a number of
Fly-Smooth and Basic - but Squirrelly

Thei linkage setup was giving an Exponential travel, Which I thought was good. Hover, It think the servo mount was squishy. or not solid...and I never made it solid with reinforcing, just glue, and that caused it to not return exactly to neutral. the 3S battery I think gave it just enough umph to get it to climb, however I won't know until the re-build. I might just redo the exhaust to take the EDF or Prop for the V1 and see where it goes from there....
Stop - Start - Continue
Stop
- Making uneven linkages.
- Hatch-backs: it's a good idea in theory, however it doesn't pan out.
- Using 9g Servos] :blackeye:
Start
- making a replaceable nose-cone version. using a doubler panel as a slide and stiffener
- tapering the wing in the fuse to allow for better Flow
- Determine air intake channels.
Continue
- dual engine mounting (EDF and A-POD)


.JPG")