FTFC'18 WWII Curtiss-Wright XP-55 Ascender

PsyBorg

Wake up! Time to fly!
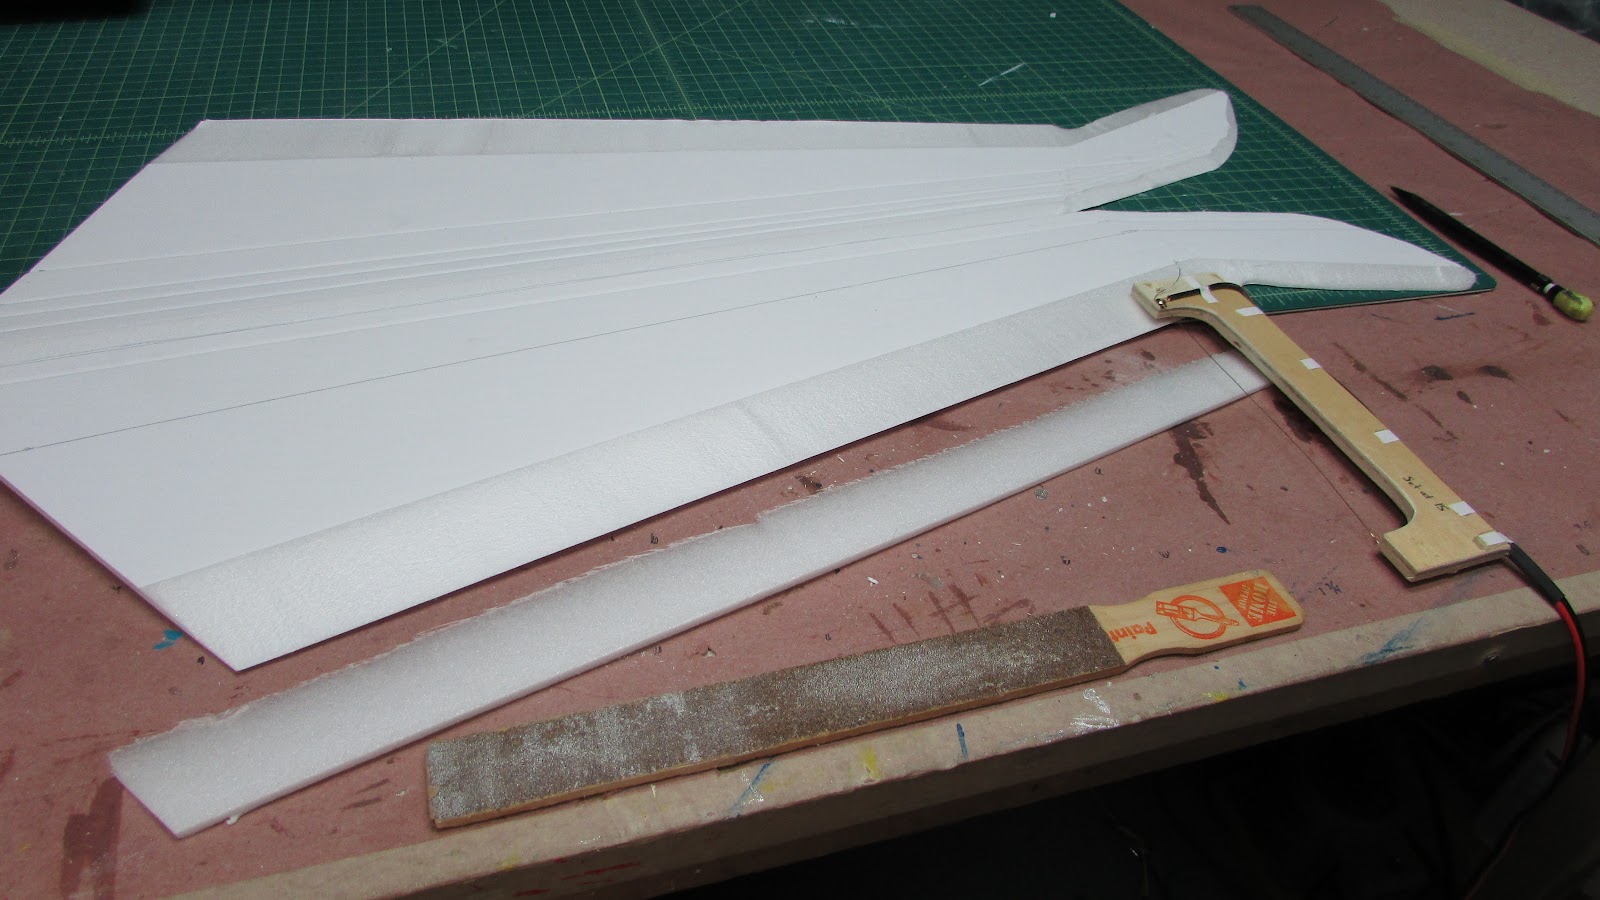
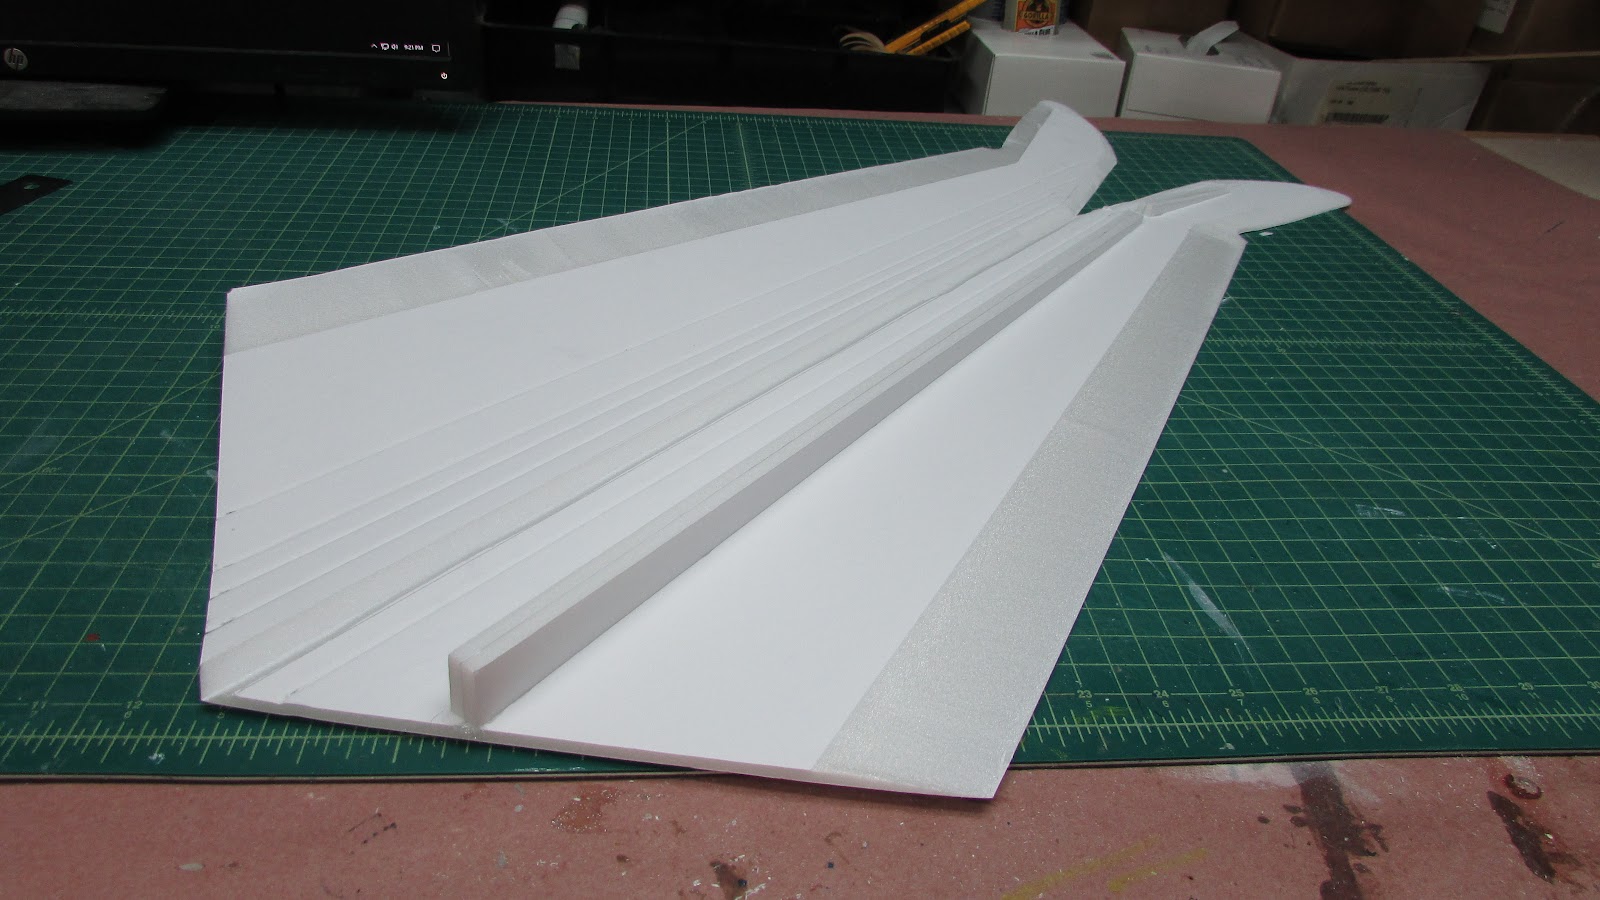
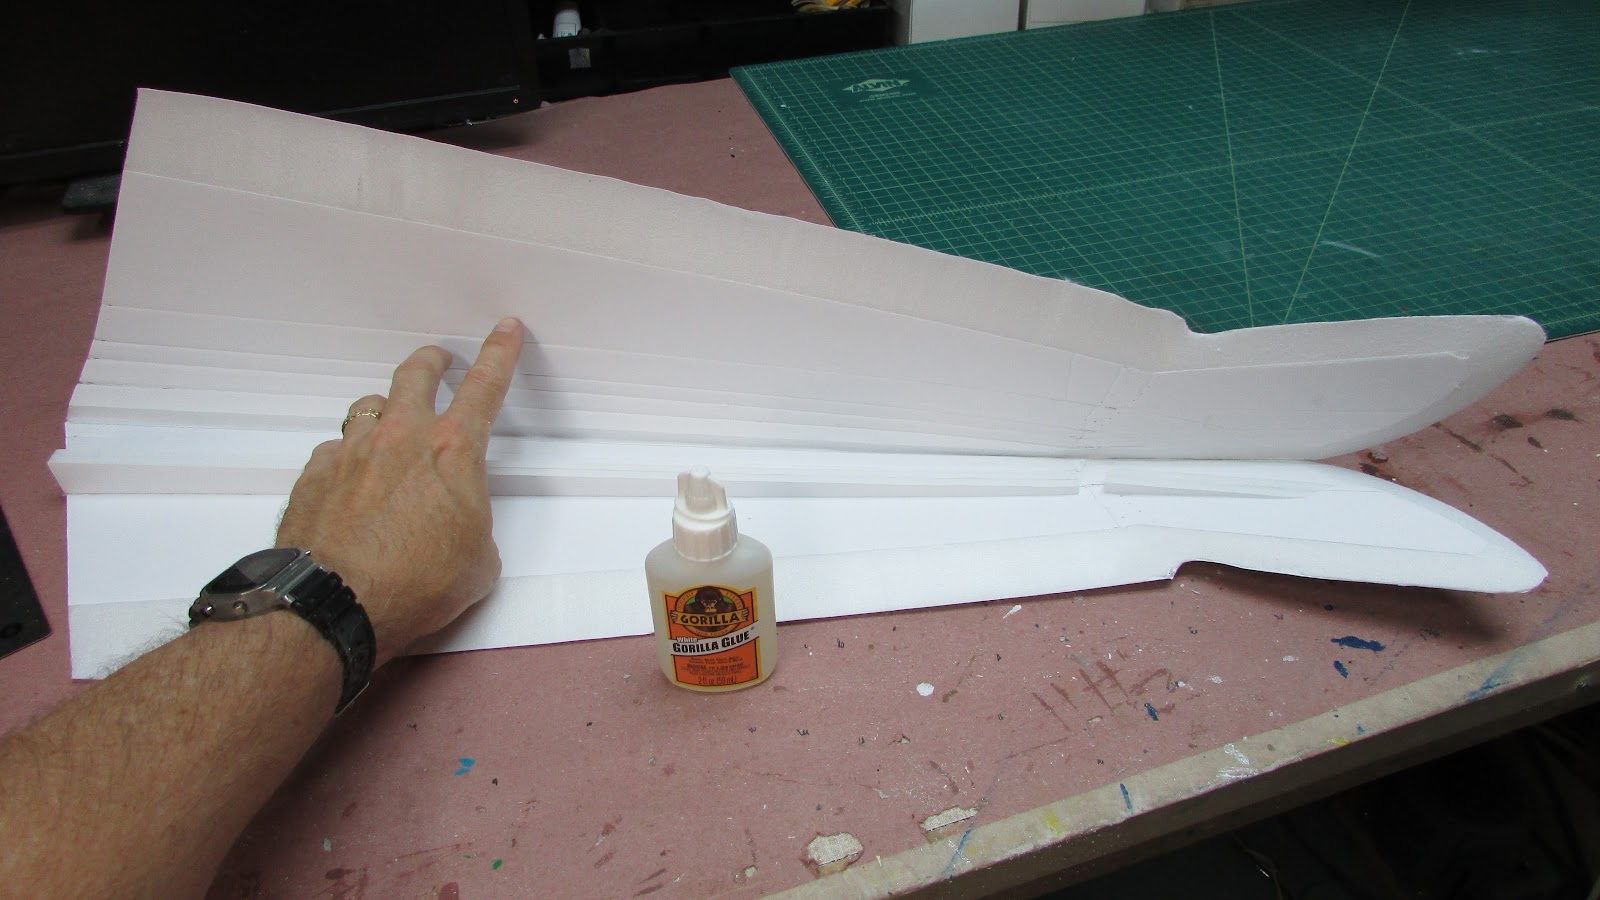
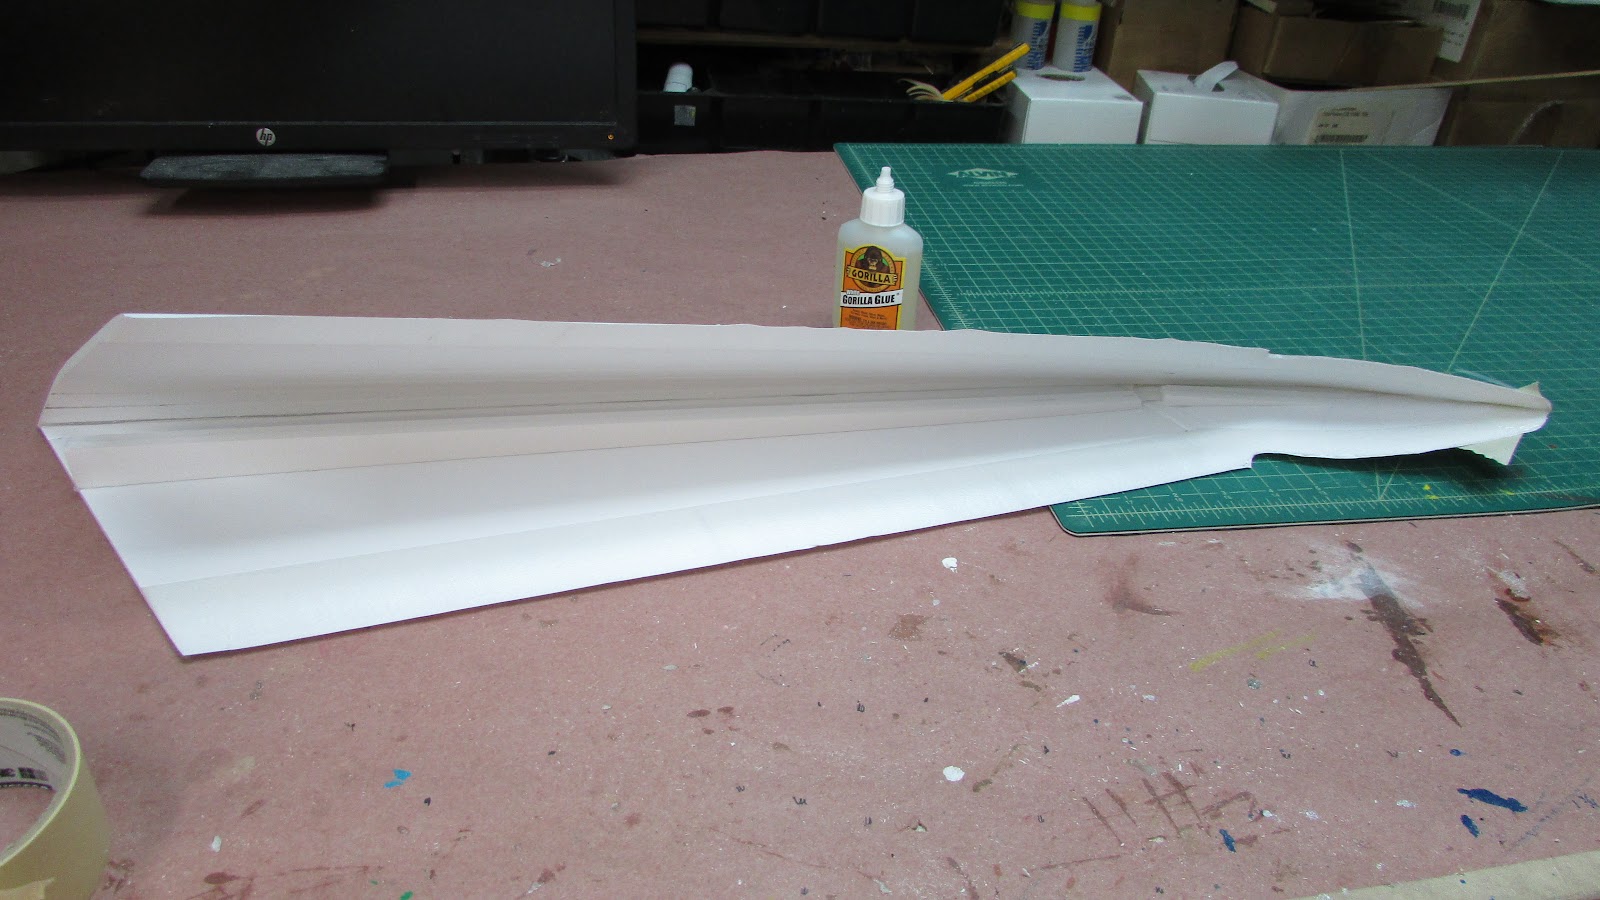
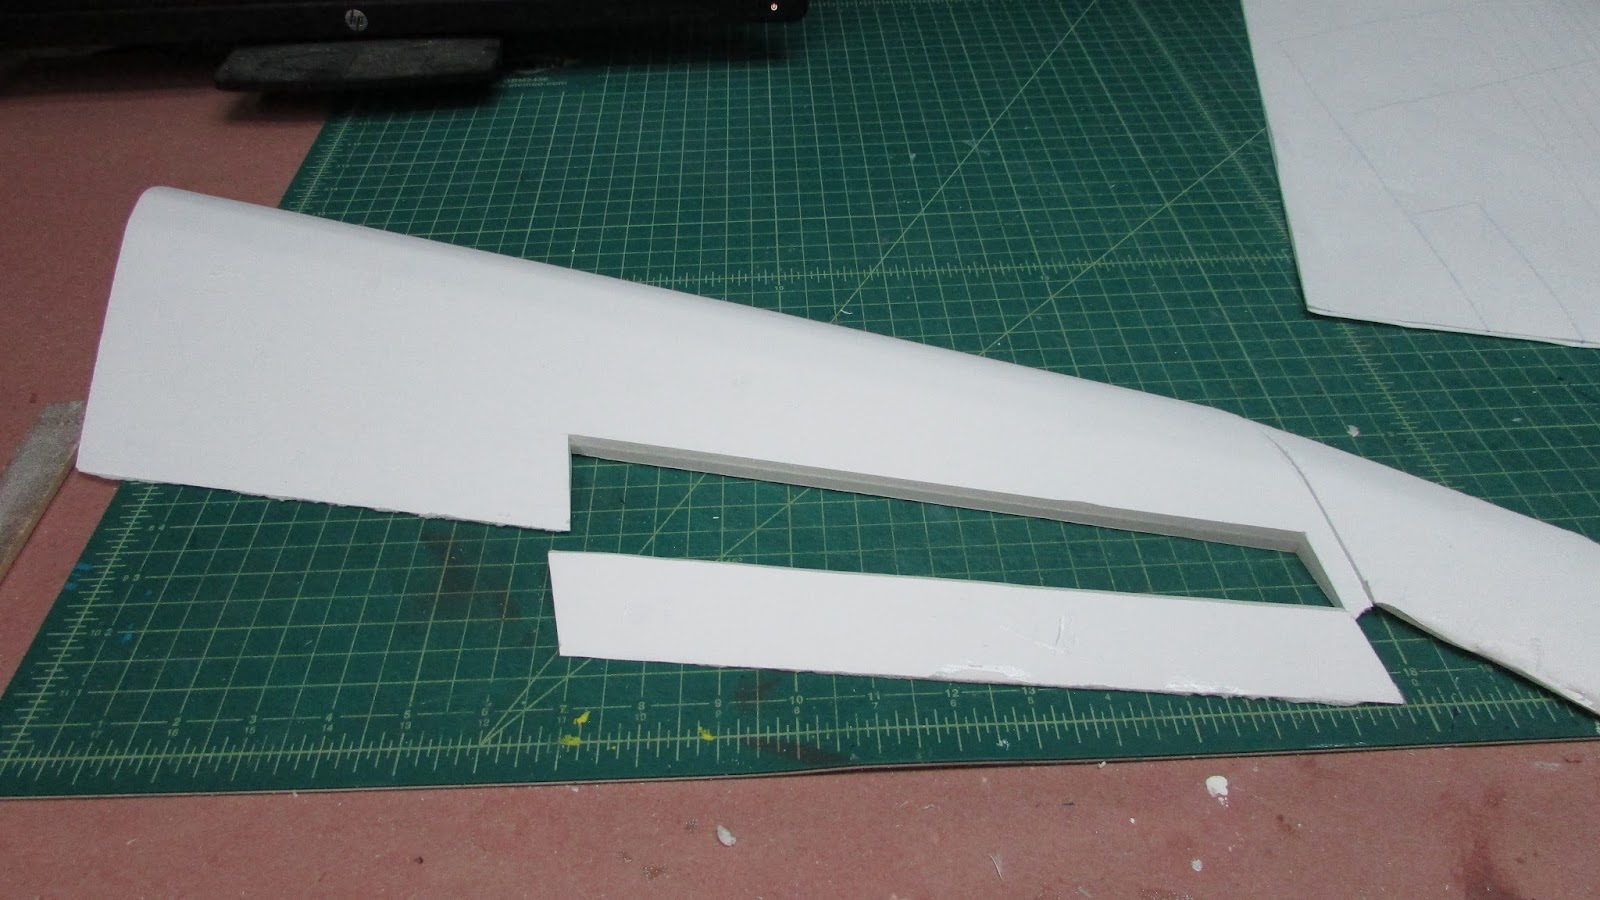
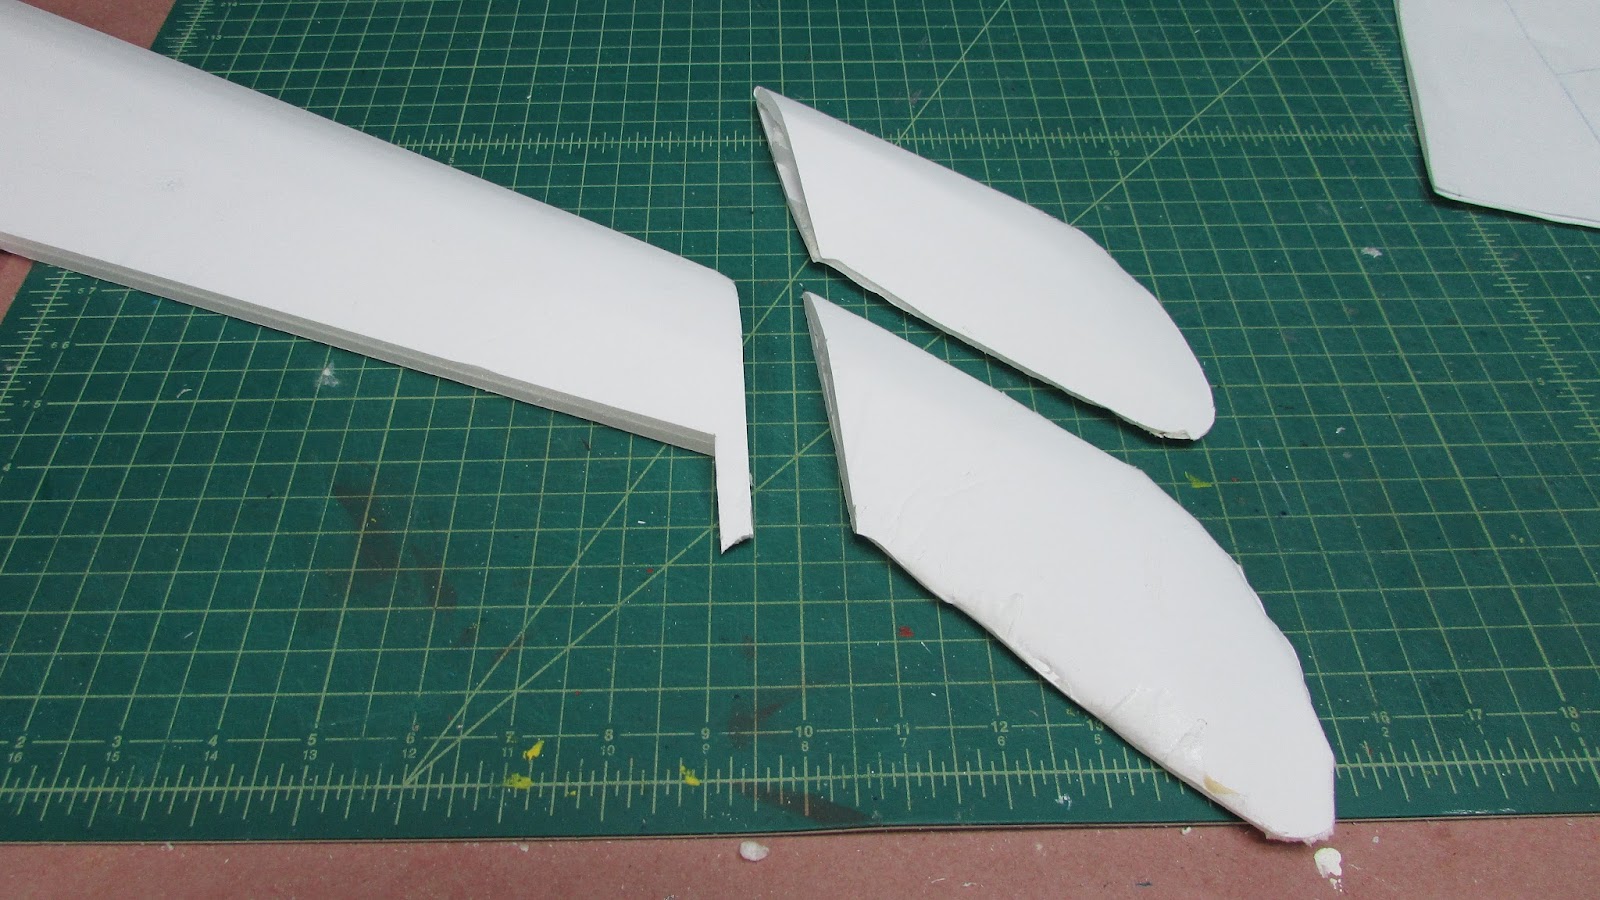
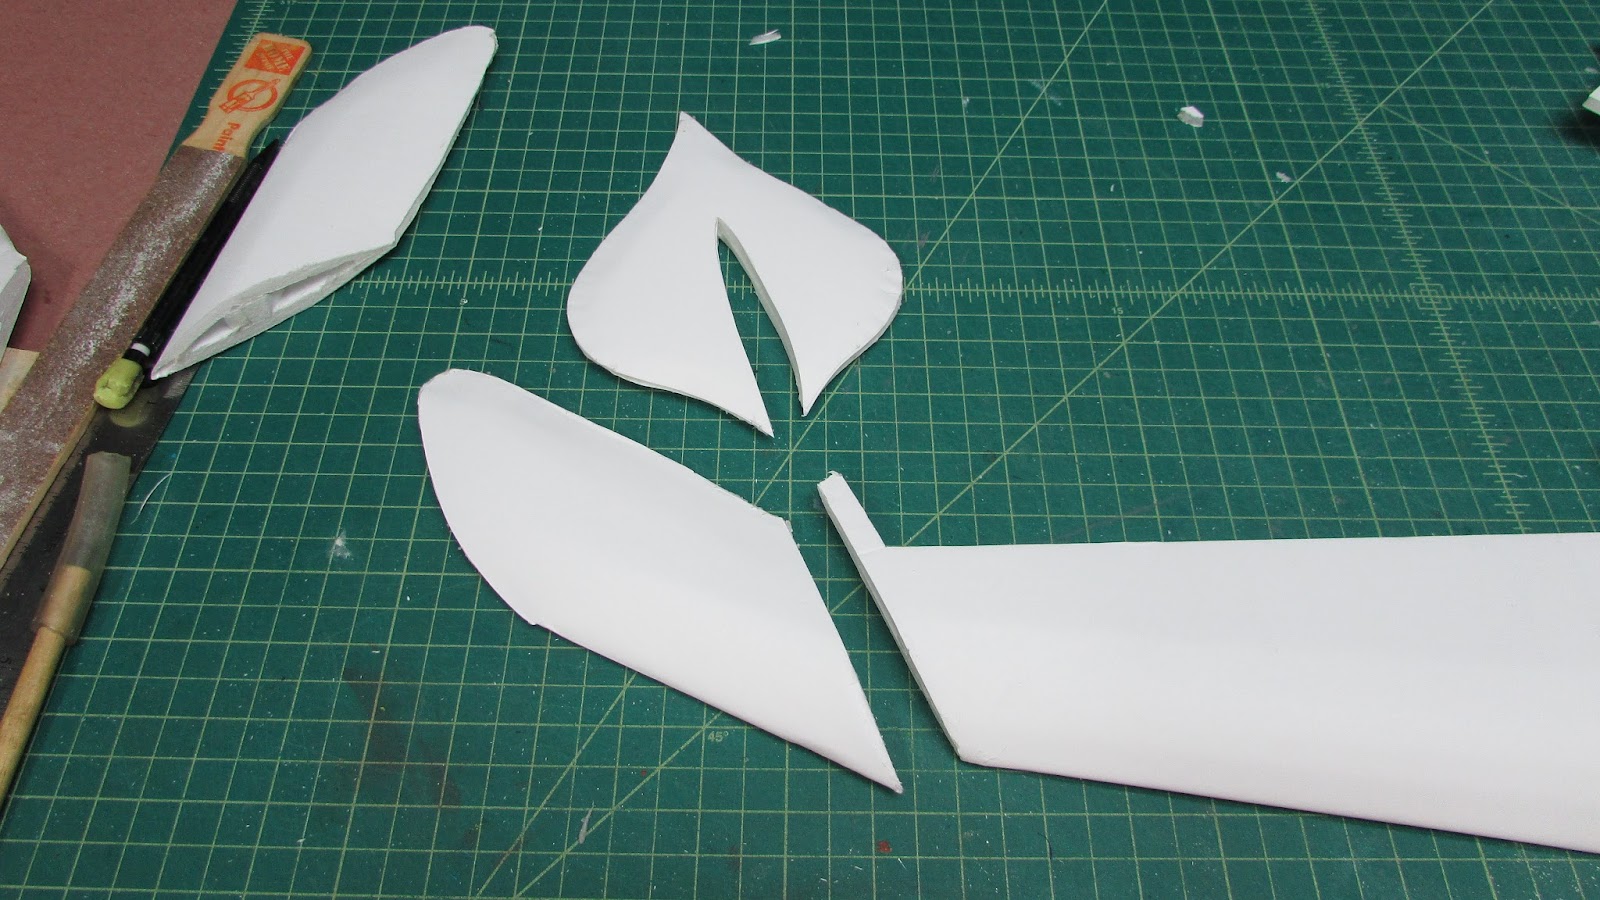
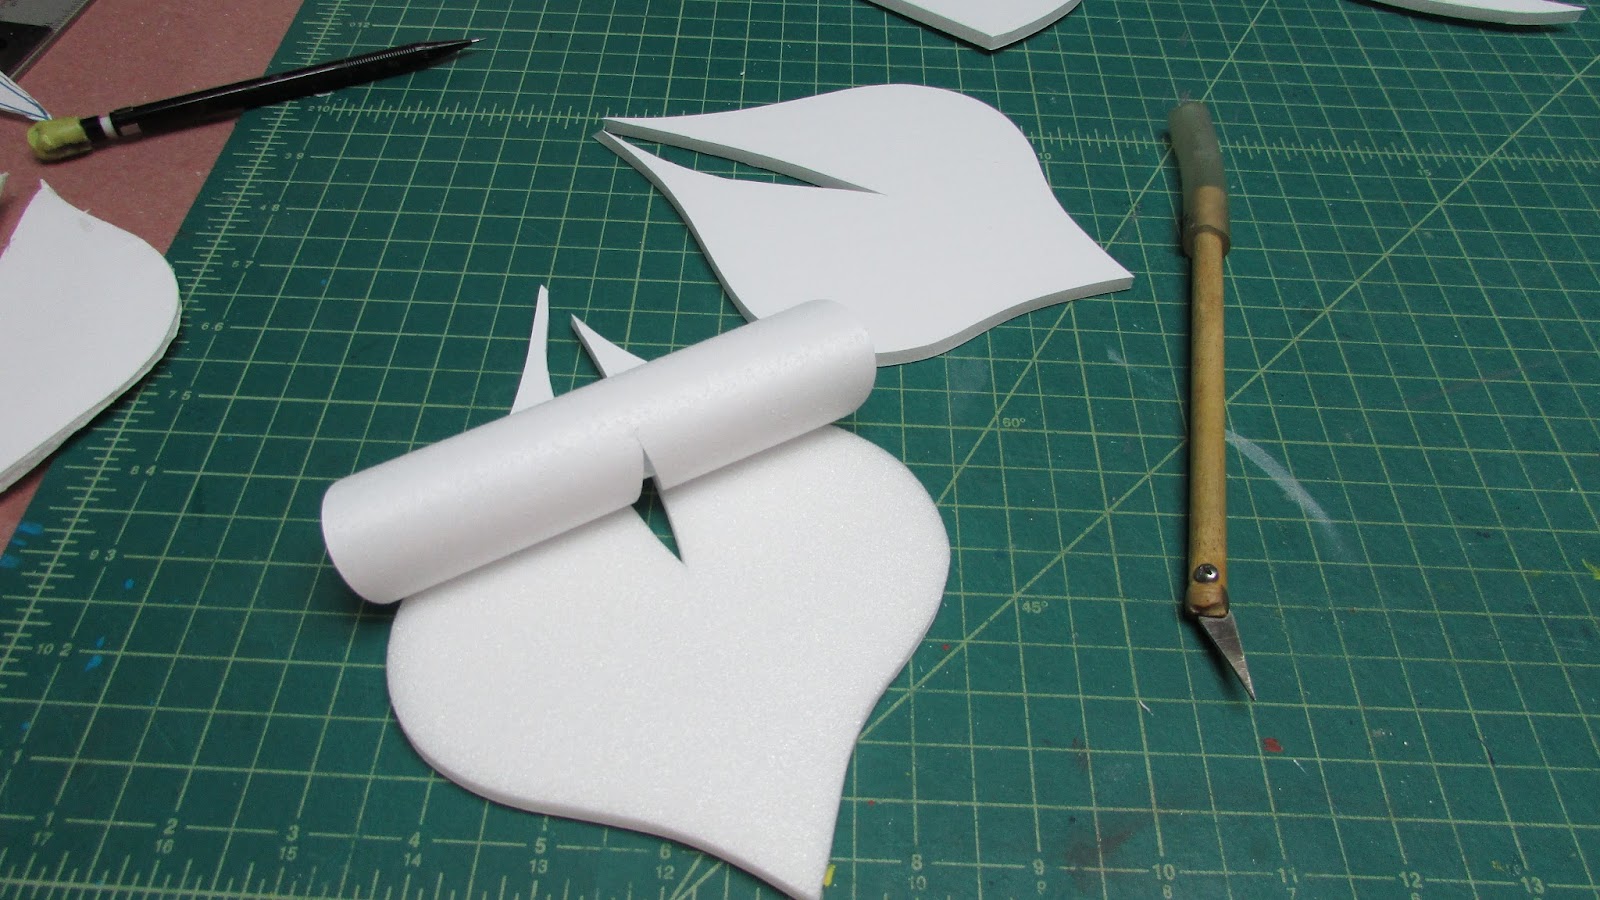
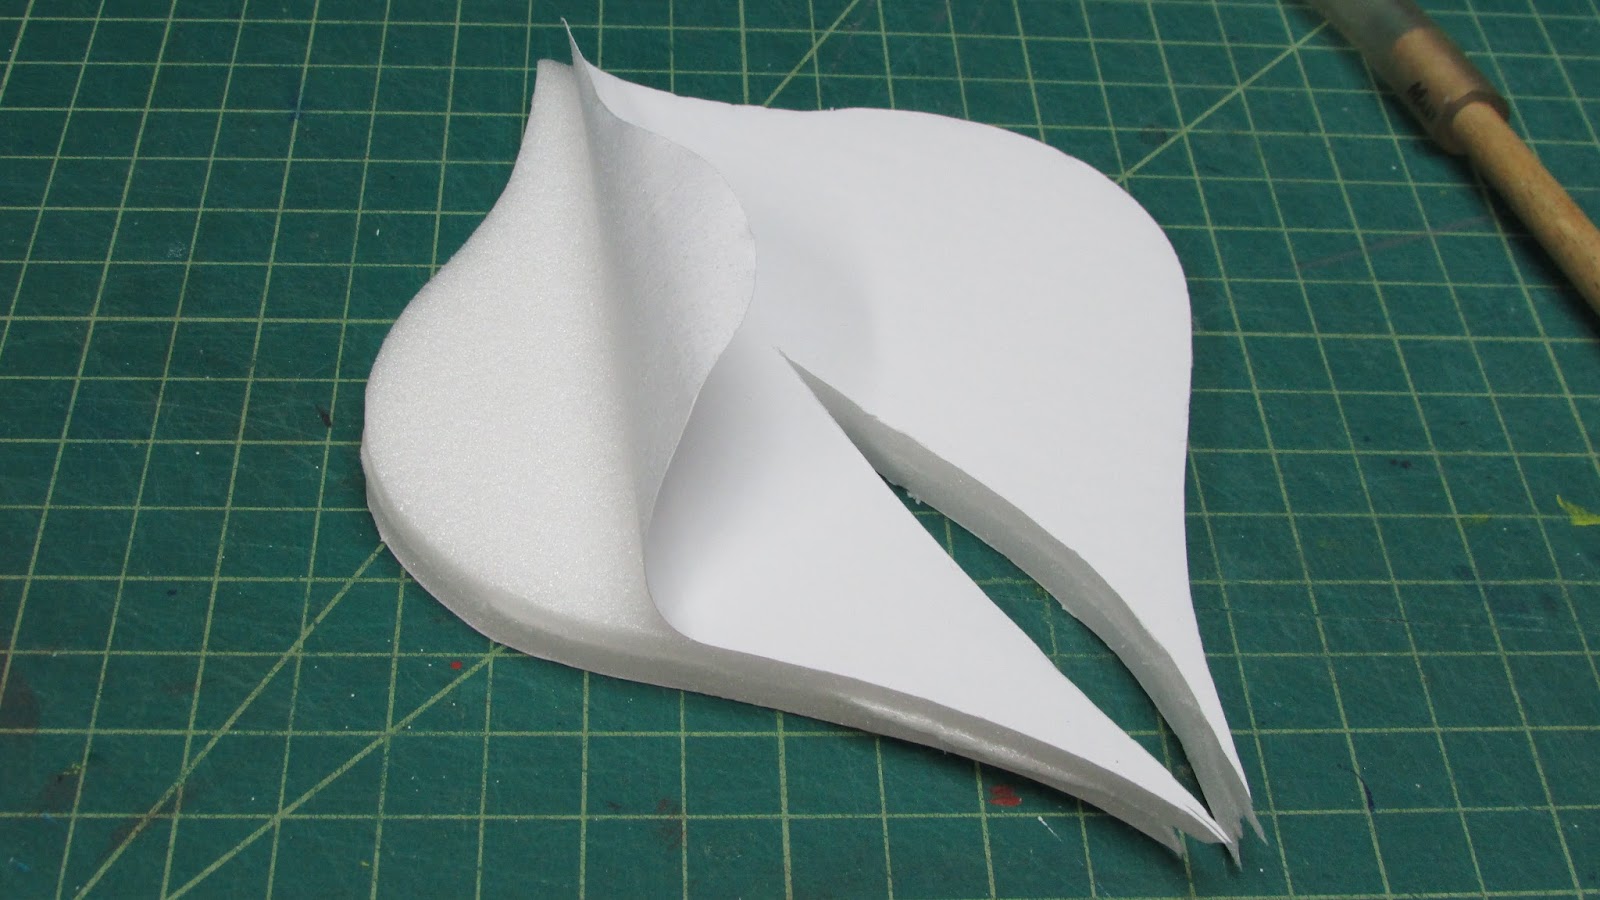
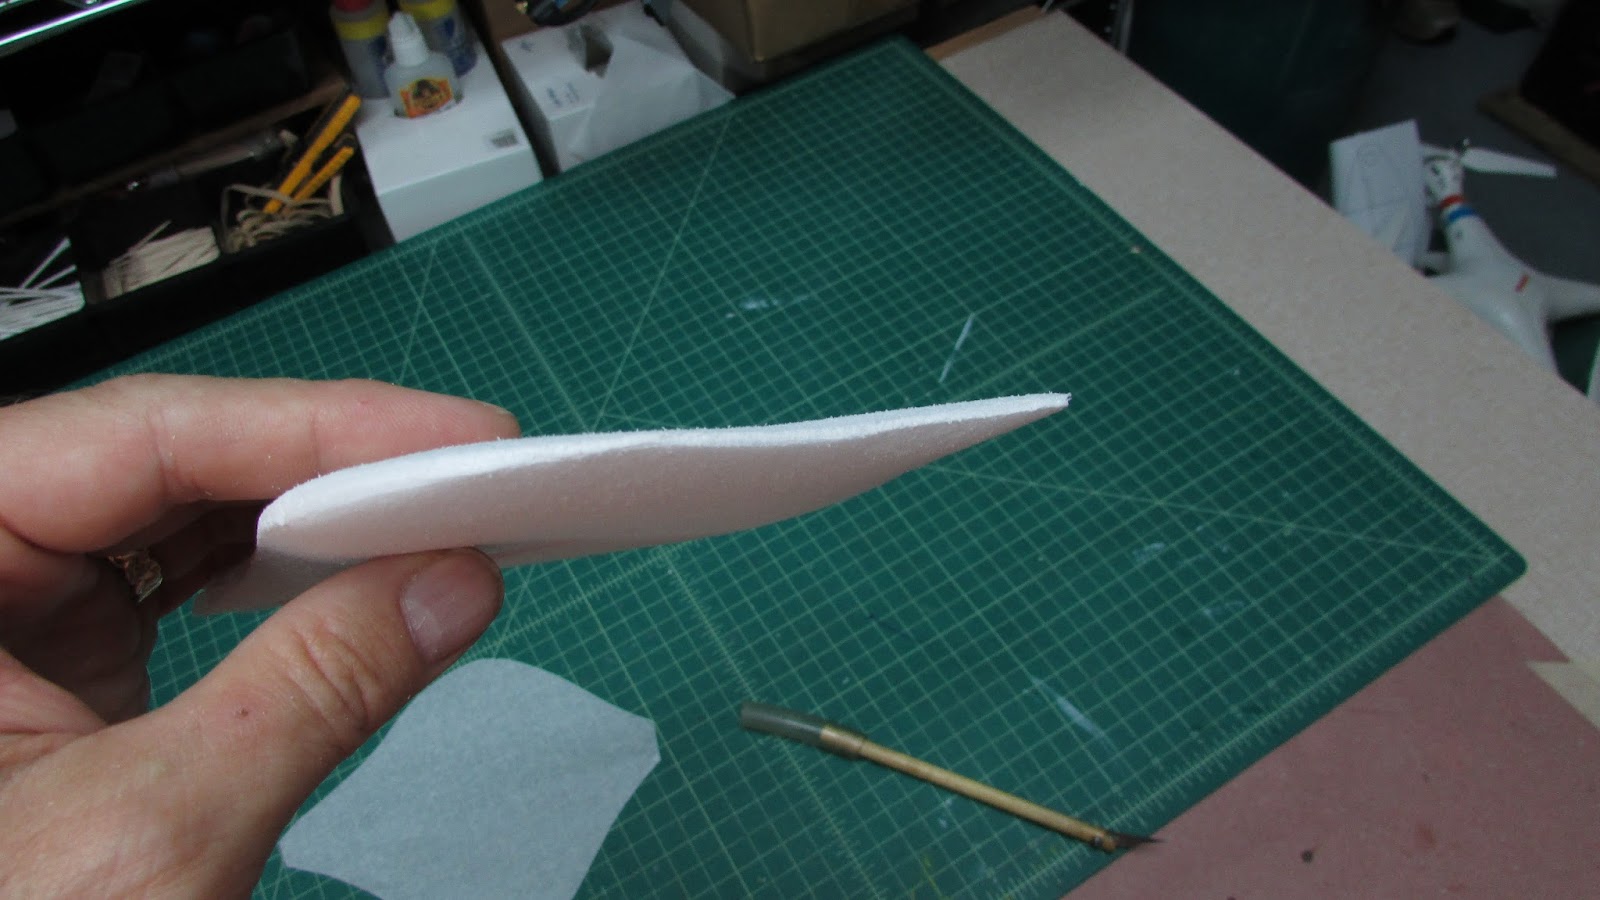
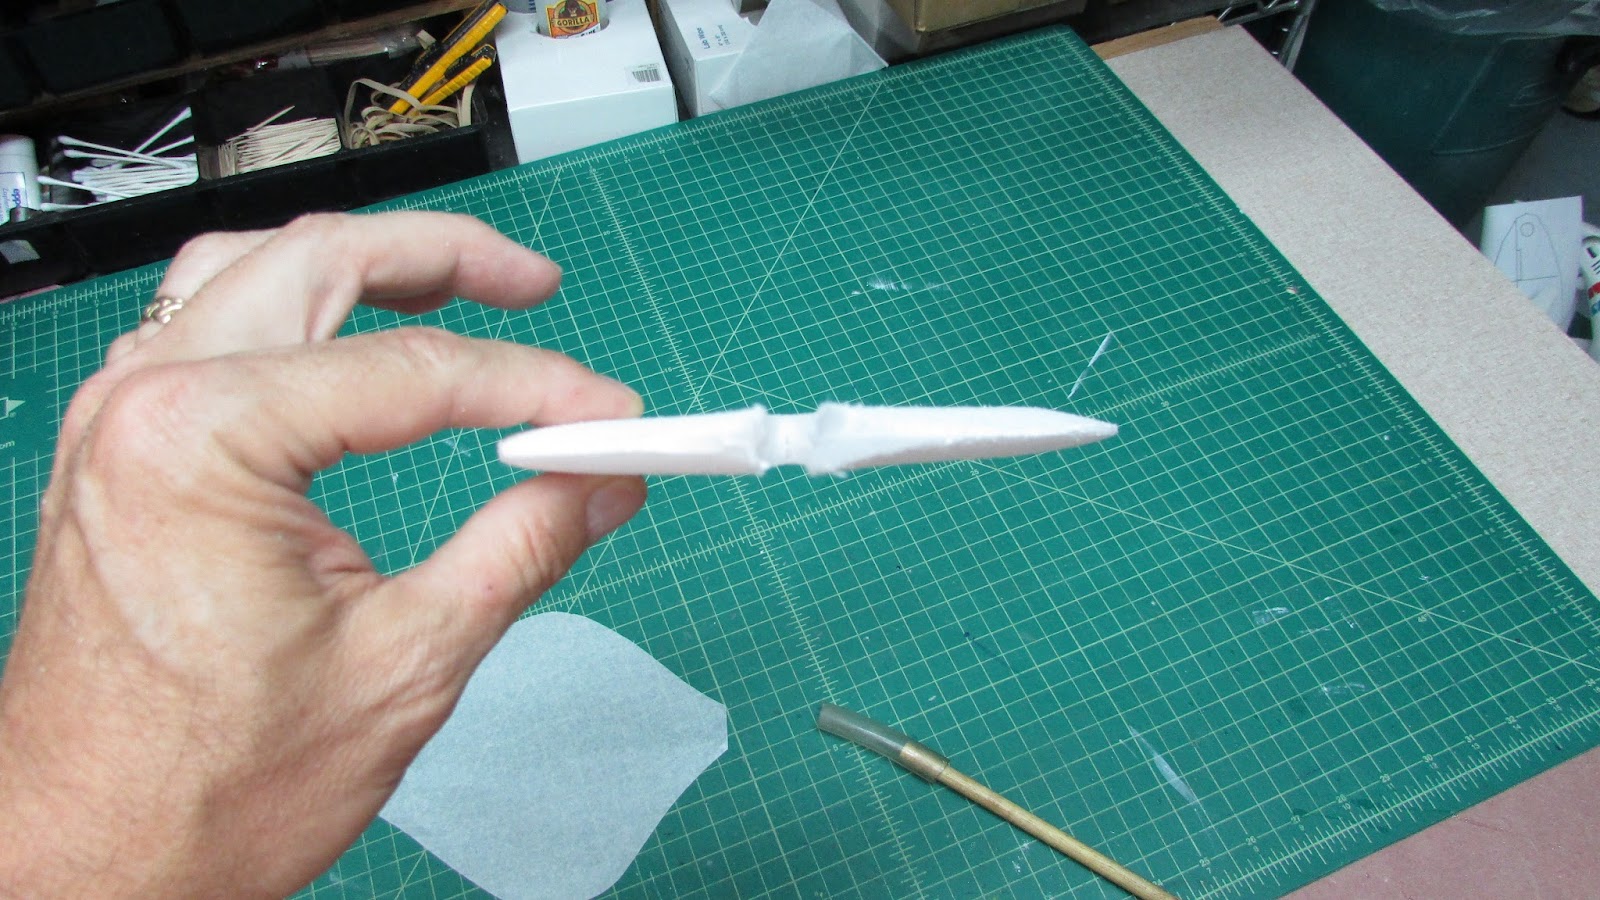
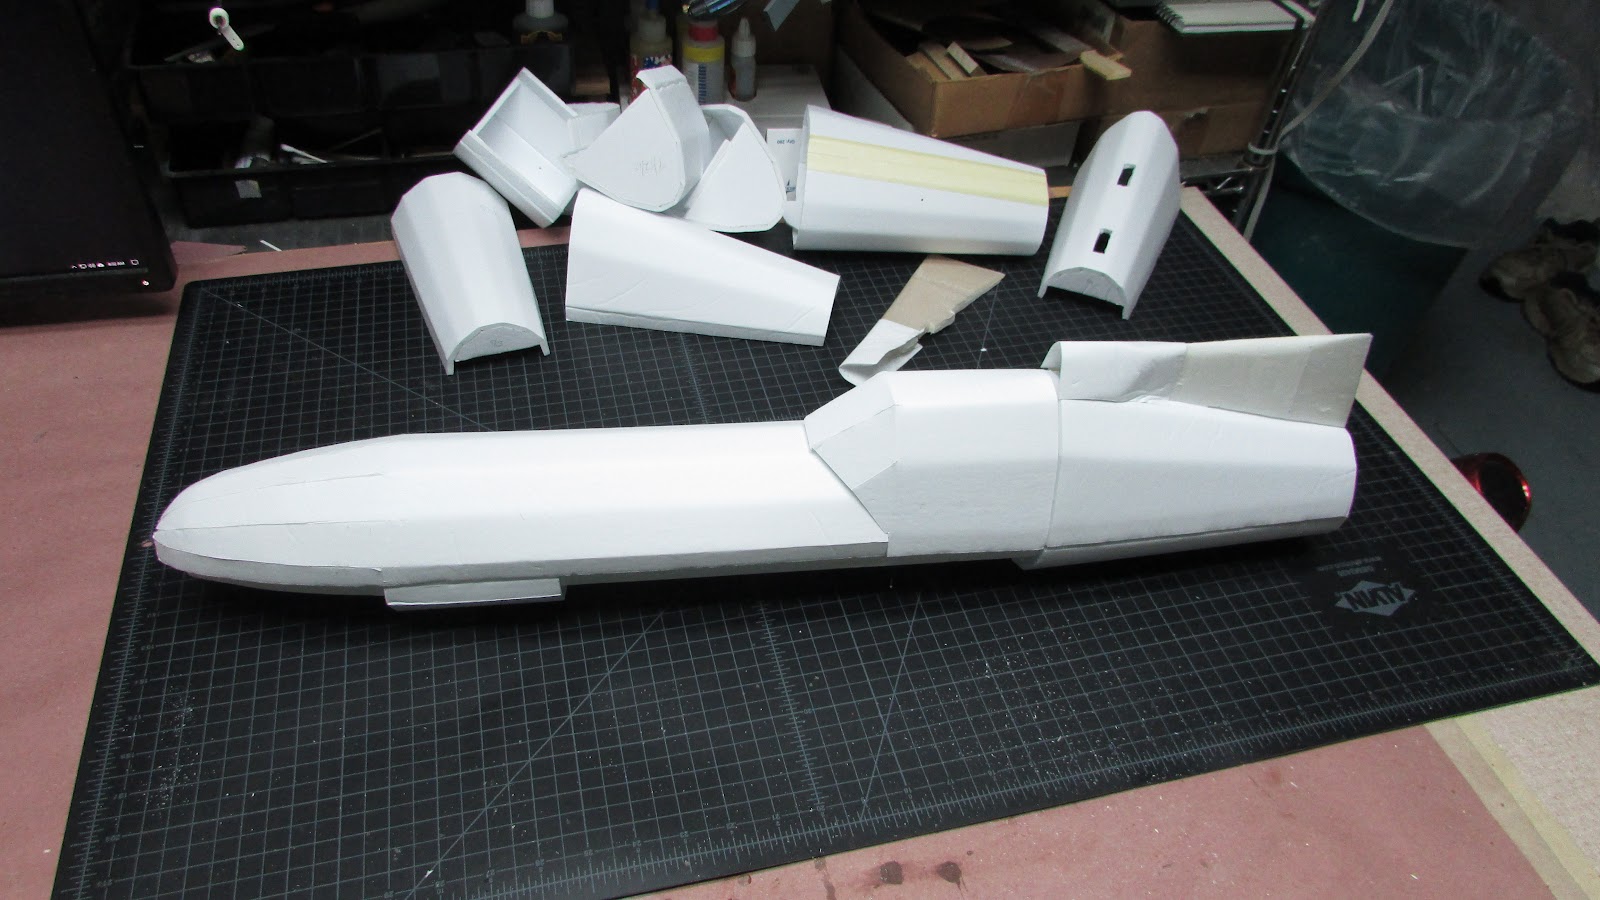
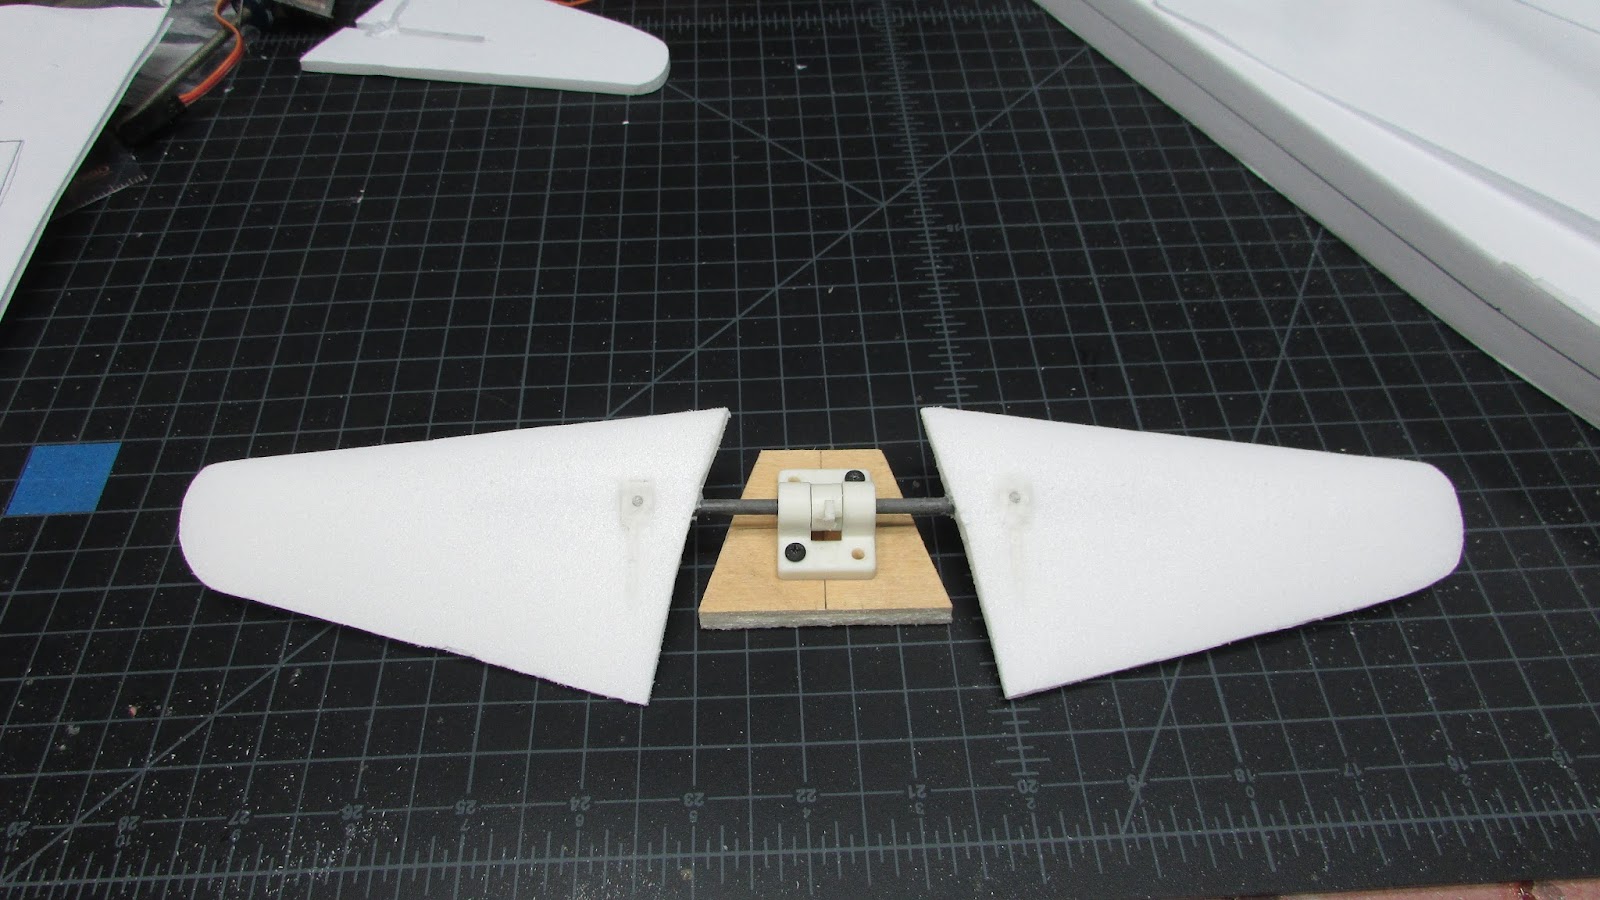
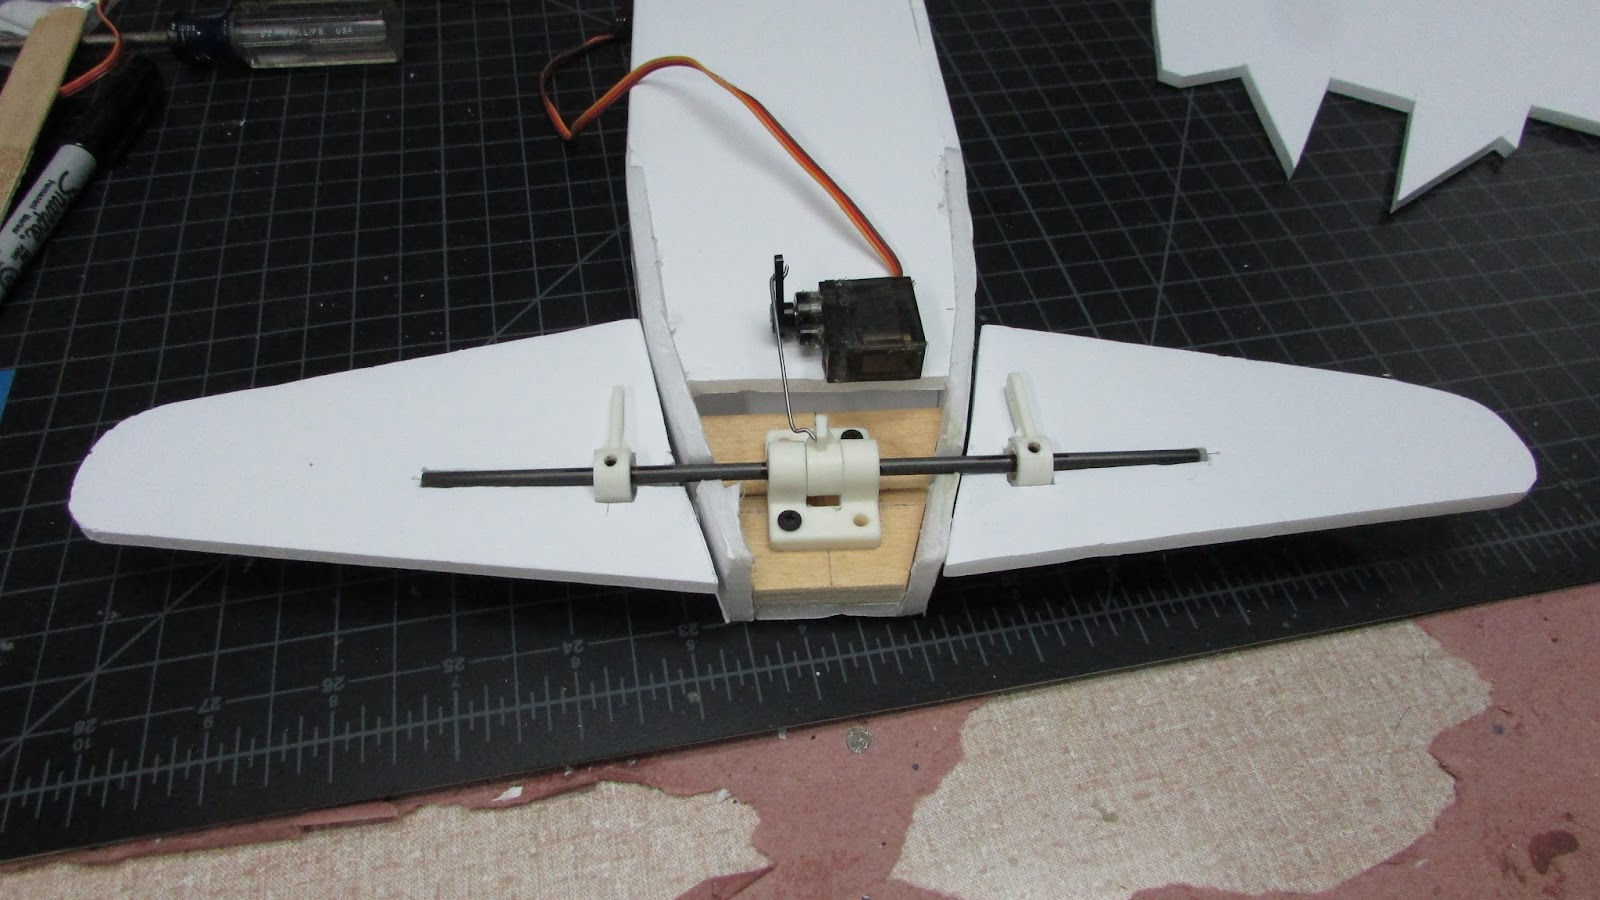
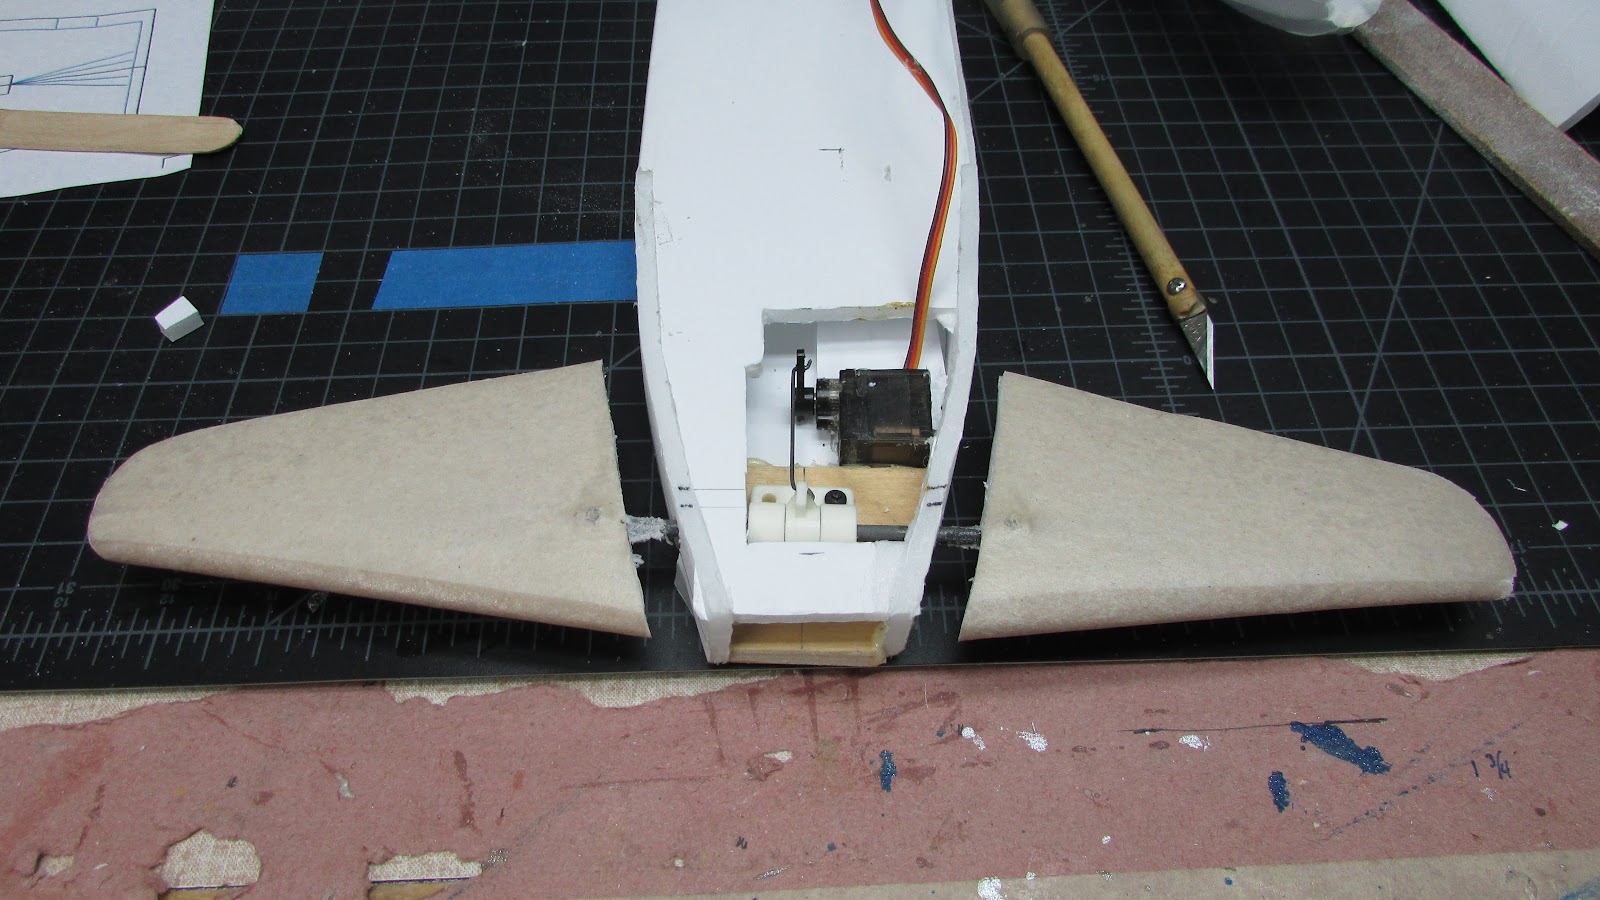
Go with what you feel mate. If it isn't right in your head it wont be right in the air. Shape does not really matter as that was proven when they flew a cinder block..a blender , and a microwave..

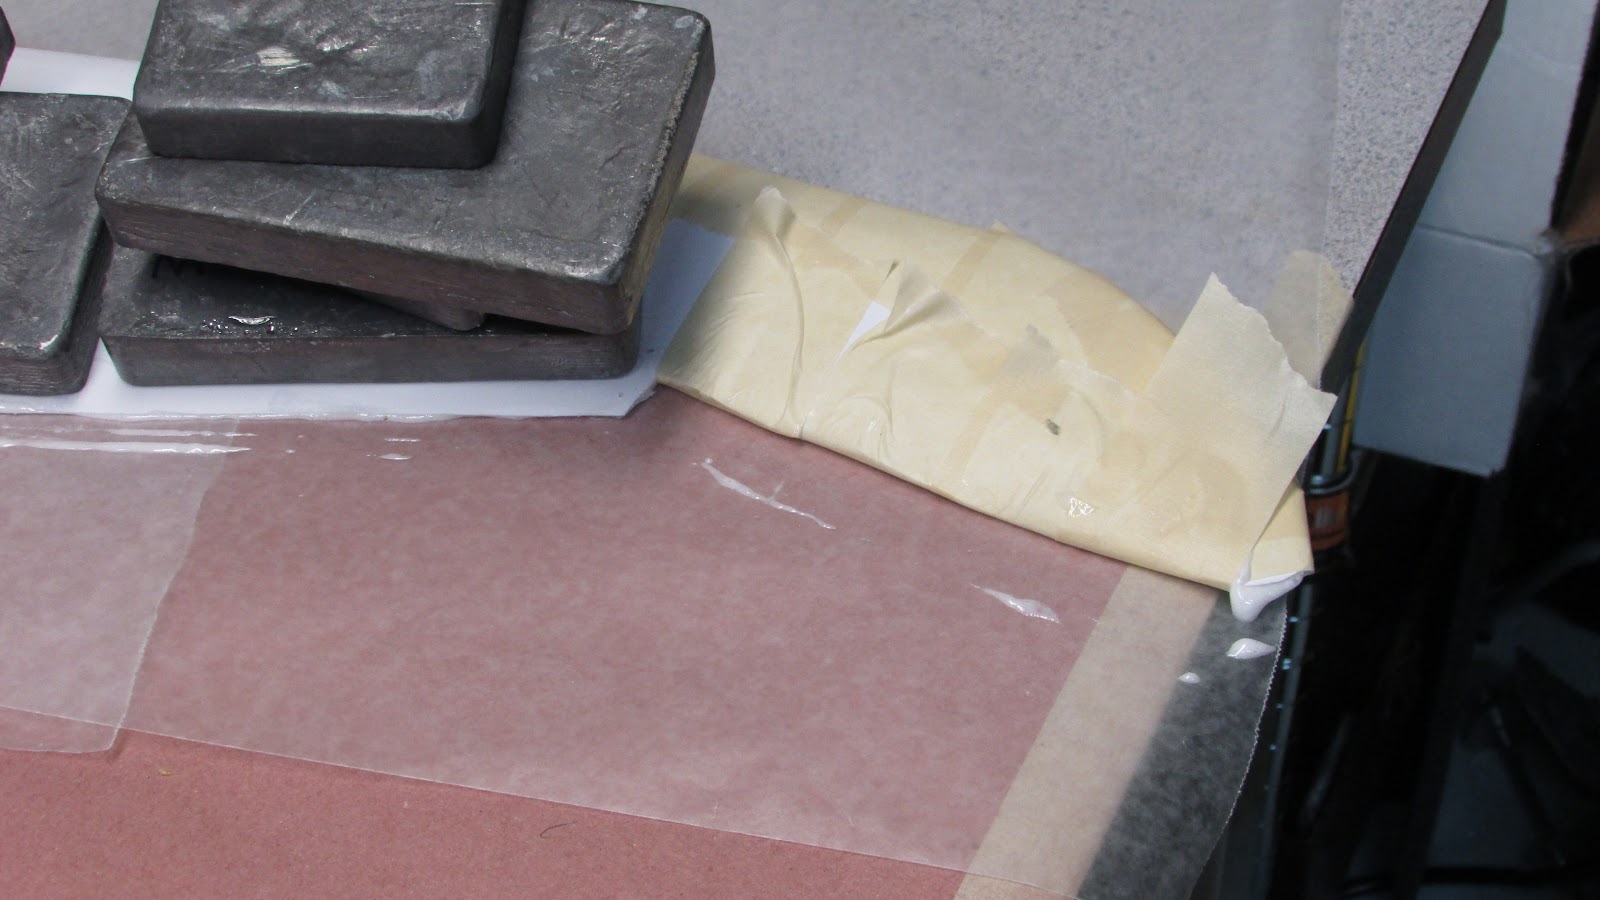
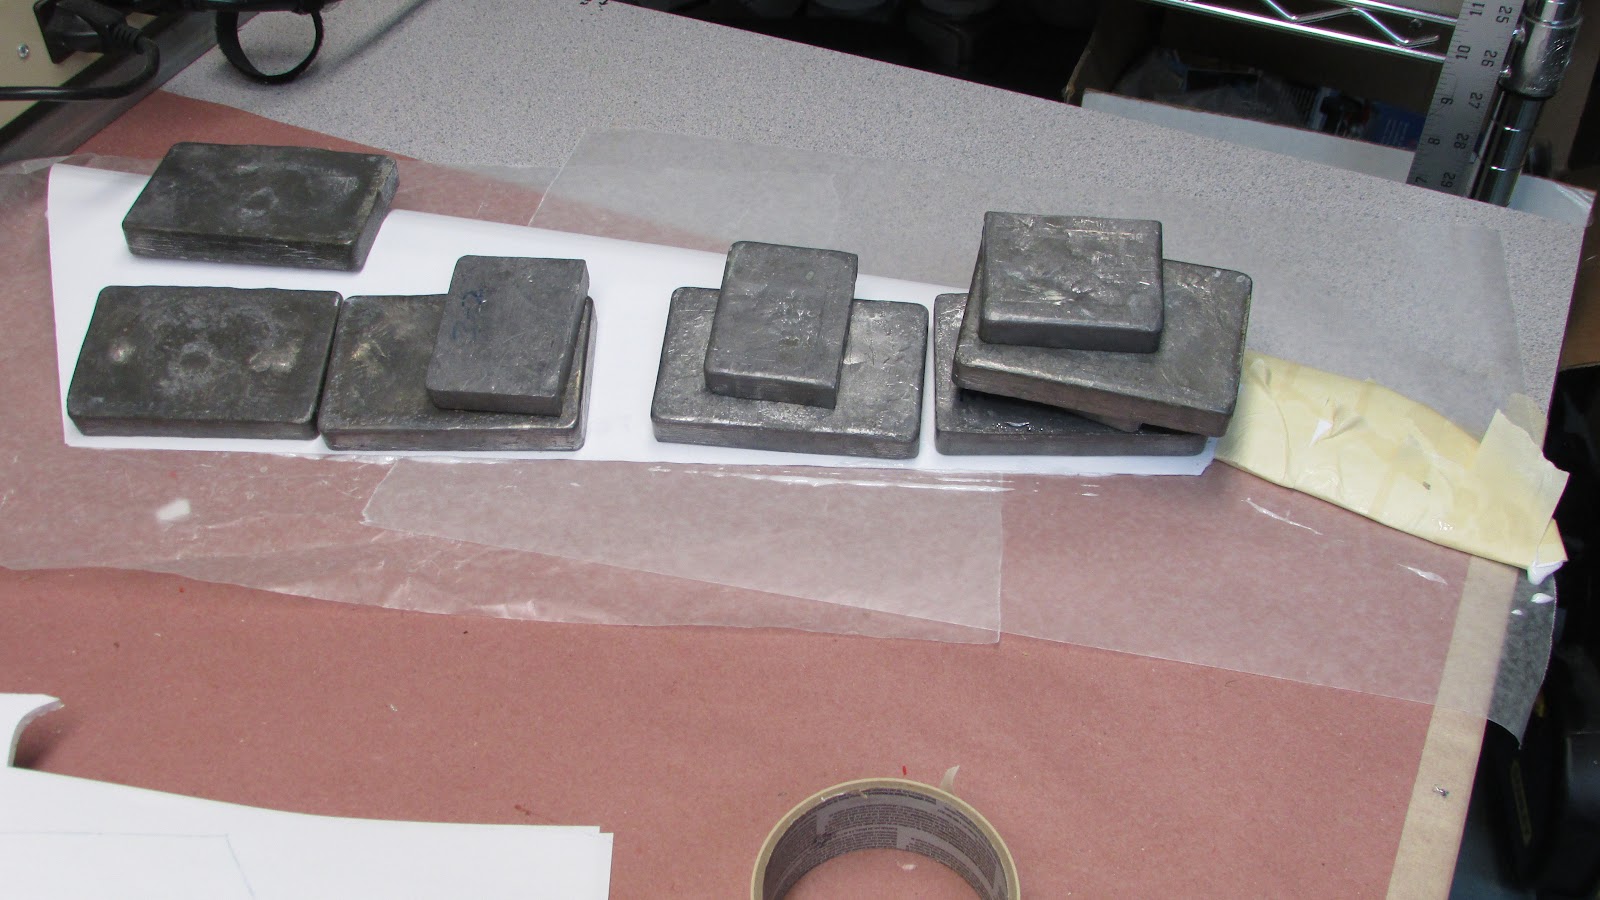
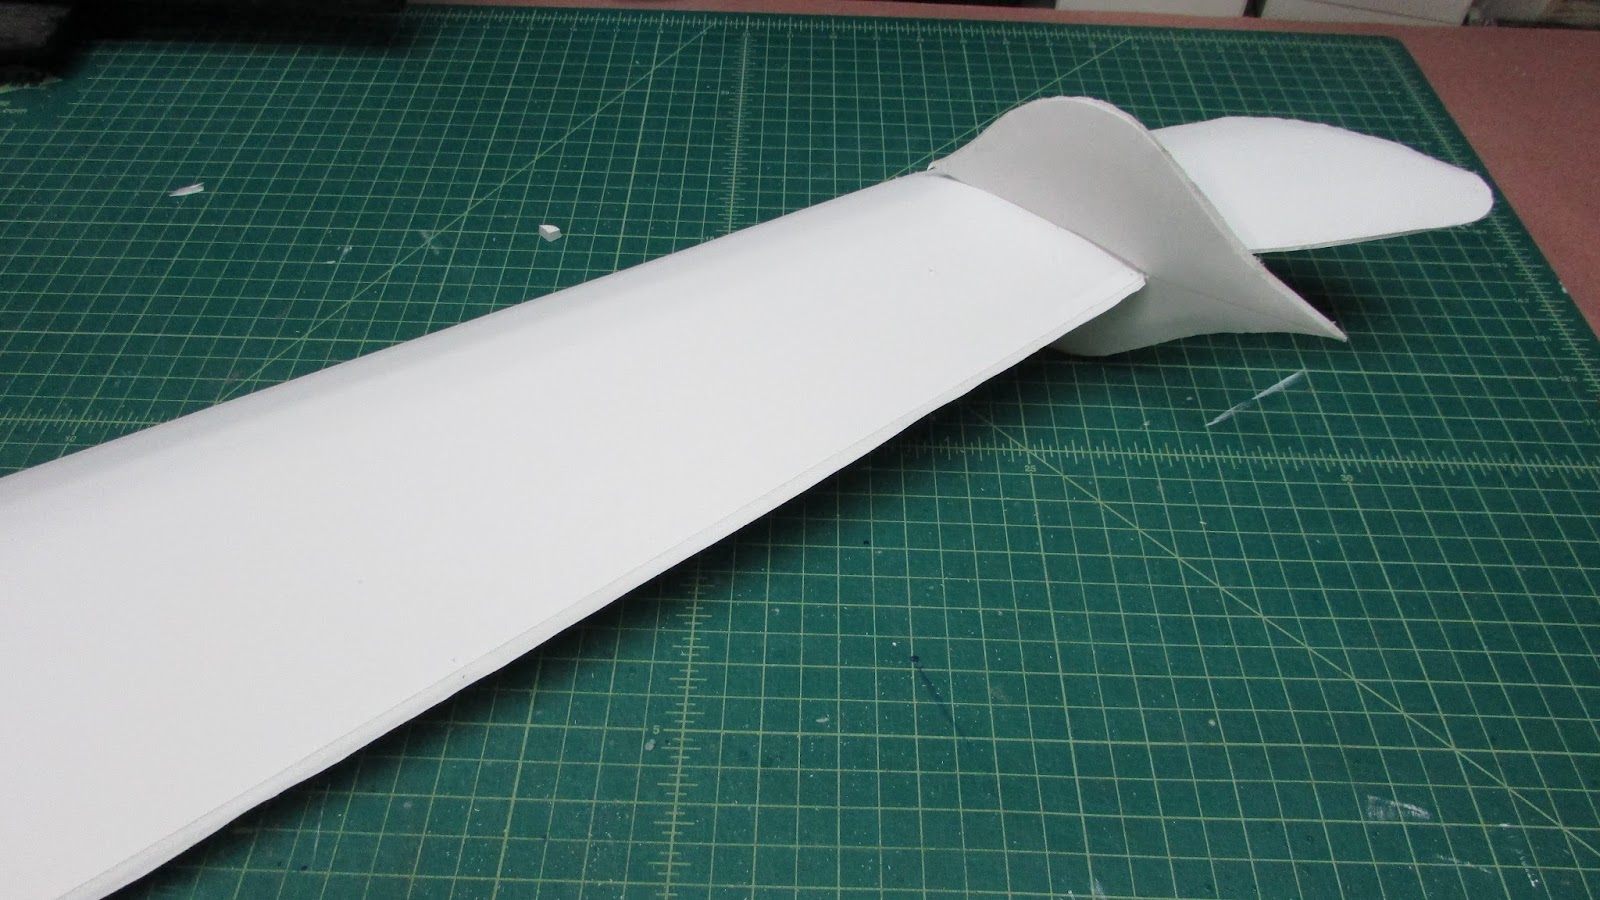
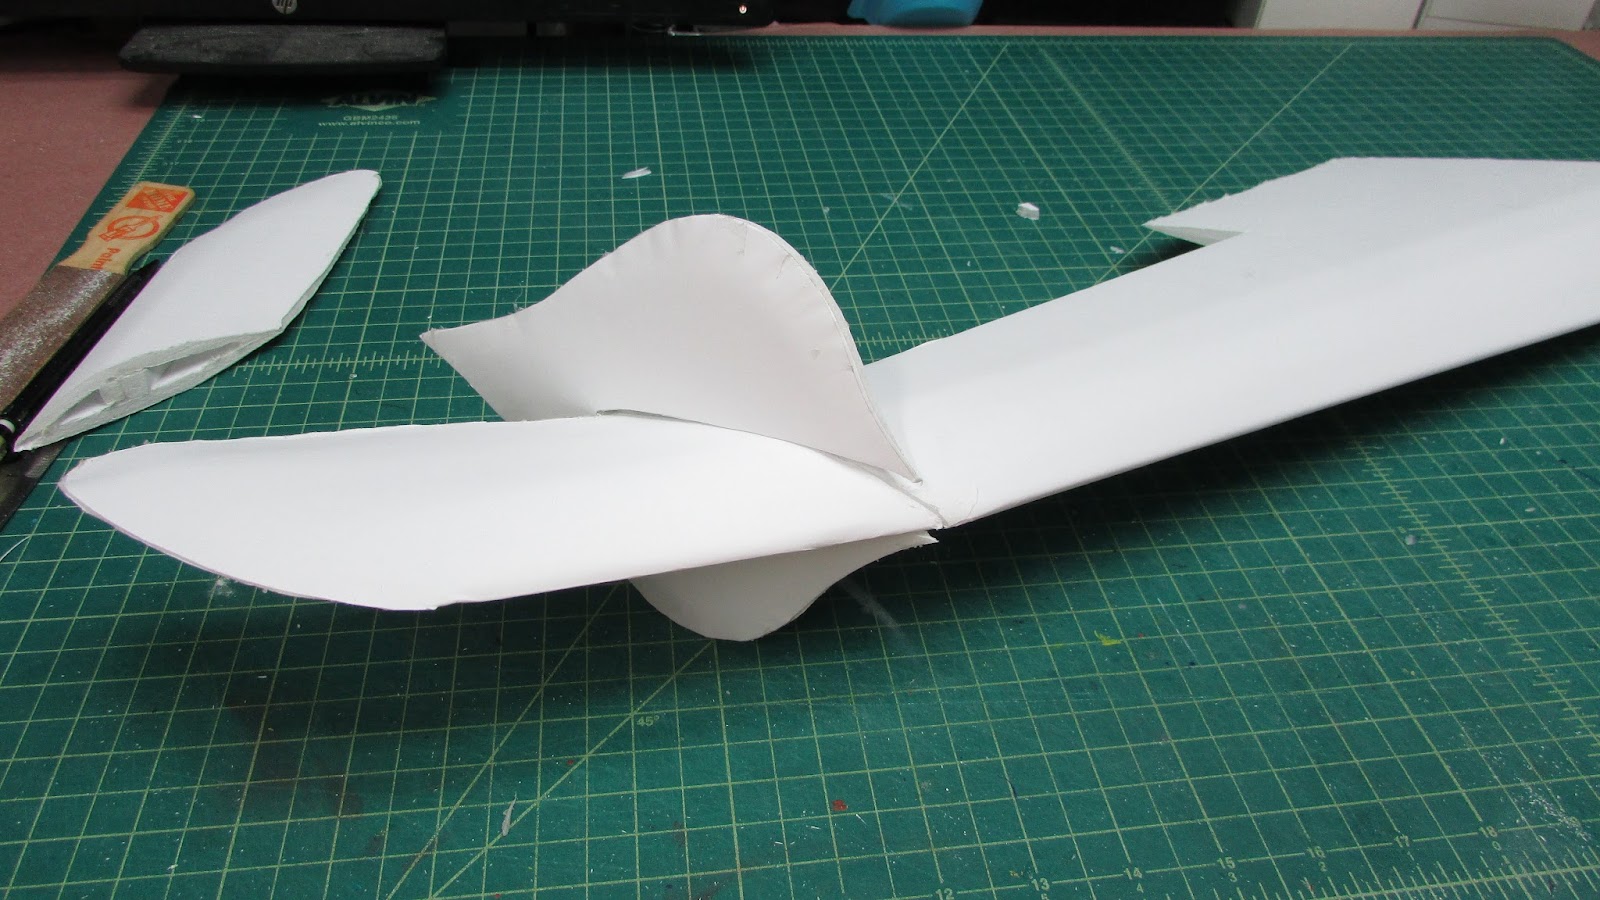
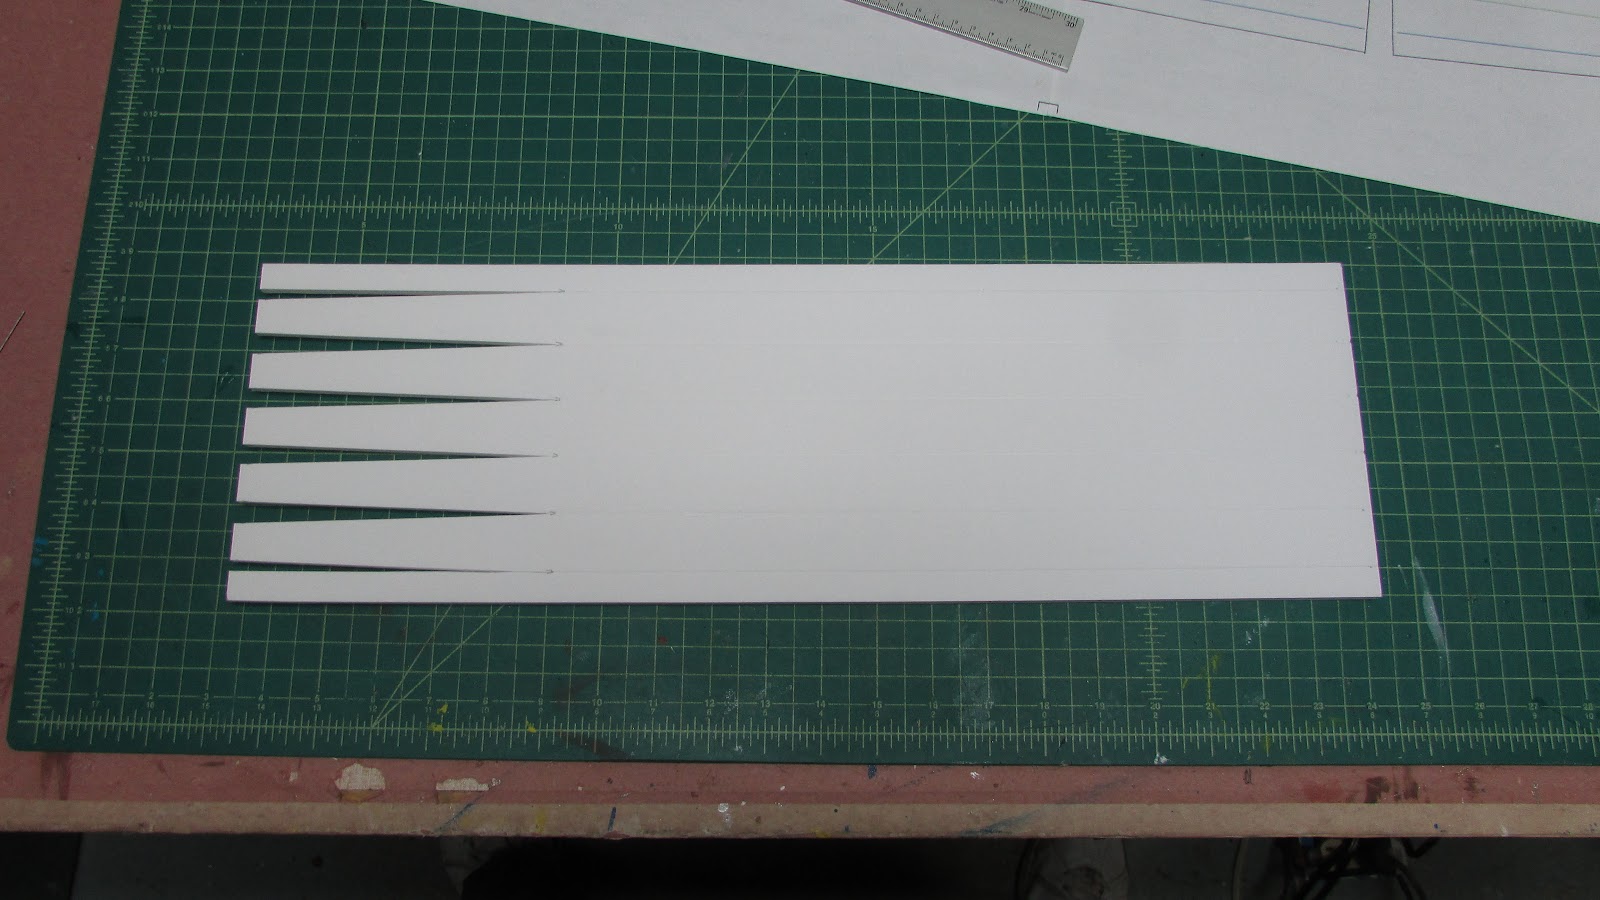
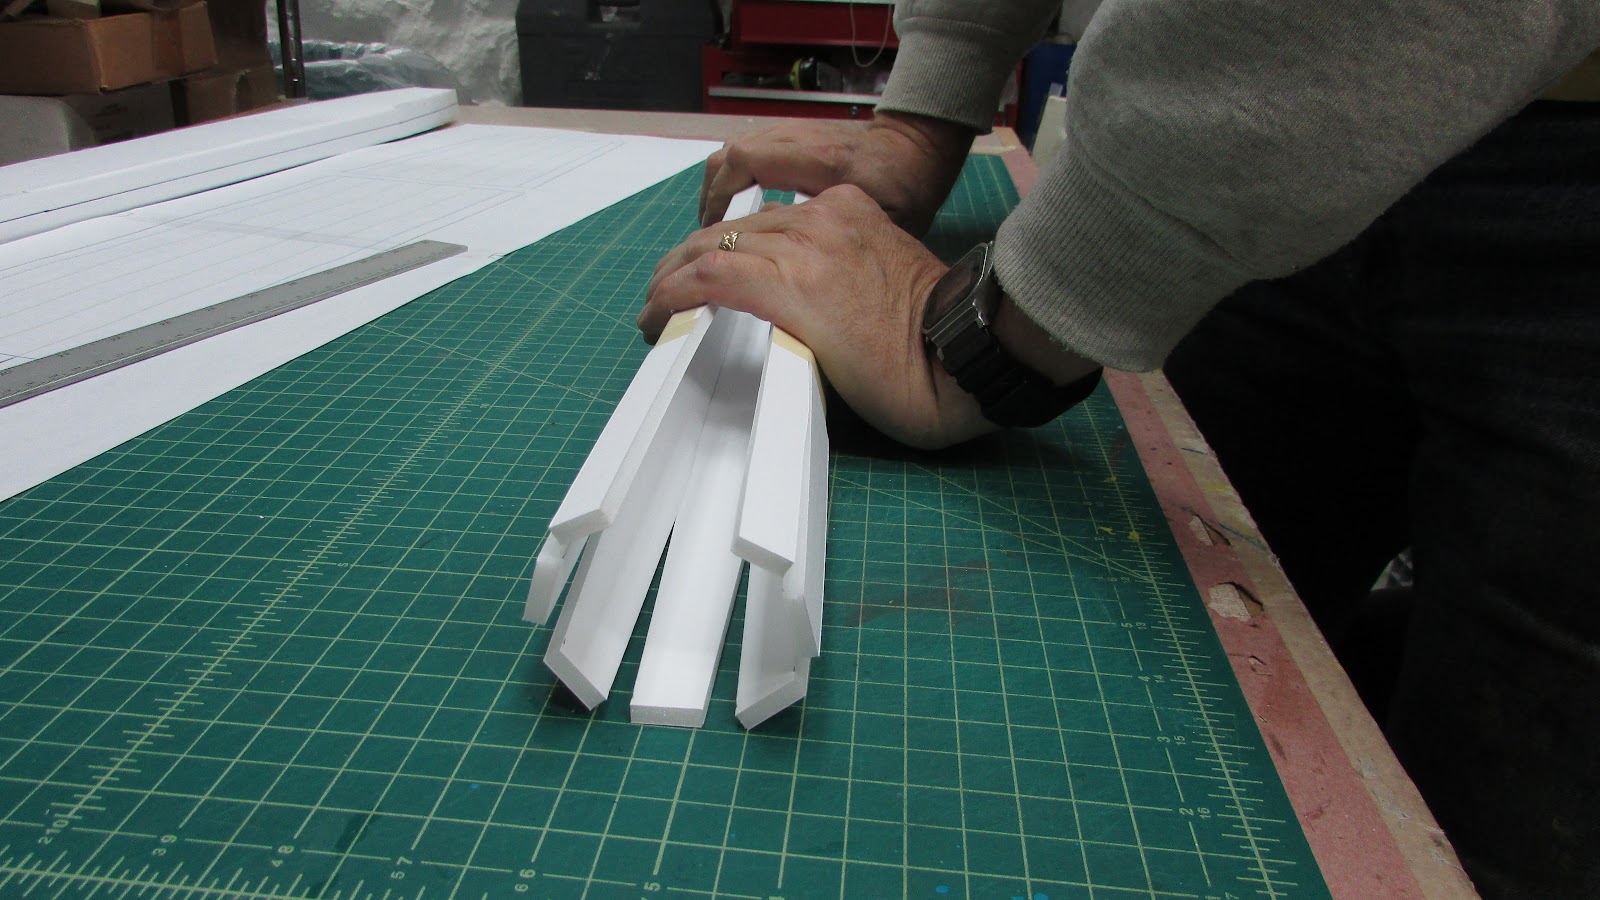
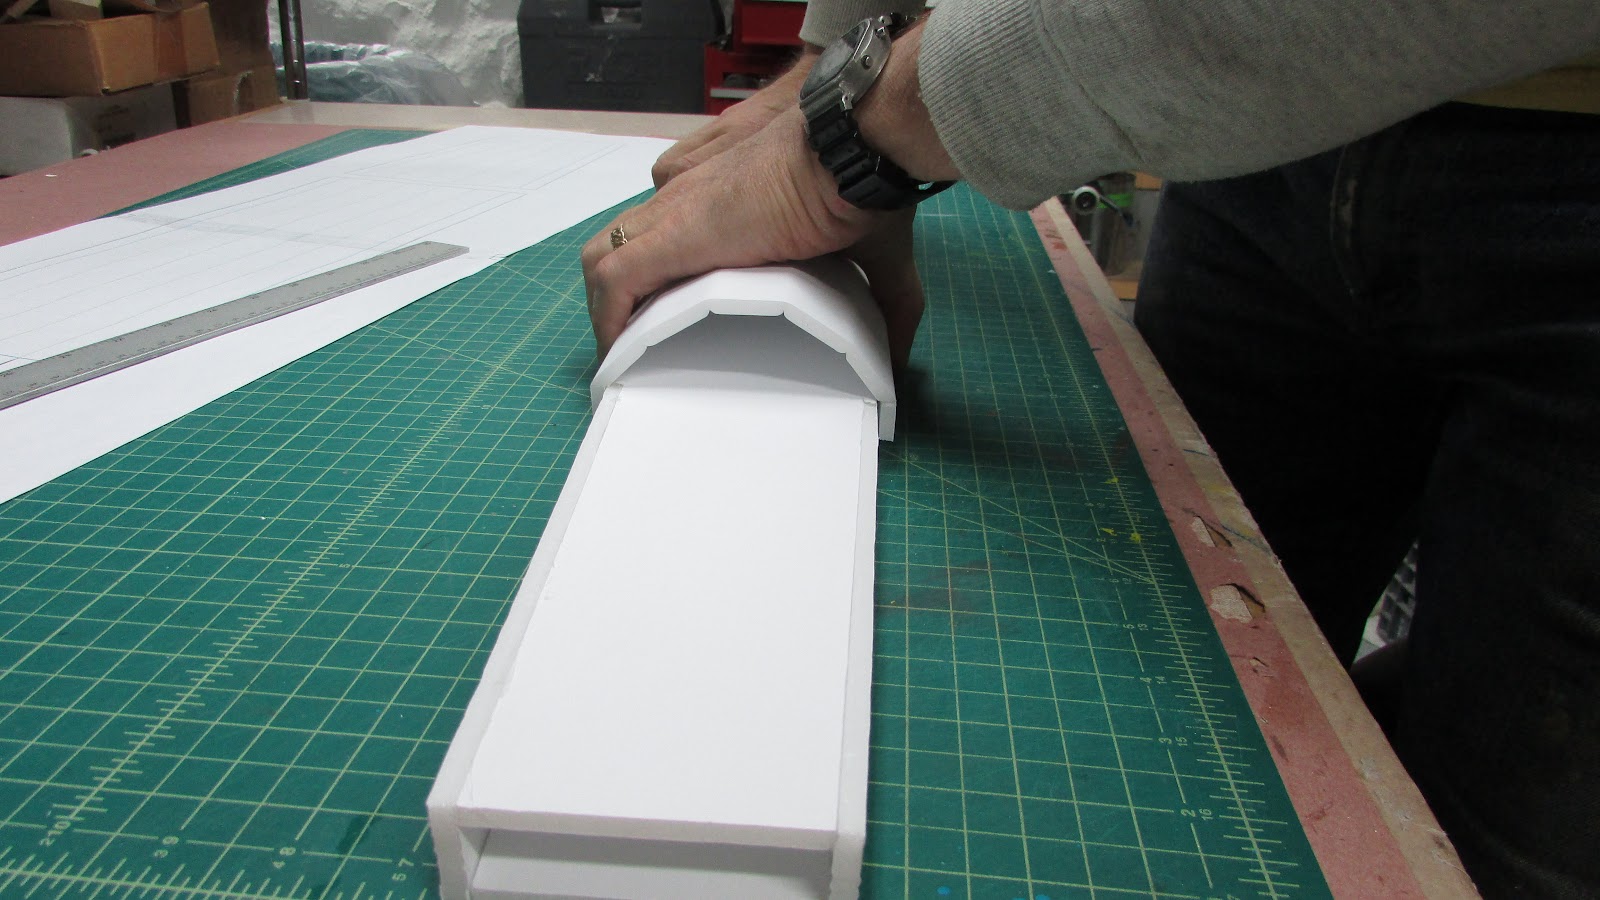
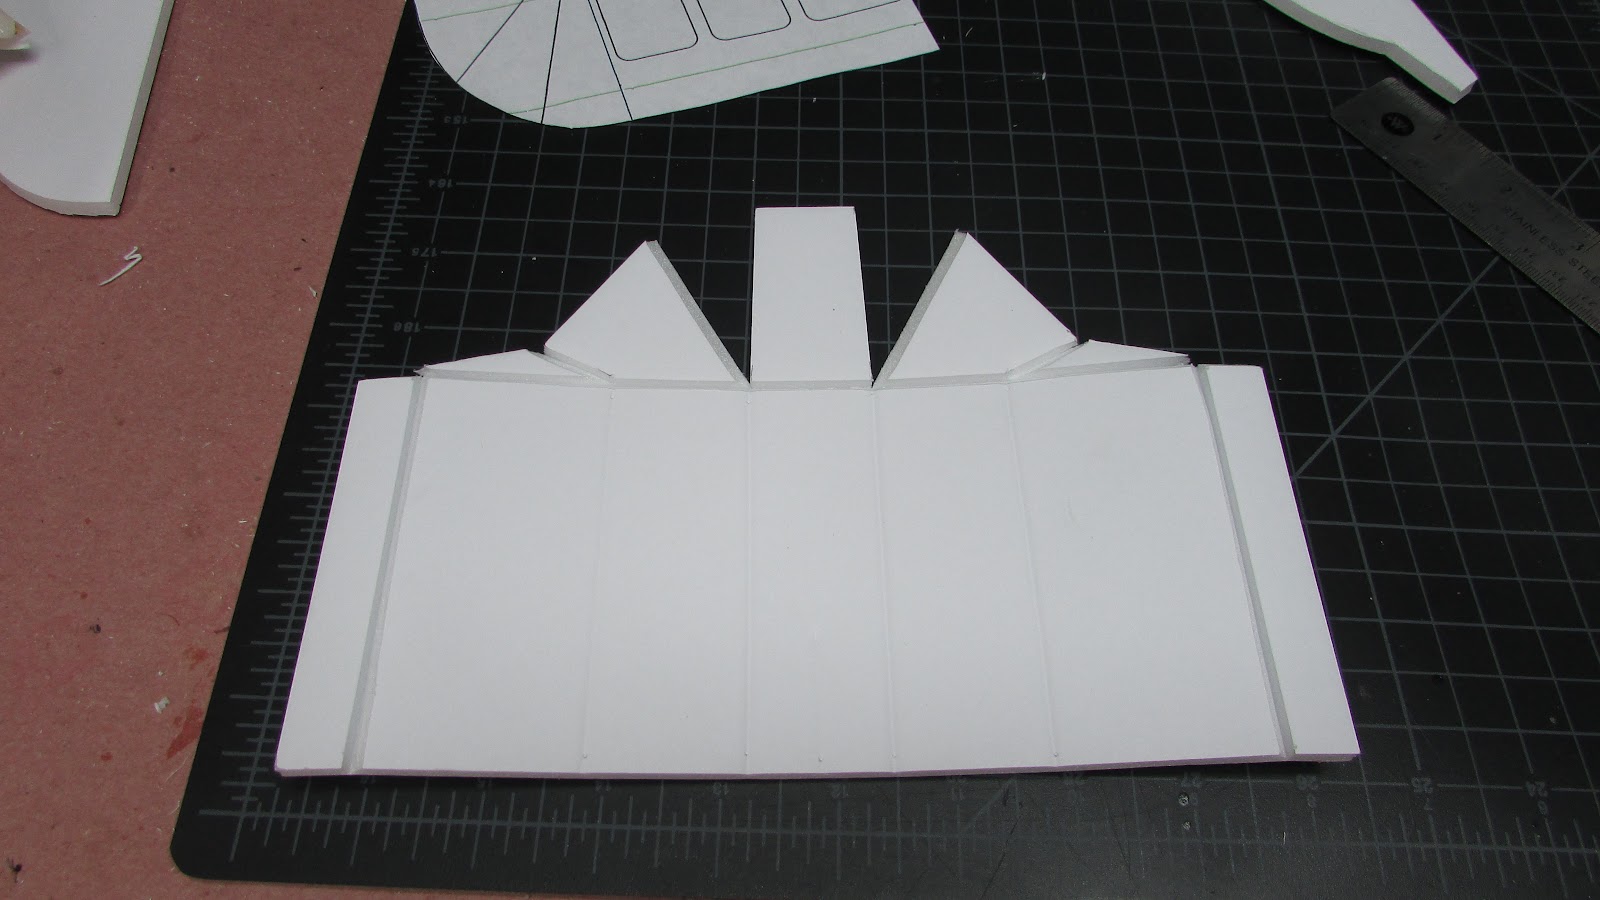
Anyway looks clean and smooth so I think you are on a good track so far.
 

Allenhat

Member
Last night I had a frenzy of activity.

Built another wing after making adjustments to the plans.
hFXz4M44u-D8Blh9Gq5-LQckDzVOxBiI7fHDA7VcVPpekYapCkdeXmec2Fc0vyLzE6f1w-NZX-3L7T9wbpnxod66Lp1vDn88qlvn8Uo1QaXnPGZxsjWVNGHFPFrk8N-H76CdPm0G

Cut out the wing. Crease along the crease lines. Score cut the leading edge. Bevel the leading edge to 1 cm from the leading edge. Sand the bevel to make it smooth. Bevel the trailing edge to about 4 cm (the plans have been marked at the point where the elevons hinge). I used a hot wire cutting tool (shown above, along with the strip of foam that I removed). This can be done with a sanding block (shown) but it is way more messy. The wing tip is beveled to 1.5 cm but should be more, as I discovered when gluing.

vaEF1qcyp16T7mlhXCMMeHPuG2f0D7c0R6jz0H2c-yKjqrMuCk0gfveYmpJKx4yJfTv4wctBn8mQnrUQ1pOrrmbpY54TW4AQTHMUZAqXseFKKmEmP_jfwkYQVXFzIku5ZLxOsDrd

Glue the spar into place (for this quick prototype I used hot glue, but I will use Gorilla glue in the real deal).

iLXrtJR0o_e35nBoRTyJRbpM1fZHe-2CuV7FhPSv9VZsRHTpnk8qRW5aSBwJzB-xzHNzznB4d7fKn_-bbhZvdIElnIsf6g1wgfJ3pThF2p1yWPFNk0fbfnTBHIMuTvYIFC8_n9em

I am going to practice using Gorilla Glue on this prototype, so the leading edges of the wing tip were tacked together with masking tape. This only shows the first to pieces. Spread the trailing edges apart from each other until the leading edges meet and tape them together.

E0bRglGgs1pCIt-xTMpfTLMcedIQIp42Wa2vLfCTOUb-BcIcI4ok_IqP3cU9muWs-YhmQLmTDnLIy7IGNI4CTe4zPaFgxxgr99g5WonqU2sthW-9hHYEHaG62E1gscAf-5moCztx

Cover the entire slot with tape. and the wing will look like this. Run a bead of Gorilla Glue along the leading edge and the taped together portion of the wing tip. Using a toothpick, spread Gorilla Glue along the rest of the tip edge.

XSVeYEnlBH2KxlSwn4iAqQLqBVp0Sn-zv6eGrhHUkSes4XjD9ZdjXztsoHU3_vw1MFaerZlLDSKPAGrQzBiYqpcwCucbNpThrTpr3RoJFVW7rZMCHLnNhOpq2bFYKWtYE0T1j-Xy

Use tape to hold the edges together. It will look something like this. Now run a bead of Gorilla Glue along the spar. Smear Gorilla Glue along both top and bottom panels of the beveled areas. I use a playing card.

YWRhz6Zyt9PHwaitVHzDOk8GgcuSfDBoPZrbOiaMBAQEJgOCIxk1D7WCCAz-m13S7Y1QJmgnSIOj5lXPG9G0bMQBIiMkZY51ObqcV435gCxjTX1hhfT6lMKldnSCV-5kqPuWxqQk

Use masking tape to hold the wing tip trailing edges together.

7iQIBRKWPmwRr376CGWeRsDv5K4nHv0_XLkddNrXZ63KSuCeqpusImcIIJWEam6y2qwYUc3lxMLUDnZhXmkUM6pqviDFIbiwINL23XssnYHU2ToLYGe4fyydOVGQFJmnbO36yipk

I used weight to hold the rest of the trailing edge together. I placed the whole mess on wax paper.

Give it about 30 minutes to cure and remove the tape. If you let the Gorilla Glue cure completely, then you have glued tape to the wing and it is really, really hard to get off.


Please tell me more about your hot wire cutters in the picture. I hate the mess that beveling the trailing edges make on that type of wing. I am super interested in making a hot wire cutters similar to the one shown for that job.
 

HilldaFlyer

Well-known member
Please tell me more about your hot wire cutters in the picture. I hate the mess that beveling the trailing edges make on that type of wing. I am super interested in making a hot wire cutters similar to the one shown for that job.

Sure - first let me point you to where I describe it... then if you have any questions, let me know and I'll do my best to give further details... OK?

Crosby CR-4 Build
 

HilldaFlyer

Well-known member
Thanks a whole bunch. Going to check it out now.
@allenhat - Thanks for your PM. I'm going to provide the same answer here because there are probably others asking the same question. What do I use to power the hot wire bow?

The answer is another article...

Here it is: Hot wire foam sheet cutting.
For this little bow I think the light dimmer contraption (version 2) should be fine. That being said, I have use the MegaPower version 3 for all my cutting. For this bow it is set to about 6 volts.
 

HilldaFlyer

Well-known member
Another Wing Prototype

Made another wing after adjusting the plans a bit
Made the spar thinner by 0.2 cm
Made crease marks parallel with spar.

The build went like the one before. I still have trouble making the wing tip as nice as I would like, more about that later.

0SxLayS3I5-YYTUERy8LRDI5TiBm5cvGNW8VRsWlpBg-d_h7WKIiL0aAttgtv3fvoT6s15_NGtabTRJtlnZ3X0JnGPZBrbevu_glQSEswpaKRBhKULe6ecRQ3e3_R-5dKMgA3_k0

I cut out the aileron control surface and it is perfect. Depending on the type of hinges that will be used will determine how it gets cut out. I’m planning on using small plastic pinned hinges. I was concerned that there would be a gap between the top and bottom wing panels when the aileron was removed, but it was perfect. Now all I have to do is make little slices between the panels and slip the hinges in.

So, about the wing tip issue. It is kind of difficult to tape the leading edge while it is being glued. I thought about making the parts separate and then glueing them together.

7dOd-XI43nk0OT3AYcIcLYe5kA-5Fs5SoGoOrf6Ew6doSFseI-_1eFRObFPxbrX7DckkPS95ITe7Jec7OS-ER1CD5DcUdMrx9zV-ExGVUov68rxImahYbvup7tXuc8YdTIjufNpx

I made a wing tip from the plans using the vertical stabilizer center as the location for the join, thinking that the vertical stabilizer would hide the glue joint.

CD2BGkK5OlaTGtOHrYumaODhjHvCsHxVhAyvw7JOFWBg_9grIQOyqvBq4uGFPRslVAPuUVMzwCnZJOnLygv0KKTJTLRupu6i9Z2Wp9sv9yaX4wxQiOI3Xvc_ETxBSDL7ZEAElm5y

Here it is, the wing tip built from the plans, the vertical stabilizer and the cut off wing. The thing about building the wing tip from the plans, when the top panel is bent over the spar, it gets shorter, so I’ll have to add like 0.5 cm to the top panel in a rounding shape to get the two pieces to meet flush. For this one, I just sanded it flat.

w0z6iWiaqnDQZ7MxOFR2glHJjNUyJ2uh_m8S-7h380fXVhf7YRjhN8tk5jPgPsuU5vQlQBRzeVXu4ek8j_E9oKqA5fOgB8O0DYkvW13onjk80iXF0xjIdnJTsnnAzWe_95y4fcFE

Final product looks pretty good (this was before I cut out the aileron)

0I5dVJ2M73YKCQQA65RwoeytMmwjZVQ-kahyxBnDkSfcXnlQcaDGzfb02eNWs-RQUMJSm_XtsXTdCz2kMU3DeAb5eLhY41og2sGxDbMkG3zlit6XJJClJtbaKu2xQAetfj5vL5Hj

I need to work out the curve of the wing shape in the vertical stabilizer a bit. The vertical stabilizer is constructed from two pieces of foam. I removed the paper from the inside, beveled the leading edge to 1 cm and the trailing edge to 2 cm with sand paper. Then I glued them together. Boy, that was a chore and you can see the wrinkles in the paper not to mention the gaps. This was my first attempt at doing it this way and I did it this way to leave paper on the outside. However, I think I had more luck getting a better shape on these parts (check out the Crosby CR-4 build) by removing the paper completely, glueing the two pieces together, then sanding it to shape. This technique requires that paper or some sort of skin will need to be added. I like fiberglass, but I don’t think fiberglass is a common FT material. The other way would be to skin the foam with tissue or packing paper using polycrylic as the glue. I’ll try that.


Namactual

Elite member
That new wing looks great! The trailing edge on that foil is literally paper thin!

The wing tips look good to me brother. They might have a few minor winkles, but you will never see that a foot or so away.

I do hear ya on the shaping though. I am going through the same thing at the moment. Organic shapes and DTFB do not mix very well.
 

FoamyDM

Building Fool-Flying Noob
Moderator
This is coming together SO nicely. I need to make a Wire Foam Cutter... Wait, I may have one. from the Warhammer modeling days.
 

HilldaFlyer

Well-known member
This is coming together SO nicely. I need to make a Wire Foam Cutter... Wait, I may have one. from the Warhammer modeling days.
Go for it - hot wire is so easy... but not very forgiving. One slip and... you get the picture. But when you have a template to follow, it is so slick.
 

varg

Build cheap, crash cheap
Wow, now that is a perfect bevel. I need to try using a hot wire and a guide of some sort. The sanding block method is more mess than it is worth and I think it's impossible to get a shallow bevel as smooth as that one with a knife.
 

HilldaFlyer

Well-known member
Wow, now that is a perfect bevel. I need to try using a hot wire and a guide of some sort. The sanding block method is more mess than it is worth and I think it's impossible to get a shallow bevel as smooth as that one with a knife.

Thanks man! I've been making my really deep bevels (>3 cm) this way for a year or so , but for the shallow bevels, like on the leading edge of a wing, I use a knife. For the first time last night I used the hot wire. I stripped off 1 cm of paper from the score cut, opened the score cut and then free-handed the bevel using the paper on either sides to keep the wire aligned. I've never had a bevel so smooth along the entire wing. Going to practice more.
 

HilldaFlyer

Well-known member
Vertical Stabilizers

Made the vertical stabilizer the right way this evening.
9lnc2ZvvRgjmKXHgCRaSRRCmKyK1PIIpxrIoxABZ1dyO-PlYU1UOUbJsN597w91Puc81X9uCyaDYI2Ai1c26KfOKHgJnRcWeQ1tWFbla6ZeGRsX5f-ZfaQJoYIN-qPz9A5q6LUij

Cut out the pieces and peeled the paper from one side. I guess both sides could be peeled unless you want to keep paper on the outside. Smear Gorilla glue on both pieces.

jcgROBbSt-P4g-qRHIe7_iW8kW7_1ihoDNjdKwIPx1MOpMvozvuXssyRfFKJXg6cWtwqAfBa4LNFmUVrYpqhnX6Who6JZV4LkYNfBLDQUWBSlg3EvGc_eEOUjf0xuKWNxaERrU_n

Hold the pieces together. I used some weight, but I took this picture to show the pins that are poked through both pieces. As Gorilla glue expands, the two foam pieces have a tendency to slide so the pins prevent sliding.

wzILh98Y2LpAA7YPRZm__HRaJJ7gl-9qRTP78o9sMKf1dyh3D0ZXi3PFyWolpheNZ9az8Q9792eir_QADbOouxN-WoNp-BivNii1q5qBktiaFKU-hl-6TQofFwJcC2UOJLmPZUrA

After an hour I used a knife to remove the excess glue that oozed out and then I peeled the outside paper.

bdpxY-dXOyO44th2Ntl1vI_u5UUPMsv6_RXwD01r5B7aQuFq7OuqH67G3uEuWfsJ3EaM8lVs3mhpnoRhv_W4ShJsF_KBcqzRK_aHjsqK1kGhUTVFfi_A8kWiFhLB5h2xllPyqWDm

I know I’ve said a lot about hot wire cutting… but for this I sanded with 80 grit to get the shape and then 120 grit to tidy it up a bit. Now that’s looking like I wanted in the first place.

khwRkzZuI-nLOoWgoNPEn1_CttjSwNDbJyvsBto3hQFbR29eSjouWiU3E2A6-trzvD4SbHGuJHb1xXM2PutcwDsTJzPKobEJzJy72ZnjJW1TBare3uTvE3y0YhOauIlTesN5GvC_

I left the lower part (to the left) a little thicker than the top since it will be doing a belly land and the vertical stabilizers are going to be the landing gear.

IzZamW77h8Qicqisr3A3w1FvoXdhiUGKjJgpGygNLjaexte_SaH9aIXGOzhSx3wxOPJ8S7_viF1JKU6bGosJlZh_MoypN4icOU2RP7FXBzIbKbzazfw4s-vOXS1_A6kiUzQiH5W2

Time to replace the paper. This was an experiment to see which I liked best, Packing paper (left) used to pack glassware in boxes when moving or Tissue paper (right) used for… skinning balsa planes.

I brushed a pretty good coat of DuraClear (Polycrylic) on the foam and overlaid the tissue paper and then I painted the DuraClear over the tissue paper. The packing paper has a heavier weight, so I painted the foam and the paper and slapped them together. Then I painted over the paper once it was on the part.

LXi7atcYKQIkogzrhWi9l_gOZT5C62vuRzUtz_3QnrLt0B3i7gEjKdp0SOjOfPz51tetJAhNOD4THllwWReUpKWROCSkgbP8hetJZ4hYEfQ6zGu4iVCr8rBwhl1pmTU6N7f9vQoN

Tissue paper side.

3dl3Pl-84iAVQmeHPFeurxBqz_DIeUVpX4eRMFxG4g4JfgyQlzBQmy3s45QCOQkb2TTPB69o5OqDC7sI_lUFEWW4CFKiRdK4DcOsIWl7YQMfmyCsDisCxlRczgJOY2eClwnV7ypT

Packing paper side. I like the packing paper best even though it is off white. If you look at the tissue paper above, I munched the top left a bit when I was trying to smooth it out. After it dries, I’ll sand the edges.


HilldaFlyer

Well-known member
Sorry - Thread went cold - like Siberia.
Should warm up soon - since I've done an entire fuselage make-over. REALLY?

The wings had nice graceful curves that I couldn't stand sticking them on a box... so I started playing around with different fuselage shapes. The octagon still wasn't enough... so I went to a dodecagon. The difficult part (for me) was how to keep the plane straight, and how to configure internal parts, like the canards, with a tubish-like shape. Anyway, Last night I finished the fuselage prototyping - and I'm kinda pleased with how it turned out... pictures coming soon.
 

HilldaFlyer

Well-known member
Dodecagon Fuselage

ACeG1i37-tEpXDjGX3KUFLqIscIP5wqi699GcyY0N4LI5ec5DmFb0Lh5FPTG4MFi5ggSrVzCh-Y9nGsNLzhWCI4lcg5en600r_5Yl4wy0Vd838XdHhvPFwQZrp3u4z8OUIevx8bV

The dodecagon fuselage will have a central rectangular box frame.

a0FmpXhuJmN2JSCN6wlaYXk2VwNj2Y518tbS8F5EHXO2i9DXdLFN_YHayACc7vsPlkZ8gR7Dlgui3akij_-AovSLxM-sewwBoAEm_Ww5FaYs9EsGeRZN747is96f_FScHMKOY4Cw

This is the fuselage nose, both top and bottom panels are the same shape, just different lengths.

06dAtEwoKE_-glRMhY1GsIh7OKAP0OUndin323A2qbel08AB4c19AHJtjPyk0tOj9IP_gNJpqHJ9OEZe-P9jSAi8cVuzNzHpdPQqnUor8e7QcBBR0j1sH2K9Oeccp36Tx338I-3o

The panels are creased along the fold lines and then rolled to create the folds.

mT8Fgu5FMqZqj-QlqhB9dTILl3BnG4WwVr8lEWWlbY3LA5fWKQnMMO5T0CjrGGvLAVGCNVeXxEl_--mEBY6uG2fh8m-1P5ZM0KjLJavN3Gx1704pXPGwLwCsS0PuhXIaot5fY1os

The folded are fitted to the fuselage rectangle.

BjAtLgTaXBPP3poZWYJj8aHTqB-CXoZrSh0ezZ0sckW-BHYdfbTQzXyCRzbdGmTBGCHtOuJgR-mfGx7ppGpzbJ1vjmdIJmiOSBHq3NjOKy2KHgJNFXxBhsGfYrSlk9-GH8OWDXpG

Canopy cut out.

Huaoz9epwFgAjb_6WvUrKQtdEgHLWy4MutRNg-AkuWPtfeHs-AFD1VOl3XHwWVYaeVZ3qy0F0ZwUutRMbScF9j9j97UzfCC9px9cxnVBOhzvm_ryPEHhu71RhTSDhywqkX2nsdx-

Here she is, the top part of the fuselage complete with all the trials in the background. These parts are not glued, just test fitted and sitting in place for the photo.

 
Last edited:

Grifflyer

WWII fanatic
looking good, do you have any concerns on how much extra weight the molded foam board, will be compared to using posterboard?
 

HilldaFlyer

Well-known member
looking good, do you have any concerns on how much extra weight the molded foam board, will be compared to using posterboard?

That is a good point. For sure the foam is heavier, so we'll see. My concerns aren't too big, I really don't like poster board, though. Not that poster board is bad, but it tends to get wet and deform and up here in the Northeast, dew and humidity is the biggest enemy to foam board airplanes.
 

Namactual

Elite member
That is really coming along, keep up the great work!

And I hear ya on the foam board. I still use it, but even without crashing they don't last forever.

That's alright, building them is just as fun as flying them.
 

HilldaFlyer

Well-known member
Canard Mechanism

Finally built the canard mechanism.

s7aMhk2aoogKBD8fkgY_tSv9_REvoXS9fpYZ2iDbTOc7TKN2UaNvXwc_VKlCfc31bFcoNxkh_igPYnqDg0ceLpjbmJ5_3uXROh2WeoWnGS7KoZZNMimFs0l-Zdv-P1NPjVkeObEH

It is made from a piece of plywood, carbon fiber tubing, a piece of steel insulation hanging wire and a plastic nose gear steering mechanism.

pB63bKgJUimn9YCzCmP-yctWqpknBBJSuwSsOFfuhAHLi3Cb3F7O6MT2L5x0rsCCsrMUtlz93ejXaI-3OWcUtpPM5TPK9eWQI9QPyBQXK4EVLYl_R7ZizQcQ74CQTjdq-3VDgTeL

The canards are two pieces of foam this, so this is one of two pieces cut out. The carbon tubing will run left to right and the vertical notch is cut for the servo arm-like part of the nose gear steering mechanism.

YVUZPmgGPeuCkAPdqGoBiOpM7z6GkTUgkgfaTtlGwWMaOT2dp1hp6z--2yc2_vlpEuhjVsQRU4xsRf8f_eg6epz_s5yuiox4J2AlEEOhzw0N_WIa_5od8t_HjSa2psy7oBVfgxEw

The steel insulation hanger rod is glued with epoxy into the center of the 4 mm carbon tube. The set screws in the three steering arms have something solid to tighten against and the steel provides the torque rod for the conard. The carbon tube is basically a bushing for the steel rod and the steering mechanism.

aGCRDGatVuKmpjpapp_-UZBAf39bAhw2DQkgXRzSr3wG4QPl6VfjxkJu4BM023bQJdNXah3RZssIFTonvYVrjqcPY-fZwfjrZ8AEmpyo0IZbg_NbSRliF4NqE74fwNxsrHgRrMtN

The mounting plywood was glued into place and the servo mounted. Over-engineered? should work.