FTFC20 Opel Rak 1 designed by Dr. Looping Looie

Dr. Looping Looie

Elite member
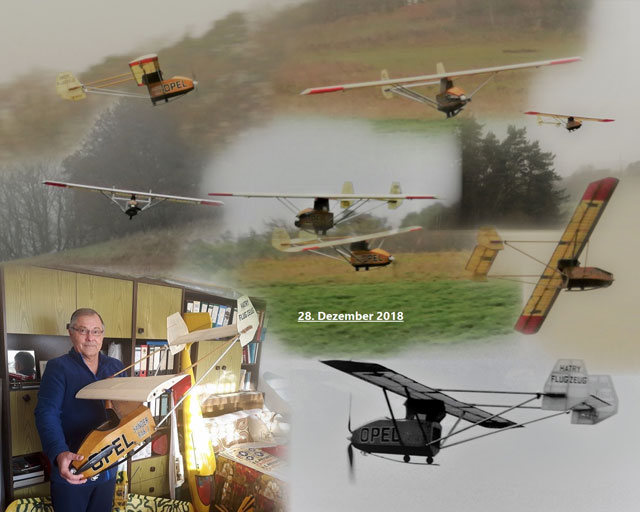
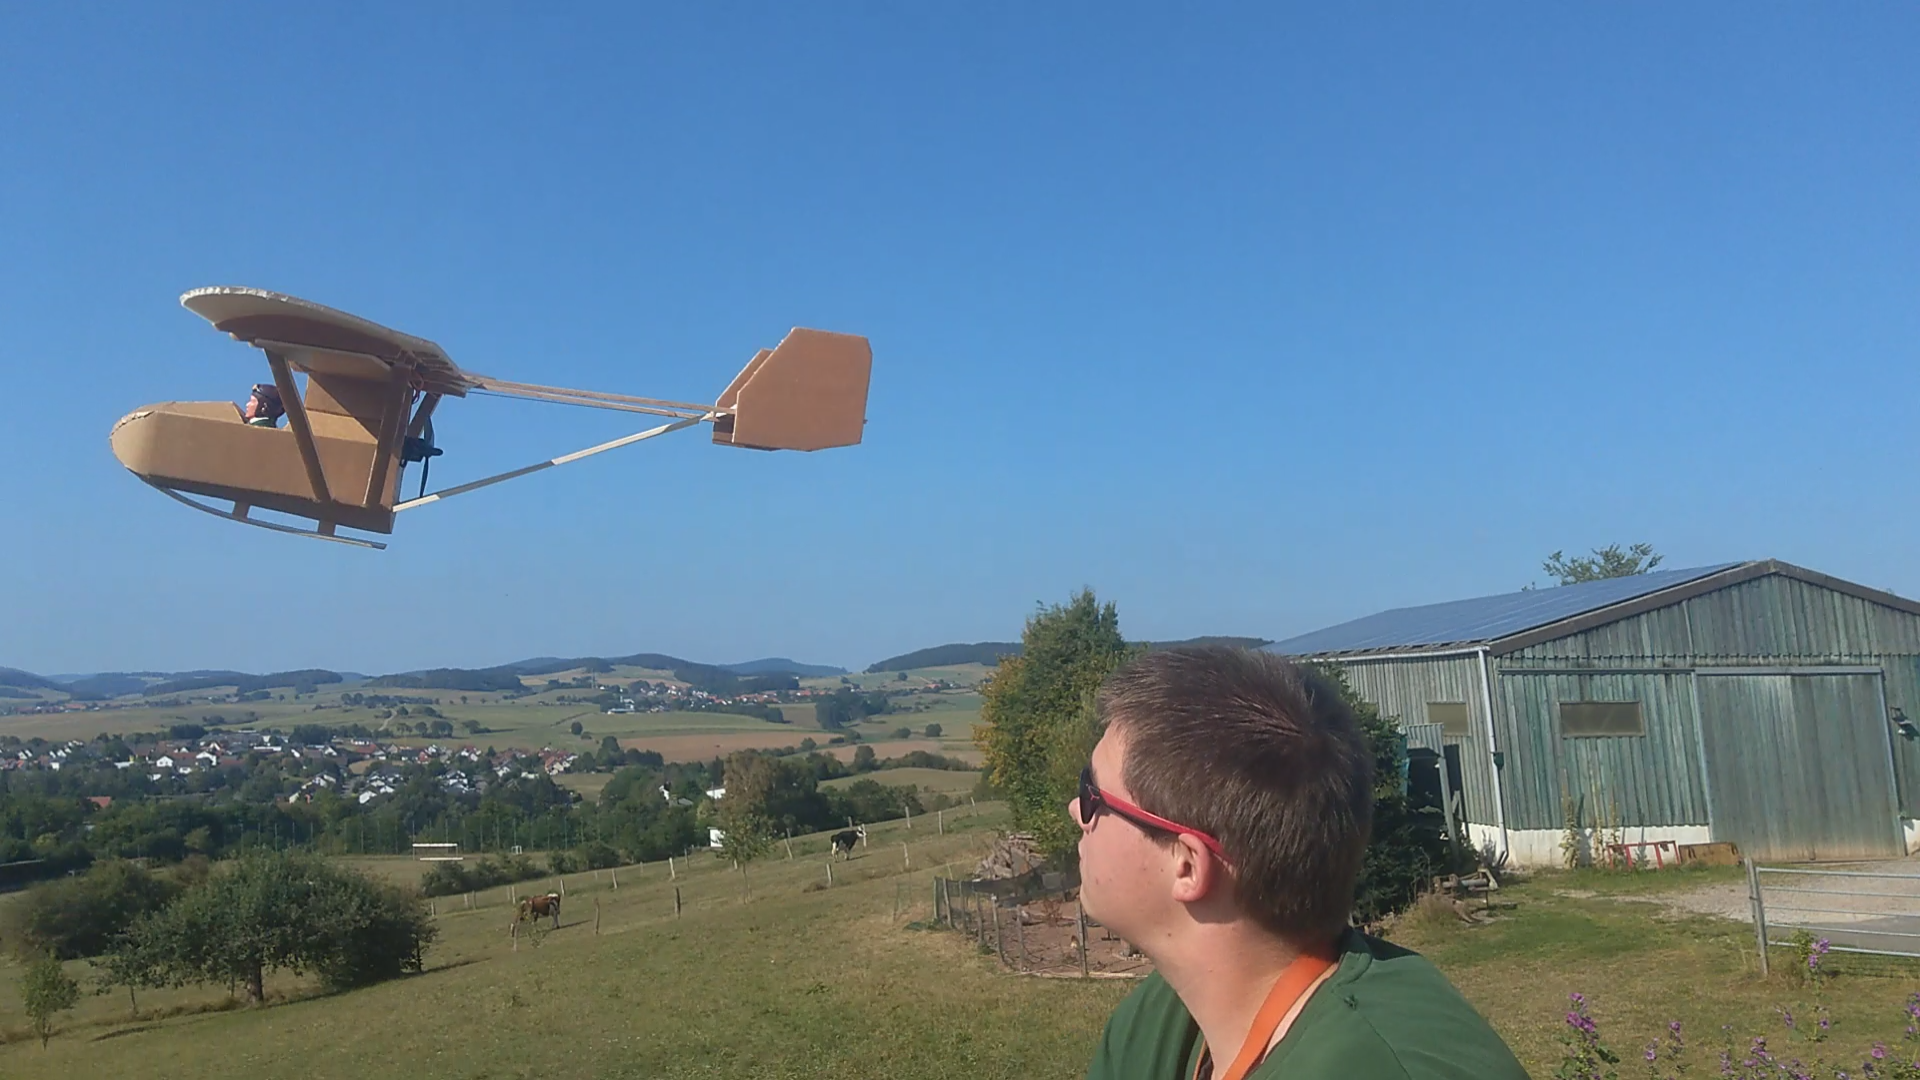
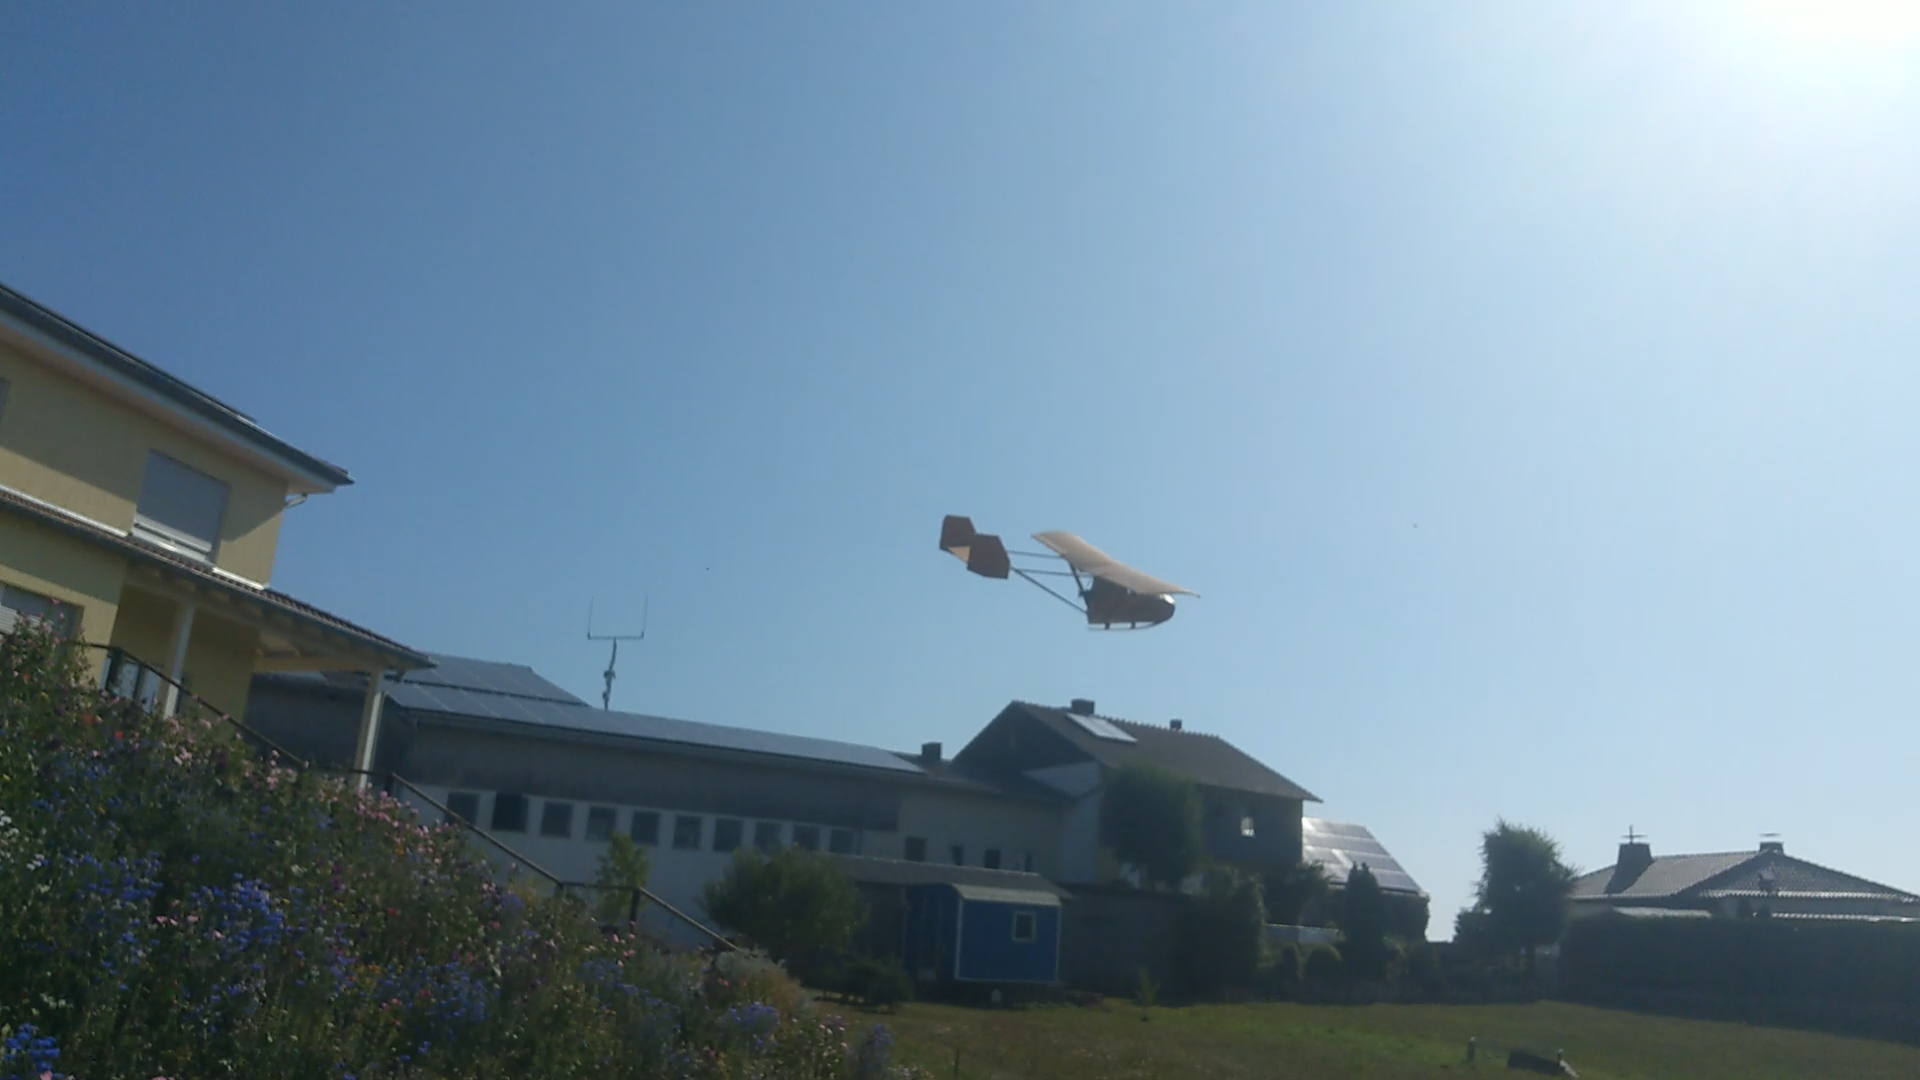
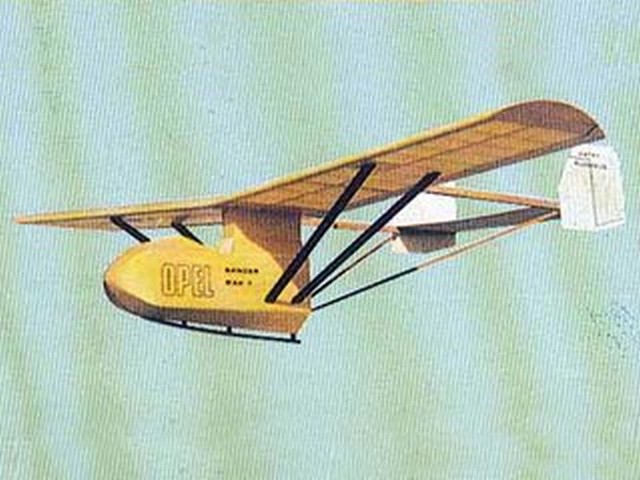
My second entry for this years challenge! This is the Opel Rak 1, a 1929 rocketplane, which achieved flying speeds of over 60mph and travelled around a mile.
I want to build it as a slow cruiser and glider, with an electric motor in the back, but I might also put a rocket in there, just because its cool!
4925.jpg

jgfglfcdxx.jpg


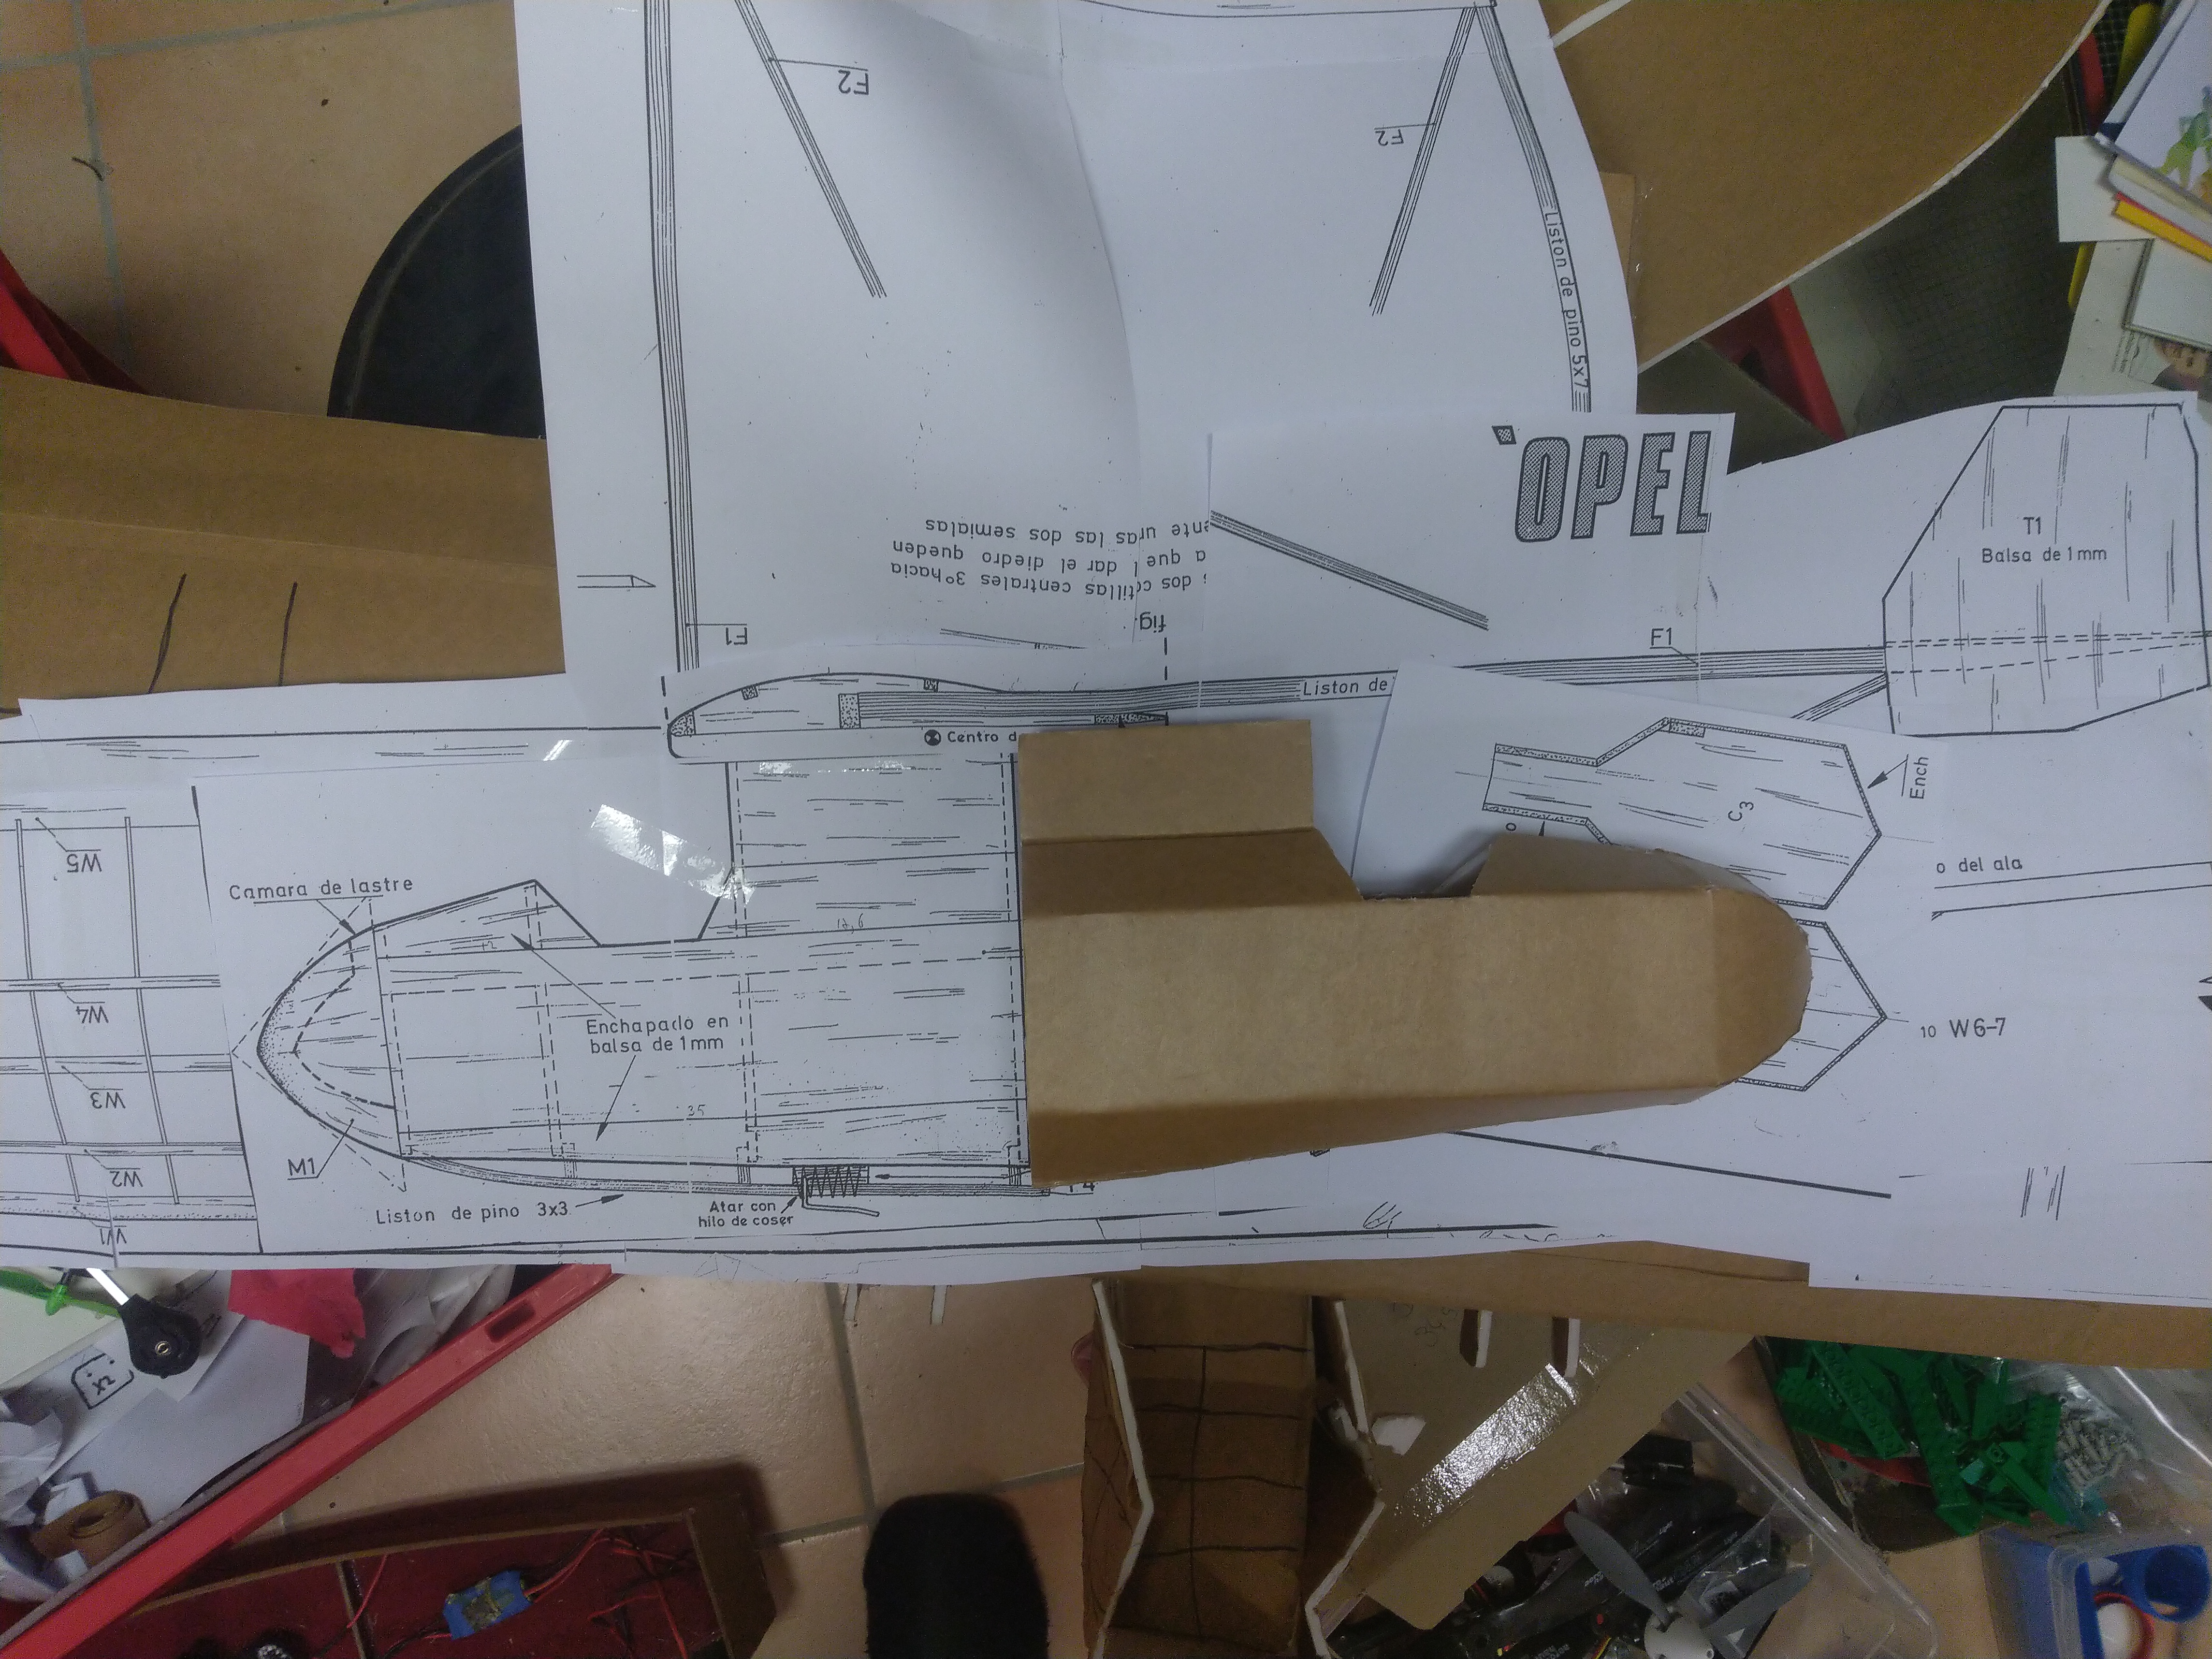
Plans are also from Outerzone
 

Attachments

  • Opel_Rak_1_Glider_oz4925.pdf
    1.3 MB · Views: 0

Vimana89

Legendary member
Nice choice. At first I though it was just a cool old design like a twin boom explorer, then I saw its based on a real early rocketplane! That's a history for sure. I'm sure that one will have great flight characteristics and an easy thrust angle(y)
 

Dr. Looping Looie

Elite member
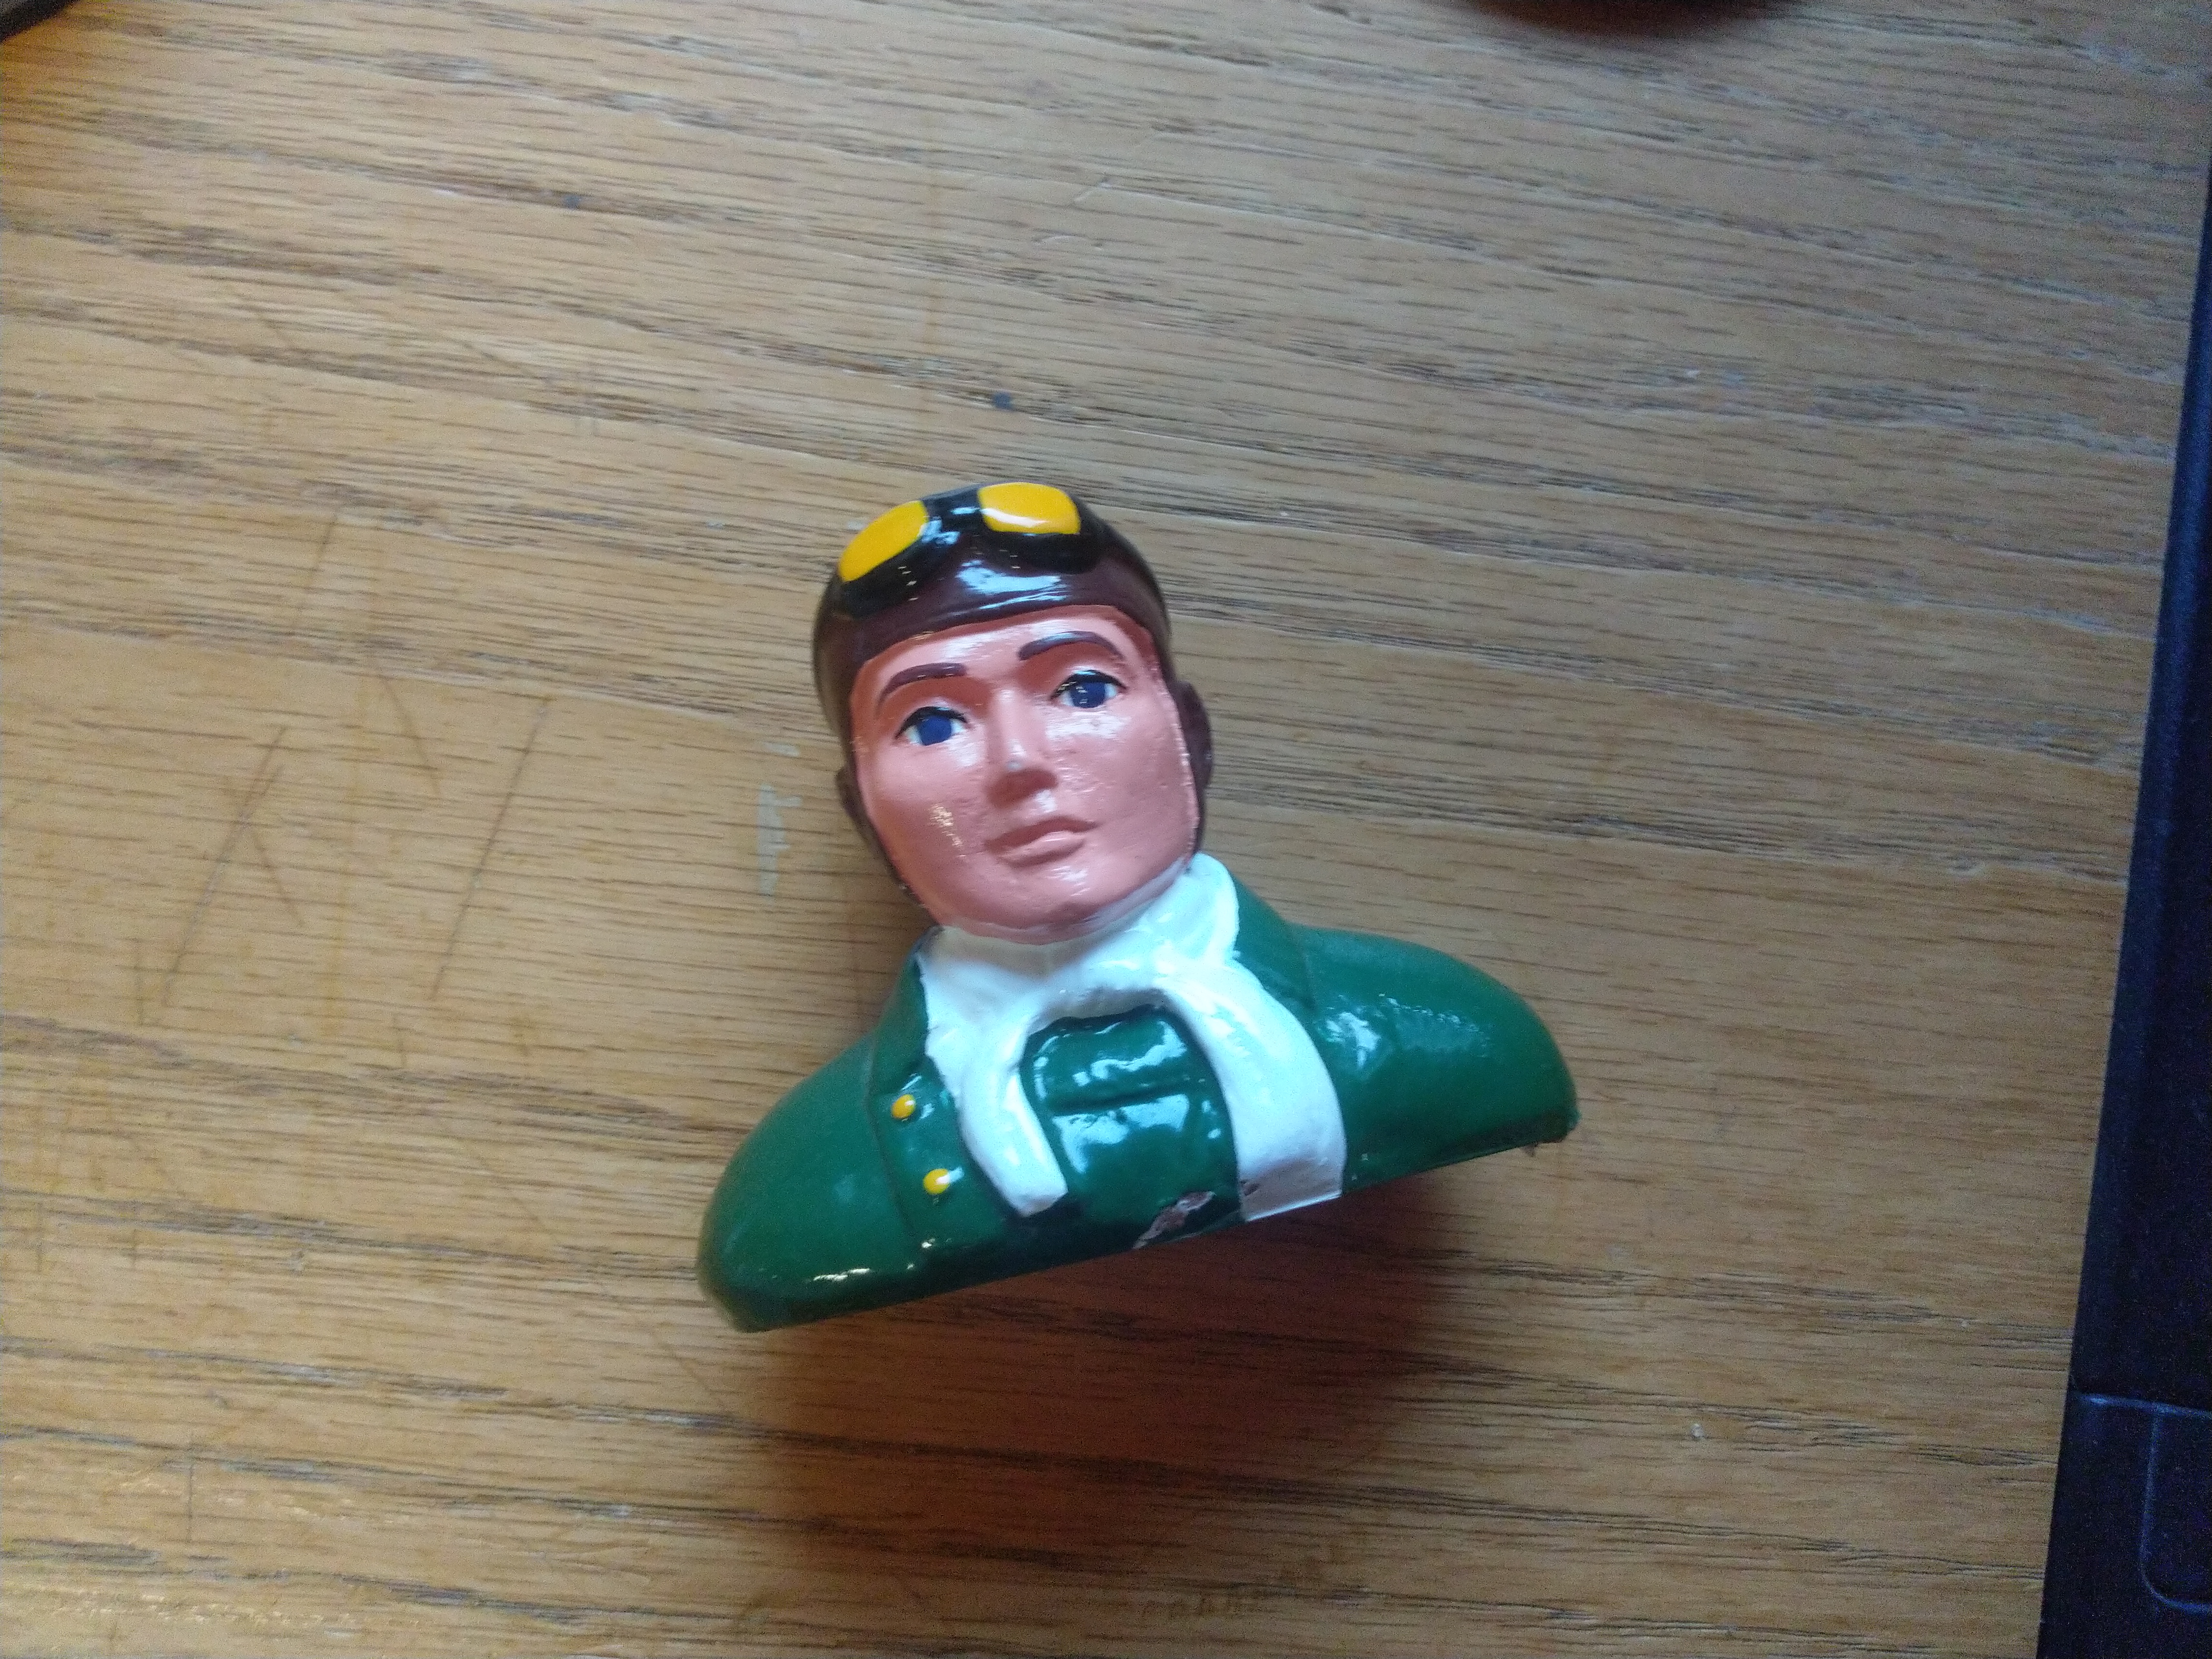
So I found an old pilot figure and I thought it would look great inside this one!
IMG_20190812_064142.jpg


I also want to put different wings with the same size, but different building techniques, on a TT fuselage, and find out what fits this plane the most. For example undercamber, FT style, or something with ribs.
 

Dr. Looping Looie

Elite member
History

This model is based on a real rocketplane, and it was the second rocket powered plane ever!
Its story began in the late 1920s when the industrial Fritz von Opel (the German car manufacturer) made experiments with rocket powered vehicles just for publicity and fun. First he partnered with Friedrich Wilhelm Sander, who was a rocket expert and mixed the fuel for Opels experiments. Von Opel financed and organized the first ever rocket plane flight with a "Lippisch Ente" build by Dr. Alexander Lippisch. On 11. of June 1928 the "Ente" , fitted with two Sander rockets took flight at the Wasserkuppe. But after a few successful flights, the rockets set the plane on fire and it got destroyed. The pilot could escape.
RRG_Raketen-Ente_Deutsches_Segelflugmuseum_02_2009-05-31.jpg

This is a 1:1 scale rebuild of the Ente, you can visit it in the "Deutsches Segelflugmuseum" at the Wasserkuppe.

After that, Opel contacted the airplane builder Julius Hatry, who had a half finished glider, Opel baught it and Hatry finished it as the worlds first purpose build rocket plane, the RAK.1 .
220px-Opel_RAK1_2.jpg

On the 10. of September 2929, Hatry maidened the plane and flew almost a mile. Then, on 30. of September 1929, Fritz von Opel himself flew the RAK.1 in front of the public at the airport Frankfurt Rebstock. After two fails, the third try was successful and the RAK.1 took of from a rocket powered sled. After that, 16 Sander rockets in the back ignited and burned for around 80 seconds, propelling the plane for 1.3 Miles. But after a rought landing, the plane got demaged and was never used again.

The flight at 30. September was caught in camera:

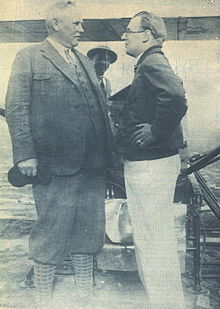
Here in front of the plane are Opel on the right and Sander at the left:
220px-Opel_RAK1_1.jpg


There were even more rocket vehicles. RAK.2 looked was a vintage rece car and RAK.3 a fancy speed machine running on train rails.
 

Dr. Looping Looie

Elite member
Construction
Im planning a 1 metre wingspan. This will make it small enouth to fit in a car in one piece, which is important because it wont be easy to take it apart. For the wing, I made three testwings for the tiny trainer and compared them in glide ratio, speed envelope, rigidety and handling.
IMG_20190815_200914.jpg

IMG_20190815_200837.jpg

IMG_20190815_200751.jpg

IMG_20190815_200739.jpg


We got:
Standard FT style:
Good at mid-fast speeds, medium lift, heavy, glides good

Single fold undercamber:
Super easy to build, lots of speed and drag, lift decreases extreamely at fast speeds, not so durable

New double-sheet with ribs:
Cool vintage style, slow-mid speeds, lightest of the three, glides as good as standard FT style

Im going with the rib thing, because I really like it, its something different and it performed just fine. It also has a lot of rigidety because of its two seperate layers creating a spar and its super light because I pulled off a lot of paper. It also features surprisingly low drag because of the curve.

I want to use wood for all the booms and spars. But you can use everything that fits and is light enought, for example the spars in kites or the wood found on firework rockets. You can also use some other parts from your fireworks for this plane, maybe...

The tail section is going to be simple foamboard, and I want to guide one pushrod per boom, one for the rudder and one for the elevator. The servos are going to be located in the wing. I want to use a single servo for the ailerons. The two rudders are going to be connected by a pushrod.
In the video, you can see a square part in the back where the rockets are located. I want to fit a FT mighty mini powerpod in there, and also make a heat resistant rocket powerpod for Estes rockets. The front part is going to be molded together to be as scale as possible. And I want to fit a nice landing skid.
I think this will take less than two sheets of foam , but theres also a lot of wood involved. Building will start soon, maybe in two weeks or so.
 

Dr. Looping Looie

Elite member
Update!
I started building, printed out the plans and cut out a few parts. I increased the size of the OG plans, which leads to a wingspan of 1120mm.

Main wing pieces and bottom plates cut out:
IMG_20190828_204641.jpg


I pulled the paper off at one side of the main wing and gave it a curve using the edge of the table, similar to the new master series wings:
IMG_20190828_205100.jpg


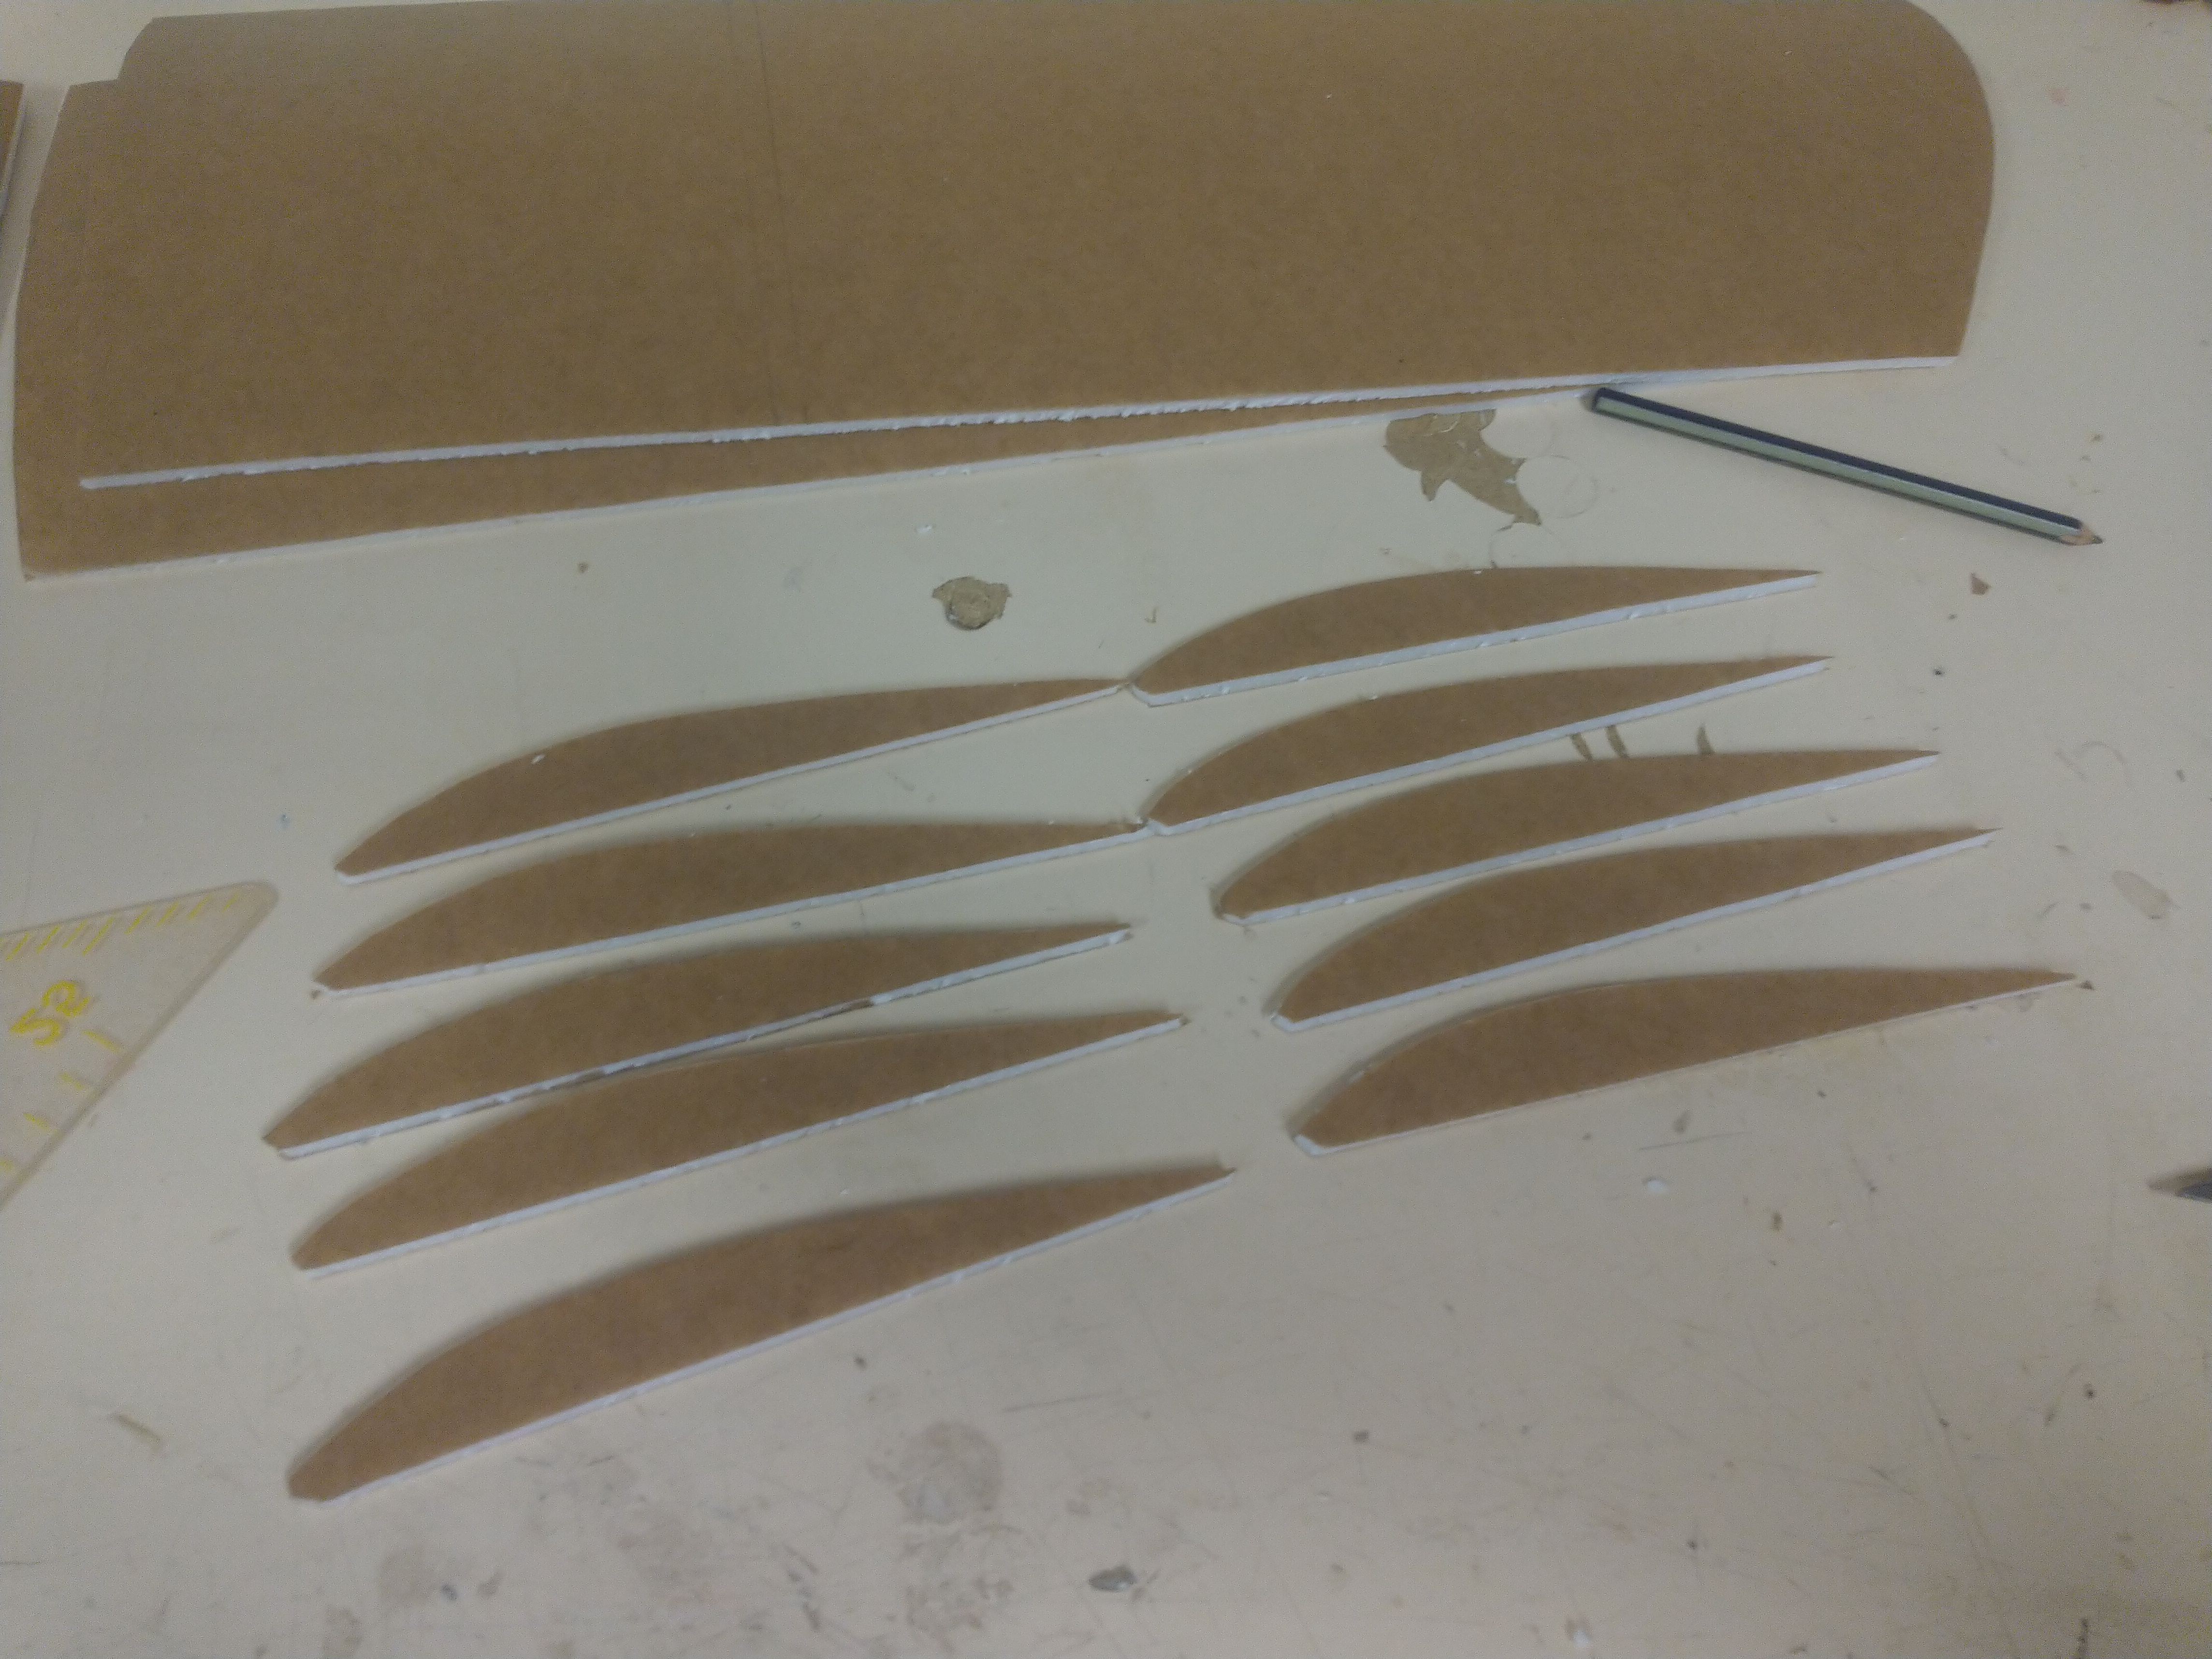
Then I cut out the ribs, five for each wing:
IMG_20190828_211416.jpg


Tomorrow I want to glue it together!
 

Dr. Looping Looie

Elite member
So, wings and tail are done!
New technique!

I will add reference lines in the plans so that everything will be nice and straight!

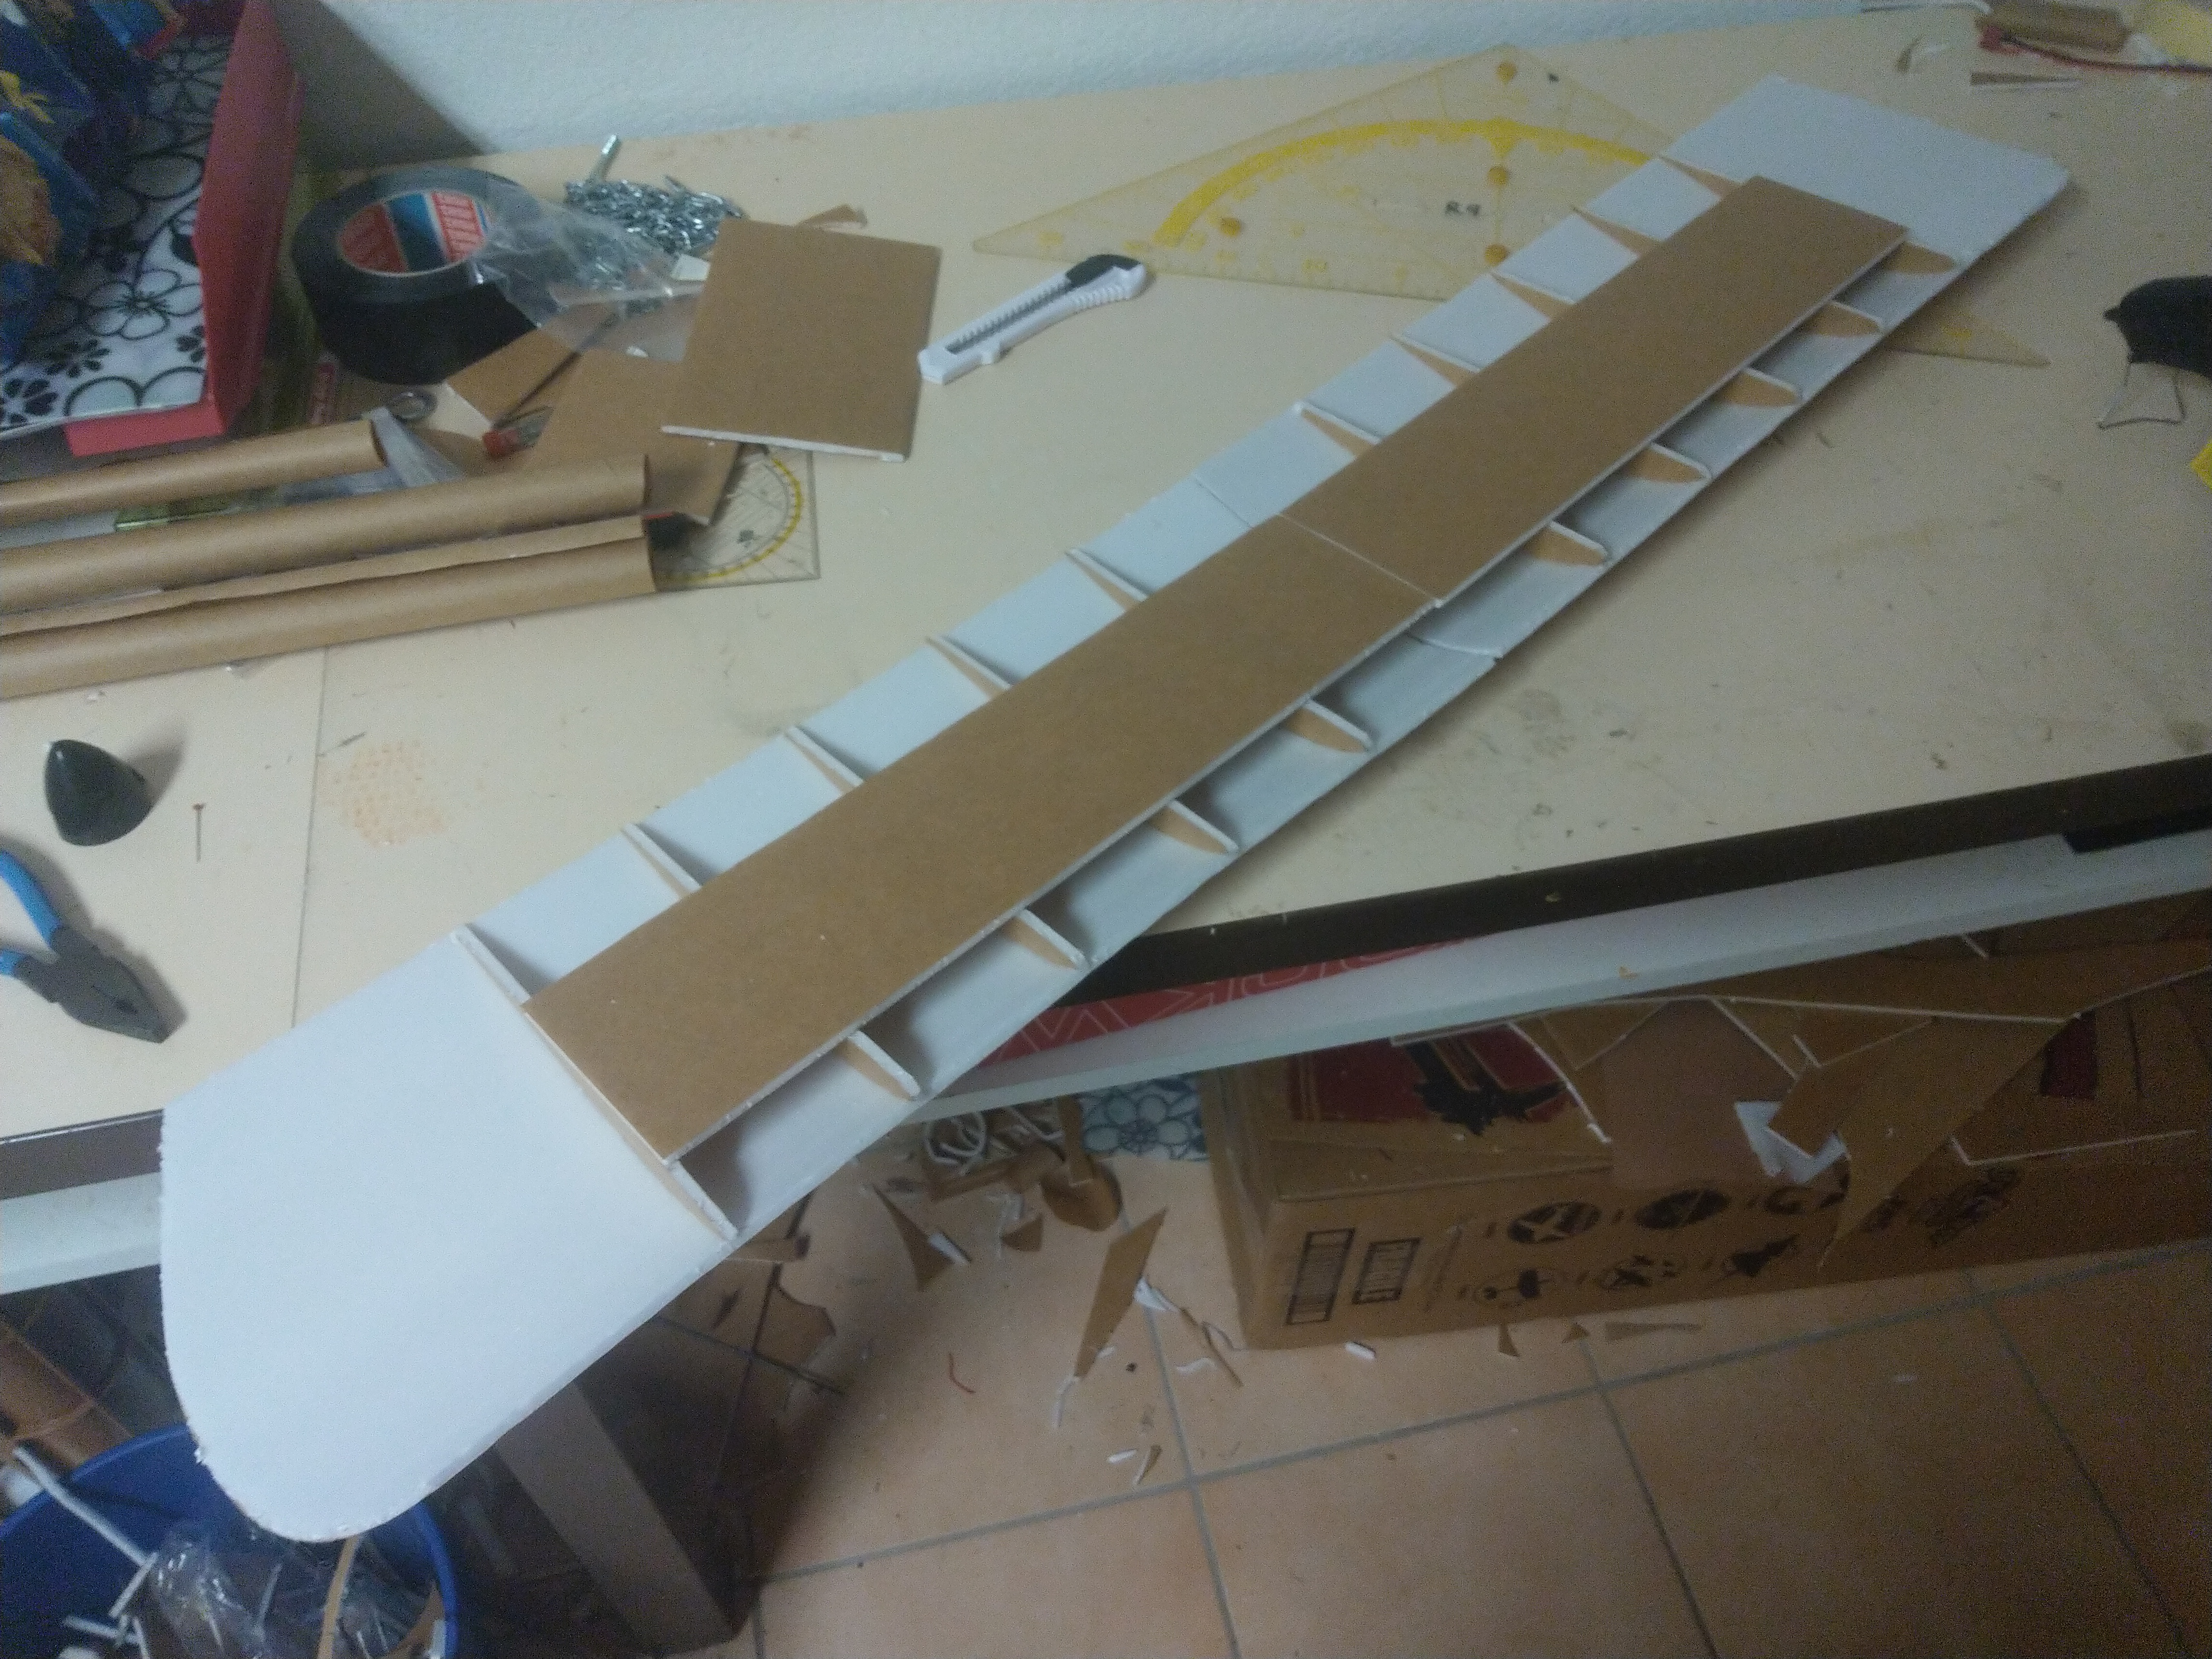
First, its important that you really bend a nice curve in the foam. That will make it much easier for the ribs to hold the shape. Then apply glue to the top side of the ribs and glue them in one at a time. Allways check your angles and try to get them as equal as possible! Use the leading edge to line them up.
IMG_20190829_181219.jpg

Thats how it should look with the ribs installed:
IMG_20190829_182302.jpg


Then apply glue to the bottom of the ribs and glue the bottom plate on:
IMG_20190829_183309.jpg


And the wing is done! Allways double-check so that you dont get accidently wing warp.
IMG_20190829_183321.jpg


Next is the tail section and the fuselage!
 

Hai-Lee

Old and Bold RC PILOT
So, wings and tail are done!
New technique!

I will add reference lines in the plans so that everything will be nice and straight!

First, its important that you really bend a nice curve in the foam. That will make it much easier for the ribs to hold the shape. Then apply glue to the top side of the ribs and glue them in one at a time. Allways check your angles and try to get them as equal as possible! Use the leading edge to line them up.
View attachment 140943
Thats how it should look with the ribs installed:
View attachment 140944

Then apply glue to the bottom of the ribs and glue the bottom plate on:
View attachment 140945

And the wing is done! Allways double-check so that you dont get accidently wing warp.
View attachment 140946

Next is the tail section and the fuselage!
Just a cautionary note!

Be careful if you ever try to fly it upside down and try very hard to avoid negative "G" maneuvers because the FB does not have a lot of strength in compression and the lower wing skin does not have a lot of foam or rigidity, and therefore lacks serious compression resistance.

You could consider embedding a CF or similar spar, in the bottom layer, on future designs for strength in compression. Otherwise a very interesting design!

Have fun!
 

Dr. Looping Looie

Elite member
Just a cautionary note!

Be careful if you ever try to fly it upside down and try very hard to avoid negative "G" maneuvers because the FB does not have a lot of strength in compression and the lower wing skin does not have a lot of foam or rigidity, and therefore lacks serious compression resistance.

You could consider embedding a CF or similar spar, in the bottom layer, on future designs for strength in compression. Otherwise a very interesting design!

Have fun!
Yes, but this is not made to do negative g, its more of a slow and scale flyer, and I think it will hold up to the flying Im going to do with it.
 

Dr. Looping Looie

Elite member
Done!

Here is the rest on how to build it.

Just like allways, check your 90degree angles, whipe off the glue with a piece of foam and if something doesnt fit, trim it to the right size or do a bevel cut.

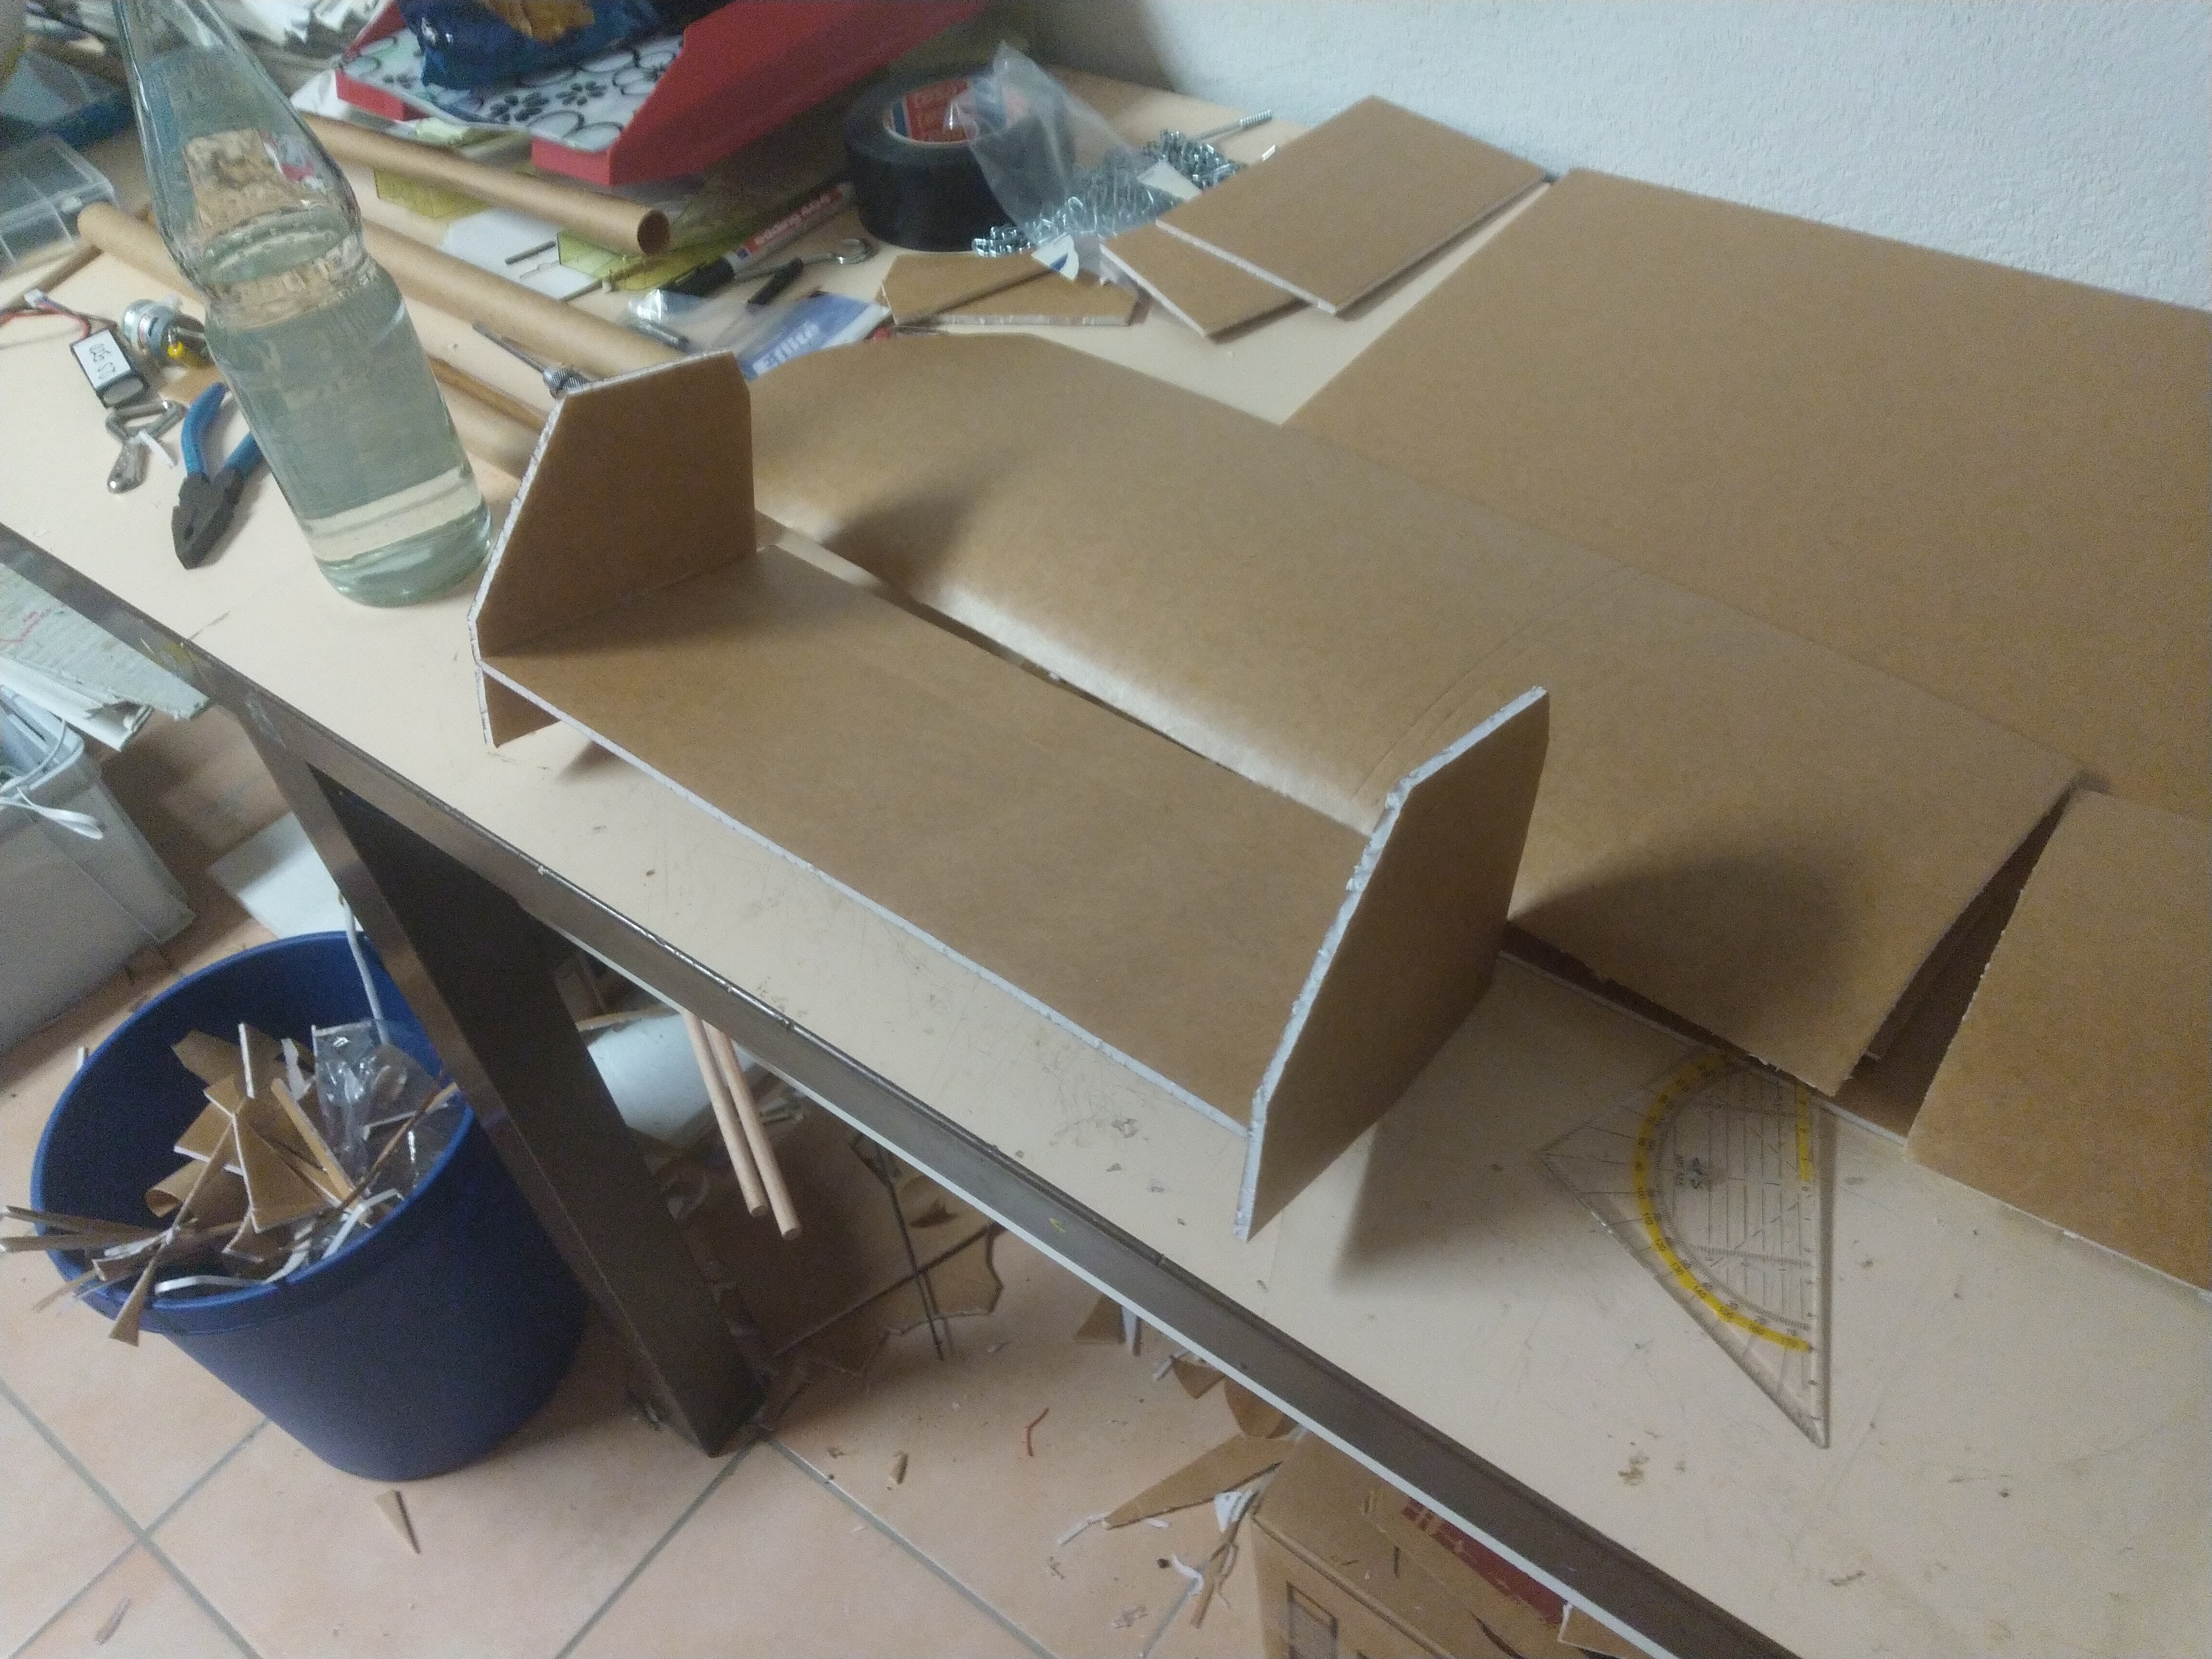
For the stabelizer, just glue the sideplates on and add your control surface. Nothing fancy here, just standard FT techniques.
IMG_20190830_160817.jpg


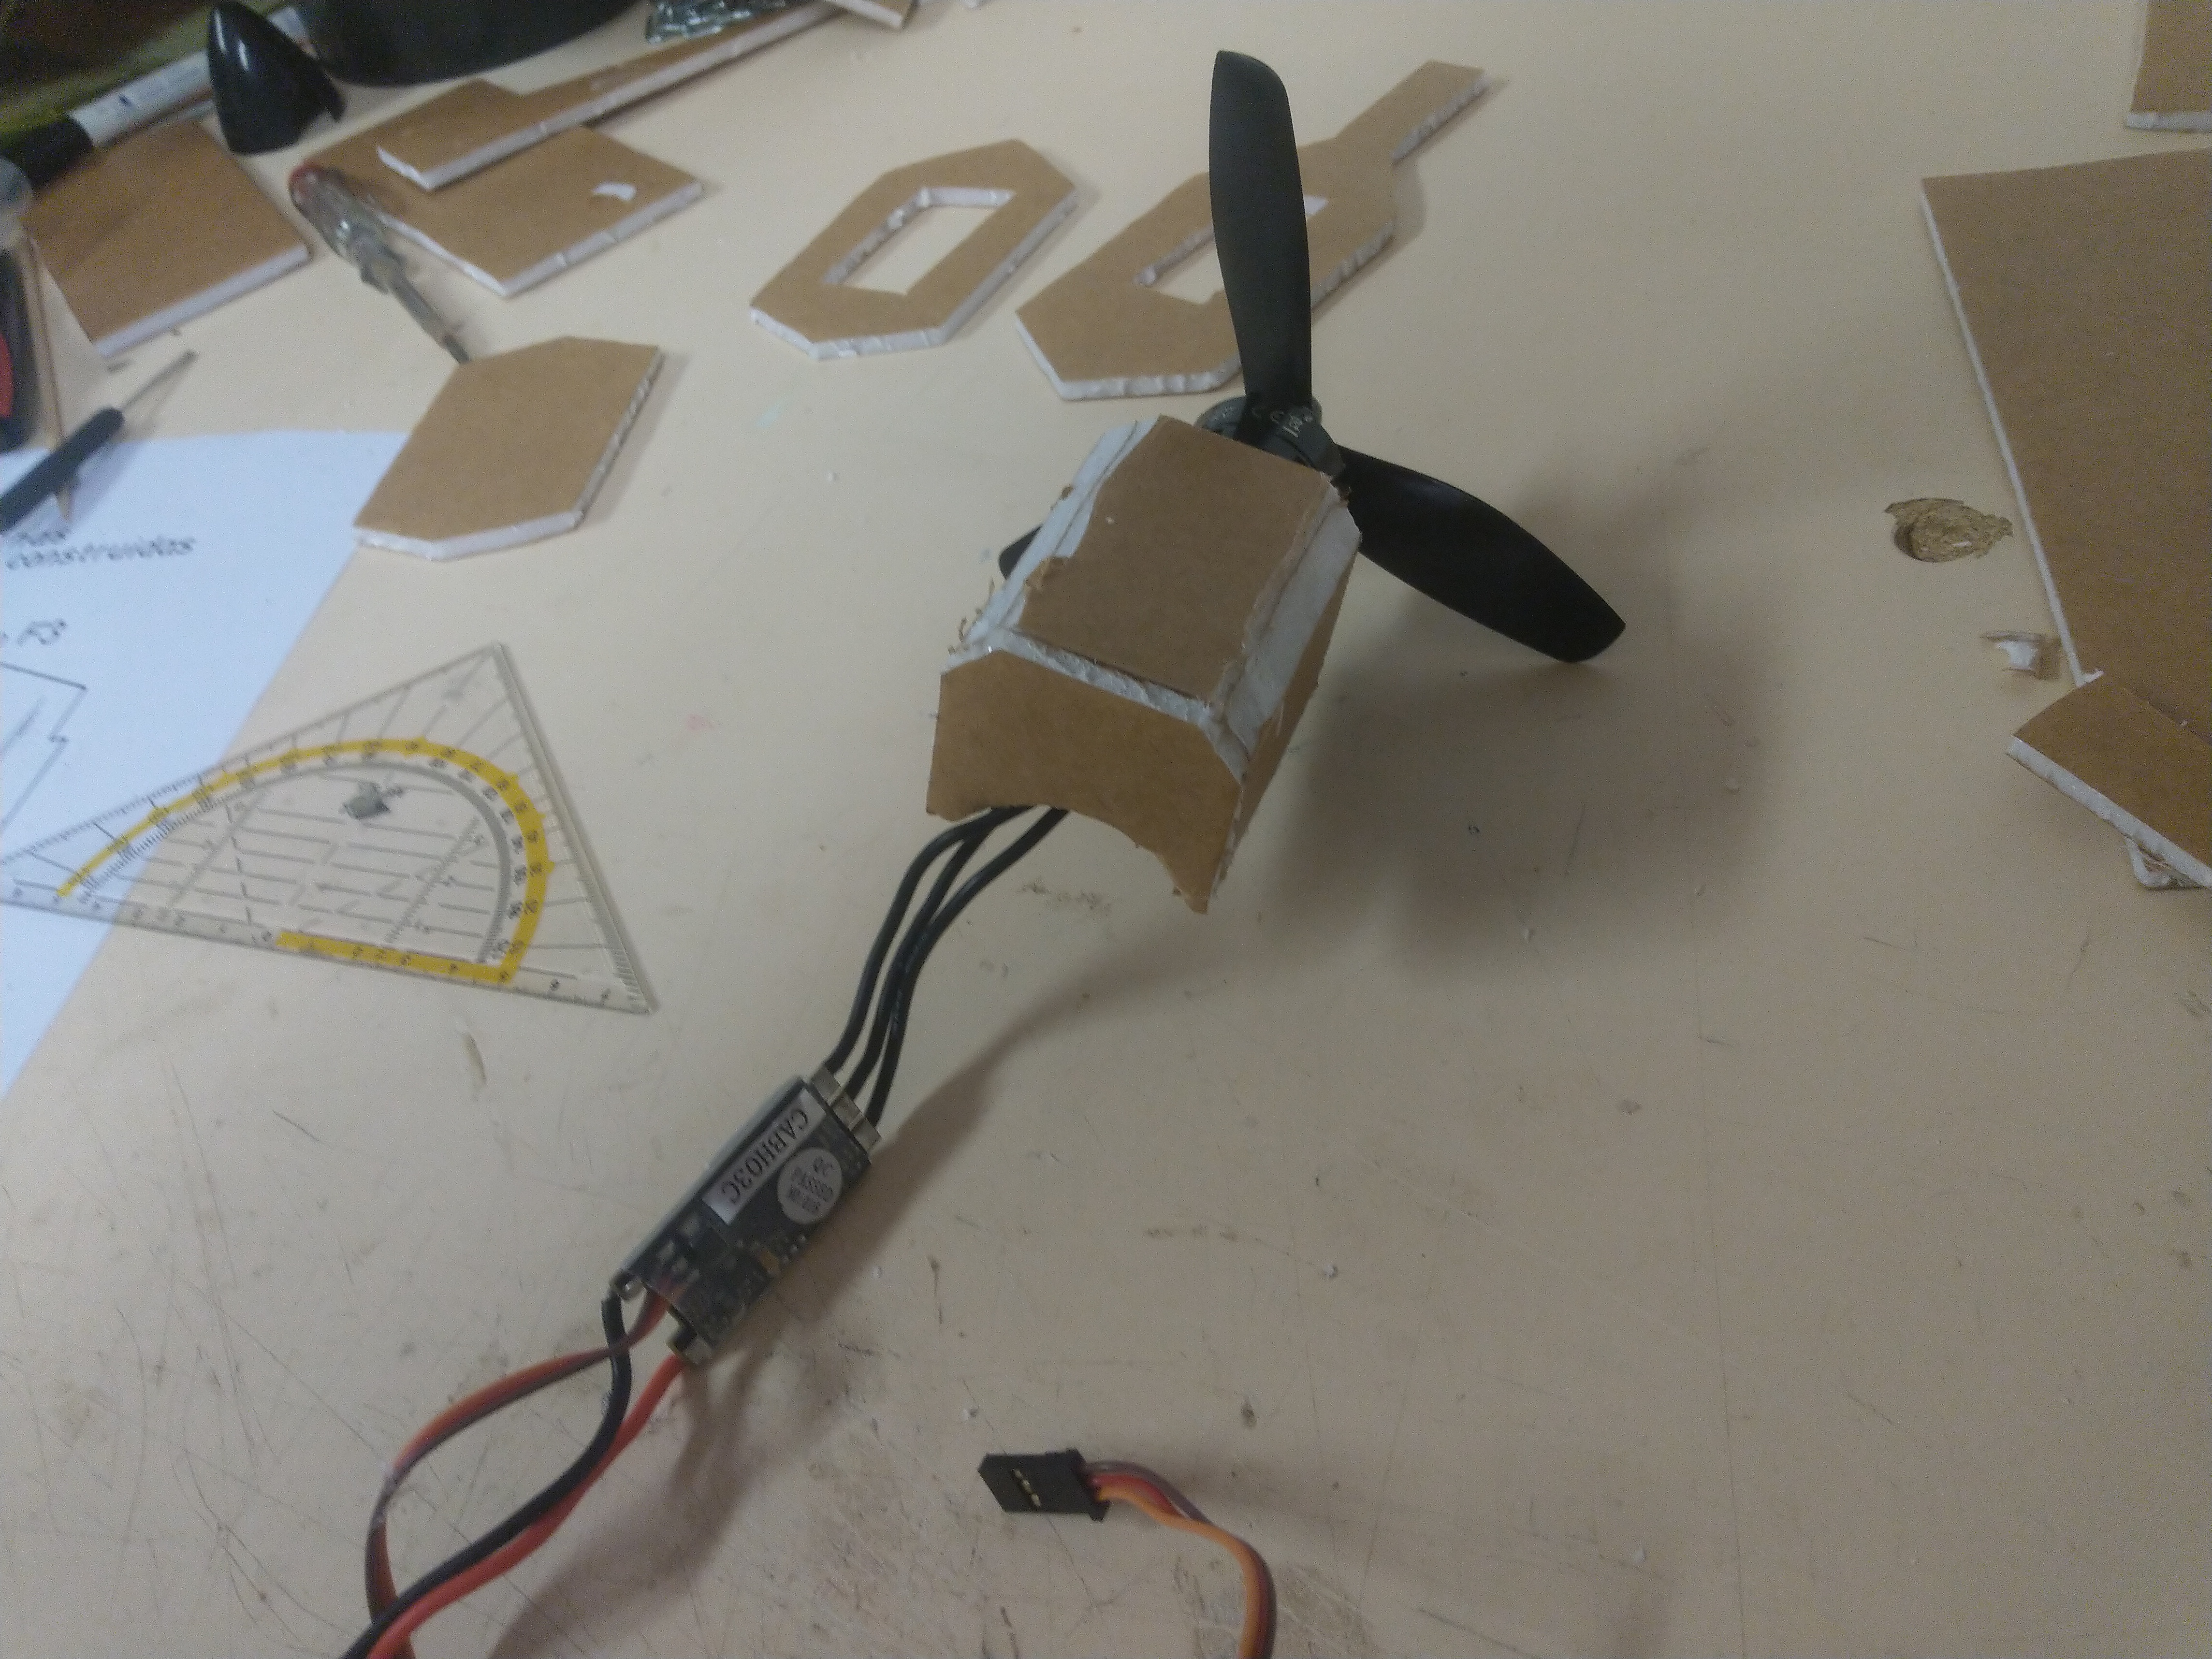
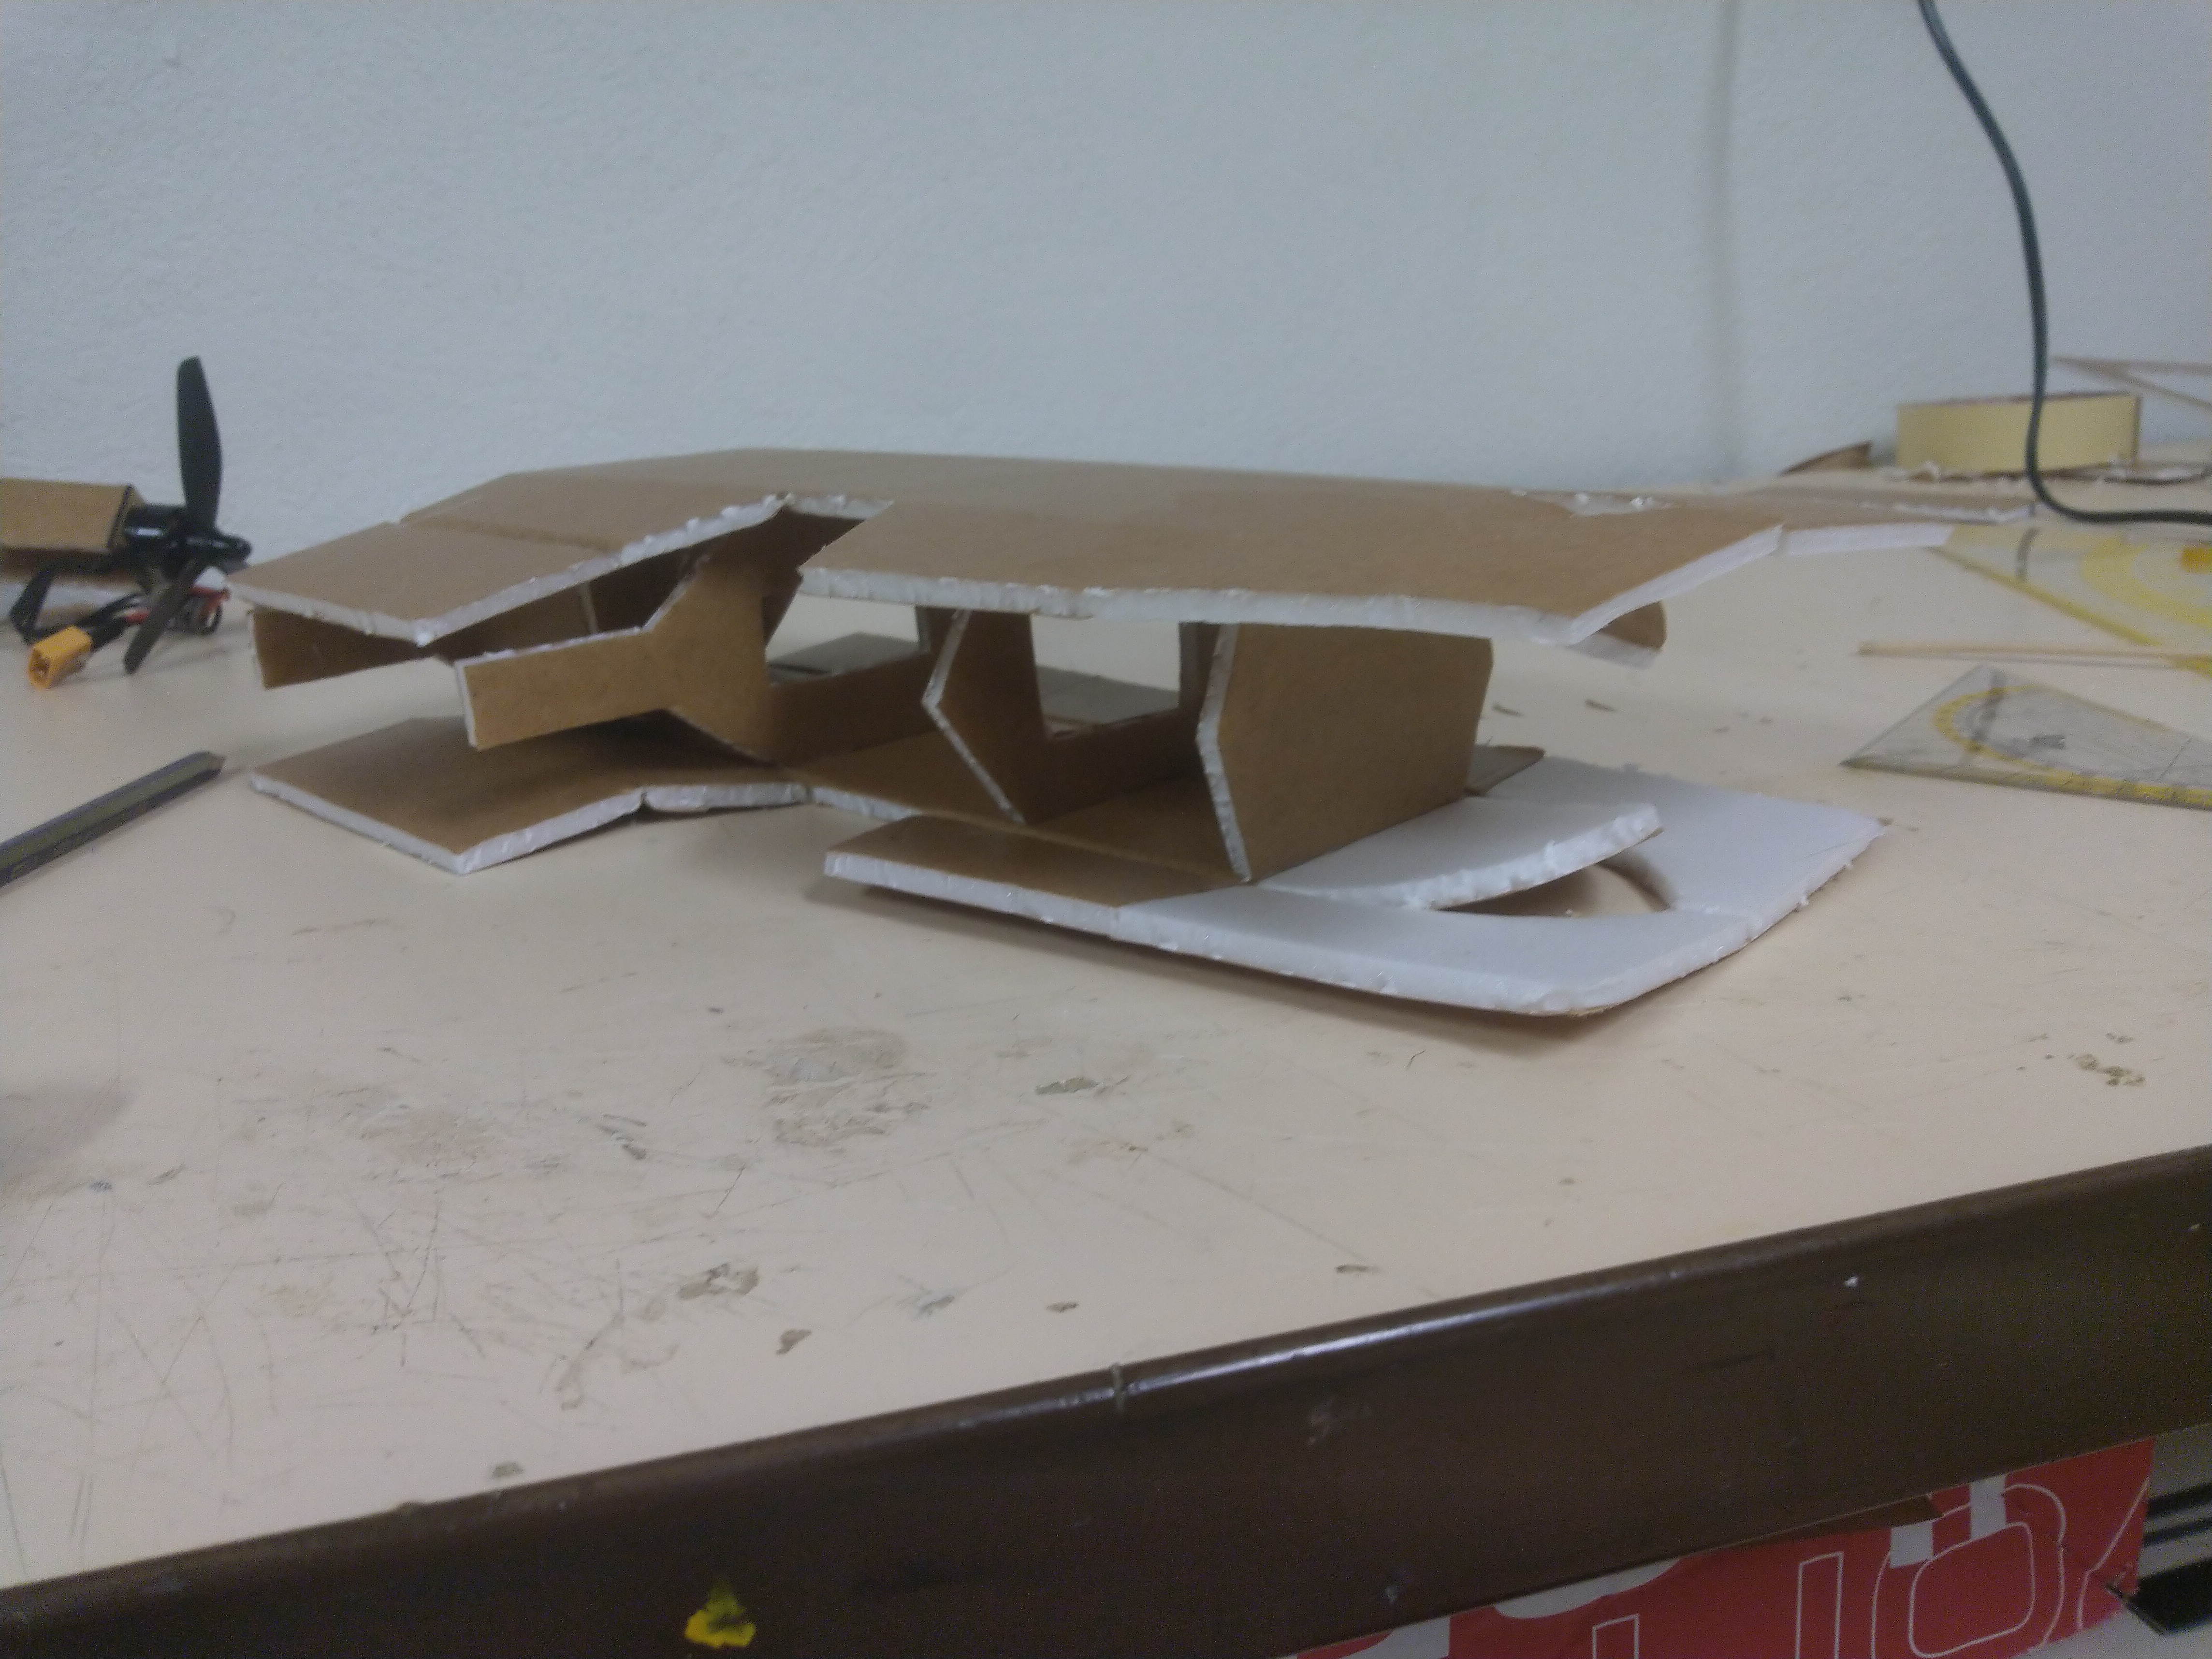
This is the powerpod tray
IMG_20190830_181815.jpg


Just glue it together and add the back plate. There are holes for your cables to exit.
IMG_20190830_182334.jpg


Then bevel the top corners, otherwise it wont fit. Its designed to hold the mighty mini powerpod. Dont glue the pod to the tray, otherwise you cant remove it!
IMG_20190830_182904.jpg


Now lets start to build the fuselage.
IMG_20190830_181059.jpg


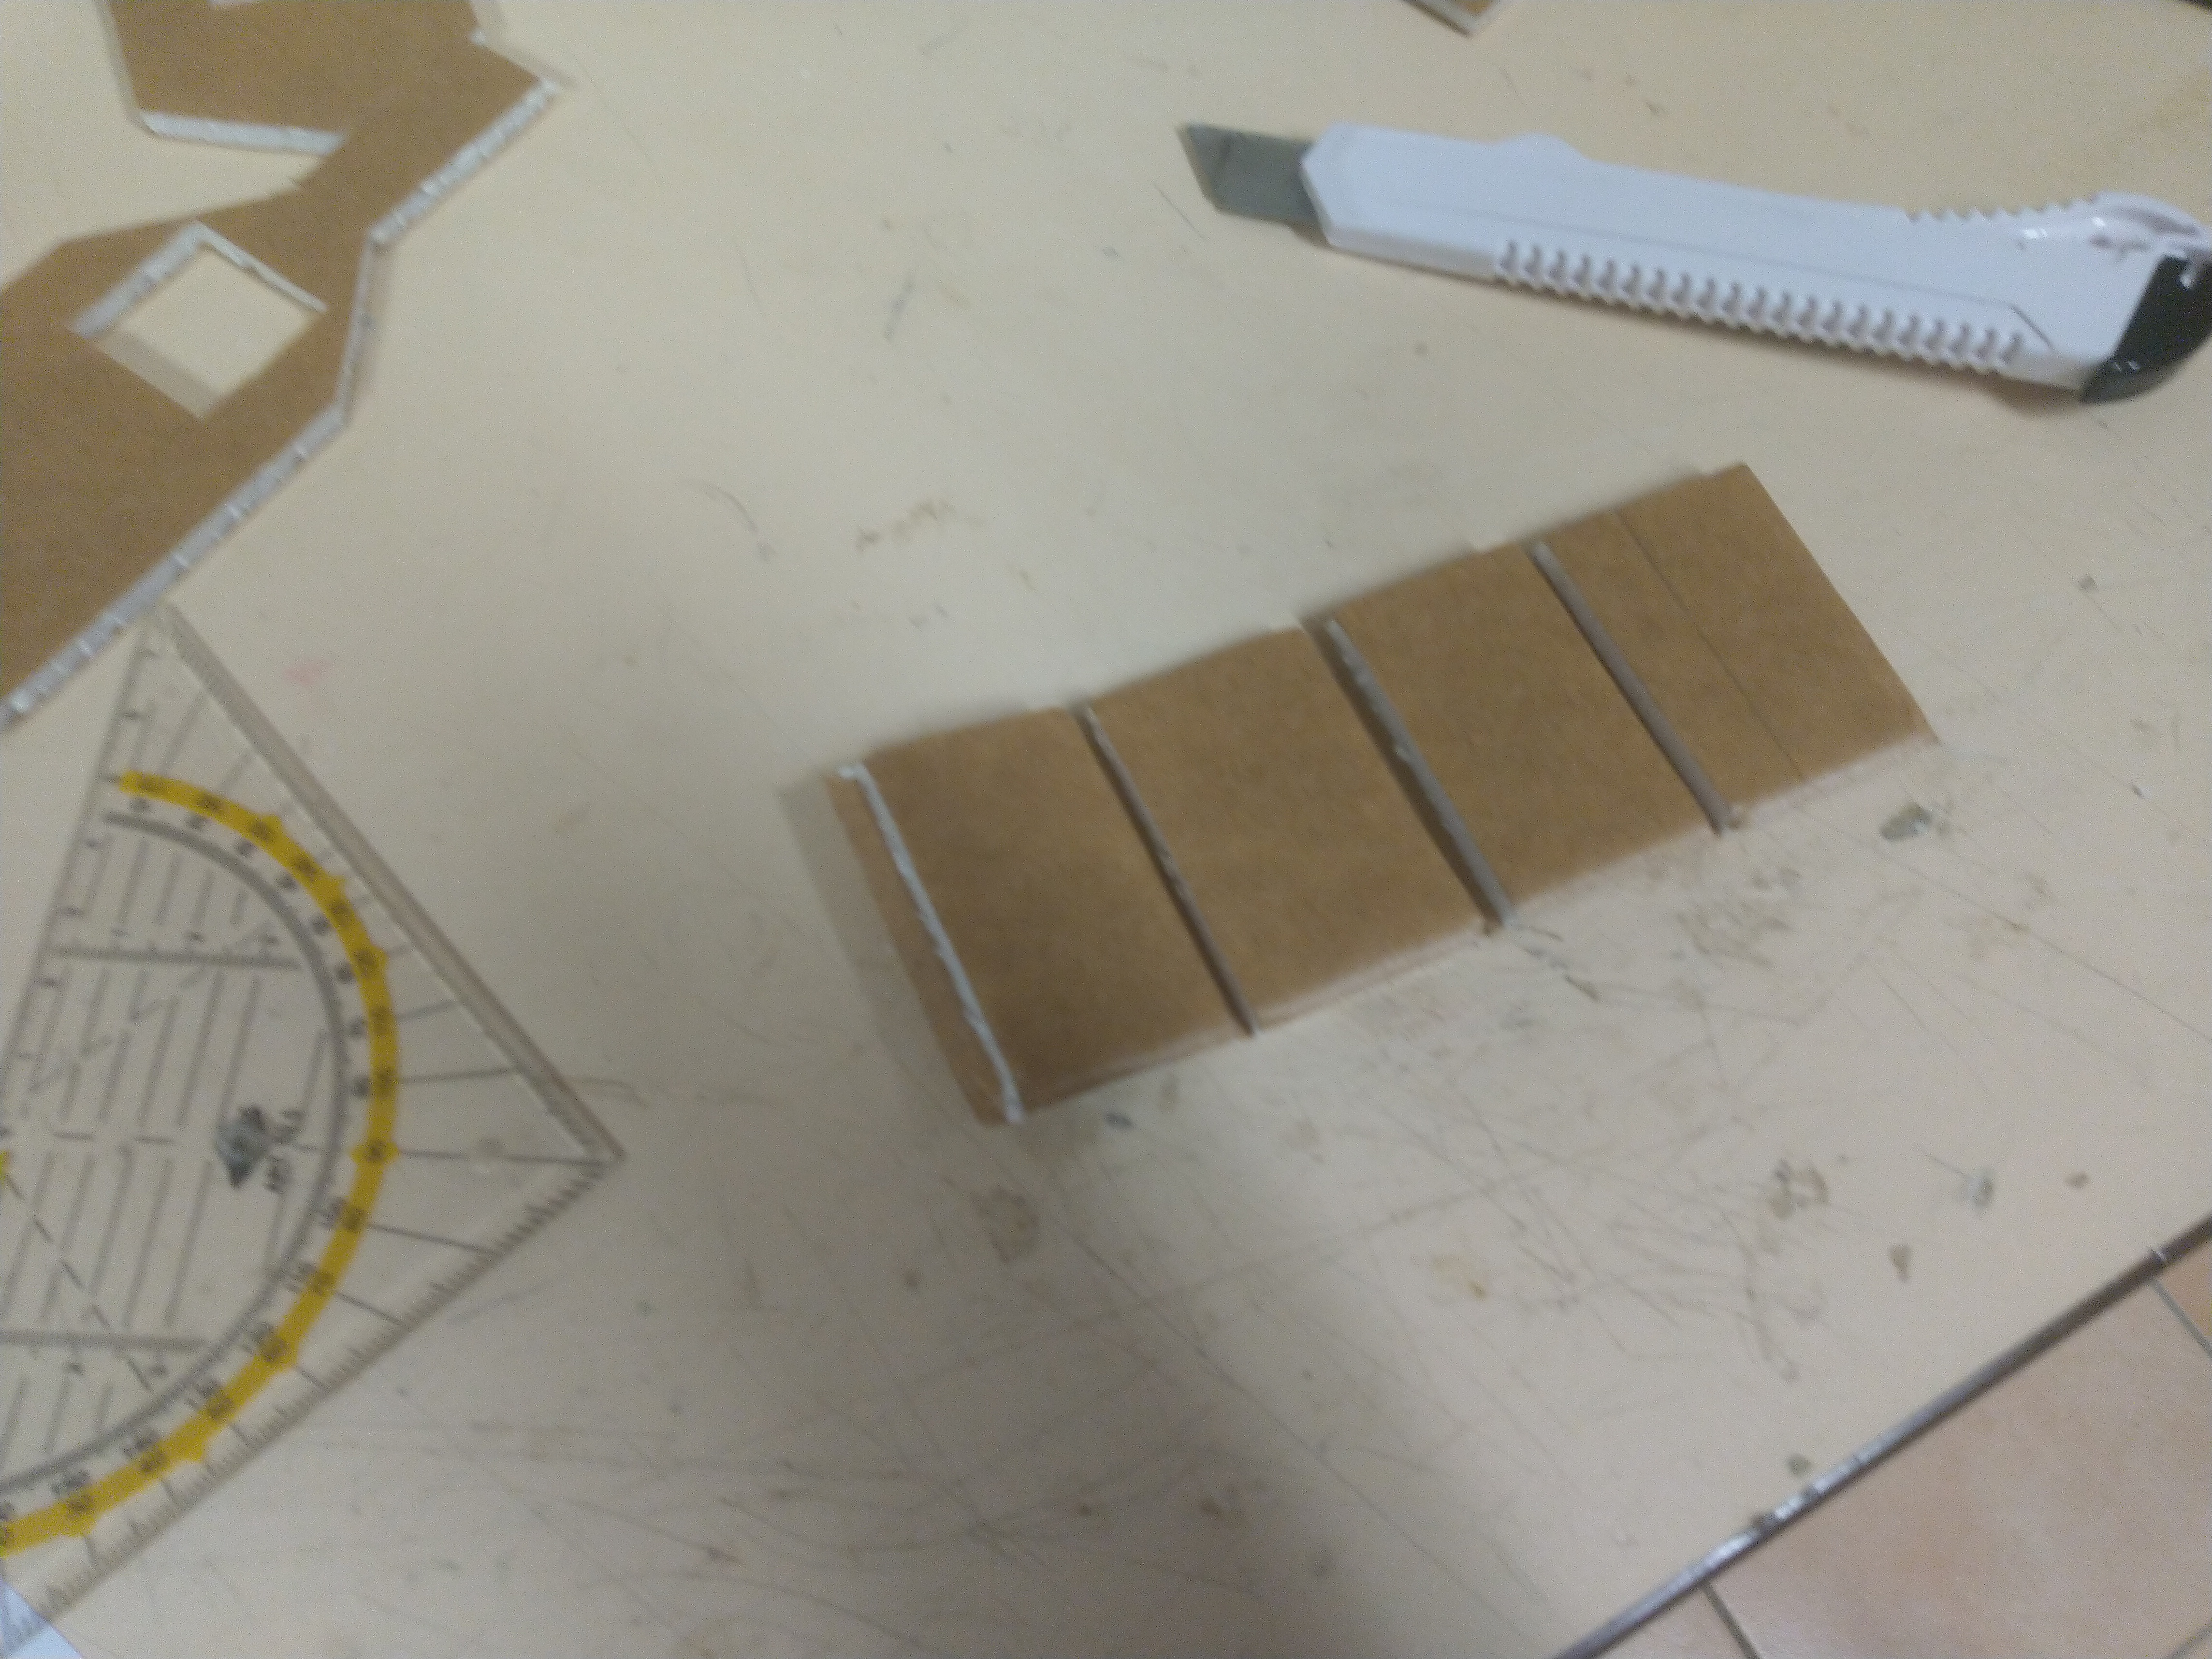
Make cuts and open them up to bend the part.
IMG_20190830_184603.jpg


The top crease must be on the other side to get a negative bend. This is how it should look now.
IMG_20190830_184127.jpg


Now apply glue to one side of each former and glue them in place.
IMG_20190830_184908.jpg


Then glue on the other side.
IMG_20190830_185136.jpg


Now its time to glue the rest down. Take your time and remove some paper to make it fit better. Trim the front part to fit your particular build.
IMG_20190830_190554.jpg


And here is the finished fuselage!
IMG_20190830_192529.jpg

IMG_20190830_192656.jpg


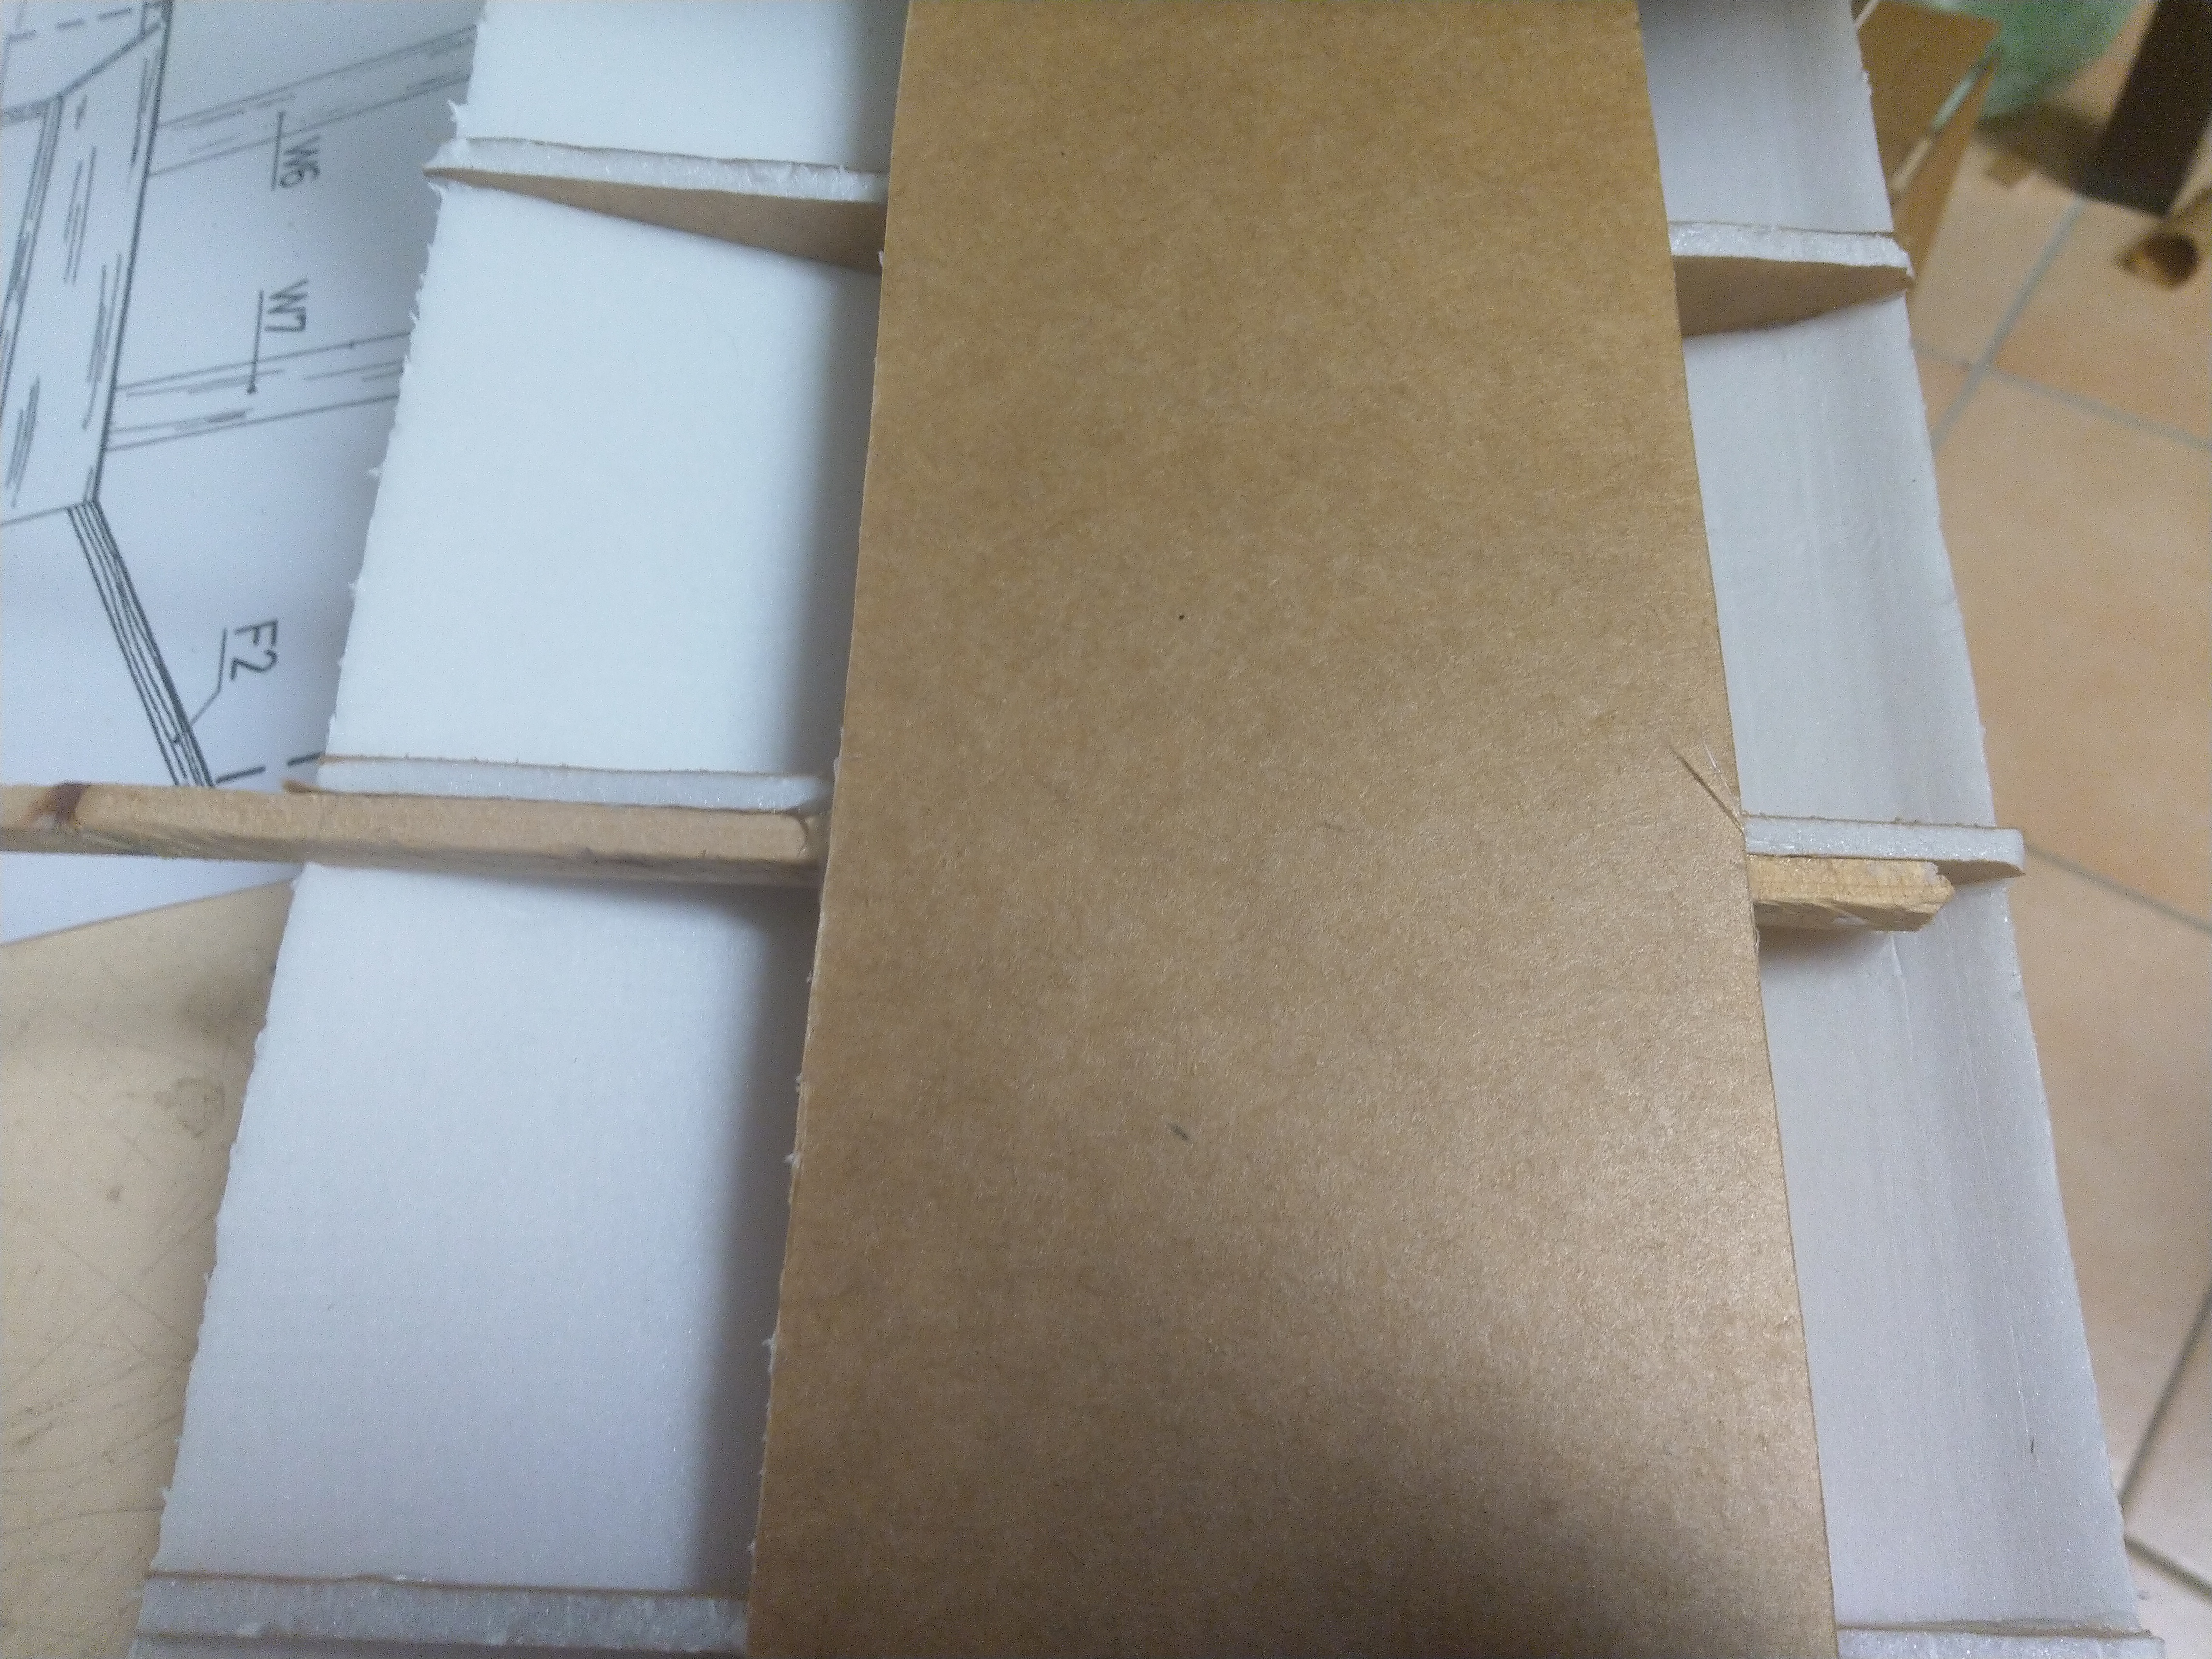
Now glue on the two center parts for your wing and join it together.
IMG_20190830_194437.jpg

Then glue it on to the center pod.
IMG_20190830_195001.jpg


Apply the wood pieces next to the rib. There will be a reference mark on the plans.
IMG_20190830_195811.jpg


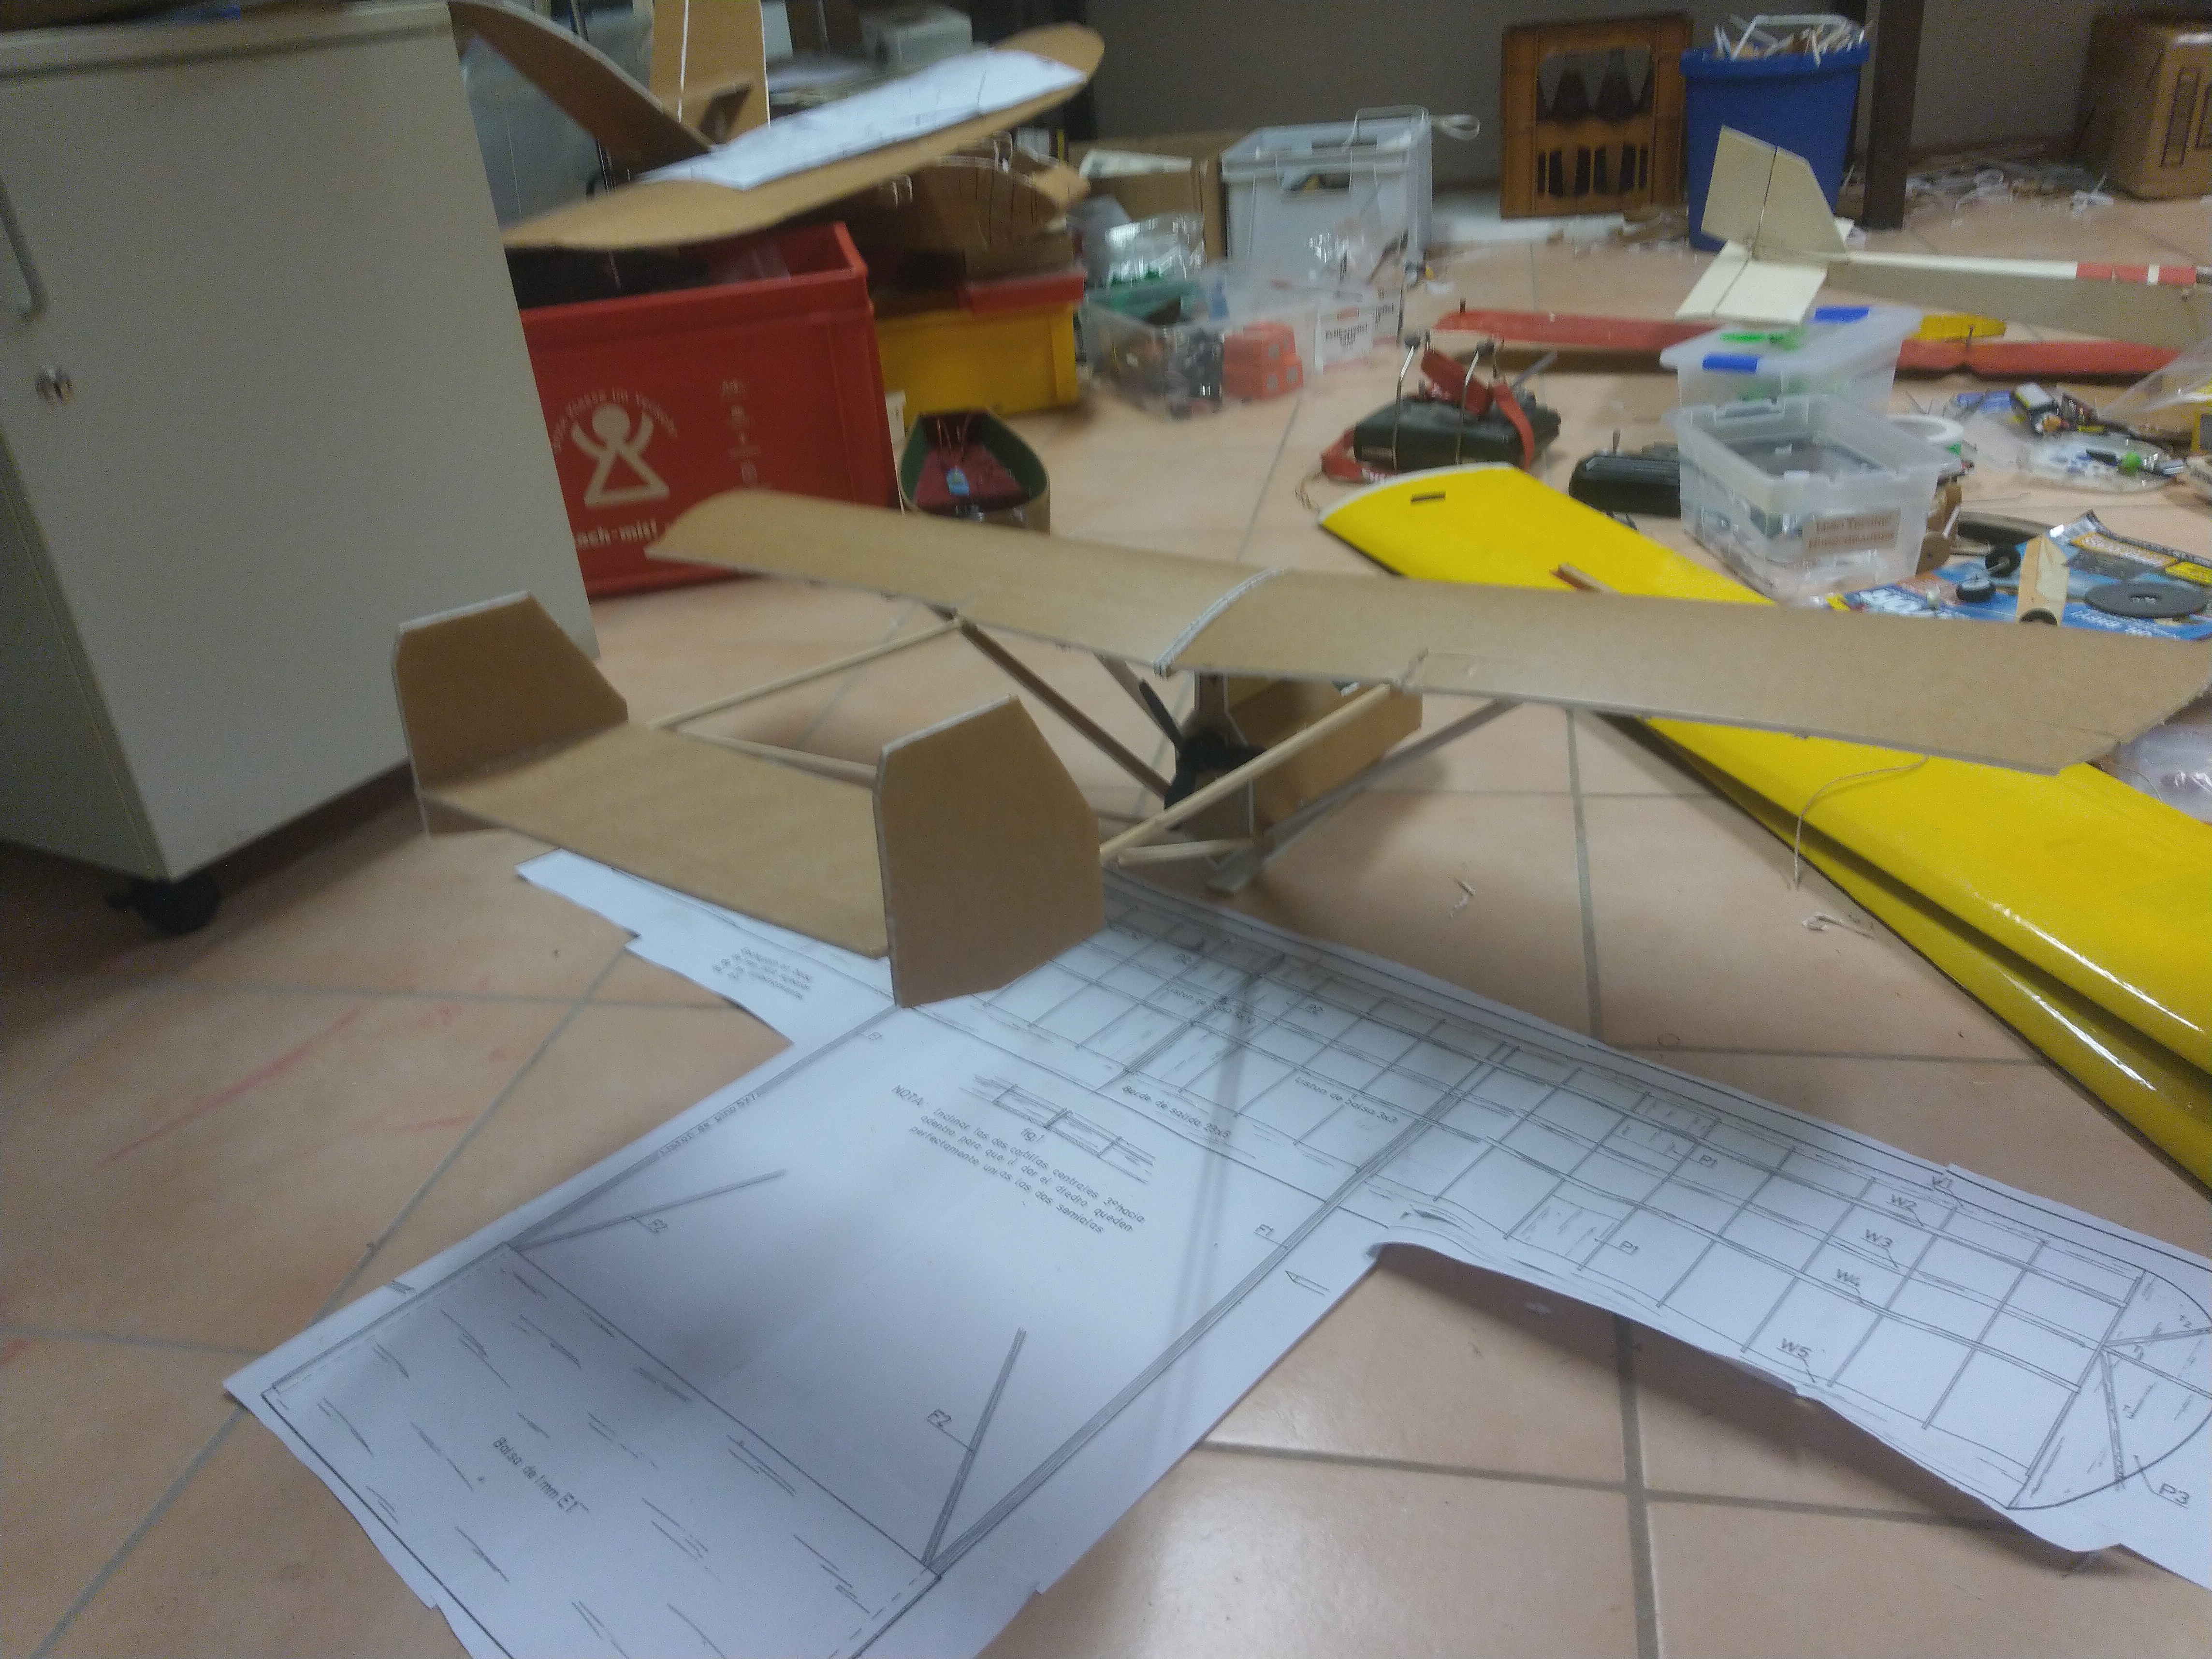
Now its just adding the tail and the wing struts and the landing skid. The pilot is of course optional, but I will add a pilot in the plans!
IMG_20190830_221201.jpg


IMG_20190830_221228.jpg


IMG_20190830_221757.jpg


The model is coming in at 500 gramms with electronics, pilot and a 3s 1200 battery installed. Its pretty hard to get the CG right because of the short nose.
IMG_20190830_221424.jpg


I want to maiden it today! I think its going to be nothing special, but we'll see!
 

TooJung2Die

Master member
Then apply glue to the bottom of the ribs and glue the bottom plate on:
Where did you get the idea of adding the bottom plate to the ribbed undercamber wing? I don't think I've ever seen this before. I imagine it has some advantages over a simple undercamber wing. More strength is the first that comes to mind. Did you see it on another airplane?
 

Dr. Looping Looie

Elite member
Where did you get the idea of adding the bottom plate to the ribbed undercamber wing? I don't think I've ever seen this before. I imagine it has some advantages over a simple undercamber wing. More strength is the first that comes to mind. Did you see it on another airplane?

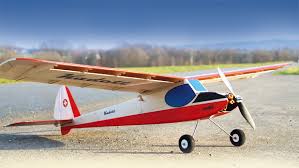
The Swiss model airplane manufacturer "Aerobel" uses this technique on wooden airplanes. Its pretty new and I first saw it in a magazine where they tested a remake of the classic Kadett. I thaught that its great for foamboard, it also makes the wing lighter because you remove lots of paper.

images.jpeg

Bild 4.jpeg


I also love the classic look of it and it produces a whole lot of lift!