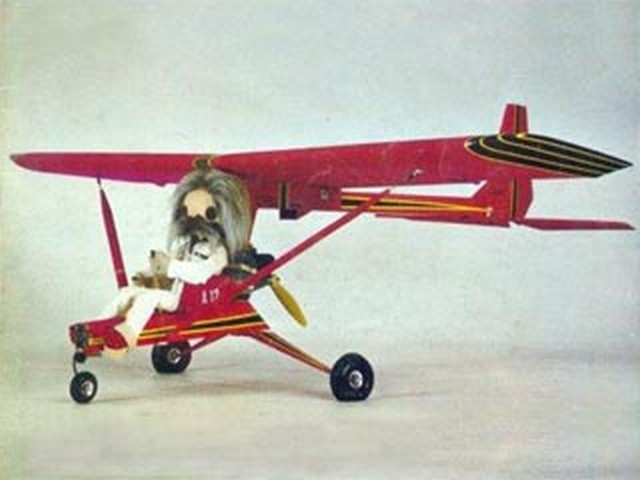
FTFC20 Wind Puff designed by Dr, Looping Looie

Dr. Looping Looie

Elite member
Its Flite Test forum challenge again! I really like the theme, because those old planes usually had pretty good flight caracteristics and also looked pretty cool.
I immediately searched for good designs, and made a huge list, and the start is going to make the Wind Puff! This balsa plane was designed in 1975 and resembles a ultralight aircraft. It was love at first sight, because I want to own such kind of airplane myself, fullscale. I also liked the fact that it features a pusher prop and tricicle landing gear, which will make takeoff and landing a breeze. And I cant wait putting a pilot in there, with stick and rudder pedals moving and FPV camera!
5920.jpg


I found the plans at Outerzone and attatched them to this post!

I dont have a specic size or powerplant yet, but I think 1.2 meter wingspan and Powerpack B.

More stuff will follow!
 

Attachments

  • Wind_Puff_complete_oz5920.pdf
    2.2 MB · Views: 0

Dr. Looping Looie

Elite member
Design briefing

In this post, I want to tell you a little about my plans with this plane, and how I want to convert it to foamboard or what I want to change from the original design.

First off all, the original model had a wingspan of 1430mm and a flying weight of 2600 gramms with gas engine. I think thats a pretty good size, so I will keep it. Thanks to foamboard and modern ecectronics, I think I can achieve a flying weight of 1000- 1500 gramms!

I also want to change a little from the original design, but it will keep its oldscool appearence. I made a little photoshop edid to show you what I mean:

5920.jpg


So, first of all, I want to add a spar that goes from the botom of the fuselage to the tail. This not only ties in nicely with the rest of the design, but also adds a whole lot rigidety to the tail boom, which im most concerned about. Ive had bad experiences with thin fuselages breaking off. I know that it limits the prop size, but I think thats worth it.

The next thing is the STOL aspect of the design. I think that with a lot less weight and electric power, we can achieve much slower flight speeds and just imagine being the pilot of that thing! So I also added huuuuge baloon tires and a tailwheel for some rough terrain landings.
I just love two-wheel-action, no matter if its a taildragger or a tricycle. So here I want to try and move the main landing gear as close to the CG as possible so that its easy for the elevator to lift the nose up even on slow speeds. Both the front and tailwheel will be steerable for good ground control.

A big aspect is also going to be the wing. I want to change its profile completely to a relatively new method to build plywood wings called the "magic woodwing". It was used recently by Swiss plane manufacturer Aerobel in updated versions of the Kadett, Demoiselle and Albatross.

aufmacher523.jpg

Bild 4.JPG


Its basicly a undercamber wing with ribs and a bottom plate, which leaves air through the front and rear. I want to recreate this principle out of foamboard since its much more rigid than a single sheet wing and has an fitting oldscool appearence.

To make stalls pretty much impossible, I want to add turbulators, undercamber wingtips, and bend the wingtips up like its done on the original Wind Puff:
00kkee9.jpg

this should make the wingtips stall less likeley than the inner section of the wing, because the angle of attack is not so high. This can also be achieved by bending the ailerons up or by warping the wing, which is hard to do with foamboard.


Let me know how you like the changes since they turn it into a little bit different looking plane. I know that back in the 70s no one thought about STOL because the engines were heavy and didnt have the power, but on the other hand, I think that these changes both improve design and coolness of the design.

Do you think these changes are too much or do you like it?
 

OliverW

Legendary member
Design briefing

In this post, I want to tell you a little about my plans with this plane, and how I want to convert it to foamboard or what I want to change from the original design.

First off all, the original model had a wingspan of 1430mm and a flying weight of 2600 gramms with gas engine. I think thats a pretty good size, so I will keep it. Thanks to foamboard and modern ecectronics, I think I can achieve a flying weight of 1000- 1500 gramms!

I also want to change a little from the original design, but it will keep its oldscool appearence. I made a little photoshop edid to show you what I mean:

View attachment 138554


So, first of all, I want to add a spar that goes from the botom of the fuselage to the tail. This not only ties in nicely with the rest of the design, but also adds a whole lot rigidety to the tail boom, which im most concerned about. Ive had bad experiences with thin fuselages breaking off. I know that it limits the prop size, but I think thats worth it.

The next thing is the STOL aspect of the design. I think that with a lot less weight and electric power, we can achieve much slower flight speeds and just imagine being the pilot of that thing! So I also added huuuuge baloon tires and a tailwheel for some rough terrain landings.
I just love two-wheel-action, no matter if its a taildragger or a tricycle. So here I want to try and move the main landing gear as close to the CG as possible so that its easy for the elevator to lift the nose up even on slow speeds. Both the front and tailwheel will be steerable for good ground control.

A big aspect is also going to be the wing. I want to change its profile completely to a relatively new method to build plywood wings called the "magic woodwing". It was used recently by Swiss plane manufacturer Aerobel in updated versions of the Kadett, Demoiselle and Albatross.

View attachment 138559
View attachment 138560


Its basicly a undercamber wing with ribs and a bottom plate, which leaves air through the front and rear. I want to recreate this principle out of foamboard since its much more rigid than a single sheet wing and has an fitting oldscool appearence.

To make stalls pretty much impossible, I want to add turbulators, undercamber wingtips, and bend the wingtips up like its done on the original Wind Puff:
View attachment 138561
this should make the wingtips stall less likeley than the inner section of the wing, because the angle of attack is not so high. This can also be achieved by bending the ailerons up or by warping the wing, which is hard to do with foamboard.


Let me know how you like the changes since they turn it into a little bit different looking plane. I know that back in the 70s no one thought about STOL because the engines were heavy and didnt have the power, but on the other hand, I think that these changes both improve design and coolness of the design.

Do you think these changes are too much or do you like it?
I love the changes!
 

Piotrsko

Master member
There WERE Stol/Vstol aircraft back in the 70's, but it was a small population, and mostly scale models of Supercubs, Maules, and odd French designs with the occasional Storch thrown in for fun. Not many people had more than 4 channel radios and most designs were twitchy in Stol mode because Reynolds numbers were a new concept for model scale.
 

rockyboy

Skill Collector
Mentor
Yeah, the definition of STOL has changed a whole lot over the years as the weight of the power system has decreased and aerodynamics theory and practice has gotten better. There are some really fun STOL videos of the full scale competitions at Oshkosh and Alaska in recent years where a pilot has to be under a plane length to be competitive now! :eek:
 

Dr. Looping Looie

Elite member
My first build for the challenge is done, so Im going to start this now. Im testing a new foamboard and I want to make the foamboard plans first. I know im always slow with starting and finishing my projects, but its going to happen!
 

Dr. Looping Looie

Elite member
Beta plans are done! Right now, they only include the foamboard parts and they will get tweaked a little, but here they are! I didnt stick super close to the original plans as I said, but Im sure the changes are going to be epic!
I still need to find a way to attach the wings, the special style makes it hard to make them detacheble, which is important since its a large plane thats hard to transport. Also be prepared for some very special features Im going to add to this machine!

And it takes 6 sheets of foam, which means that I must buy new foam again. Its going to be my first white foam board build!
 

Attachments

  • WindPuff1.pdf
    22.2 KB · Views: 0
  • WindPuff2.pdf
    13.5 KB · Views: 0
  • WindPuff3.pdf
    16.6 KB · Views: 0
  • WindPuff4.pdf
    12.5 KB · Views: 0
  • WindPuff5.pdf
    2 KB · Views: 0
  • WindPuff6.pdf
    11.9 KB · Views: 0

Dr. Looping Looie

Elite member
I cut out all of the parts, which means that there will be something that looks like an airplane tomorrow!
IMG_20191001_001035.jpg

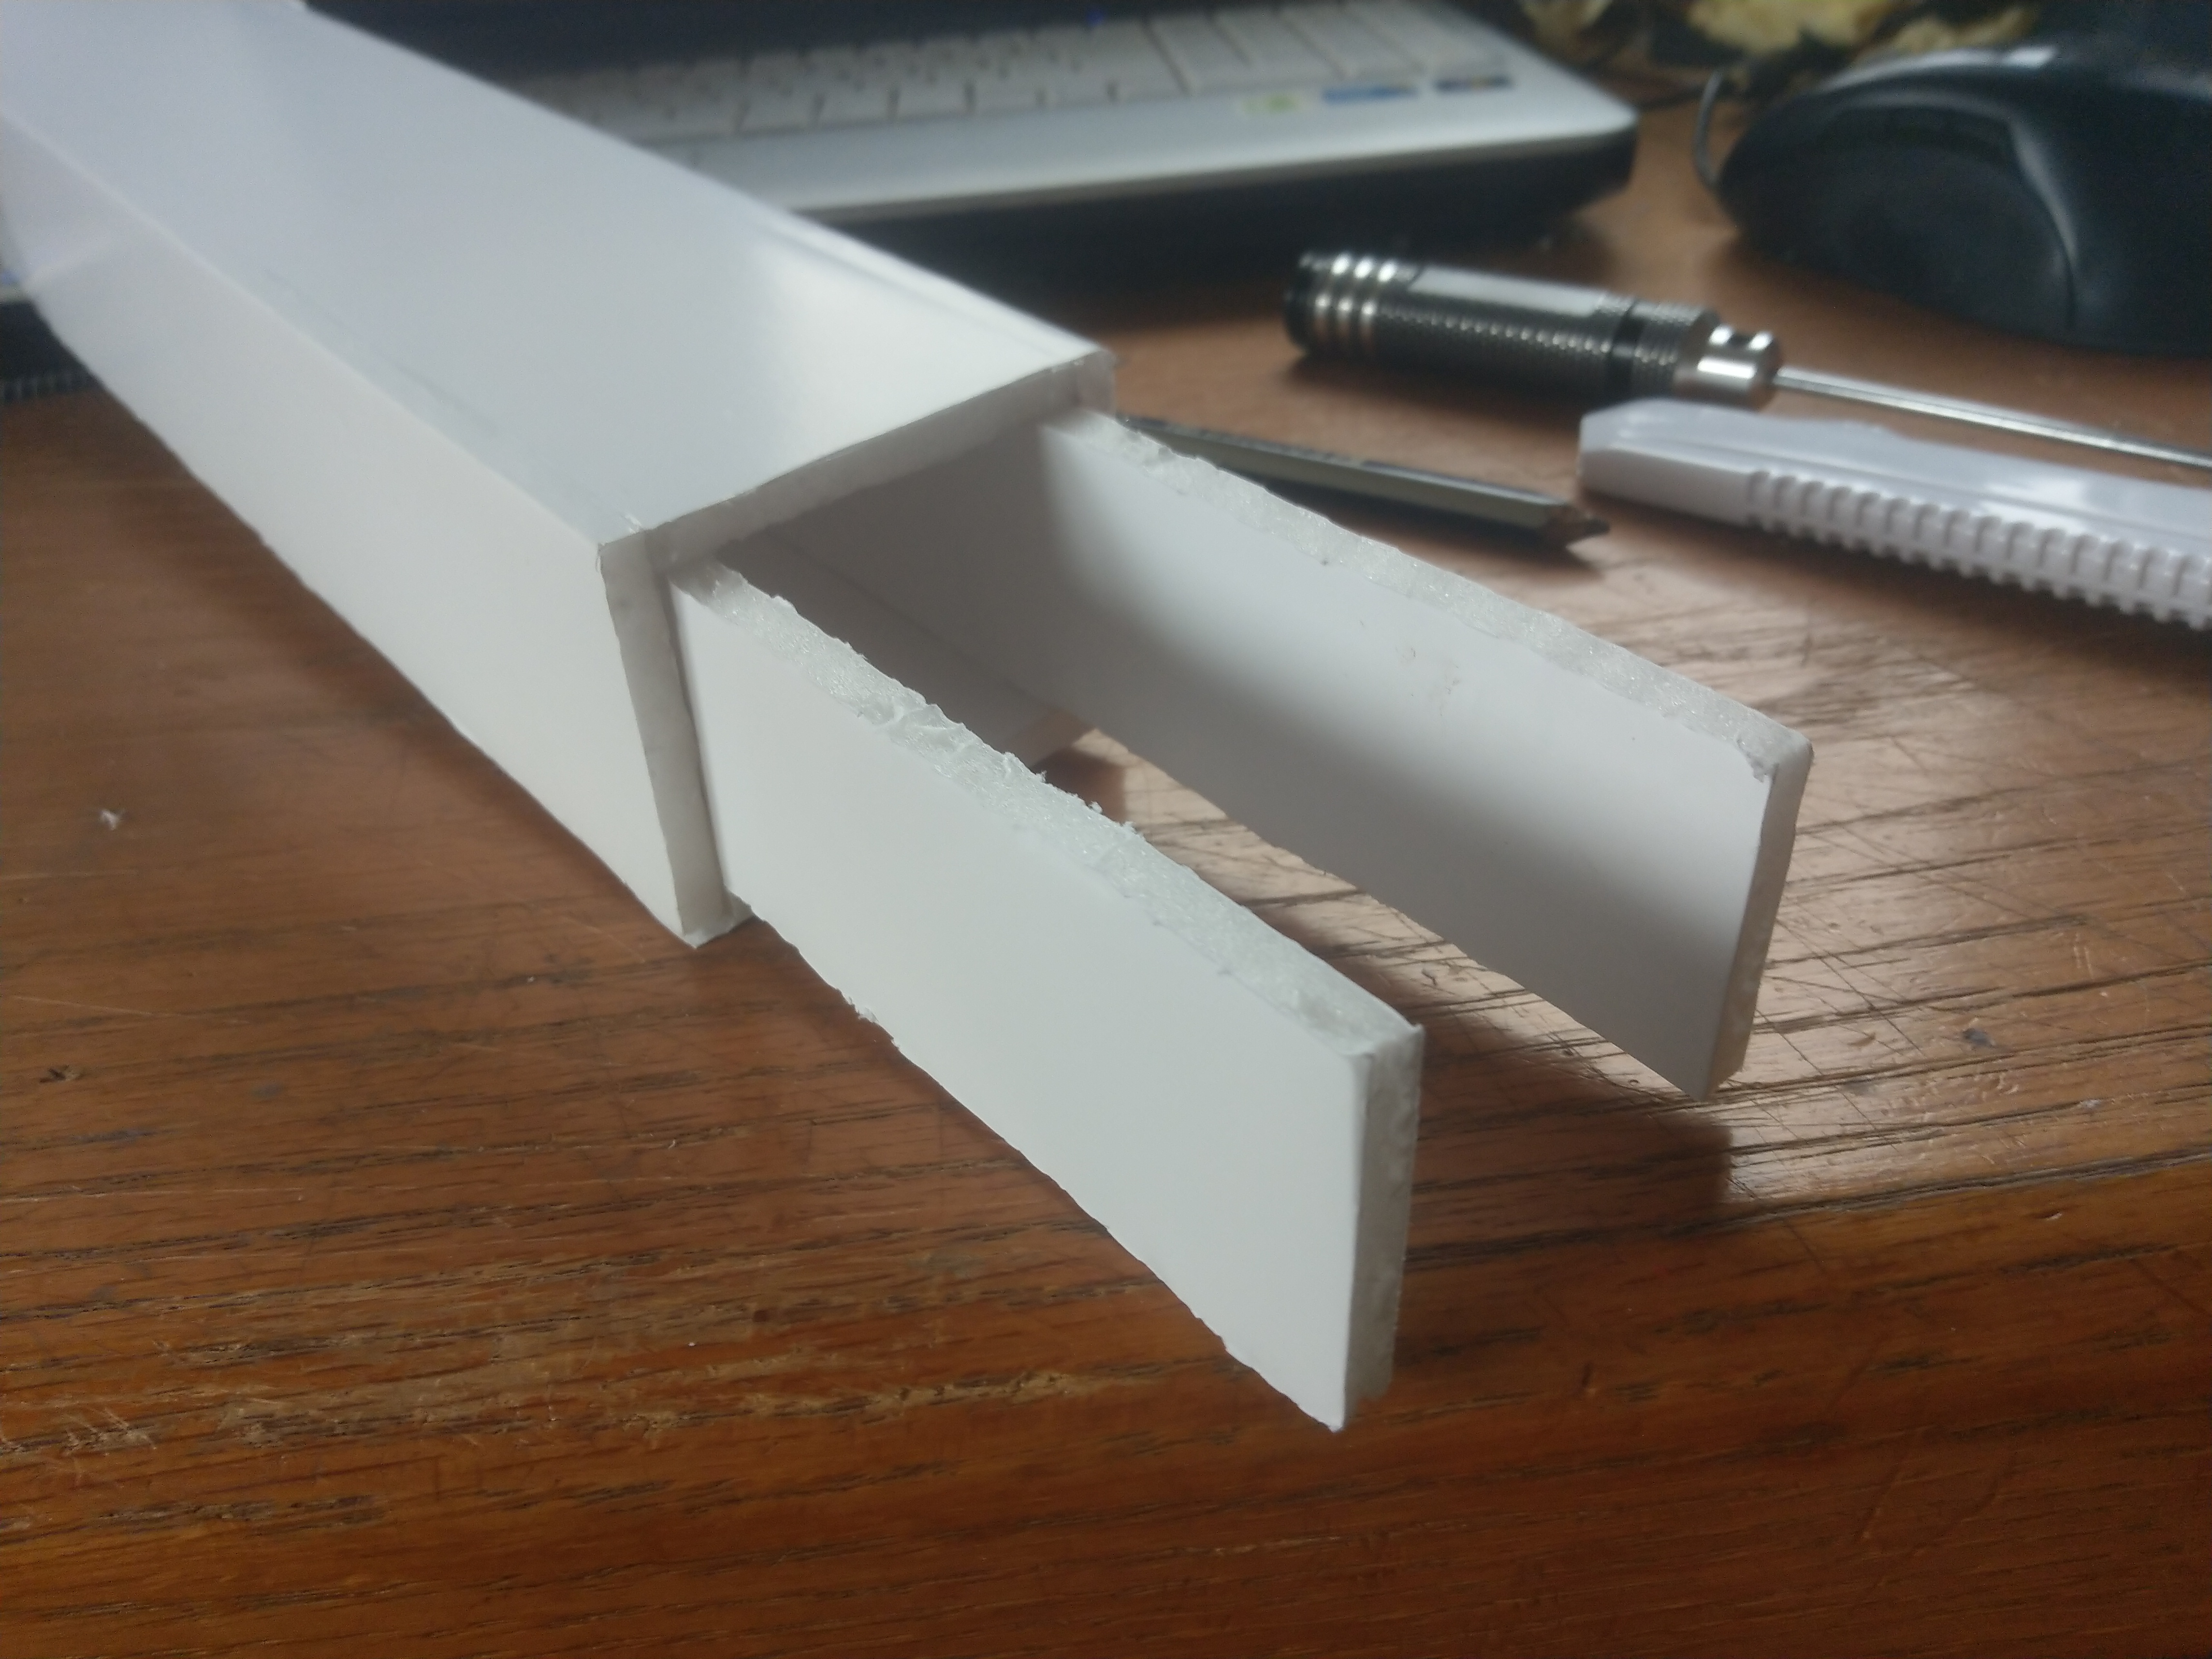
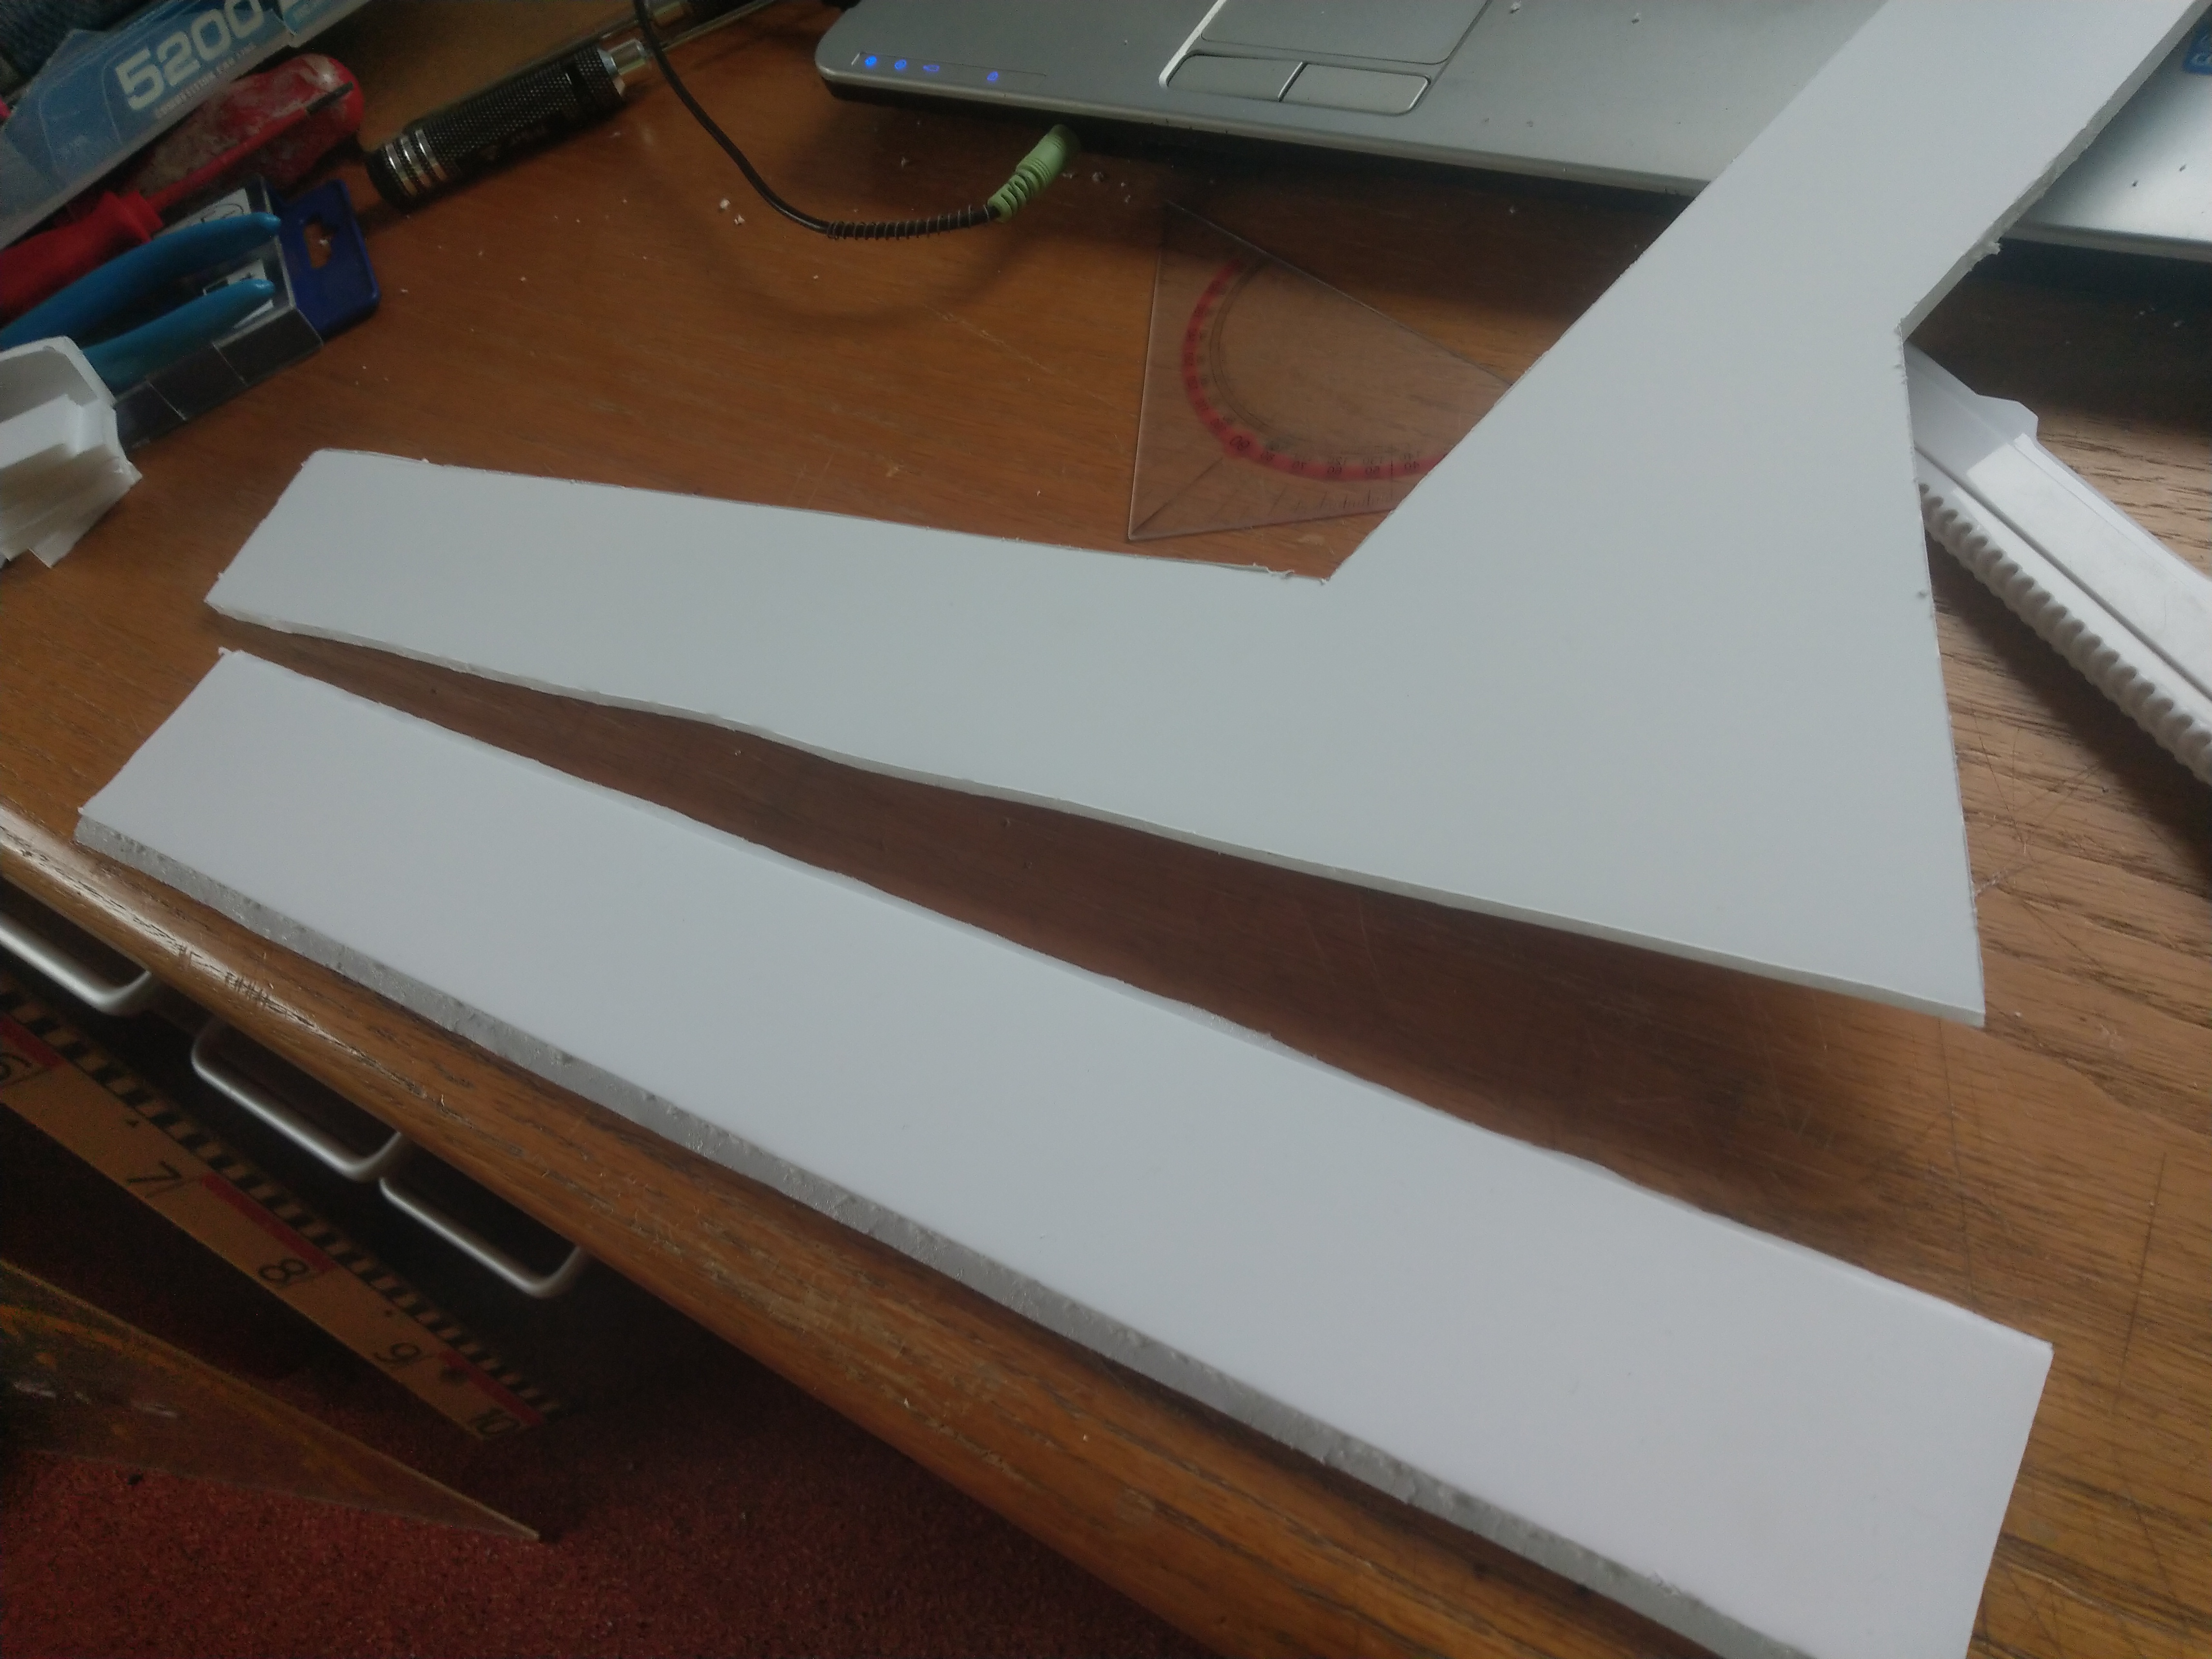
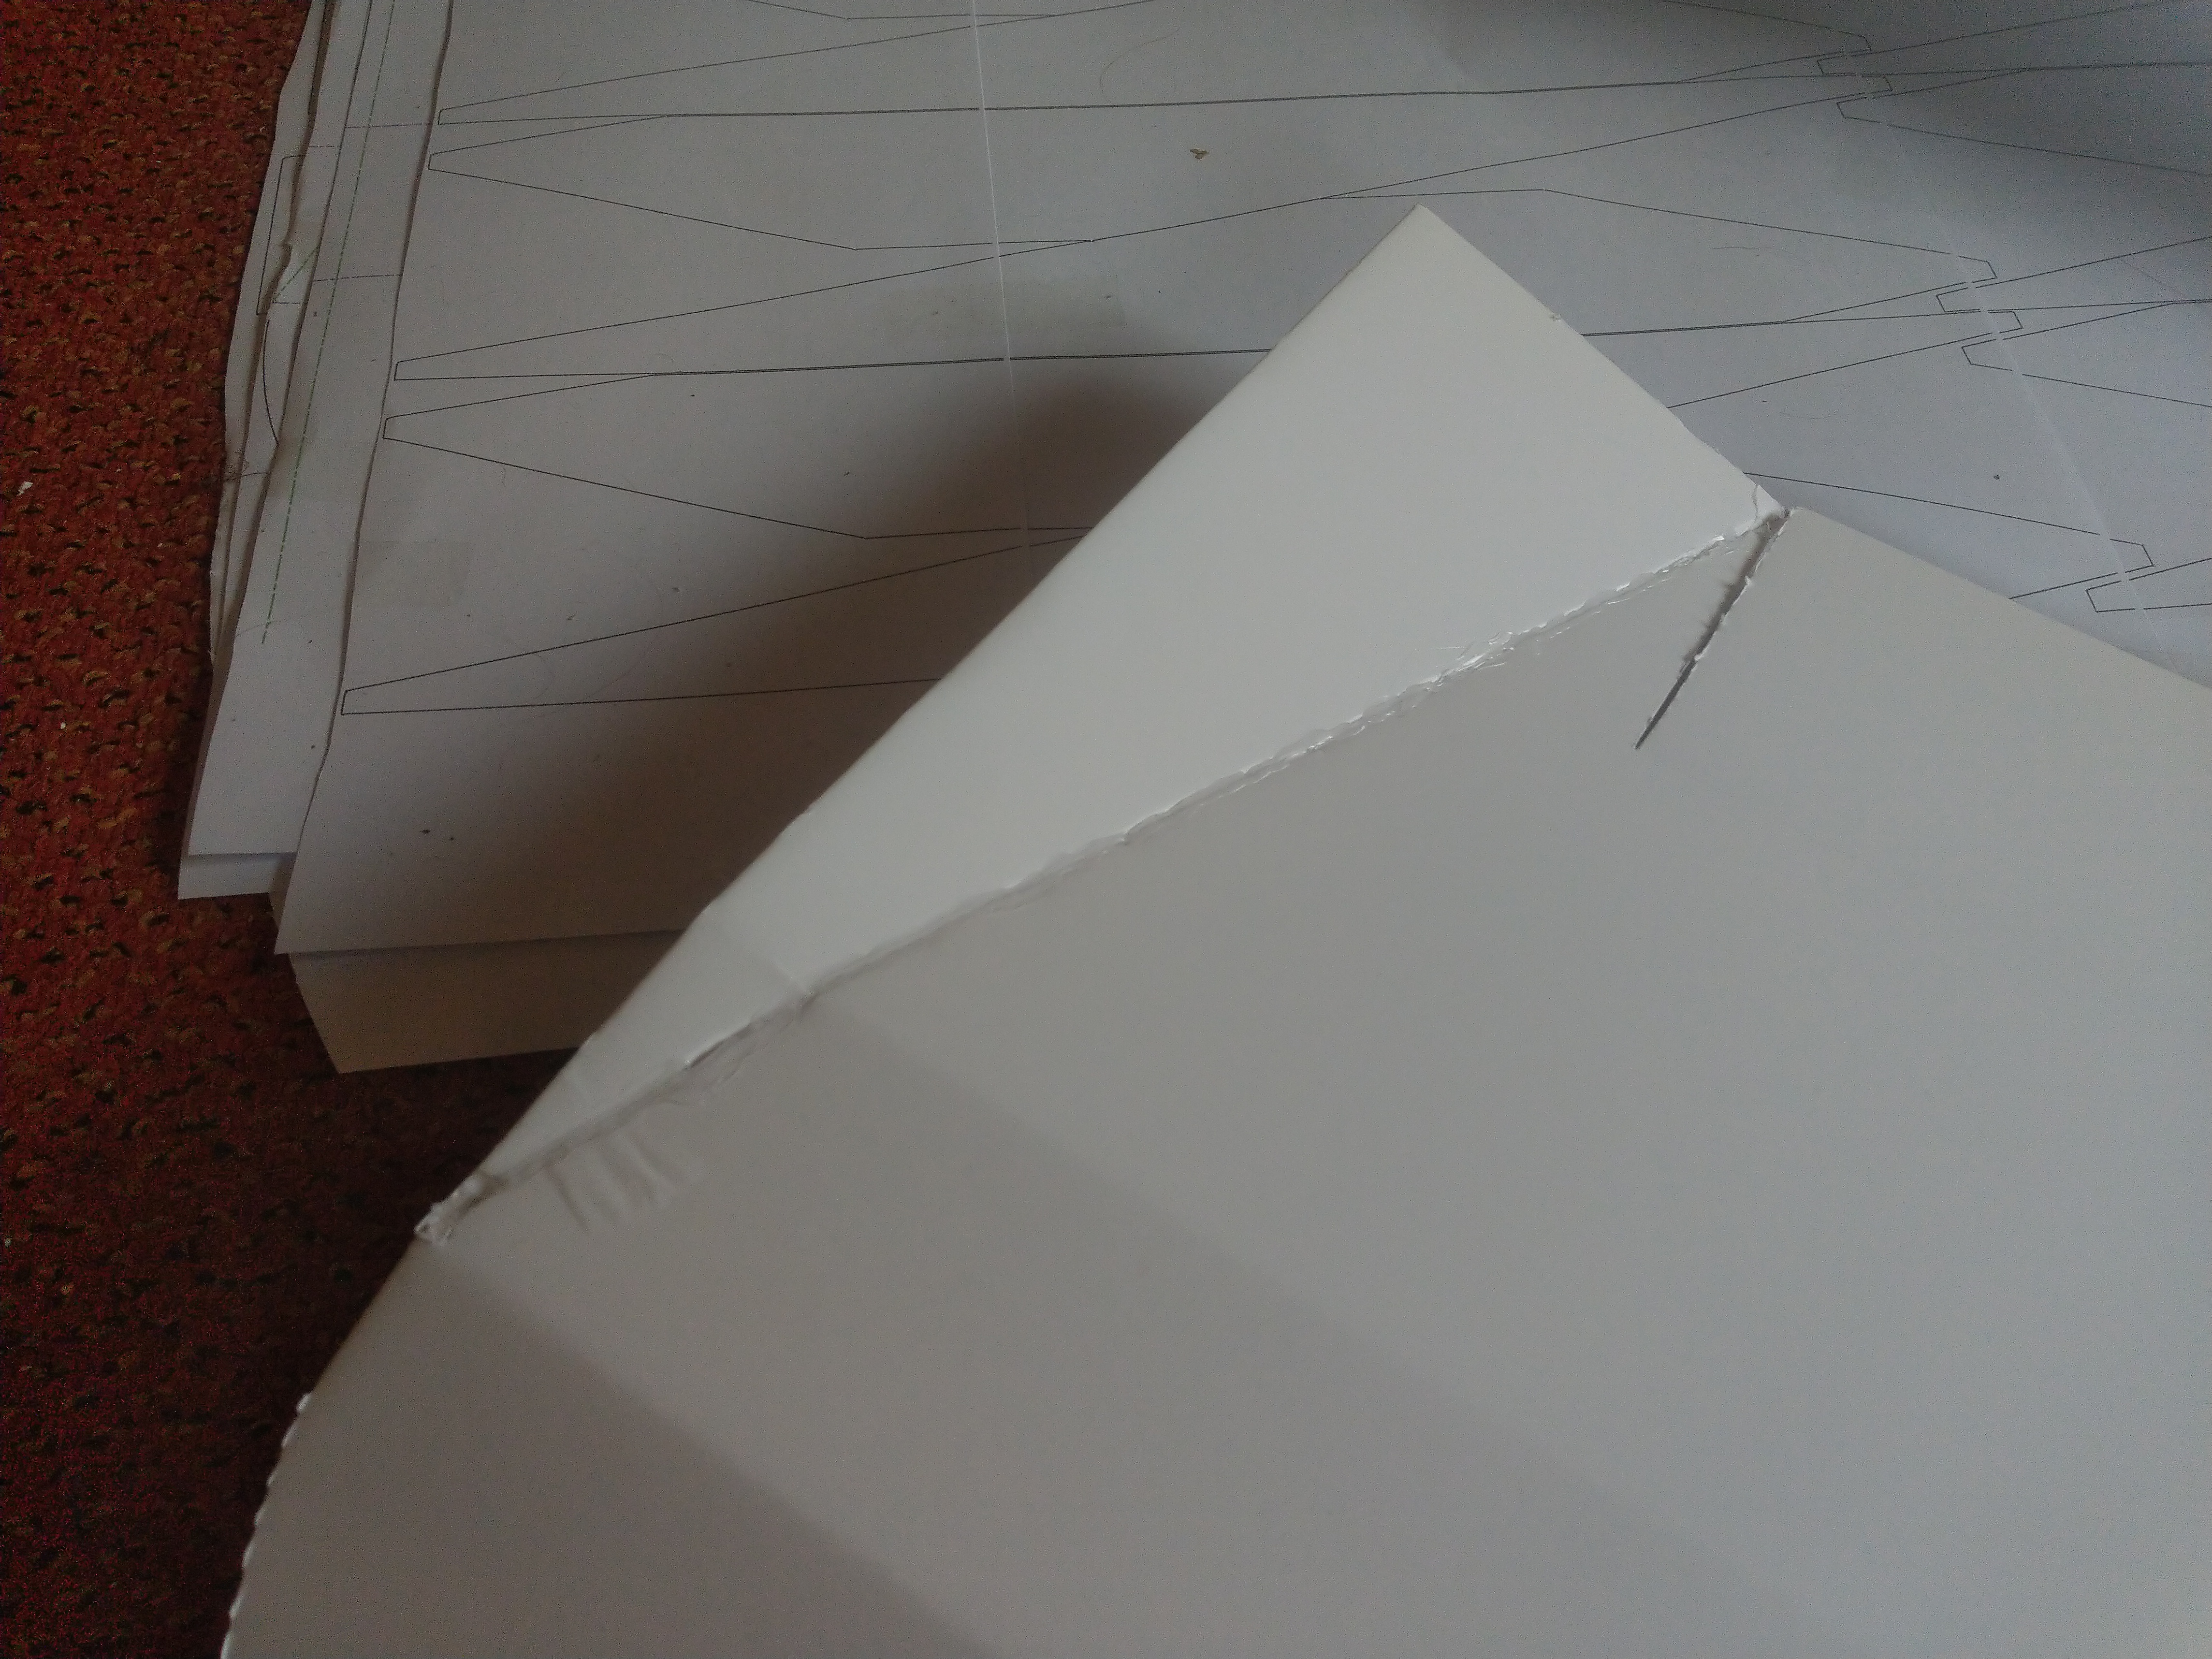
I didnt use FT foam, because I wanted to try something new and for some planes, its better to have white foam. This foamboard was very hard to cut and it was almost impossible to pull the paper off. But it was perfectly straight and seems a little more durable than FT foam.
 

Dr. Looping Looie

Elite member
The building part is starting now!

IMG_20191001_093939.jpg

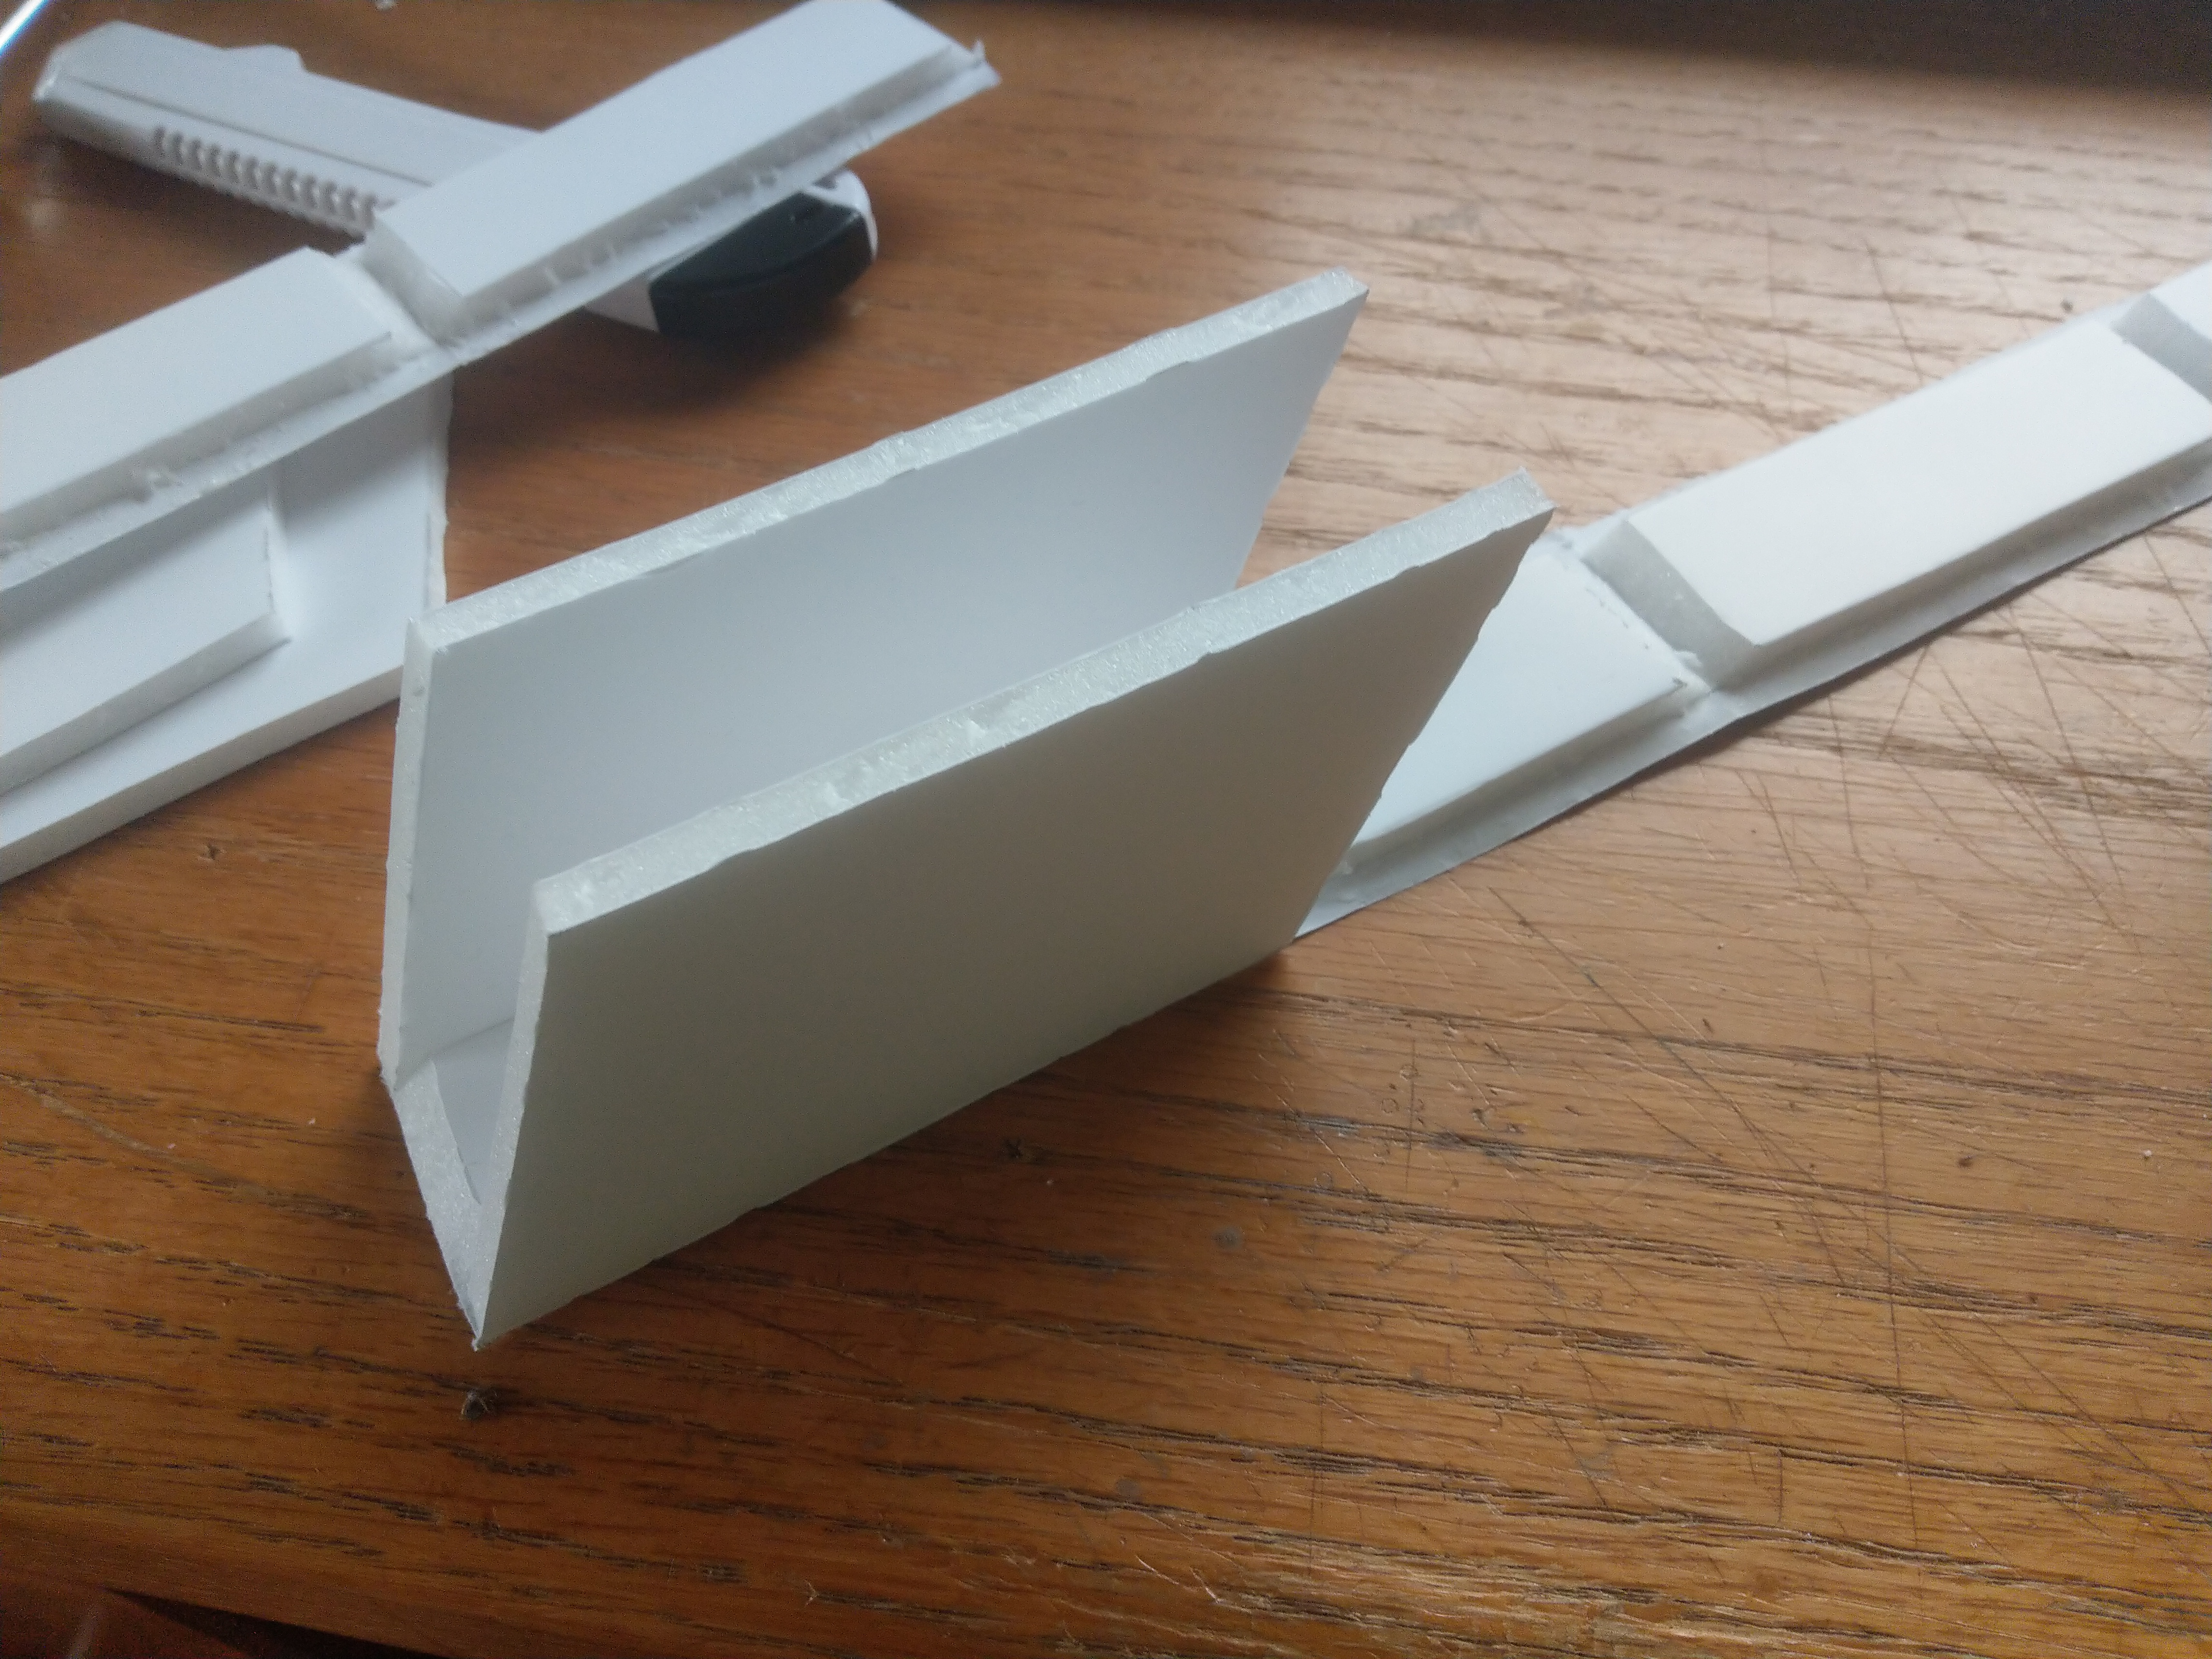
First take these parts. They are going to form the armrests.

IMG_20191001_094045.jpg

Now glue the side parts on. Always check your 90 degree angle.

IMG_20191001_094327.jpg

Wrap the bottom plate around the side parts to form this closed part.

Now repeat the process to get two armrests.

IMG_20191001_094949.jpg

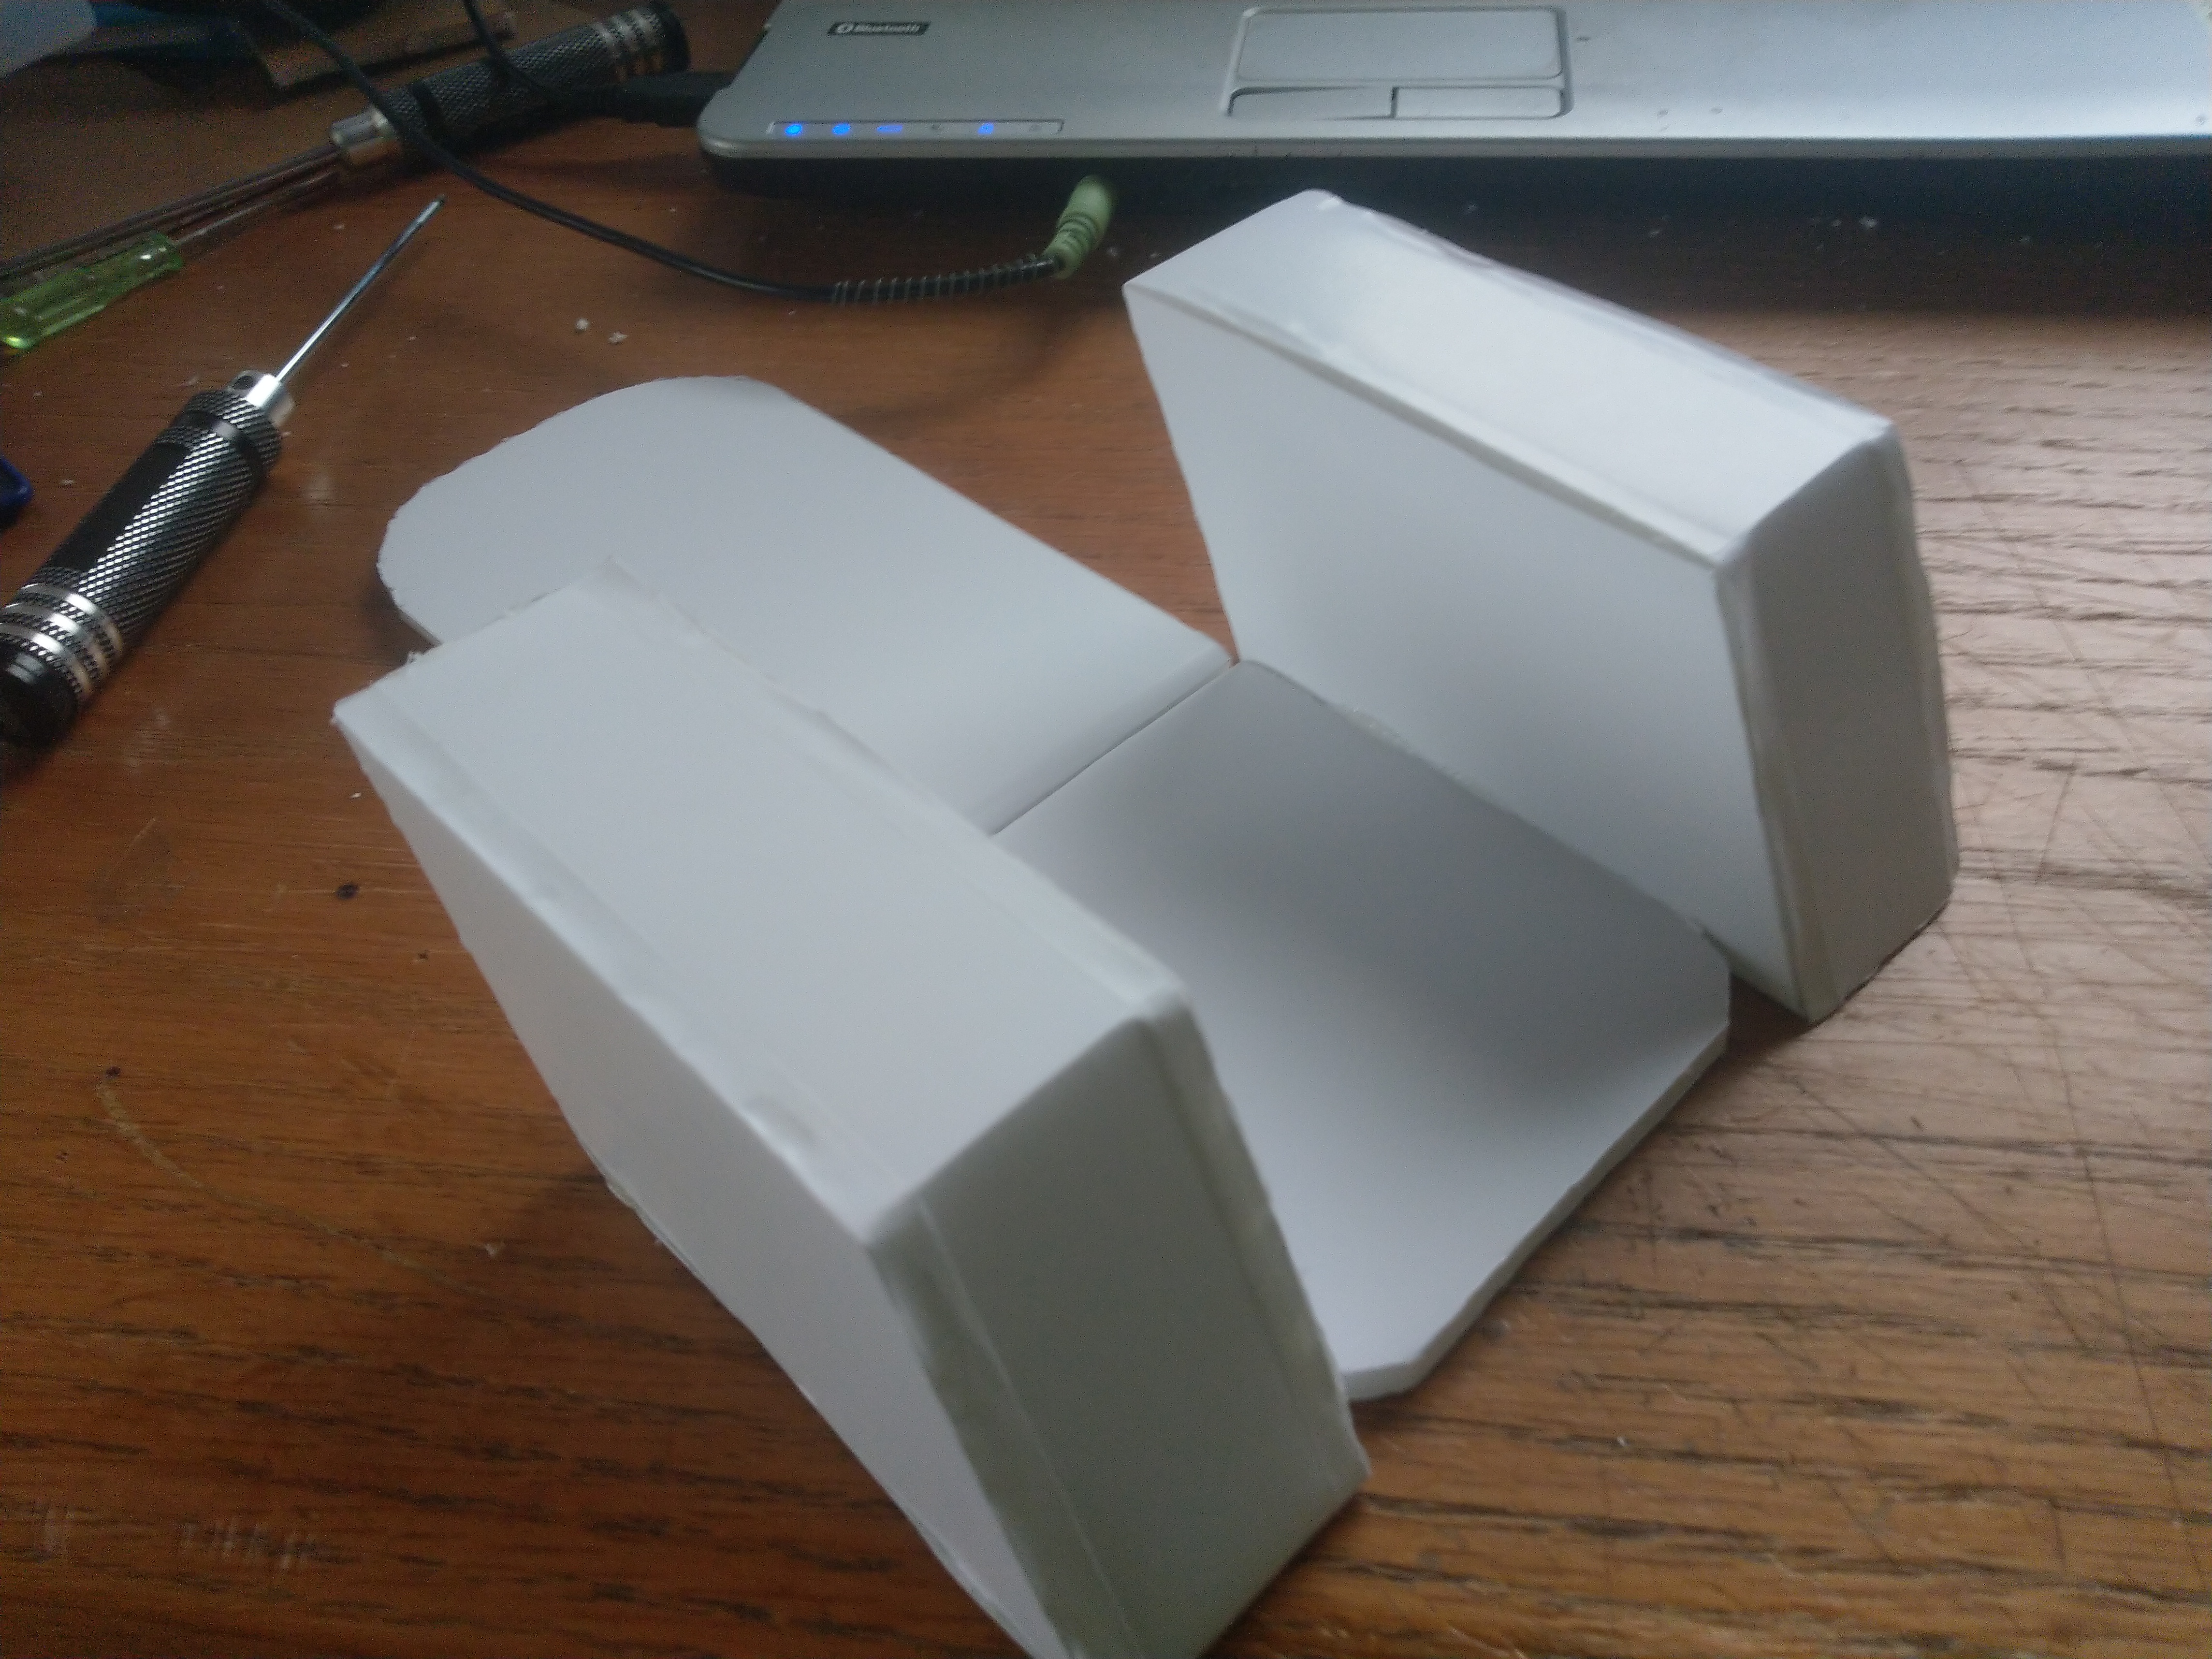
Glue the two to this part...

IMG_20191001_095113.jpg

...to form the seat.
 

Dr. Looping Looie

Elite member
Next steps:

IMG_20191001_100733.jpg

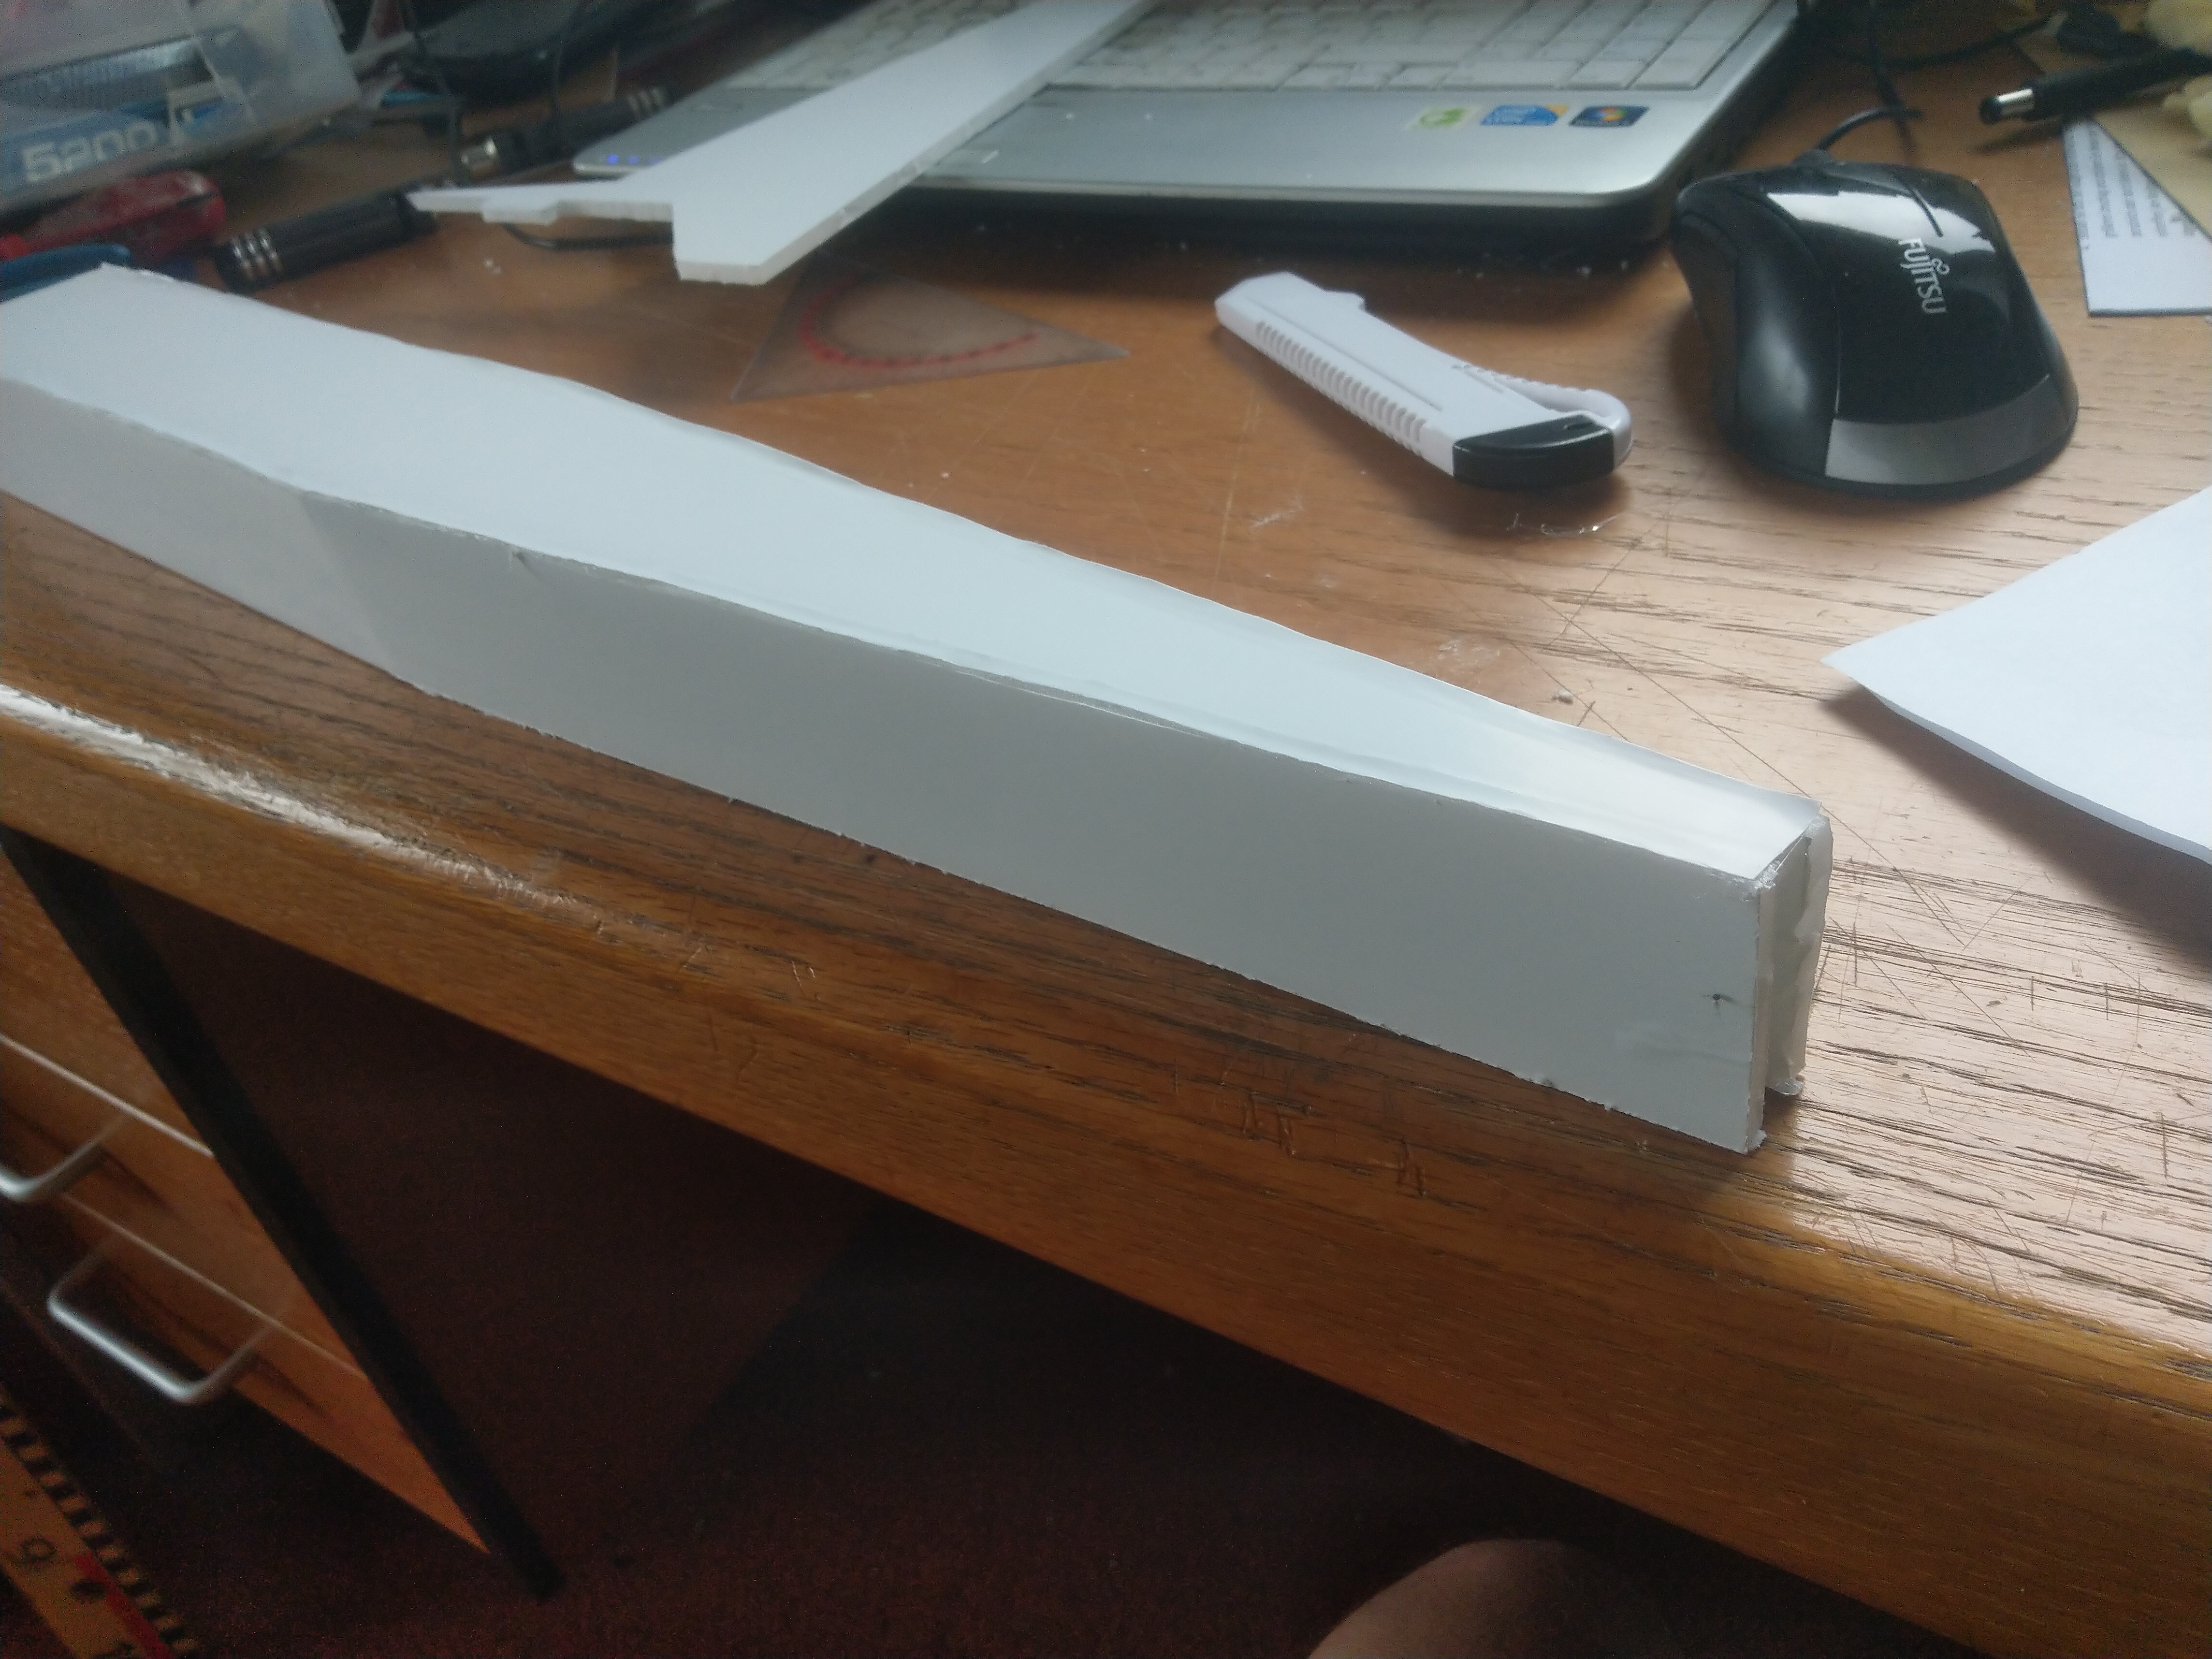
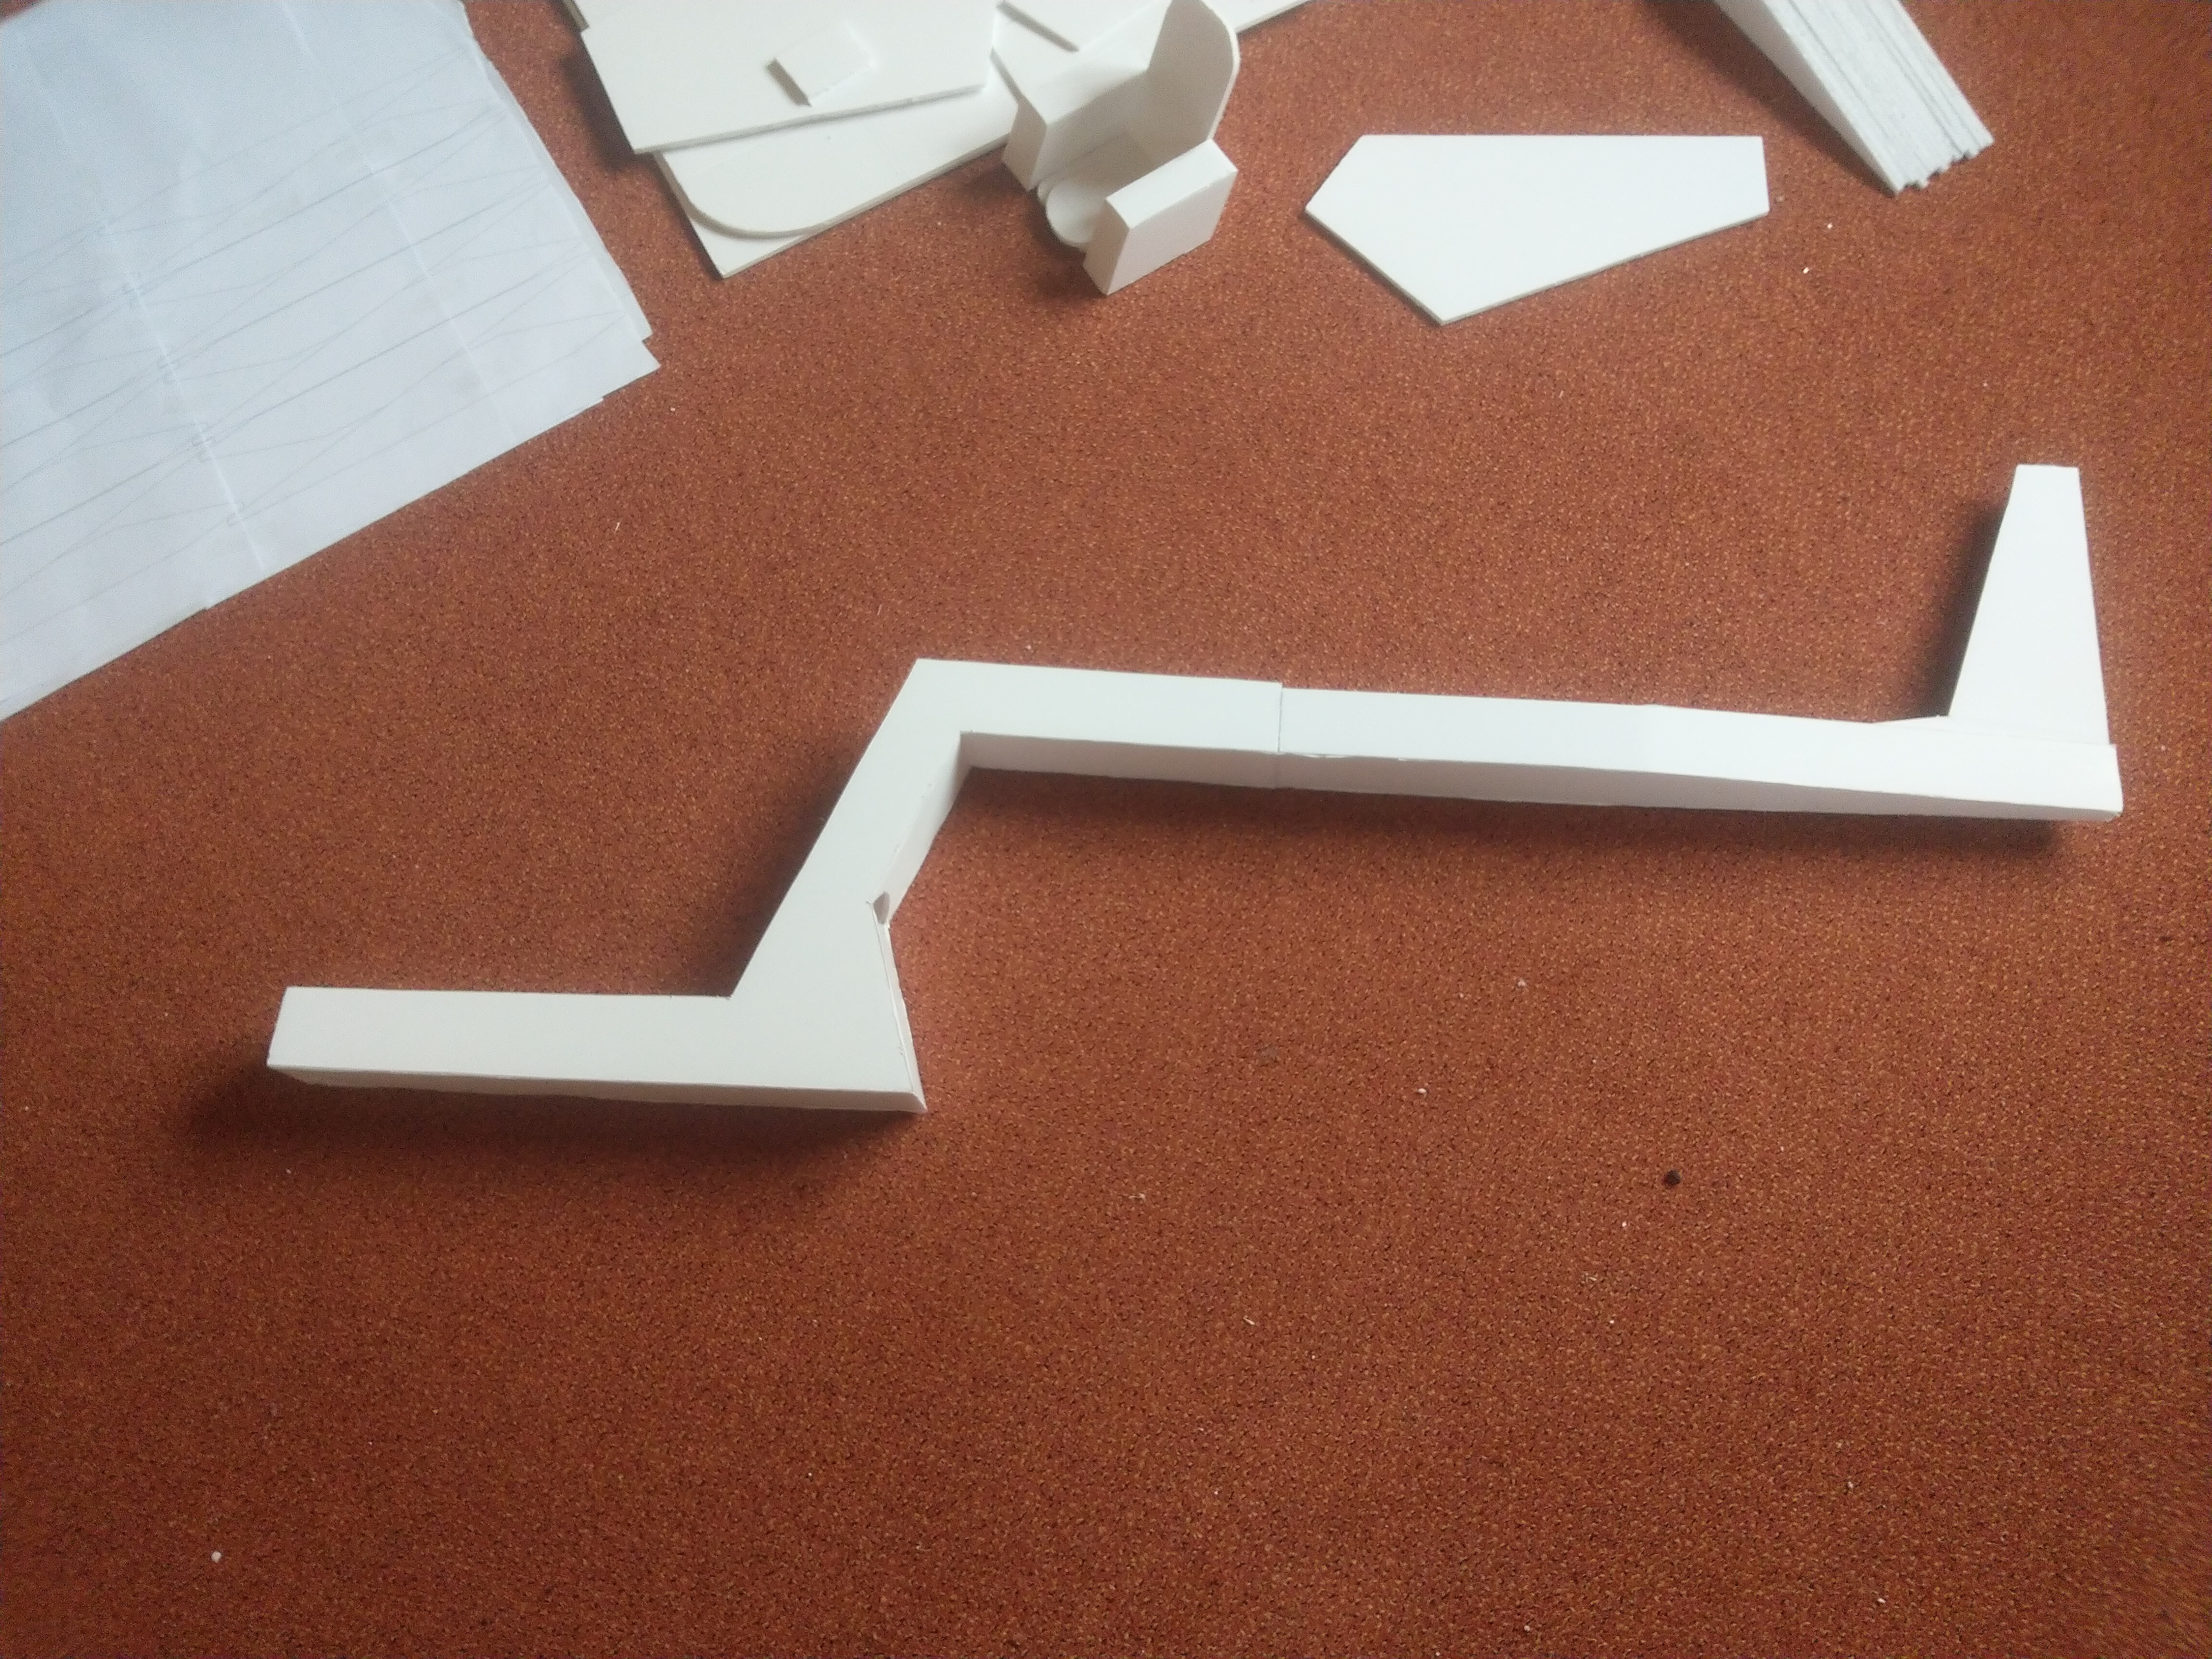
Form the tail boom with a B fold. Totally standard.

IMG_20191001_101748.jpg

Glue on the bottom plate on.

IMG_20191001_101924.jpg

Glue the v stab. on.

IMG_20191001_103741.jpg

These parts strengthen the joint between tail and fuselage.

IMG_20191001_102049.jpg

Get your fuselage parts ready

IMG_20191001_102437.jpg

Glue the side plates to the bottom plate.

IMG_20191001_103750.jpg

Glue on the other parts to cover the whole bottom of the fuselage.

IMG_20191001_104041.jpg

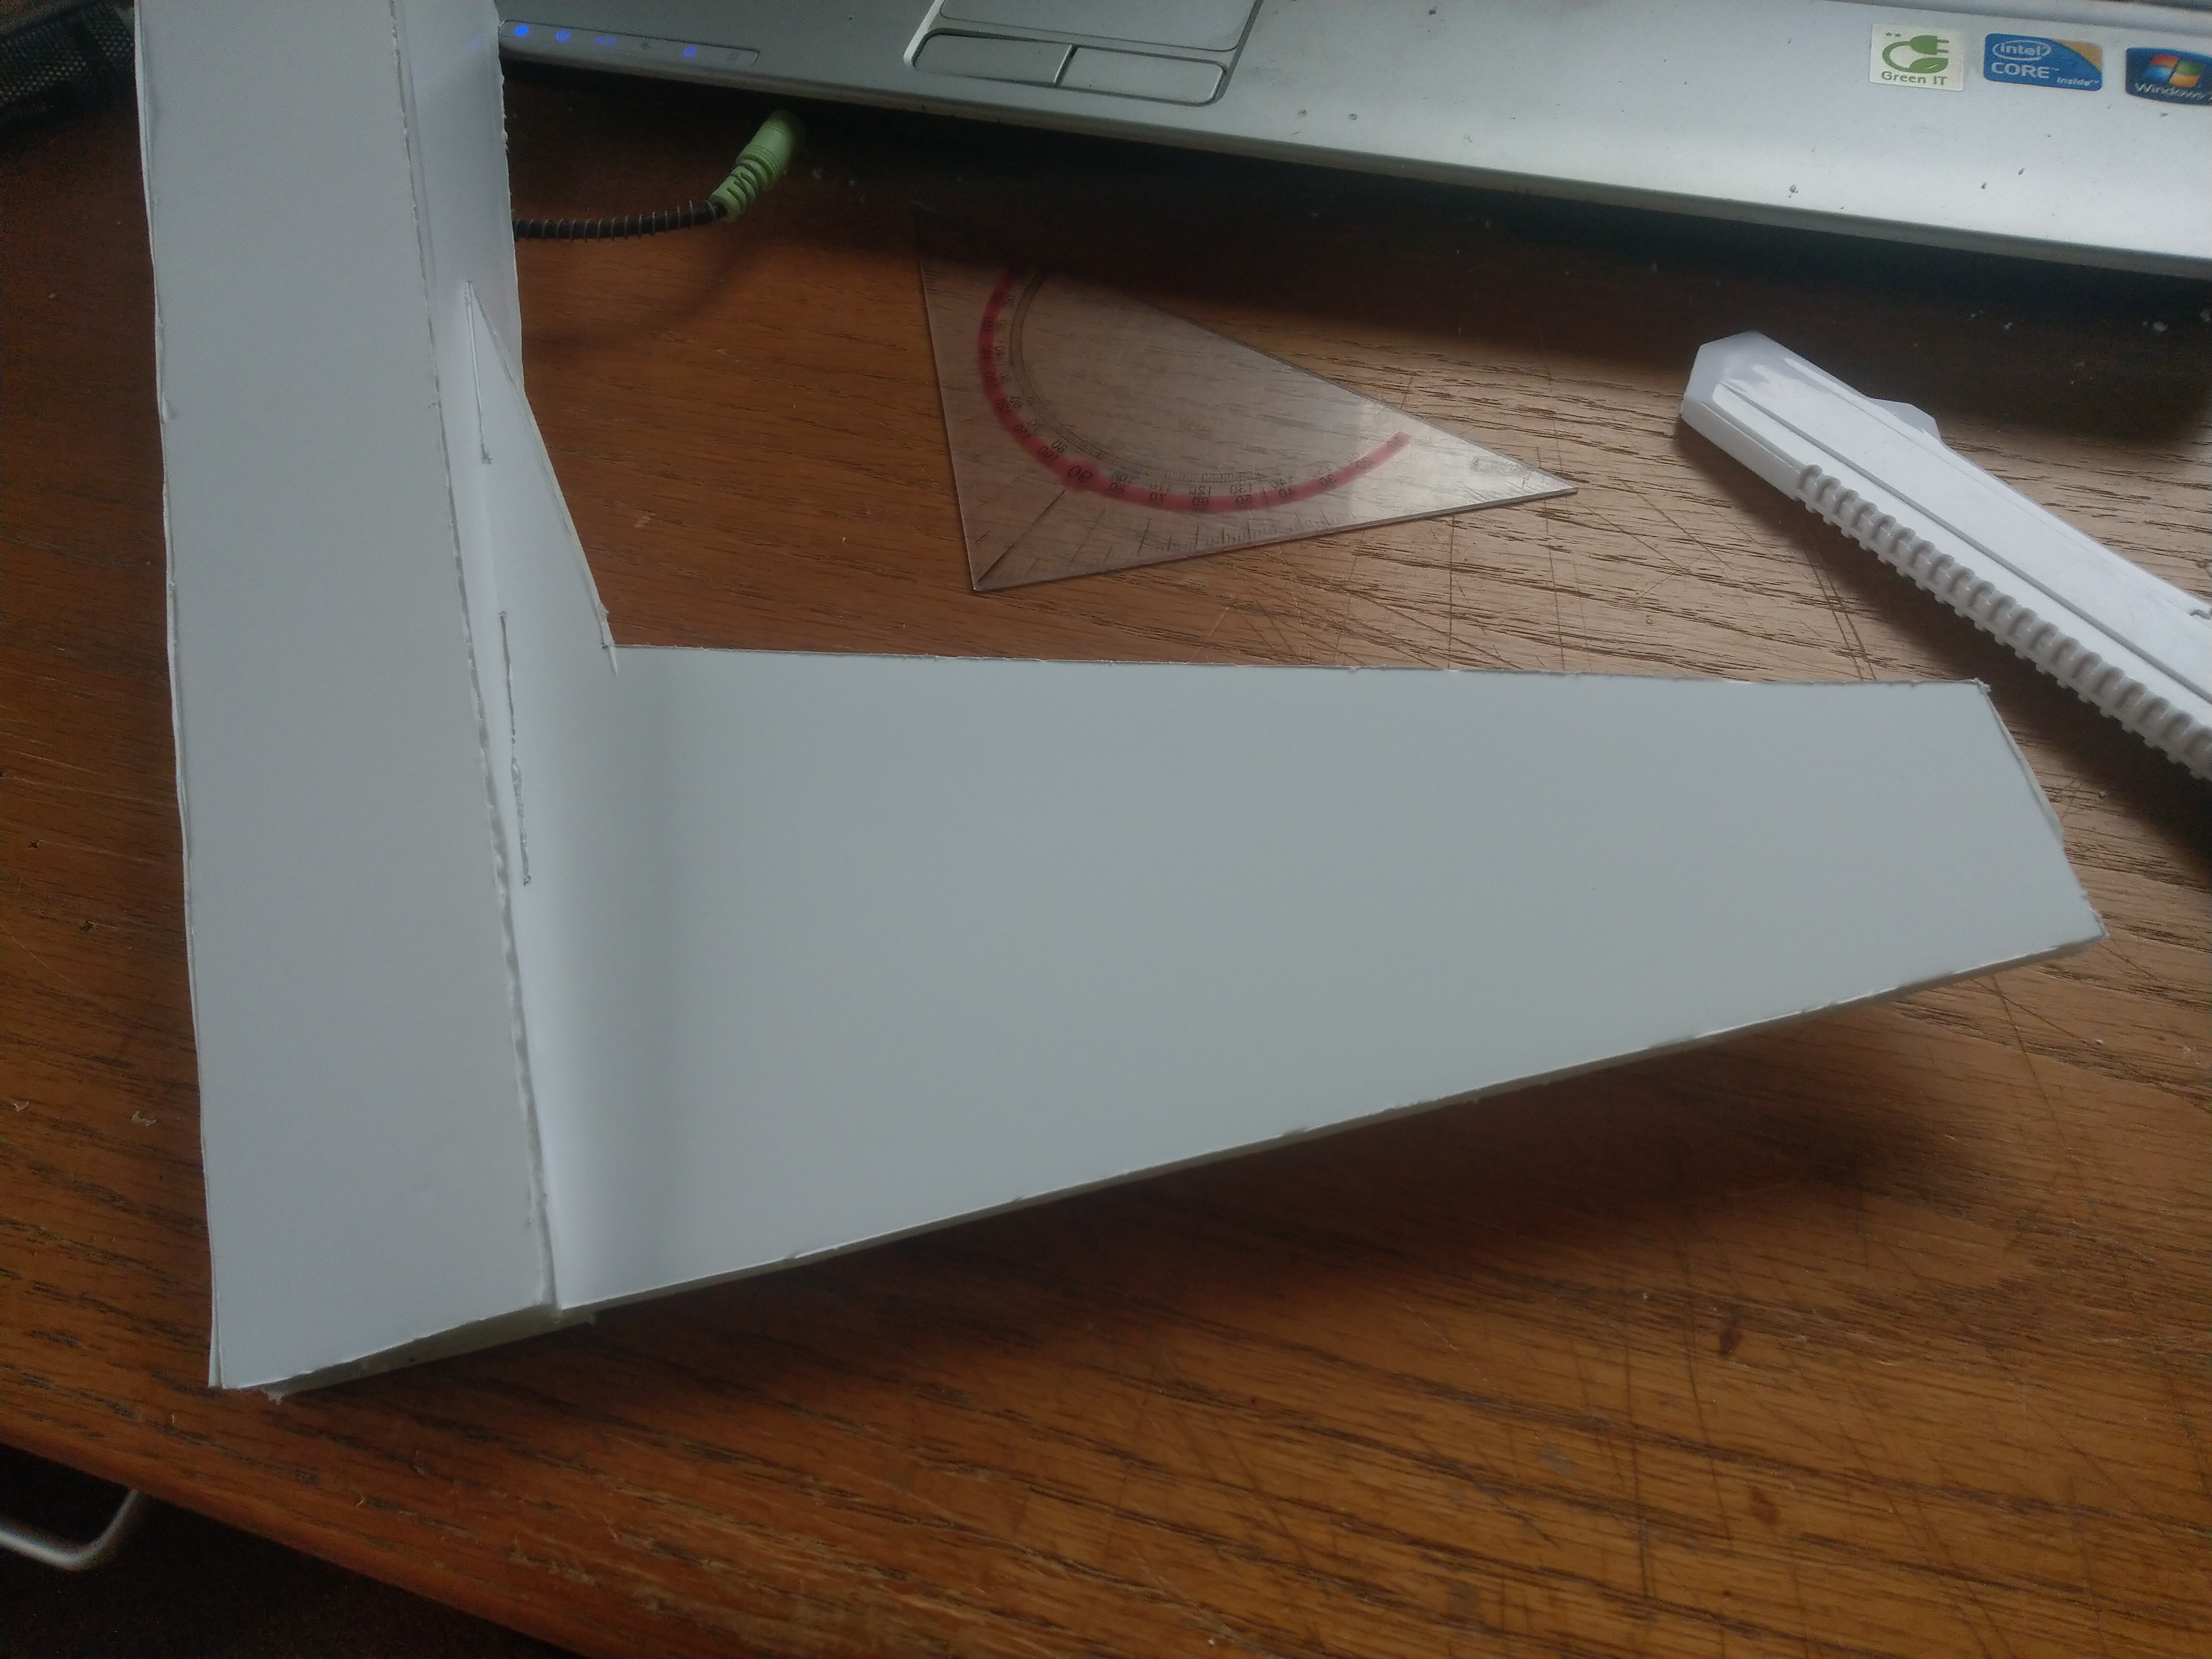
Join the fuse and tail together. Pay special attention to this or your airplane might break in halve.

IMG_20191001_104034.jpg

Next step is the wings...
 

Dr. Looping Looie

Elite member
First, the center section:

IMG_20191001_110339.jpg

Its exactly like my Opel RAK.1 build, except that I left the paper on to give it more strenth and to keep it from twisting.

IMG_20191001_110810.jpg

IMG_20191001_111042.jpg

IMG_20191001_111054.jpg

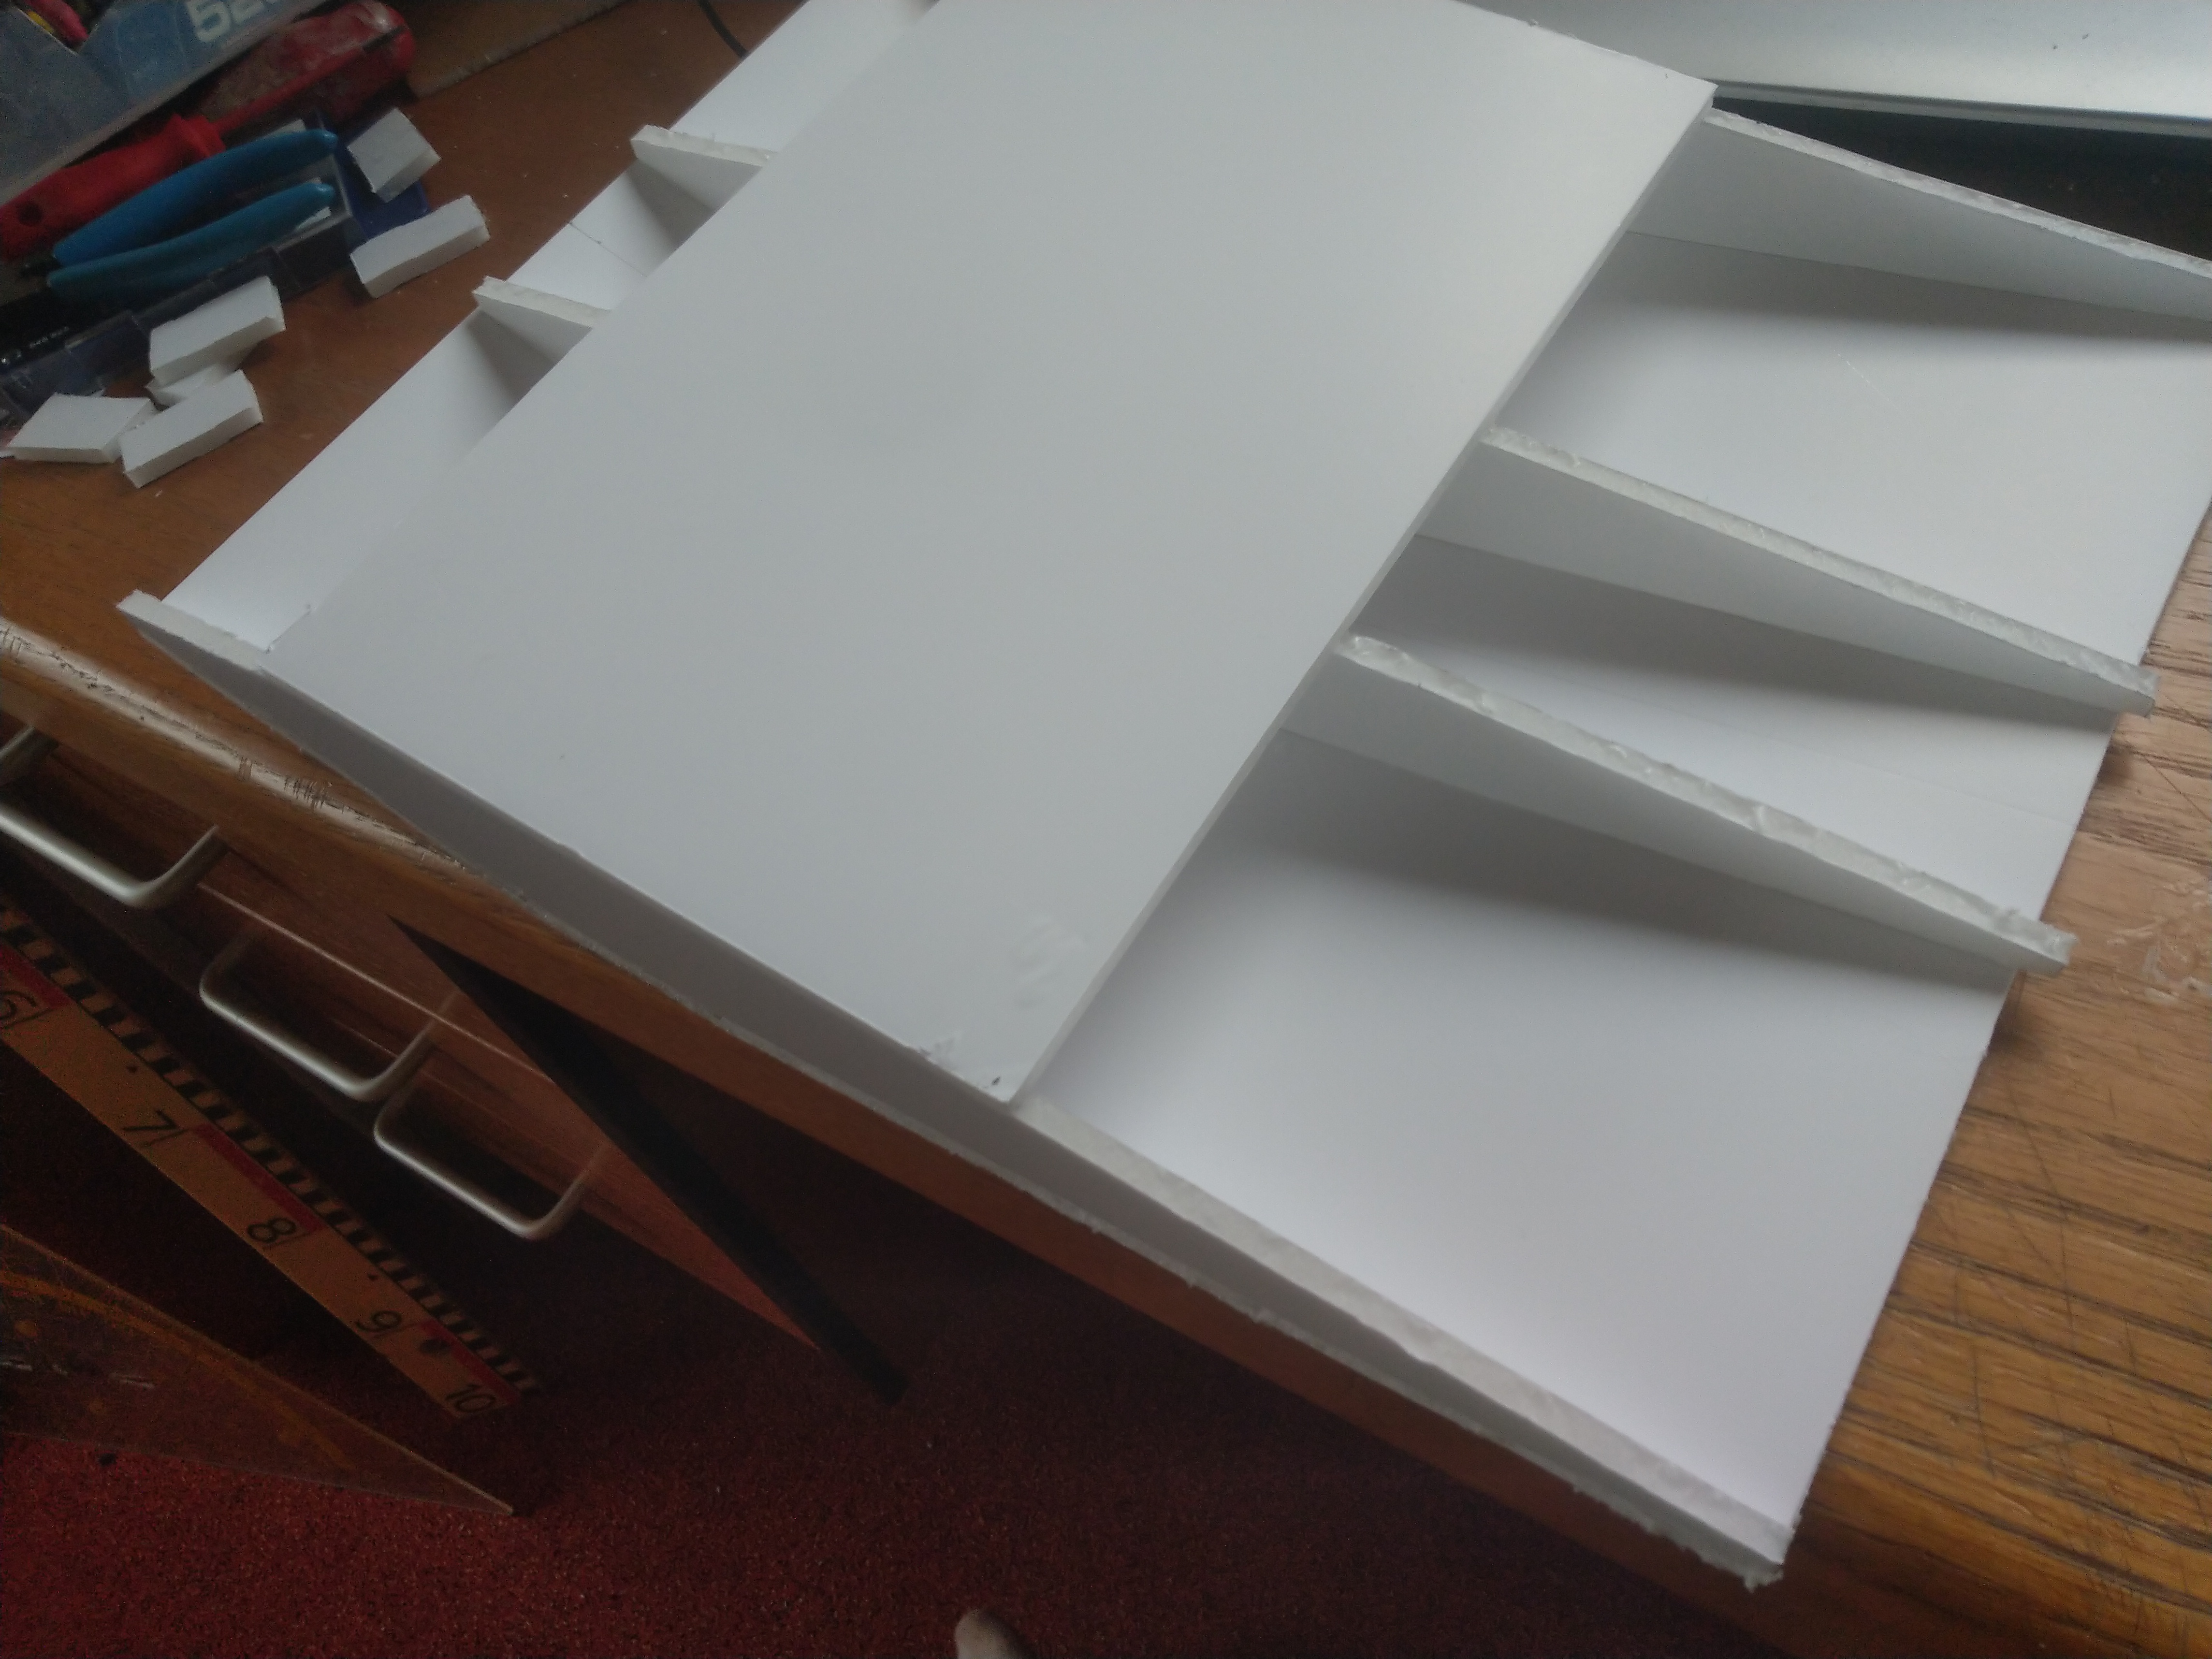
Glue on the ribs, glue on the bottom plate, with the reference marks in the plans its extreamely simple. You need to be fast, otherwise the glue will be dry before you put your part on.
 

Dr. Looping Looie

Elite member
Ive done the exact same thing to the outer wing sections:

IMG_20191001_112601.jpg

First, I removed the flap surfaces, because I want to do some sort of fowler flaps. I also cut a bevel to hinge the aileron, just like on every other FT plane.

IMG_20191001_114201.jpg

IMG_20191001_122552.jpg

IMG_20191001_122544.jpg

I bend the outer wingtips up, which is not only close to the real Wind Puff, but also helps with preventing tipstalls. It lowers the angle of attack of the very outer wingtip, so that it will stall after the main wing, which makes stalls a lot less critical.
 

charlesrc2

Active member
Ive done the exact same thing to the outer wing sections:

View attachment 144114
First, I removed the flap surfaces, because I want to do some sort of fowler flaps. I also cut a bevel to hinge the aileron, just like on every other FT plane.

View attachment 144115
View attachment 144116
View attachment 144117
I bend the outer wingtips up, which is not only close to the real Wind Puff, but also helps with preventing tipstalls. It lowers the angle of attack of the very outer wingtip, so that it will stall after the main wing, which makes stalls a lot less critical.

Looking great so far!
 

Dr. Looping Looie

Elite member
Moving on to the control surfaces...

First comes the elevator. Its gigantonornous, and for better control at low speeds, for example on the ground, I decided to make it a full flying stabelizer, which means that the whole surface moves. This also gives me the benefit of mounting the surface around 2" below the tail boom, putting it into the airflow of the prop.

IMG_20191001_142414.jpg

You need the stabelizer, two plywood parts and a skewer. Open up the cavity, so that the skewer fits right in there.

IMG_20191001_142806.jpg

Put the plywood parts through the foam and then guide the skewer through the holes. Then glue it inside the cavity. Make sure that the plywood parts can move freely. Then fold the bottom parts over and glue them down.

IMG_20191001_143028.jpg


Im also going to hinge the rudder with plywood and skewers.

IMG_20191001_144240.jpg

Glue the skewers to the rudder surface. Make sure that the plywood pieces can move freely.

IMG_20191001_145304.jpg

I covered the skewer with a little paper, to make it stronger and look better.

IMG_20191001_145616.jpg

Then I glued the plywood pieces to the stabelizer. I love the way it moves! Very little resistance and it has a cool vintage feel to it!