L Edge
Master member
After completing my SR-71 and A-10 Warthog, the last is the F-117 that I am going to try to do not only with a EDF 64, but enlarge it to handle a 70mm system if it has a good flight environment. Looking at a number of RC designs, I have decided to incorporate a mixture and scale it to what I would like to try.
So with that said, being old school, it is a cut and try approach so at present, there are no plans. I hope to incorporate some of the tricks that I used with the SR-71 and the A-10 to produce a stable aircraft.
Try to get:
1) Good hand launch, if not, a sturdy light gear.
2) A low landing speed.
3) A plane that can handle gusty winds.
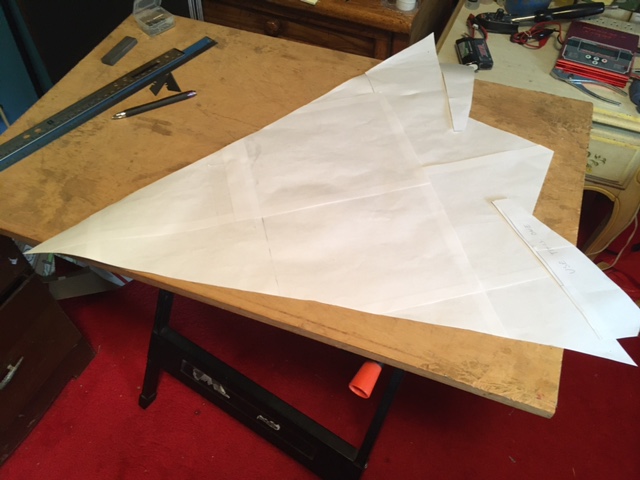
It doesn't take you long to realize what ever goes inside the framework, once you glue the top on, it will require major surgery if changes are needed. I ran out of blue FFFoam, so now forced to use Readi-board from Dollar Store. Cut out my outline of the F-117 on paper

This is the nose and side inner plates. Much simpler to make.
.

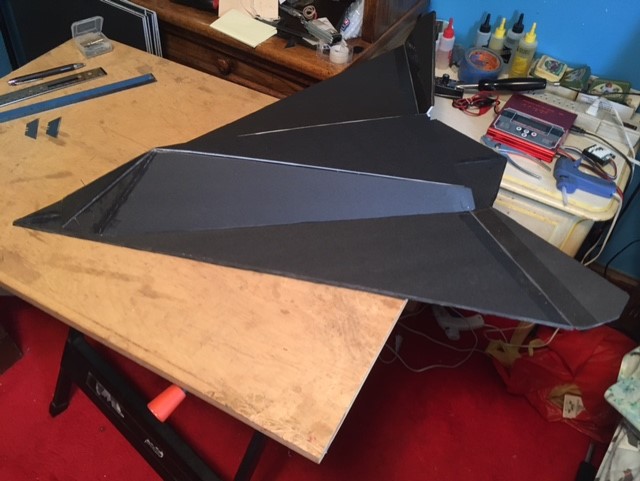
So, here is the bottom and cut and taped the elevons.

Next, shaped the nose and then fitted the two side pieces. The white section is where the top piece goes.

Fitted the top piece. Again, no glue yet.

Back to paper, to set inlets for air flow and outer design.
So with that said, being old school, it is a cut and try approach so at present, there are no plans. I hope to incorporate some of the tricks that I used with the SR-71 and the A-10 to produce a stable aircraft.
Try to get:
1) Good hand launch, if not, a sturdy light gear.
2) A low landing speed.
3) A plane that can handle gusty winds.
It doesn't take you long to realize what ever goes inside the framework, once you glue the top on, it will require major surgery if changes are needed. I ran out of blue FFFoam, so now forced to use Readi-board from Dollar Store. Cut out my outline of the F-117 on paper

This is the nose and side inner plates. Much simpler to make.
.

So, here is the bottom and cut and taped the elevons.

Next, shaped the nose and then fitted the two side pieces. The white section is where the top piece goes.

Fitted the top piece. Again, no glue yet.

Back to paper, to set inlets for air flow and outer design.


