
RC Sea Foam Guy
Member
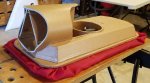
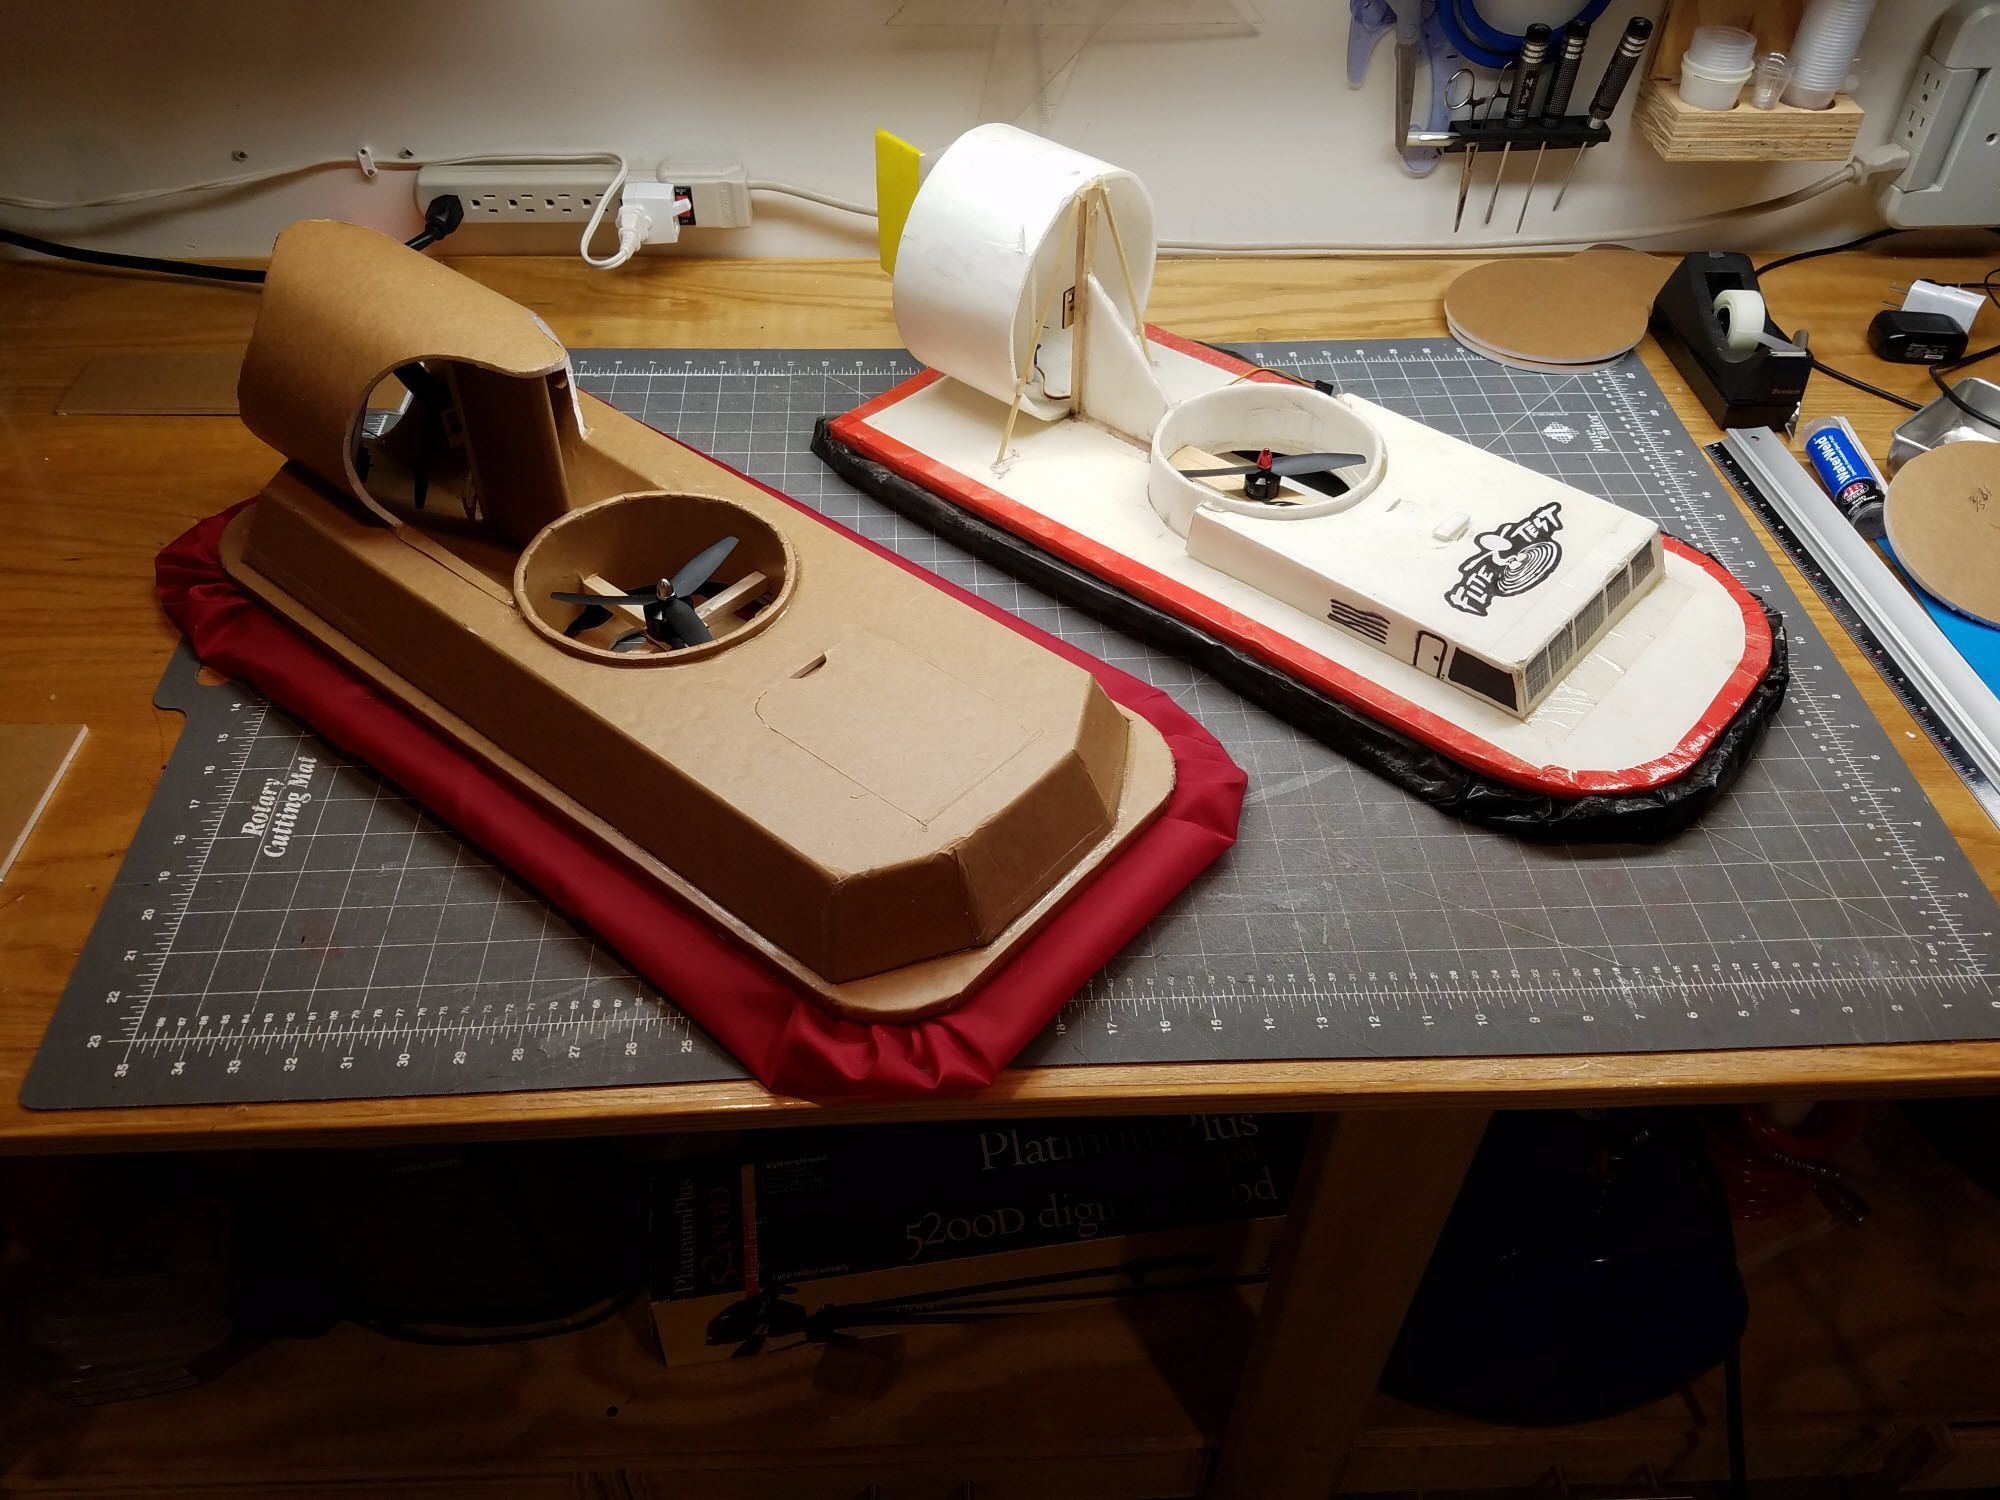
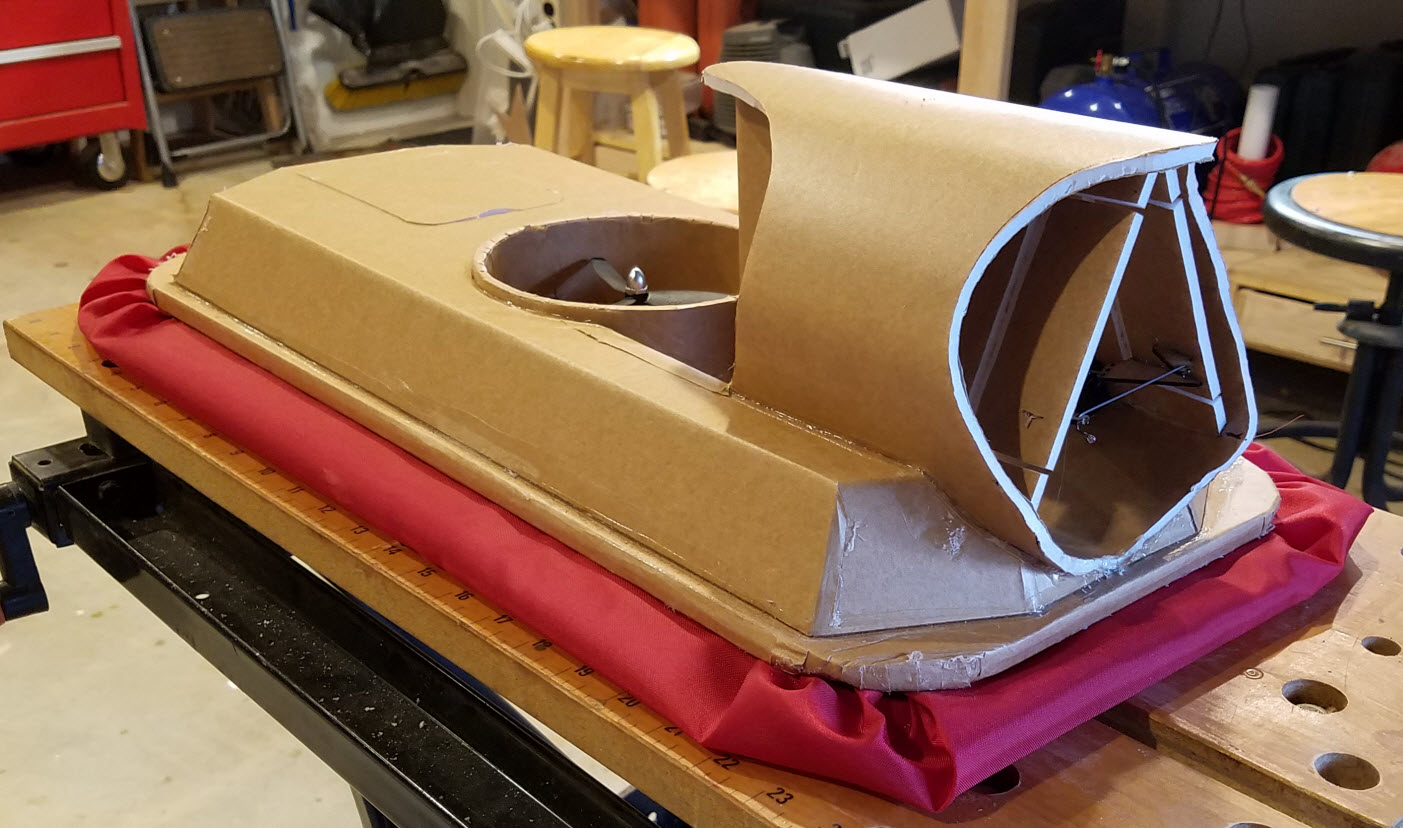
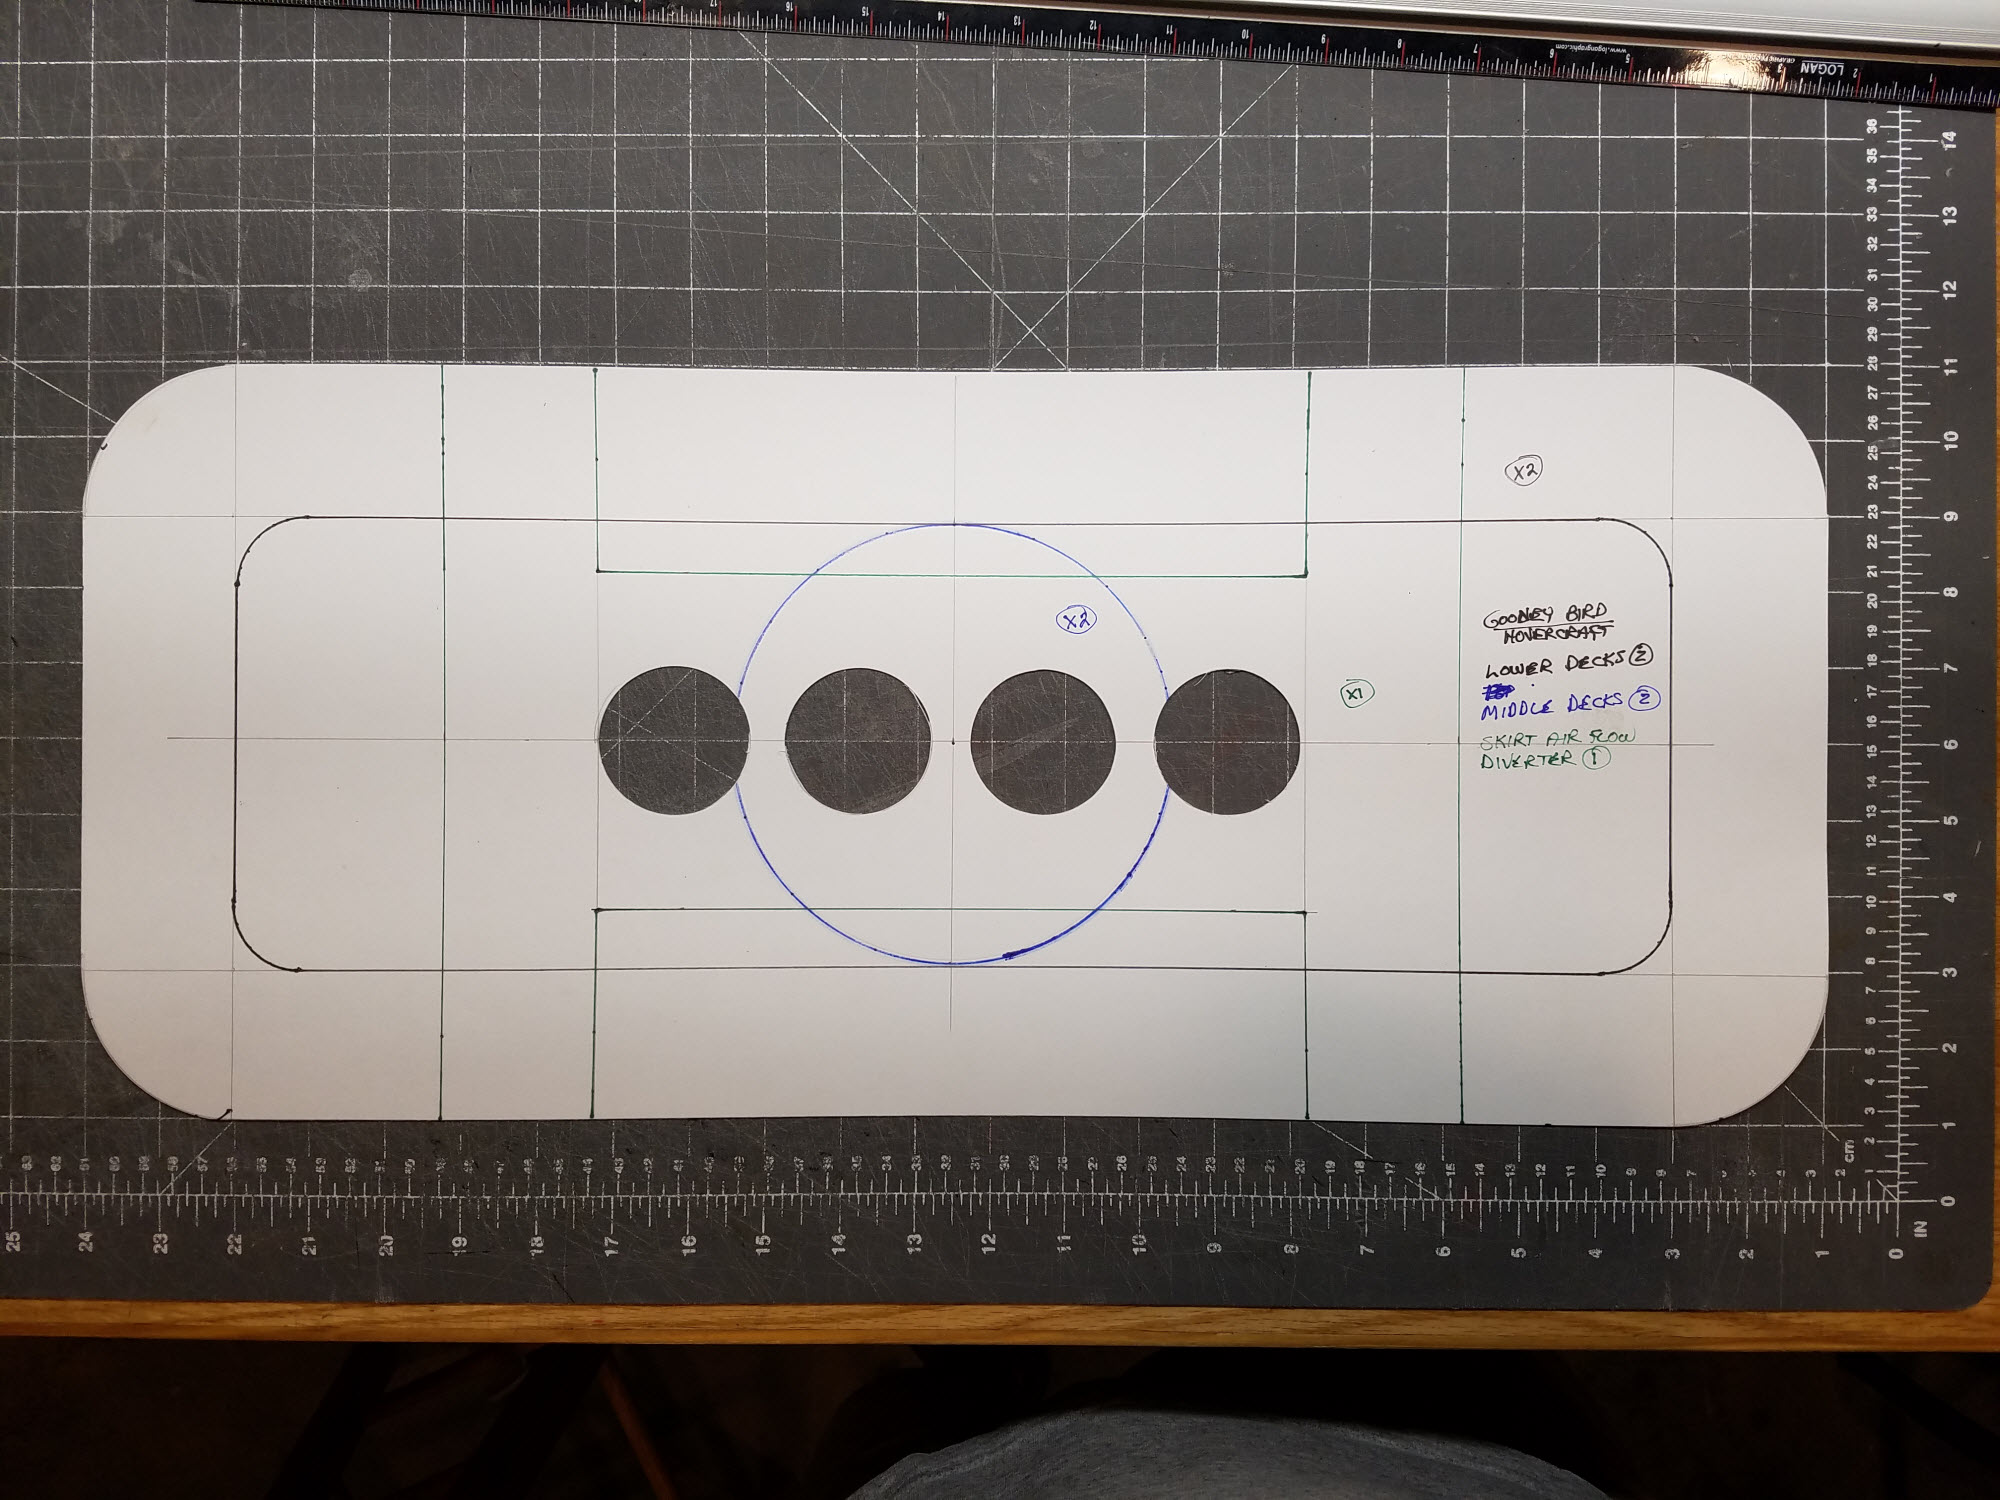
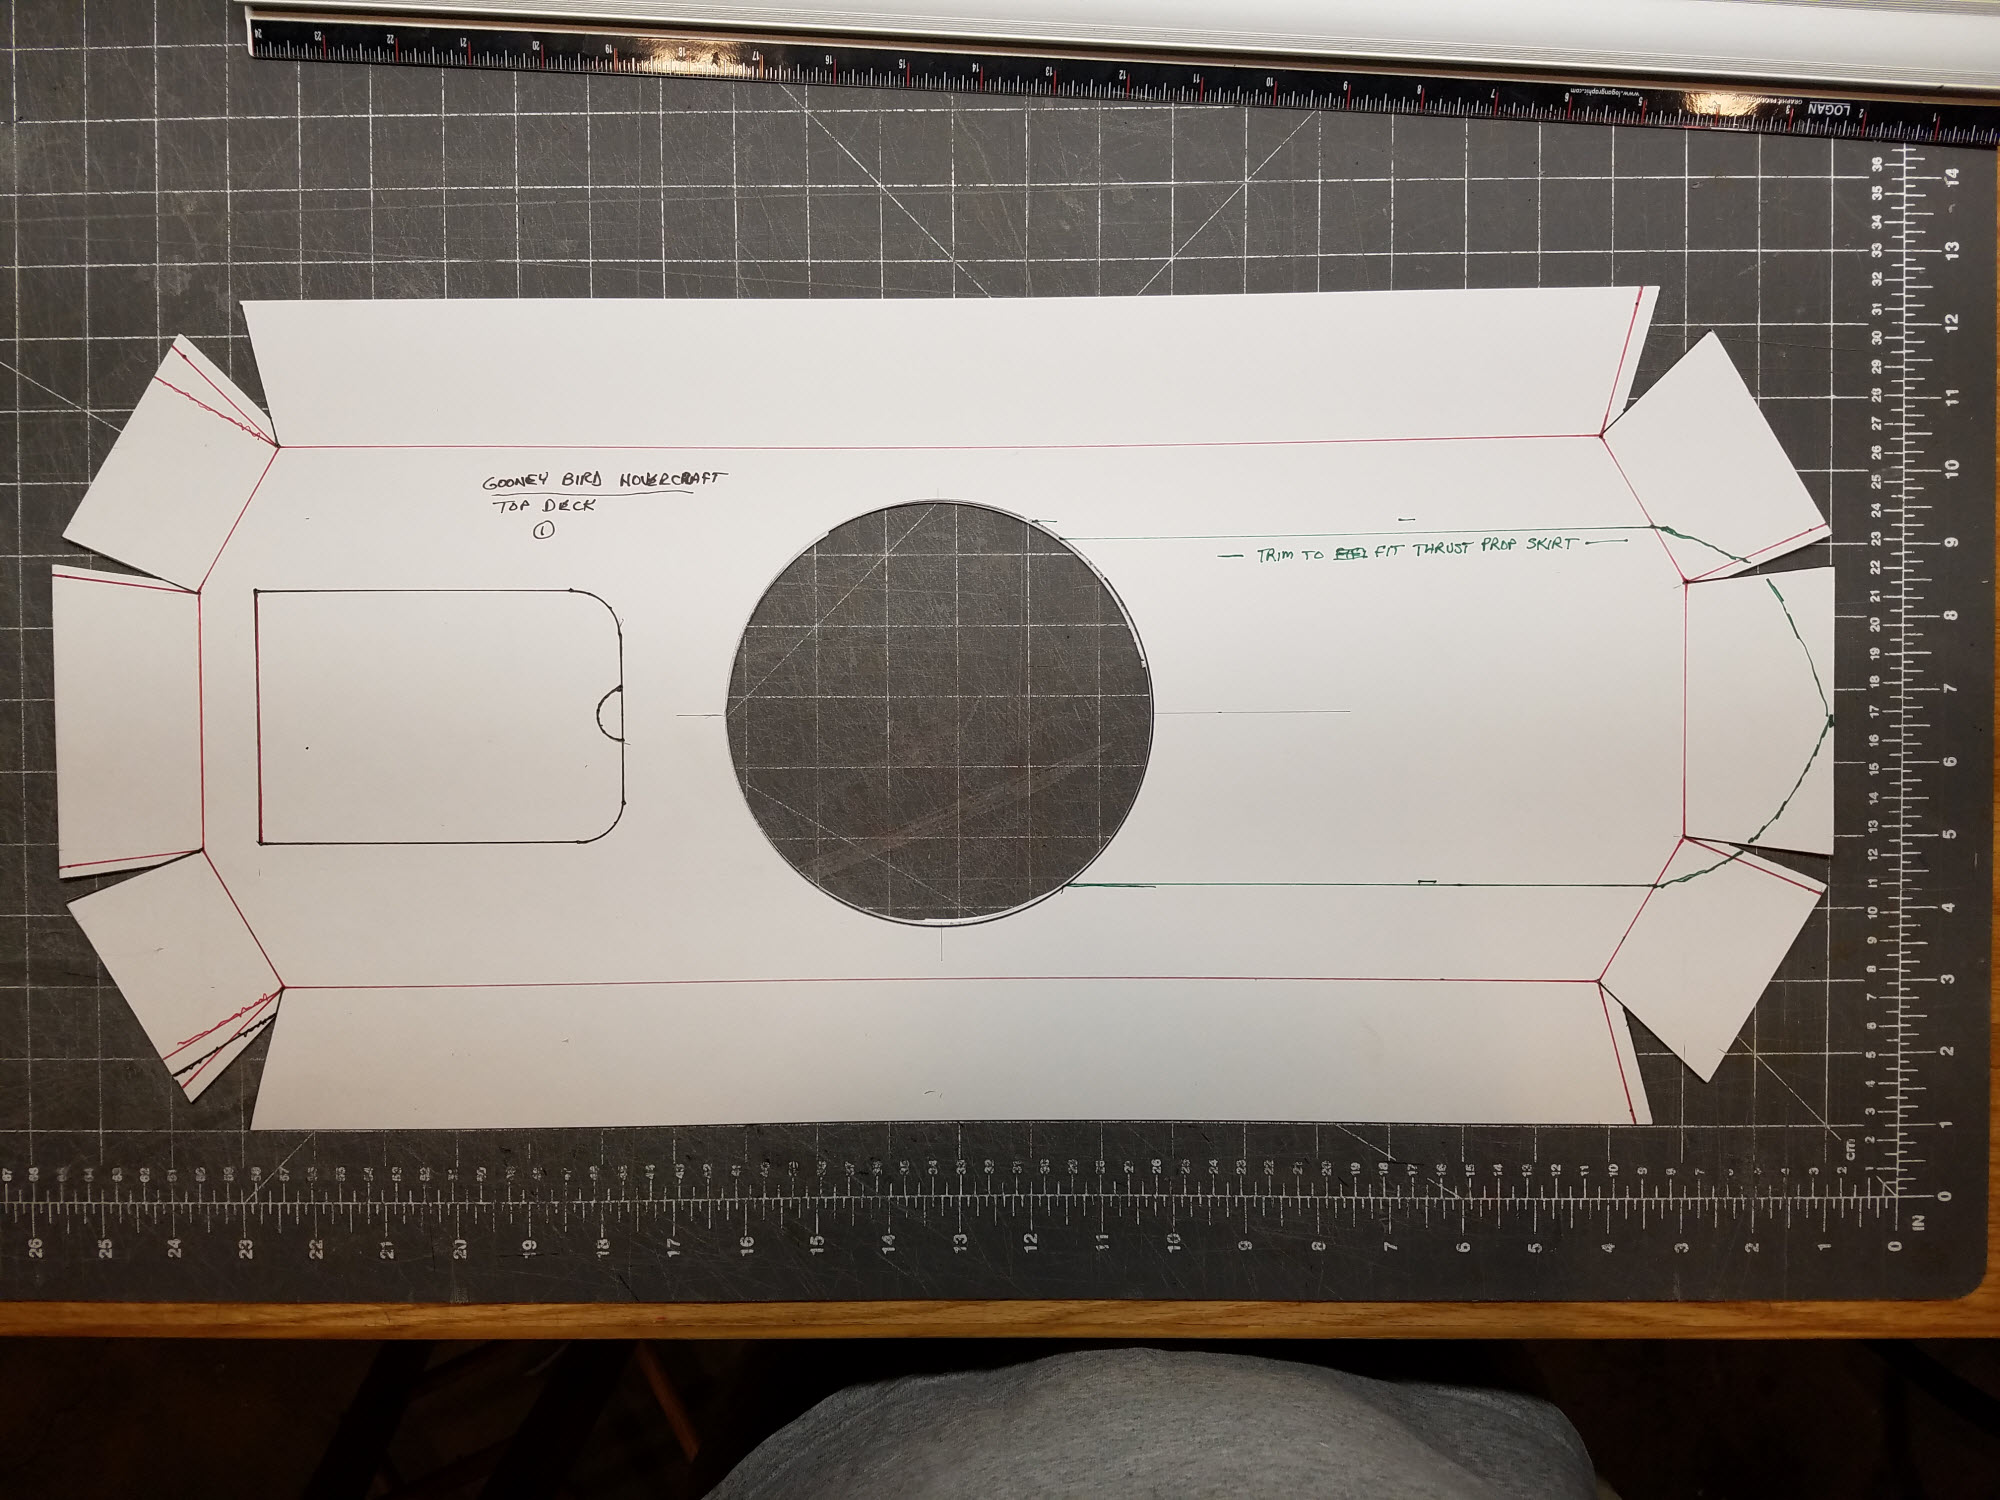
Just finished building 2nd hovercraft.
Used FT Foam and some elements of recent FT builds.
More durable and water resistant.
Used FT Foam and some elements of recent FT builds.
More durable and water resistant.
Attachments
-
 GB Hovercraft Constuct 01.jpg429.9 KB · Views: 2
 -
 GB Hovercraft Constuct 02.jpg447.2 KB · Views: 1
 -
 GB Hovercraft Constuct 03.jpg397.2 KB · Views: 1
 -
 GB Hovercraft Constuct 04.jpg513.7 KB · Views: 1
 -
 GB Hovercraft Constuct 05.jpg475.6 KB · Views: 1
 -
 GB Hovercraft Constuct 06.jpg479.1 KB · Views: 1
 -
 GB Hovercraft Constuct 07.jpg473.5 KB · Views: 1
 -
 GB Hovercraft Finished 00.jpg440 KB · Views: 2
 -
 GB Hovercraft Finished 01.jpg204.1 KB · Views: 2
 -
 GB Hovercraft Finished 02.jpg413.9 KB · Views: 1
 -
 GB Hovercraft Finished 03.jpg170 KB · Views: 1
 -
 GB Hovercraft Finished 04.jpg262.2 KB · Views: 1
 -
 GB Hovercraft Finished 05.jpg240.7 KB · Views: 1
 -
 GB Hovercraft Finished 06.jpg200.7 KB · Views: 1
 -
 GB Hovercraft Finished 07.jpg106.7 KB · Views: 1
 -
 GB Hovercraft Finished 08.jpg149.8 KB · Views: 1
 -
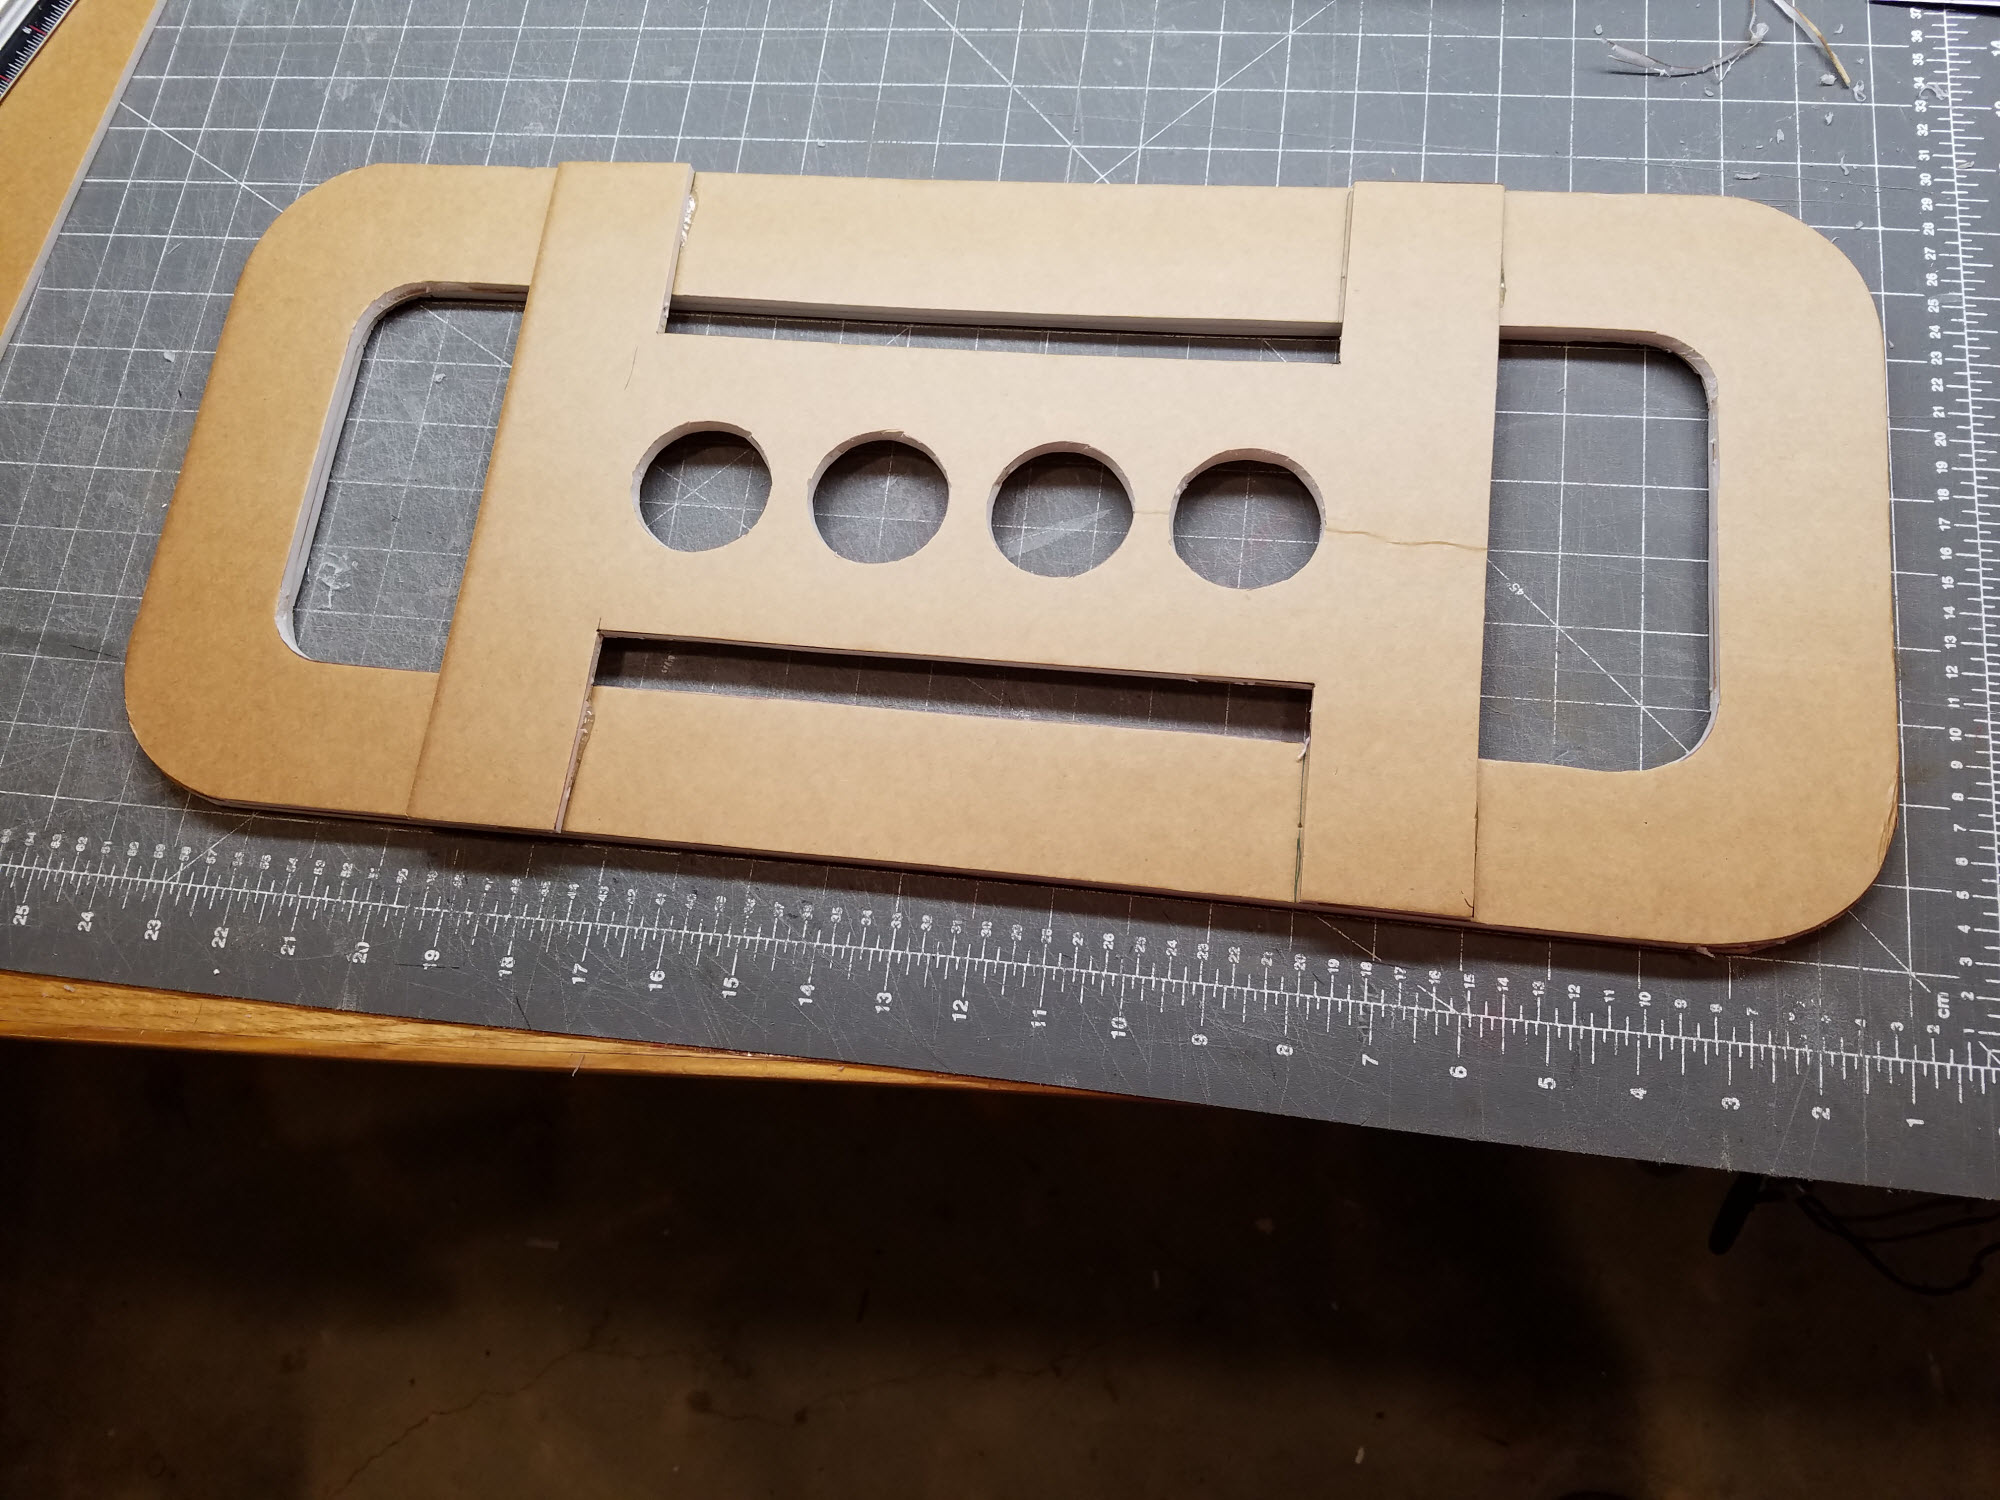
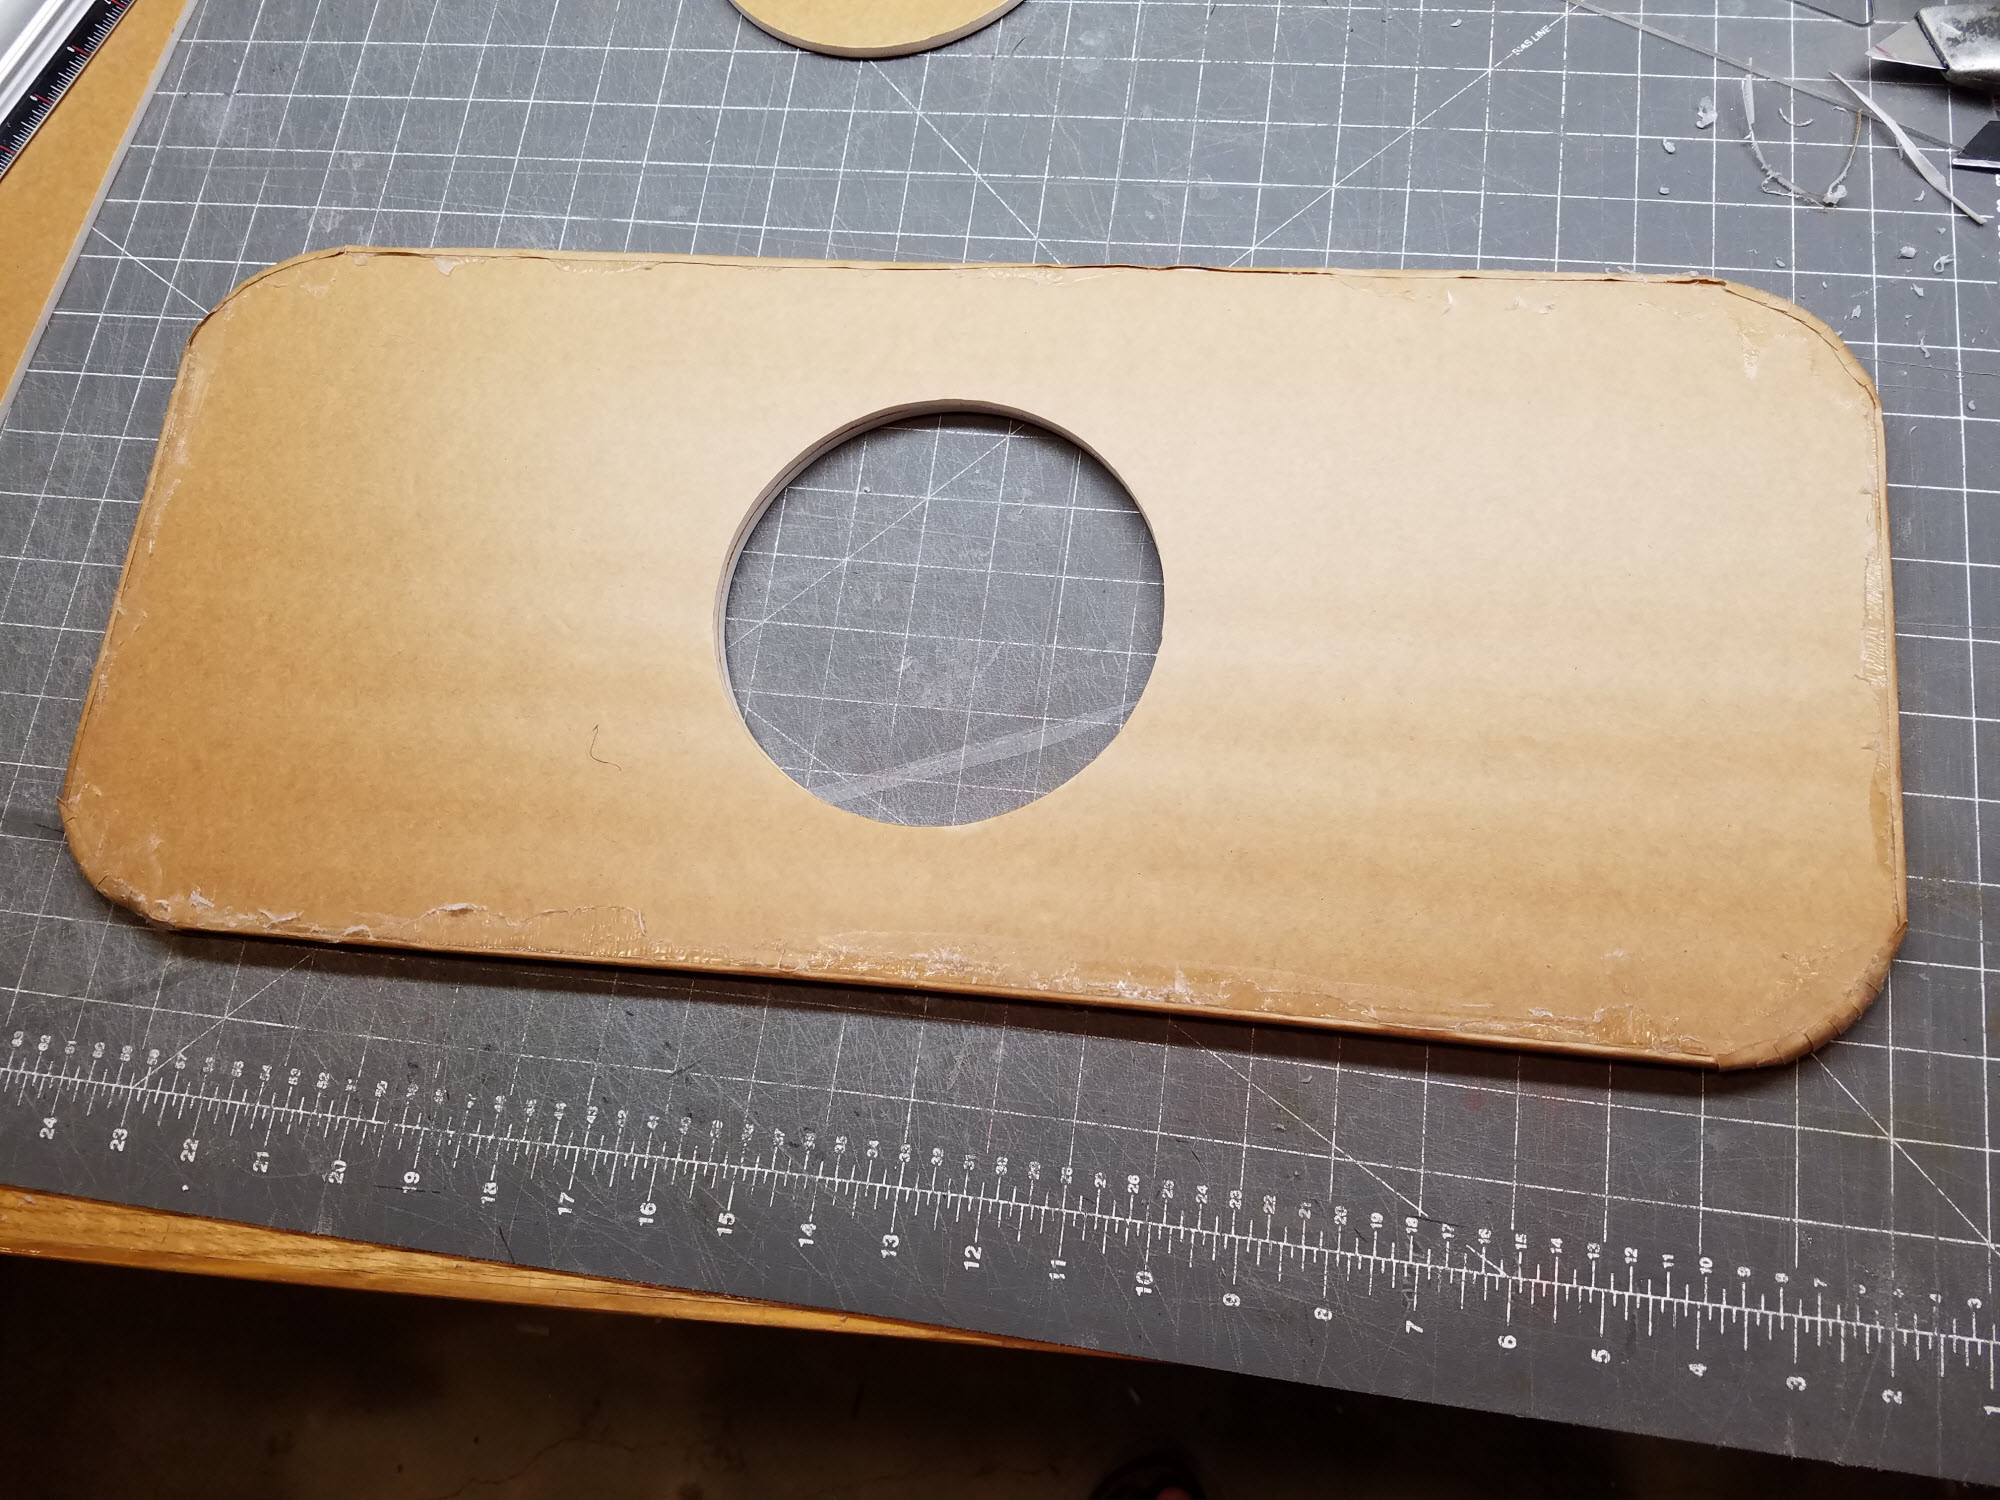
 GB Hovercraft Parts 01.jpg423.7 KB · Views: 2
 -
 GB Hovercraft Parts 02.jpg433.9 KB · Views: 3
 -
 GB Hovercraft Parts 03.jpg355.1 KB · Views: 3
 -
 GB Hovercraft Parts 04.jpg490.2 KB · Views: 3


")