
You are using an out of date browser. It may not display this or other websites correctly.
You should upgrade or use an alternative browser.
You should upgrade or use an alternative browser.
GREAT PLANES EXTRA 300S, 60 SIZE, ELECTRIC CONVERSION, 2019 BUILD ALONG
- Thread starter nhk750
- Start date
TooJung2Die
Master member
I don't need a hobby. I'm a homeowner! 
bracesport
Legendary member
nhk750
Aviation Enthusiast
I may have detailed this earlier in the thread, but heres a quick review. This kit called for CA hinges which I do not like, so I have been using Dubro nylon hinges instead. After I built the control surfaces I slotted them with the GP hinge slotter machine and slotting tools to get a perfect fit or as close as possible, then after covering I cut slits in the covering and took the trim iron to open the slots and melt the covering, then sand each hinge a bit and clean with denatured alcohol and use 30 min epoxy to glue into the control surfaces first, let cure for 24 hours, then into the wing or fixed surface last. I also put a few drops of machine oil on the hinge part so the epoxy wont stick to it and as you install the hinges I carefully wipe any excess epoxy with cue tips and alcohol. This method results in free moving control surfaces that should last the life of the model.
Attachments


bracesport
Legendary member
I take it you are using a shrink wrap?
nhk750
Aviation Enthusiast
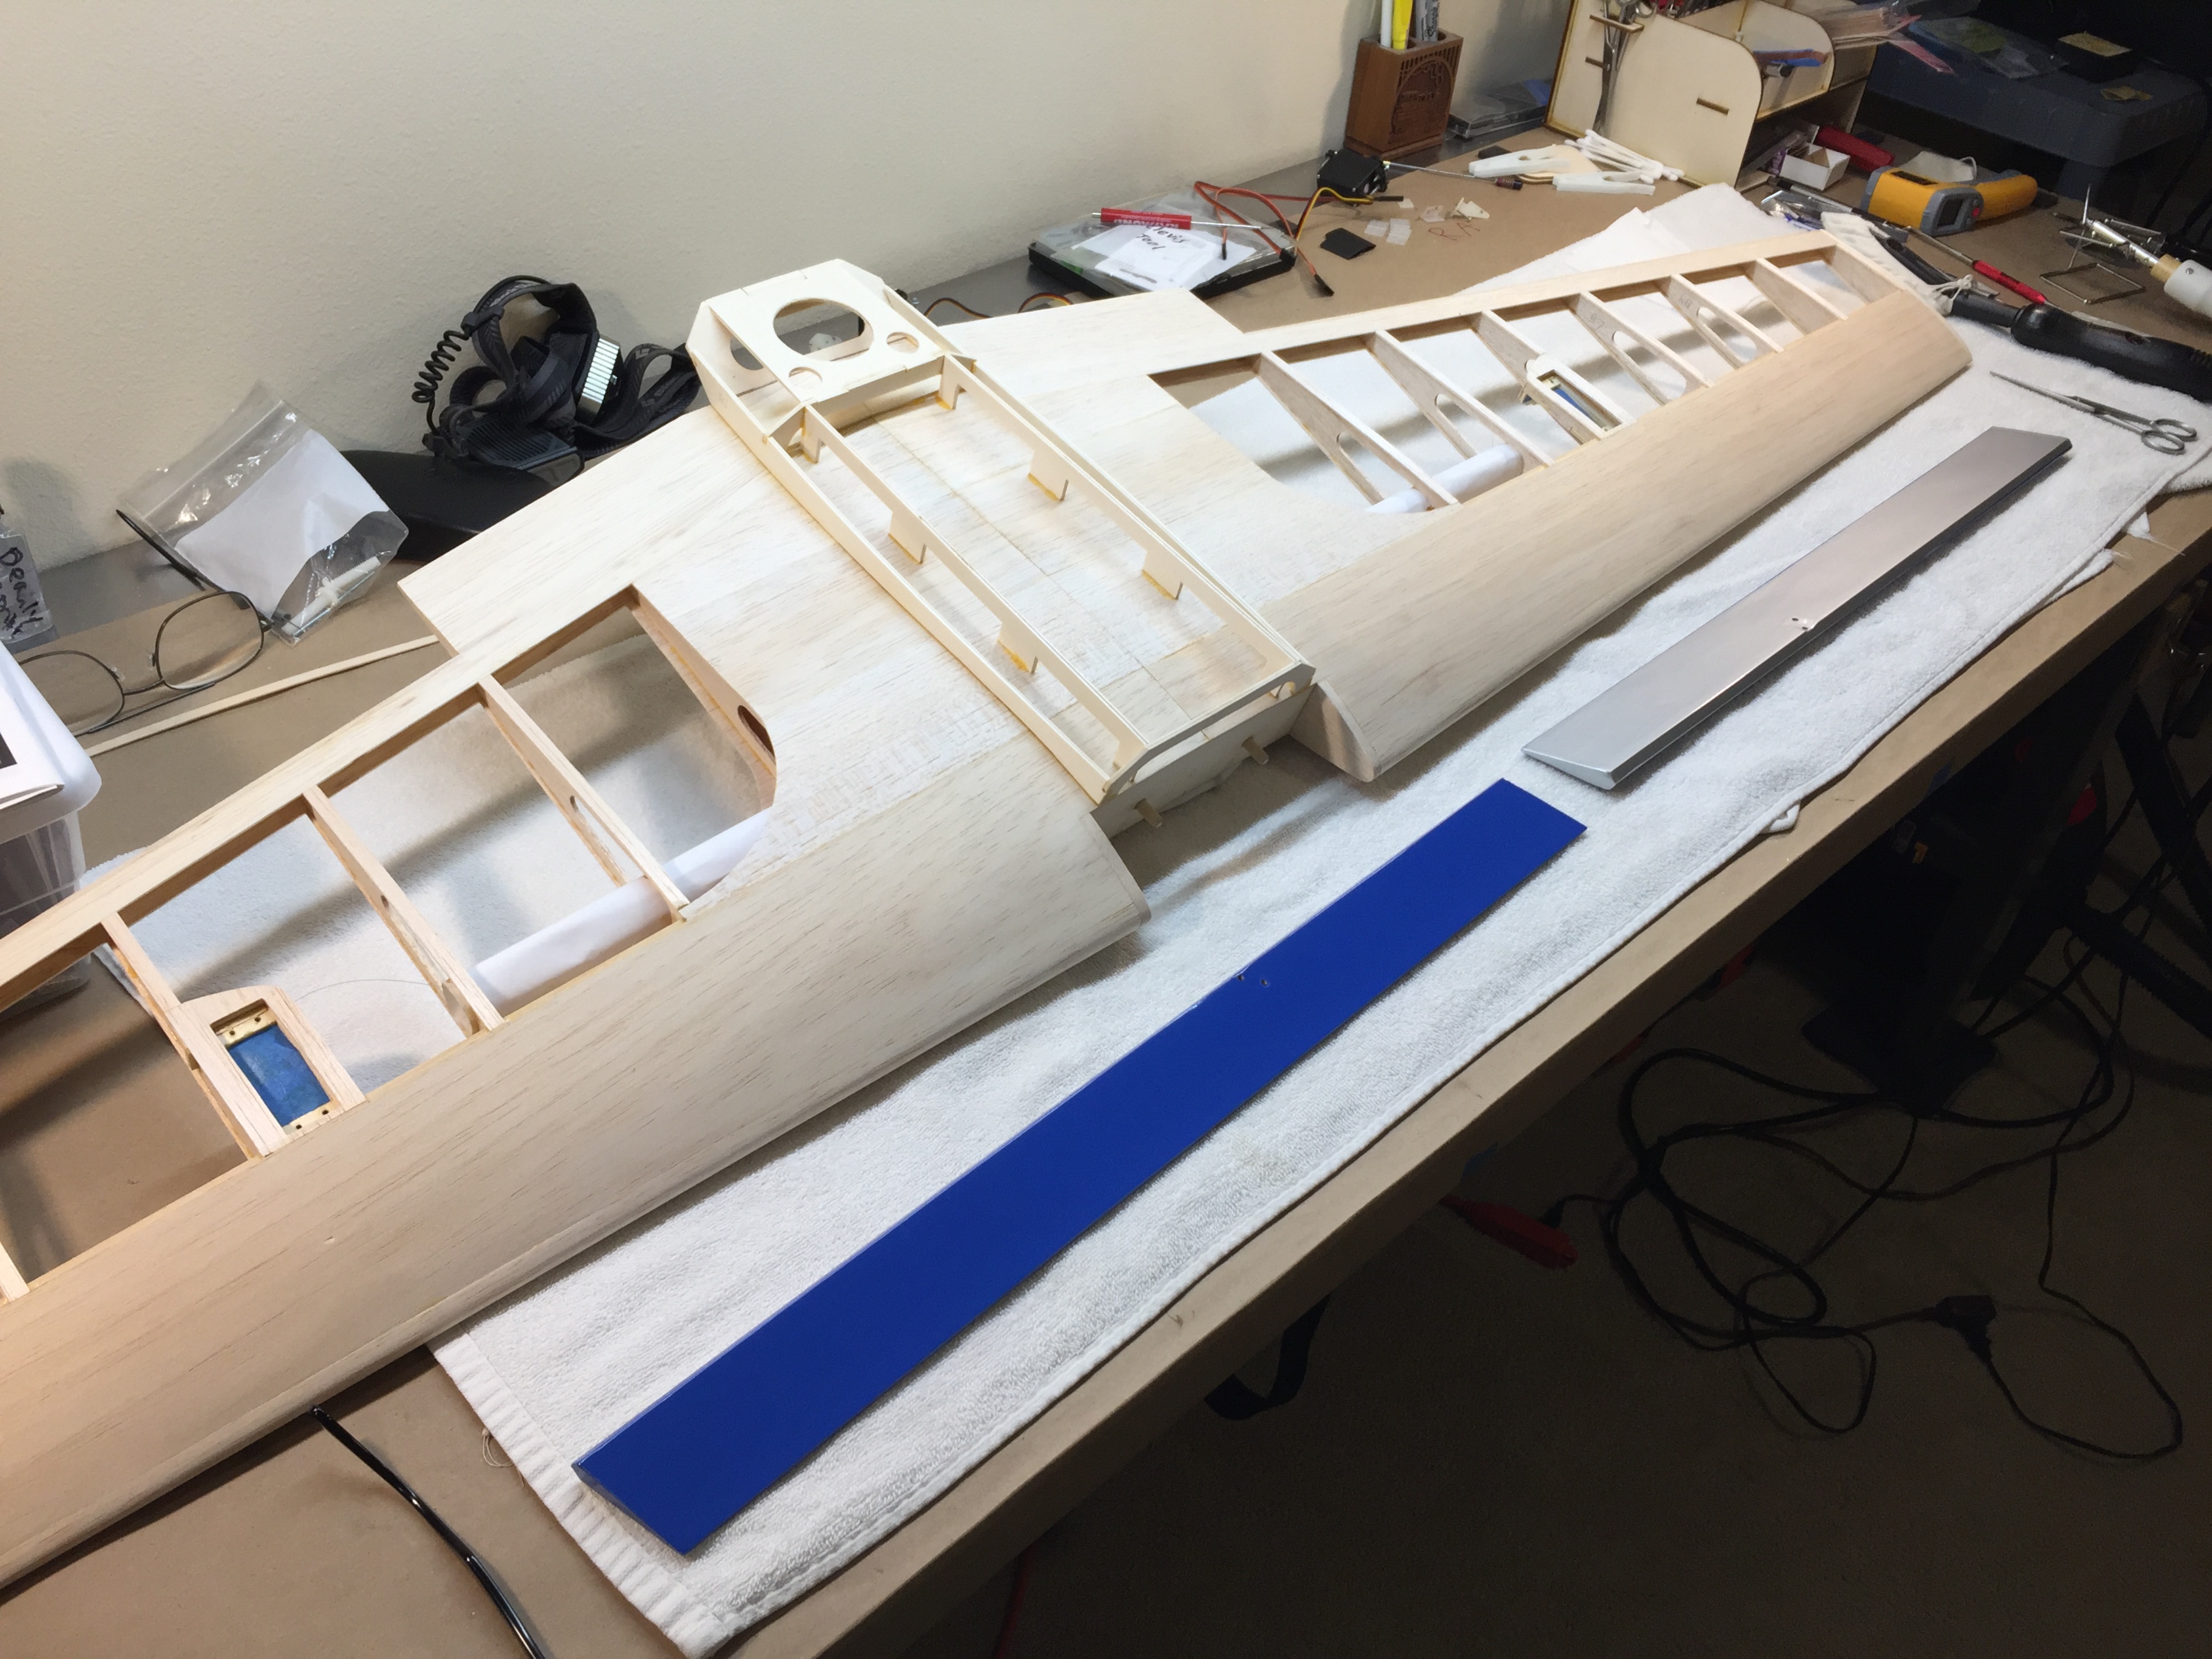
Finally got off the roof of the house doing repairs and getting ready for the rainy season and got some covering done. Now, for the flip side, you will see wrinkles in the covering now, but the final shrink @ 300F wont take place until both sides are covered so as not to warp the wing.
Attachments


nhk750
Aviation Enthusiast
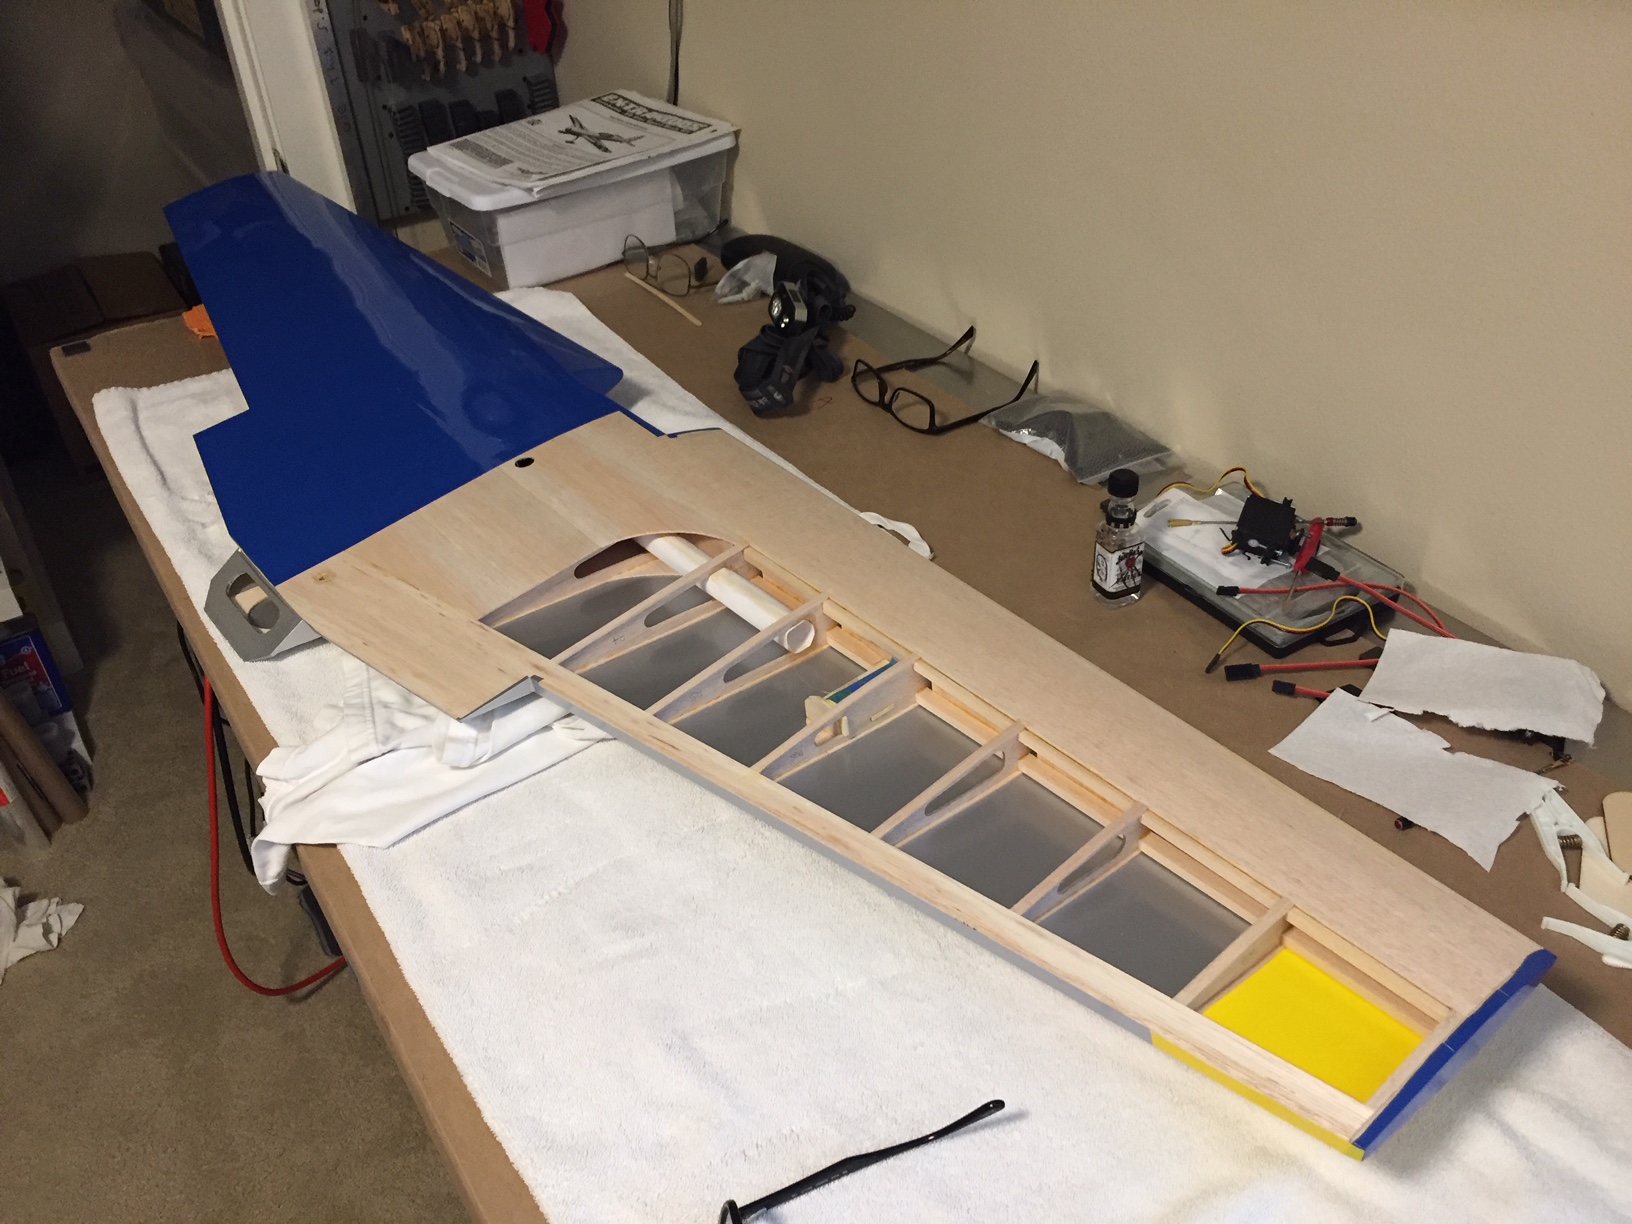
Finally got the wing covered, I had some air bubbles and minor issues on one of the leading edges underside, but I managed to work most of the issues out with some pin holes and heat and it came out ok. Now I just need to finish some details and mount the ailerons, then move on to the decals.
Attachments


TooJung2Die
Master member
There's some nice straight building. No ripples in the reflections.
nhk750
Aviation Enthusiast
I thought it was pretty good too, but after covering I can see a few spots that could have used more love. But, the Great Planes designs and build methods they use are a bit finicky to get a perfect finish and I did not want to goop on too much spackle (Hobylite filler)… They used some pretty thin sheeting on this wing to keep it light and you have to be really careful not to sand through it when finish sanding and also putting your fingers through it.


nhk750
Aviation Enthusiast
More work getting done tonight and we just lost power in a big thunder storm. I obtained some 3m clear vinyl protectant material off of Amazon and cut it to fit the bottom of the wheel pants. This will help the paint endure a little longer when getting hit by grass during ground operations.
Also working on getting the canopy attached tonight and the Sullivan tail gear finished.
Also working on getting the canopy attached tonight and the Sullivan tail gear finished.
Attachments
-
 F24C0C0E-5FF2-498D-B41B-F096C011E6CA.jpeg688 KB · Views: 0
 -
 D0689A1E-5E3E-4ADC-A3BC-060731278D5B.jpeg635.8 KB · Views: 0
 -
 13B31FAF-90D9-4D2F-B0DF-F4092D955A4D.jpeg259 KB · Views: 0
 -
 EF9B8265-908C-4B92-A8DB-3F74235AA320.jpeg1.8 MB · Views: 0
 -
 0259B899-7D2A-47B4-BA3E-36A026348D5E.jpeg1.7 MB · Views: 0


Last edited:
bracesport
Legendary member
TooJung2Die
Master member
It little spring looks like a shock absorber between the tail wheel to rudder. It allows for a little "give" between the tail wheel and rudder. When the tail wheel hits an obstacle and is forced to wobble that movement isn't sent full force to the rudder. It saves the rudder servo from getting the full shock of the tail wheel getting pushed sideways.
Similar threads
- Replies
- 38
- Views
- 5K
- Replies
- 41
- Views
- 4K
- Replies
- 14
- Views
- 737
- Replies
- 3
- Views
- 868