You are using an out of date browser. It may not display this or other websites correctly.
You should upgrade or use an alternative browser.
You should upgrade or use an alternative browser.
GREAT PLANES EXTRA 300S, 60 SIZE, ELECTRIC CONVERSION, 2019 BUILD ALONG
- Thread starter nhk750
- Start date
Paracodespoder
Elite member
And so do we now! I just hate it when that happens, especially when you try your best to get it square but it just doesn’t want to be square. Looks good to me though, this thread is now on my watched list!Probably not noticeable to anyone else and doesn't affect flight, but I know its there...
nhk750
Aviation Enthusiast
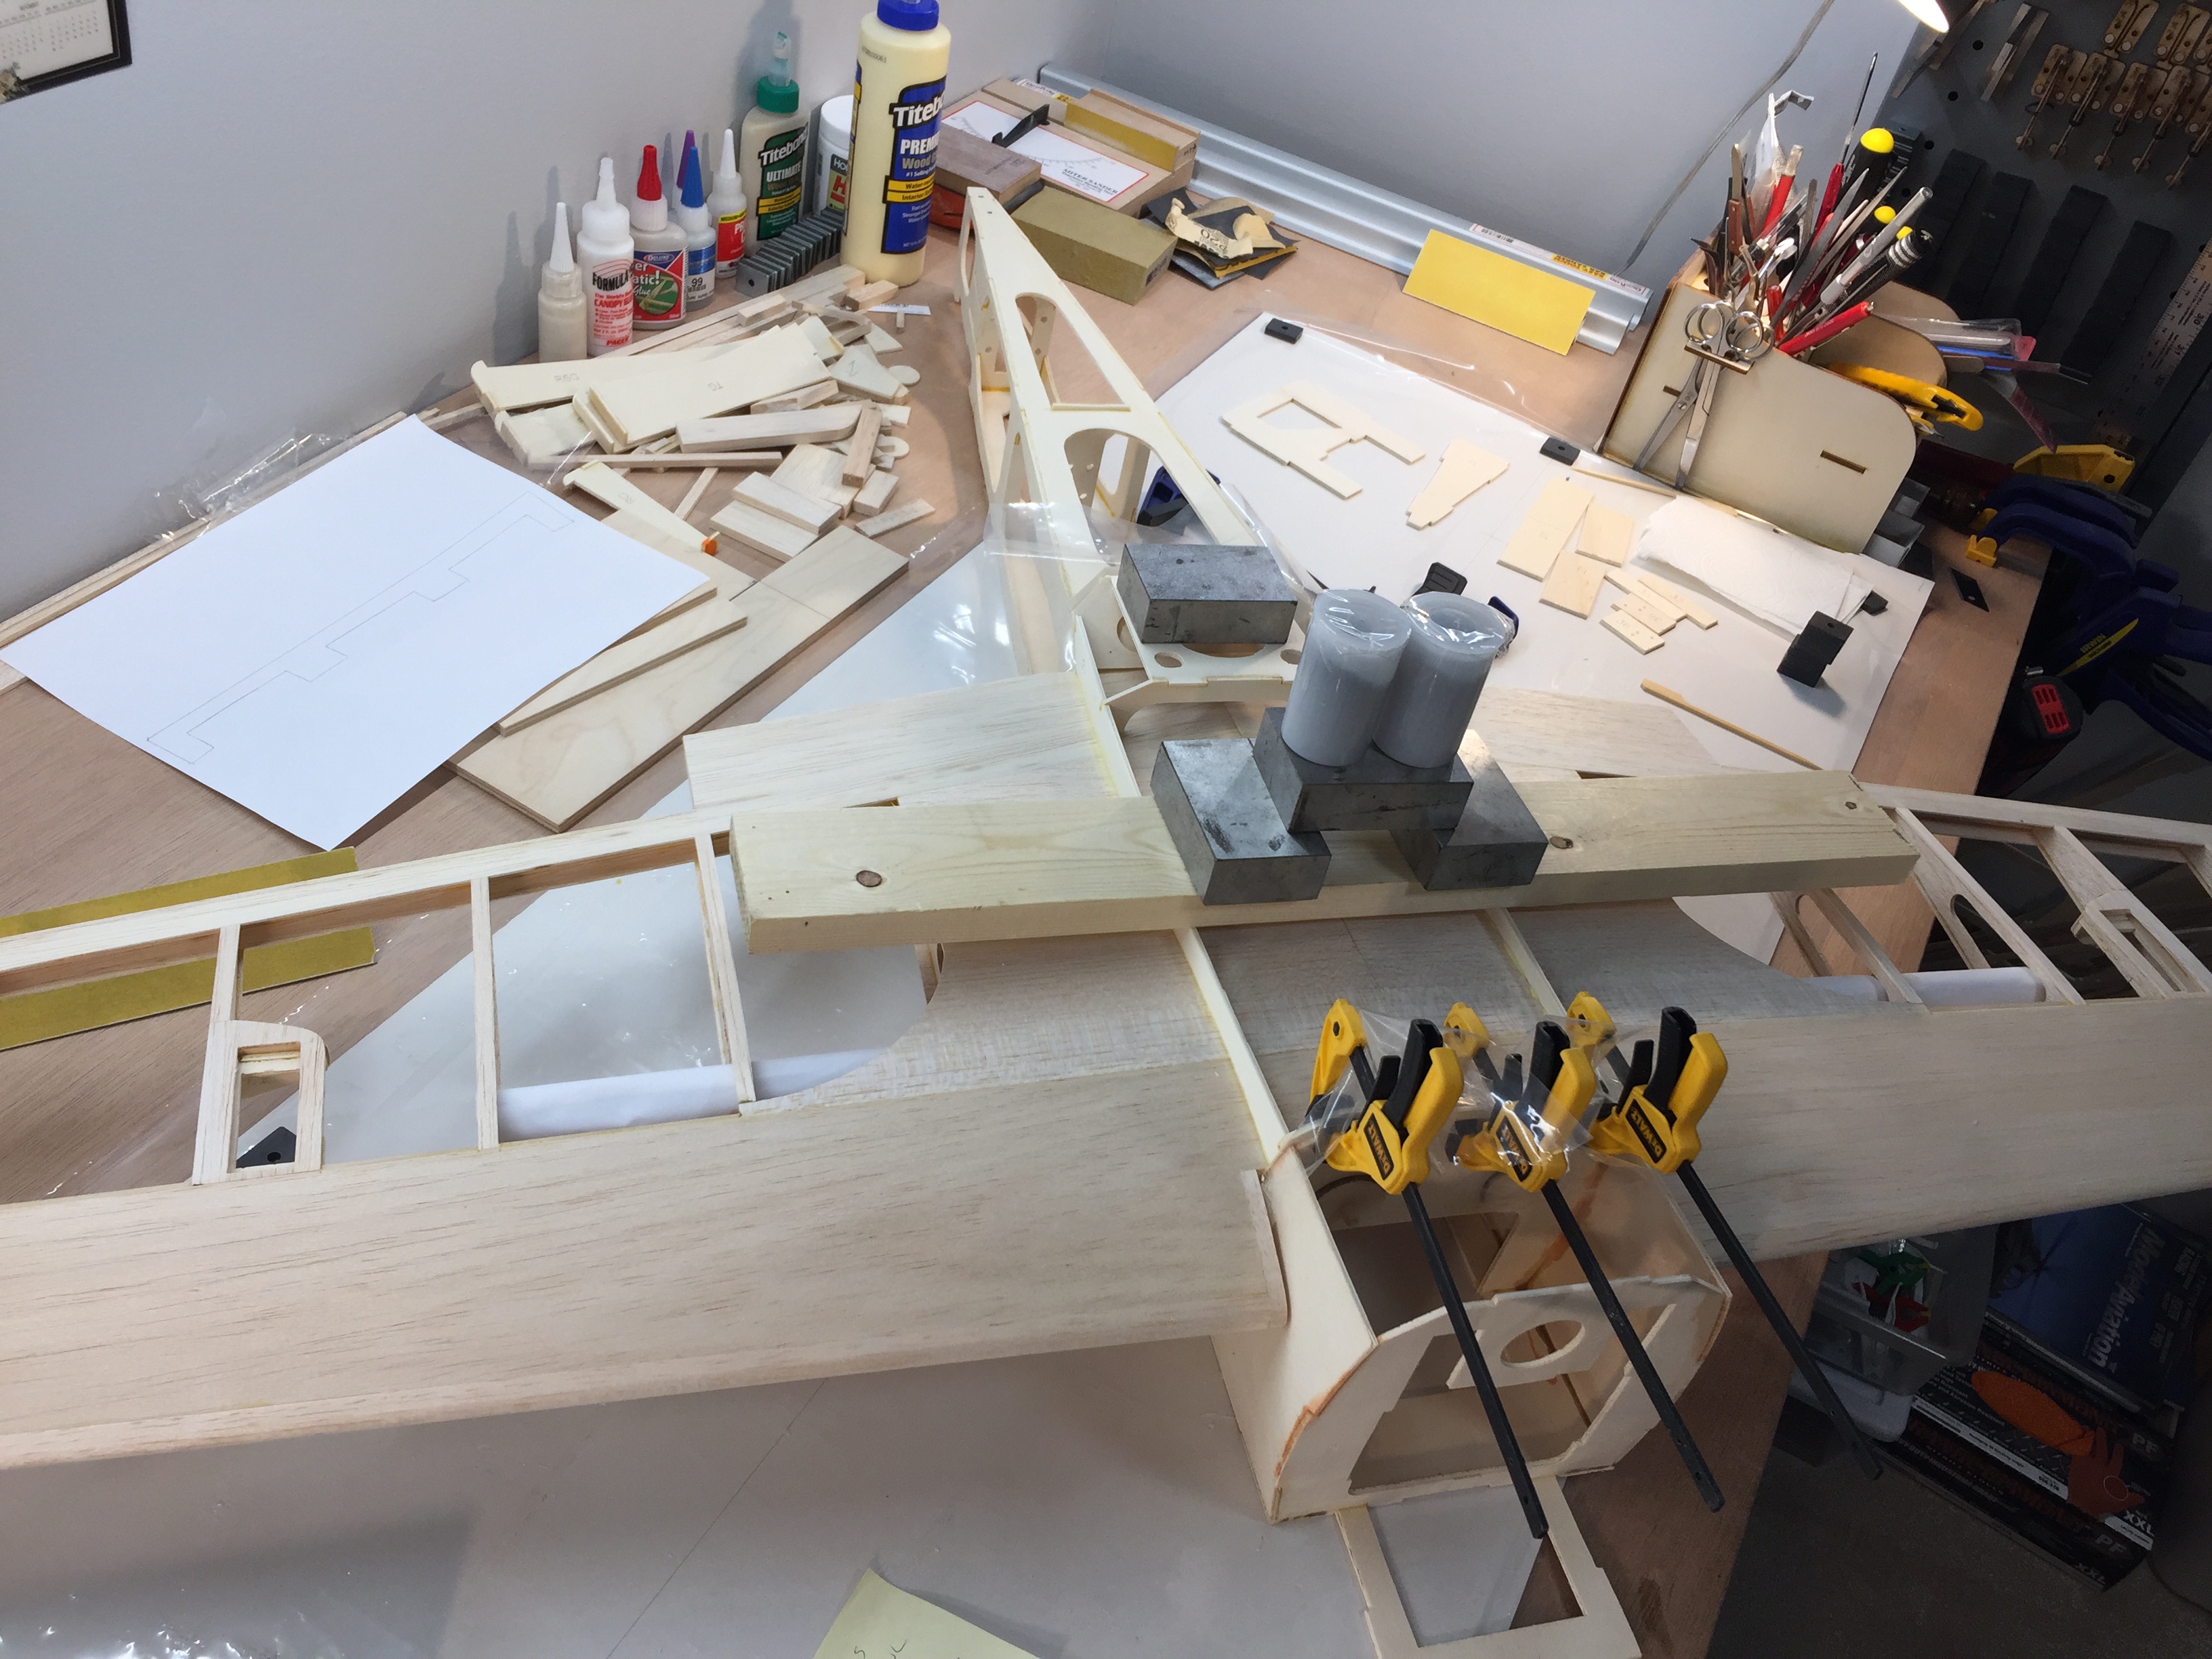
Moving right along this weekend. Got the wing fitted and wing dowel disks epoxied in. The plans wanted you to CA the disks in, but I decided to epoxy them as they are nearly impossible to access after everything is built and I feel epoxy last better than CA. You just have to be really careful not to glue the wing on with epoxy as it needs to be in place during gluing.
It’s starting to look like an airplane!


It’s starting to look like an airplane!


TooJung2Die
Master member
When I look at my airplanes all I see are the little defects that didn't turn out quite to my satisfaction. Everyone else sees the whole picture. My father told me what makes a master craftsman is how well he hides his mistakes.It seems like, no matter how hard I try, there is always a slight imperfection in the fuses I build.
jon
nhk750
Aviation Enthusiast
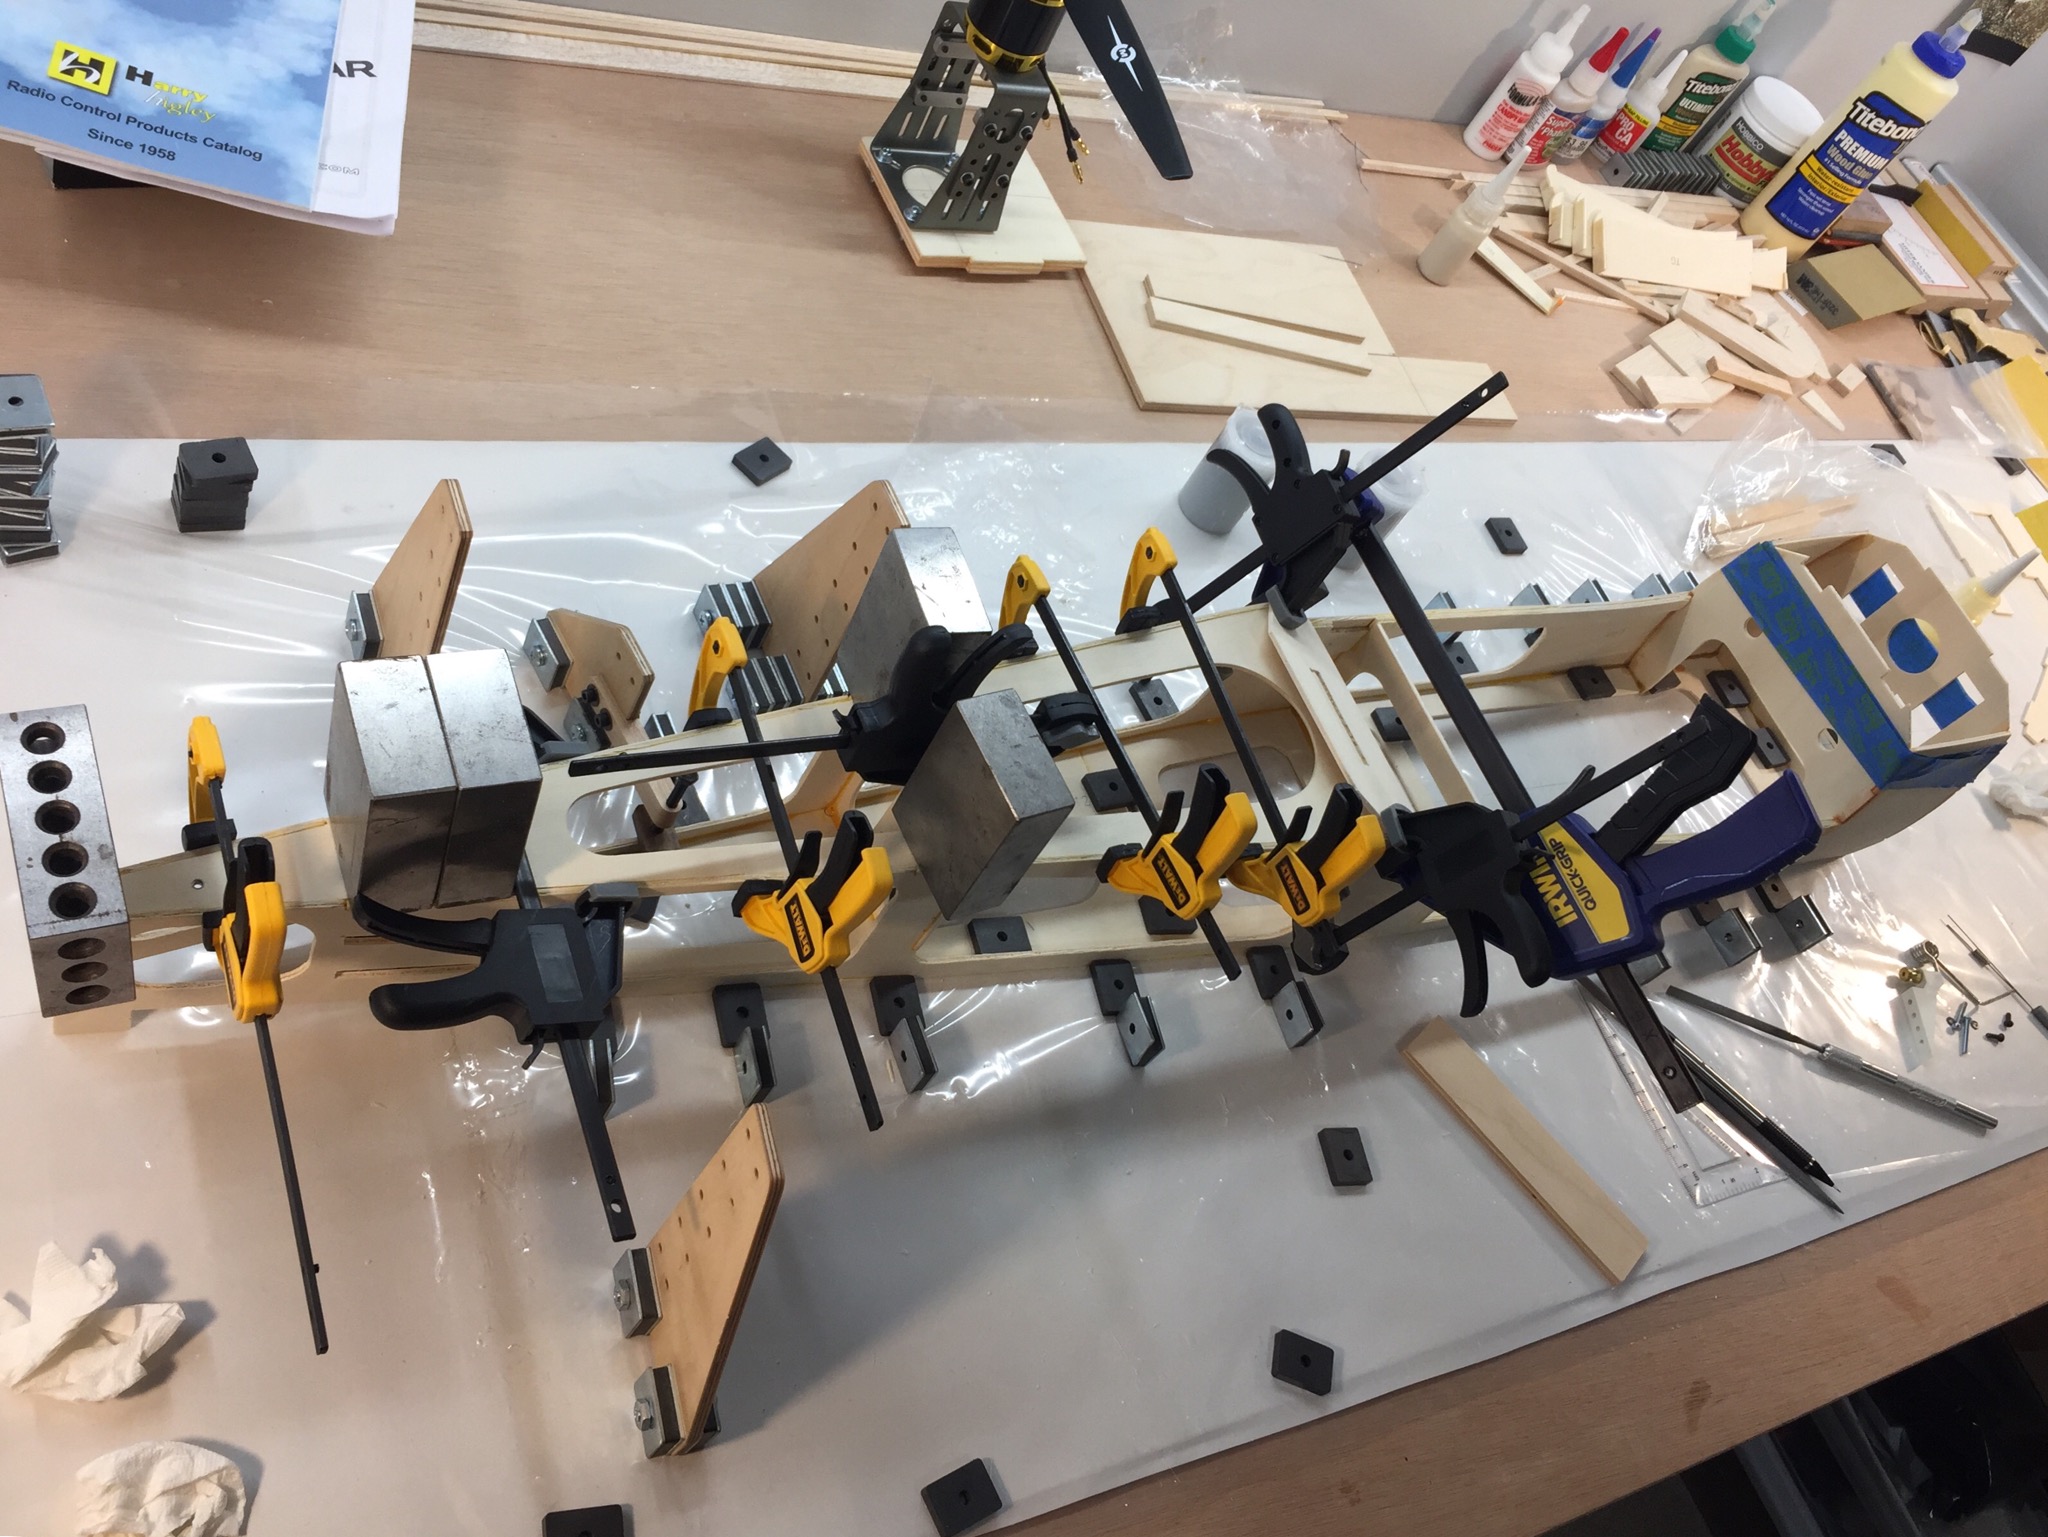
Working on the belly pan tonight. I don't like how they designed this and I will be modifying it a bit down the line as they expect you to use covering in a fairly wide open space to make the belly pan panel and sheeting may have been more appropriate here, more on that later...


Looks amazing so far! Have you made any decisions on the final paint scheme?
nhk750
Aviation Enthusiast
Thanks! It will be a Red Bull Extra.
Working on the belly pan frame some more. the sides have a matching curve so it looks ok. If I was OCD, I would have spent more time perfecting this design, but after reading multiple threads and other input on the belly pan, everyone tends to just leave it as is or change it. I'm going to need to sand the center frame a bit to match, then finish gluing and call it good. I will just use covering (per instructions), like most guys do, as they say it holds up great. If it's an issue in the future, it's easy to work on.

Working on the belly pan frame some more. the sides have a matching curve so it looks ok. If I was OCD, I would have spent more time perfecting this design, but after reading multiple threads and other input on the belly pan, everyone tends to just leave it as is or change it. I'm going to need to sand the center frame a bit to match, then finish gluing and call it good. I will just use covering (per instructions), like most guys do, as they say it holds up great. If it's an issue in the future, it's easy to work on.

looking great! Seems like most of the major framework is done. Is the tail built up with ribs, or is it flat sheet?
nhk750
Aviation Enthusiast
I'm bored with working on the airplane upside down, so I flipped her over and am looking at my battery hatch idea conversion. I am thinking I will do a similar type of magnetic top hatch like I did on the Hog Bipe conversion. This should give me a good 6 inches of open hatch space to install a nice size 6s battery. The hatch on the Hog Bipe will not come off with the 4 magnets and is very strong, so I think my design is solid. But, if anyone has any input, I will gladly take a look at it. As you see in the last picture, I will need to fabricate new formers fore and aft for the hatch and the fuse and this will add weight for sure, also a battery tray will need to be made, but that is the easy part...The added weight probably isn't much more than the gas equivalent build, at least that is what I have found on my last few conversions.
BTW, the wing is mounted and I saw no reason to use the wing bolt tubes they wanted you to glue in, but if you had shorter wing bolts it may help to guide them in and possibly keep dirt out. You can always remove the wing and get in there to clean if needed and I felt the wing bolt guide tubes were just added weight and a pain the ---.
Hog Bipe hatch.


The canopy sure looks nice in this kit!
BTW, the wing is mounted and I saw no reason to use the wing bolt tubes they wanted you to glue in, but if you had shorter wing bolts it may help to guide them in and possibly keep dirt out. You can always remove the wing and get in there to clean if needed and I felt the wing bolt guide tubes were just added weight and a pain the ---.
Hog Bipe hatch.


The canopy sure looks nice in this kit!
Chuppster
Well-known member
I'm bored with working on the airplane upside down, so I flipped her over and am looking at my battery hatch idea conversion. I am thinking I will do a similar type of magnetic top hatch like I did on the Hog Bipe conversion. This should give me a good 6 inches of open hatch space to install a nice size 6s battery. The hatch on the Hog Bipe will not come off with the 4 magnets and is very strong, so I think my design is solid. But, if anyone has any input, I will gladly take a look at it. As you see in the last picture, I will need to fabricate new formers fore and aft for the hatch and the fuse and this will add weight for sure, also a battery tray will need to be made, but that is the easy part...The added weight probably isn't much more than the gas equivalent build, at least that is what I have found on my last few conversions.
BTW, the wing is mounted and I saw no reason to use the wing bolt tubes they wanted you to glue in, but if you had shorter wing bolts it may help to guide them in and possibly keep dirt out. You can always remove the wing and get in there to clean if needed and I felt the wing bolt guide tubes were just added weight and a pain the ---.
Hog Bipe hatch.
View attachment 121565
View attachment 121566
View attachment 121567
The canopy sure looks nice in this kit!
Have you considered doing a tongue or pegs on the front and magnets on the back? That may be even more secure and remove a tad bit of weight.
nhk750
Aviation Enthusiast
I have considered that in the past with the Hog Bipe, but you need to angle the rear bulkhead to make that work and it got too complex for my brain to figure out...too much geometry... With these larger planes a few magnets doesn't matter that much as far as weight increase.
Chuppster
Well-known member
I have considered that in the past with the Hog Bipe, but you need to angle the rear bulkhead to make that work and it got too complex for my brain to figure out...too much geometry... With these larger planes a few magnets doesn't matter that much as far as weight increase.
Hmm, good point! I've used the tongue method on foamies (thanks NerdNic) and the foam has enough play you don't need to bevel it, but I suppose Balsa isn't that forgiving.
TooJung2Die
Master member
You didn't show the bottom of the Hog Bipe hatch. I don't see any locator tabs or pins. There has to be something on the bottom of the hatch cover to prevent sideways movement.
If you have magnets on the bottom of the hatch too that's 8 magnets holding it on. It's not coming off during flight.
I scavenge my magnets from dead brushless motors. They pop out easily. You can trim the magnets to size with a Dremel cutoff wheel.
jon
If you have magnets on the bottom of the hatch too that's 8 magnets holding it on. It's not coming off during flight.
I scavenge my magnets from dead brushless motors. They pop out easily. You can trim the magnets to size with a Dremel cutoff wheel.
jon
nhk750
Aviation Enthusiast
Yes Tooyoung, there are tabs on each side of the Hog hatch to keep it in place. I used 4 magnets on one side (facing each other) and two on the other side with screws to attract too, that way it's easier to get off, otherwise with 8 magnets facing each other it would never come off, or be damaged trying. It's super solid and will never come off in flight.
Thanks for the link Wilson. Cool looking GeeB!
Thanks for the link Wilson. Cool looking GeeB!
Similar threads
- Replies
- 38
- Views
- 5K
- Replies
- 41
- Views
- 4K
- Replies
- 14
- Views
- 735
- Replies
- 3
- Views
- 867


