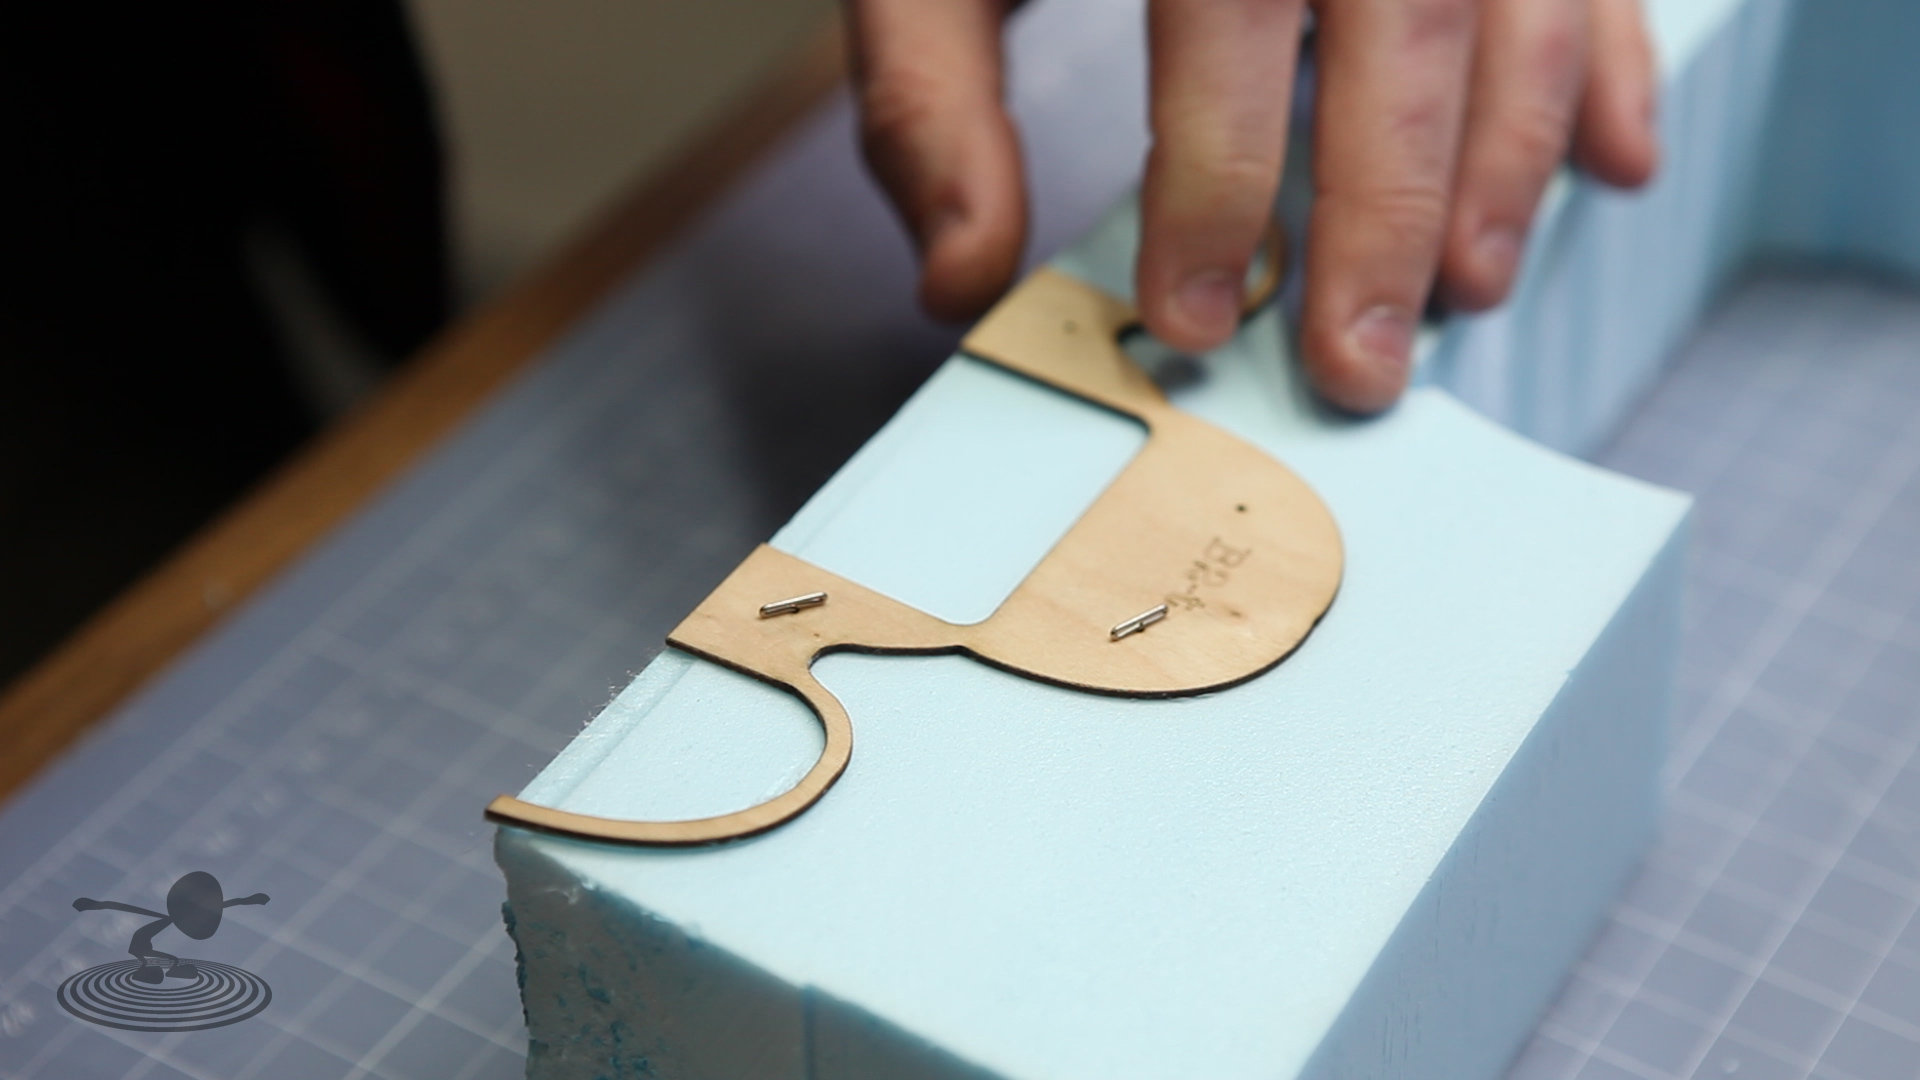
In a recent build I had to plane a 1" thick piece of foam down to 3/4" thick so I needed a hand held hotwire rig. I do have a larger rig made up of my 12V car battery charger and a Harbor Freight router speed control, but this needed some finesse and it had to be done fast. It took me about 10 minutes to scrounge the shop and put it together so there you go.
")
Enter an old ProTech charger I had from a 1990 truck racing season

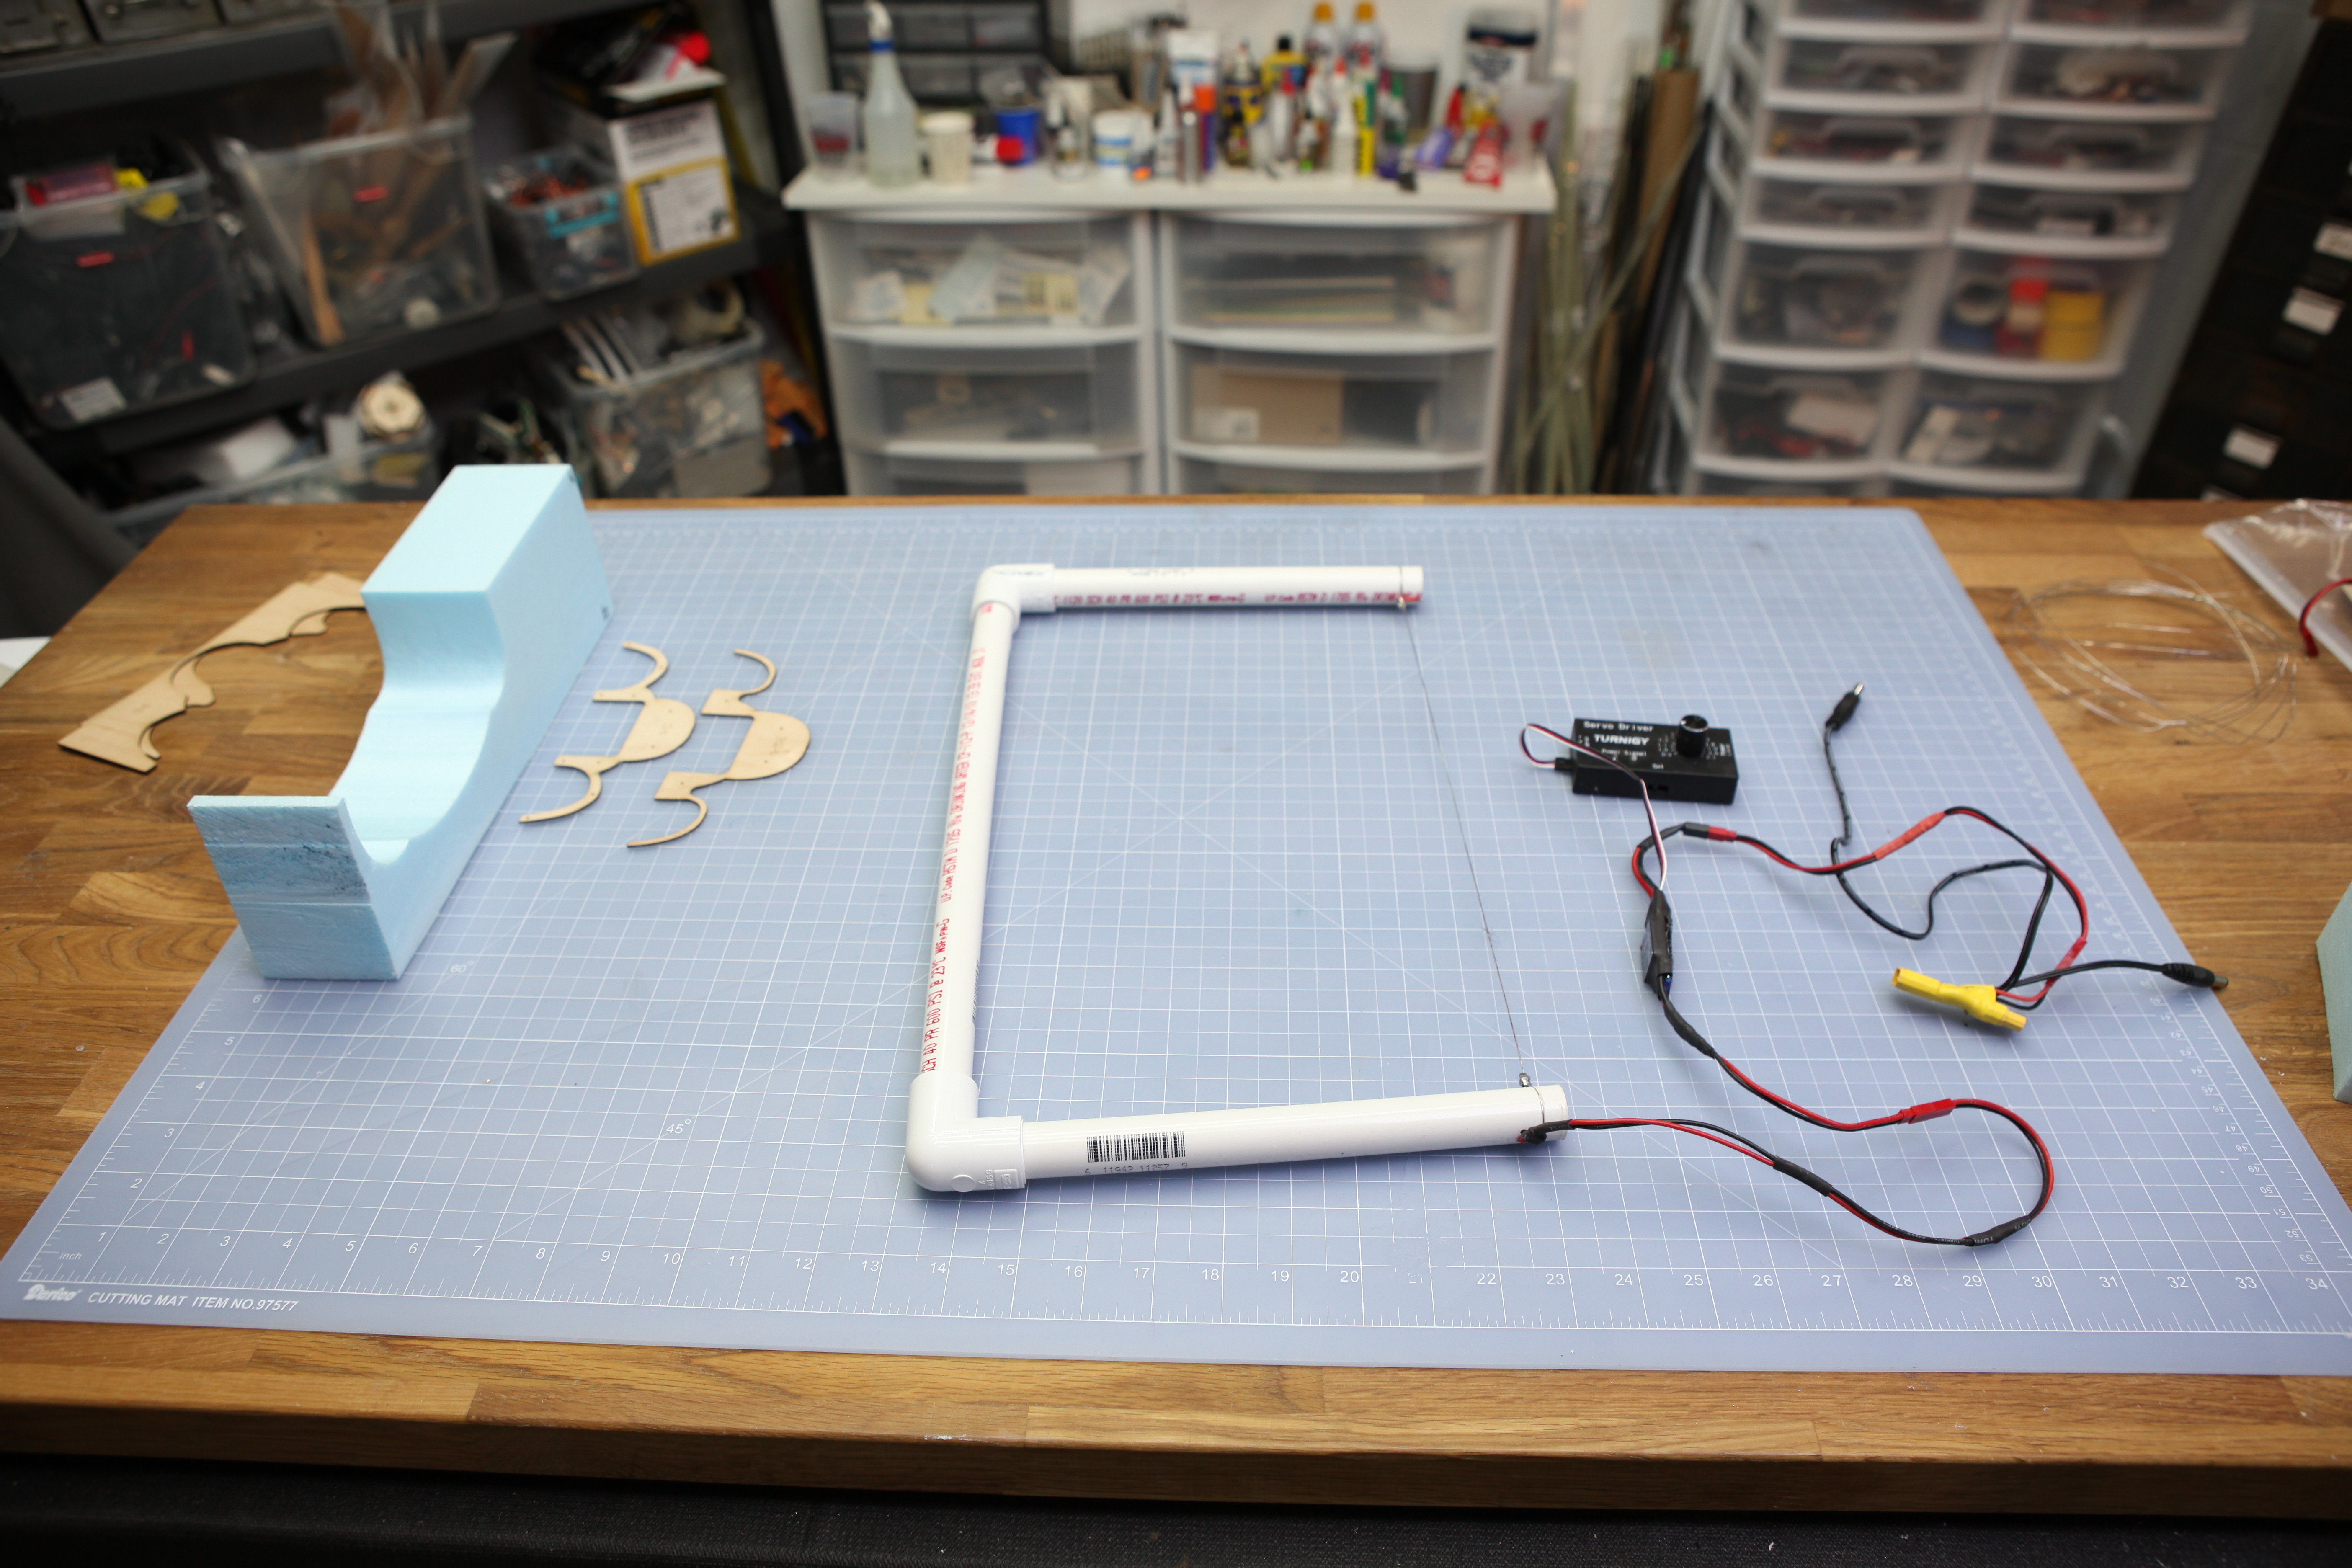
The timer went bad years ago so I replaced it with a switch. it has 120VAC input, fused 7.2 and 8.4VDC output with adjustable current so it's perfect for a small hot wire rig. You can find these on ebay for low cost every now and again.
The bow is made from a 12" scrap of 2x4 that had been ripped in half, a 1/2" diameter pine dowel (two 12" sections) and some very thin
OOK! brand picture hanging wire. I lost the package so I have no idea on the size. Get as thin a wire as you can get. Drill 1/2" diameter holes in the base of the bow slightly angled out. this will help preload the bow legs. Wrap one end of the wire on a dowel, bend the two dowels "in" and wrap the wire around the other dowel. This will tension the wire. the wire stretches as it is heated so pull it snug. Like others have done, I used simple gator clips to get power to the wire.

I notched the dowels with my band saw to fix the wire in place.

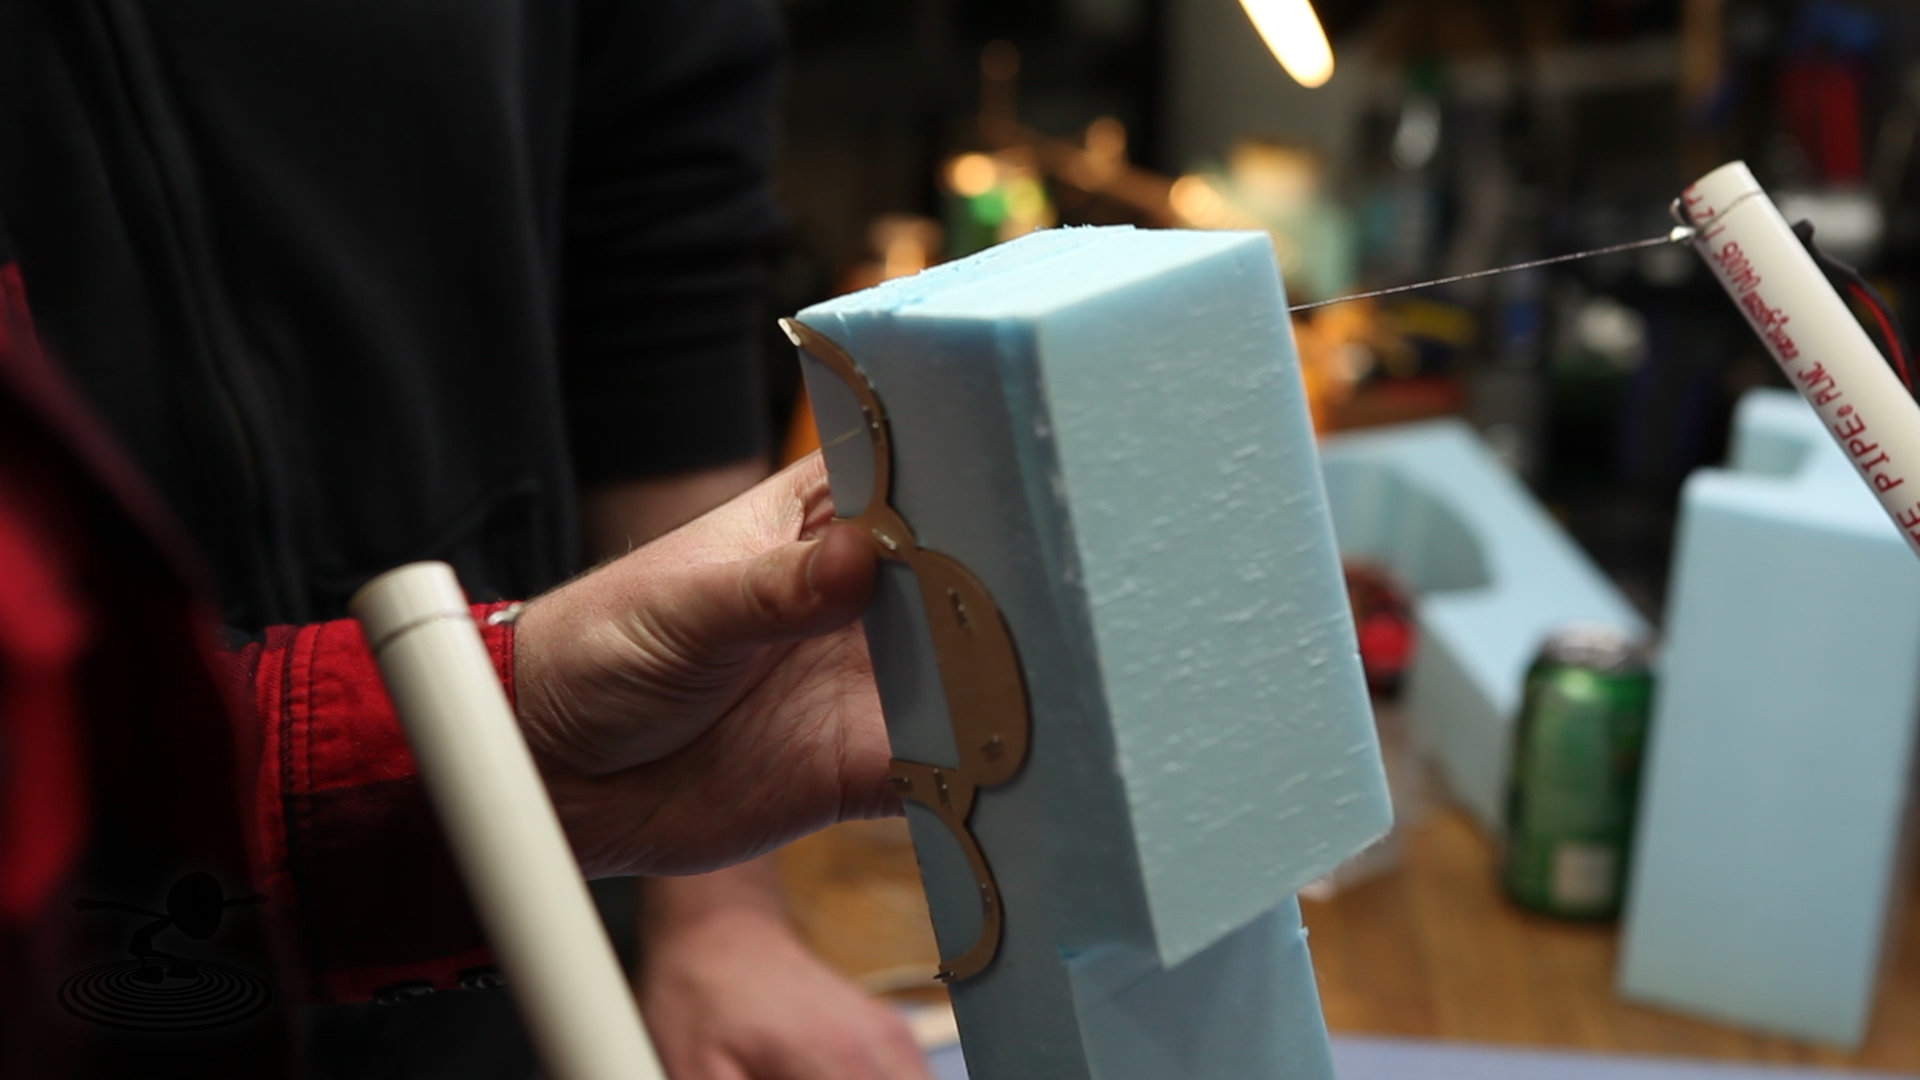
Finally a shot of me planing the foam. I used two 3/4" thick oak boards and just slid the aileron through.

So if you have an old charger in the closet, don't throw it away, you just might need it in 23 years. :lol: