HZ Super Cub Mod from parts

Looking at it, I think I put the twist in it when I glued in my spar. The twist runs the length of the wing, so I am pretty sure it's the spar. I am going to cut along the spar and get it jigged up and re-glue it. I need to take the temper out of and old x-acto blade and put a 90 degree bend in it so I can cut under the spar.
 
I messed with the wing a bit and I am going leave it for now. It's only a sixteenth inch difference at the trailing edge and I think I can compensate for it with some aileron trim. One thing I learned is that flattening a foam wing with molded in dihedral is probably best accomplished by actually cutting the foam. I know many have had success with tape and other methods, but forcing the wing to conform to a shape induces some residual stresses. Everything very much wants to return to equilibrium so it's a crap shoot what will happen to the shape when it's forced to a different shape. Removing those residual stresses is probably the best bet, and cutting will eliminate them.
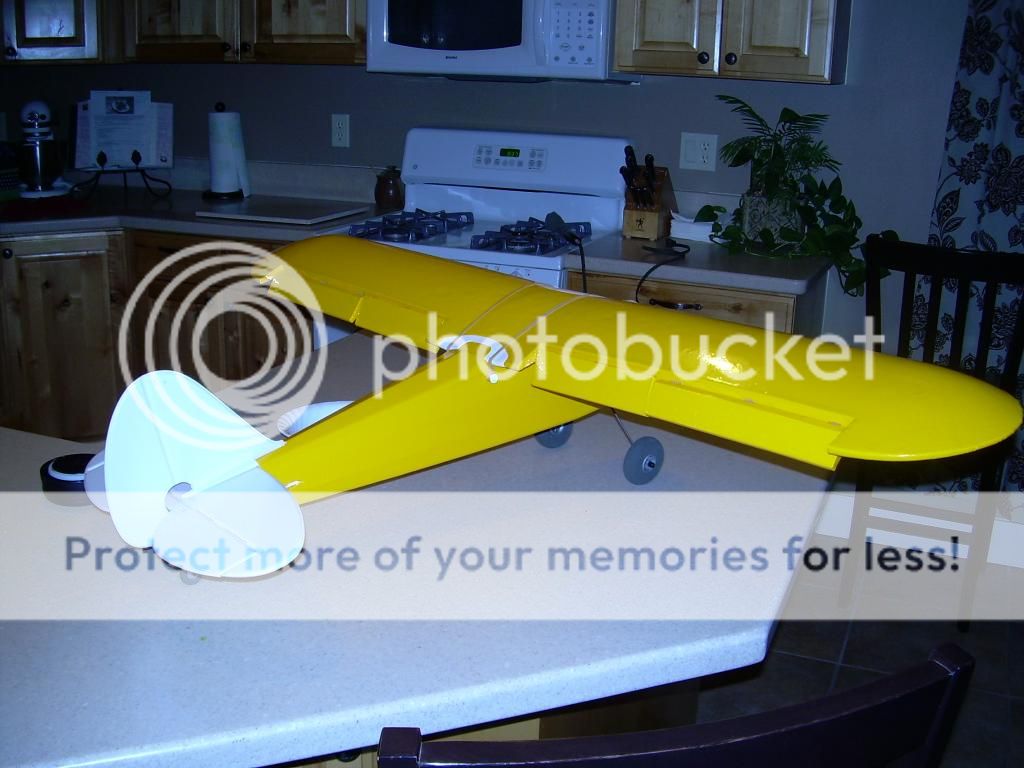
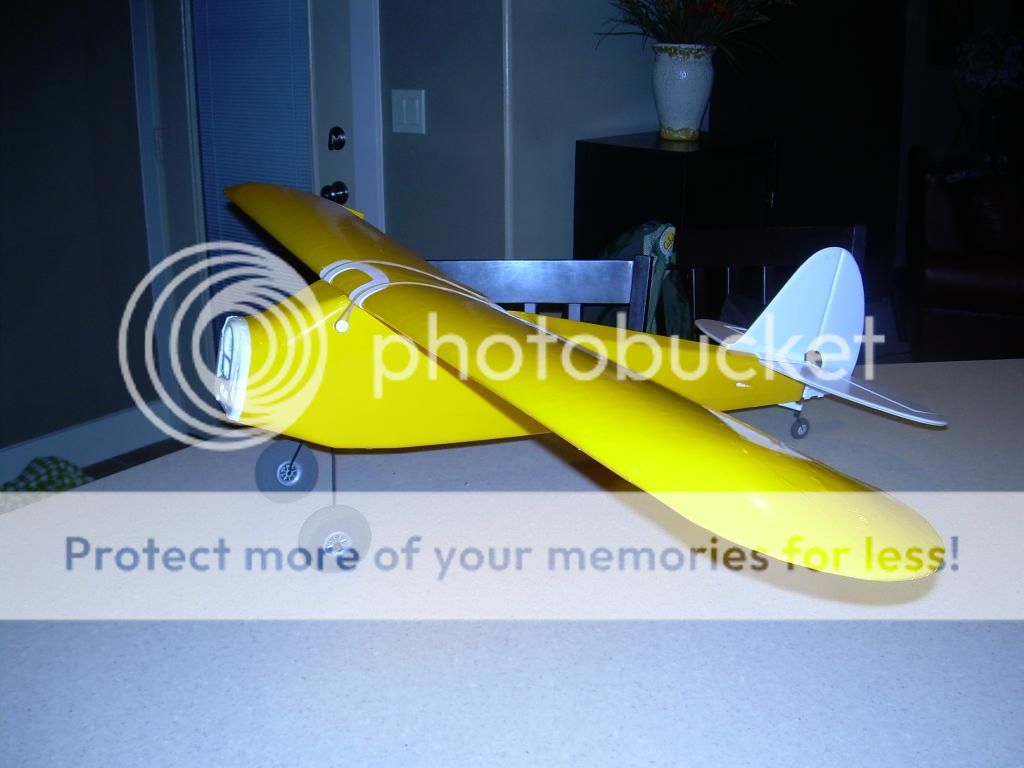
Here's a couple terrible pictures of the current progress. The weather is supposed to be terrible this weekend, so it should give me some time to get it finished up.

DSCN6322.jpg


DSCN6323.jpg


I need to get the tail surfaces and the cowling painted as well, they are just set in place so it looks like a plane. Is the vertical stabilizer retained by tape like so many of the other HZ planes? I still need to also mount all the servos. It's a step closer.
 
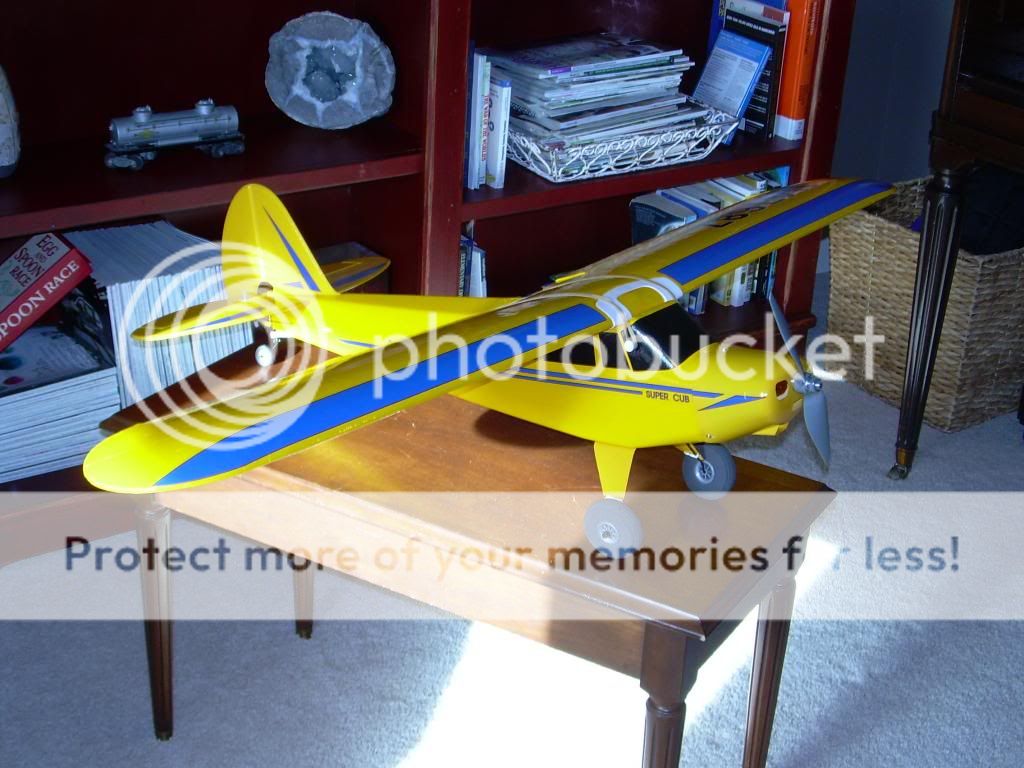
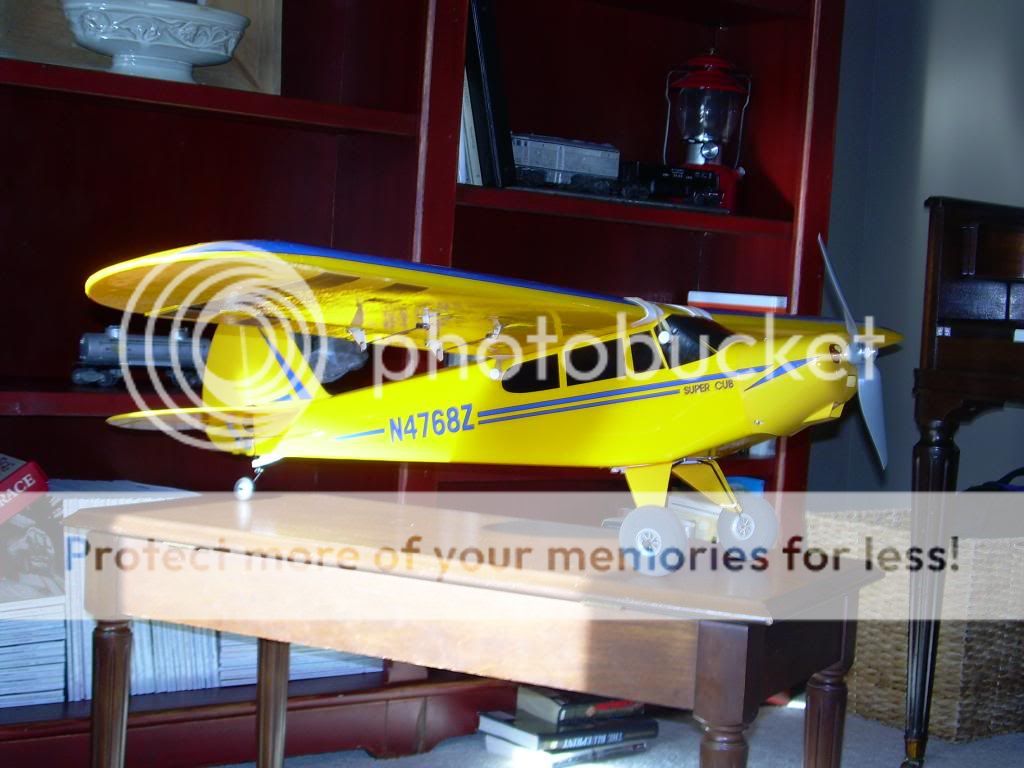
It's almost done! I ran out of adhesive back hook and loop to tie down the electronics, but everything else is done. The weather is supposed to be nice tomorrow so hopefully I'll get in a maiden tomorrow. The balance looks to be spot on, so we'll see how it does.

DSCN6324.jpg


DSCN6327.jpg


I took some liberties with the sticker locations. I think the blue looks pretty good with the yellow. I thought about doing a lightning bolt down the side, but I kind of like the factory stickers. A word to wise on the HZ stickers, be sure to cut around all the edges before peeling them off the backing, they tear REALLY easy!!
 
Some additional pictures.

Flaps Down:
DSCN6328.jpg


DSCN6329.jpg


Ailerons:
DSCN6330.jpg


DSCN6331.jpg


Even thought I haven't flown it yet, there's a few things I would do differently. For all the control surfaces, I would stiffen them with some small carbon spars. I would cut the wing rather than pressing it into shape, whether going completely flat or leaving some dihedral. As far as the control surfaces, I would cut a slightly smaller bevel on the ailerons and maybe make the flaps a little longer. The other thing I would do is be a little more patient. I think a lot of my work could have been better if I wasn't in a hurry to get it done. Not that it's bad, but it could have been better. We'll see how the control surfaces work out in flight. Having done it once, I'll have a much better plan for the second one. All in all, it's been pretty fun so far. I definitely like the clean smooth surface of the covering. Maybe I can talk the wife into going with me for the maiden tomorrow and I can get some video.
 
Last edited:
Well, I probably should not have maidened it this morning.... It's in one piece, but it was stressful! The first time the breeze picked up a wing on the taxi, I should have called it. I got it in the air, but it acted crazy tail heavy. I thought I was close on my CG, but apparently not. I put in some down trim and got it to fly level, but it was still definitely tail heavy. It also needed quite a bit of aileron trim. I think it's the washout in the one wing tip that made it need the aileron trim. I say one piece, but I did break one of my landing gear covers.... Maybe the wind will die down later today, but probably not. In SE Idaho, if it's blowing in the AM, it will usually be REALLY blowing by the afternoon..... Videos to follow after I get them uploaded.
 
The take off

The rather poor landing, but at this point, I just wanted it back on the ground.

I'll get it sorted and try again. I am tempted to build some landing gear that's a little tougher, but I don't want to over stress the air-frame. Luckily, it's still in one piece:black_eyed: I'll have to devise a method to "untwist" the wing.
 
I had no idea that this thing would have the turning radius of a Greyhound bus.... The wind finally settled down to just a gentle breeze and I went and flew it again after tweaking the CG. The second flight was much better and not particularly stressful. I was able to mess around with the flaps a bit. There was just enough breeze, that with the flaps down, I could almost get it to stop in the air. I was surprised that I didn't have more rudder authority. I had the rate set to 80% and the expo at 30% and it seemed to be a bit sluggish. I pumped up the rate and turned down the expo, it seems to be a little better behaved and did turn a little sharper on the ground. Unfortunately, by the end of the flight, and after the adjustment, I was out of daylight, so we wrapped it up. We'll see how the new settings do next time I fly. I also added some elevator mix with the flaps, I had to hold quite a bit of down elevator with the flaps deployed.

Here's a crazy take off where I almost hit my camera woman (wife). I am much better on the ground with my T-28, tail draggers are still a bit of a challenge for me.

Here's the landing from that flight. I definitely need to learn to slip a little better, I still really struggle with a cross wind, thus the final landing position of the plane:black_eyed:

I was able to compensate for the washout with a mechanical adjustment of the aileron on that side. I am still fixing it, as a matter of fact, the epoxy is drying right now. I think my aileron tweak is actually inducing a bit of yaw.

I need to get an RC plane aerodynamics book. Being a nerdy engineer I like to study things in books and then apply it physically. I need to do more builds like this, it is also a great way to learn about aerodynamics and how planes work.
 

Ak Flyer

Fly the wings off
Mentor
I turned all my rates up as high as they would go before the servos bind then turn the expo up a bit. It makes a huge difference on how it handles, especially the rudder. With the rudder you have to watch to make sure the elevator and rudder don't hit.
 
Well, the cub is a little wrinkled at this point... I think the motor I was using was just too much. It seemed to have almost overwhelming p-factor. Even with a slow roll on of throttle, once the tail wheel would lift off, the pull to the left was almost insurmountable. I decided to correct with a little more thrust angle and then the pull to the right was unreal. After shattering the cowl and breaking the firewall, I am going to get rid of the 315W motor. I have a 480 size motor on the way. I know that's not a huge decrease in power, but I think it will make a difference. The few good flights I have managed, the plane flies well around 1/3 to 1/2 throttle. The new set up is going to be the 480 size motor (1020 kV) with a 10x5 prop. The good thing, the covering makes the plane pretty resilient. In fact, I have been able to get almost all the wrinkles out of the foam, using the covering iron. The new motor is probably two weeks out, so I'll report back then with the flying results.