roversgonemad
Member
I got some sad news a couple weeks ago, the LHS is closing The owners are from out of state and are opening a new store in their home state. Another franchise will be coming to town, but it will likely be August or September before they open their store. Being a good customer, the manager was willing to work with me on prices on a few things.
I have been vacillating between a HZ Super Cub and the Fun Cub. To be honest, I was leaning towards the fun cub, but with the deal I got on the parts, the Super Cub made more sense from a money standpoint. For not much over $70, I have all the needed foam.
Here's my plan:
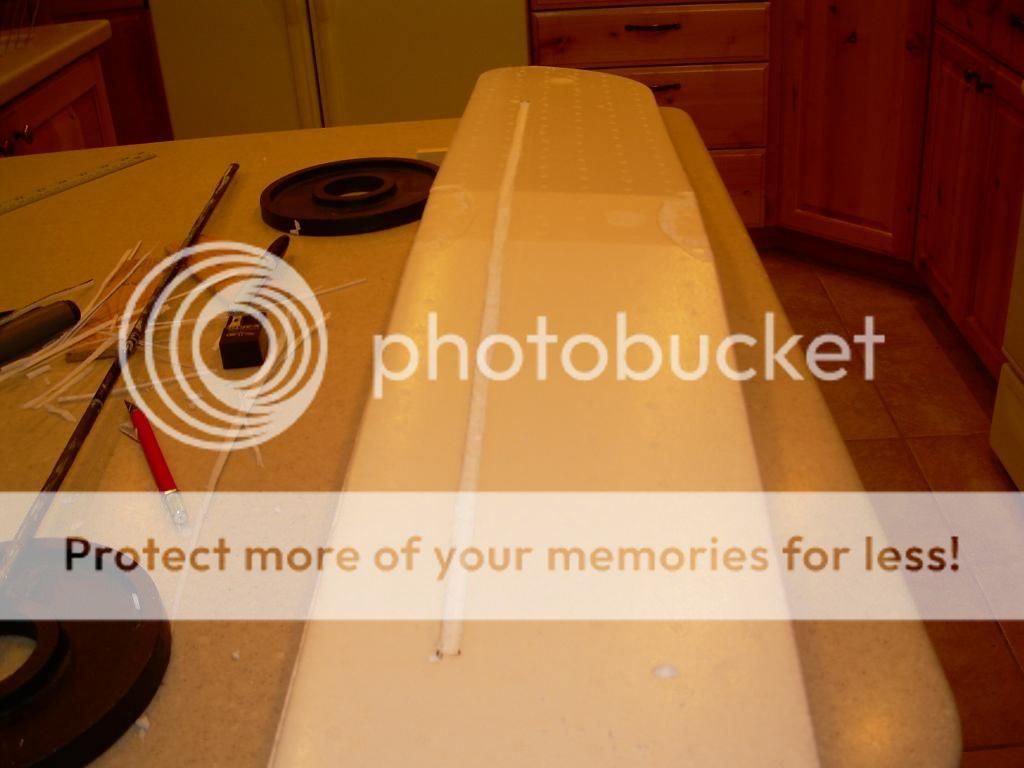
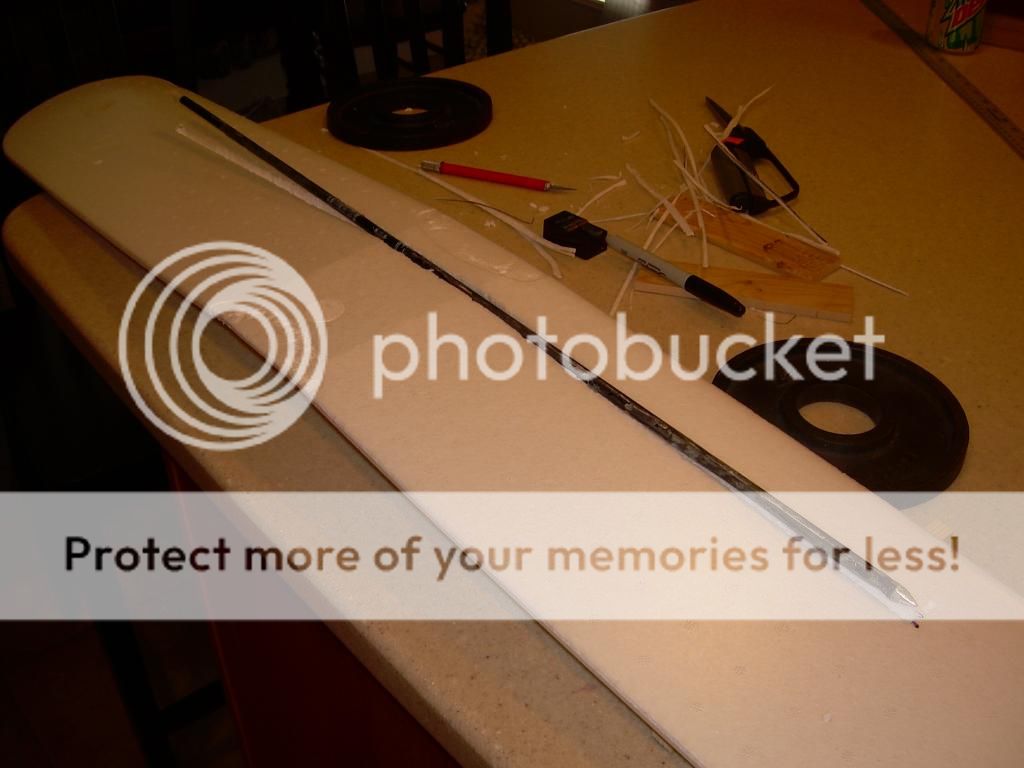
1. Flatten the wing a bit. I don't know if I want all the dihedral gone, but at least a fair portion of it. At this point, I need to devise a good way to build a carbon spar with some dihedral. Not having worked much with carbon fiber, I am not sure of the best way to accomplish this so research is in order. I was thinking about making a plywood center piece and bonding the arrow shaft to the plywood. Any thoughts or experience with this are appreciated. I would just leave the dihedral, but I really want to be able to fly this plane inverted.
2. Add flaperons. I had thought about going the route of separate flaps and ailerons, but with some of the other mods I am doing, I am not sure I want the extra weight. This of course is not set in stone, but is just the current thought. I have also heard that to run the two extra servos a BEC is needed, and I am trying to just reuse the electronic gear I already have.
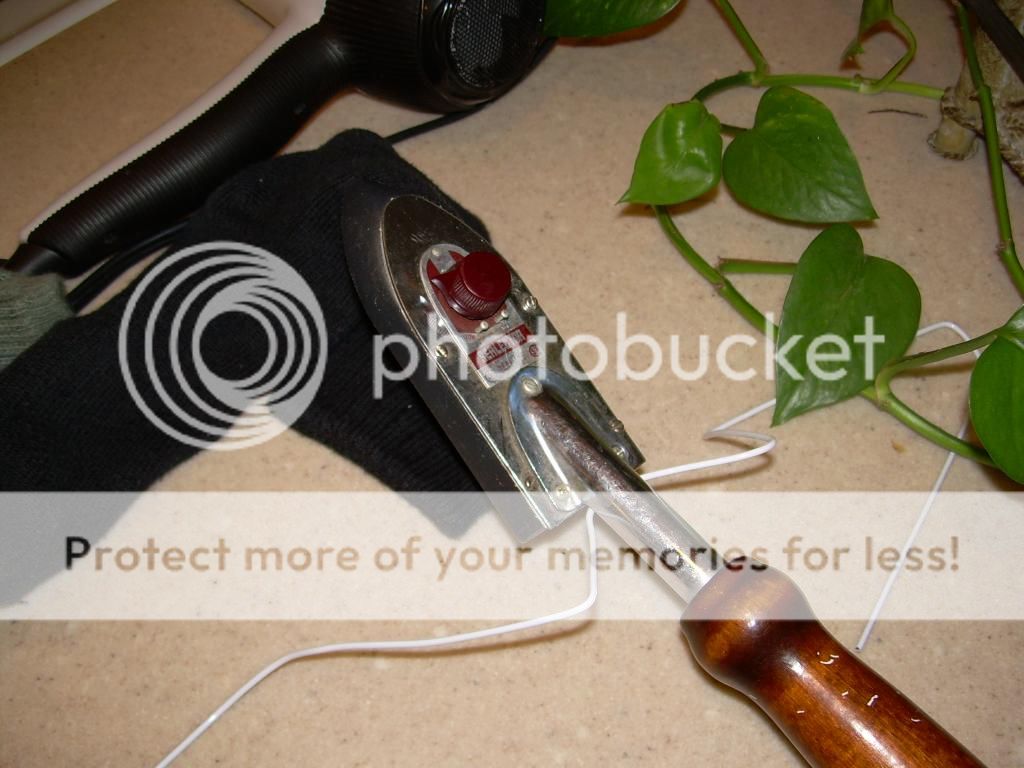
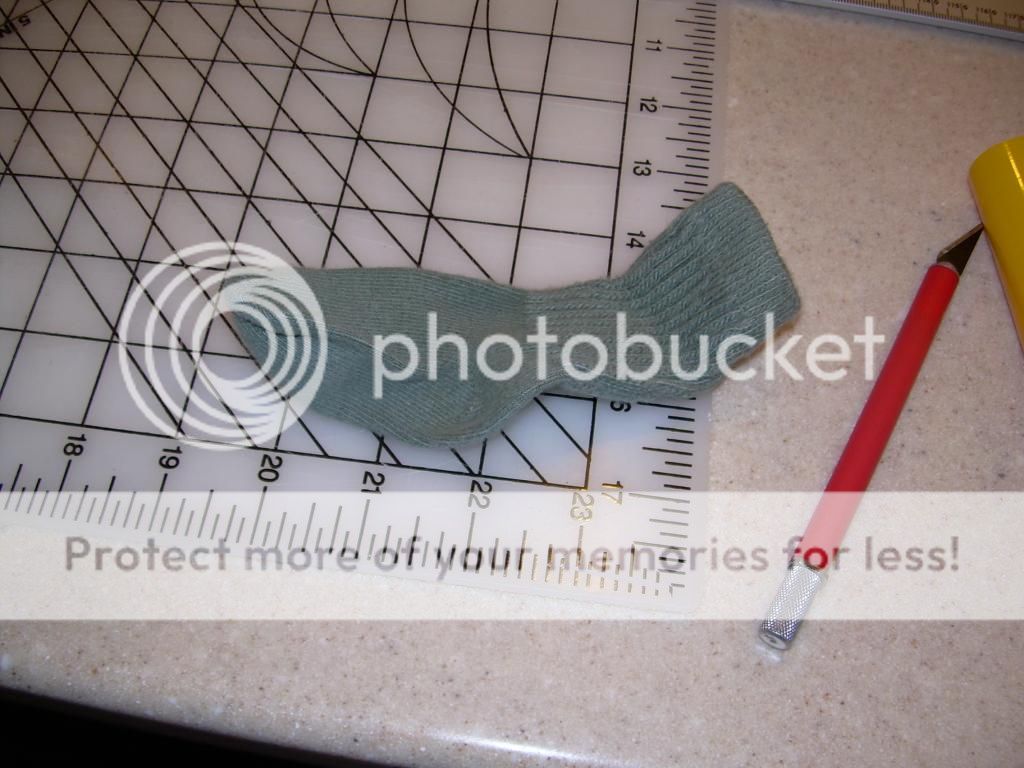
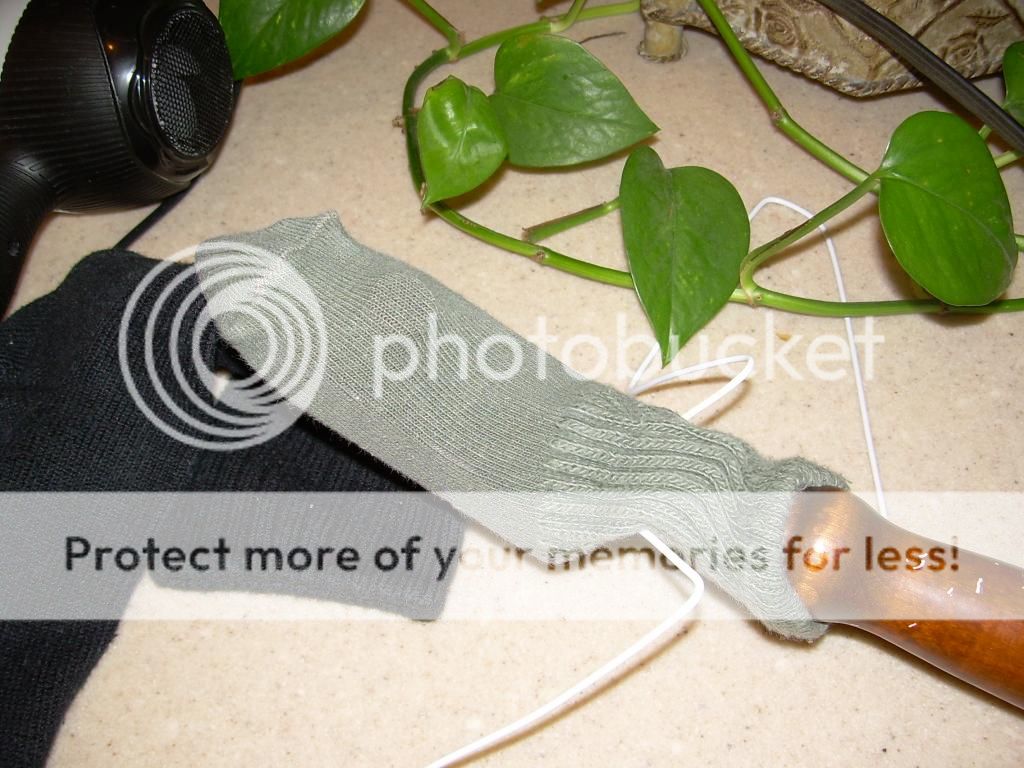
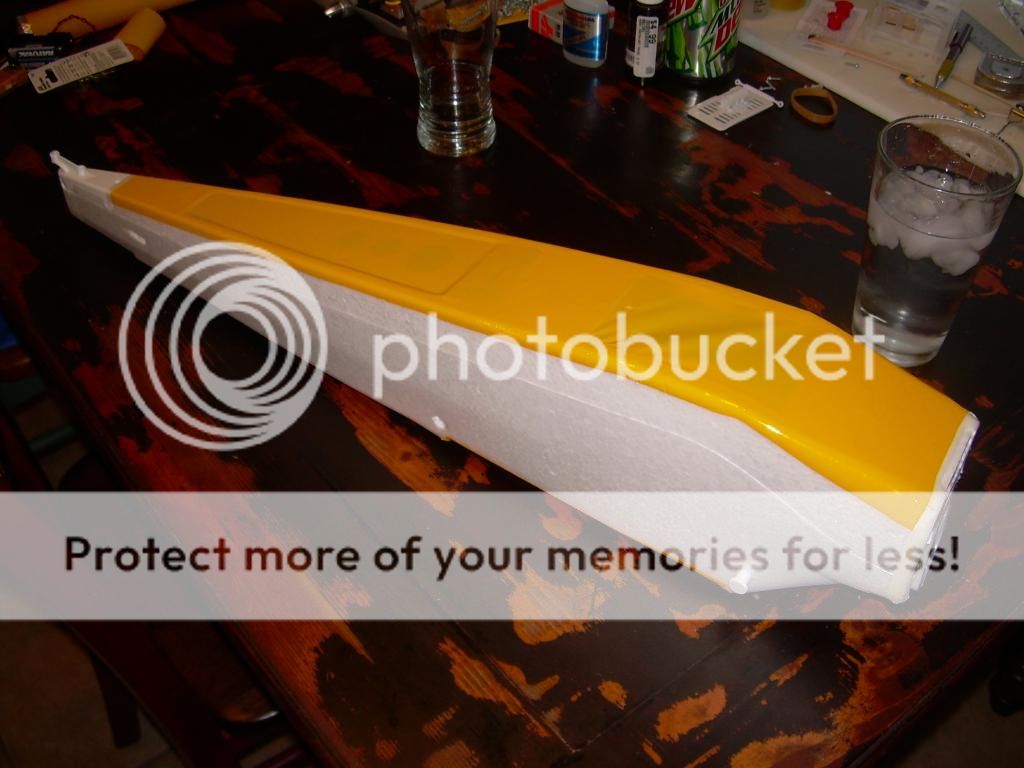
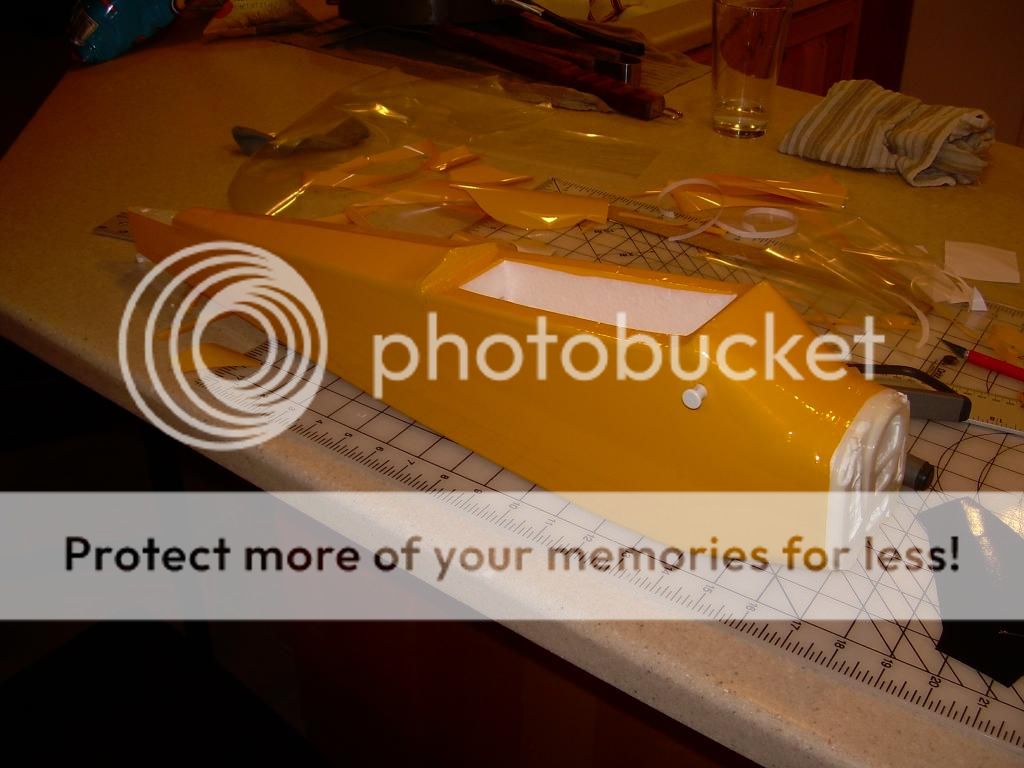
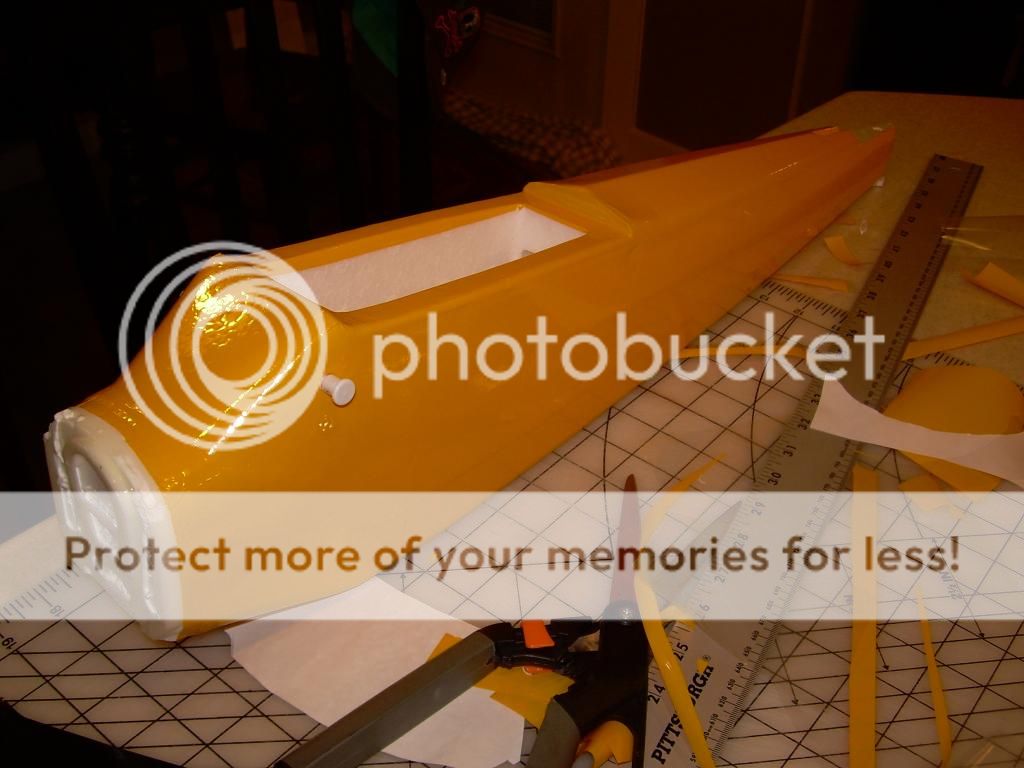
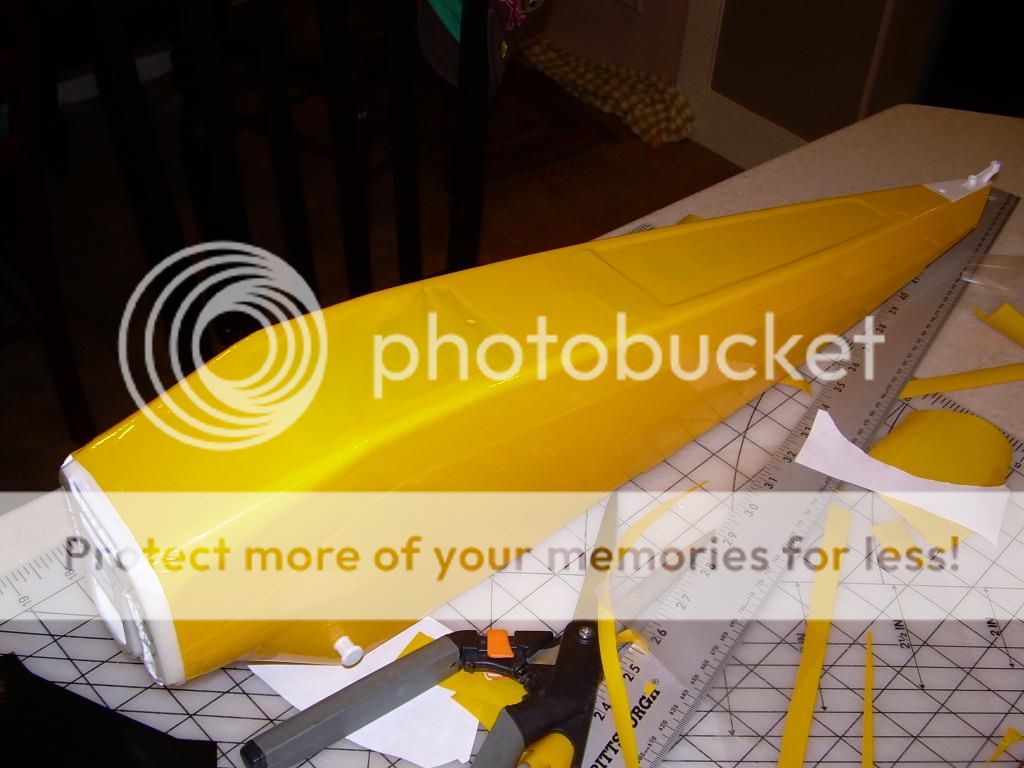
3. Cover the plane with Econokote. Foam is okay, but I want this plane to be a little more sleek, and in the how-to's I have watched on YouTube, the covered foam planes look really good! I have not entirely decided on a color, but right now I am of course leaning towards Cub yellow Yes I know it's not a J-3, but it just feels right to have a yellow cub. Plus, I have always wanted a yellow cub.
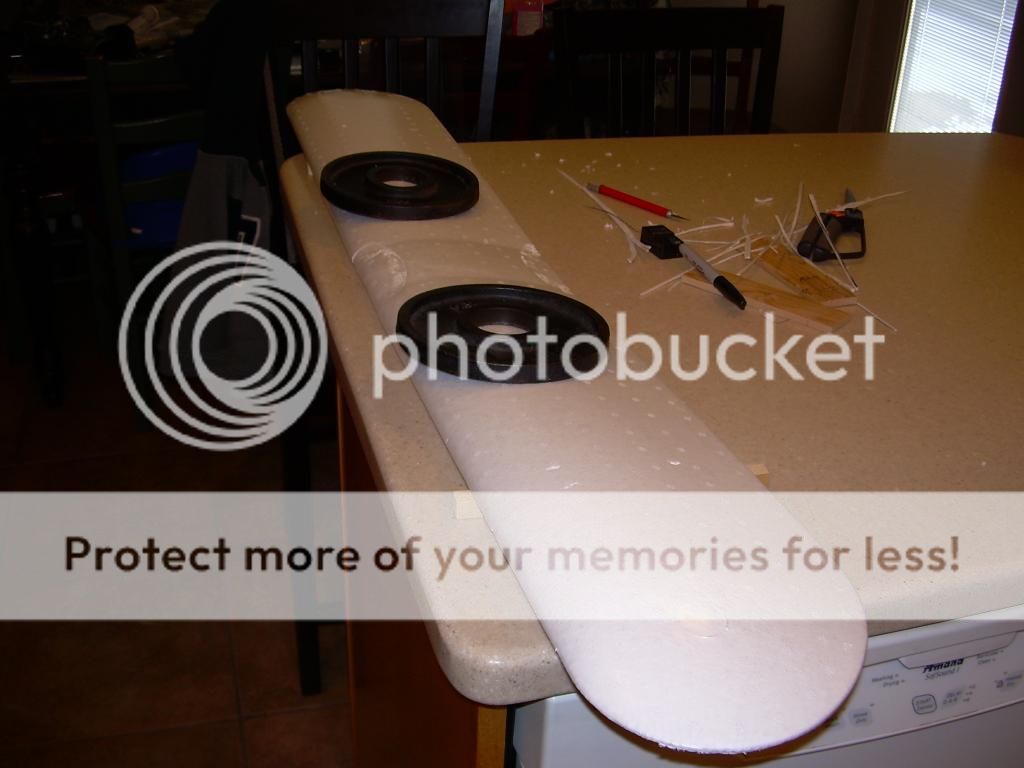
4. Tundra tires. I will be flying from grass and gravel quite a bit, so fatter tires are in order. I'll likely use some 2-1/2 inch foam tires I already have.
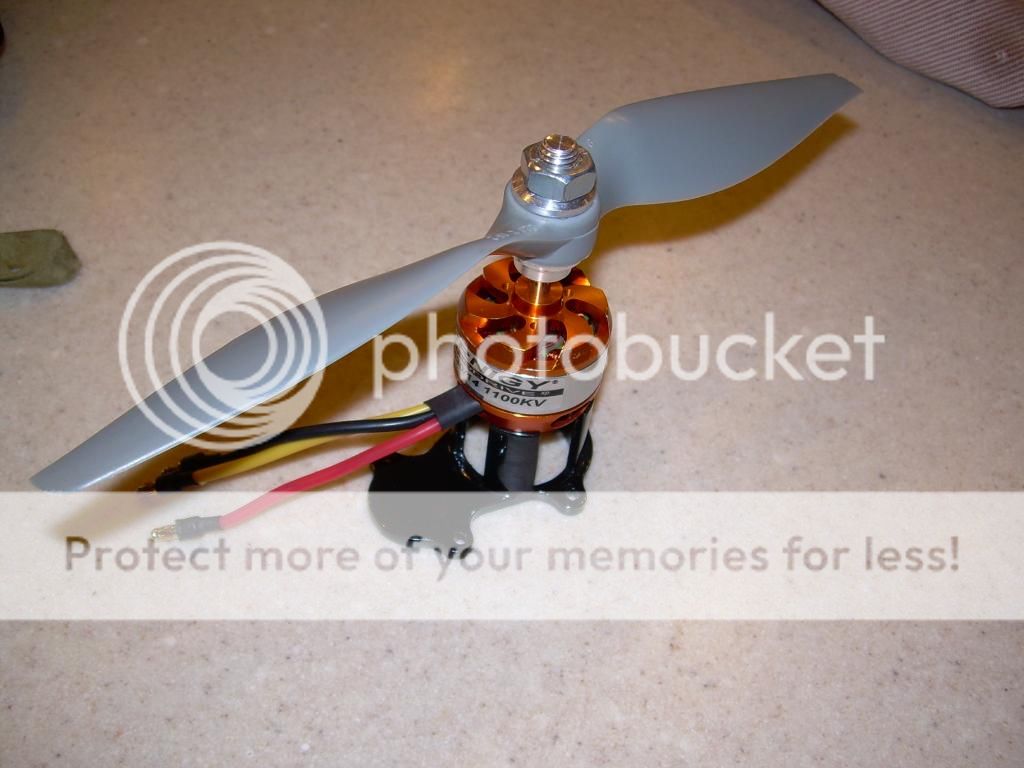
5. Brushless motor. I already have the electronics in a foam board plane that is getting a bit long in the tooth (i.e. way too many unplanned landings). I plan on using my Turnigy 1100kV 3530-14. The calcs show that it should work well with a 10x6 prop on this plane. I have already acquired a CNC machined brushless adapter. There has already been trial fit and it stacks up just right.
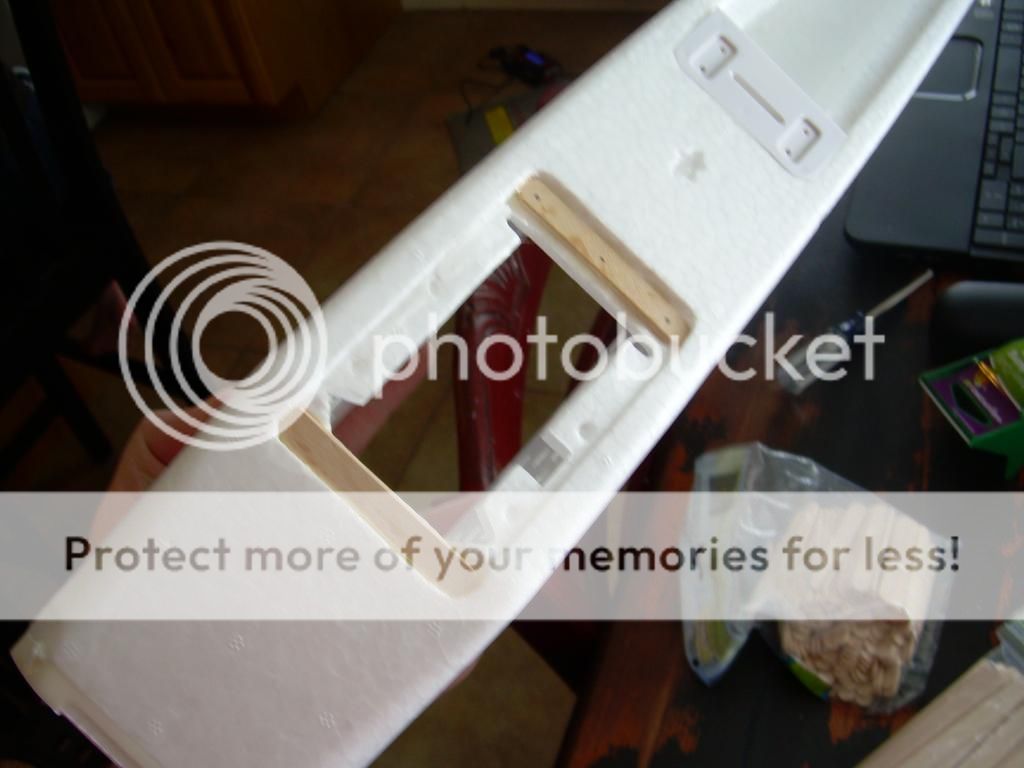
6. Reinforce all the key locations on the fuselage. I will add the wood behind the wing, and reinforce the battery box mounting points.
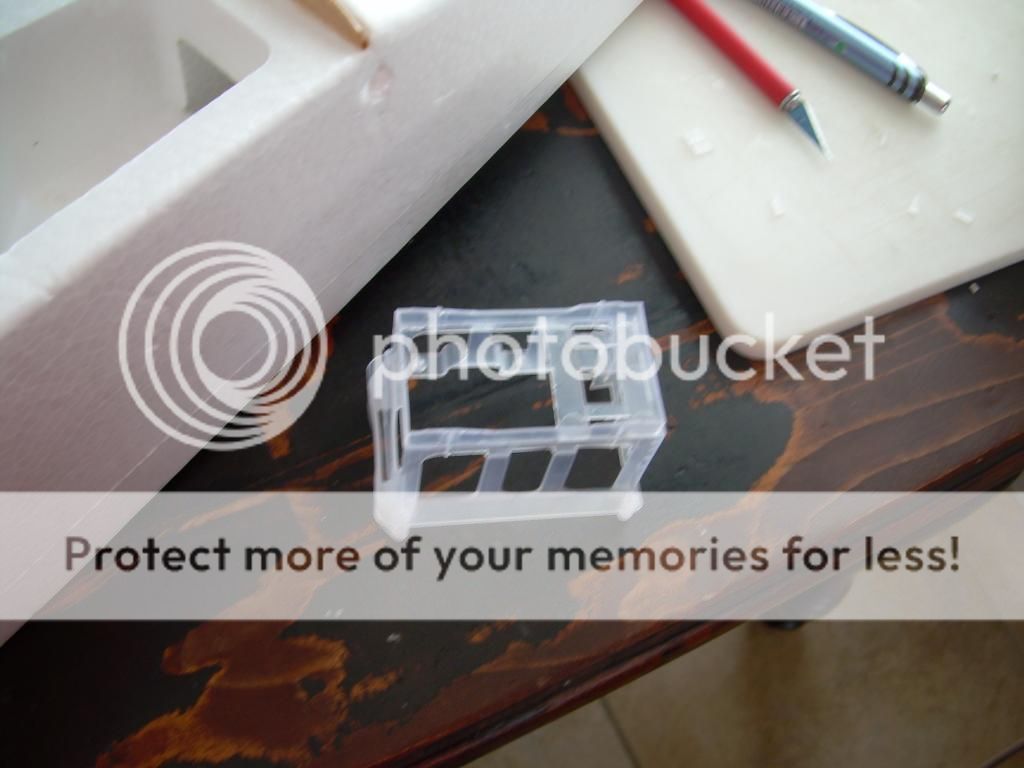
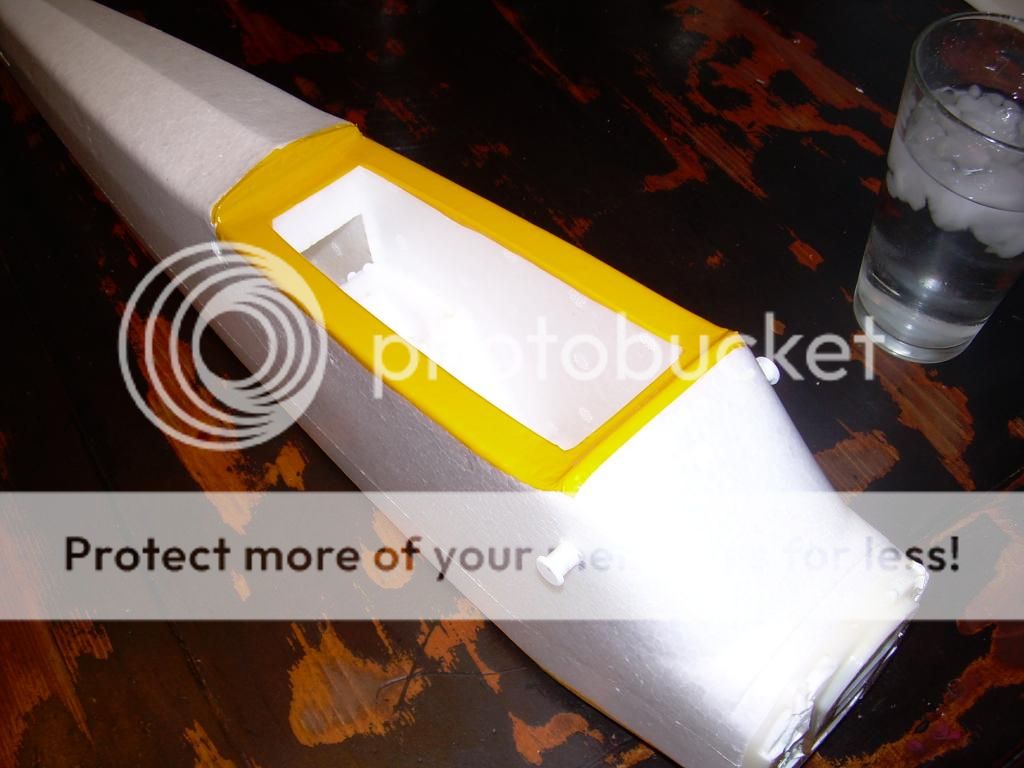
7. Modify the battery box to fit in 2200 mAh lipos. This looks like a pretty straight forward mod and certainly worth doing.
For the electronics I am running a 35A HK speed control, and Orange 6 channel receiver, and Hitech HS-55 servos. The motor is as listed above. I'll typically run 2200 mAh batteries. It would be better if the ESC was rated a little higher, but I have been running it in a plane that is roughly equivalent in size and weight and it has not been running hot.
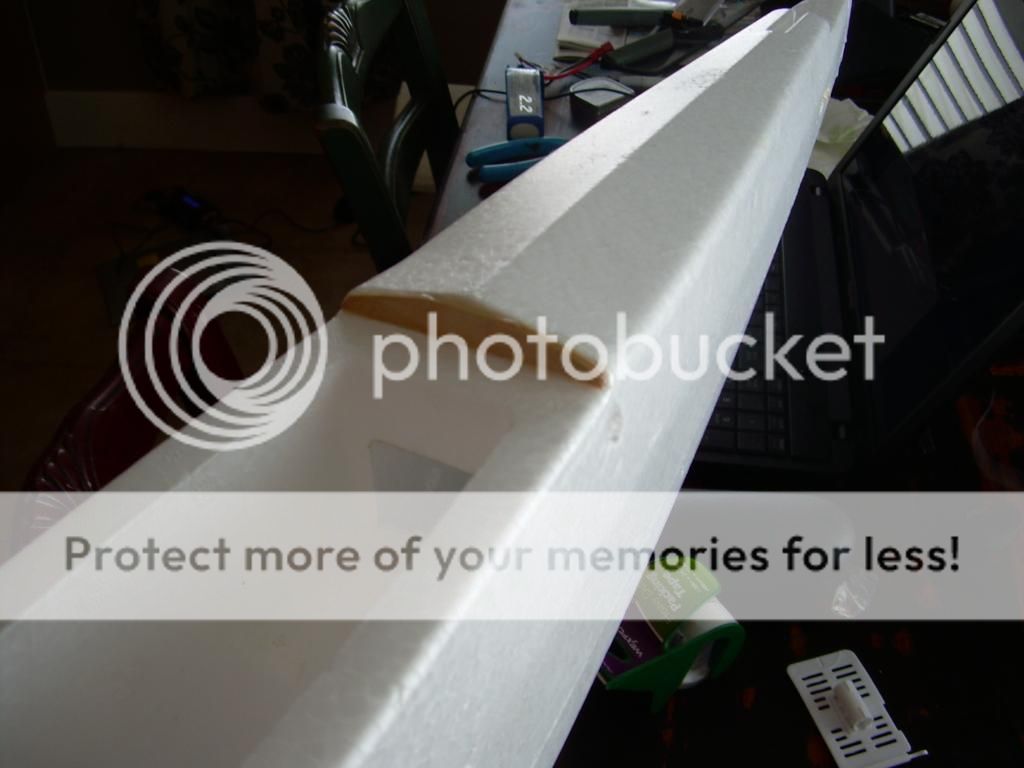
Right now, it's just a pile of foam parts. With the hobby shop closing, they weren't doing anymore special orders, so I have to track down some cub yellow Econokote on my own.
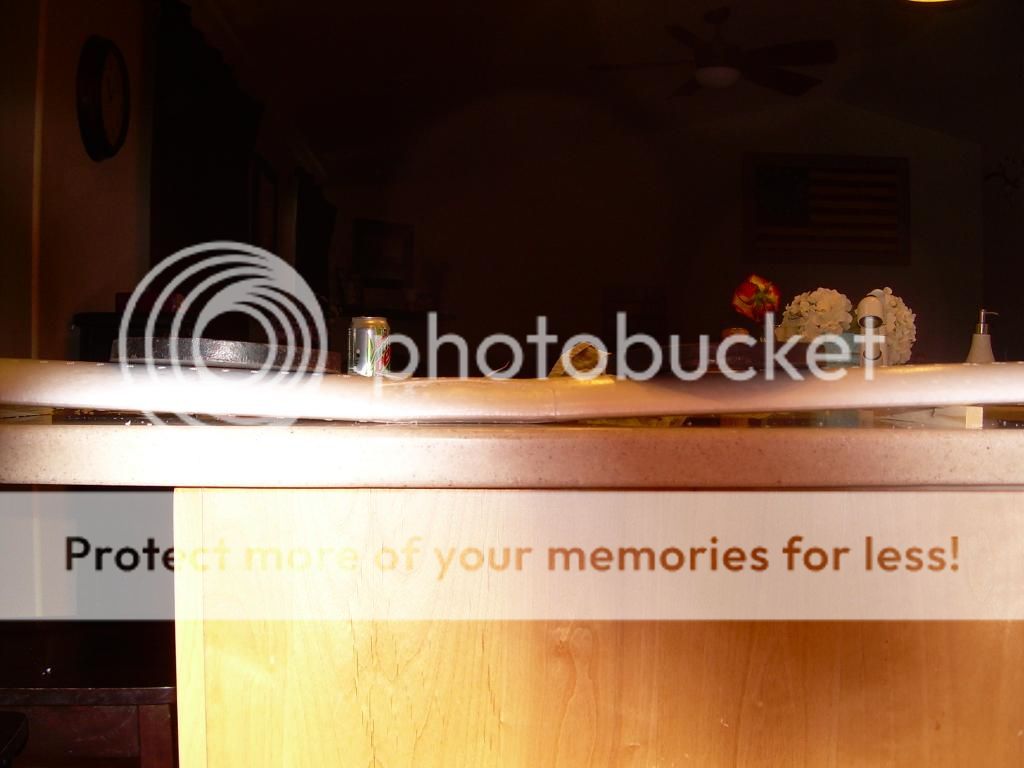
The foam bits:

I'll keep this post updated as I make progress.
The owners are from out of state and are opening a new store in their home state. Another franchise will be coming to town, but it will likely be August or September before they open their store. Being a good customer, the manager was willing to work with me on prices on a few things. I have been vacillating between a HZ Super Cub and the Fun Cub. To be honest, I was leaning towards the fun cub, but with the deal I got on the parts, the Super Cub made more sense from a money standpoint. For not much over $70, I have all the needed foam.
Here's my plan:
1. Flatten the wing a bit. I don't know if I want all the dihedral gone, but at least a fair portion of it. At this point, I need to devise a good way to build a carbon spar with some dihedral. Not having worked much with carbon fiber, I am not sure of the best way to accomplish this so research is in order. I was thinking about making a plywood center piece and bonding the arrow shaft to the plywood. Any thoughts or experience with this are appreciated. I would just leave the dihedral, but I really want to be able to fly this plane inverted.
2. Add flaperons. I had thought about going the route of separate flaps and ailerons, but with some of the other mods I am doing, I am not sure I want the extra weight. This of course is not set in stone, but is just the current thought. I have also heard that to run the two extra servos a BEC is needed, and I am trying to just reuse the electronic gear I already have.
3. Cover the plane with Econokote. Foam is okay, but I want this plane to be a little more sleek, and in the how-to's I have watched on YouTube, the covered foam planes look really good! I have not entirely decided on a color, but right now I am of course leaning towards Cub yellow Yes I know it's not a J-3, but it just feels right to have a yellow cub. Plus, I have always wanted a yellow cub.
4. Tundra tires. I will be flying from grass and gravel quite a bit, so fatter tires are in order. I'll likely use some 2-1/2 inch foam tires I already have.
5. Brushless motor. I already have the electronics in a foam board plane that is getting a bit long in the tooth (i.e. way too many unplanned landings). I plan on using my Turnigy 1100kV 3530-14. The calcs show that it should work well with a 10x6 prop on this plane. I have already acquired a CNC machined brushless adapter. There has already been trial fit and it stacks up just right.
6. Reinforce all the key locations on the fuselage. I will add the wood behind the wing, and reinforce the battery box mounting points.
7. Modify the battery box to fit in 2200 mAh lipos. This looks like a pretty straight forward mod and certainly worth doing.
For the electronics I am running a 35A HK speed control, and Orange 6 channel receiver, and Hitech HS-55 servos. The motor is as listed above. I'll typically run 2200 mAh batteries. It would be better if the ESC was rated a little higher, but I have been running it in a plane that is roughly equivalent in size and weight and it has not been running hot.
Right now, it's just a pile of foam parts. With the hobby shop closing, they weren't doing anymore special orders, so I have to track down some cub yellow Econokote on my own.
The foam bits:
I'll keep this post updated as I make progress.
Last edited: