
KKBoard V2.1 Unboxing and Quick Overview
by colorex
by colorex
I received a small box today. I got home delivery, which I've never gotten before! I had ordered a KKboard, with some stickers, so it would be a mild packaging challenge.
HobbyKing surprised me. They did a very good job packaging my stuff. When shaking the box, it didn't rattle. This was explained by the two fill-air bags inside, plus the bubble-wrap.
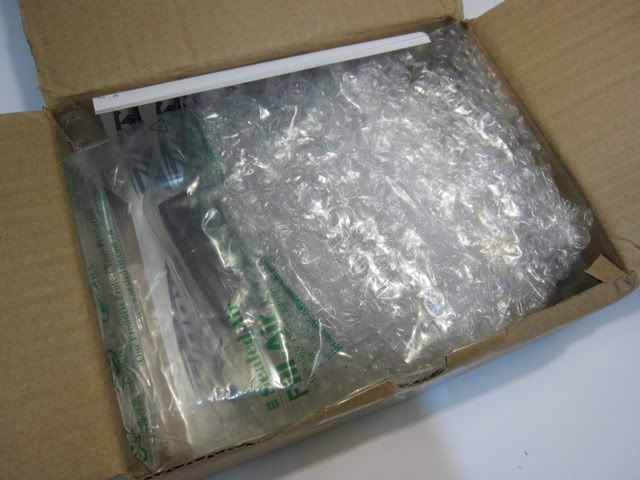
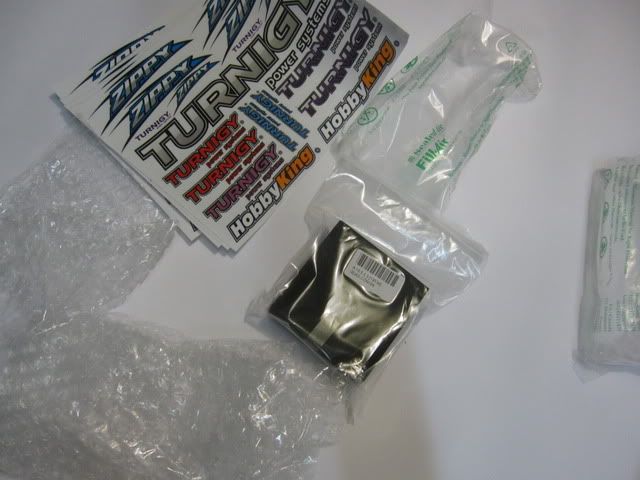
And there it is: the four sticker sheets were folded to a fit, but not ruining the stickers. The KKboard box was in a ziplock bag.
This is the box. It's made of som sort of soft foam, that should protect the board from bumps and stuff. The lid was taped on. The box is made by layering different foam thicknesses.
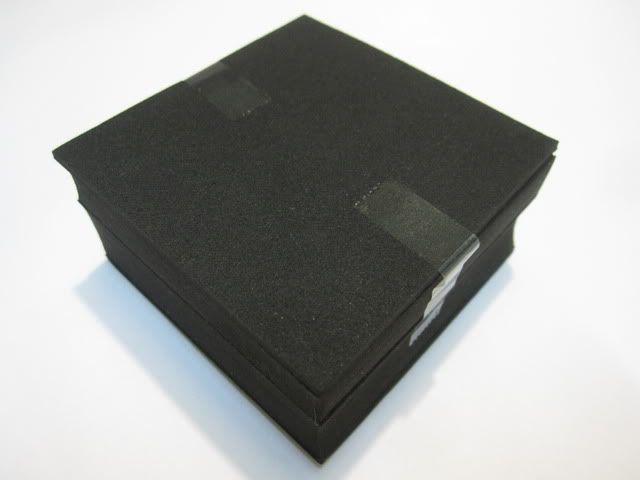
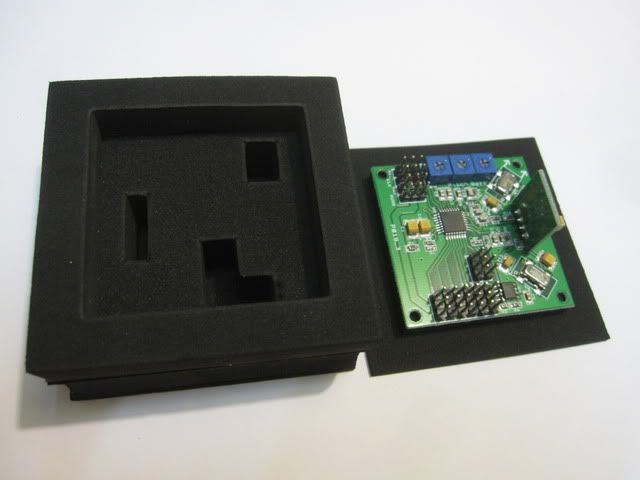
Upon removal of the tape and the lid, the KKboard is exposed. The walls of the box are very thick.
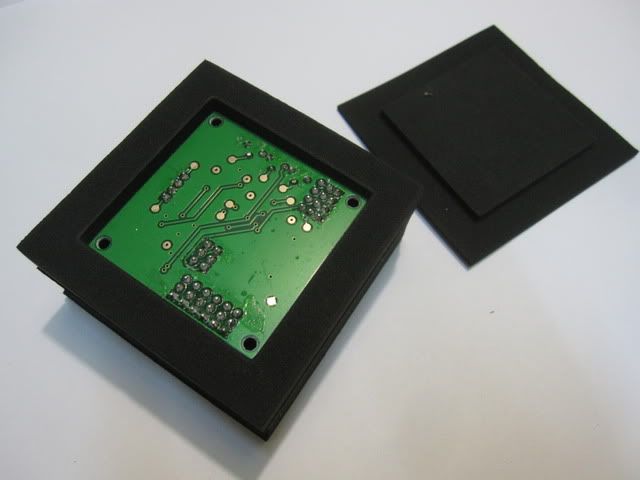
You need to apply gentle force to et the kKboard out. It's not too hard as the box is bendy.

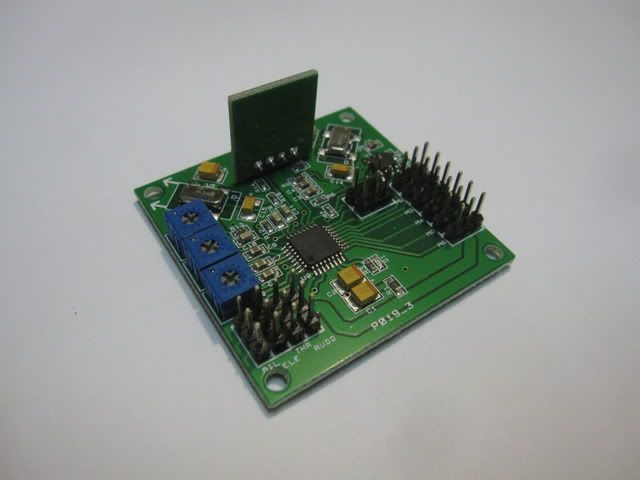
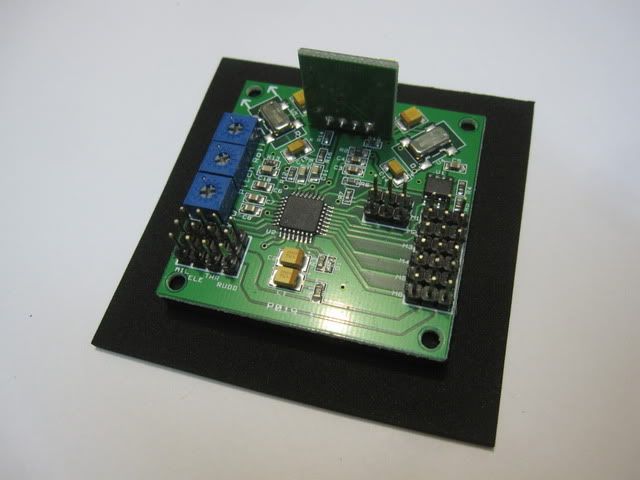
This is the KKboard.
There are cutouts in the box to fit the pins and the gyro. Clever.
Board!
The actual dimensions were 50 x 50 mm, advertised was 50,5 x 50,5 mm. Close enough.
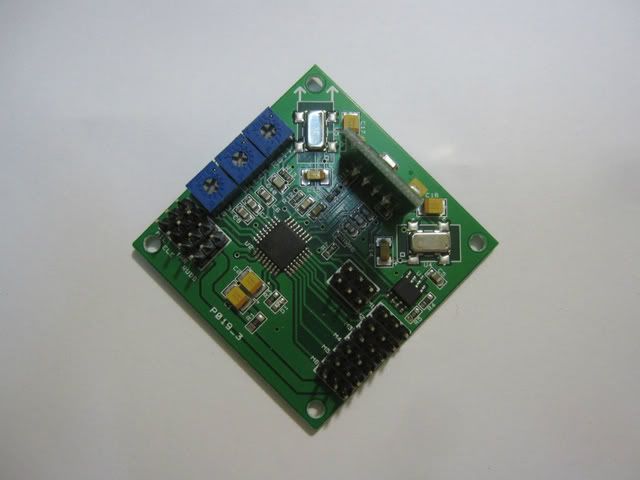
This is the processor. ATMega 168PA.

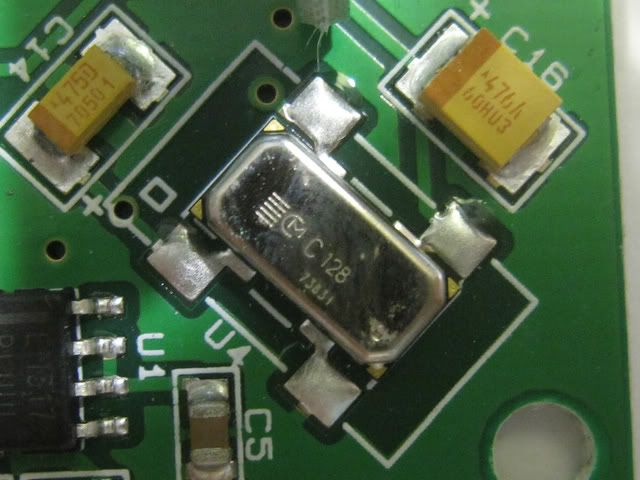
These are the gyros.
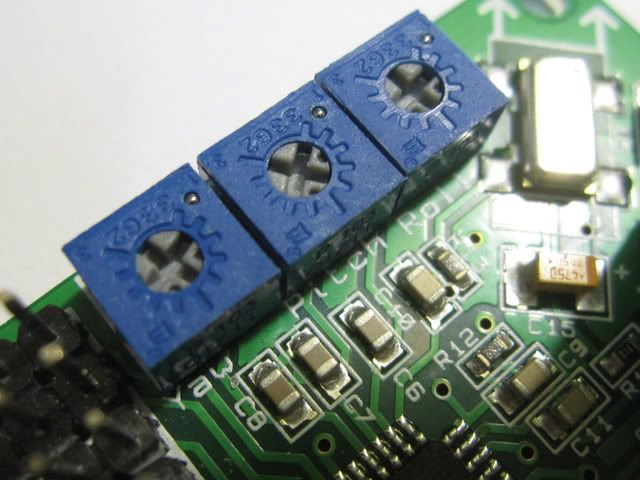
These are the pots.
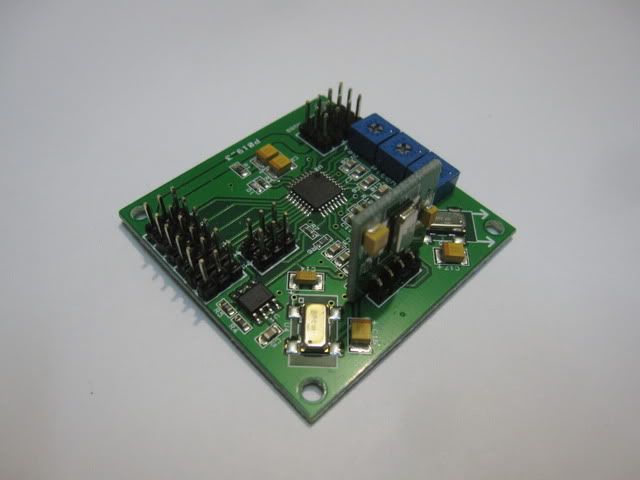
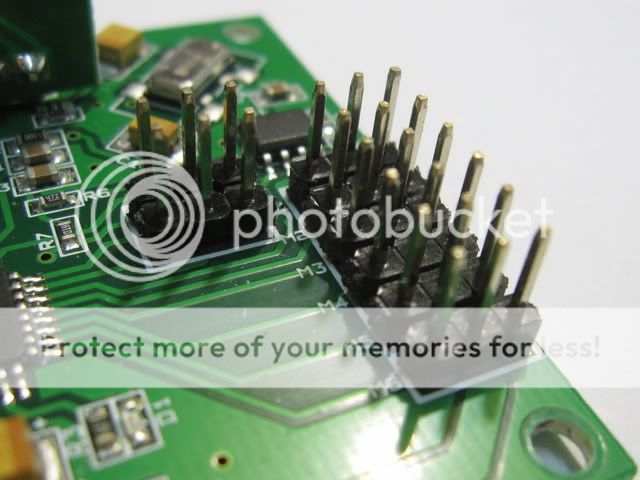
Input pin detail.
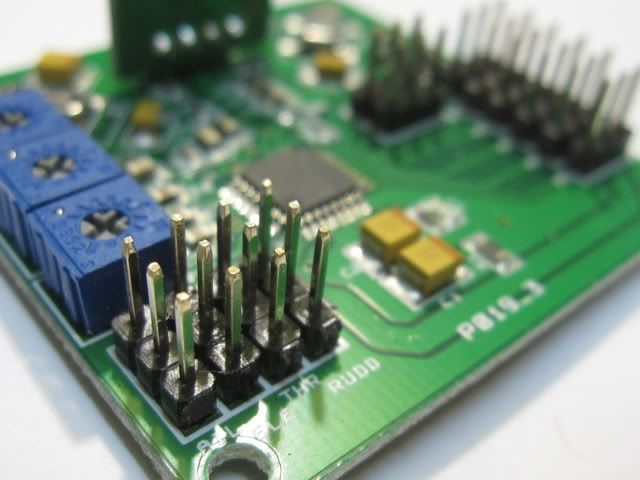
Output pin detail.
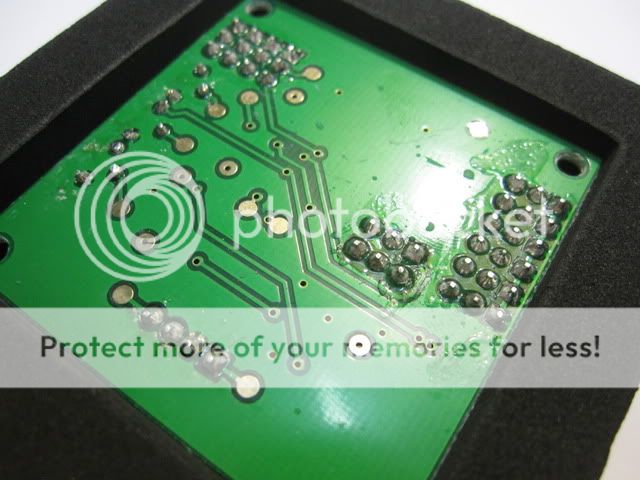
Upon closer examination, it looks like there is some clear epoxy on the backside contacts. suppose this should be good for protecting the joints from shorts. Don't trust me on that, though.
UPDATE: Tritium tells me it might be soldering flux.
UPDATE: Tritium tells me it might be soldering flux.
The board is currently inside it's box in my drawer, waiting for more tricopter fun!
Cheers,
Colorex
Cheers,
Colorex
Last edited: