Tr33s
Well-known member
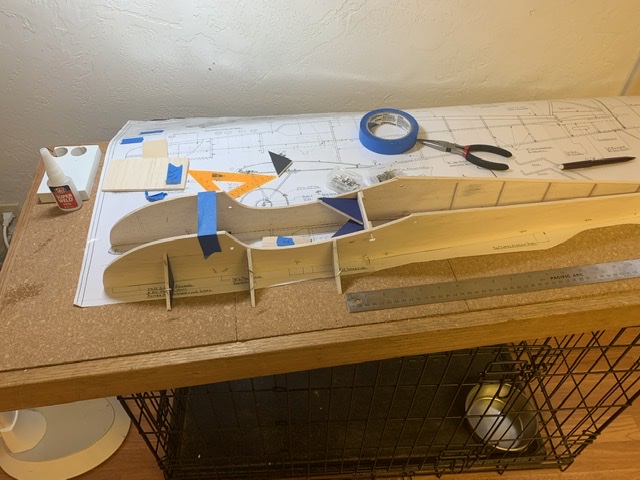
So this is Day 2. First balsa build in 30 years. Lots of fitting and cutting to match the plans. No laser cut parts to punch out. So far have the lower fuselage halves glued and built on top of each other for symmetry. Many thanks to Colin Buckle for providing an extremely well put together kit! I’m loving the flexibility of building while putting in the time required to really understand the design. Thanks again Colin!
I highly recommend this book for balsa builders: https://rclibrary.co.uk/files_titles/1013/Construction_for_Aeromodellers_1955.pdf
Michael


I highly recommend this book for balsa builders: https://rclibrary.co.uk/files_titles/1013/Construction_for_Aeromodellers_1955.pdf
Michael
")