Mighty Mini Master Series Spitfire

buzzbomb

I know nothing!
Alright, so I've finished up the whole tail section...kinda.
View attachment 146989
I was surprised at how the seam running down fuse doesn't show out too much I was expecting it to be big and ugly but it turned out a lot better than I had expected!!

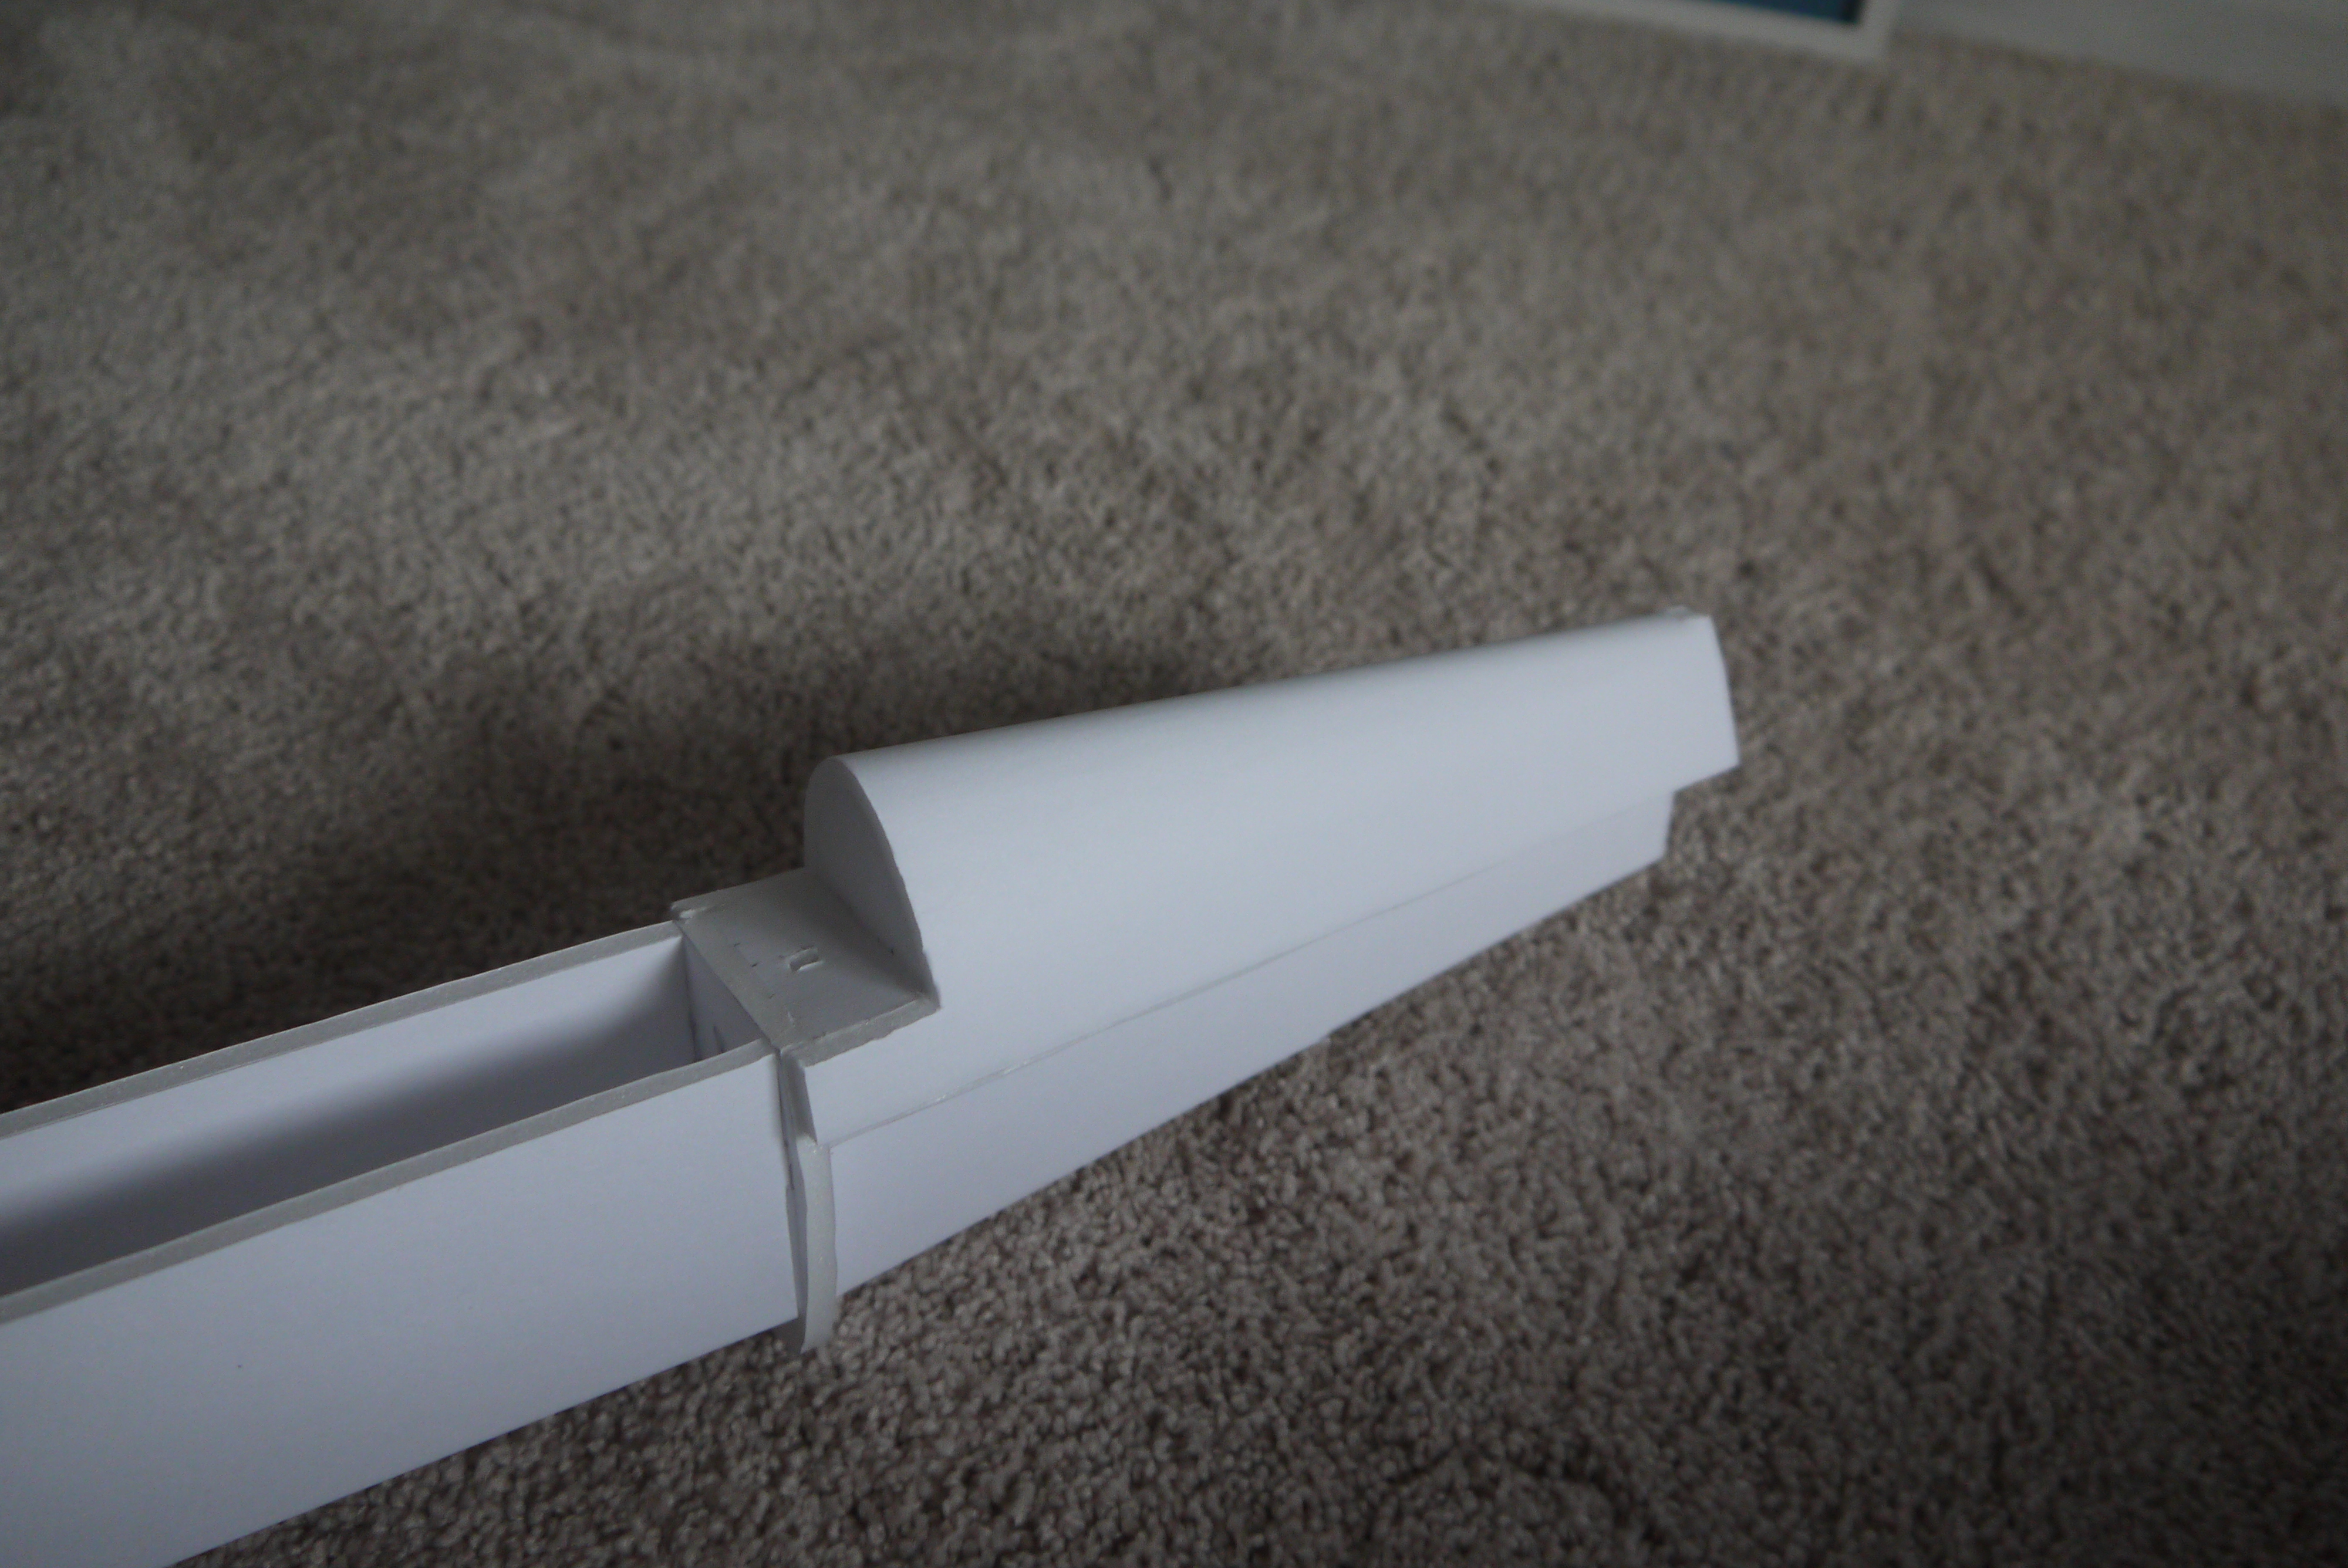
Now to address the "kinda" I only did half of the fuse.
View attachment 146990

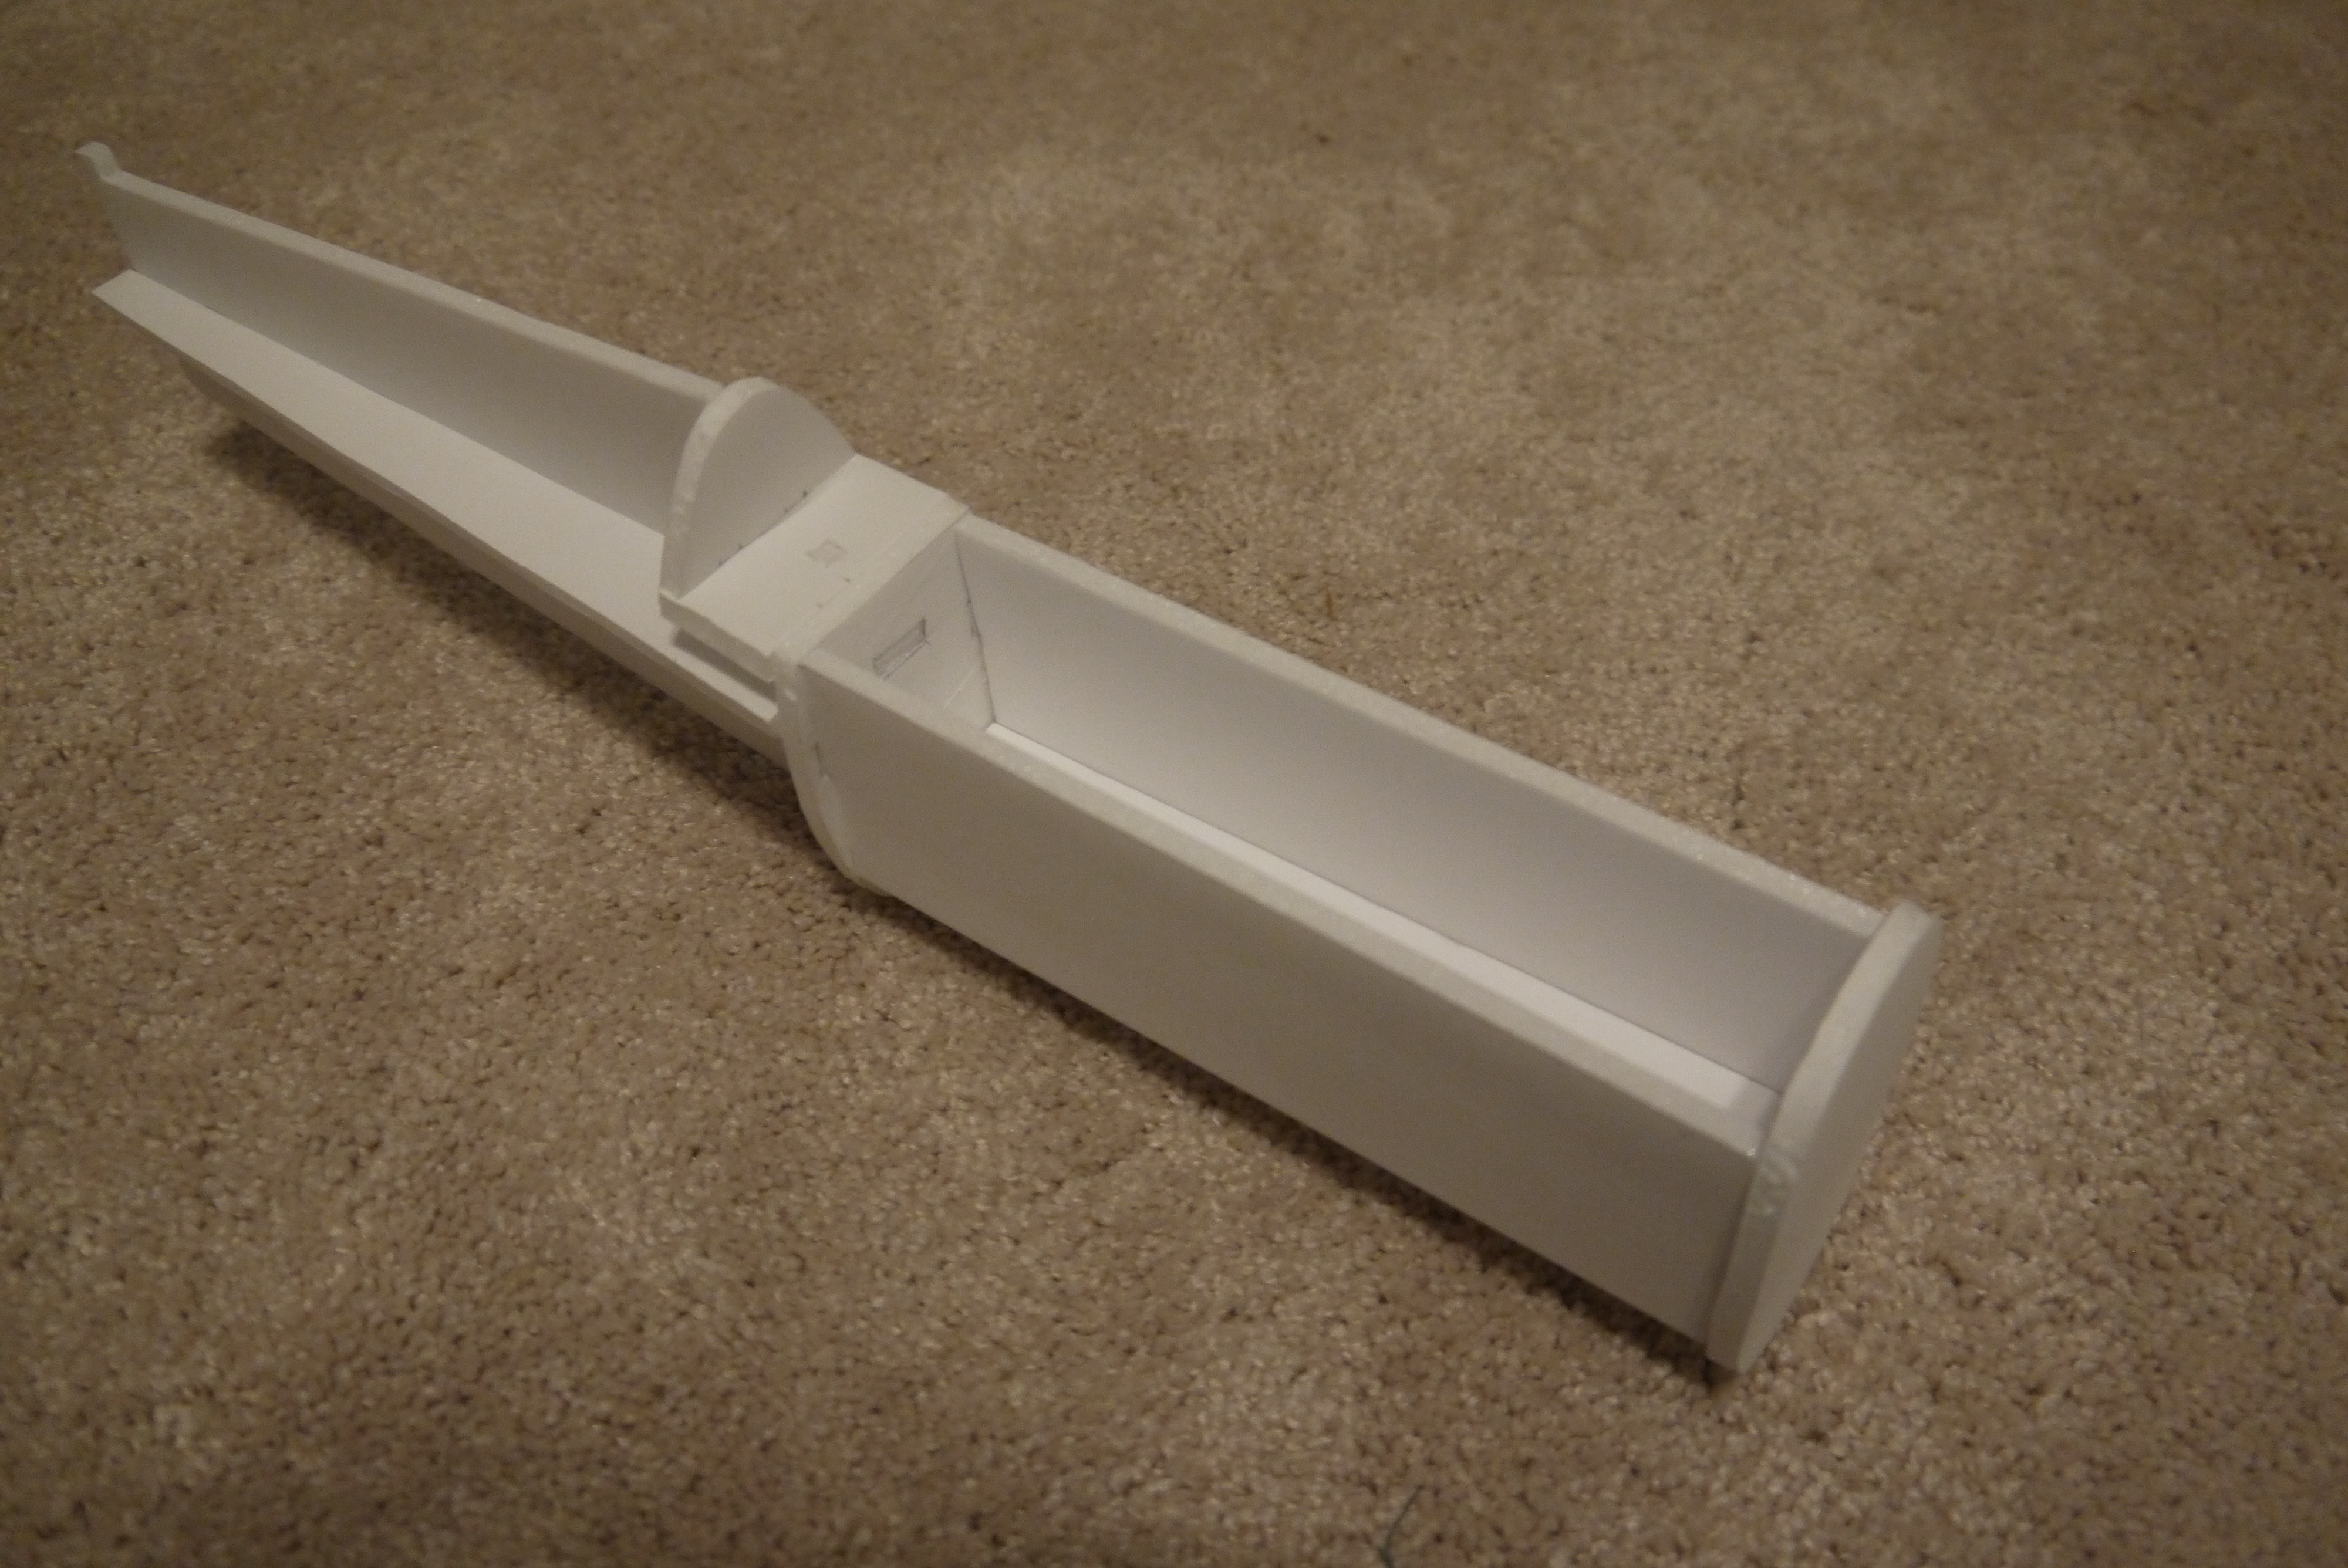
I did this to save myself some work by figuring out the shape for of one side and then marking the center of the part, peeling the outside paper off the curved part and using the half to make a template for the plans.
View attachment 146991

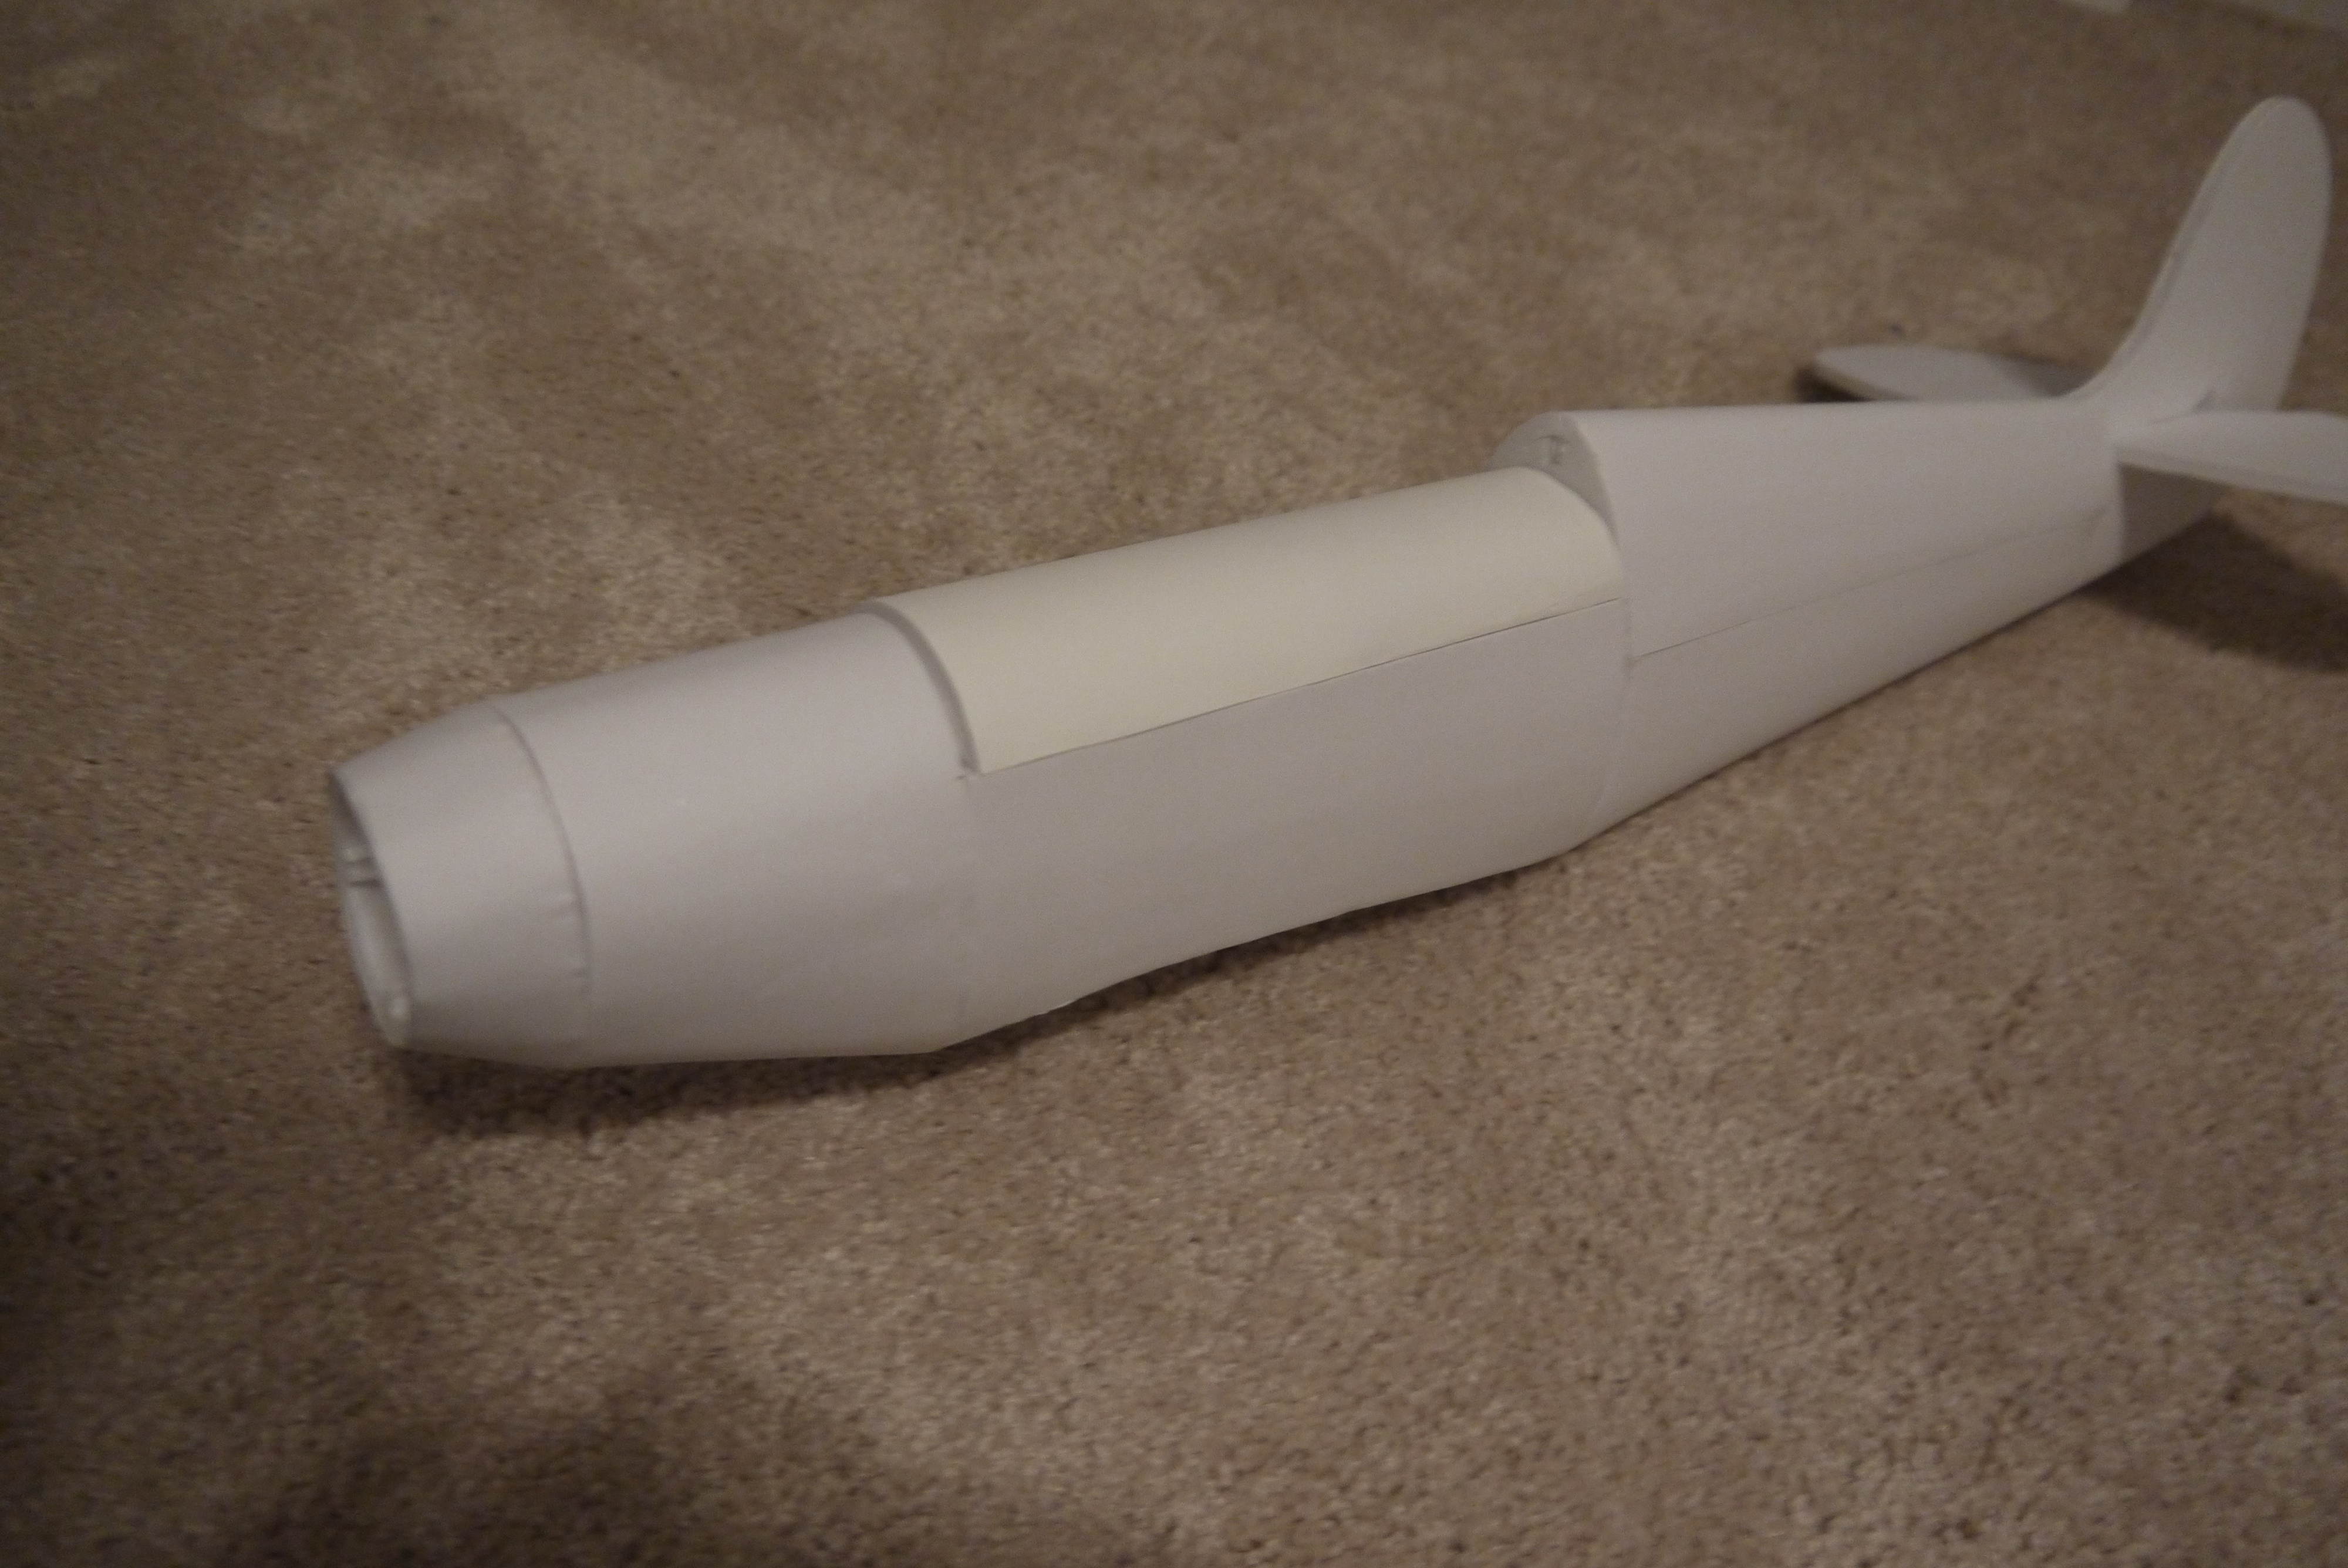
I put the fuselage on the old wing, and the exhaust stack still looks big to me, what do you think?
View attachment 146992
I think the whole thing looks darn good! The exhaust stack may be a tad out of proportion. Not by much, though. Honestly, I think it looks good! :)
 

Grifflyer

WWII fanatic
Alright so I'm going to be offering 3D printed details for this plane, but I will still be figuring out a way to build the details with foam for those without 3D printers. I shrunk the exhaust stack slightly and now it looks a lot better, I used the dimensions from the foam exhaust to make a 3D printable exhaust stack, this is my first time making anything like this in a 3D workspace, so I need to get a lot better. I chose to start with the exhaust stack because it will be the easiest.
Exaust stack.jpg
 

Grifflyer

WWII fanatic
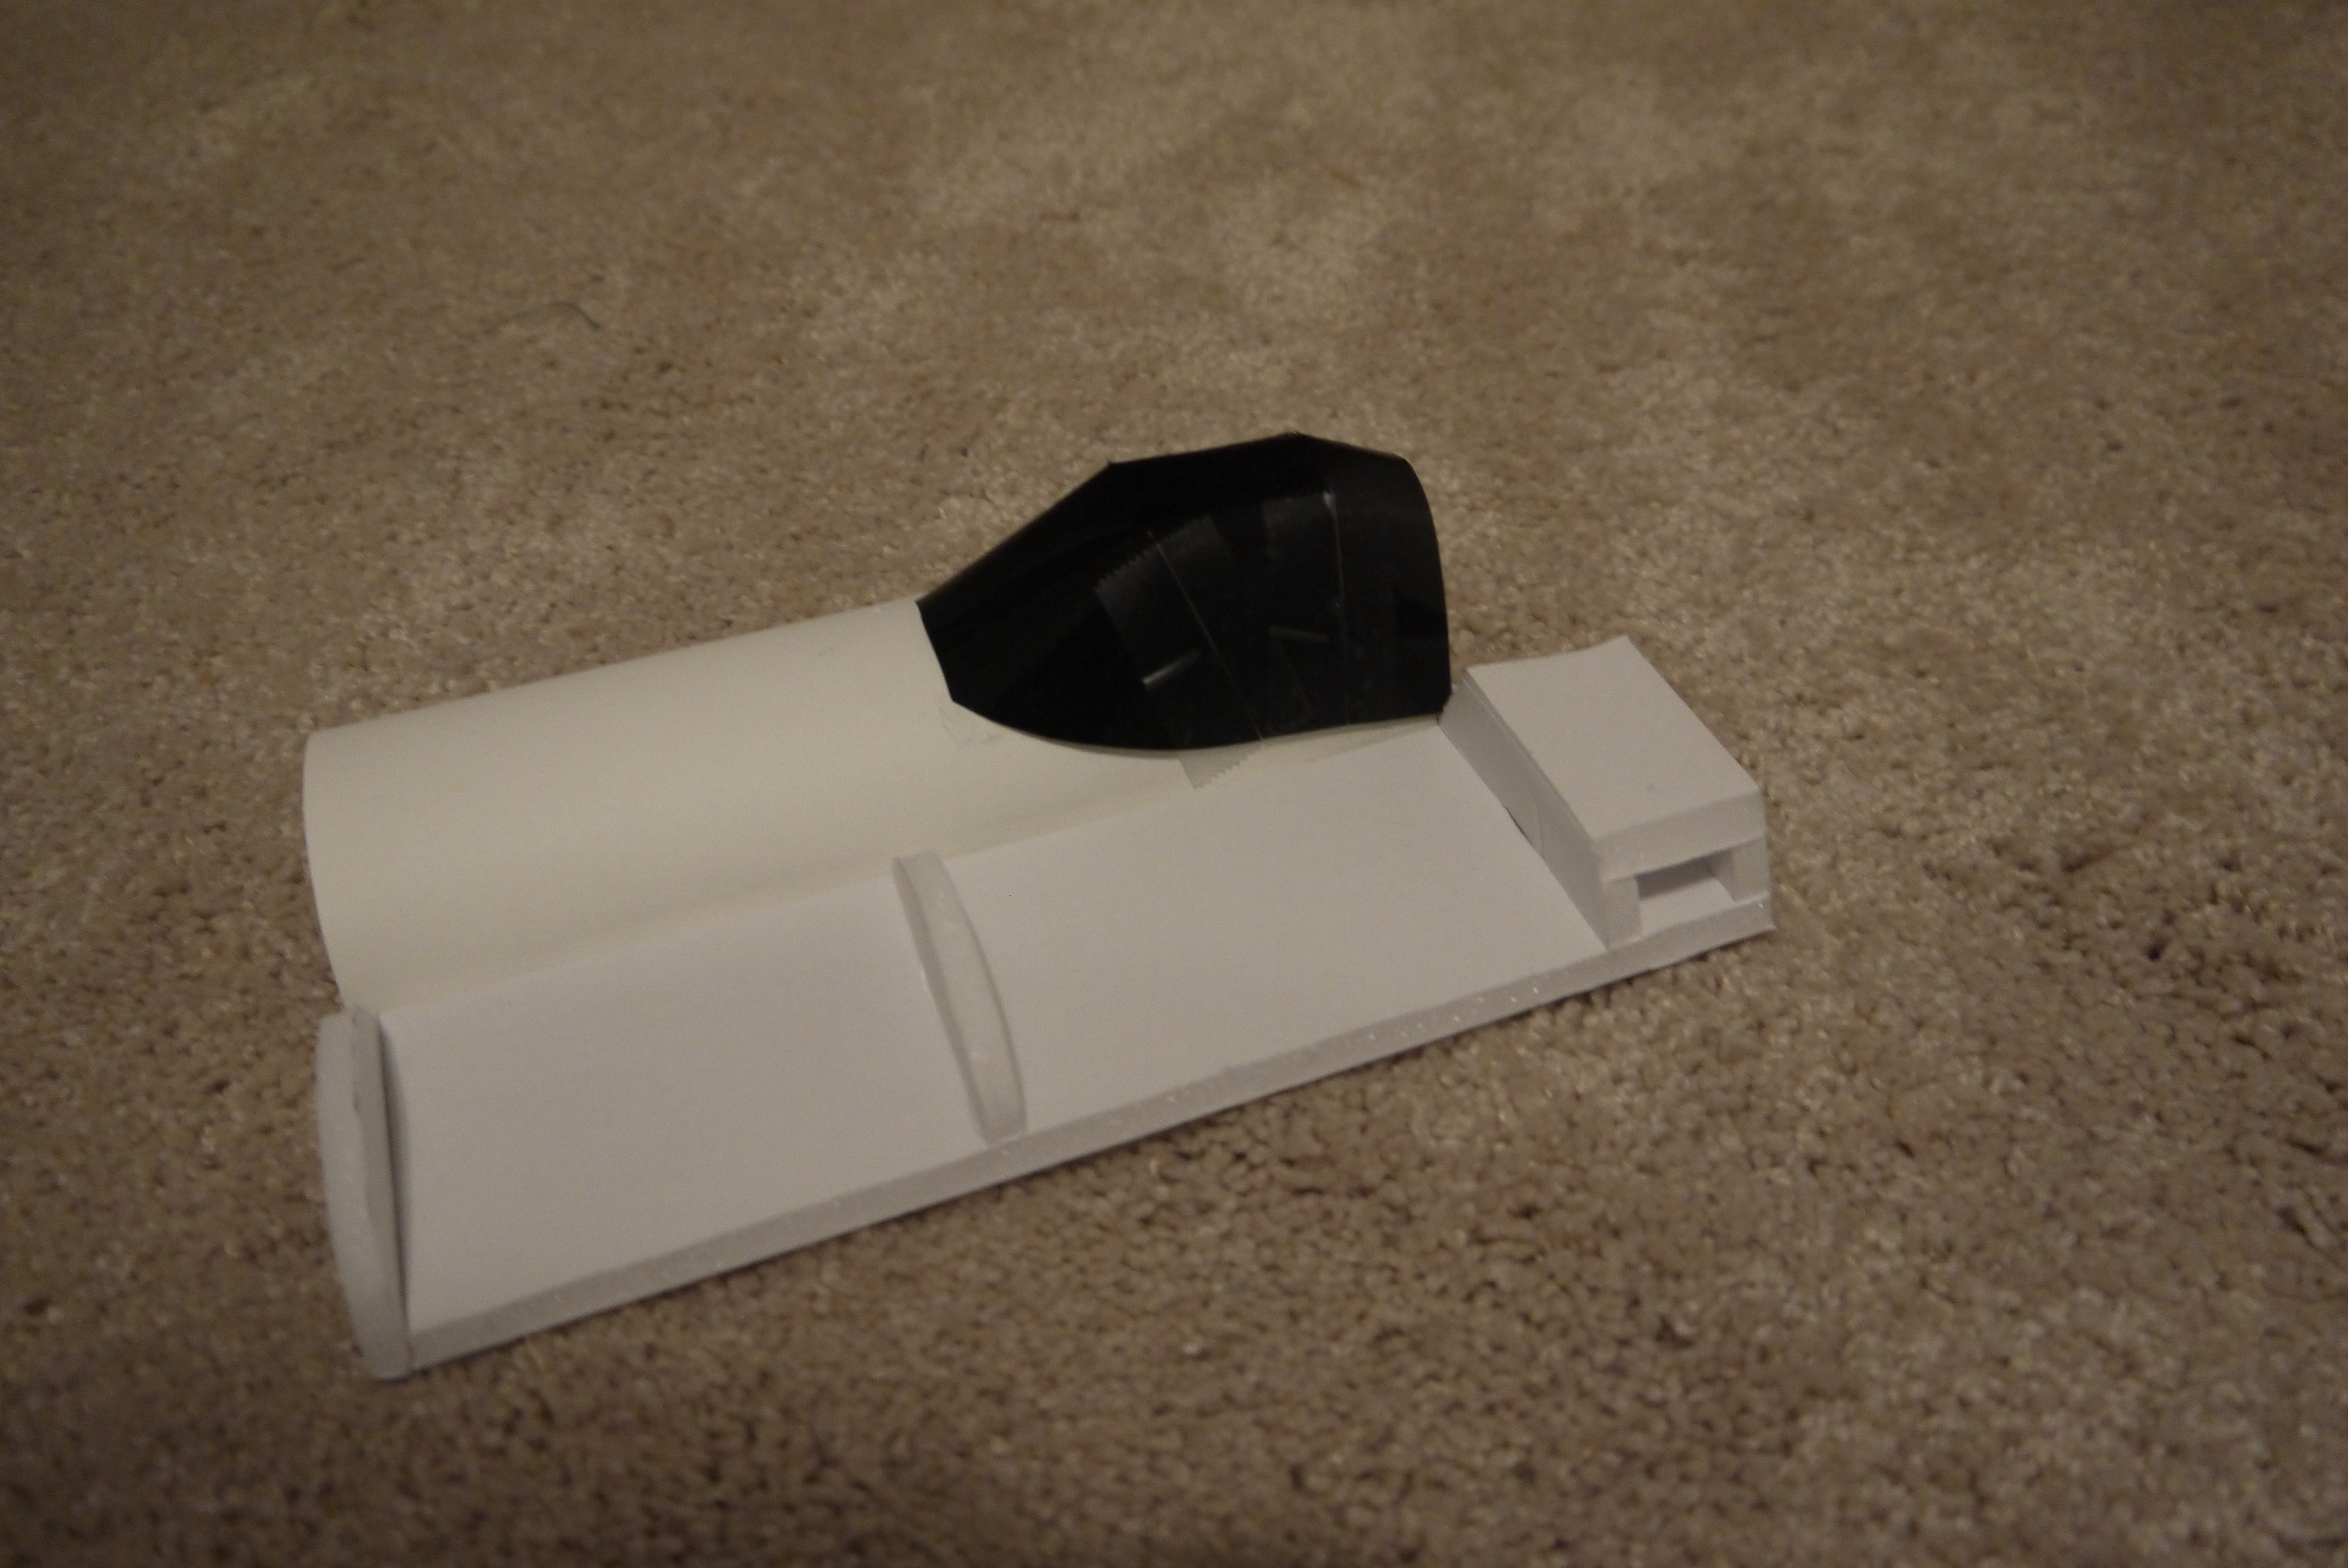
Alright this went faster than I thought, I realised I didn't need to make the whole structure to test out the clear canopy and I didn't need any details in a few parts so I made a slice of the fuse so I can make the new turtledeck and test out the hatch. Speaking of the hatch, I originally wanted the "skin" to be made in foam board, but it looks like I'll end up using poster board so I can get the sharp curves easier.
P1280365.JPG


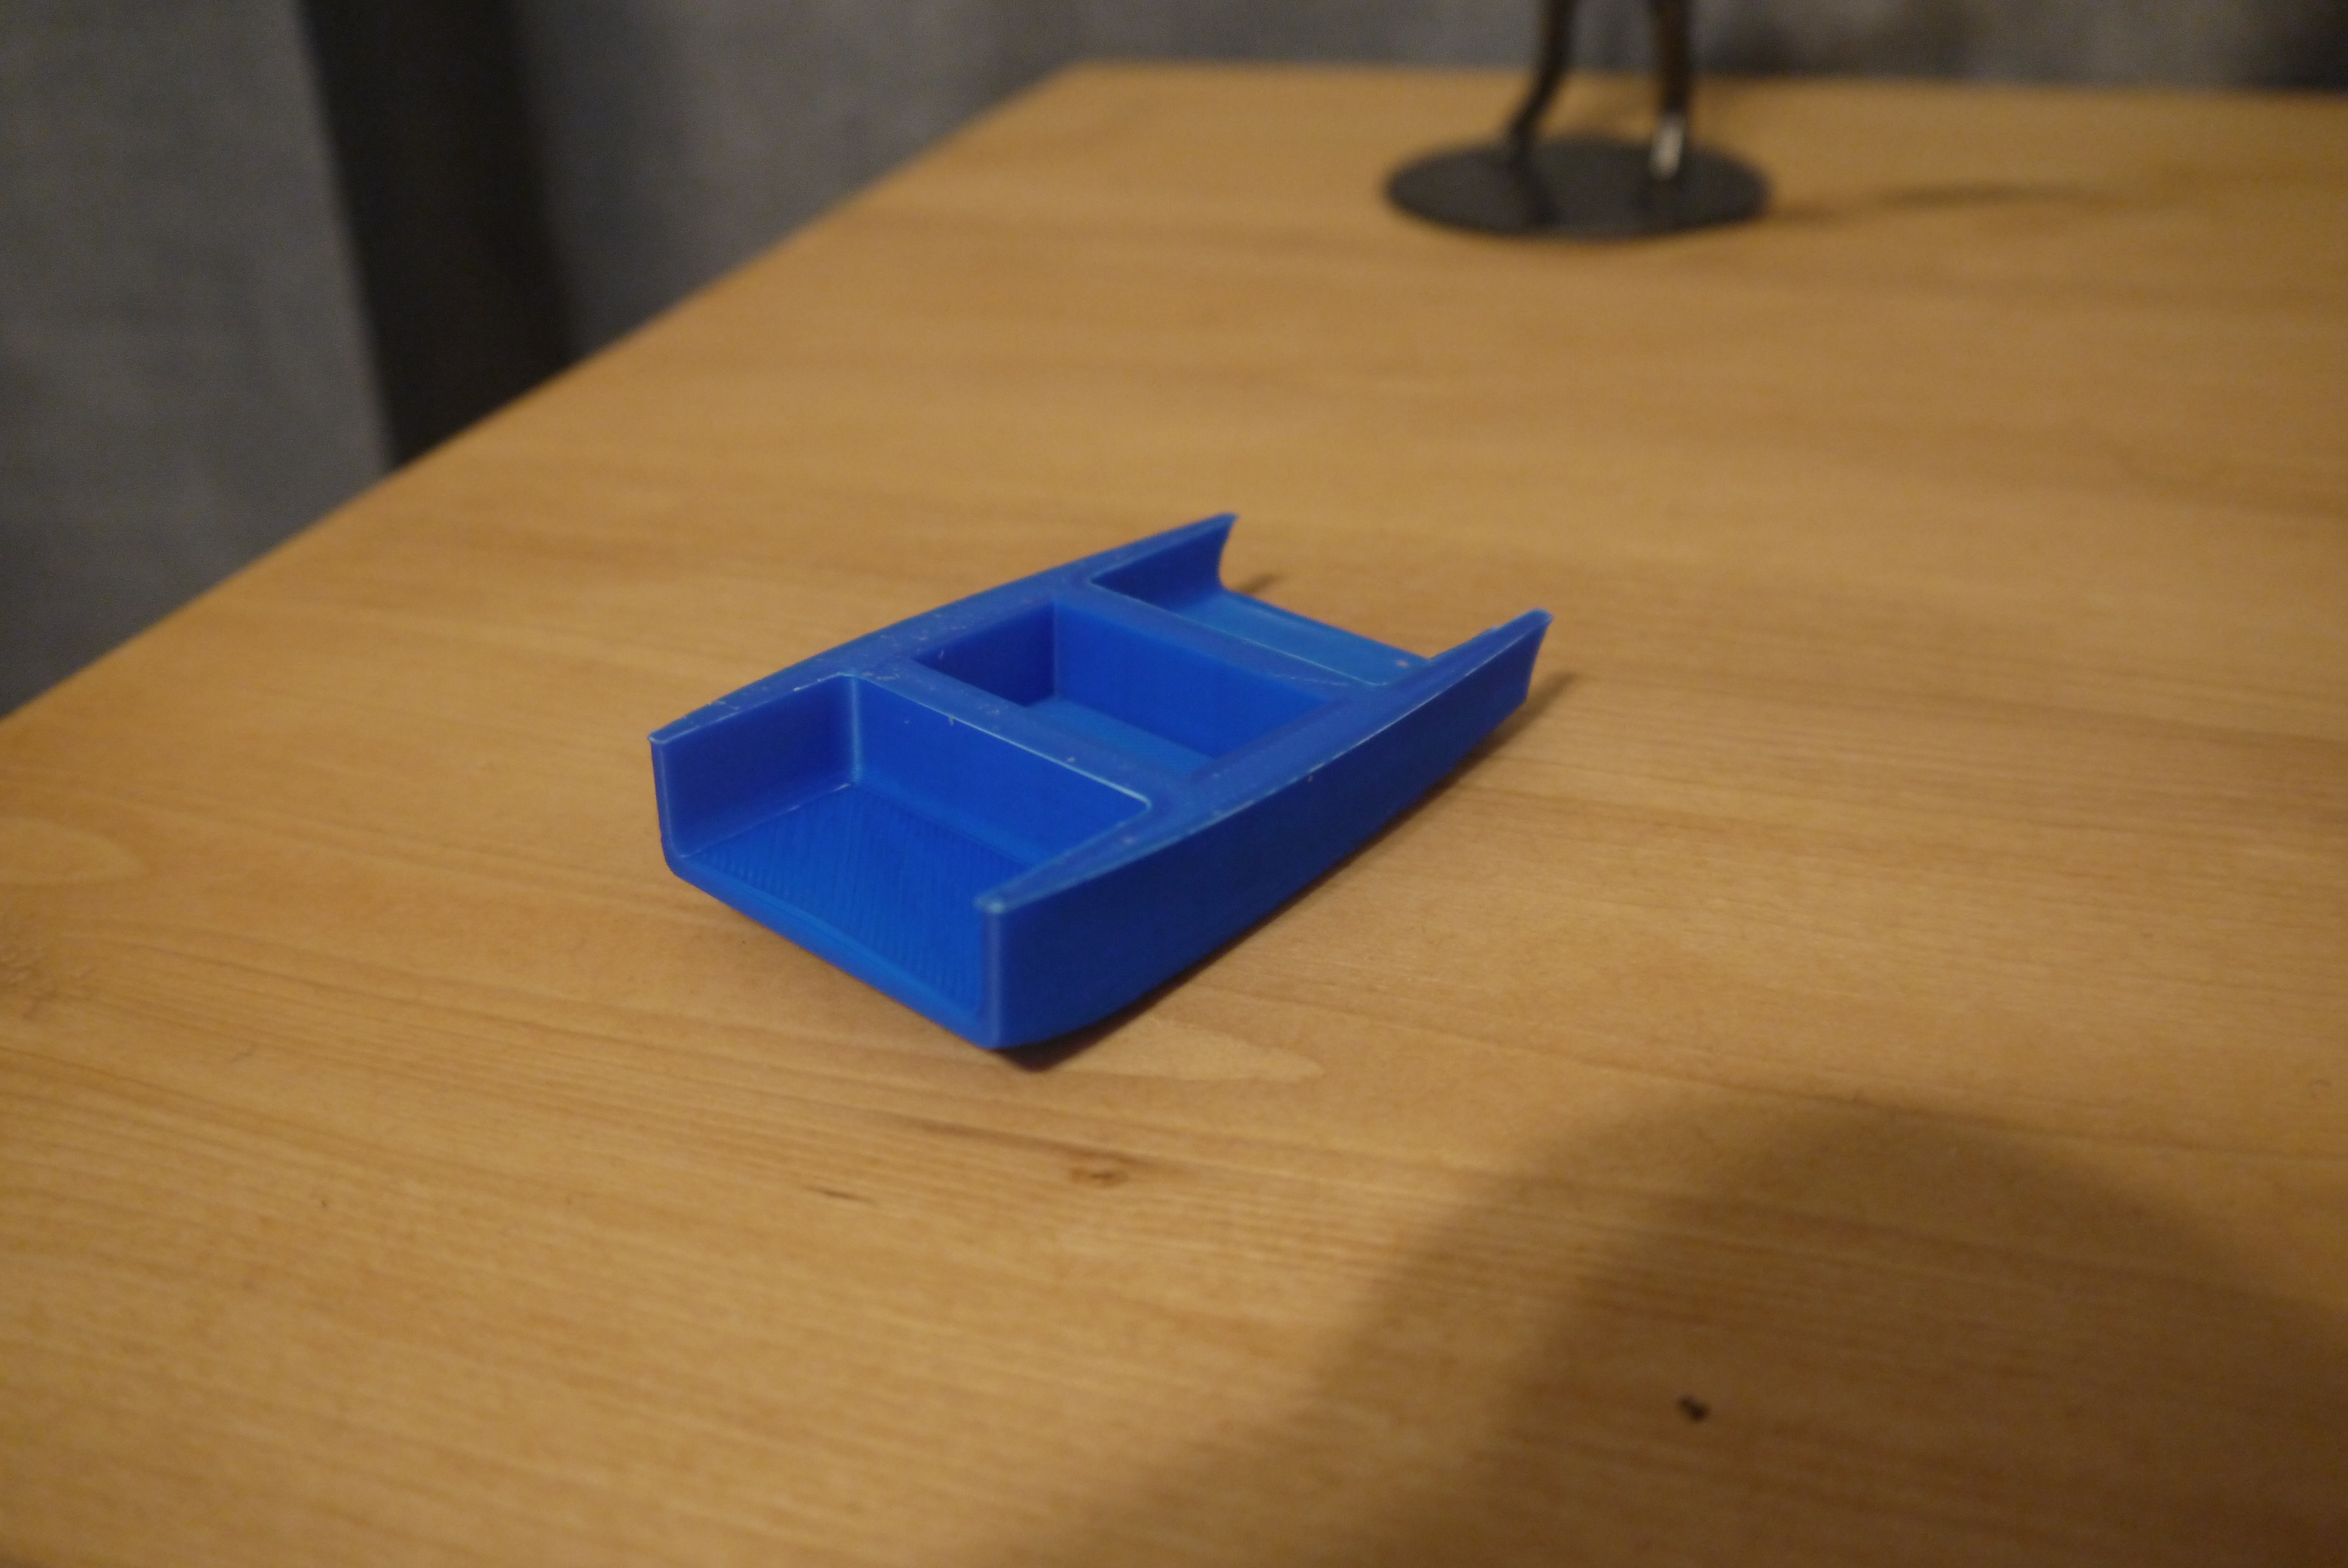
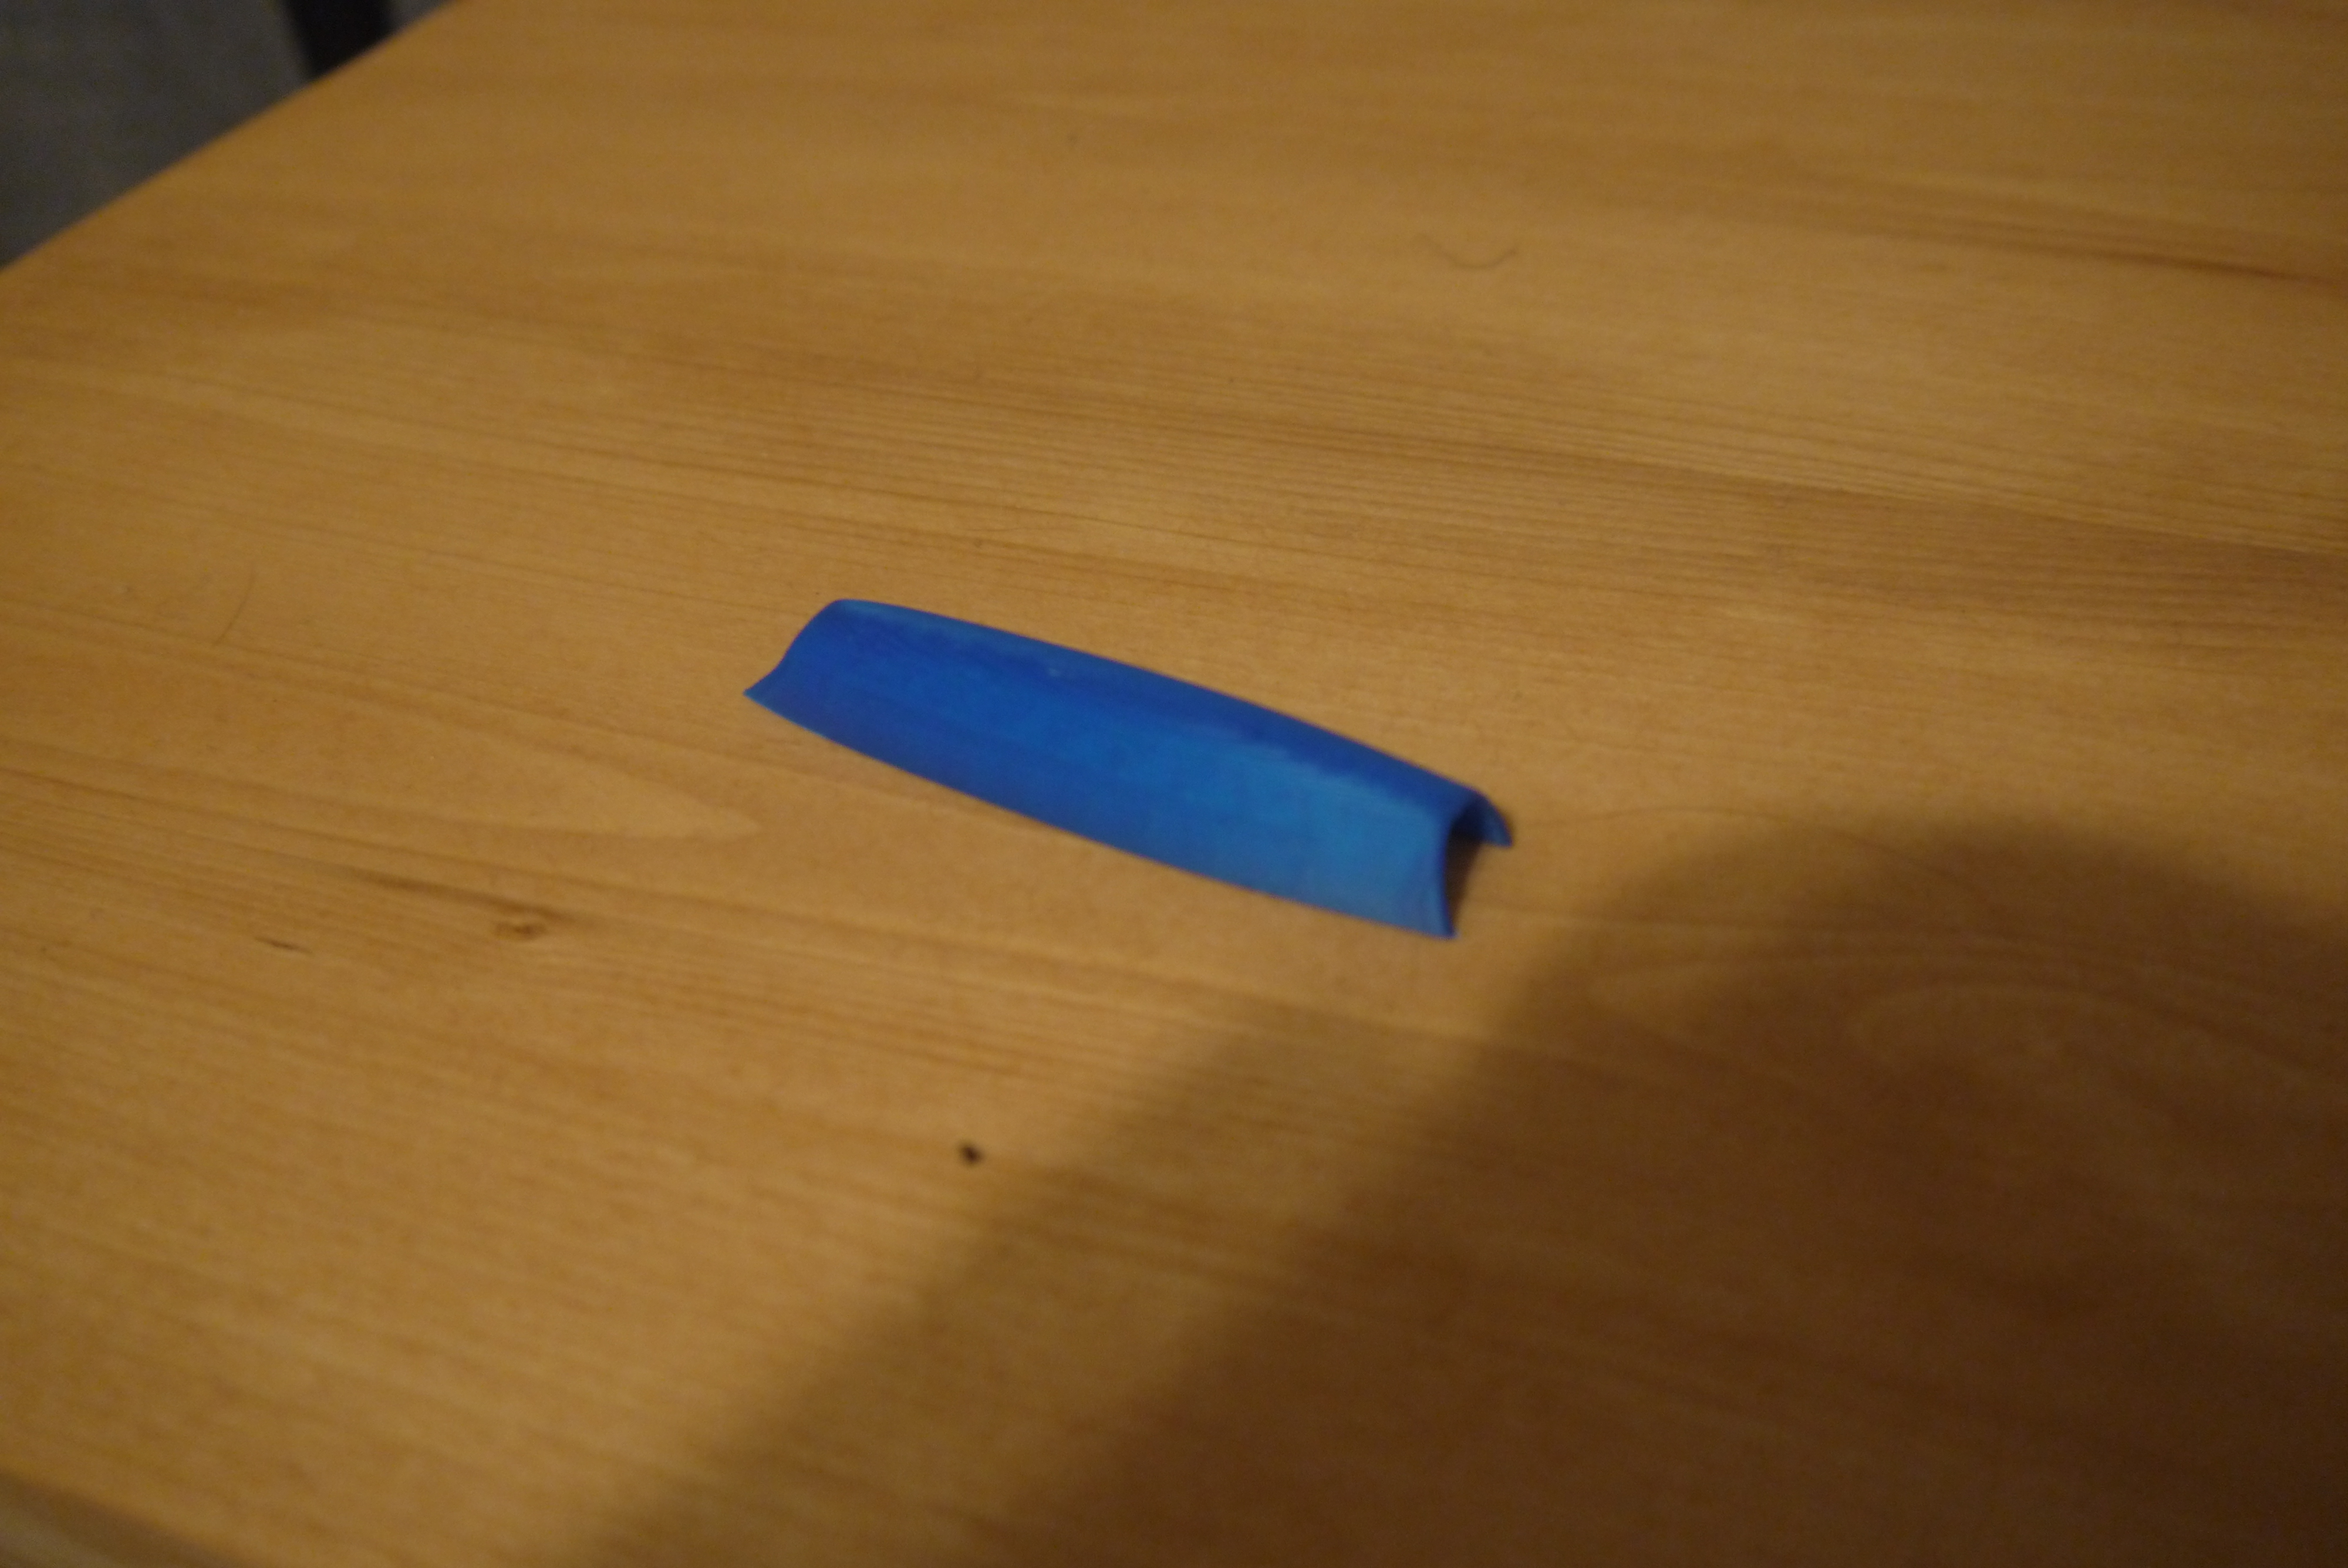
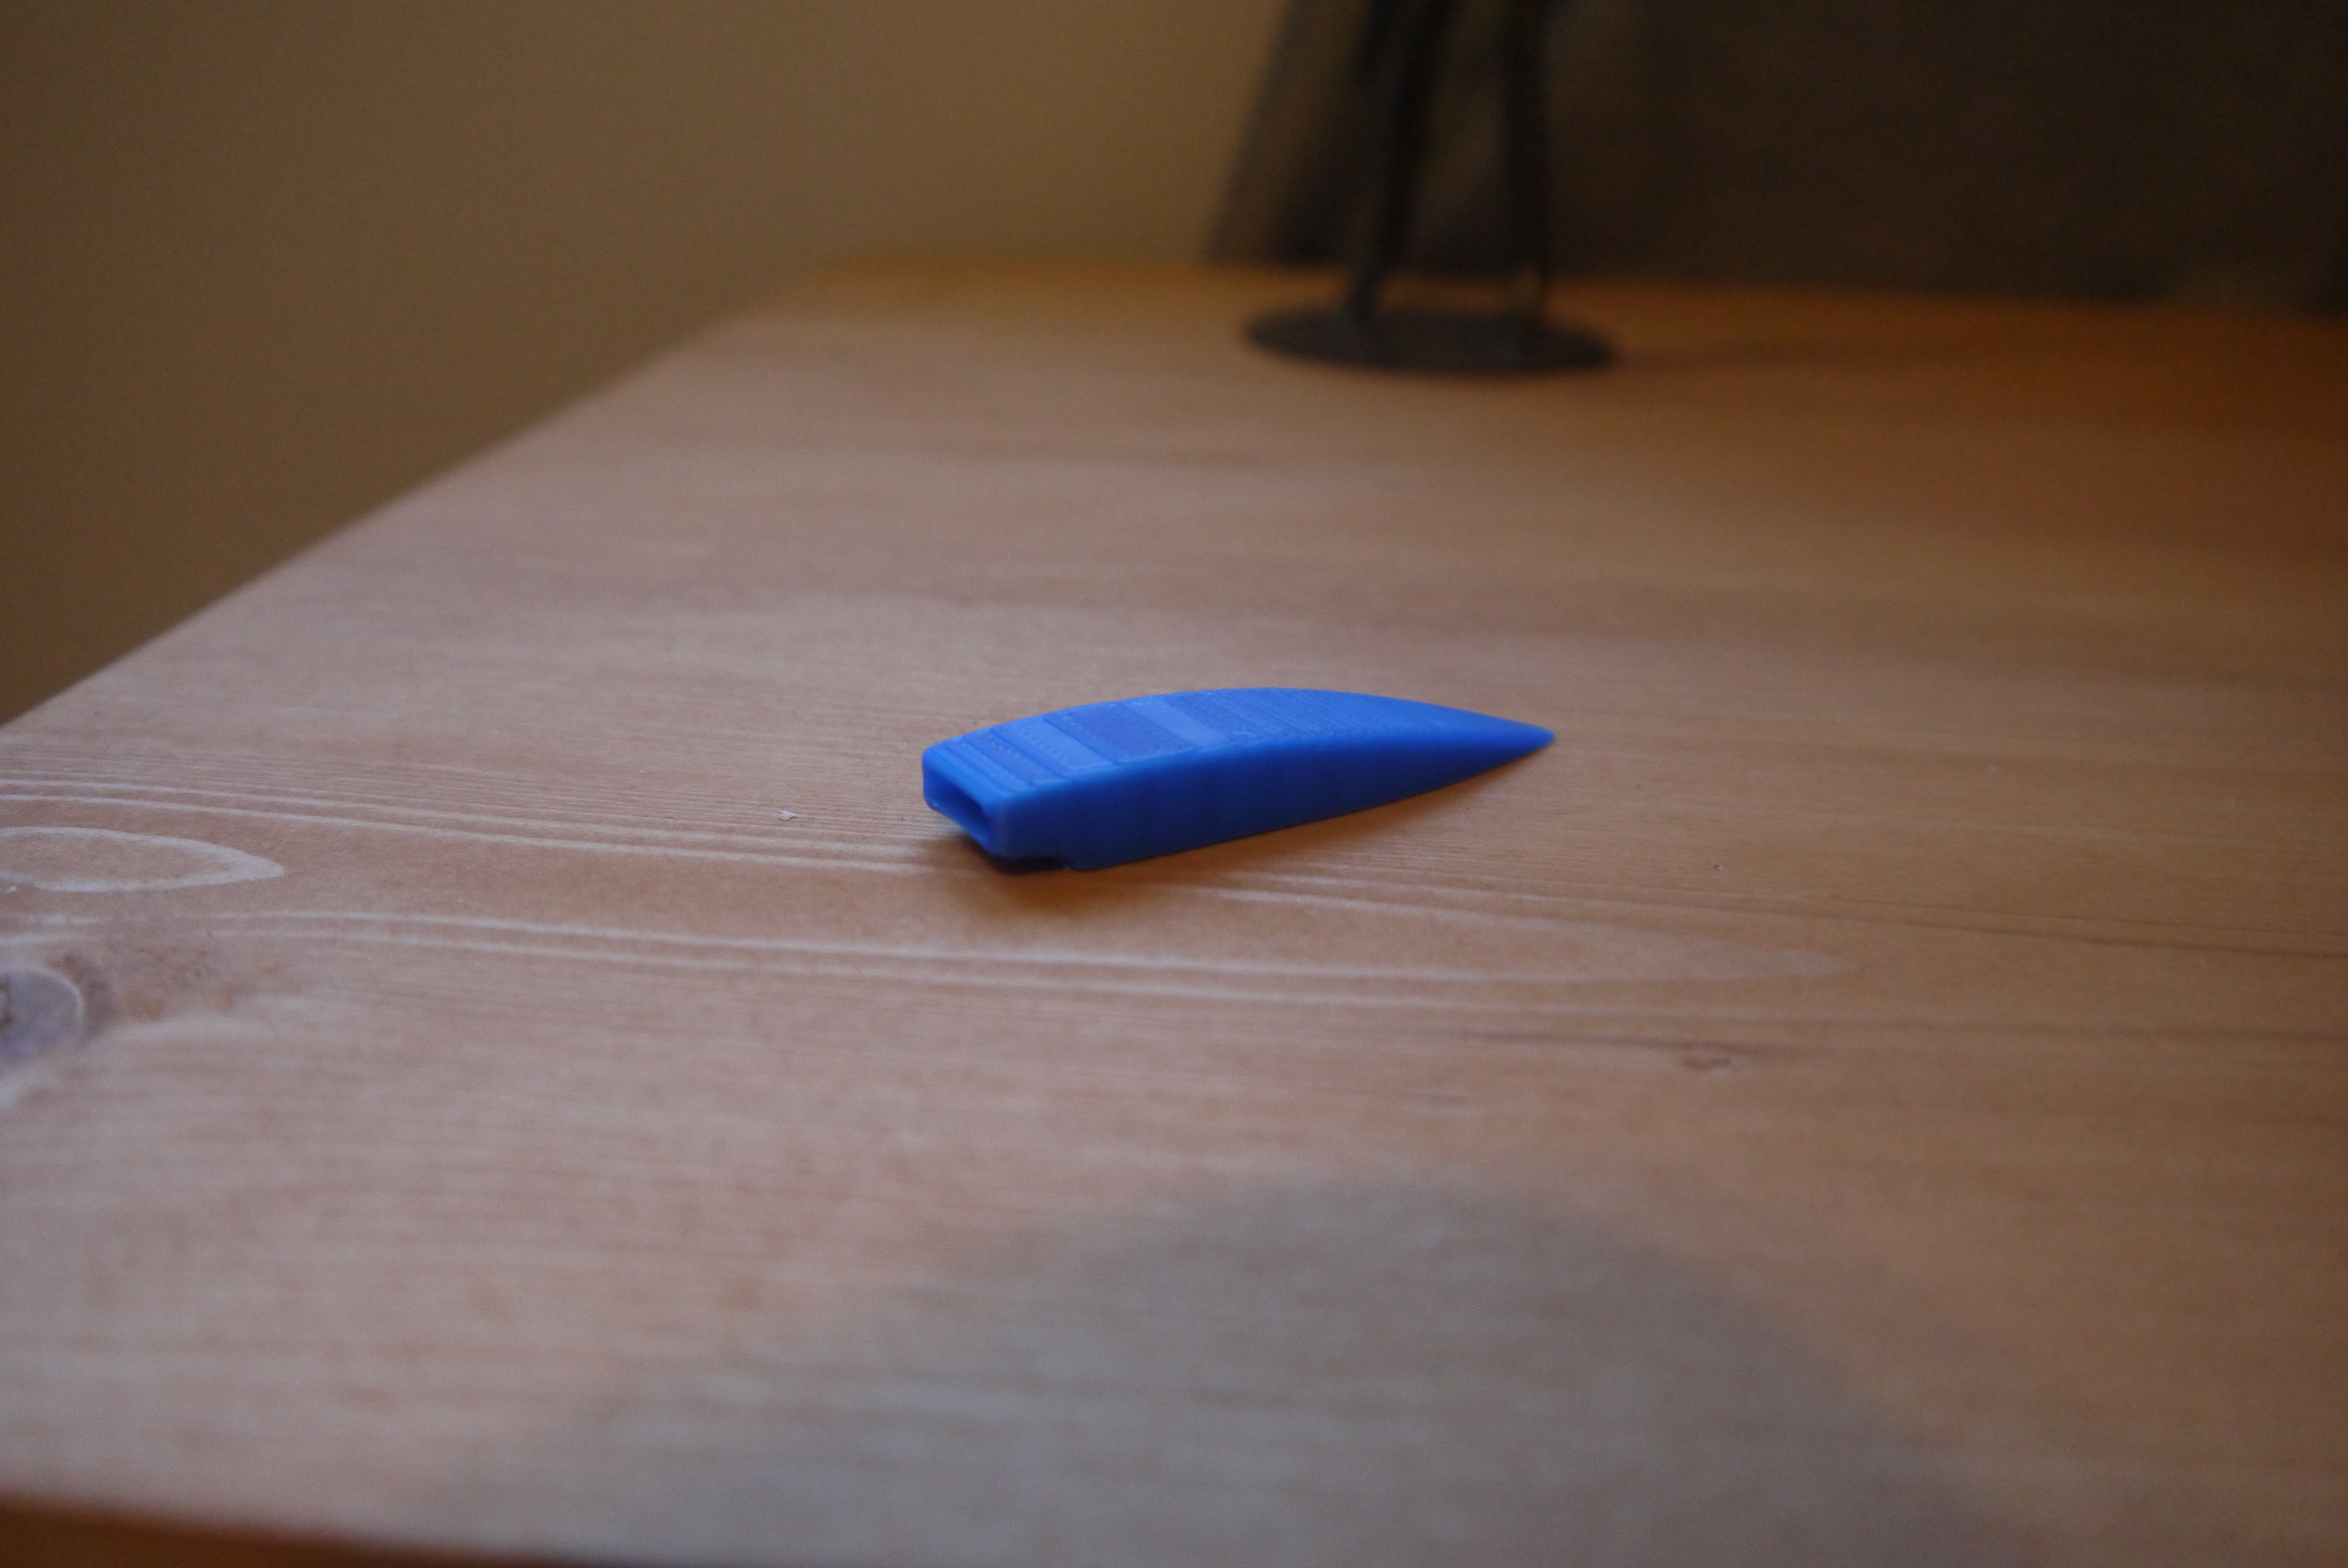
Here are the last two 3D printed parts. The one on top is the housing for the oil cooler, I don't know what the one on bottom is for...
P1280364.JPG


P1280366.JPG


Right now there are pockets in these I'm also going to make these without the pockets so they look less scale, but they'll produce less drag. I've got foam counterparts for all these 3D printed parts that I'll post pictures of later.
 

The Hangar

Fly harder!
Mentor
Alright this went faster than I thought, I realised I didn't need to make the whole structure to test out the clear canopy and I didn't need any details in a few parts so I made a slice of the fuse so I can make the new turtledeck and test out the hatch. Speaking of the hatch, I originally wanted the "skin" to be made in foam board, but it looks like I'll end up using poster board so I can get the sharp curves easier.
View attachment 147433

Here are the last two 3D printed parts. The one on top is the housing for the oil cooler, I don't know what the one on bottom is for...
View attachment 147434

View attachment 147435

Right now there are pockets in these I'm also going to make these without the pockets so they look less scale, but they'll produce less drag. I've got foam counterparts for all these 3D printed parts that I'll post pictures of later.
Those look great!
 

Grifflyer

WWII fanatic
Here are a couple of the foam counter parts. I can't figure out how to make a foam counterpart for the 3D printed part shown because it's so small.
P1280366.JPG


But I was able to make counterparts for the two radiator housings.
P1280367.JPG


Now all that remains for me to do before I can finalize the plans is:
  • Design the canopy
  • Make a turtledeck for the clear canopy variant
  • Make a hatch for the opaque canopy variant
  • Make a hatch for the clear canopy variant
  • Design the wing fillets
 

speedbirdted

Legendary member
No, I'm not going to vacuum form a canopy although that'd be really cool. I'm going to use this method to create a clear canopy, I may add a pilot figure if I can find one small enough.

Oh that's quite innovative to do it that way. I've just had access to a vacuum former for so long I guess it's spoiled me lol. I vacuum formed a canopy for a fullsize FT spit and it actually looked quite cool (but what's not so cool is my lack of pictures of it because I accidentally destroyed it immediately afterwards...)

And for someone with access to a 3D printer, a pilot shouldn't be hard!
 

Grifflyer

WWII fanatic
Can you just carve that piece out of a piece of foam? For nerd-nic’s p-39 there is a small piece you have to carve.
Good idea I haven't thought about that, the only problem with carving foam, is that the piece would lose a lot of paper and could become pretty weak, and this part is under the wing so it'll be landed on a lot, but that's not a huge problem...I'm definitely going to give it a try to see if it works!!
 

Grifflyer

WWII fanatic
I finished up the opaque canopy after several attempts, it's a modified @nerdnic spitfire canopy.
P1280370.JPG


@nerdnic did a great job on the canopy by giving it the distinctive "bubble" shape. I only required resizing and 5-6 modifications to get it to fit on my plane.
P1280371.JPG

As you can see I removed too much material, and as a result the bottom of the canopy is a little off, I'm going to fix that in Inkscape.

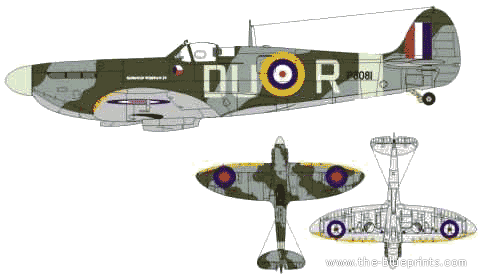
Now here's what I'm excited about...the clear canopy. This will be the first plane that will have detail for a cockpit, all my other designs just had the poster board underneath, like on my P-39.
237599_79ba0736866217aedc08c43b384db508.jpg


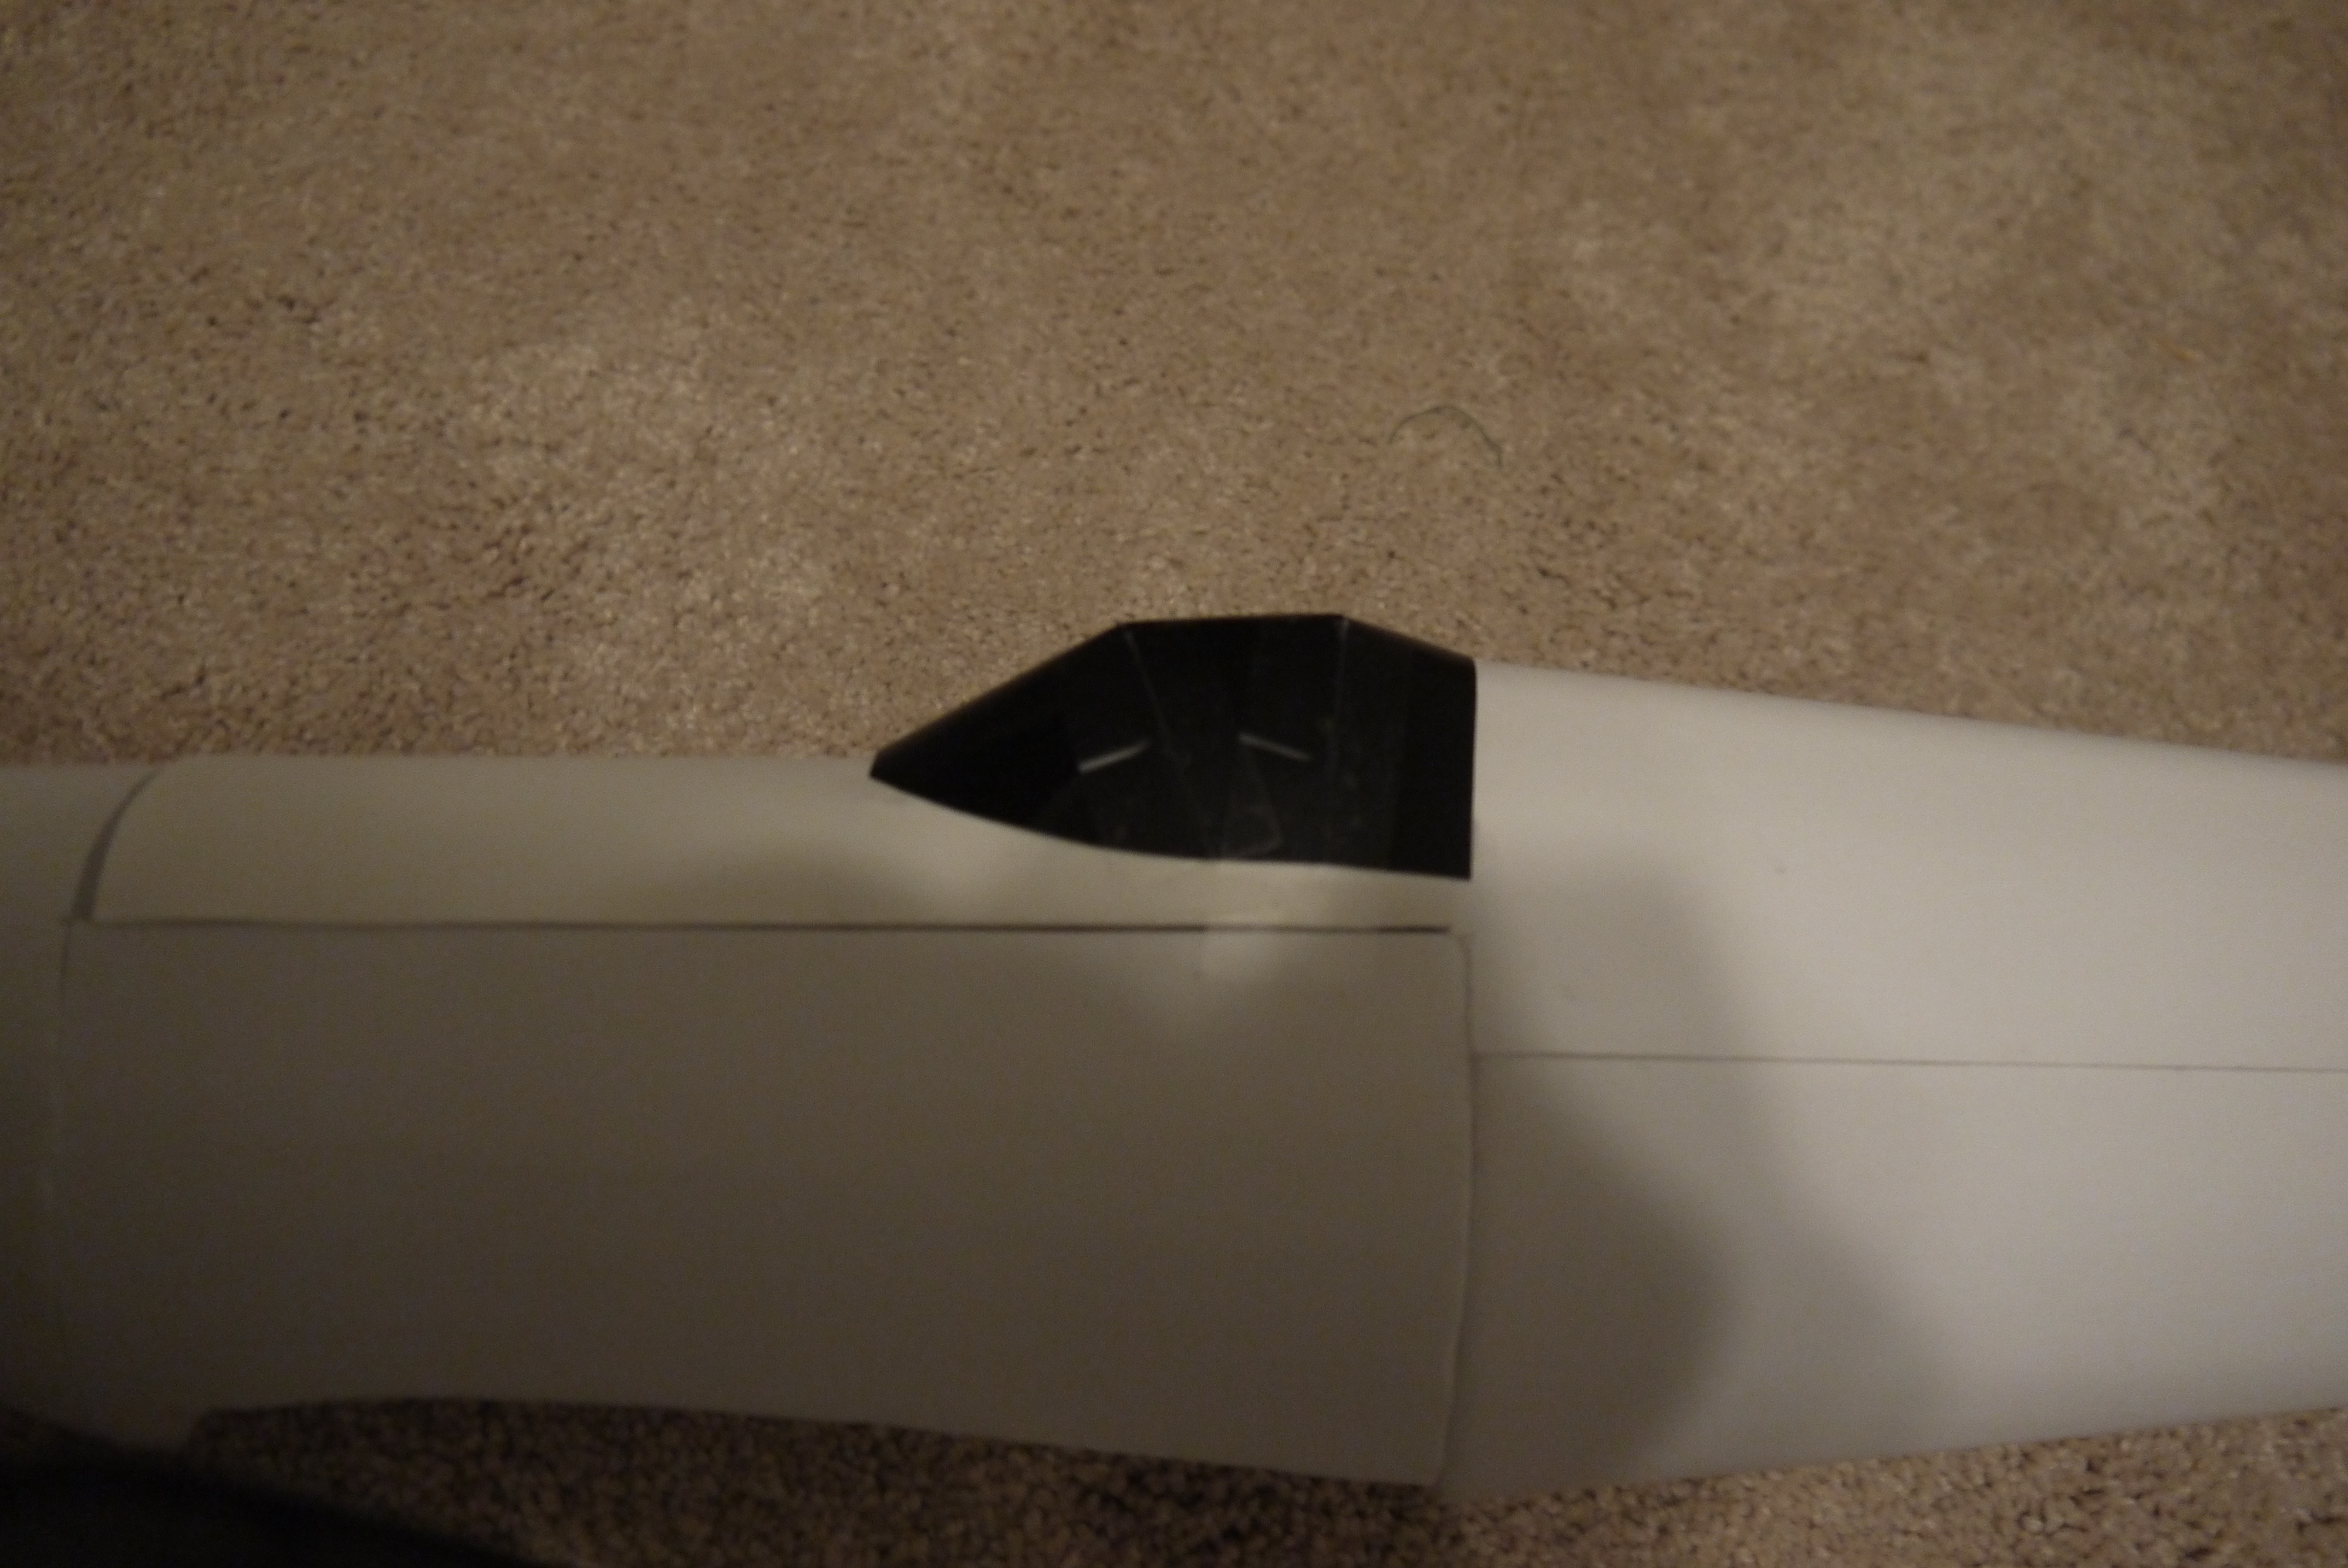
The hatch for the clear canopy is a little longer because I needed to make a mount for the little window you can see behind the "main canopy".
supermarine-spitfire-mkiia.png


Here are the two hatches right next to each other so you can get an idea of the size difference.
P1280372.JPG


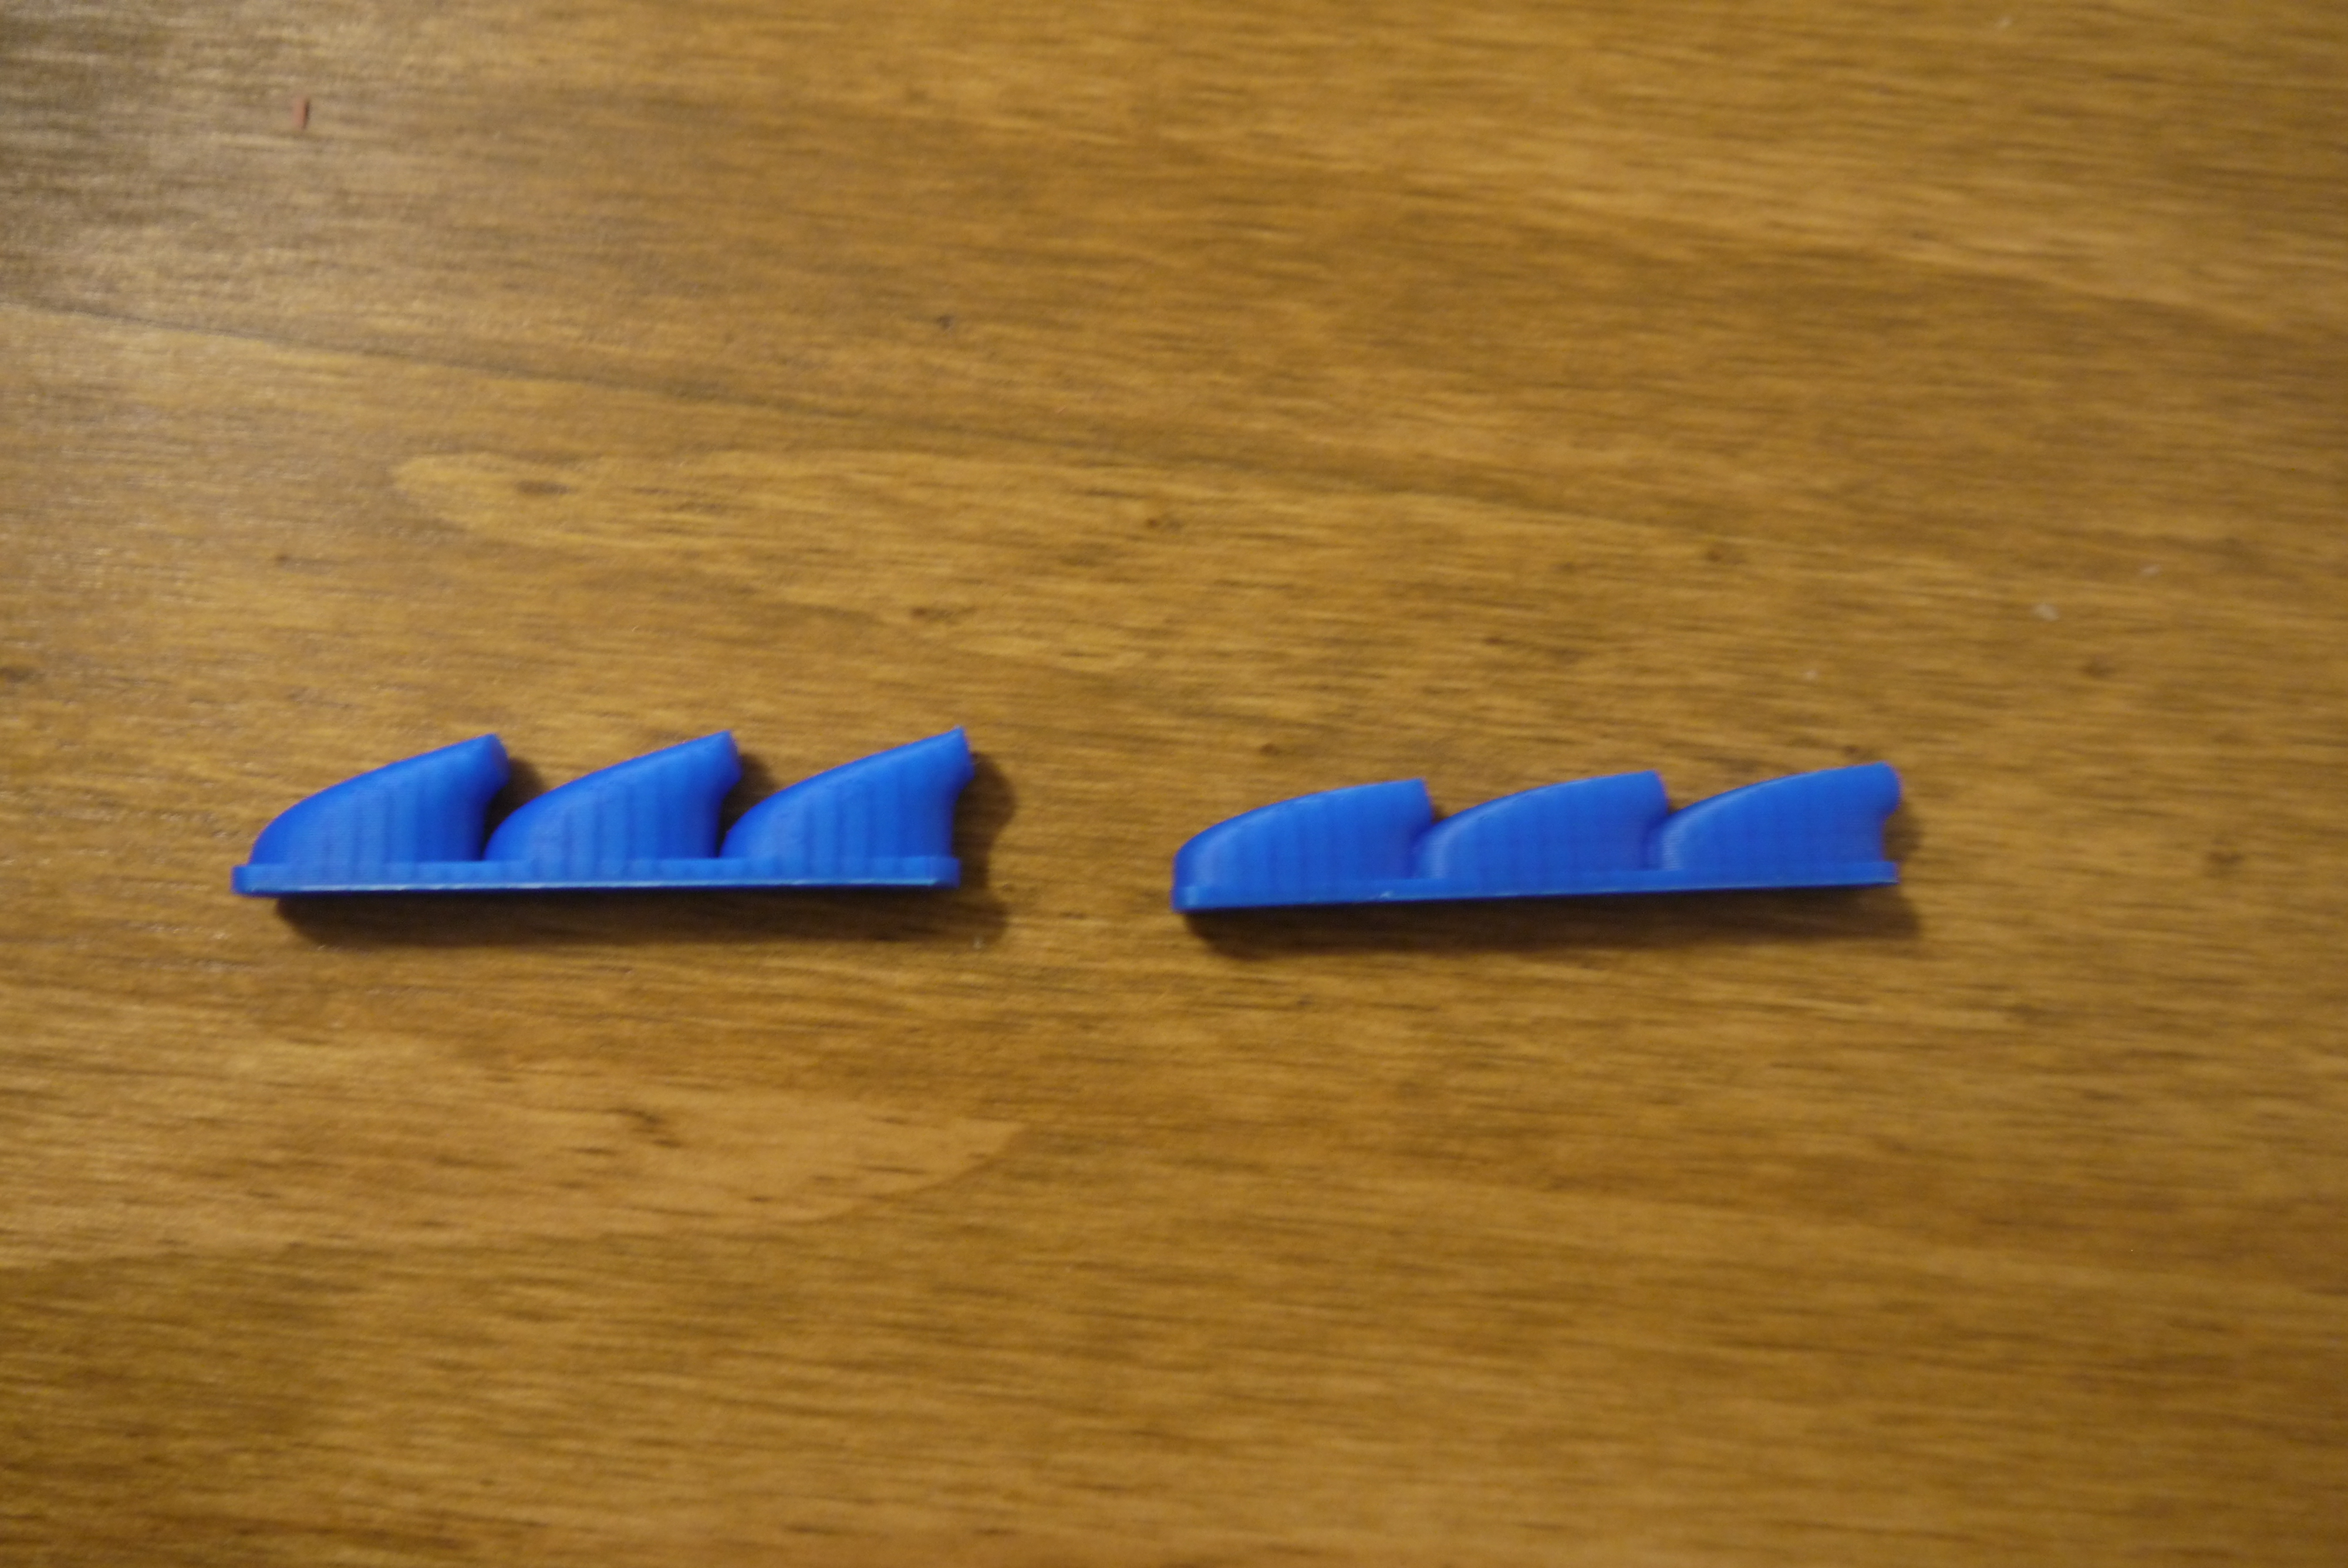
And now that I'll have a cockpit area I'll need a pilot:D
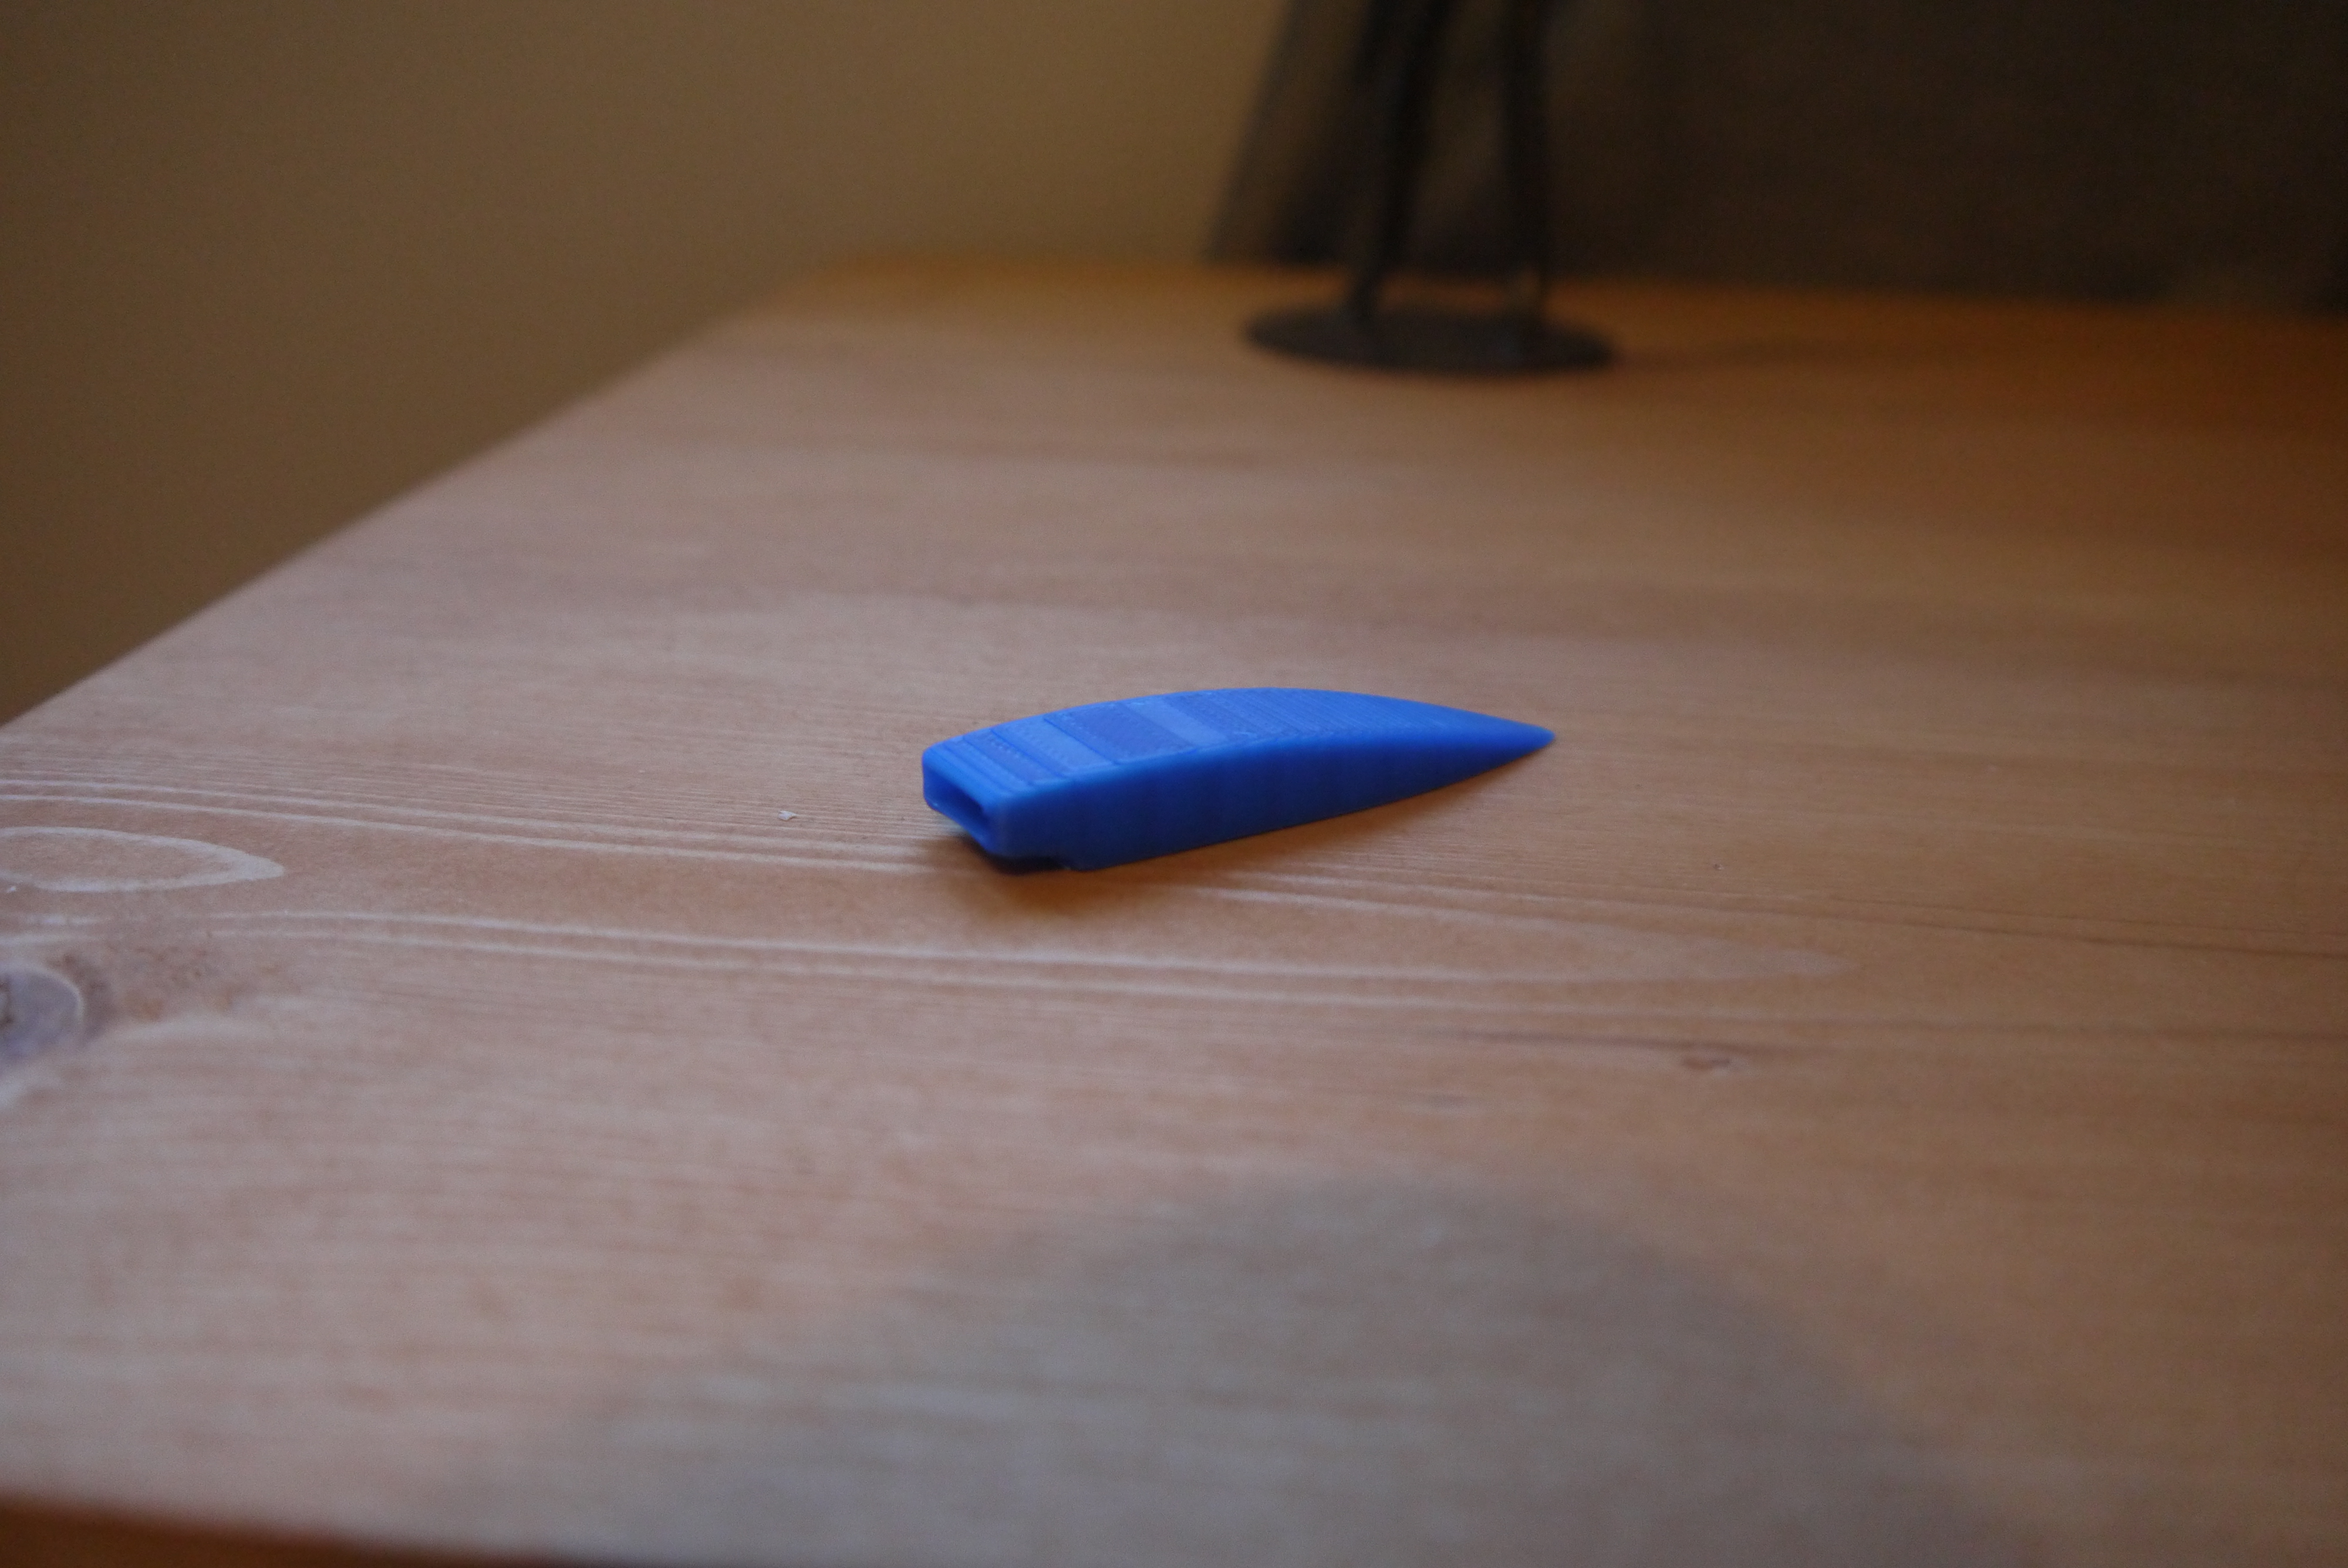
First test print in blue to make sure it fits, so I don't waste my short supply of white PLA:ROFLMAO:
P1280373.JPG


Do you guys like the more common but shorter posts like the ones I've been doing? Or the longer posts, like this one, that only happen once I get more work done?
 

OliverW

Legendary member
I finished up the opaque canopy after several attempts it's a modified @nerdnic spitfire canopy.
View attachment 147838

@nerdnic did a great job on the canopy by giving it the distinctive "bubble" shape. I only required resizing and 5-6 modifications to get it to fit on my plane.
View attachment 147839
As you can see I removed too much material and the bottom of the canopy is a little off, I'm going to fix that in Inkscape.

Now here's what I'm excited about...the clear canopy. This will be the first plane that will have detail for a cockpit, all my other designs just had the poster board underneath like on my P-39.
View attachment 147840

The hatch for the clear canopy is a little longer because I needed to make a mount for the little window you can see behind the main canopy.
View attachment 147841

Here are the two hatches right next to each 0other so you can get an idea of the size difference.
View attachment 147842

And now that I'll have a cockpit area I'll need a pilot:D
First test print in blue to make sure it fits, so I don't waste my short supply of white PLA:ROFLMAO:
View attachment 147843

Do you guys like the more common but shorter posts like the ones I've been doing? Or the longer posts, like this one, that only happen once I get more work done?
I like the longer posts.
 

BATTLEAXE

Legendary member
You are the one designing and building the prototype man, you are the one goin through all the trials and tribulations, you post as long as you want. any piece of info helps others.

Hey have you ever thought of doing a build vid like @MiniacRC or @nerdnic. If you have already I apologize because I just haven't seen one before, but you really know what you are doing and I would enjoy seeing one.
 

BATTLEAXE

Legendary member
I finished up the opaque canopy after several attempts, it's a modified @nerdnic spitfire canopy.
View attachment 147838

@nerdnic did a great job on the canopy by giving it the distinctive "bubble" shape. I only required resizing and 5-6 modifications to get it to fit on my plane.
View attachment 147839
As you can see I removed too much material, and as a result the bottom of the canopy is a little off, I'm going to fix that in Inkscape.

Now here's what I'm excited about...the clear canopy. This will be the first plane that will have detail for a cockpit, all my other designs just had the poster board underneath, like on my P-39.
View attachment 147840

The hatch for the clear canopy is a little longer because I needed to make a mount for the little window you can see behind the "main canopy".
View attachment 147841

Here are the two hatches right next to each other so you can get an idea of the size difference.
View attachment 147842

And now that I'll have a cockpit area I'll need a pilot:D
First test print in blue to make sure it fits, so I don't waste my short supply of white PLA:ROFLMAO:
View attachment 147843

Do you guys like the more common but shorter posts like the ones I've been doing? Or the longer posts, like this one, that only happen once I get more work done?
Classic Snoopy, just awesome