Mini Lancaster build (42 inch)

makersam

Member
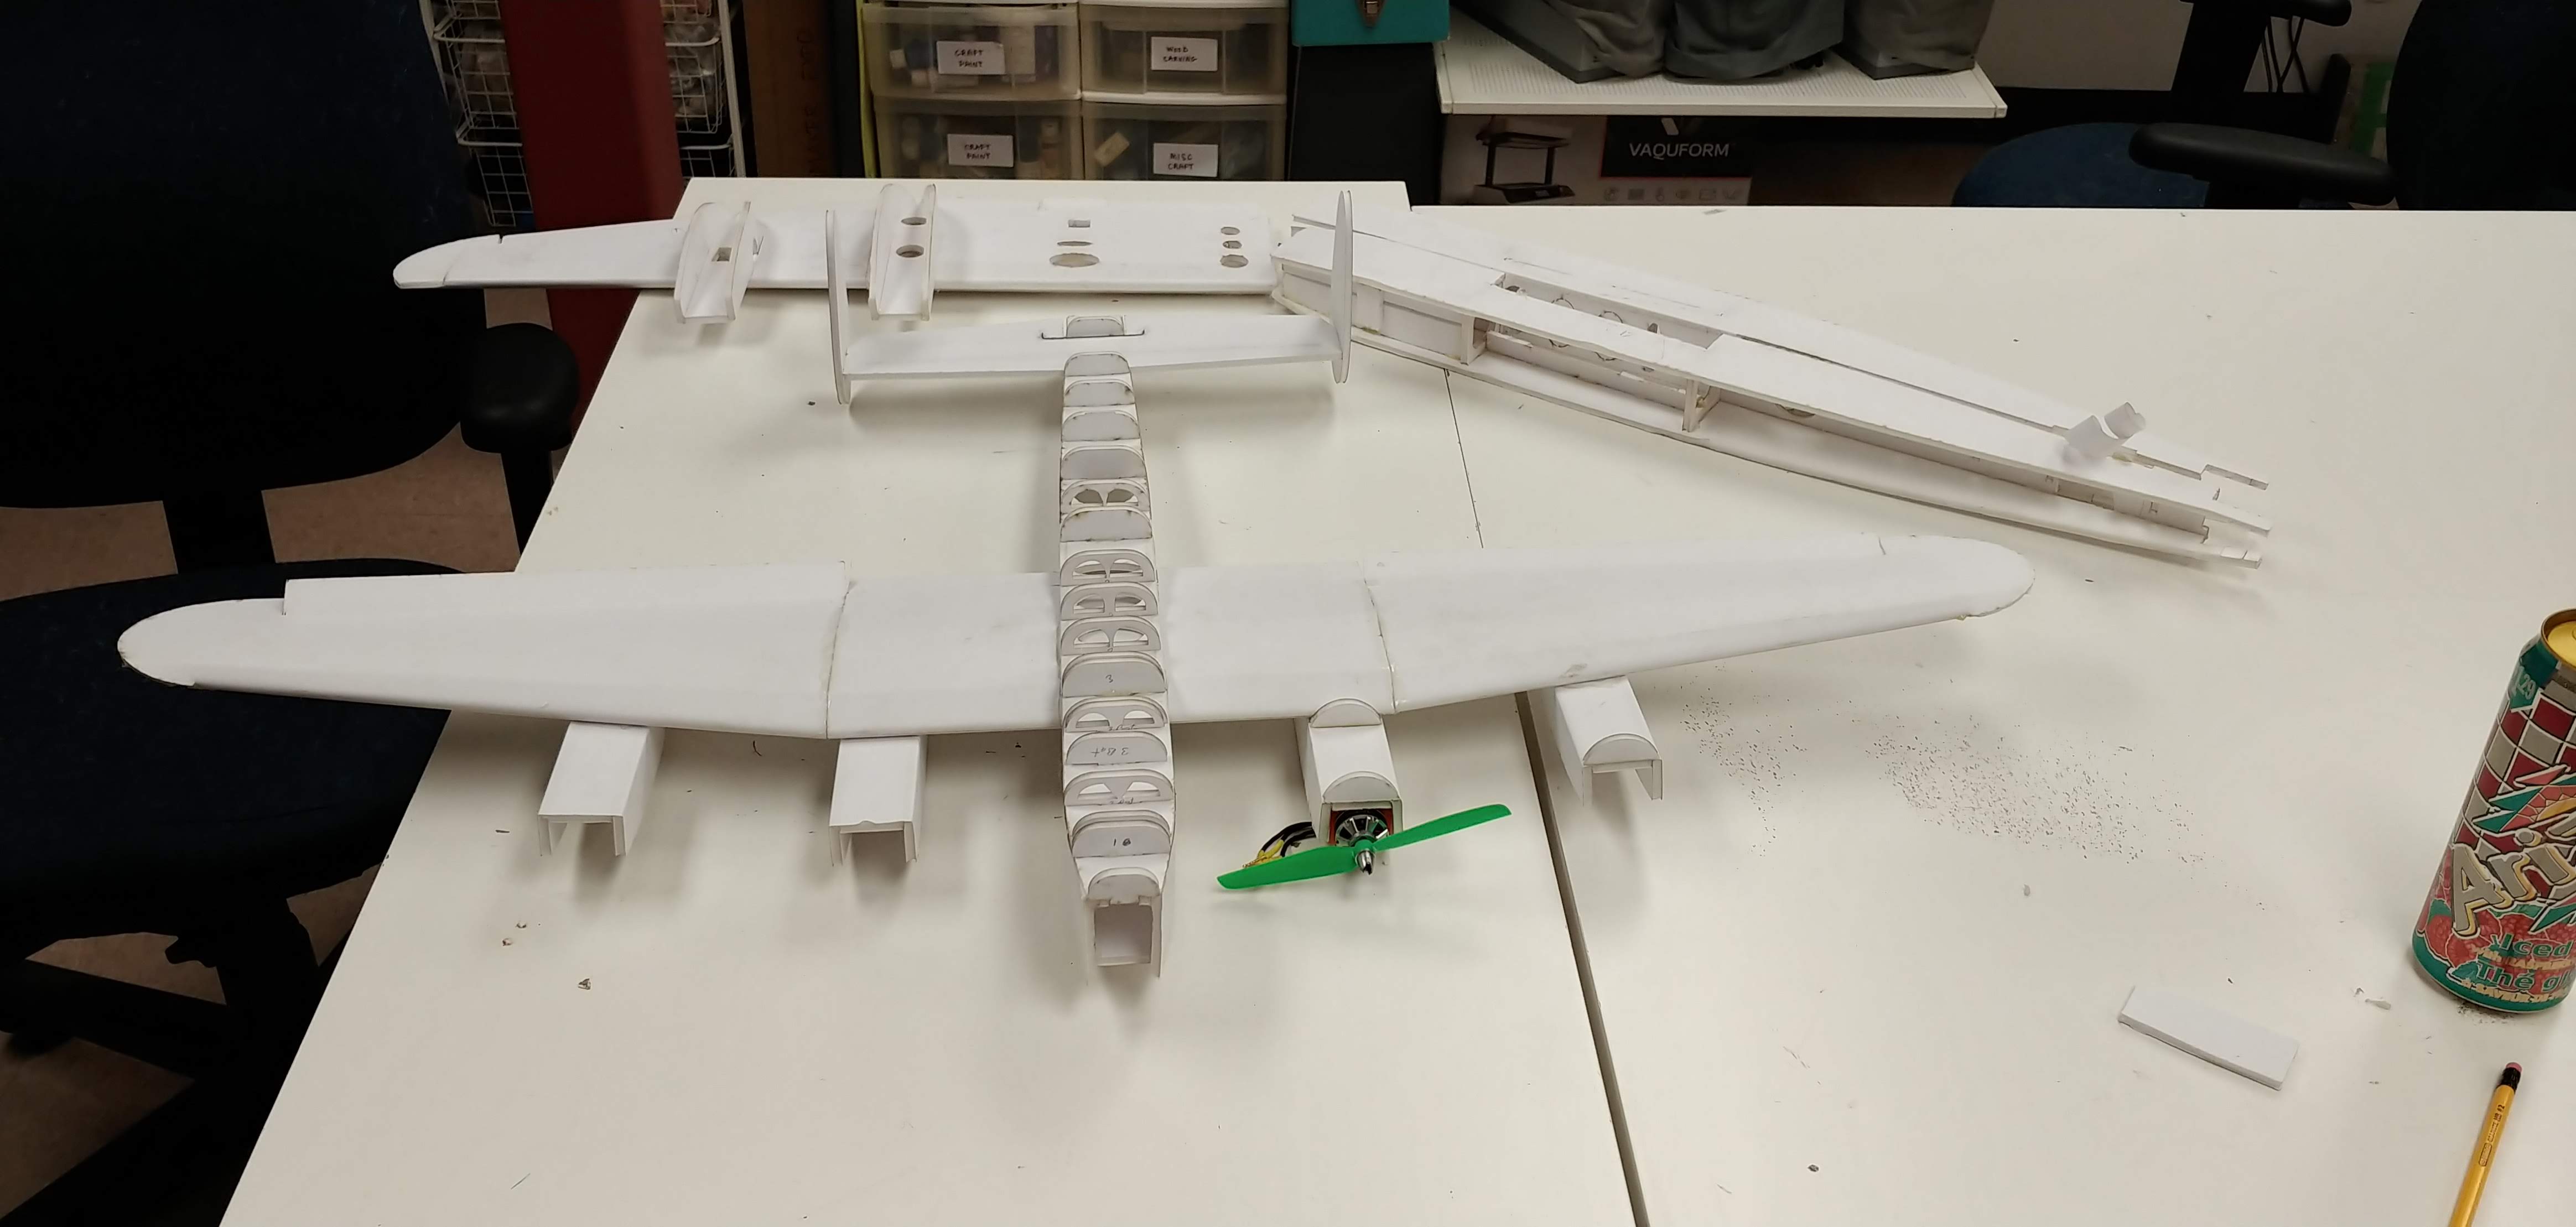
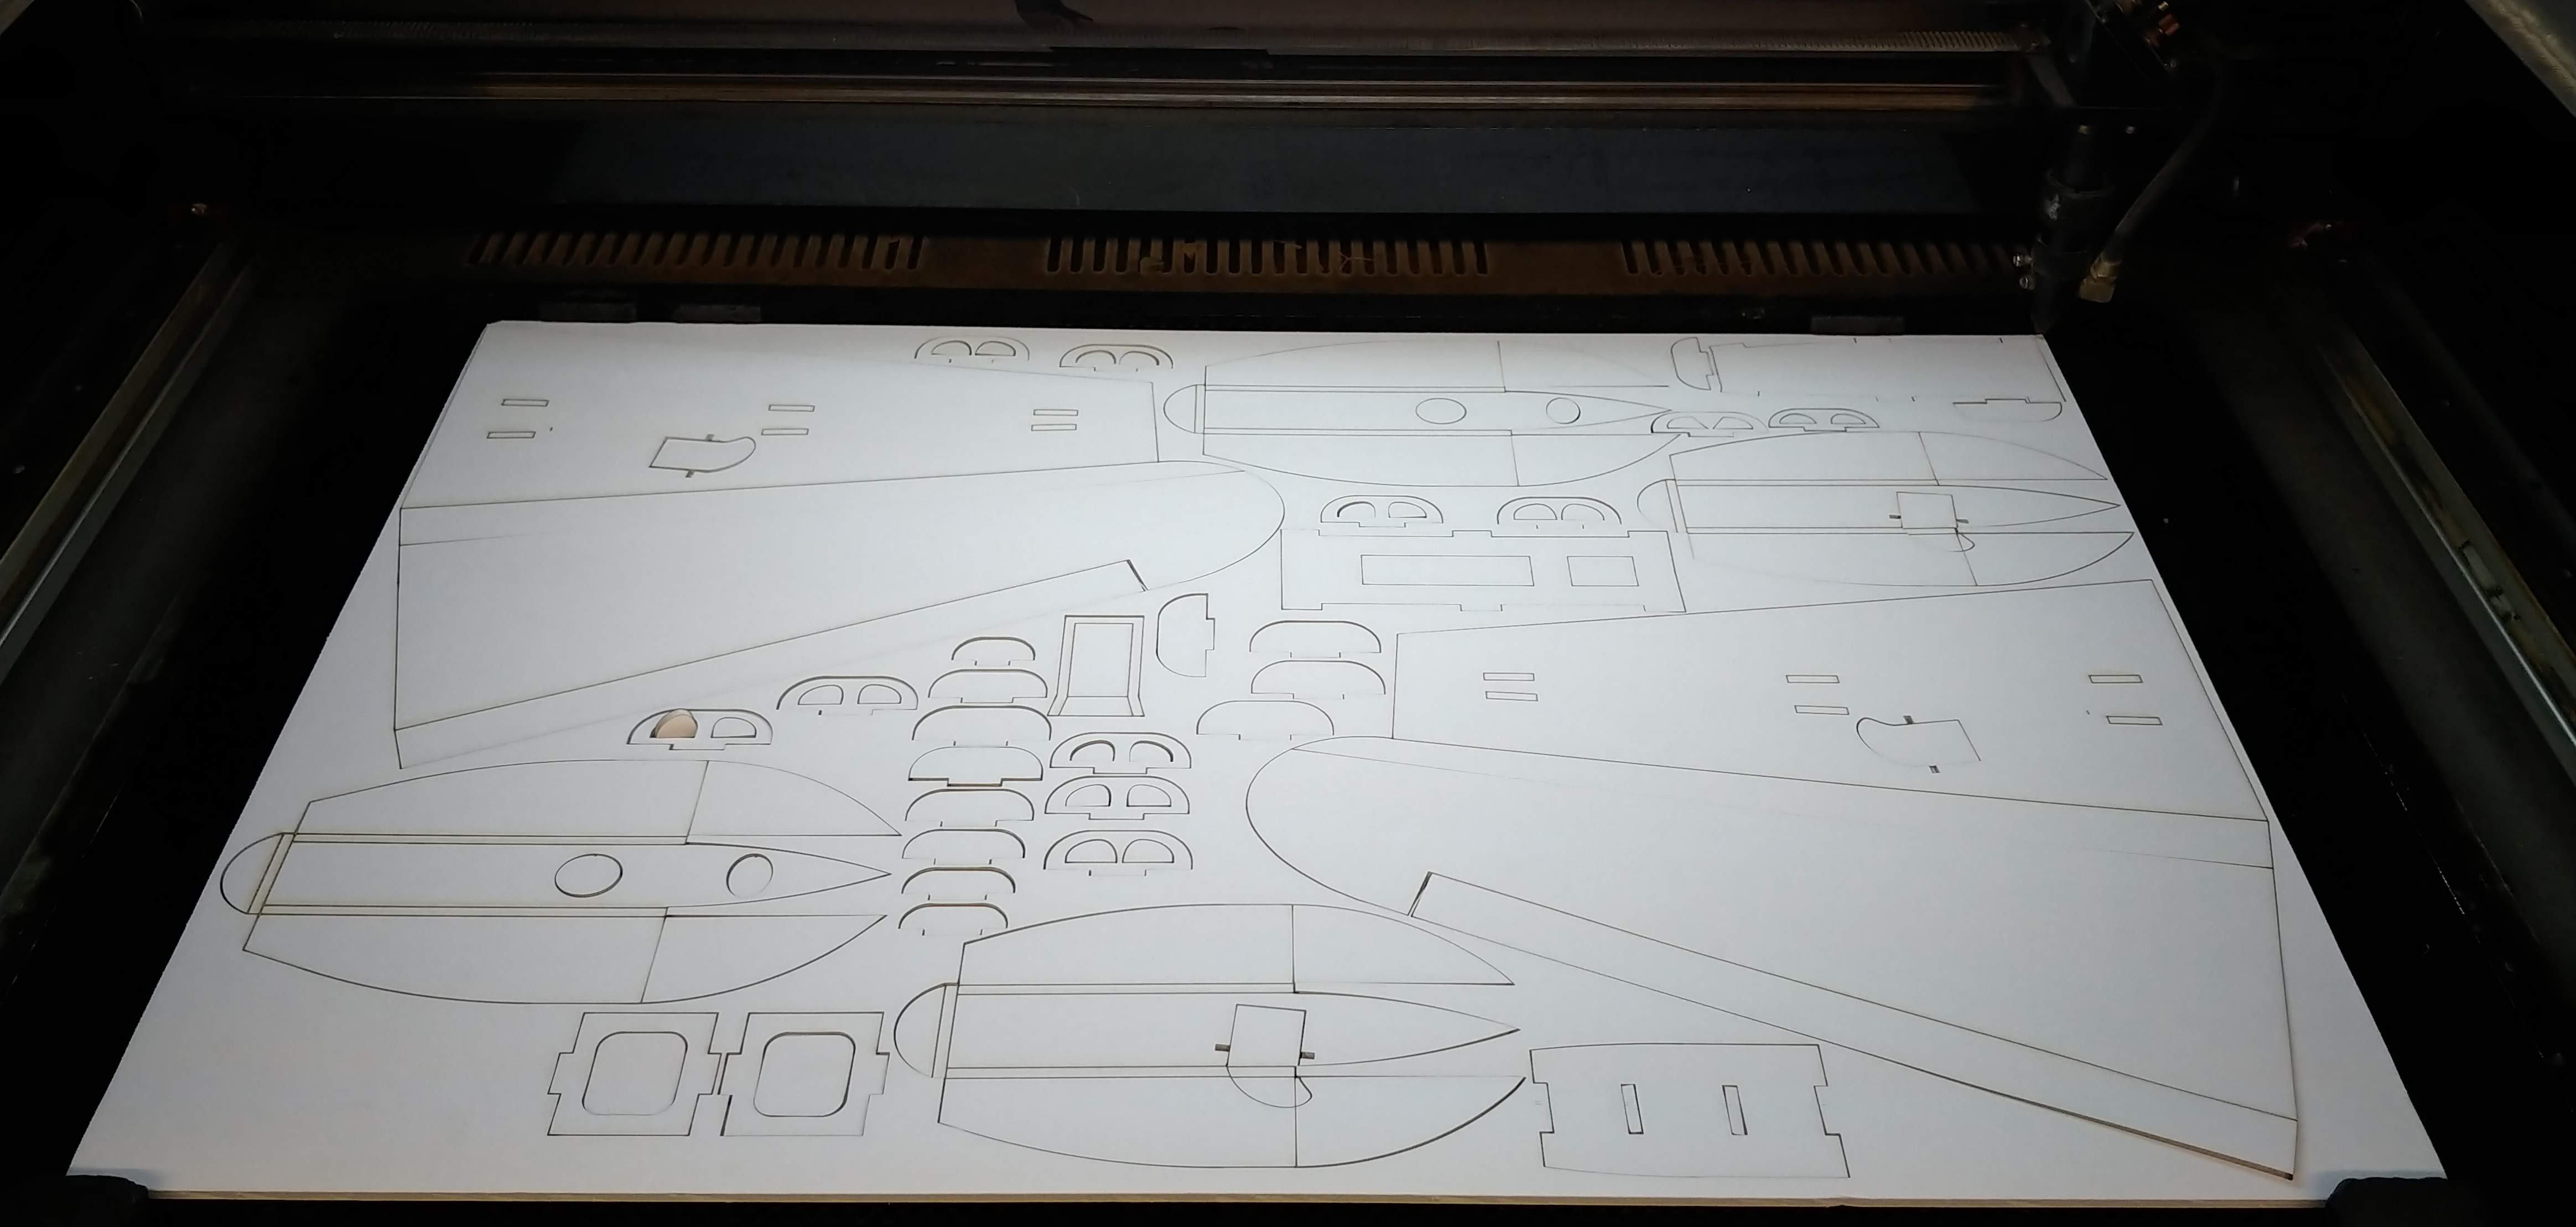
I started down this road several years ago with the general "I'll get around to it some day" attitude, but being given a busted quad and a big bag of parts at around the same time I discovered that Vincent (http://rcfbaircraft.com) had pased away was enough of an incentive to get moving. I had been admiring his Lancaster plans for some time, but there were several aspects to his designs that were not ideal for my situation and available parts.
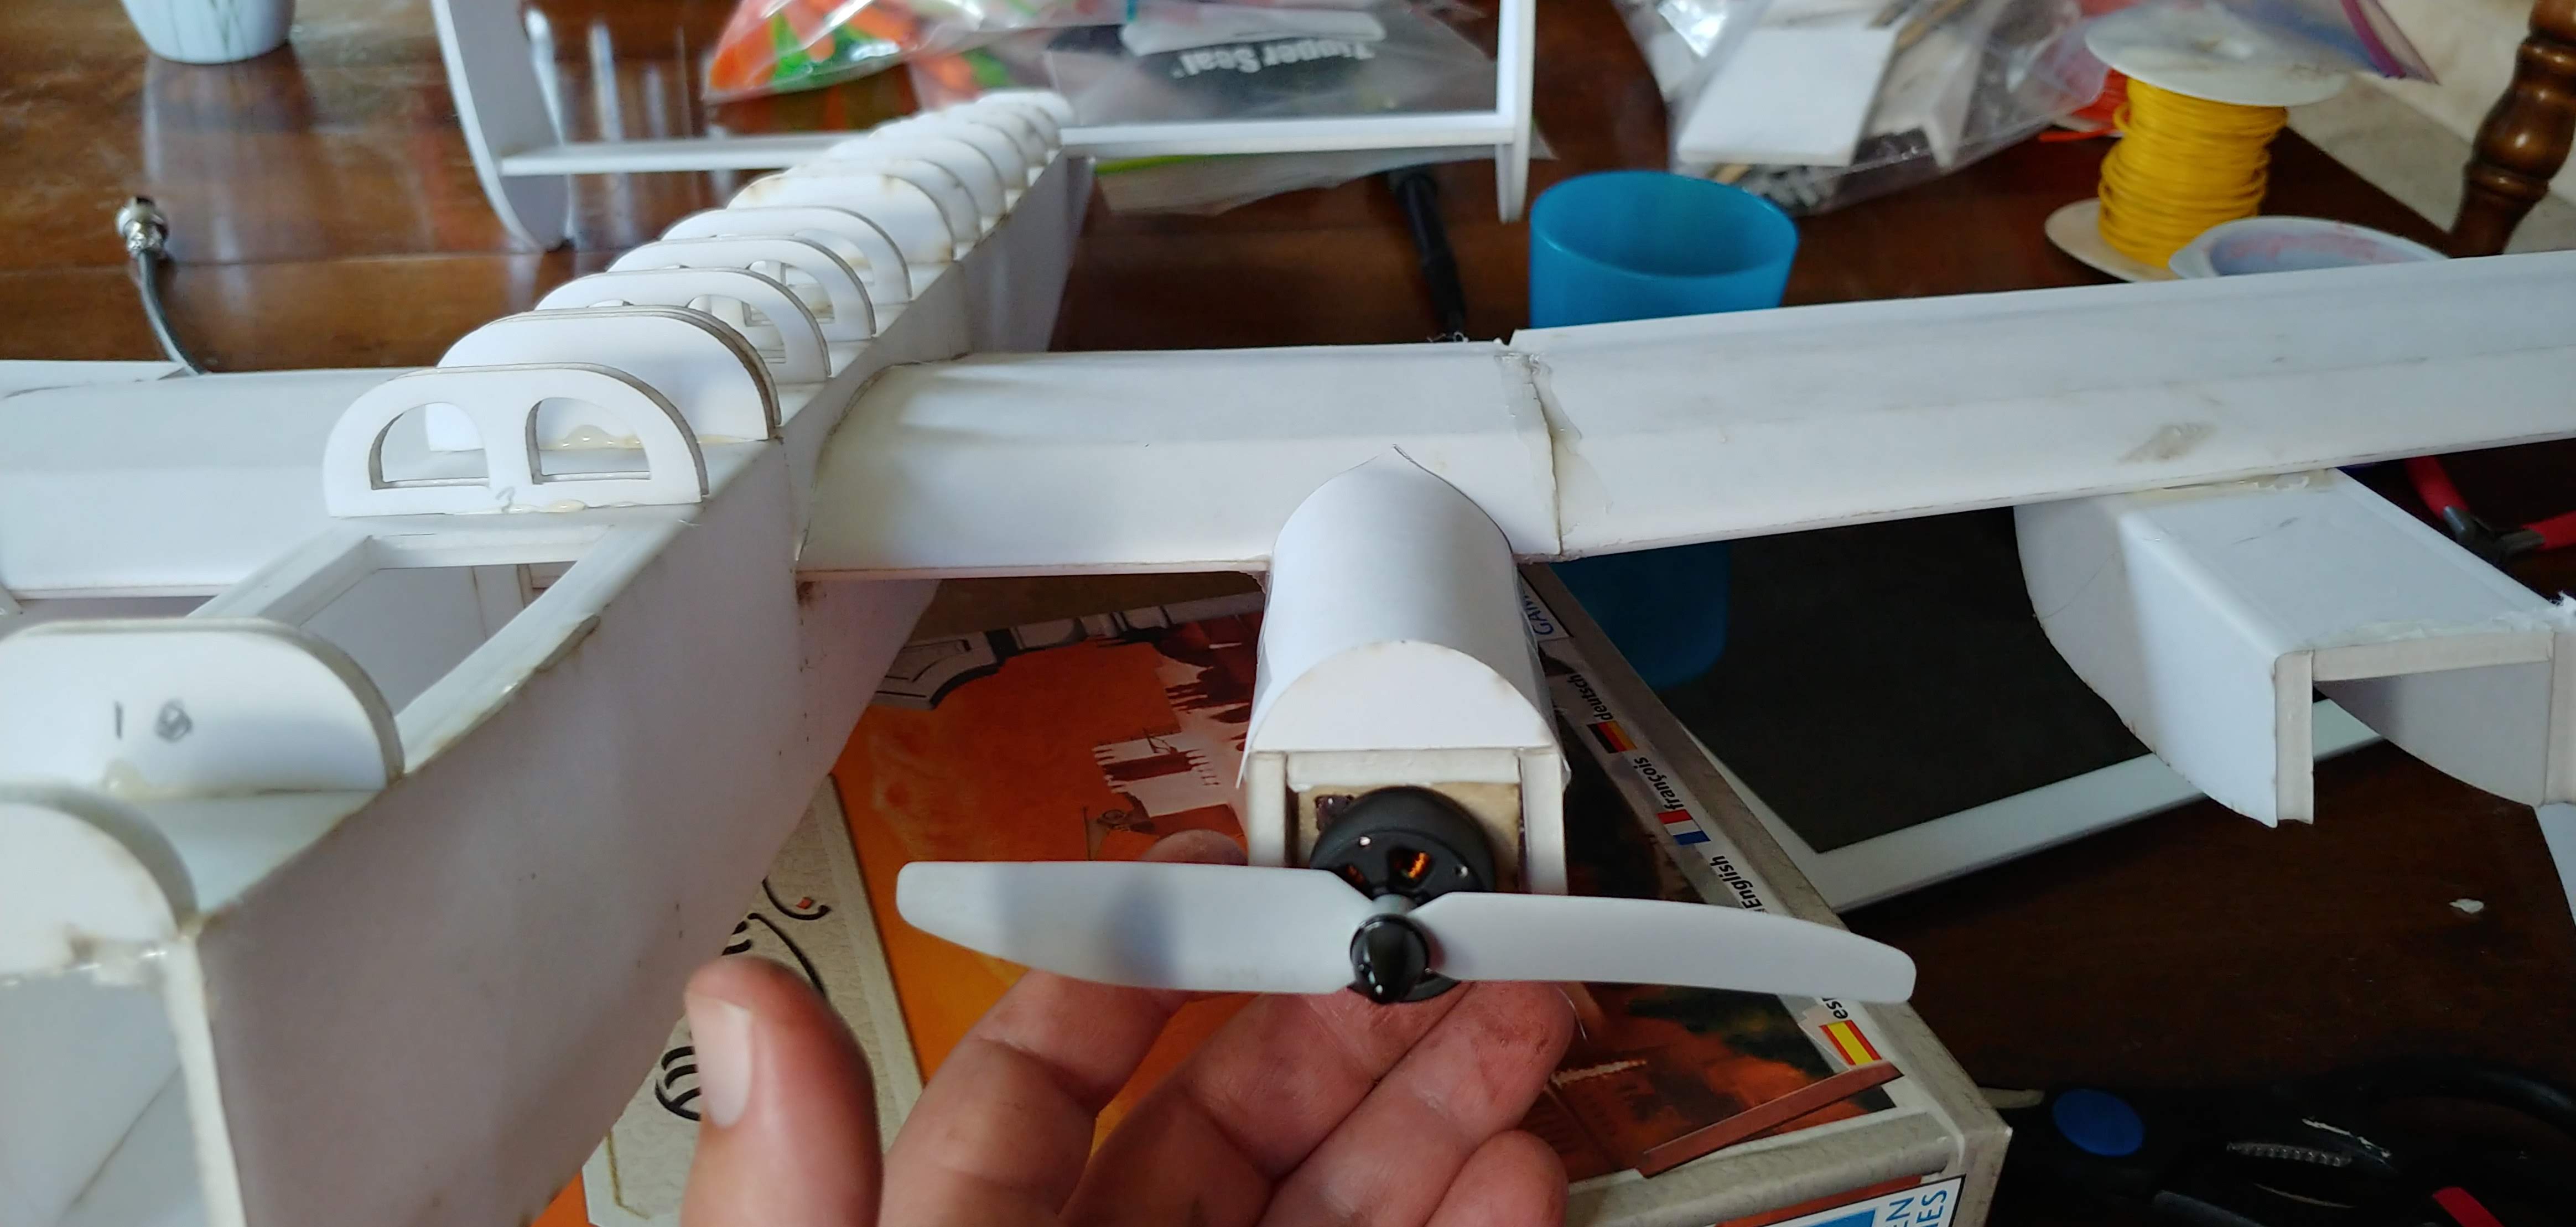
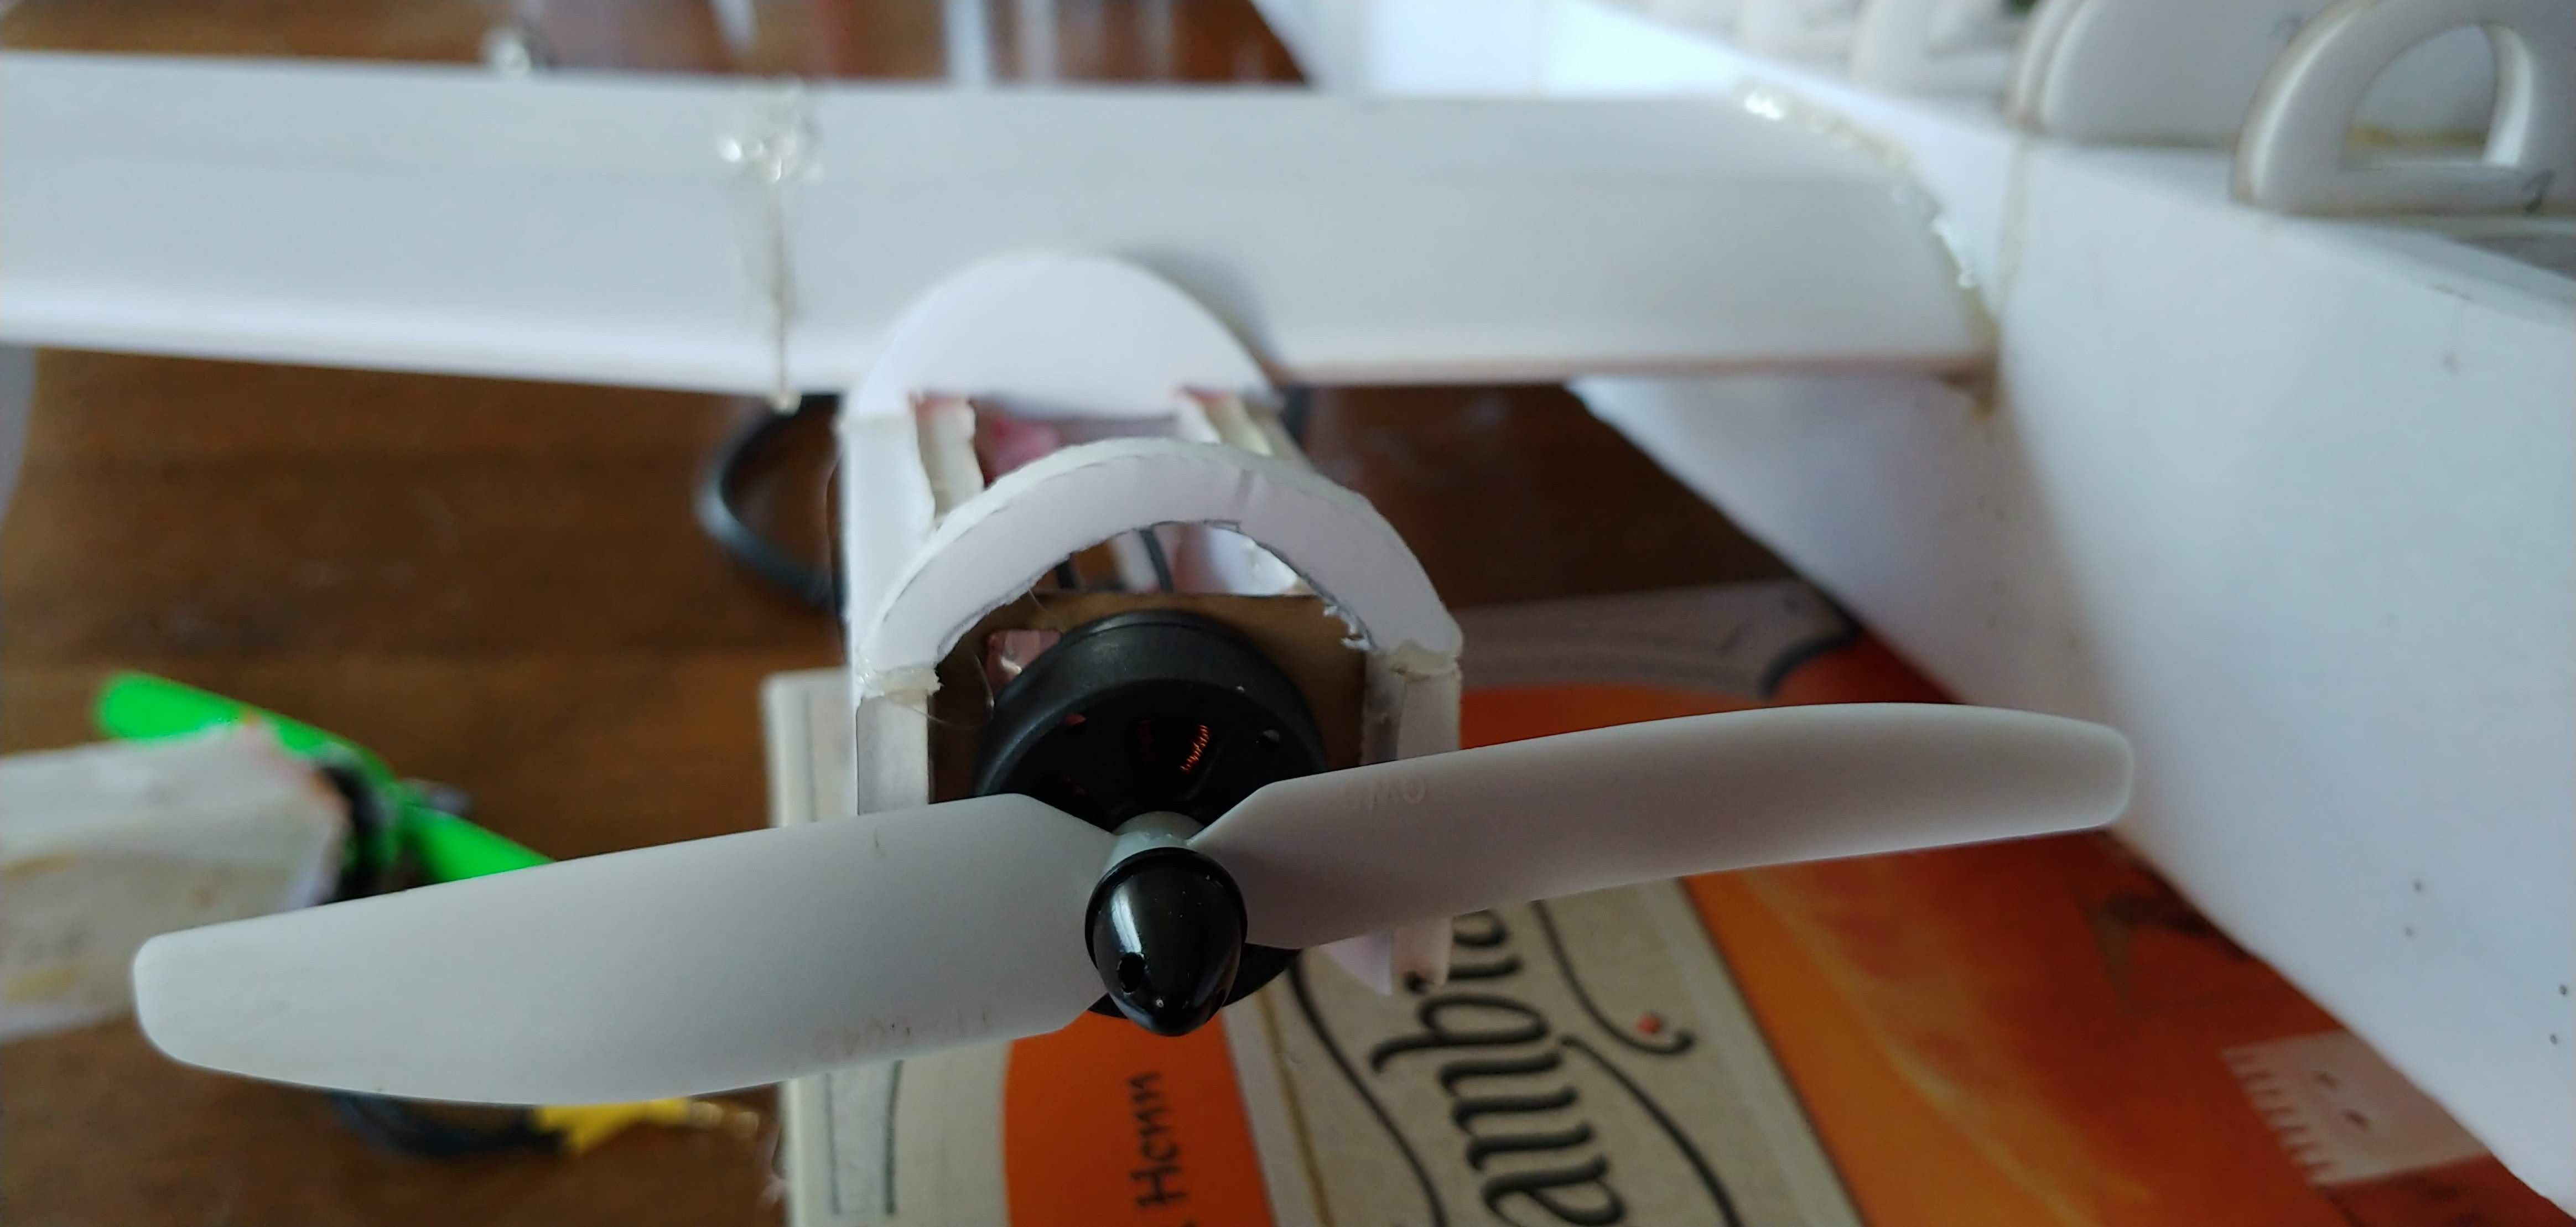
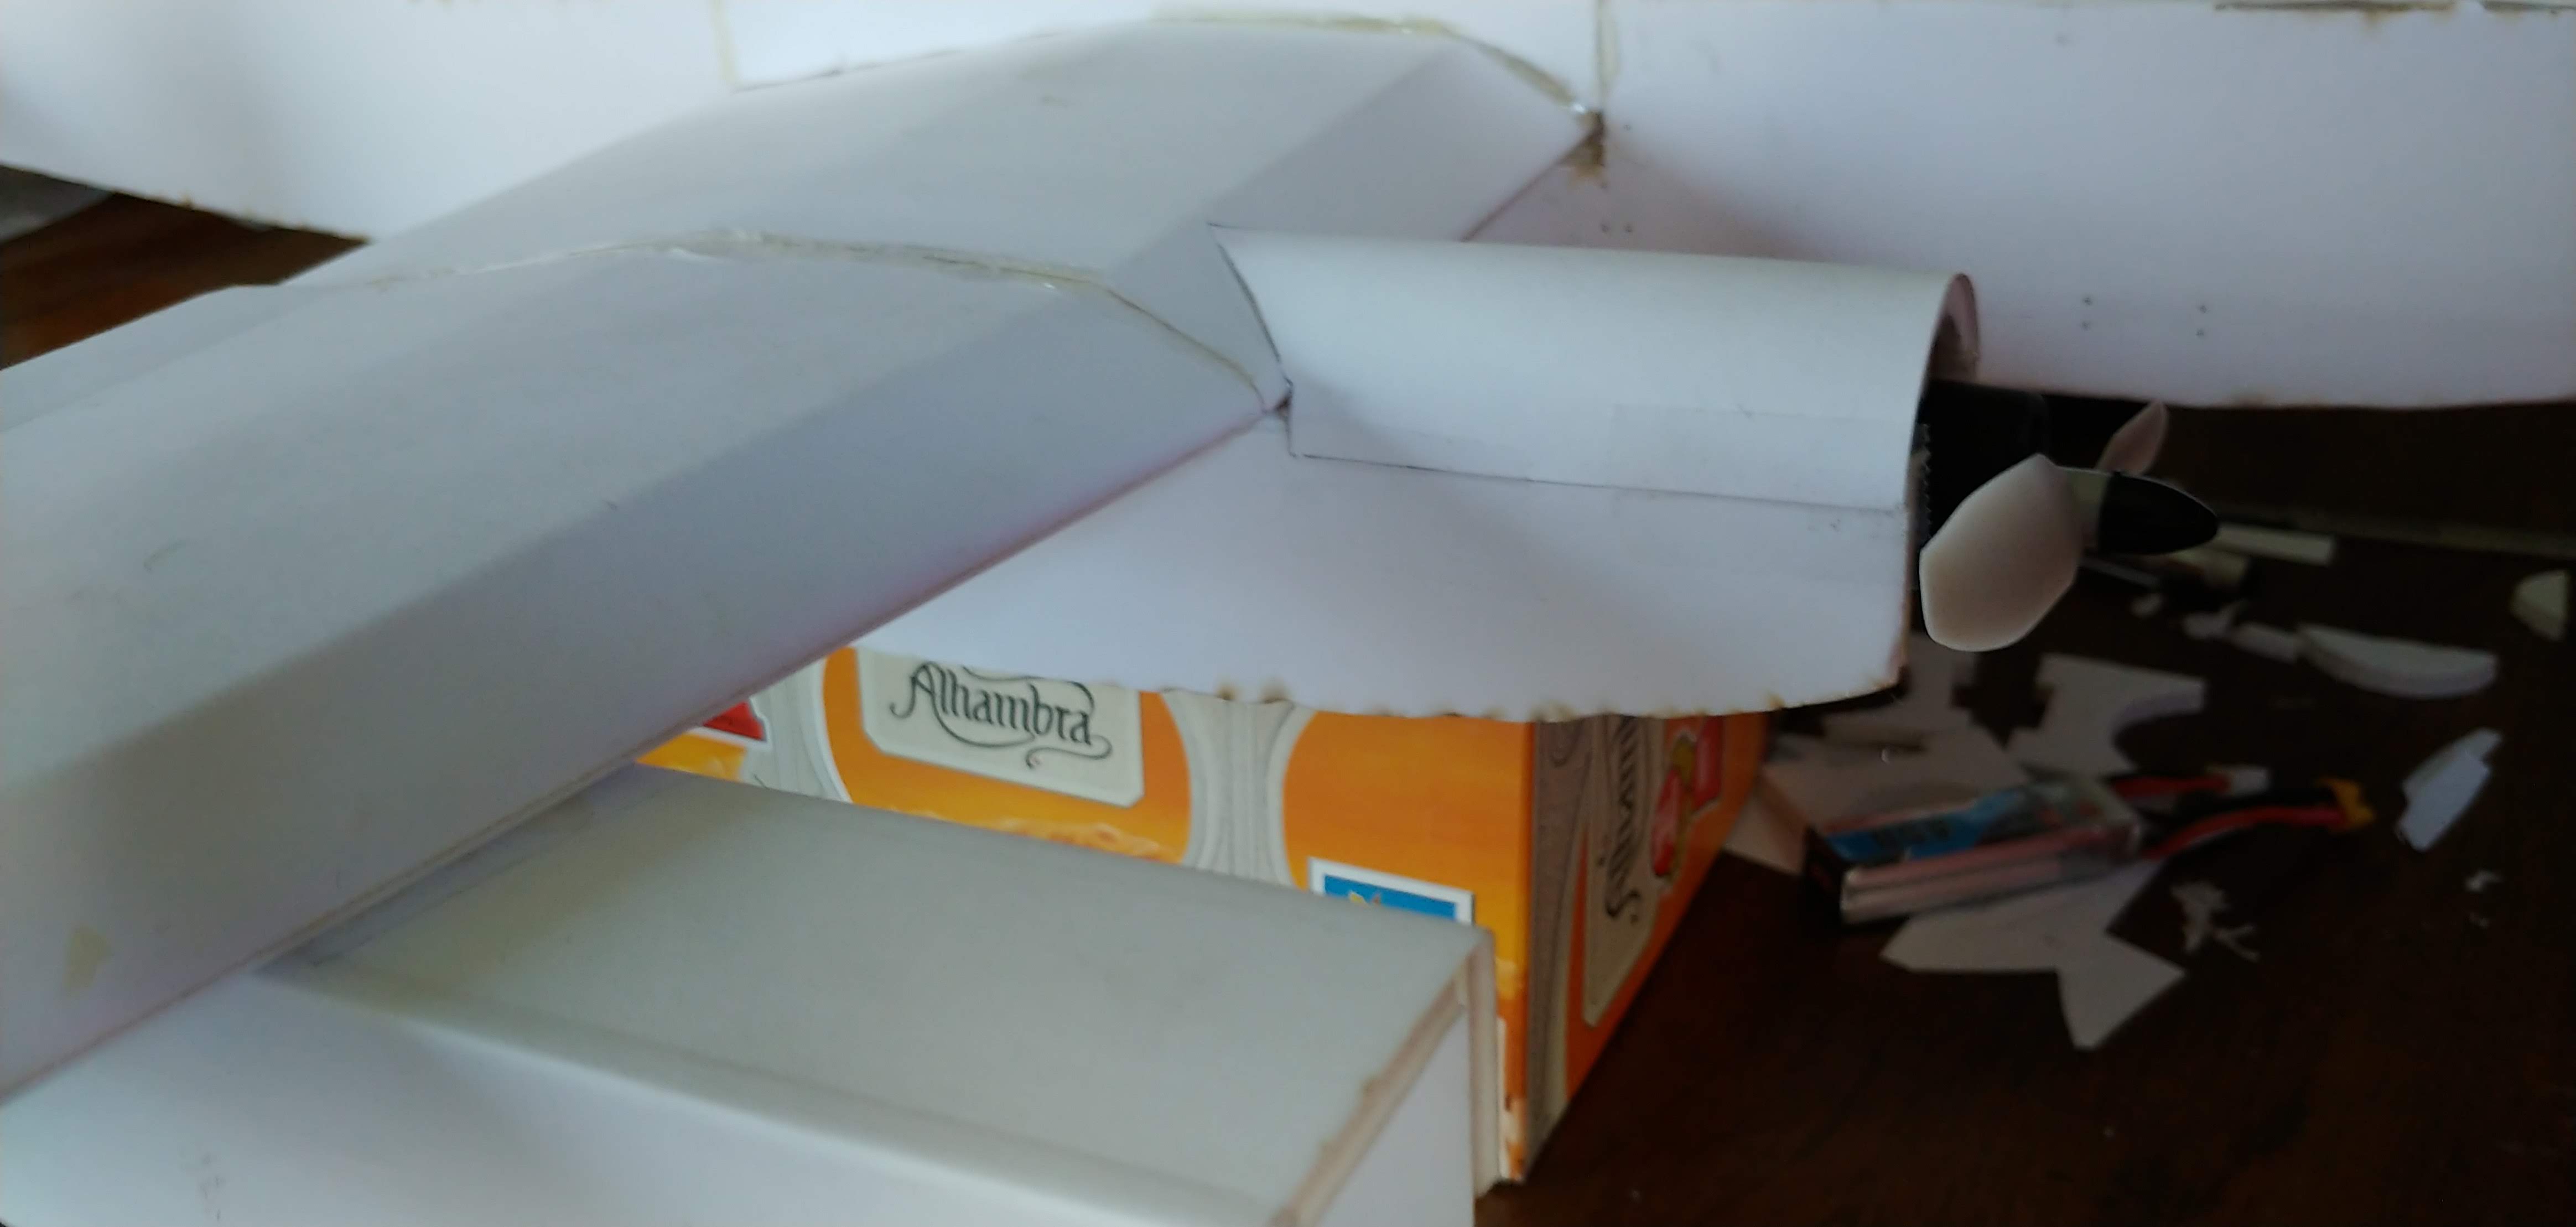
I shrunk down his plans to where I could fit a mini power pod in the nacelles and I went about systematically simplifying and removing anything that was going to cause excess weight. It is almost a complete redesign at this point, but those plans were a great starting point.
I made a few errors in scaling and spacing and had to rebuild the fuselage a couple of times, but it is coming along nicely
Here are a couple of pictures from along the way.
I am hoping to have it flying by the end of the weekend when there is some good weather forecast.
20190505_211647_HDR.jpg
20190505_221311.jpg
20190508_013210_HDR.jpg
20190508_103623_HDR.jpg
20190508_103727.jpg
20190508_104310.jpg
20190508_104325.jpg
20190508_104333_HDR.jpg
20190510_113012.jpg
 
Last edited:

FastCrash45

Elite member
I started down this road several years ago with the general "I'll get around to it some day" attitude, but being given a busted quad and a big bag of parts at around the same time I discovered that Vincent (http://rcfbaircraft.com) had pased away was enough of an incentive to get moving. I had been admiring his Lancaster plans for some time, but there were several aspects to his designs that were not ideal for my situation and available parts.
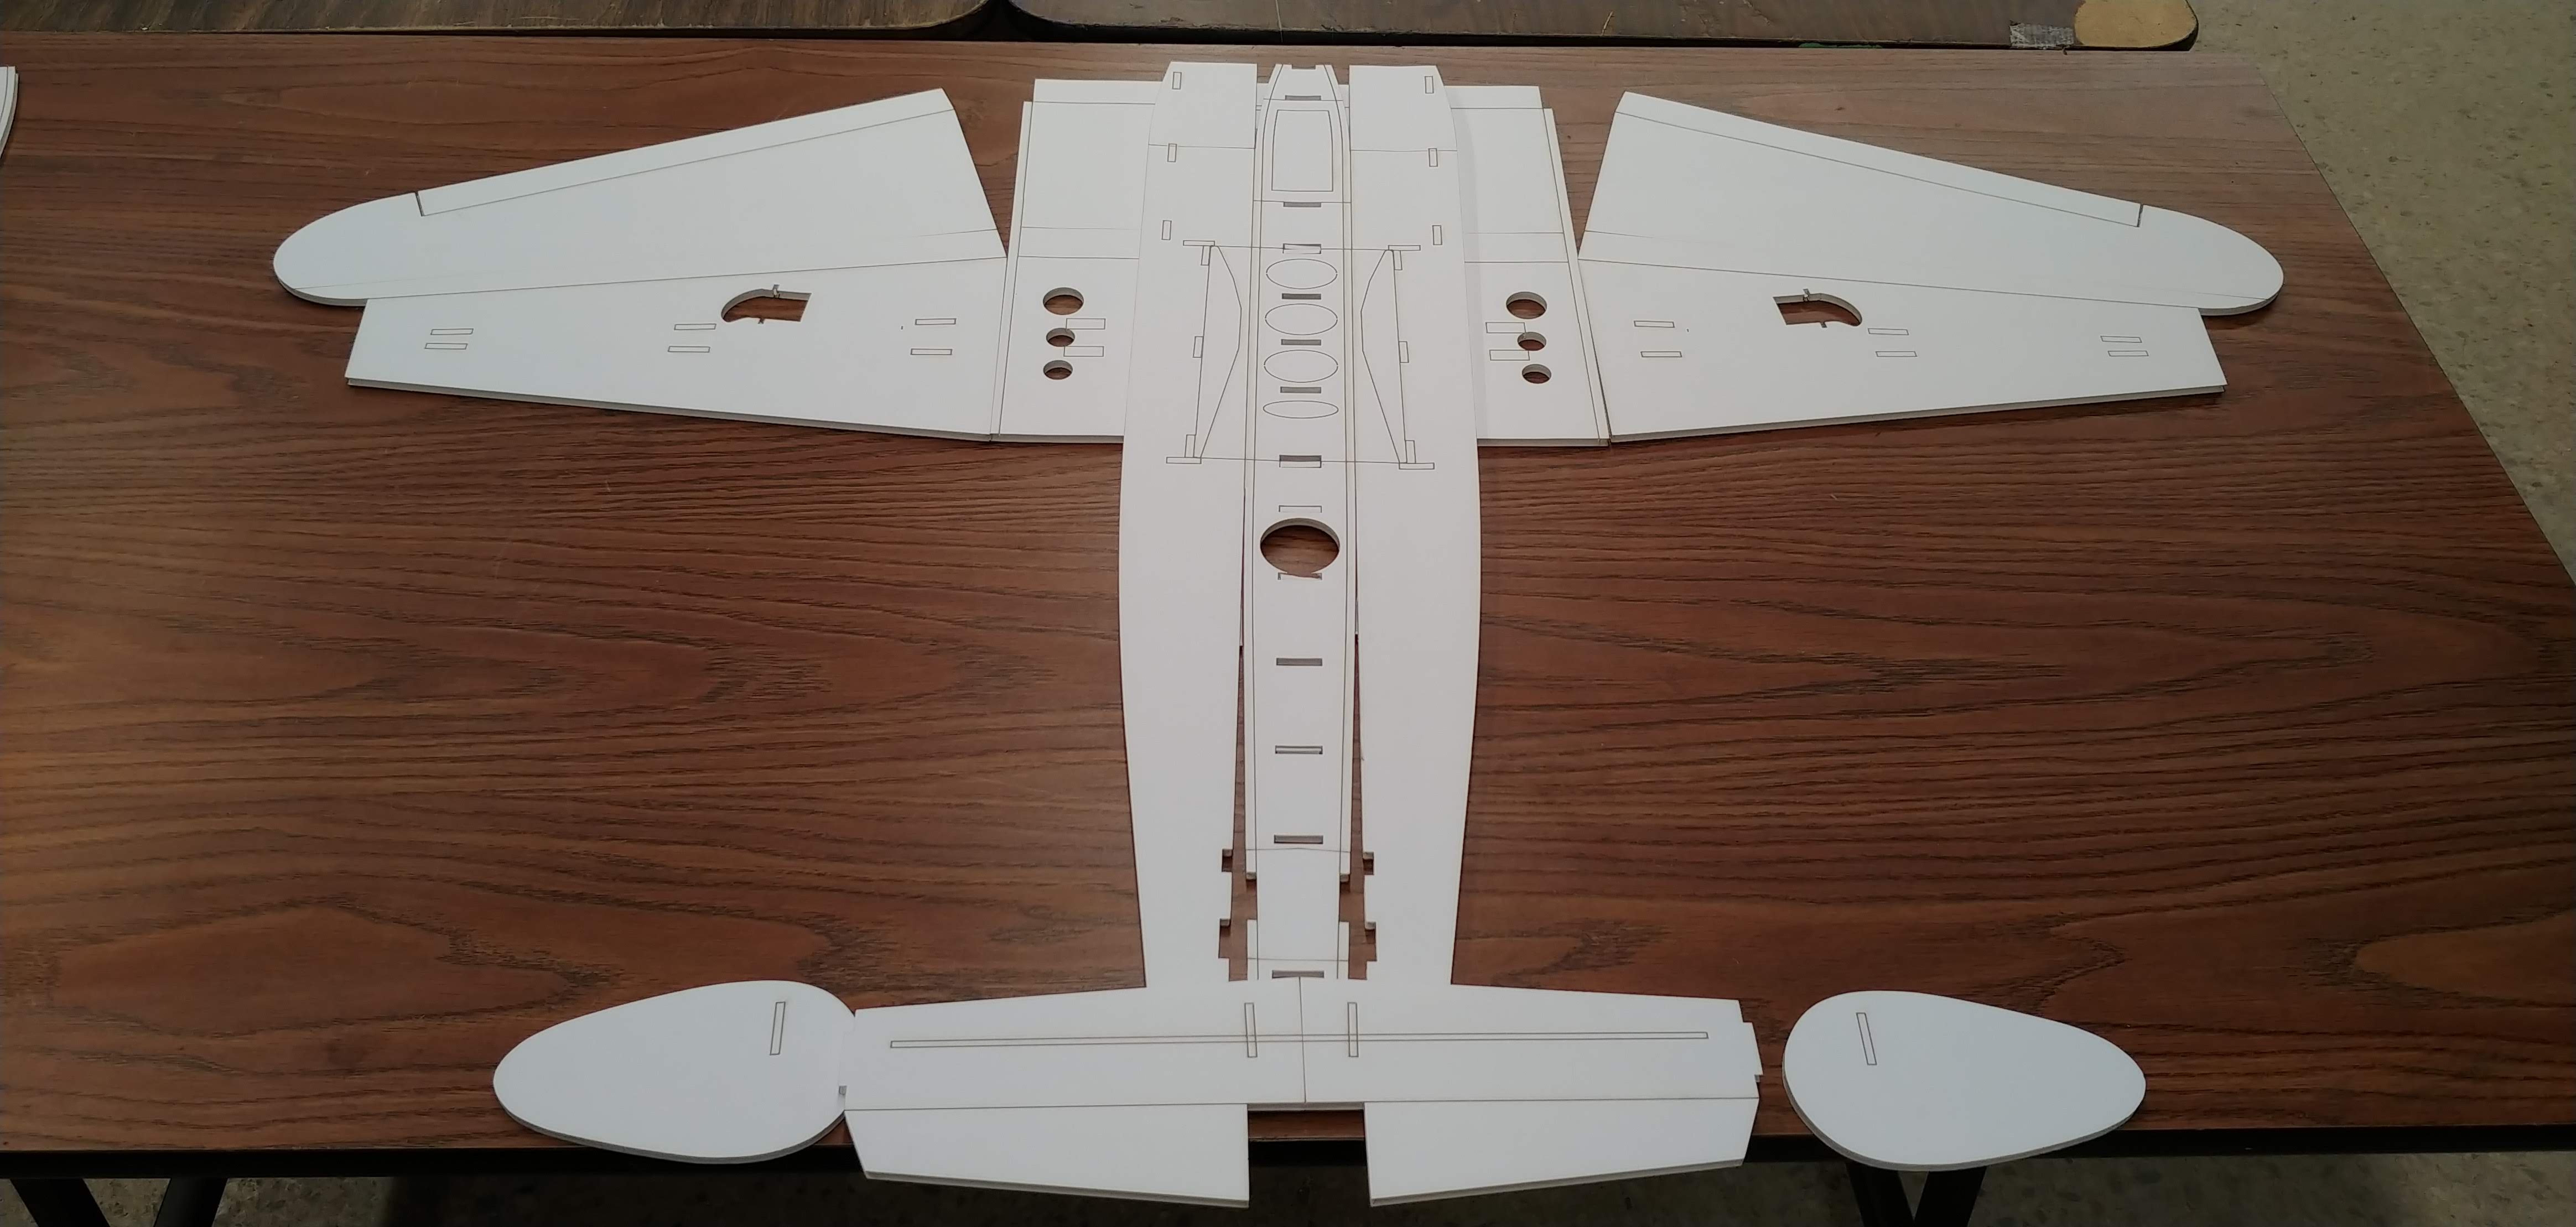
I shrunk down his plans to where I could fit a mini power pod in the nacelles and I went about systematically simplifying and removing anything that was going to cause excess weight. It is almost a complete redesign at this point, but those plans were a great starting point.
I made a few errors in scaling and spacing and had to rebuild the fuselage a couple of times, but it is coming along nicely
Here are a couple of pictures from along the way.
I am hoping to have it flying by the end of the weekend when there is some good weather forecast.
View attachment 130893 View attachment 130894 View attachment 130895 View attachment 130896 View attachment 130897 View attachment 130898 View attachment 130899 View attachment 130900 View attachment 130901 View attachment 130893 View attachment 130894 View attachment 130895 View attachment 130896 View attachment 130897 View attachment 130898 View attachment 130899 View attachment 130900 View attachment 130901
That is a great looking rebuild. Personally, I think you did GREAT!!!
 

TooJung2Die

Master member
This build is a tribute to Vincent. He was probably the most prolific designer of warbirds on Flite Test. He will be missed around here. I hope his wife, Erin, will keep his website and plan archive going. It would be a further tragedy to loose all of Vincent's work.
 

makersam

Member
I think It is about time I did some updates. After building a few models I think I might have this one mostly in the bag. I am finally getting close to the v1.0 release of plans. I am sorry I haven't been updating this thread, but better late than never.
Through the Kwartzlab Maker space I have access to a vacuform machine and 3d printers so I 3d printed "plugs" for the canopy pieces and pulled a few samples out of 0.5mm HIPS until I ran out of material. This was my first successful canopy though the scale was a little wrong and needed to be redone.
20230114_165507.jpg


I had access to 1mm PETG so I switched over to that and got some reasonably good results though I was getting the material too hot (the white spot is where it over heated and lost its pliability.
20230117_212939.jpg


I decided to do the entire top section out of PETG because since I had the vacuform and I was learning how to 3d model I decided why not just keep on going with it. In this picture you can also see the nose gunner/ bomb aimer models and pulls I made.
20230121_110714.jpg


I quickly made a fuselage to test fit pieces on and this one has the mid gunner position included in another piece.
20230121_182218.jpg


This is an example of my new and improved canopy that also included the top fuselage former on the vacuform I was using.
20230121_184028_HDR.jpg


Joining the wings together. I used a couple of strengtheners to join the wing tips as the gorilla glue set. Adding the tape to the top and bottom of the joint temporarily definitely helped with keeping the join cleaner and would recommend if you aren't using hot glue.
20230125_174900.jpg

Another view of my v0.9 fusalage with the top wing joiner popped out and formed parts ready for glue.

20230125_174913.jpg
20230125_174924.jpg


Part way through we got a new airbrush so I quickly got to learning how to properly dilute paint and run an air brush.
20230130_105616.jpg


Base Coat of paint. I may have screwed up here. This was some kind of possibly oil based paint (rattle can) and it bled through and softened when I painted the upper coats.
20230130_193737_HDR.jpg


First 2 colours. Base colour brown with green on top. First time trying to do a camo pattern and I think it went well enough.
20230131_133644.jpg


A little black added
20230131_145849.jpg


Tried adding blue for the canopies with a felt tipped paint pen, but this was difficult as the paint kept dissolving under it.
20230131_204200.jpg


quick mock up of the retracts went pretty well though forgot to run the servo leads in the wing before I put the nacelles on and the fuselage together.
20230131_204939_HDR.jpg

Motors in and servos in though not quite buttoned up.
20230204_133807.jpg
20230204_133823.jpg
20230204_133855.jpg
 

makersam

Member
Thanks for the encouragement. I am almost at the point where I am happy with it. I think the next build may be my final unless I wreck it some how. The plastic portions need a little more finesse with a thinner plastic and CA instead of using gorilla glue.
If anyone is following along and would like to get to building here are all the files you will need with some extras. I stress that this is not the totally finished v 1.0 plans, but are really quite close.
 

Attachments

  • lancaster 0.9 Center wing spars nacelles.svg
    1.2 MB · Views: 0
  • lancaster 0.9 fuselage formers.svg
    118.9 KB · Views: 0
  • lancaster 0.9 fuselage working model.svg
    1.4 MB · Views: 0
  • lancaster 0.9 outer wings and nacelles.svg
    1,009.4 KB · Views: 0
  • lancaster 0.9 outterwings.svg
    1,011.4 KB · Views: 0
  • lancaster 0.9 wing working design.svg
    1.2 MB · Views: 0
  • lancaster 0.9 Wood spar joiner.svg
    11.8 KB · Views: 0

TooJung2Die

Master member
Congratulations on your successful maiden flight. Was there a bit too much rate on the elevator? Looks great flying and on the ground.